Getting Started on the Van Life Dreams
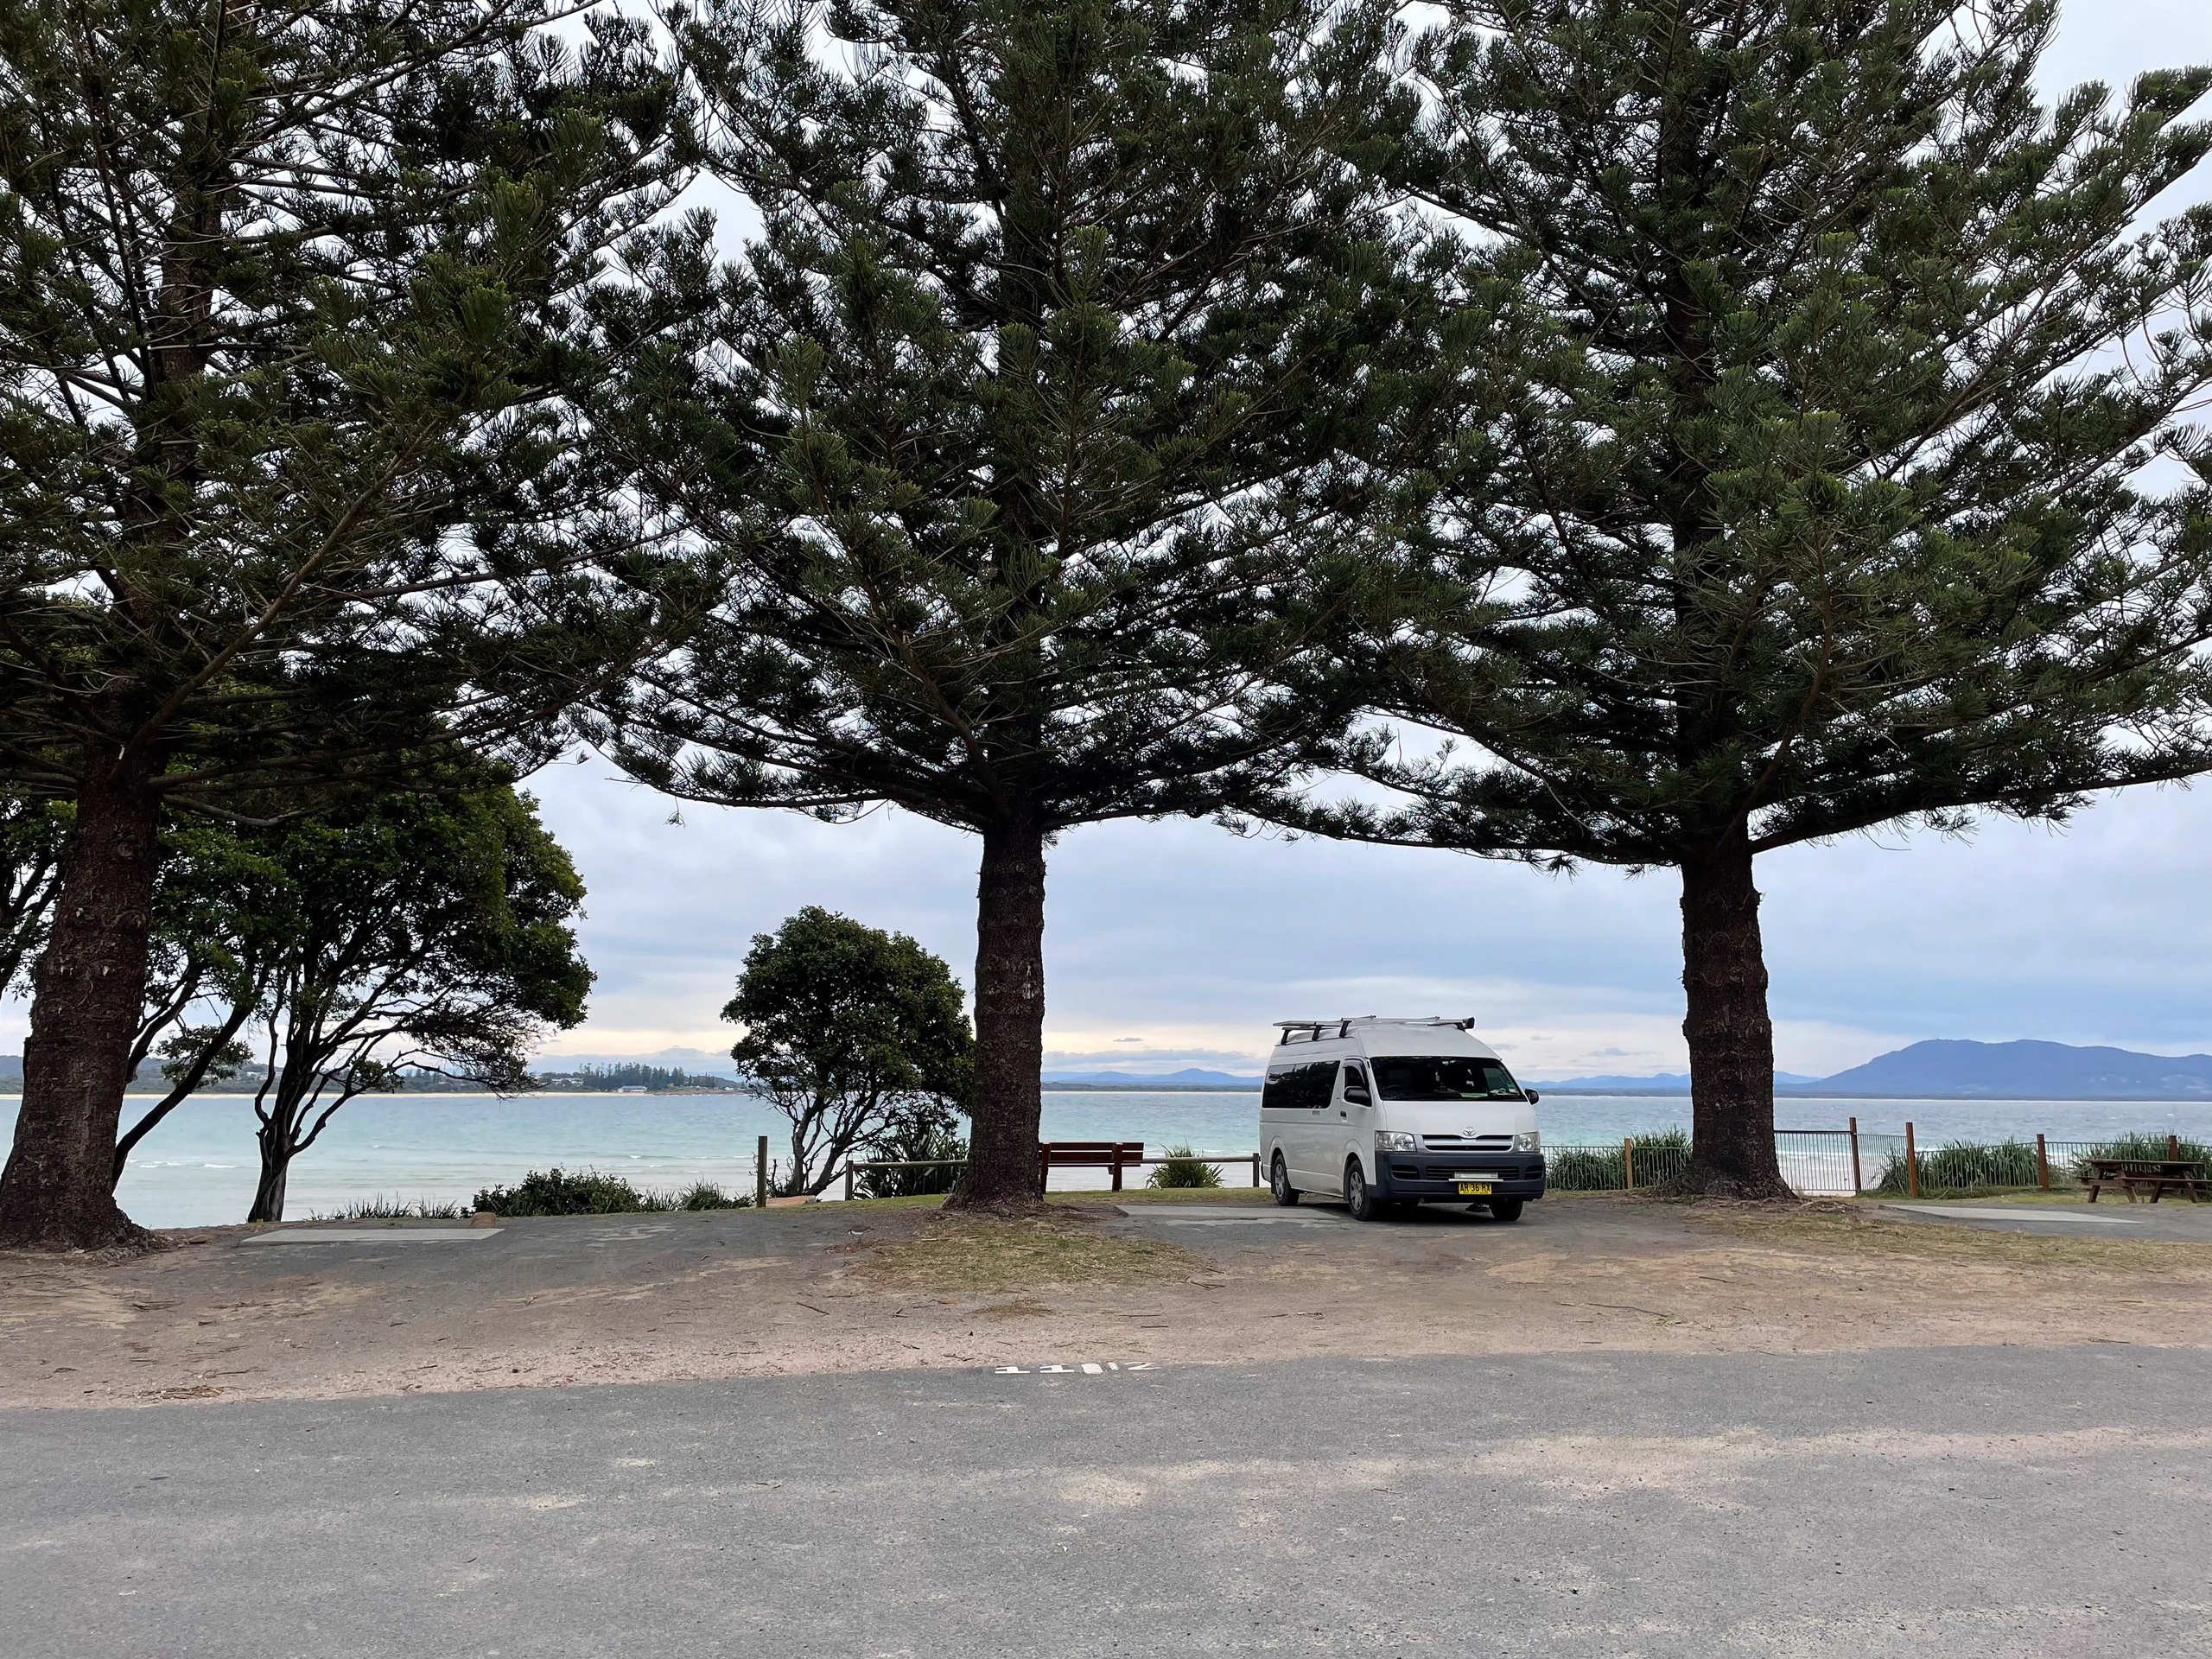
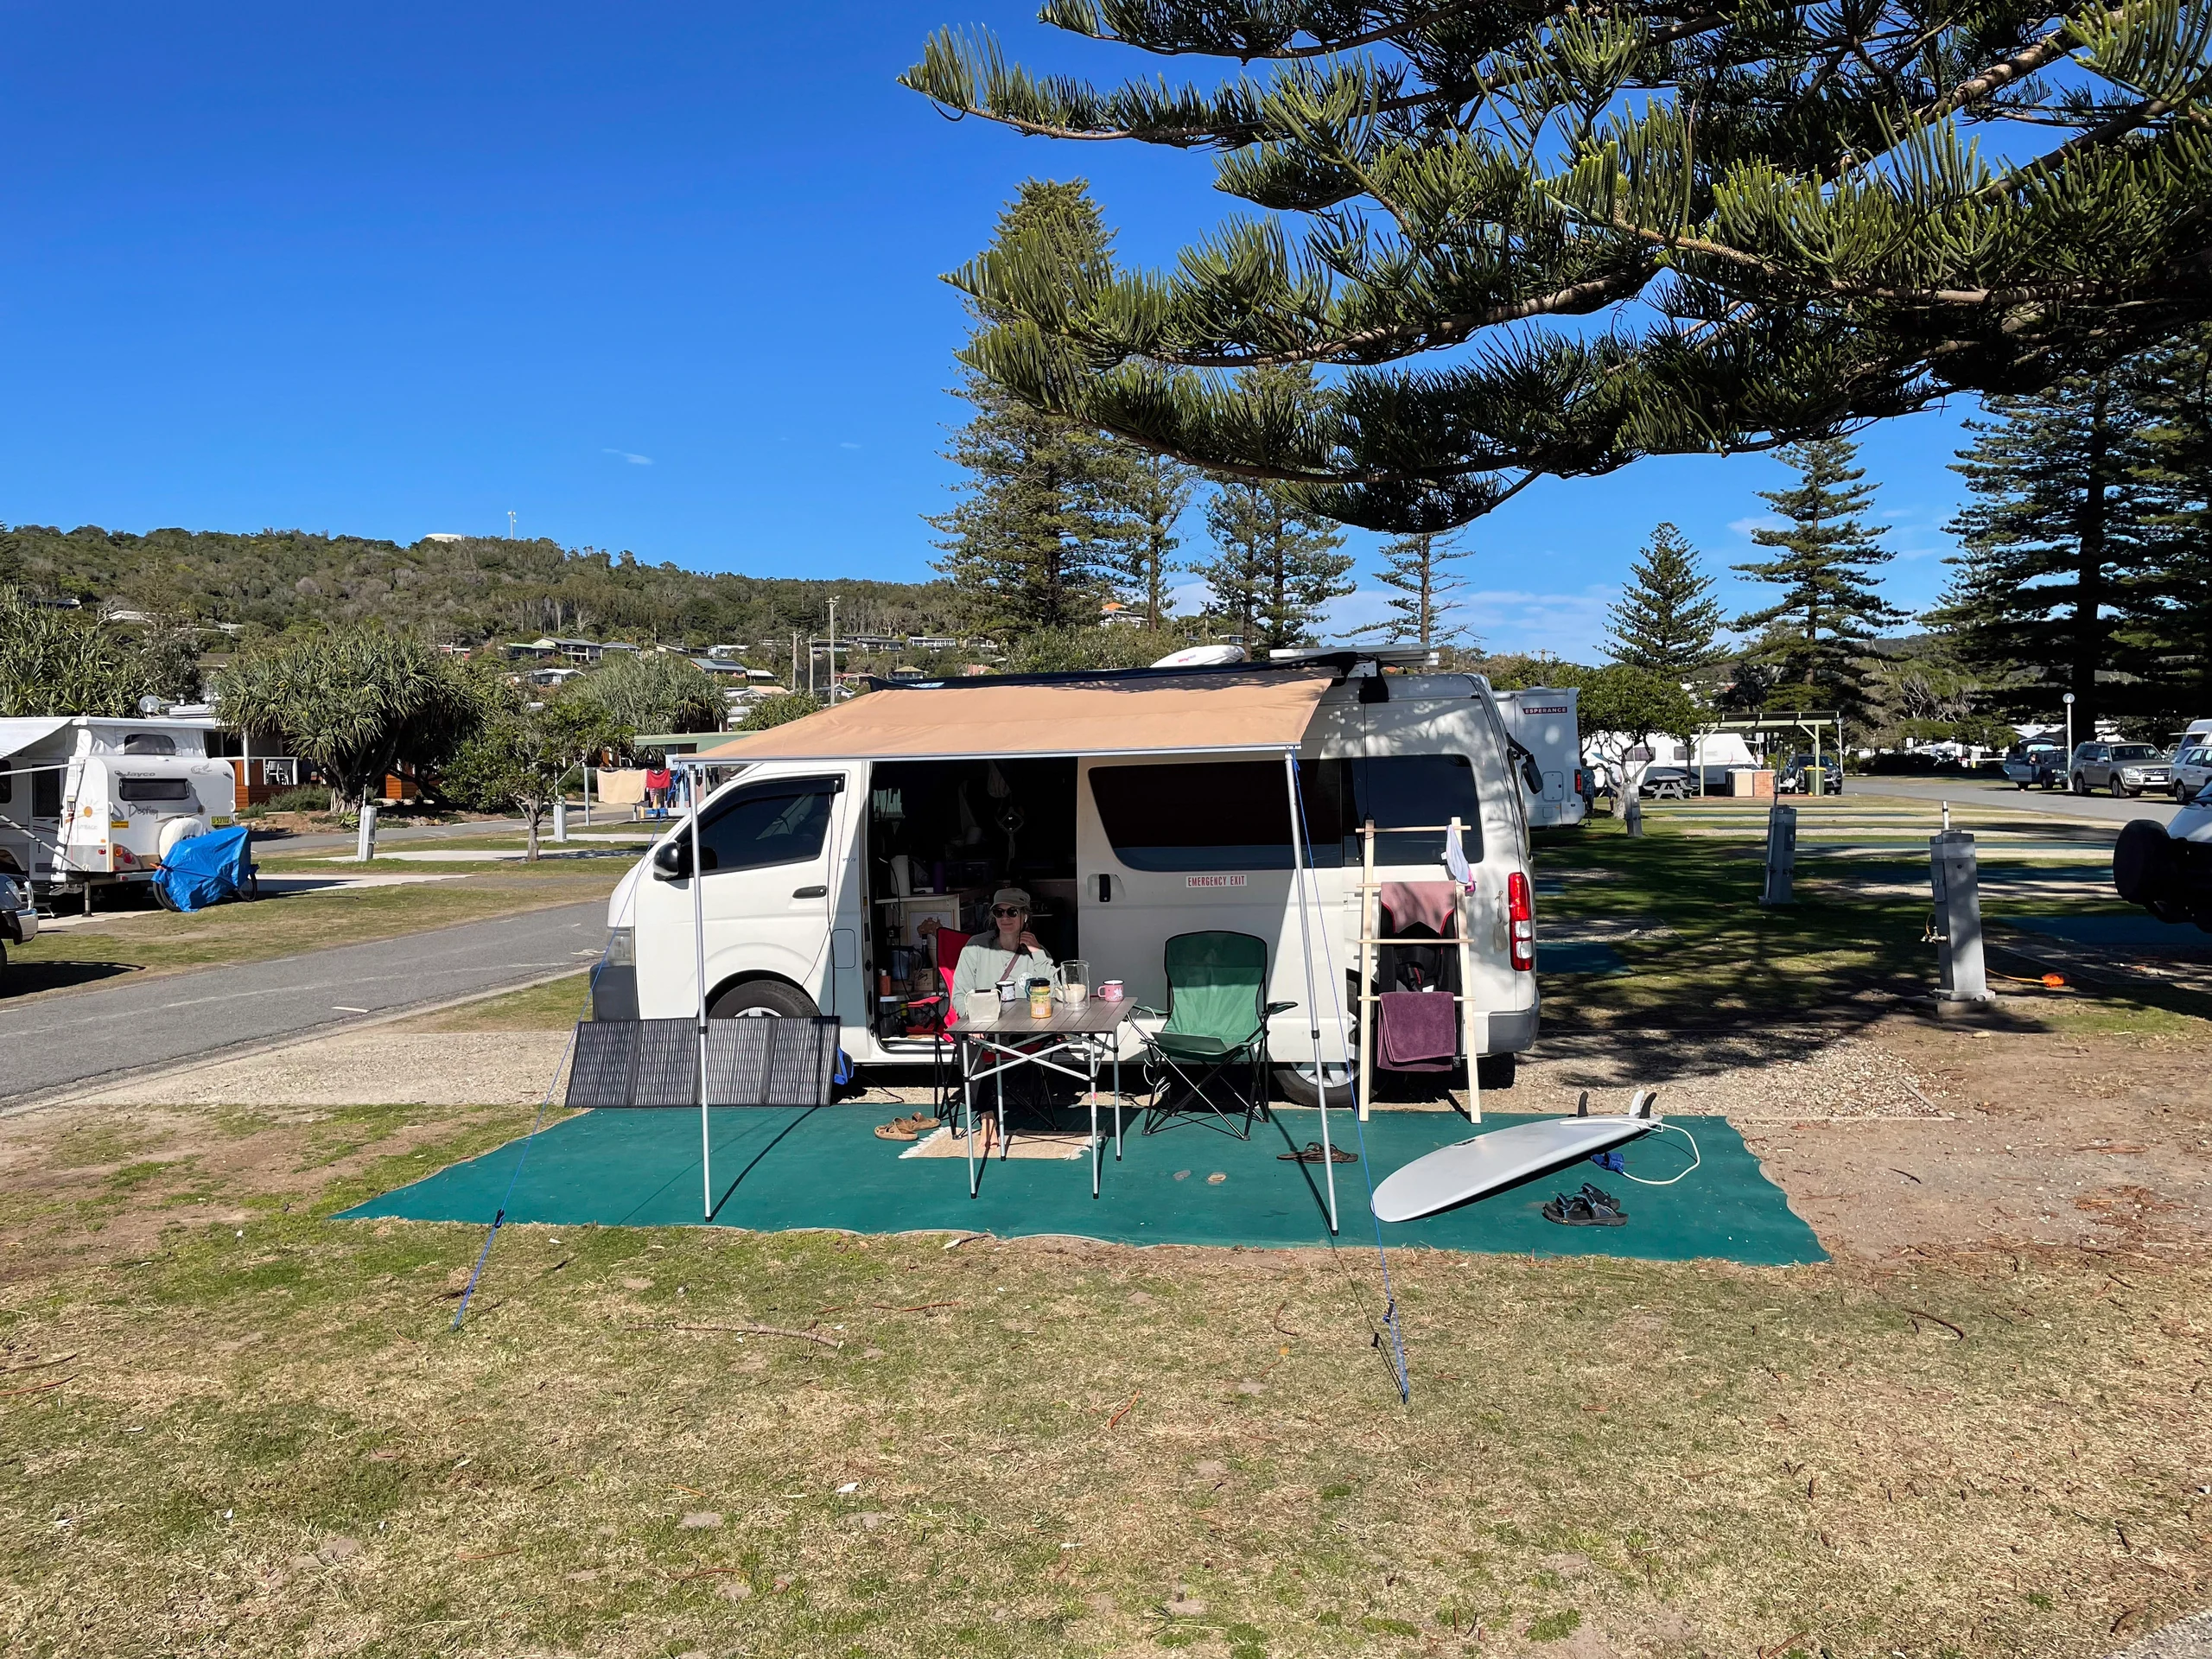
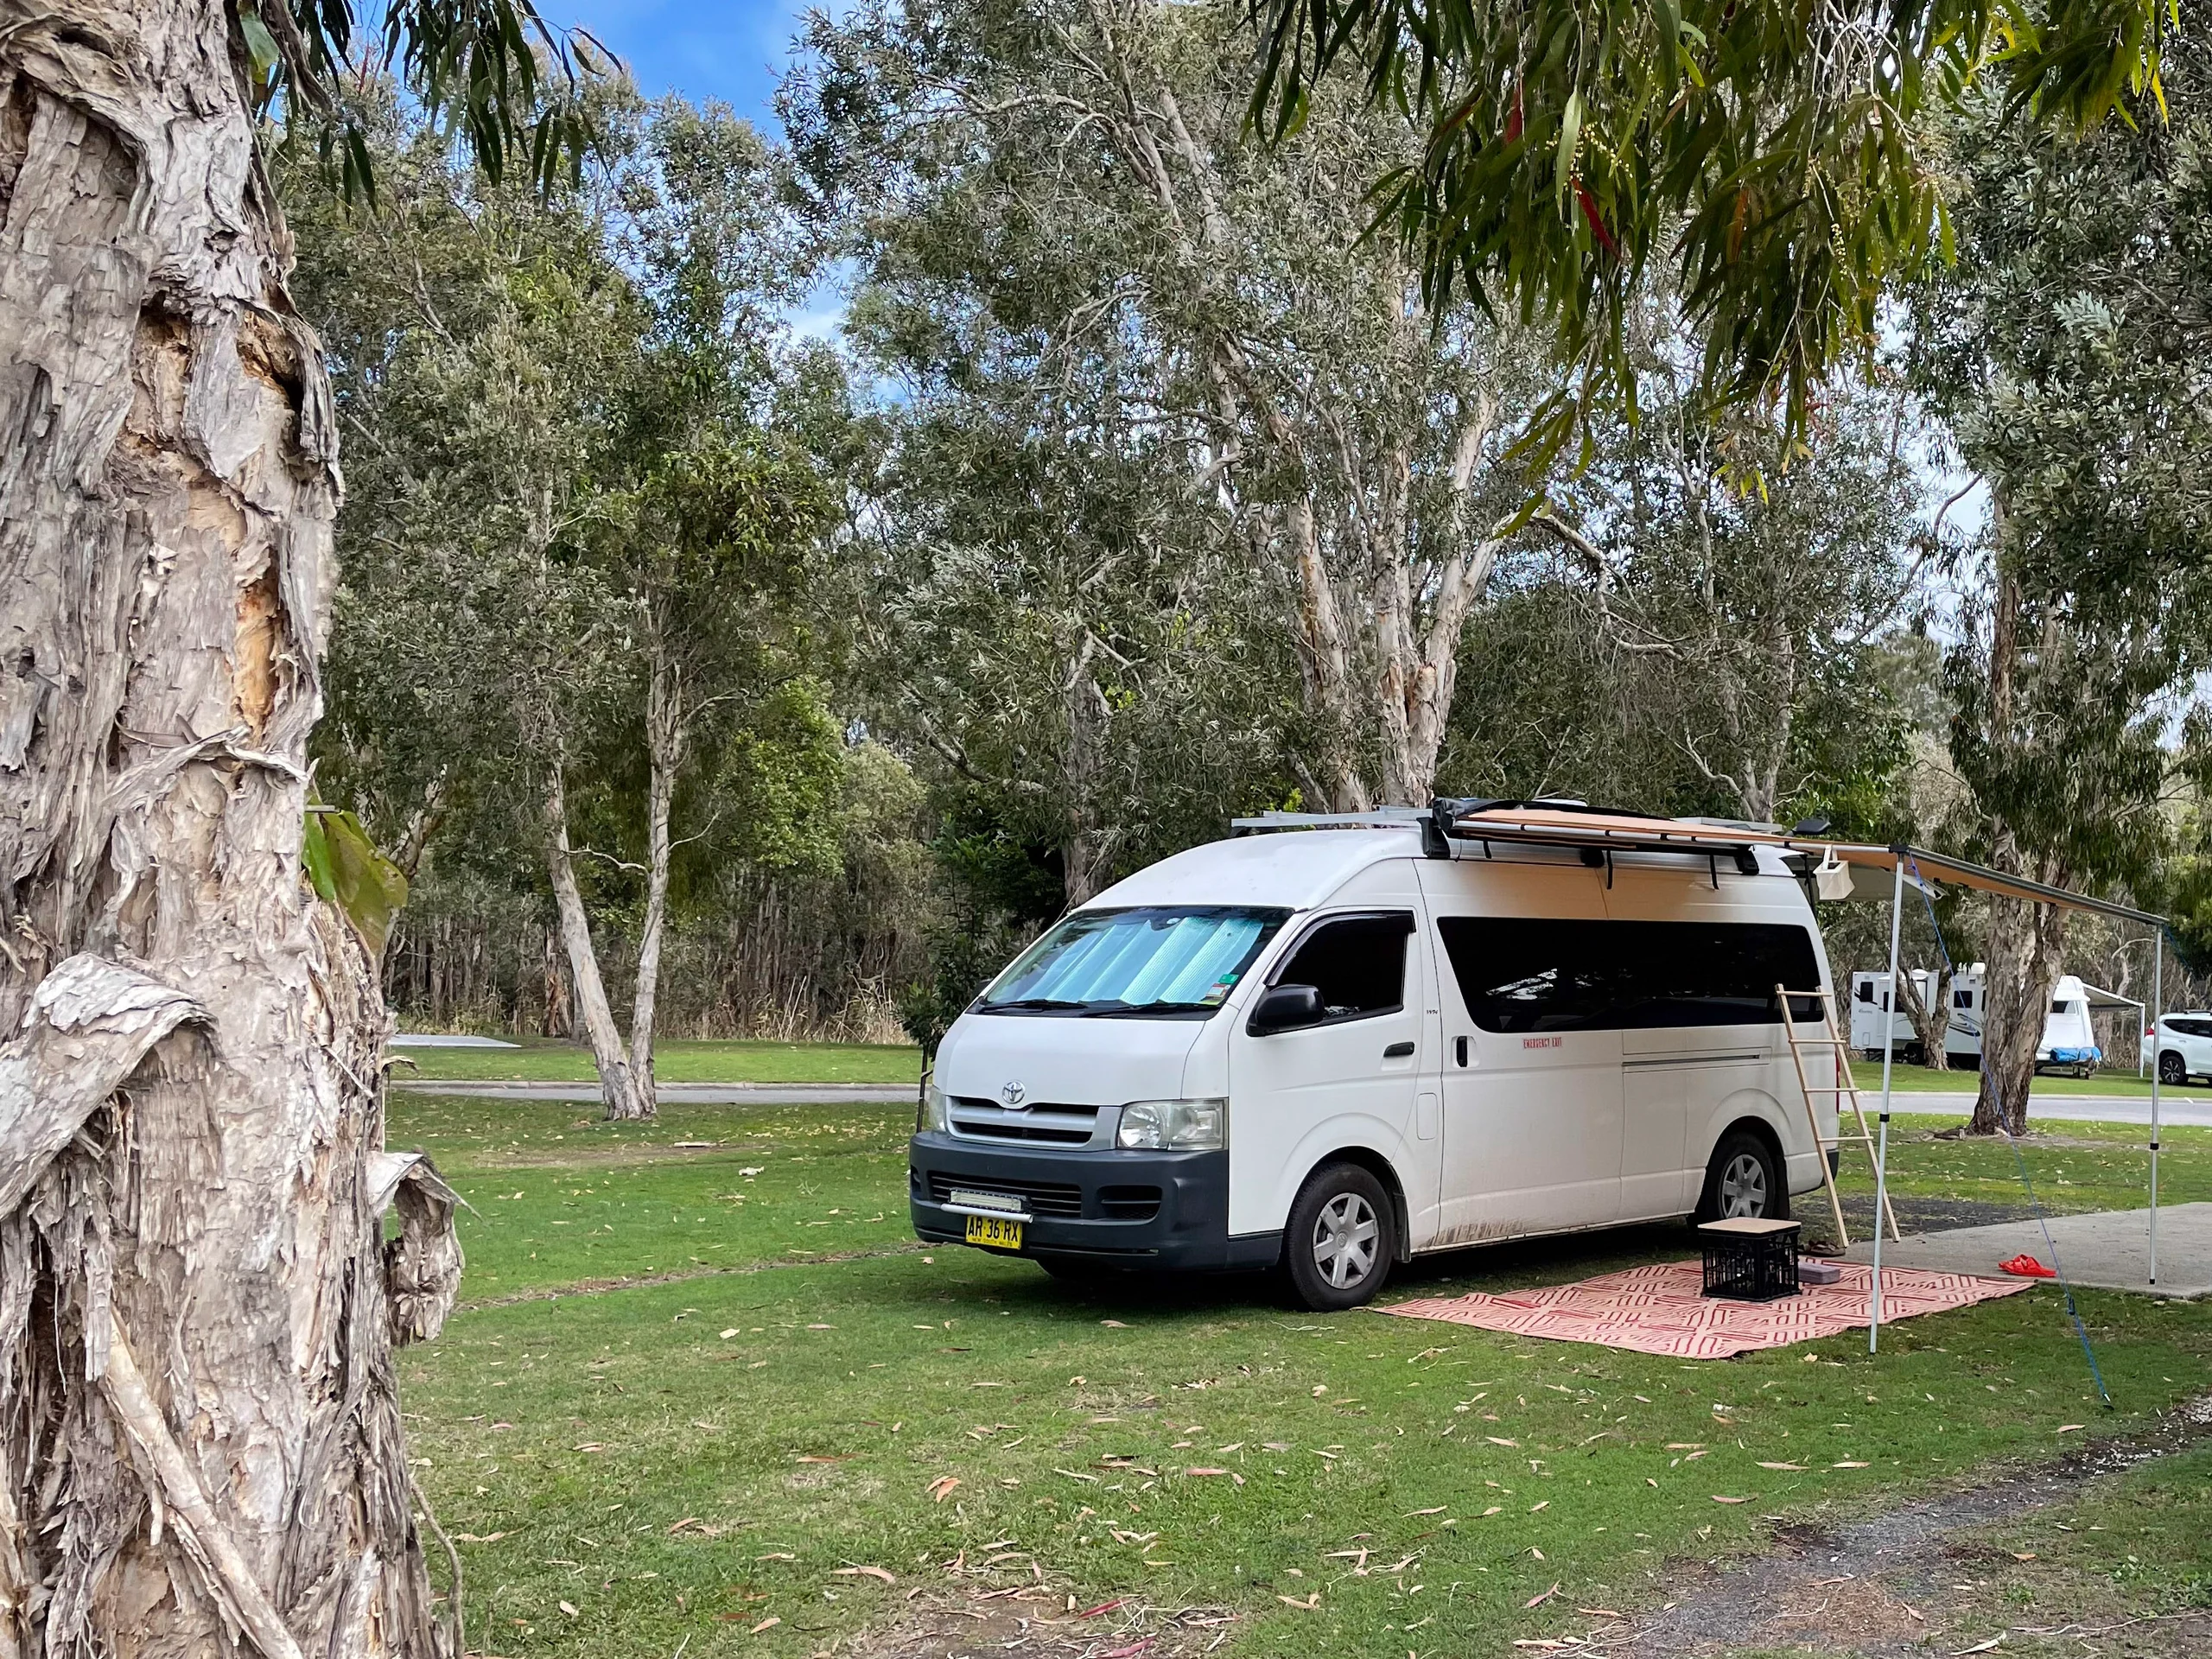
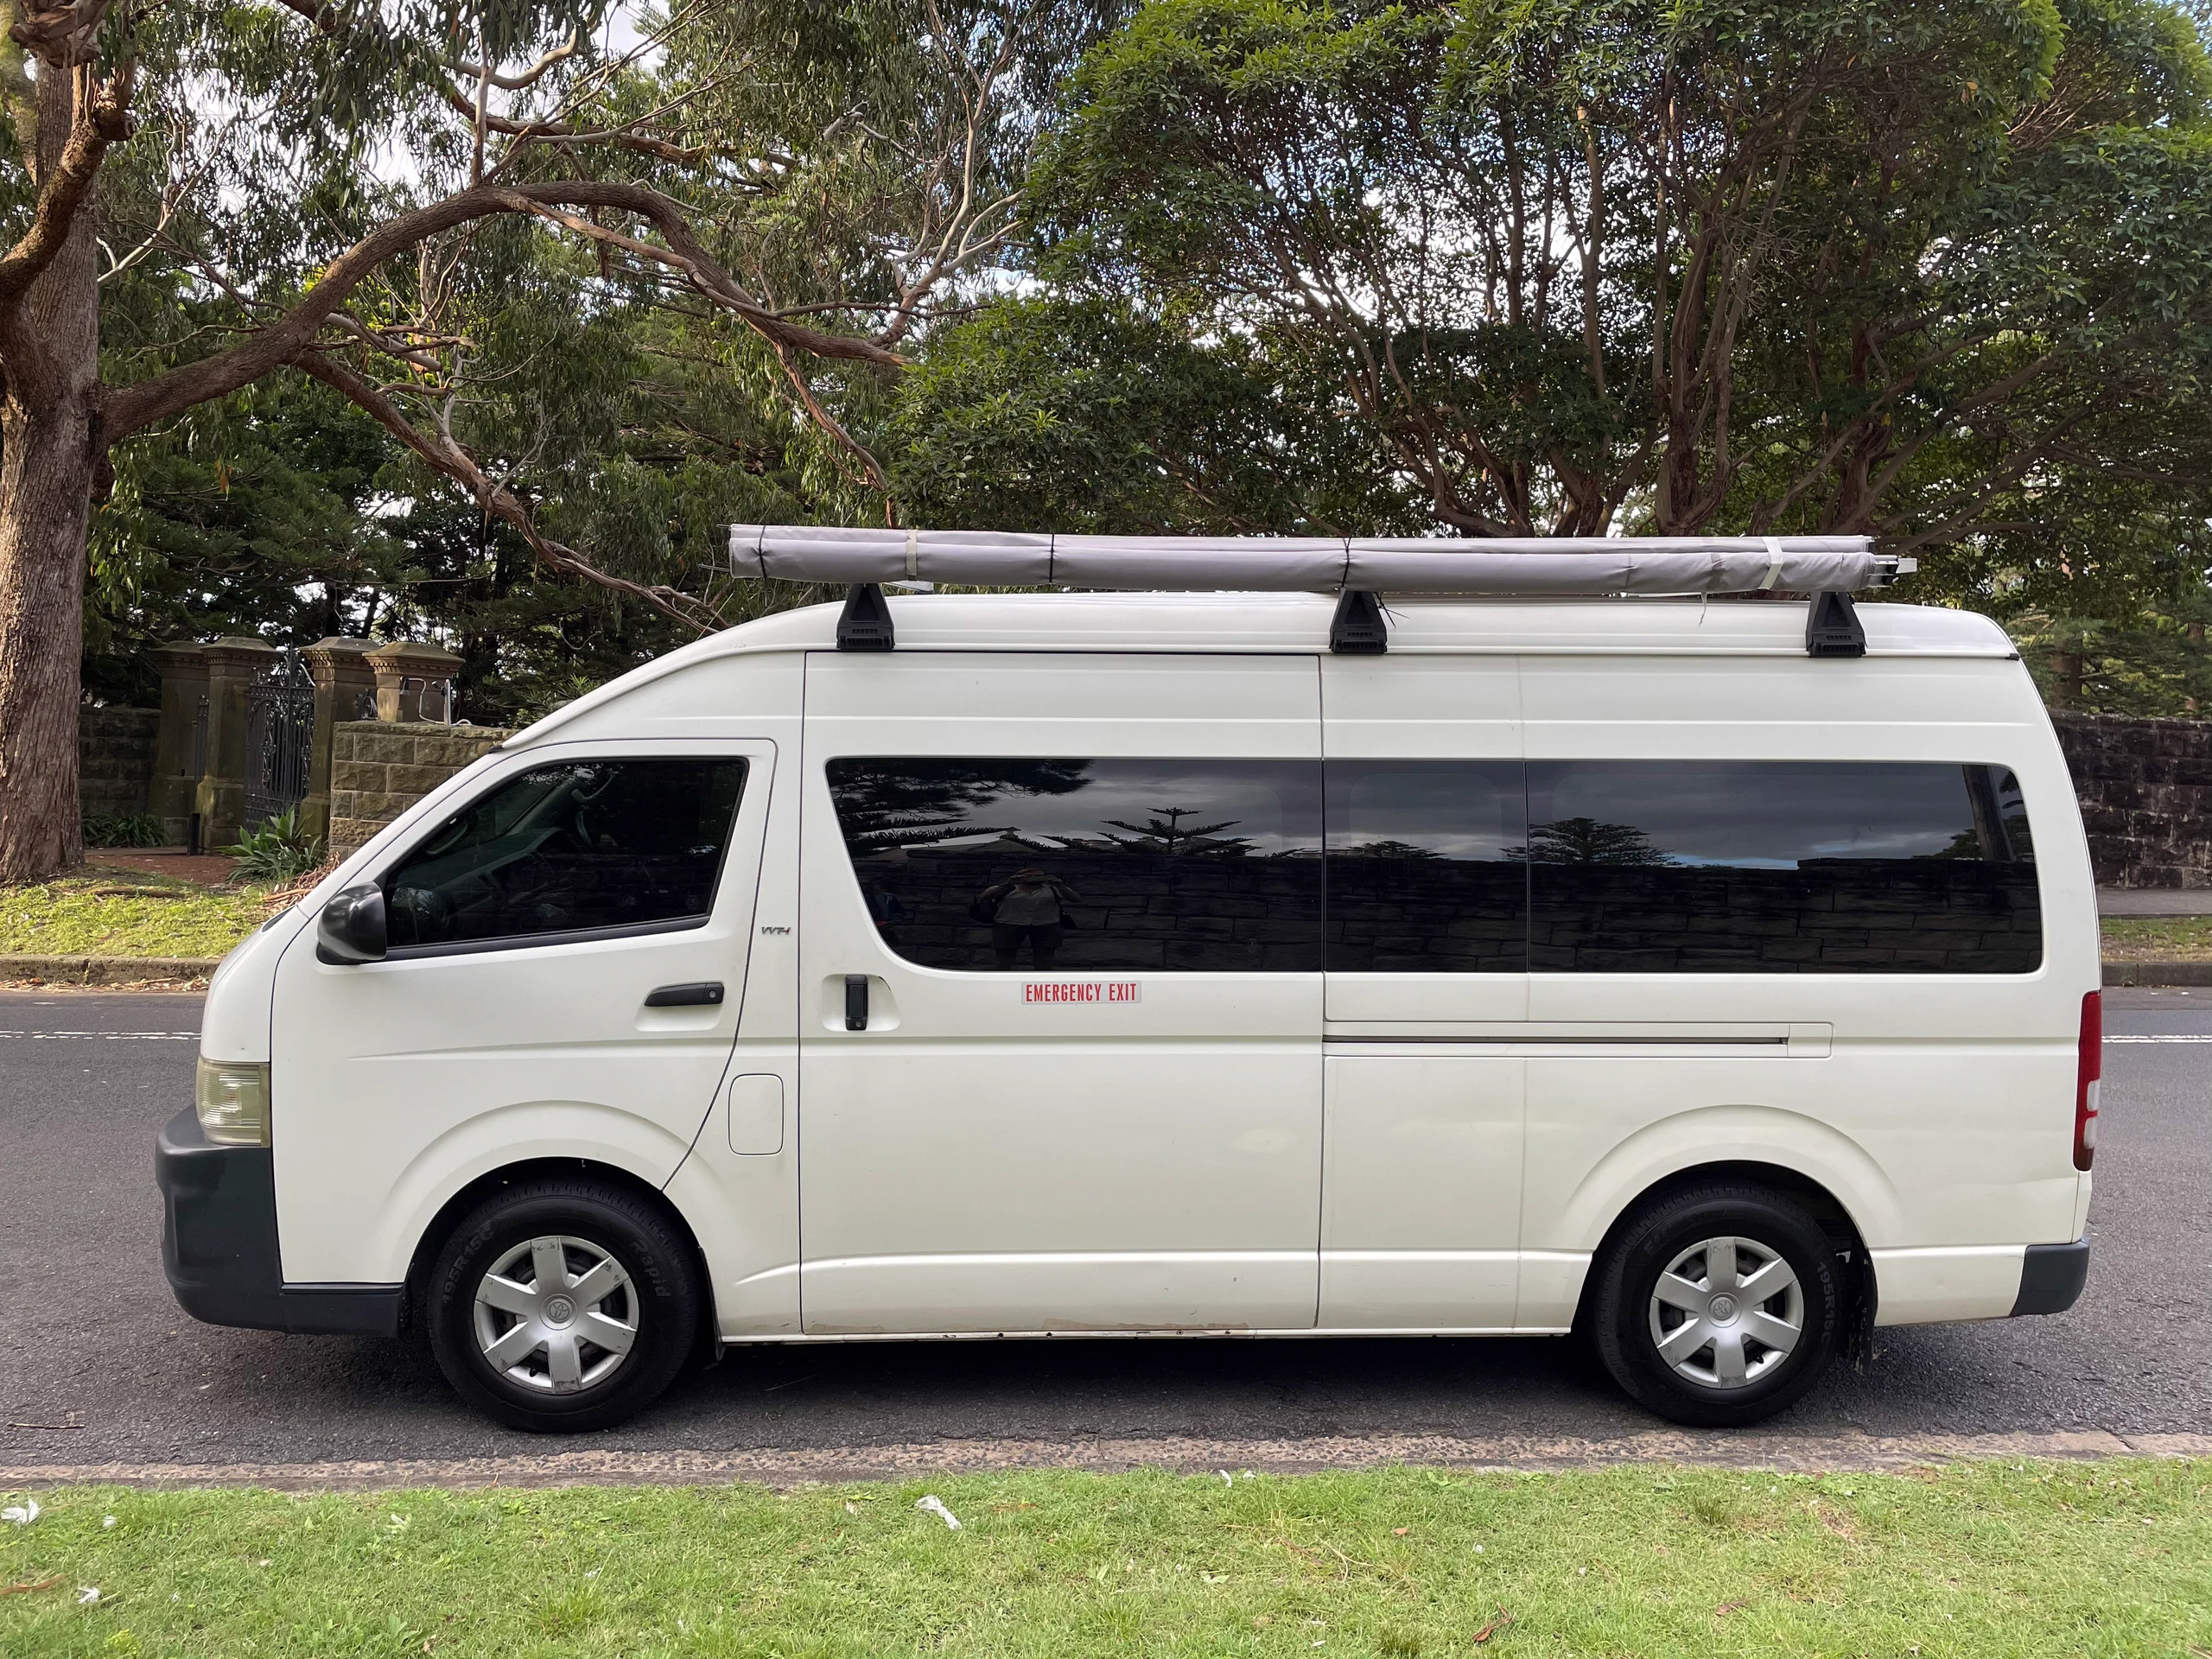
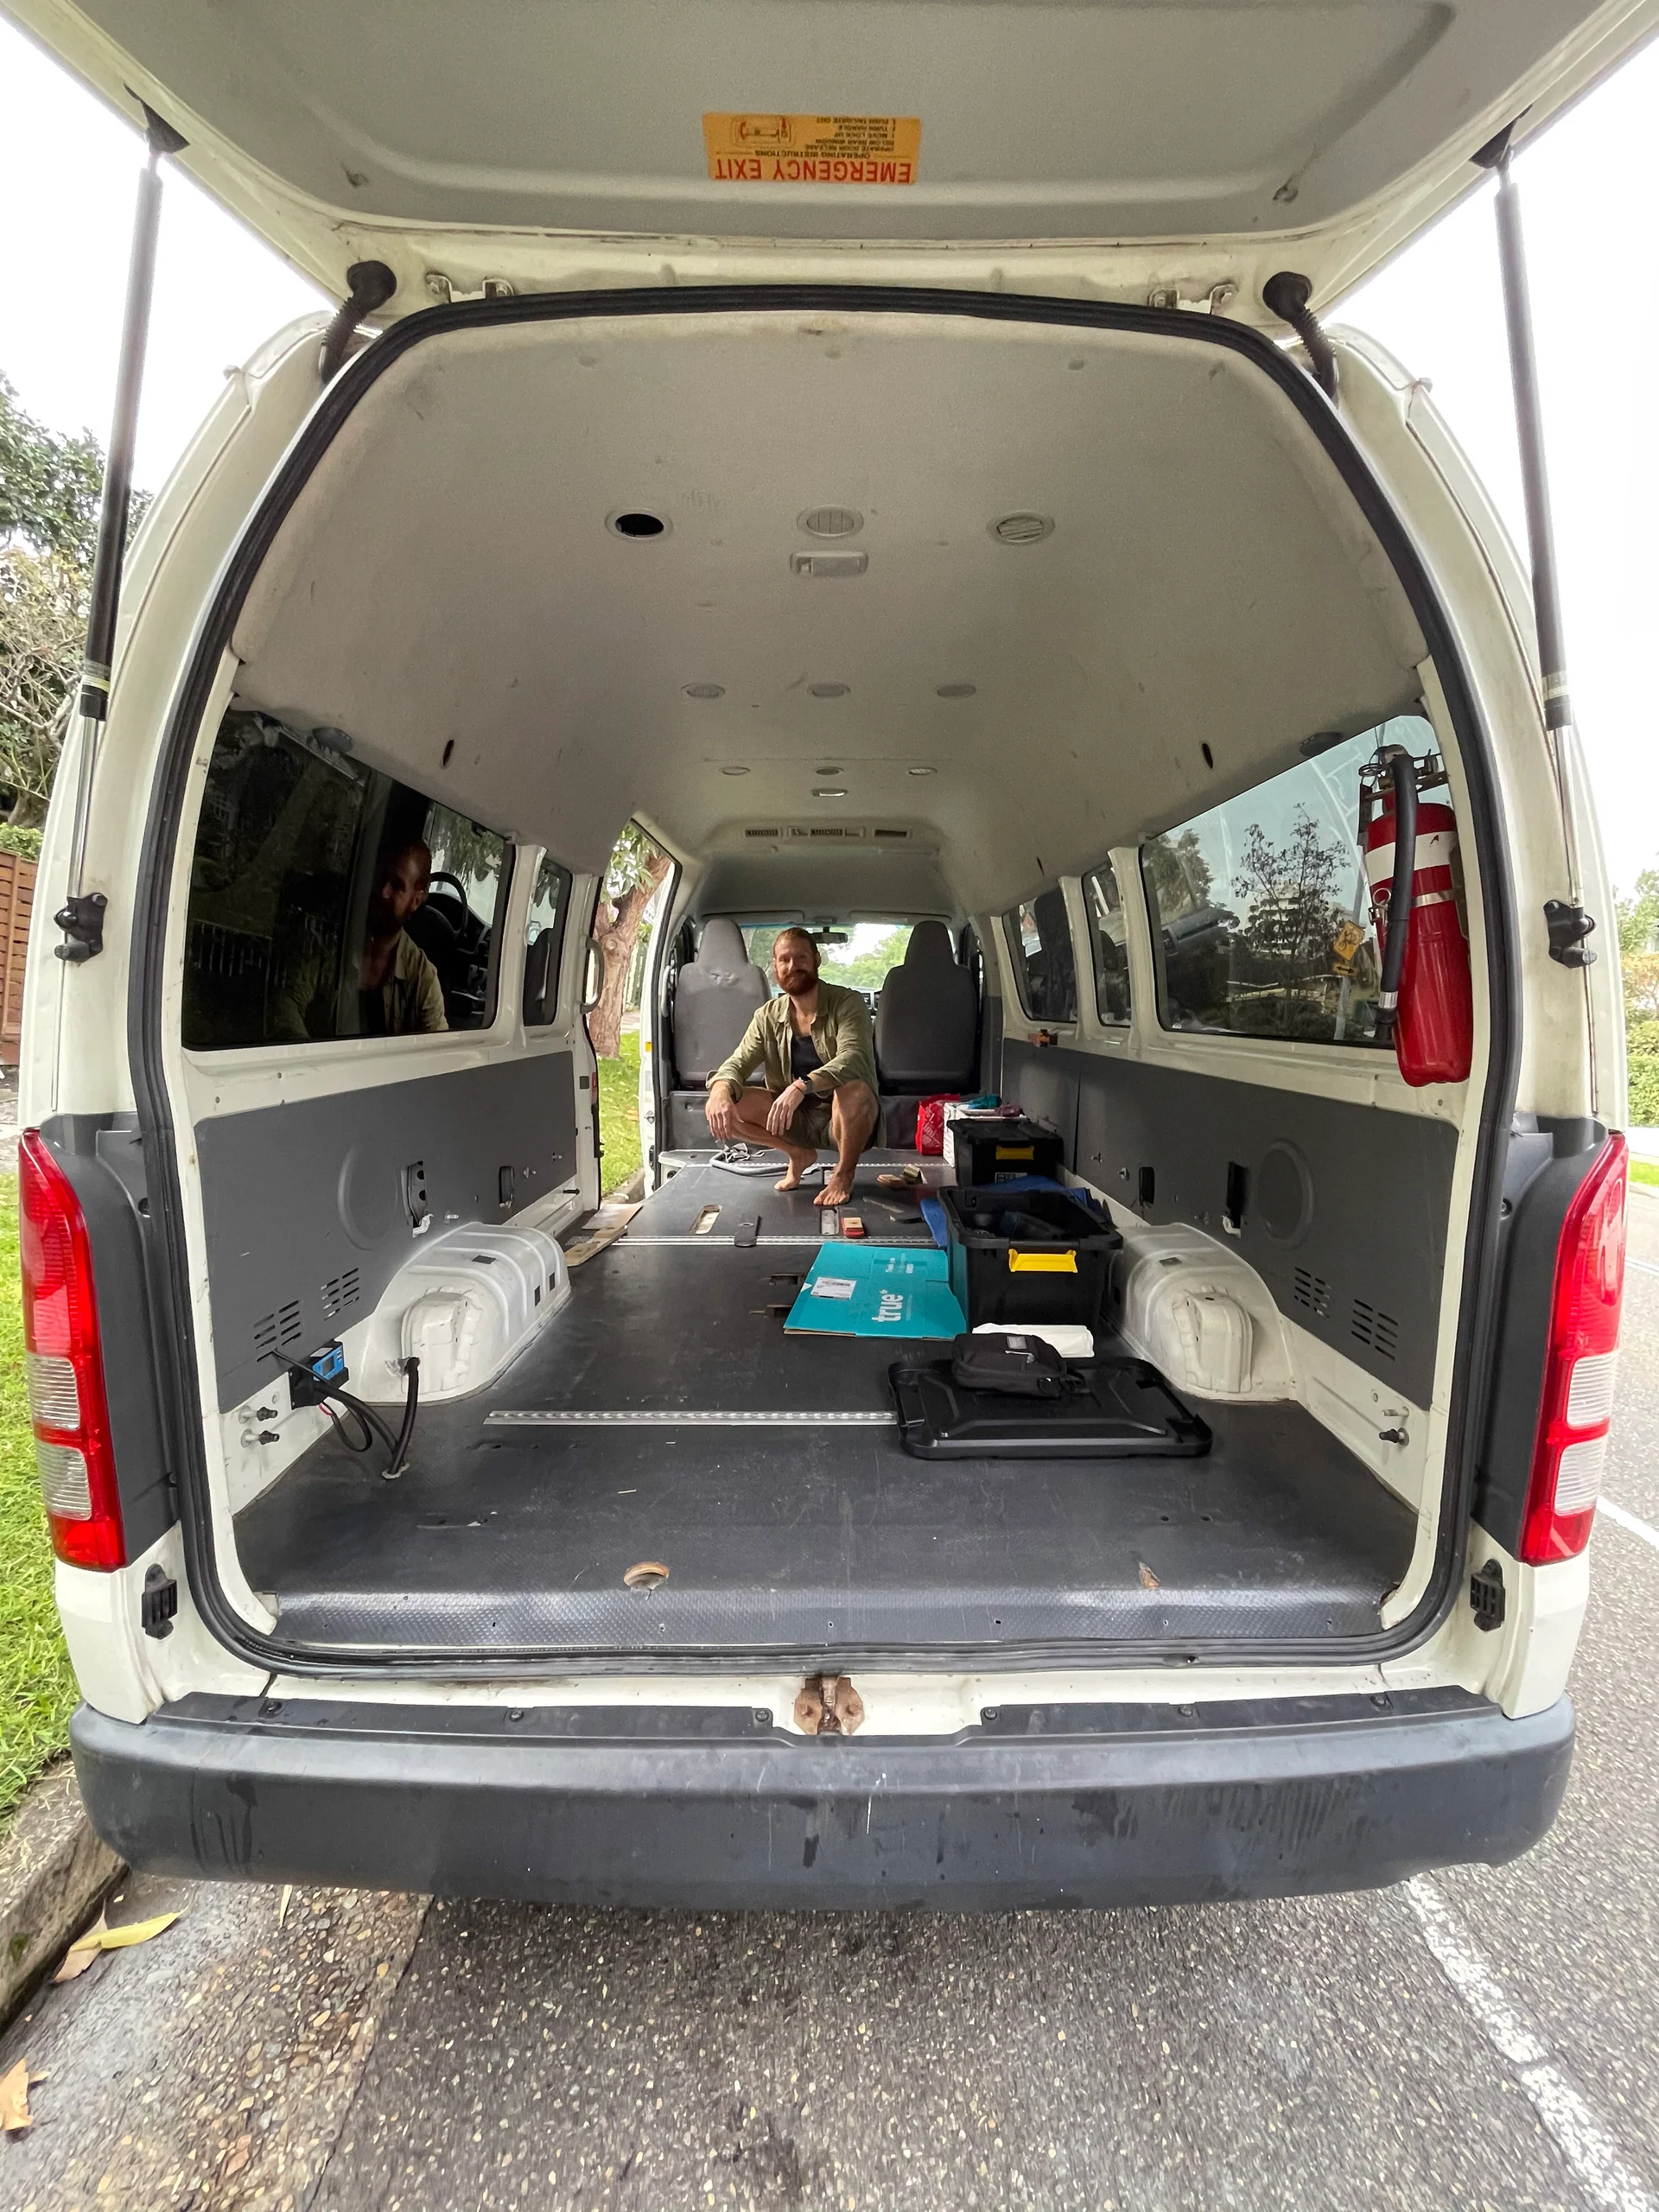
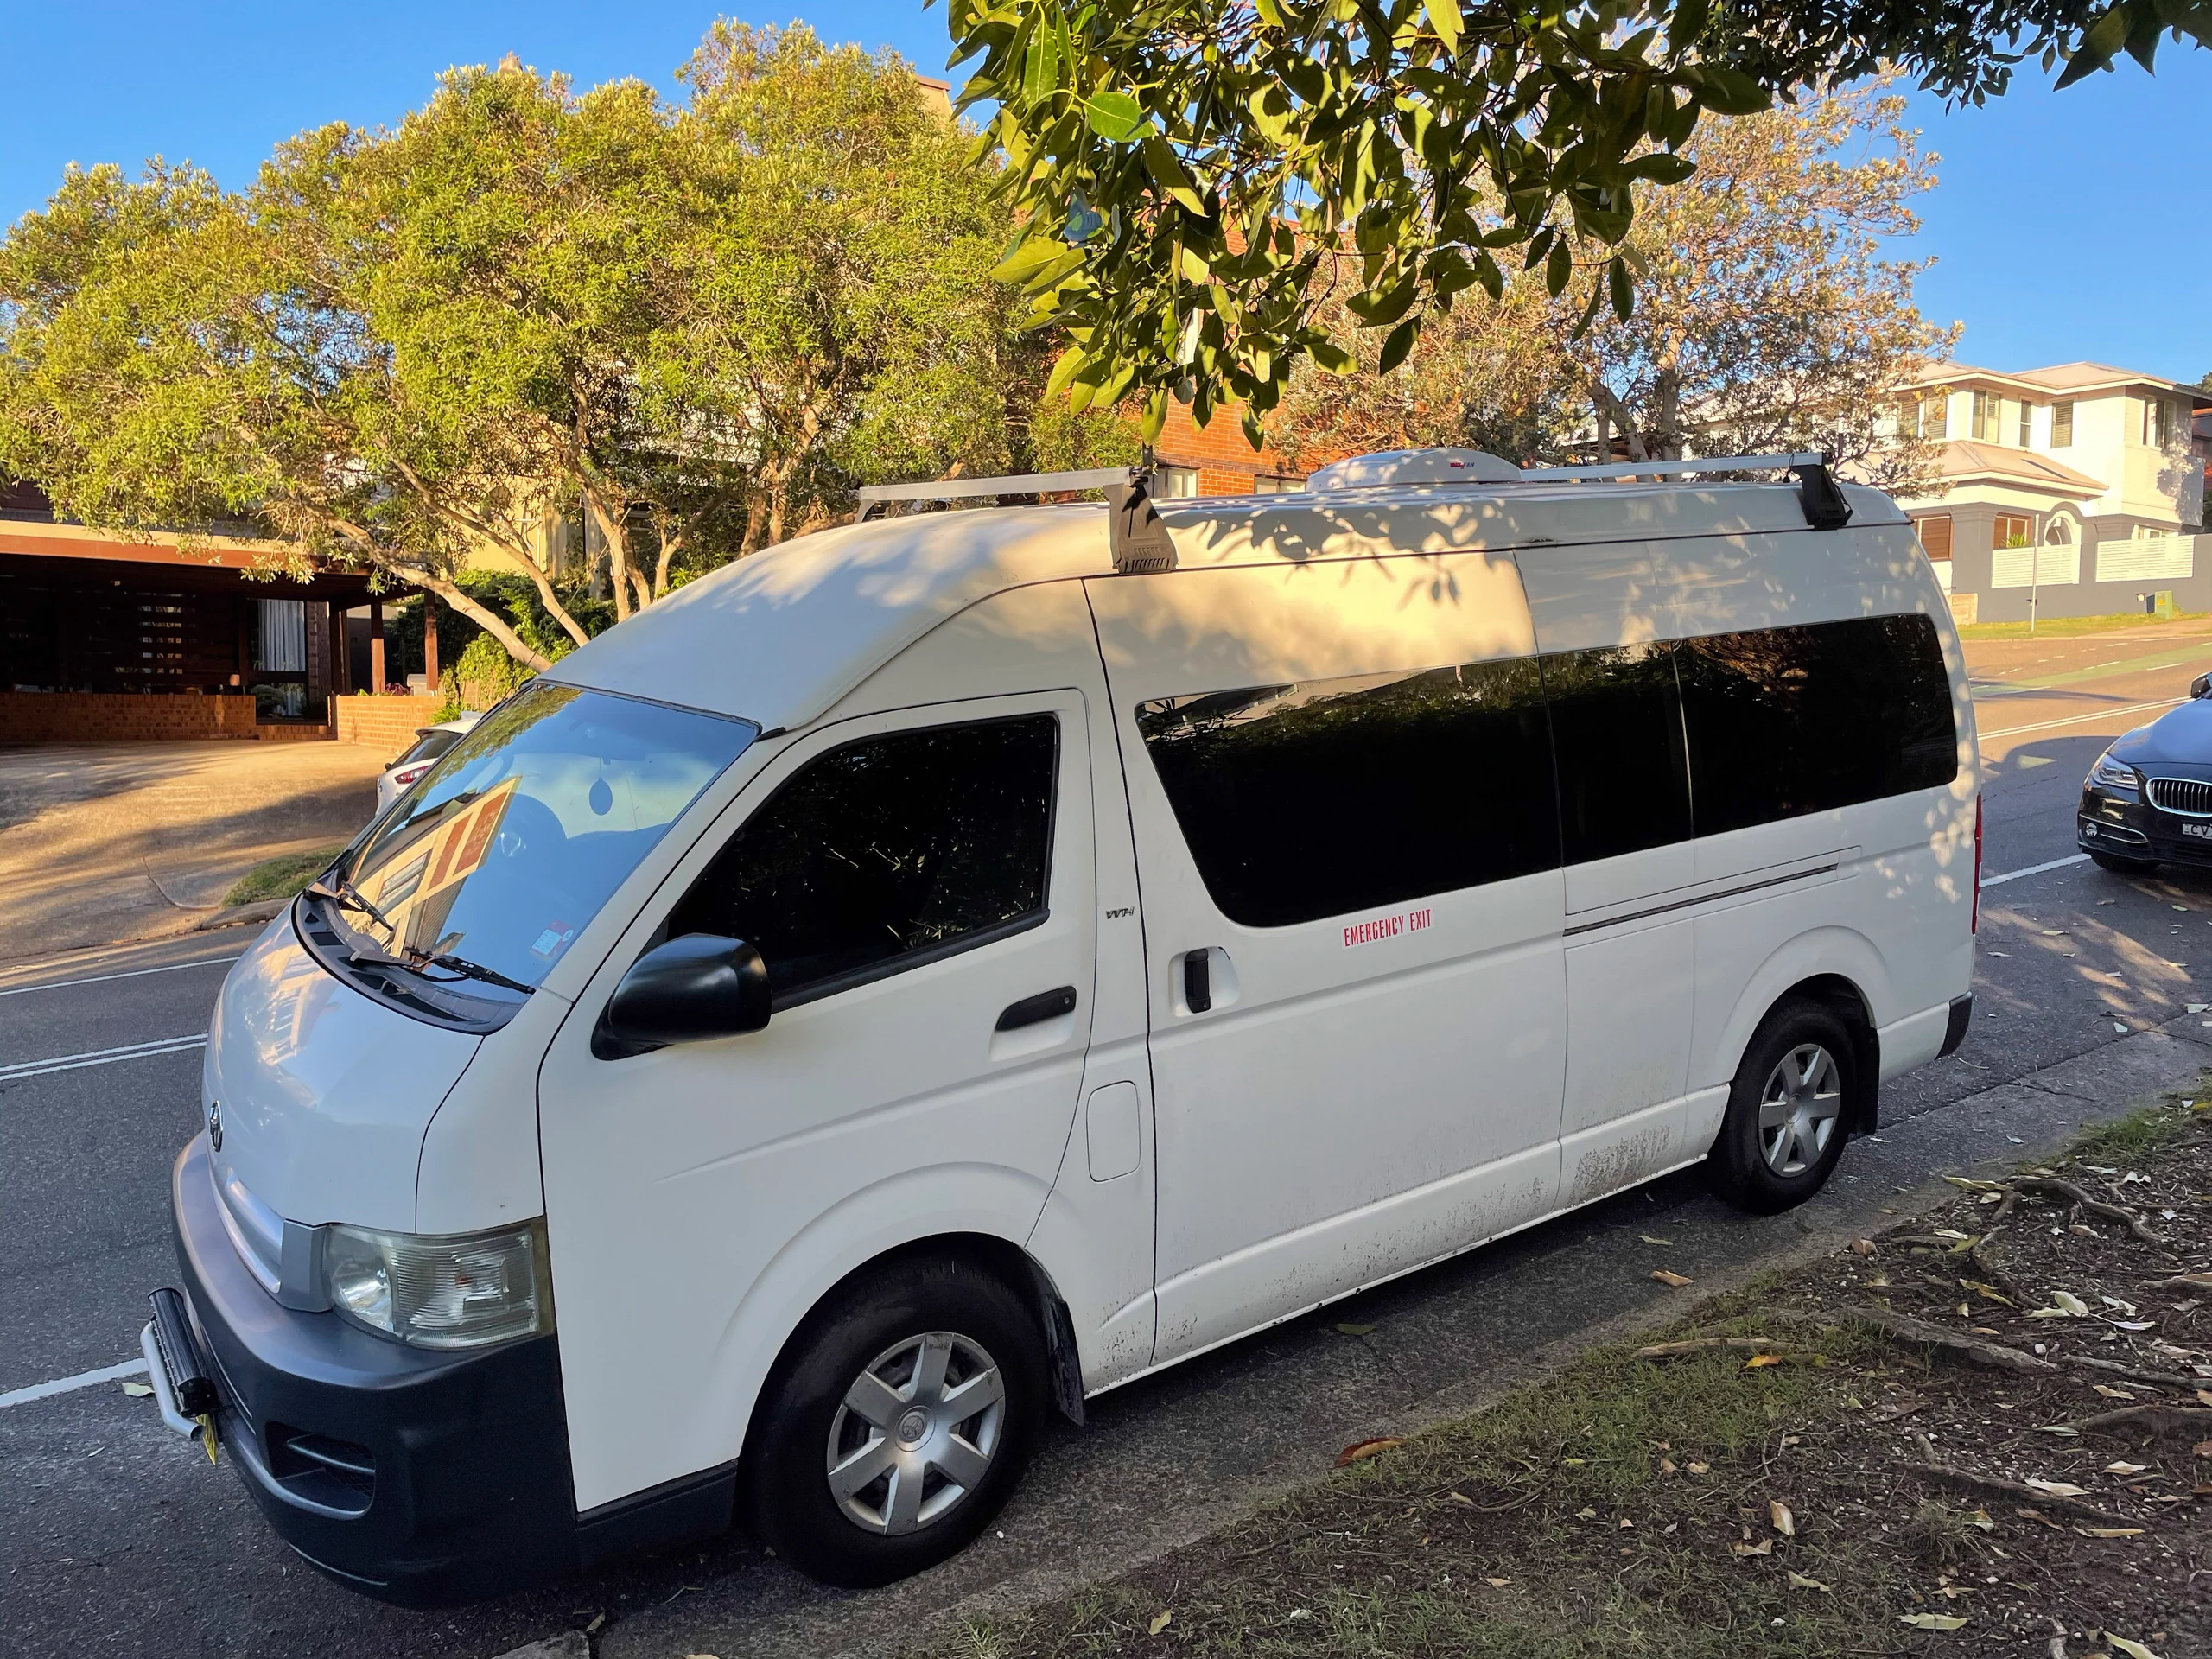
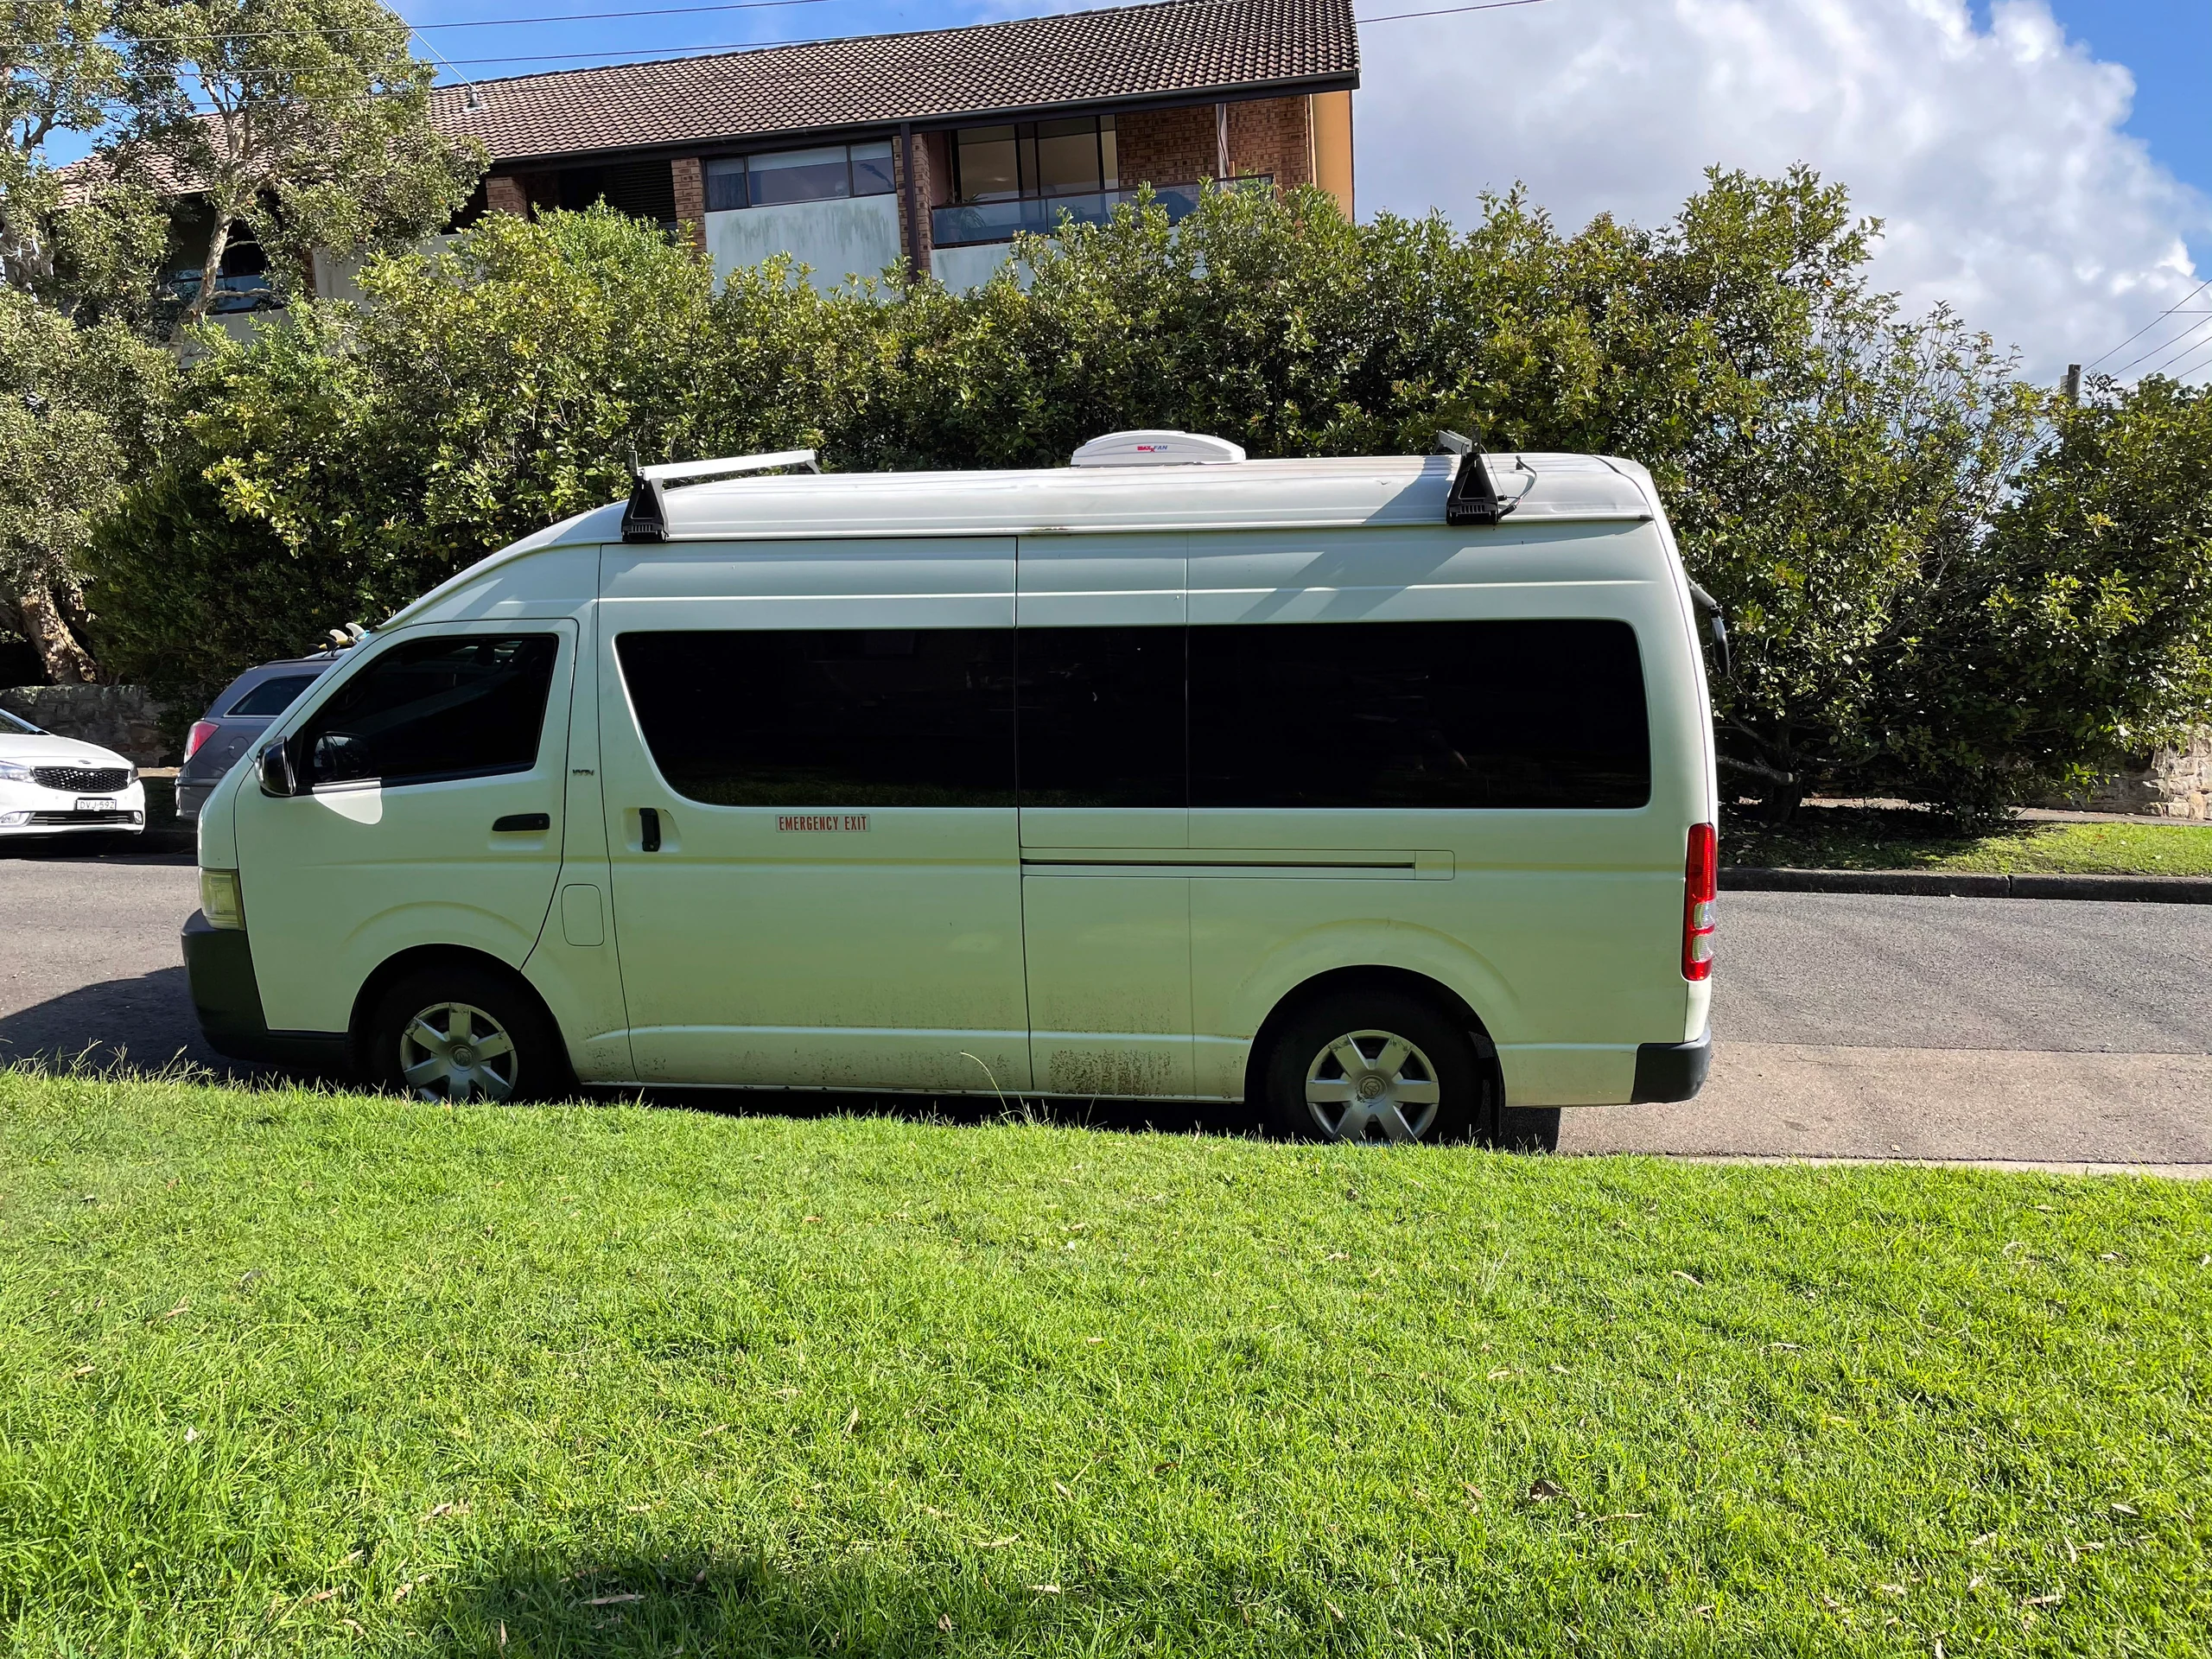
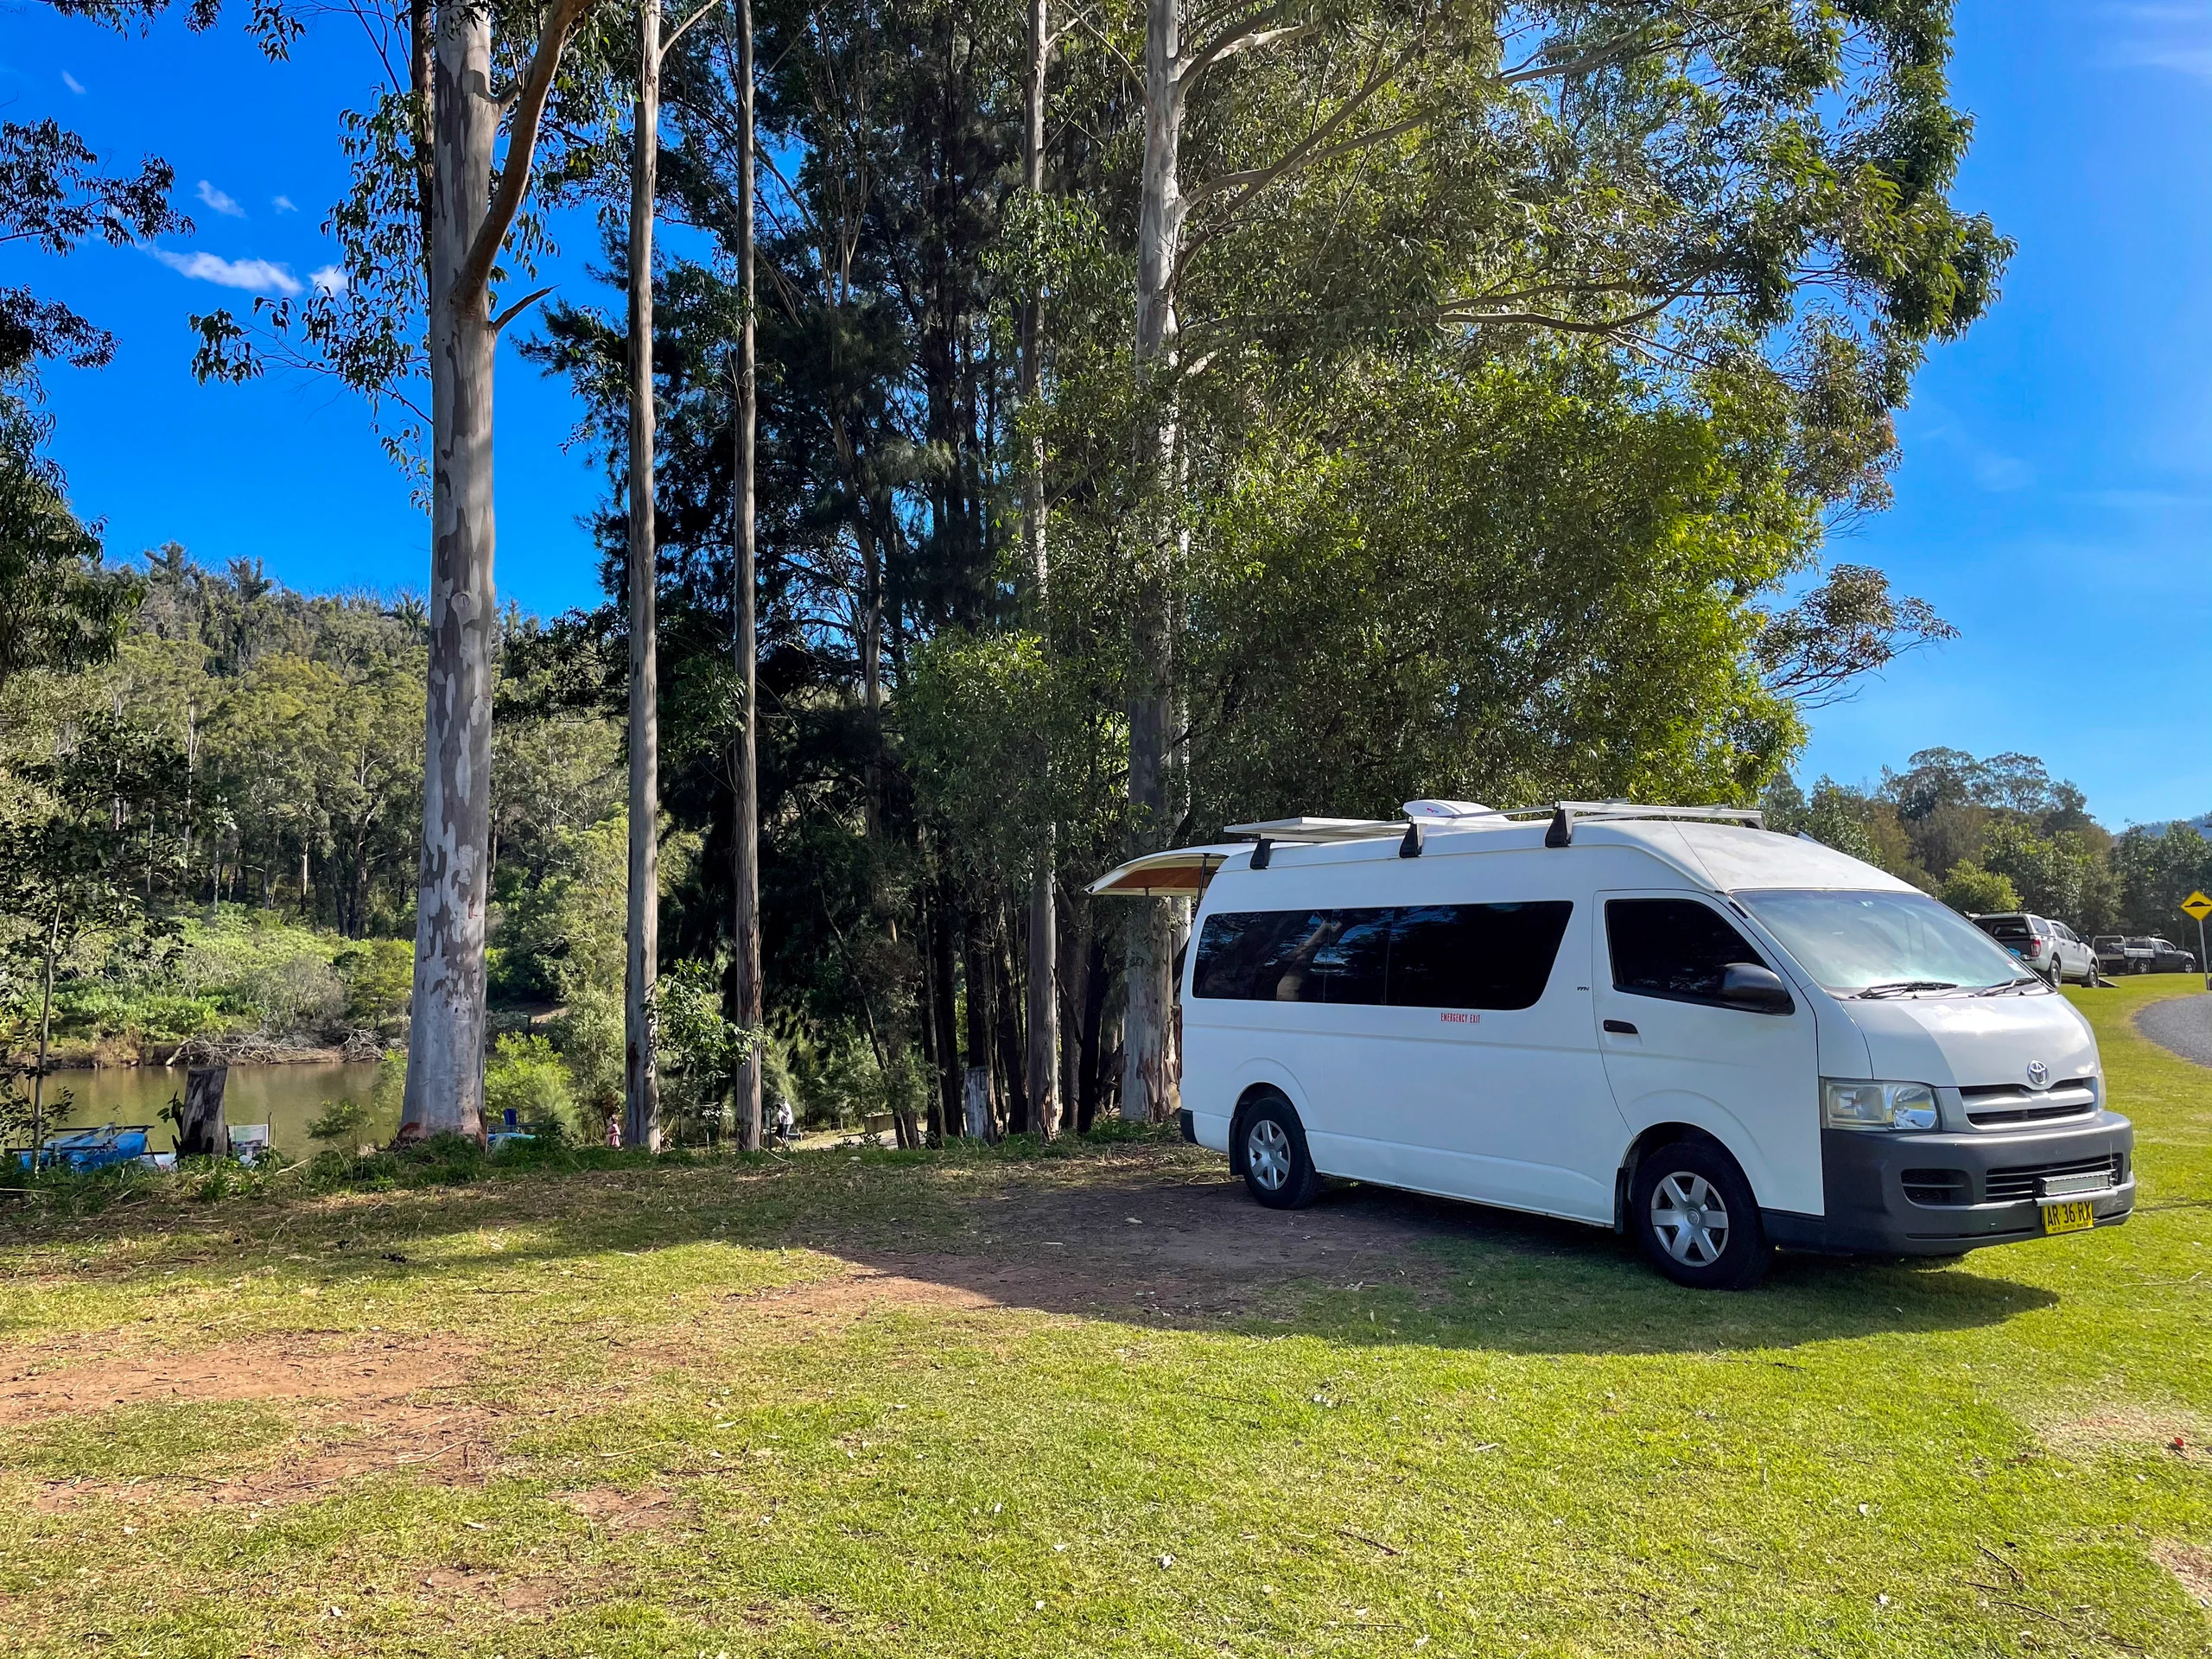
We got ourselves an old Toyota Commuter to convert into a camper van. It was used as a rolling hotel room by the previous owner. Not very practical for what we have in mind but a great starting point.
We got ourselves an old Toyota Commuter to convert into a camper van. It was used as a rolling hotel room by the previous owner. Not very practical for what we have in mind but a great starting point.
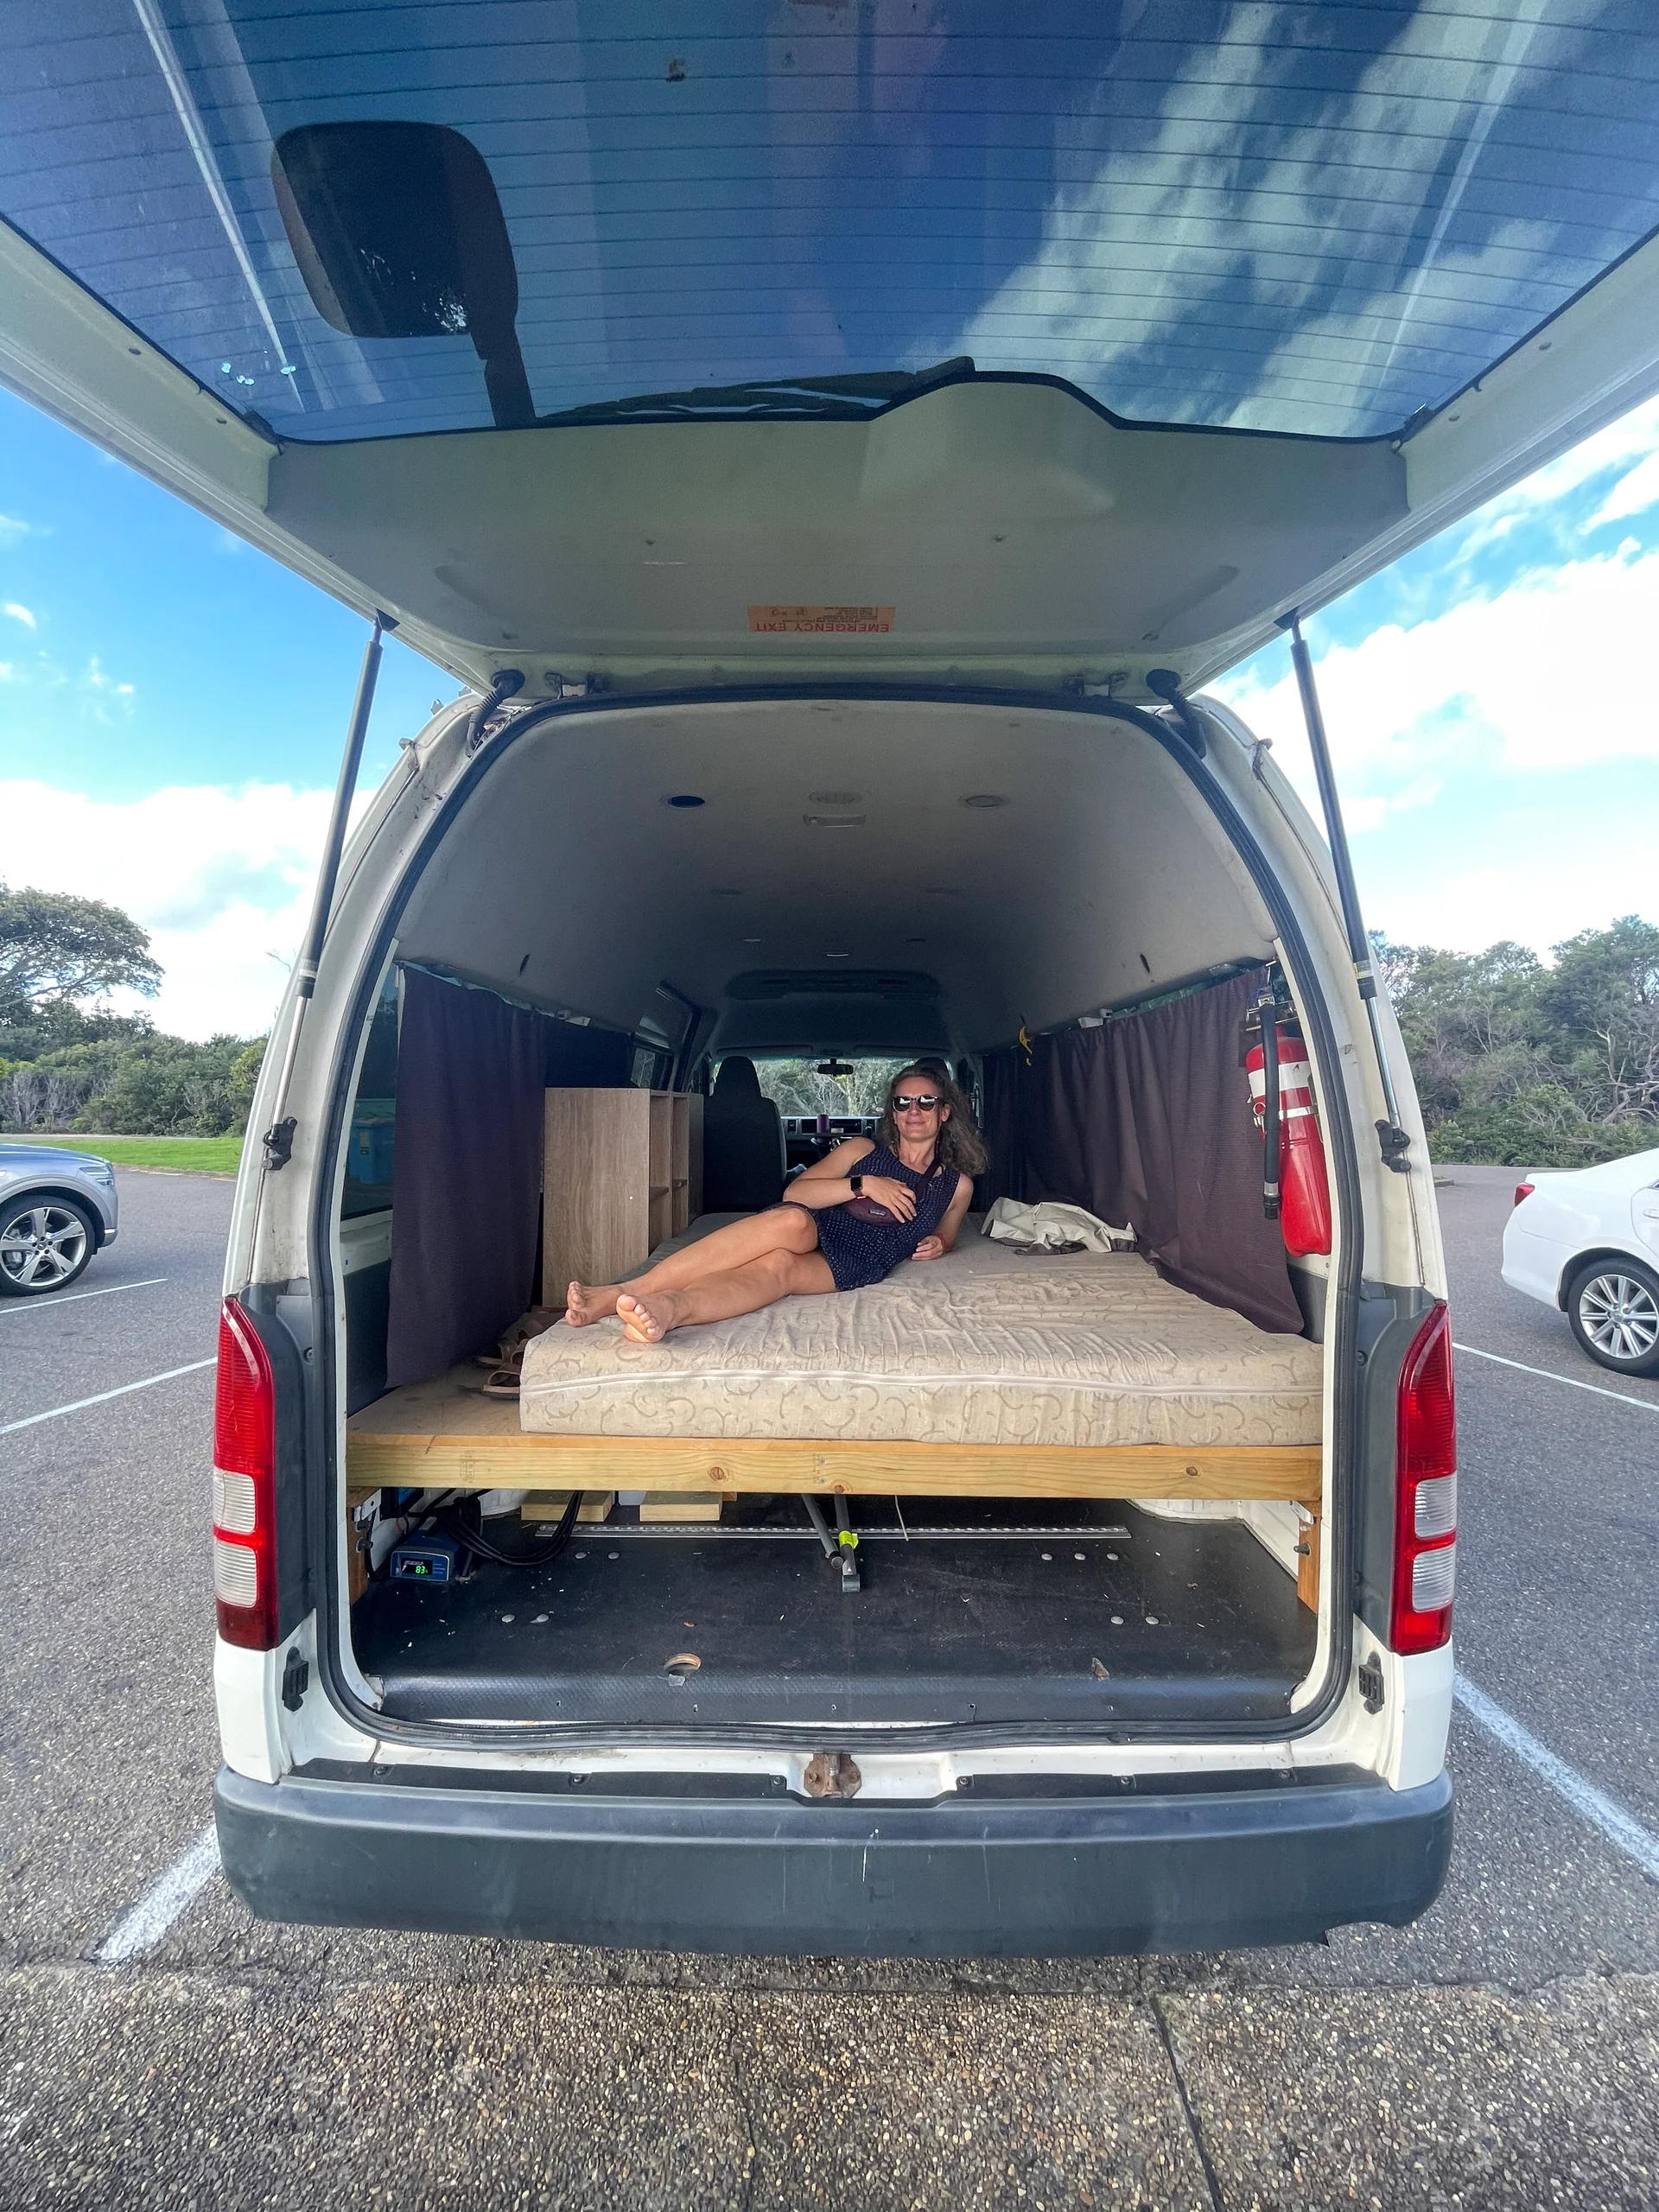
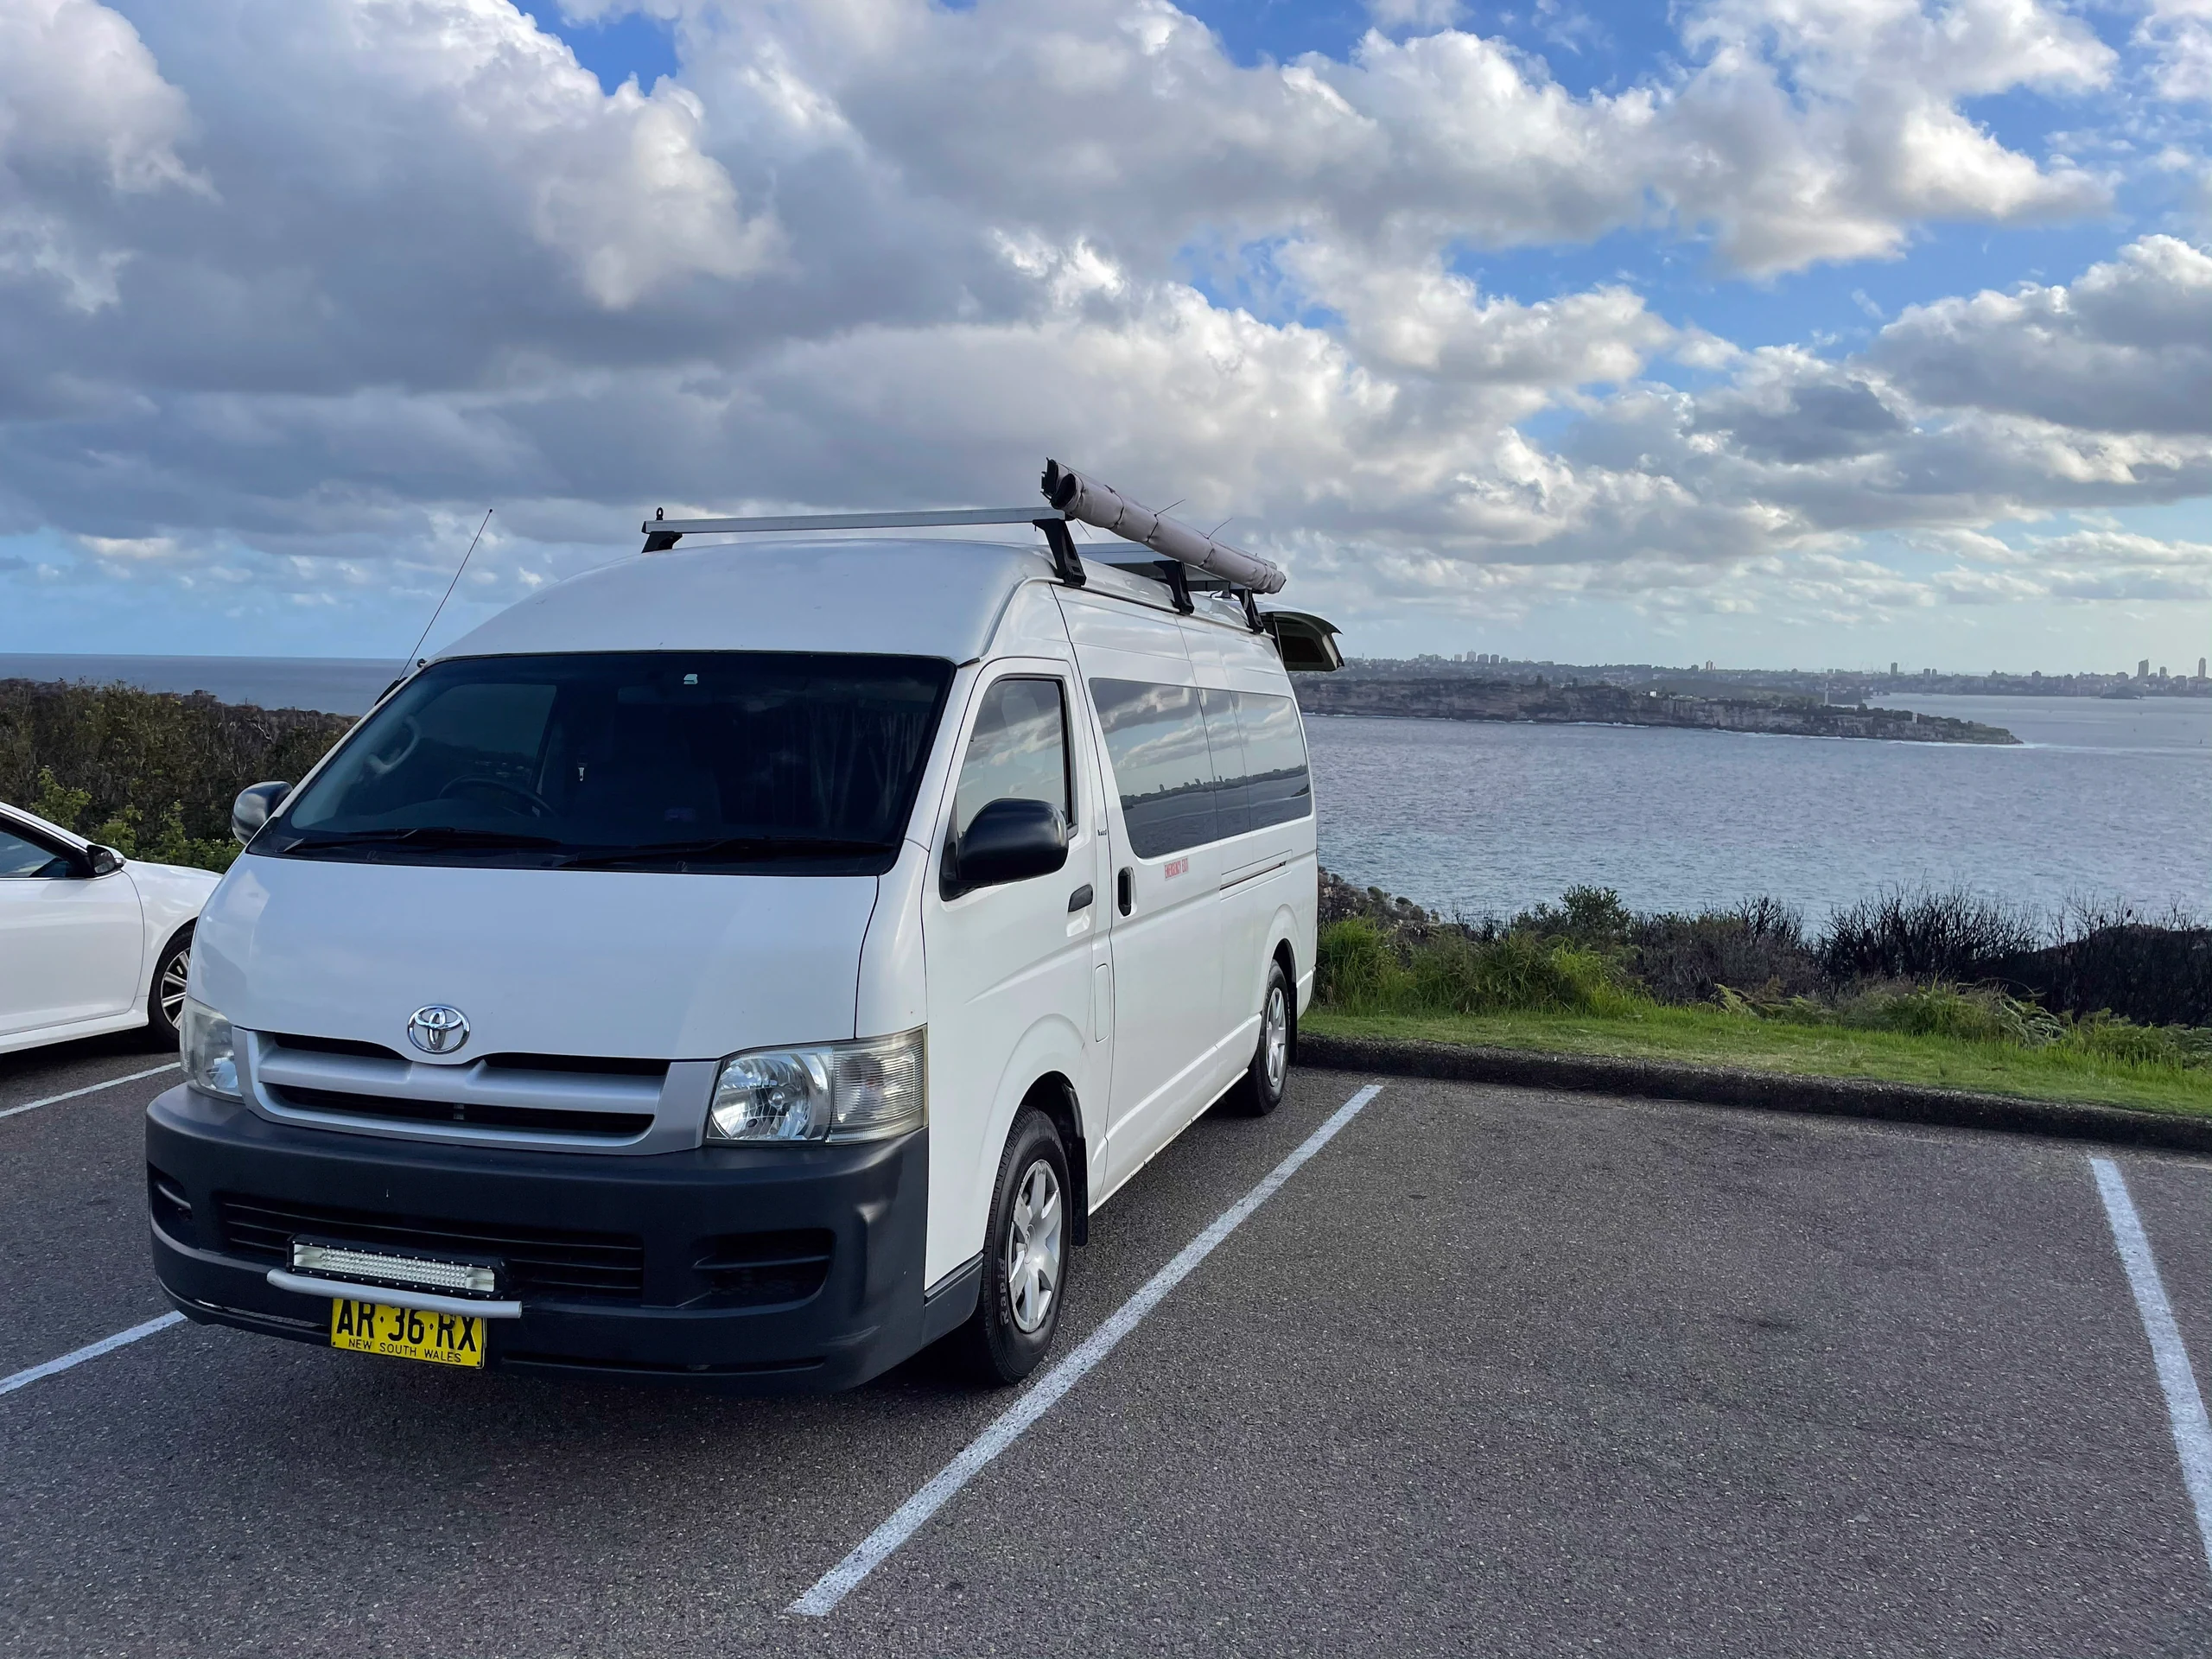
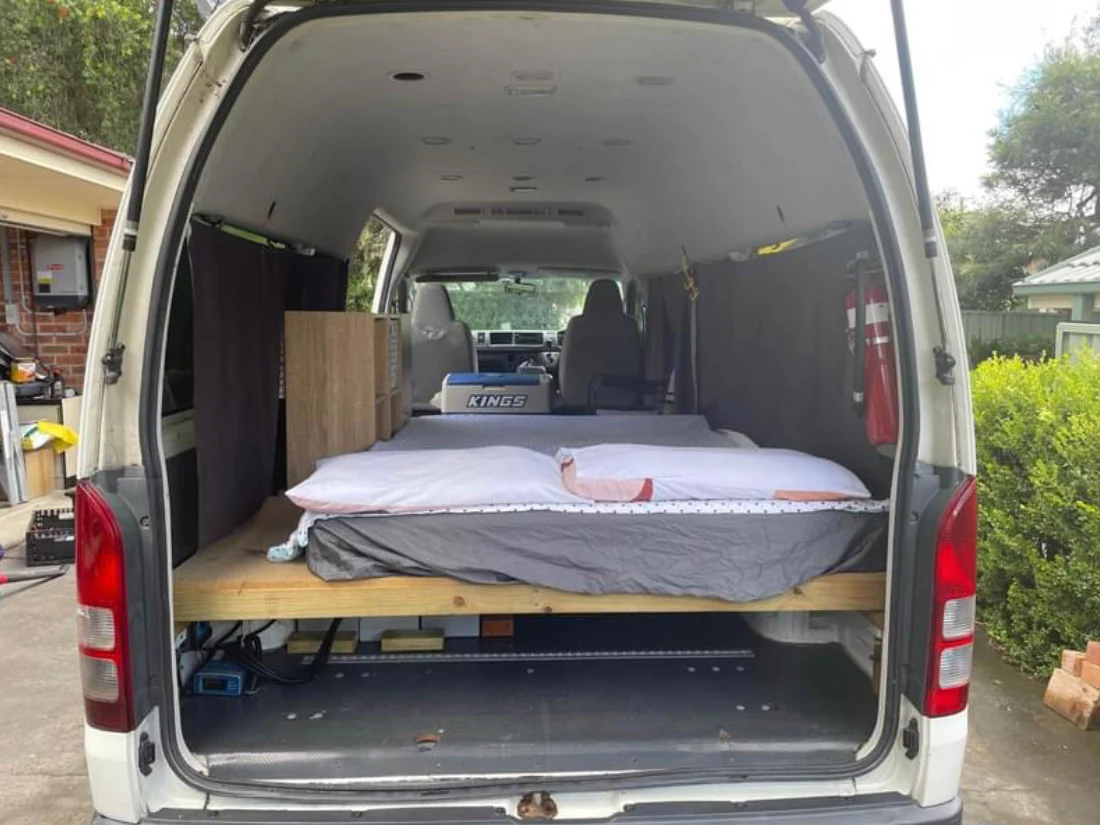
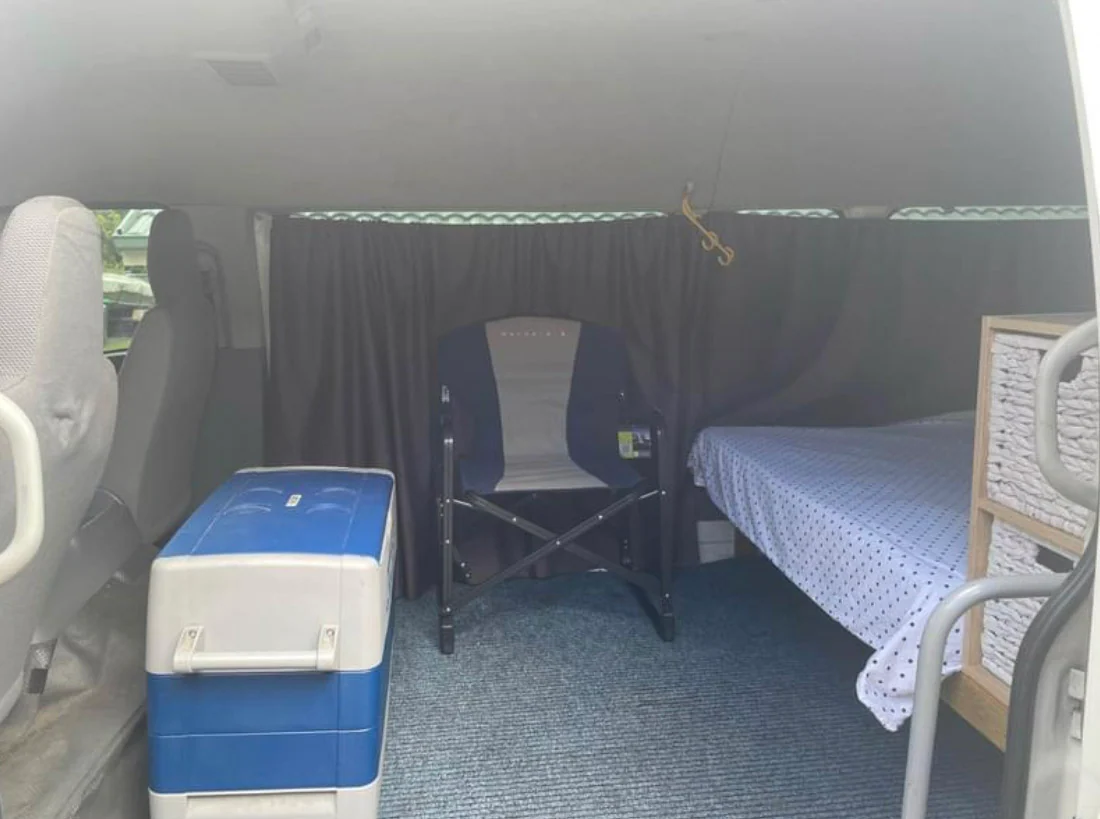
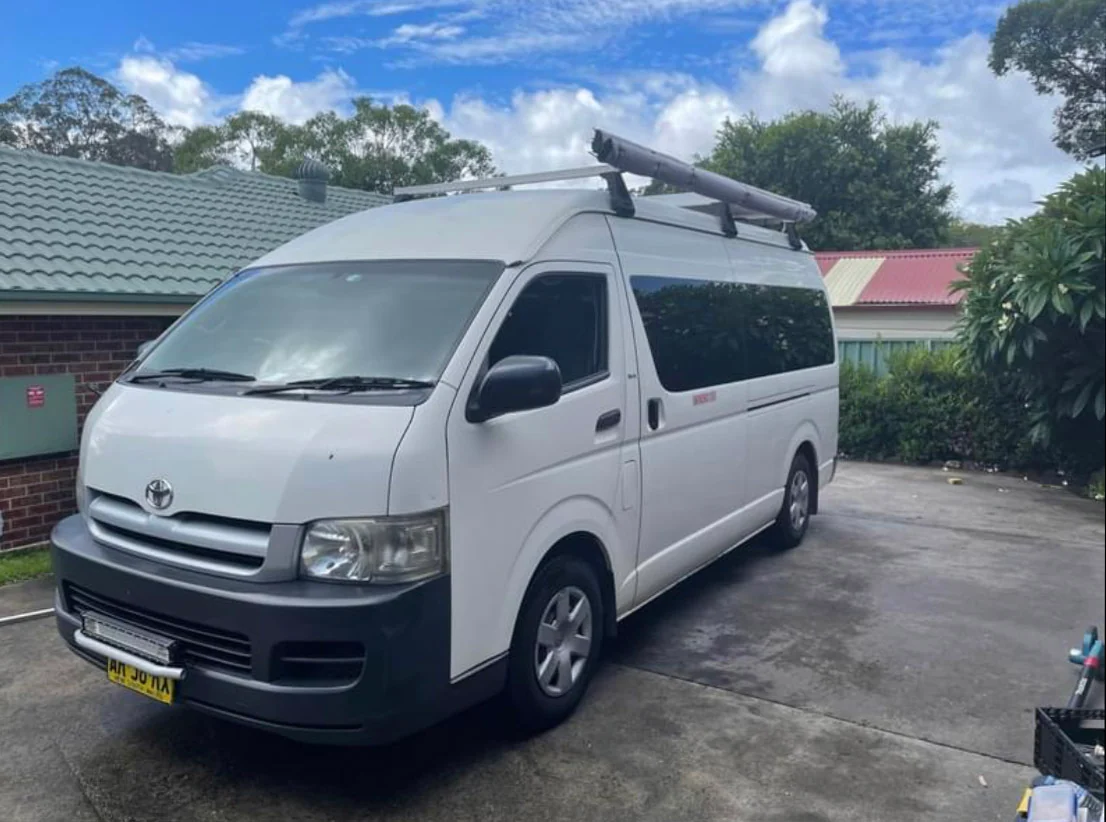
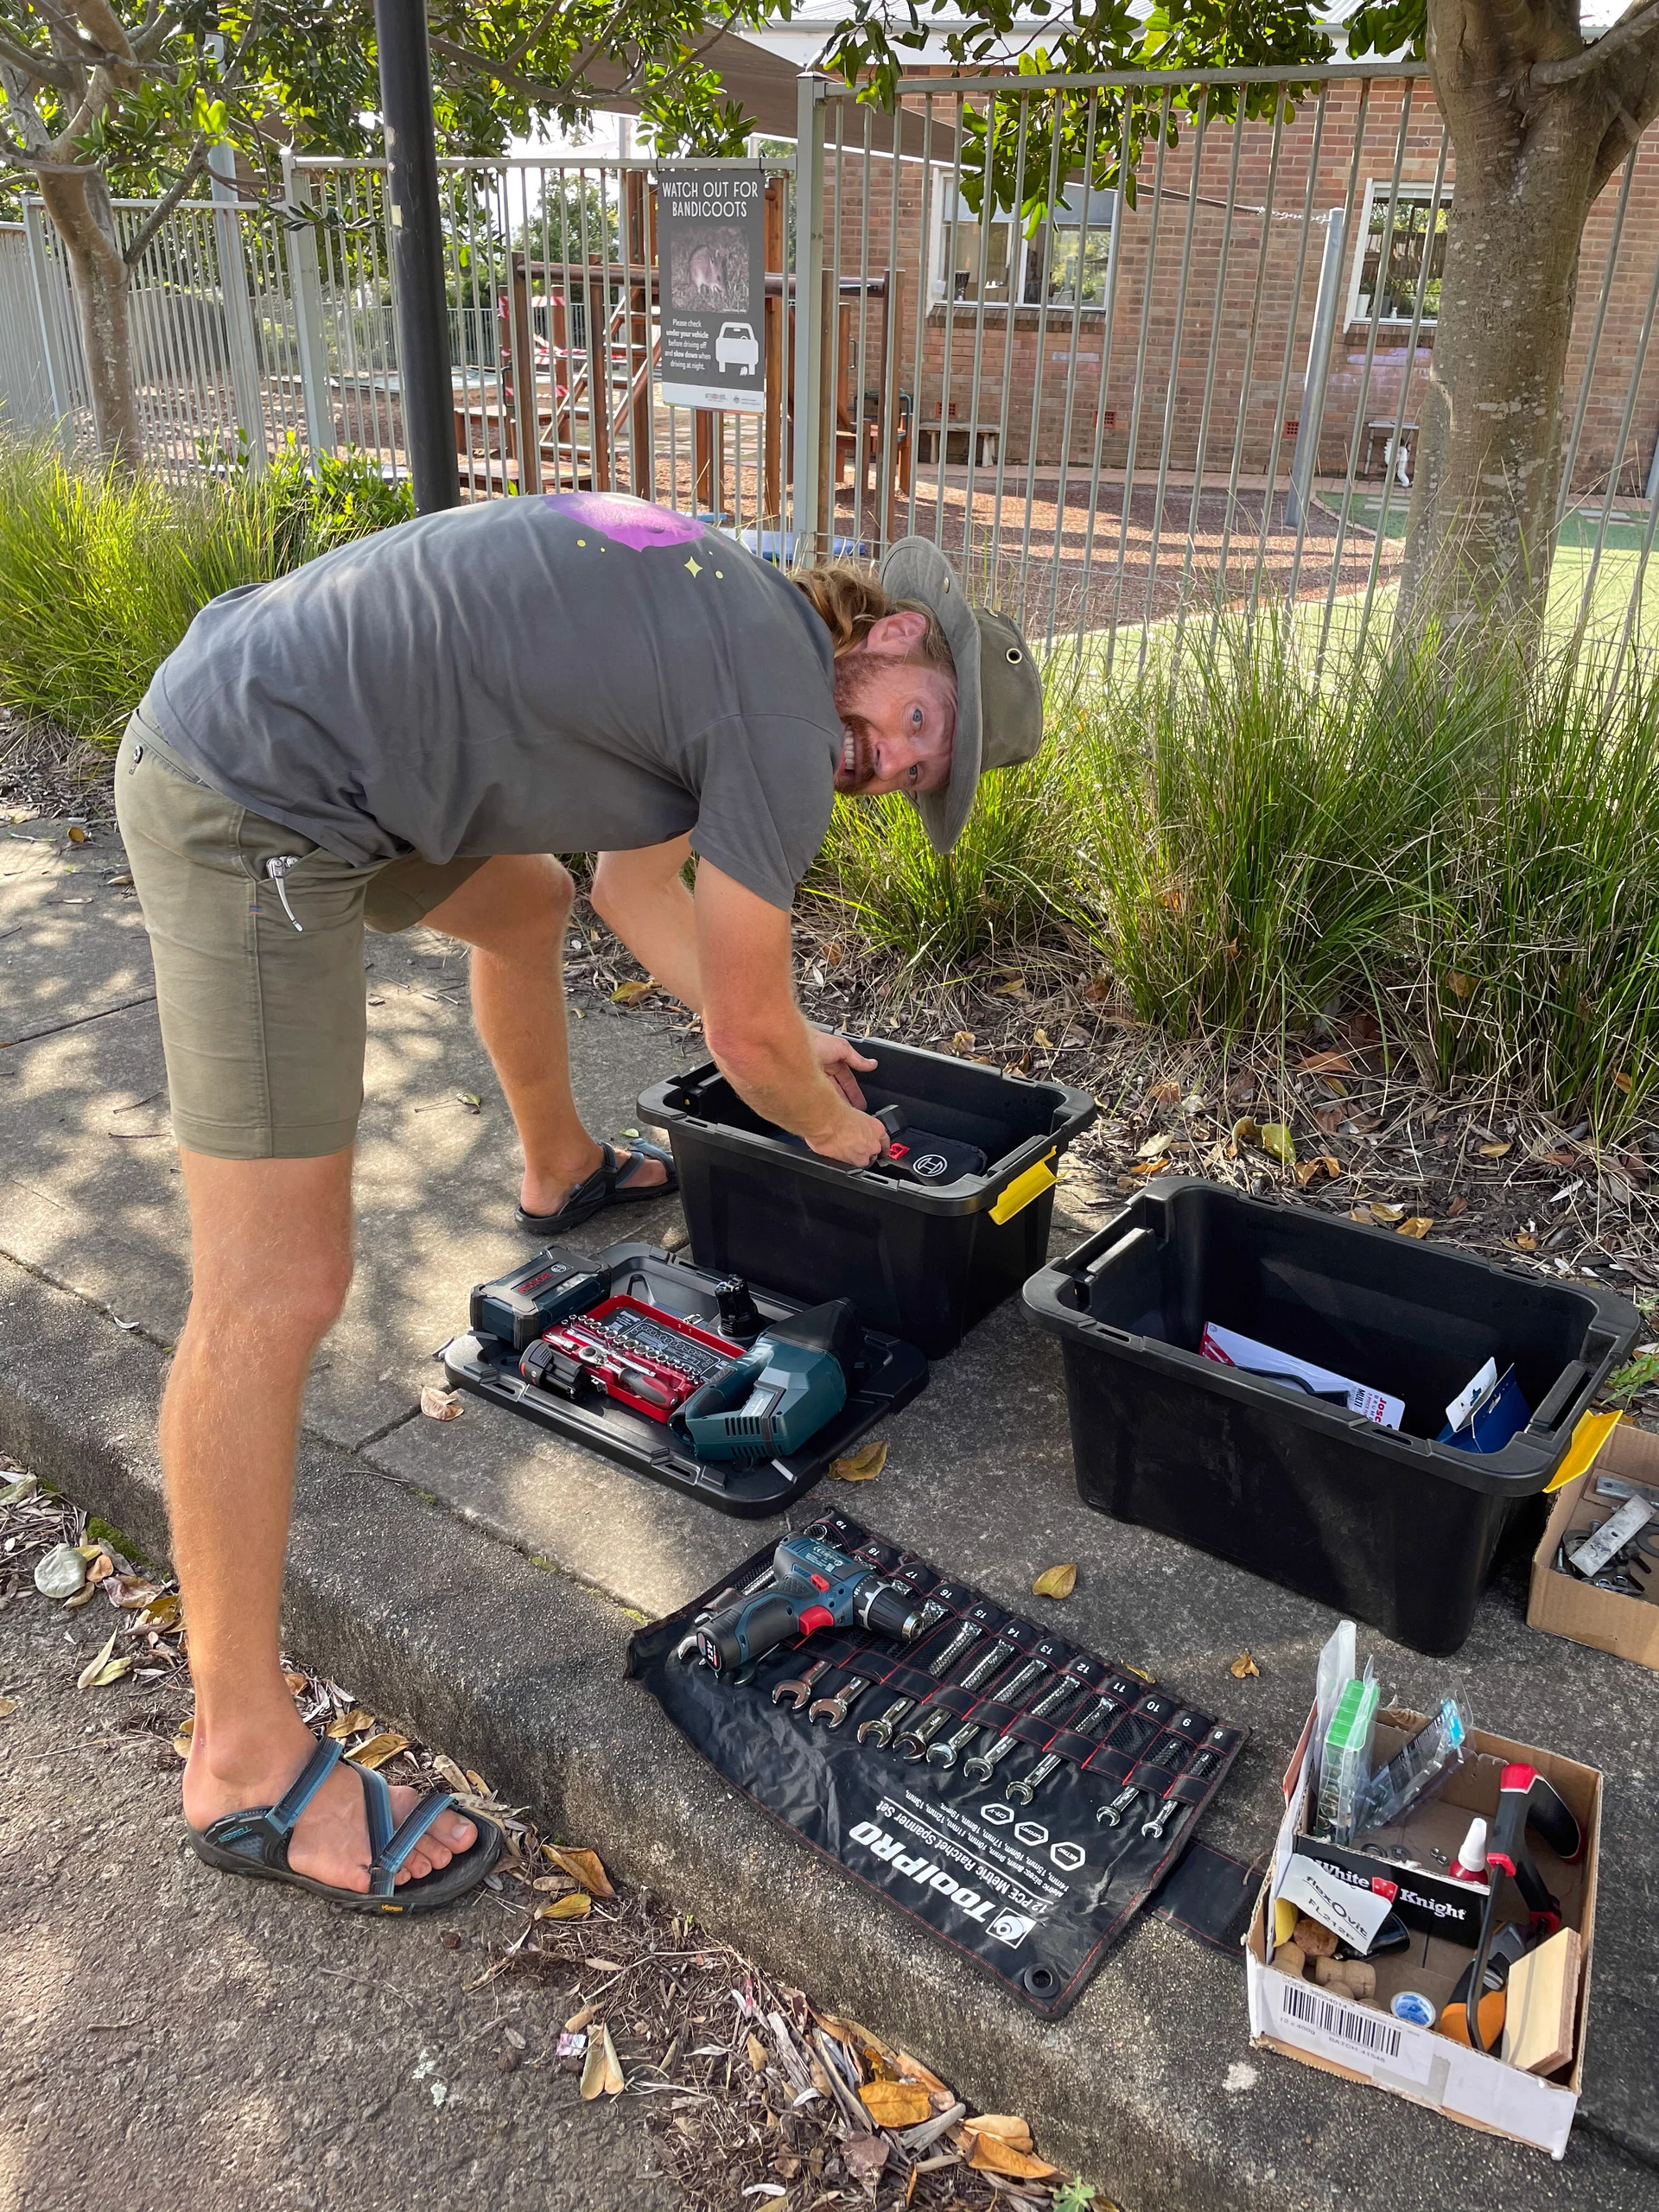
The first two days of the build were spend mostly in Bunnings and other tool shops, getting tools and inspiration. We also removed the existing bed frame (too low for our use) and temporarily took out the double battery setup to have more space to work in the back.
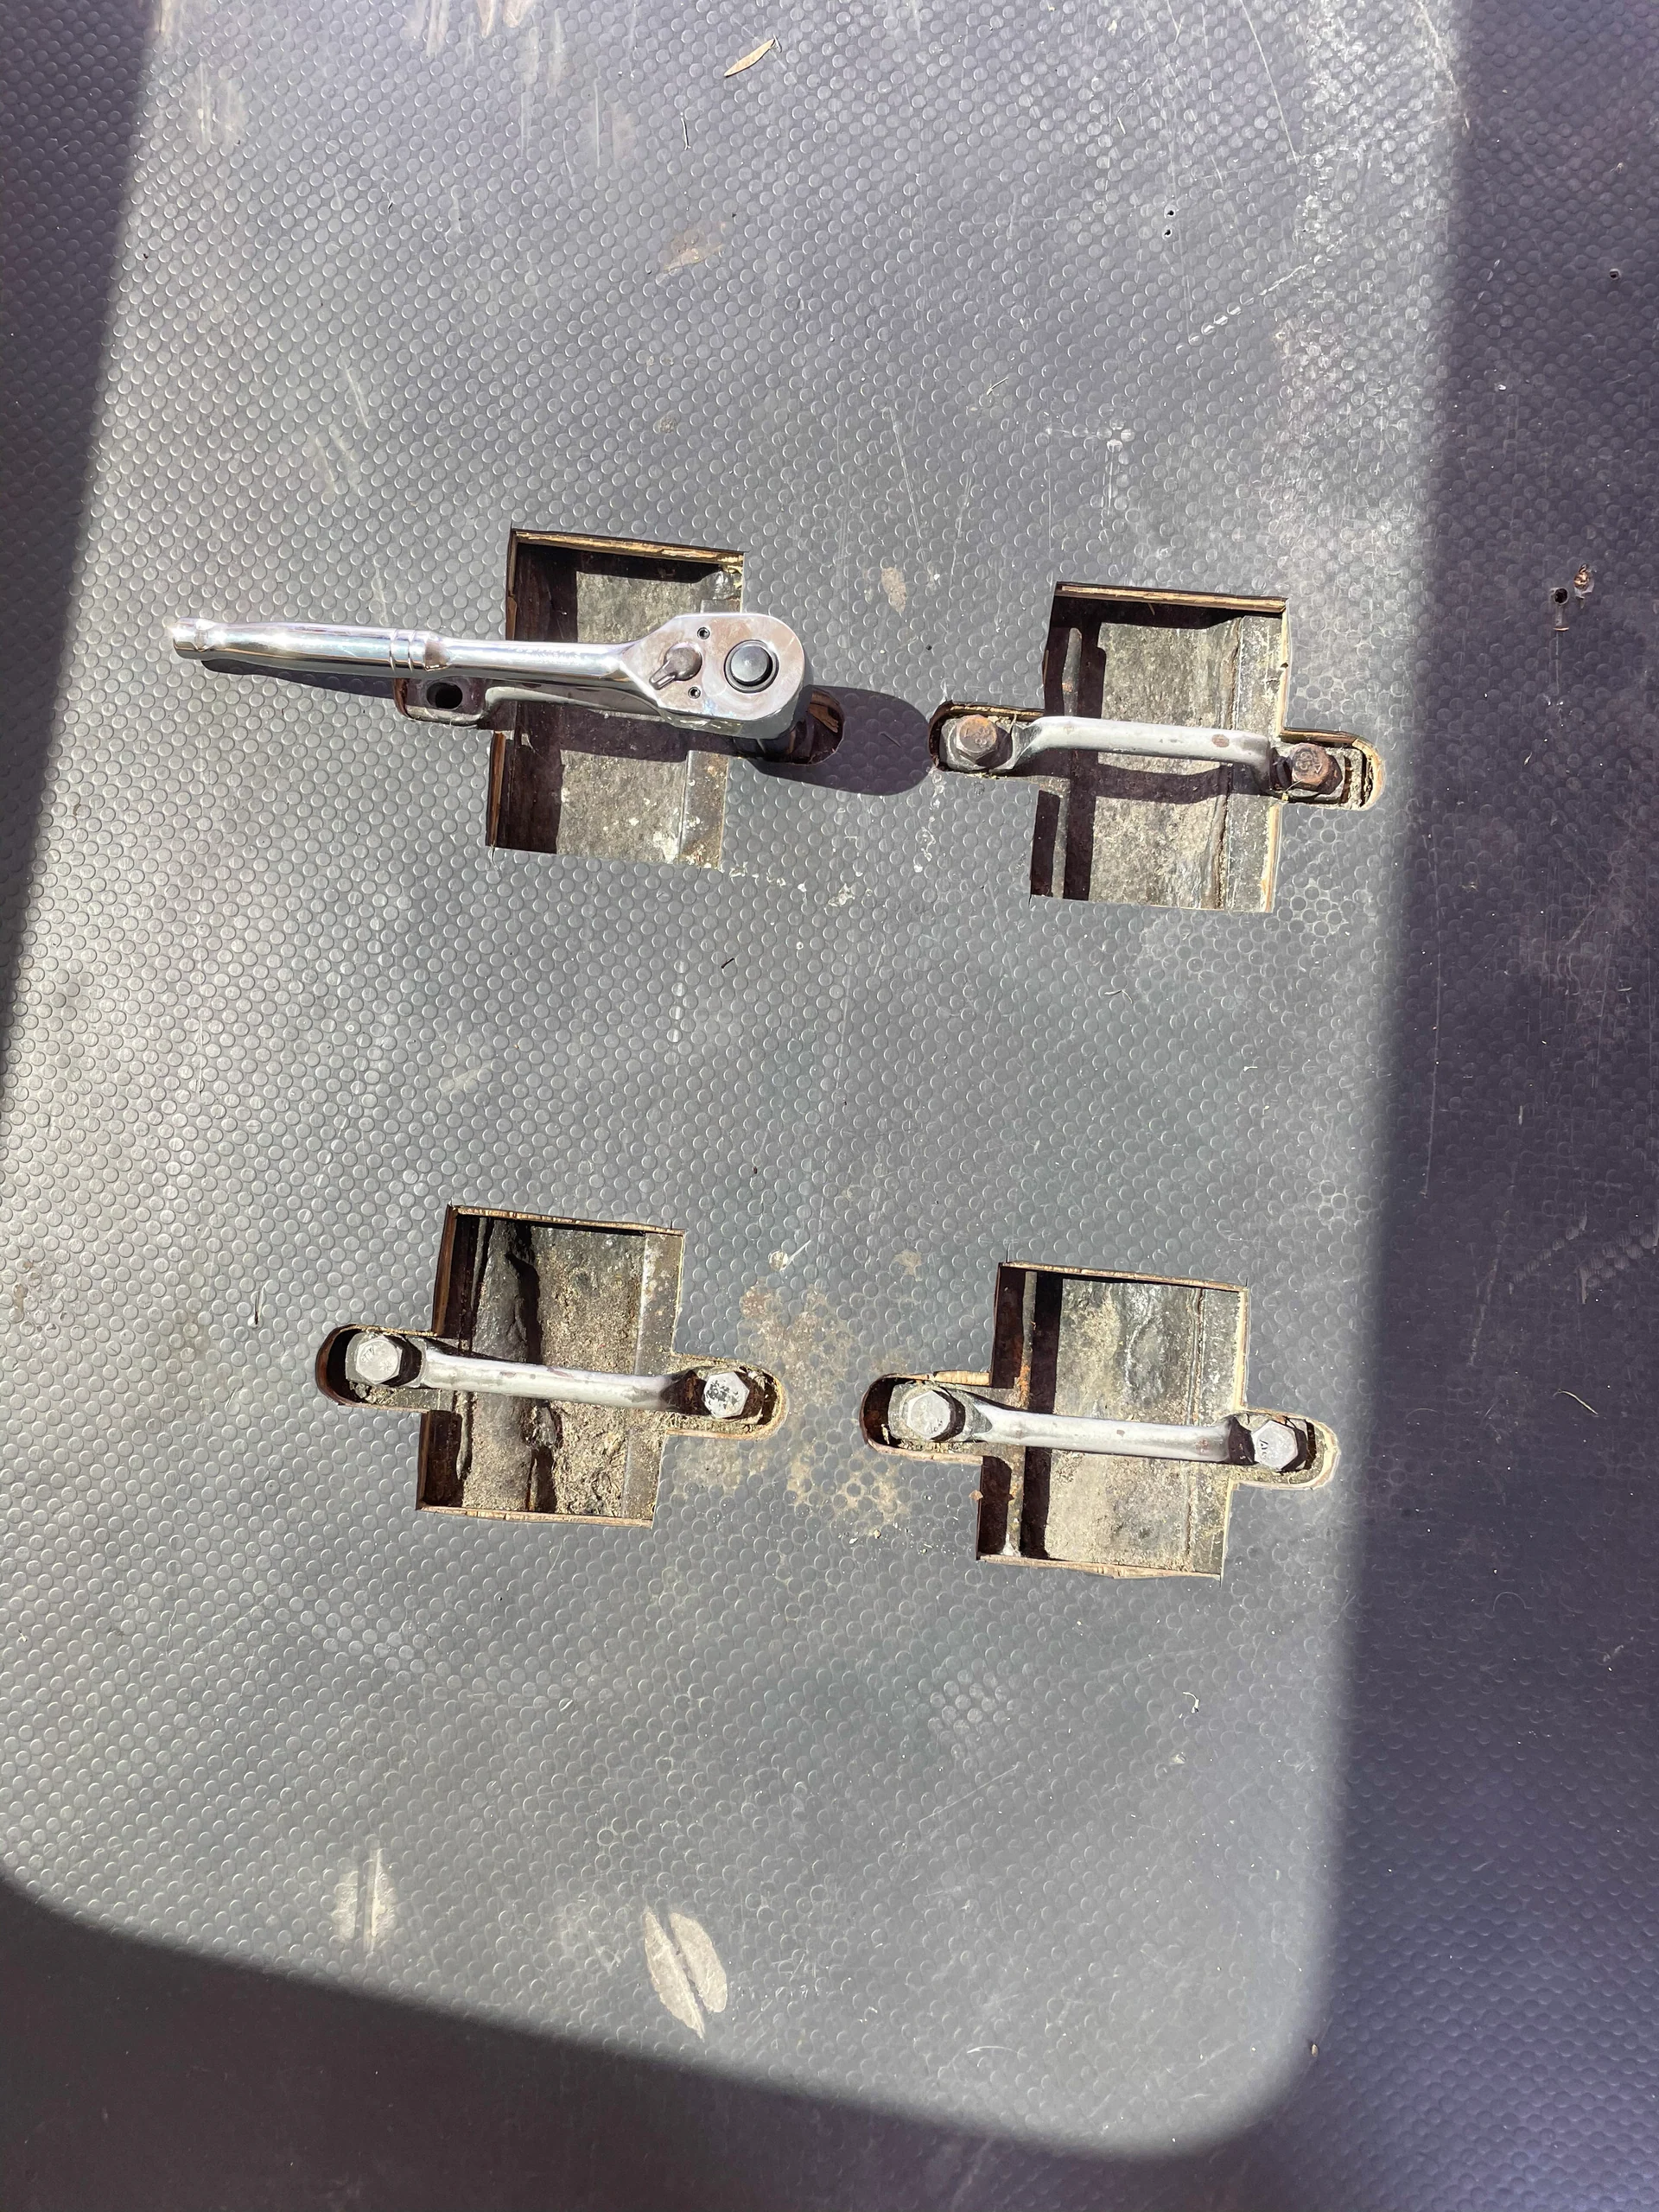
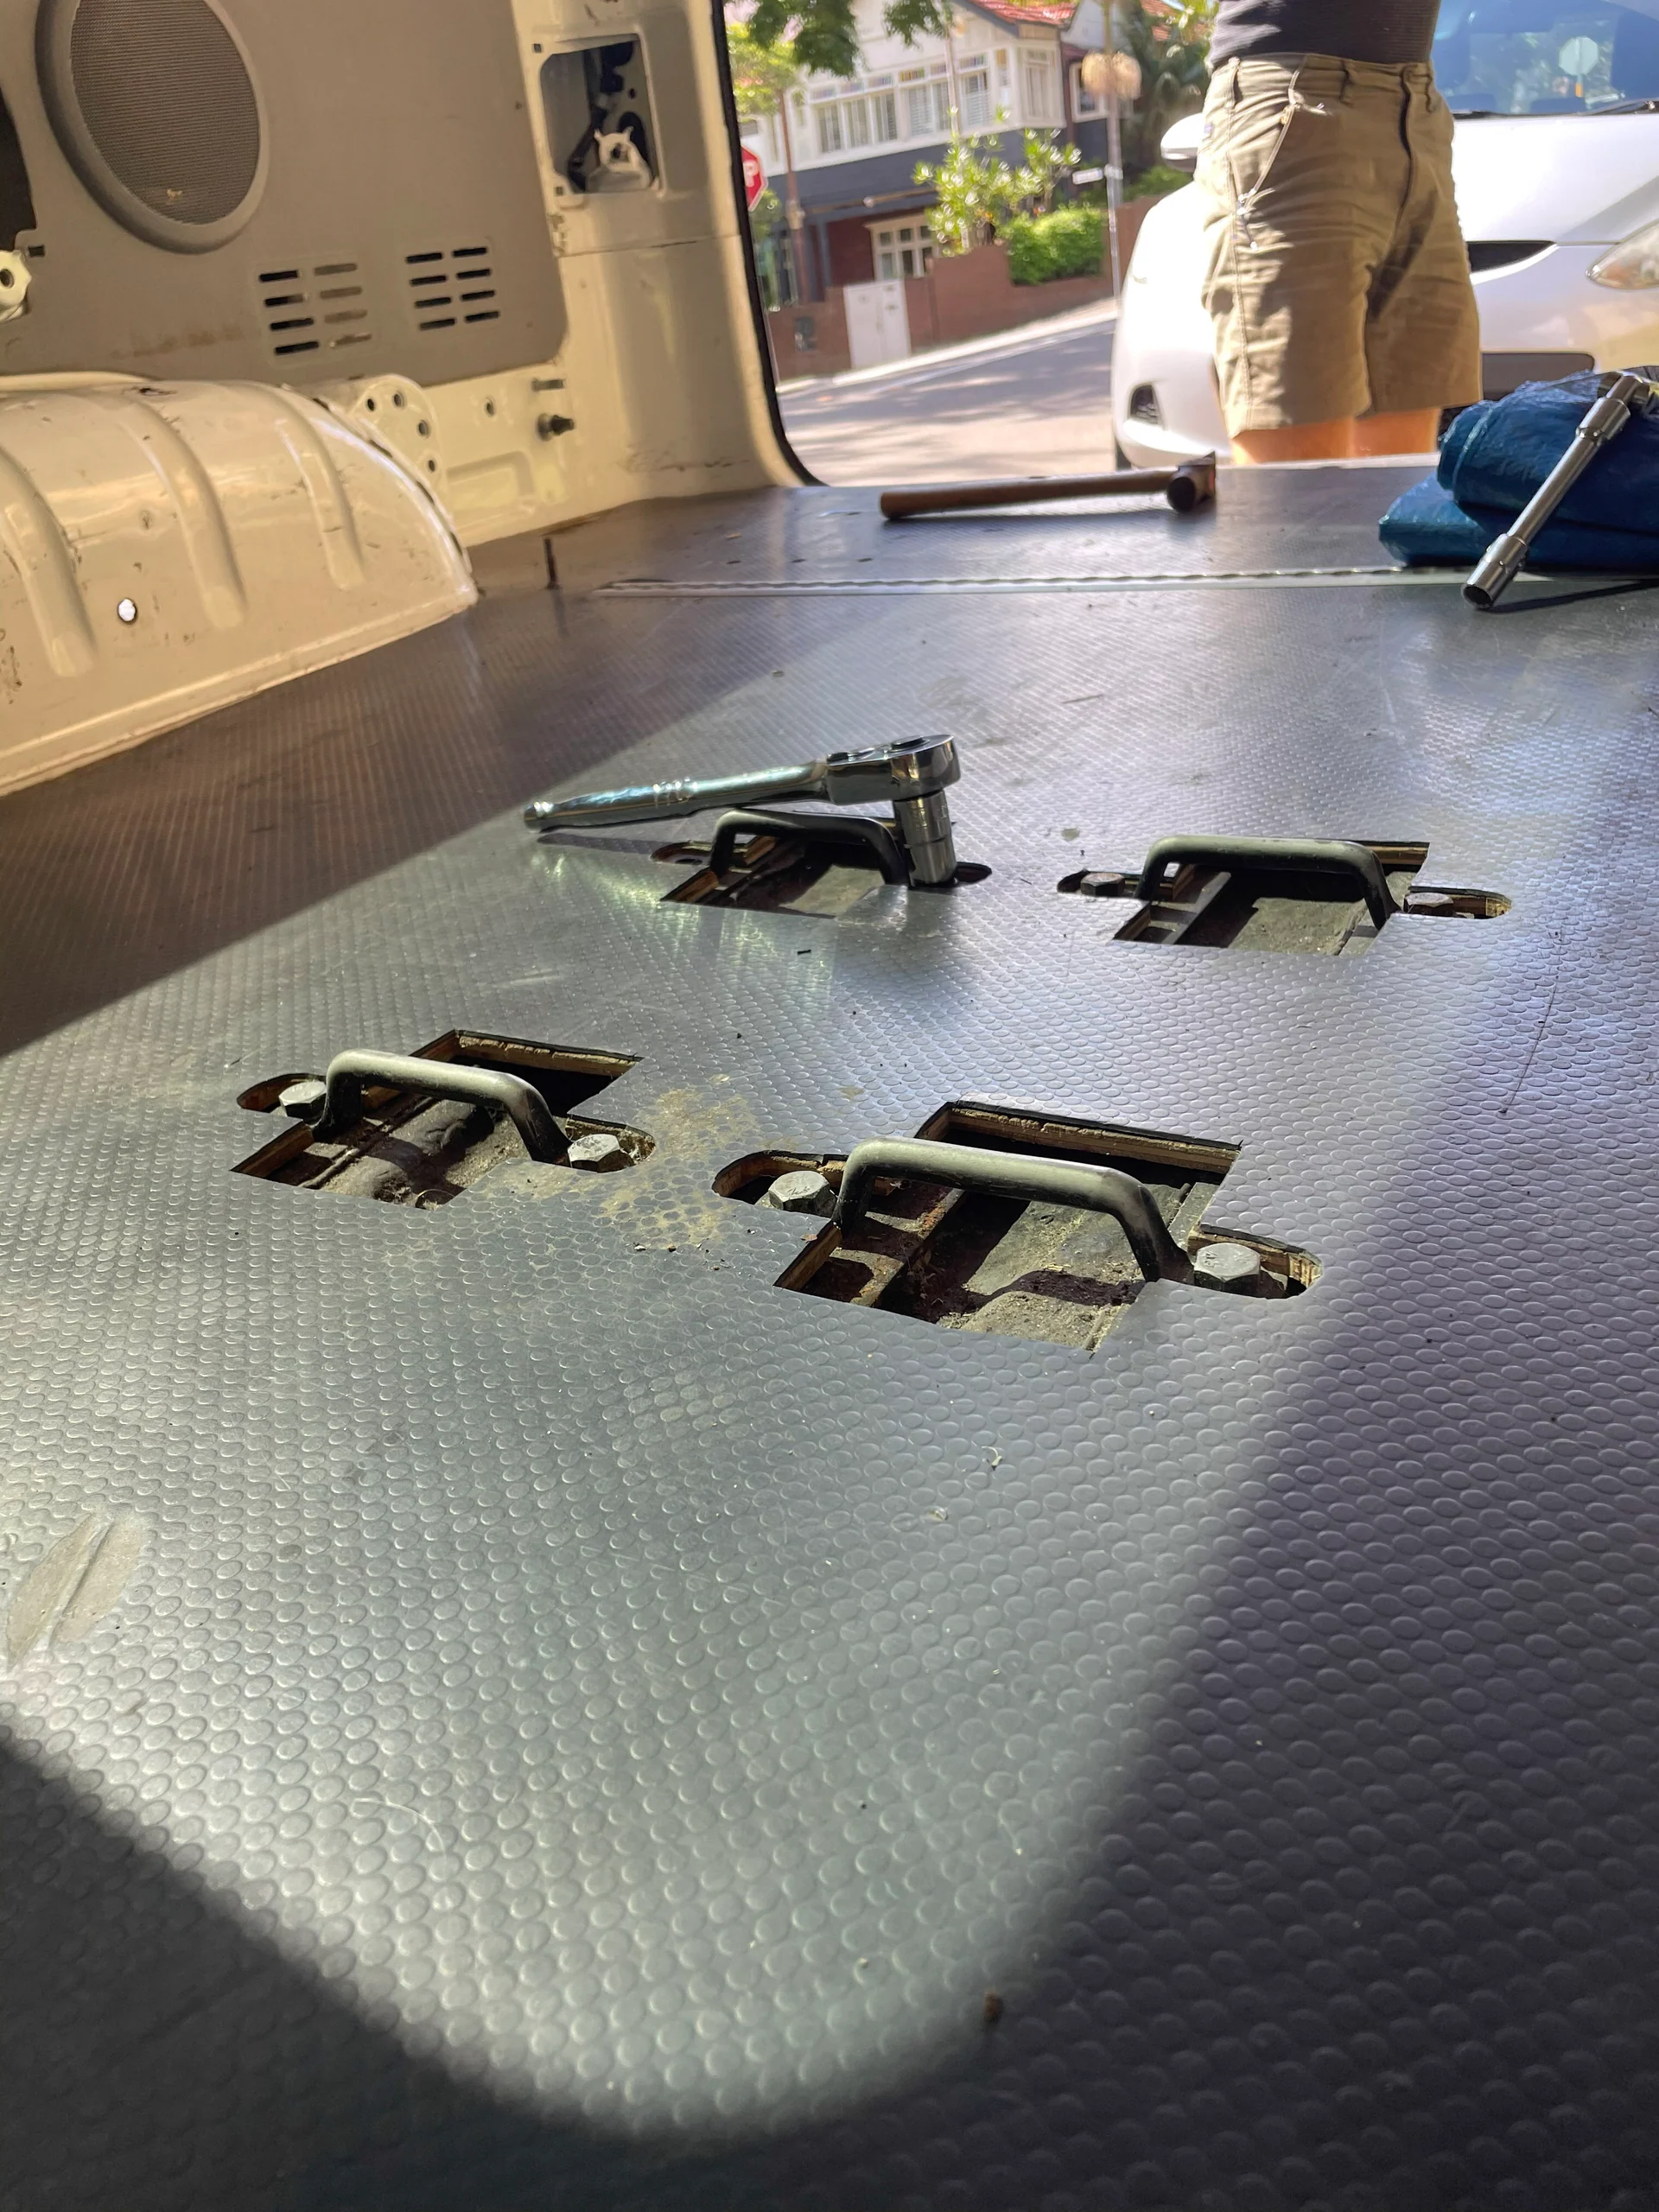
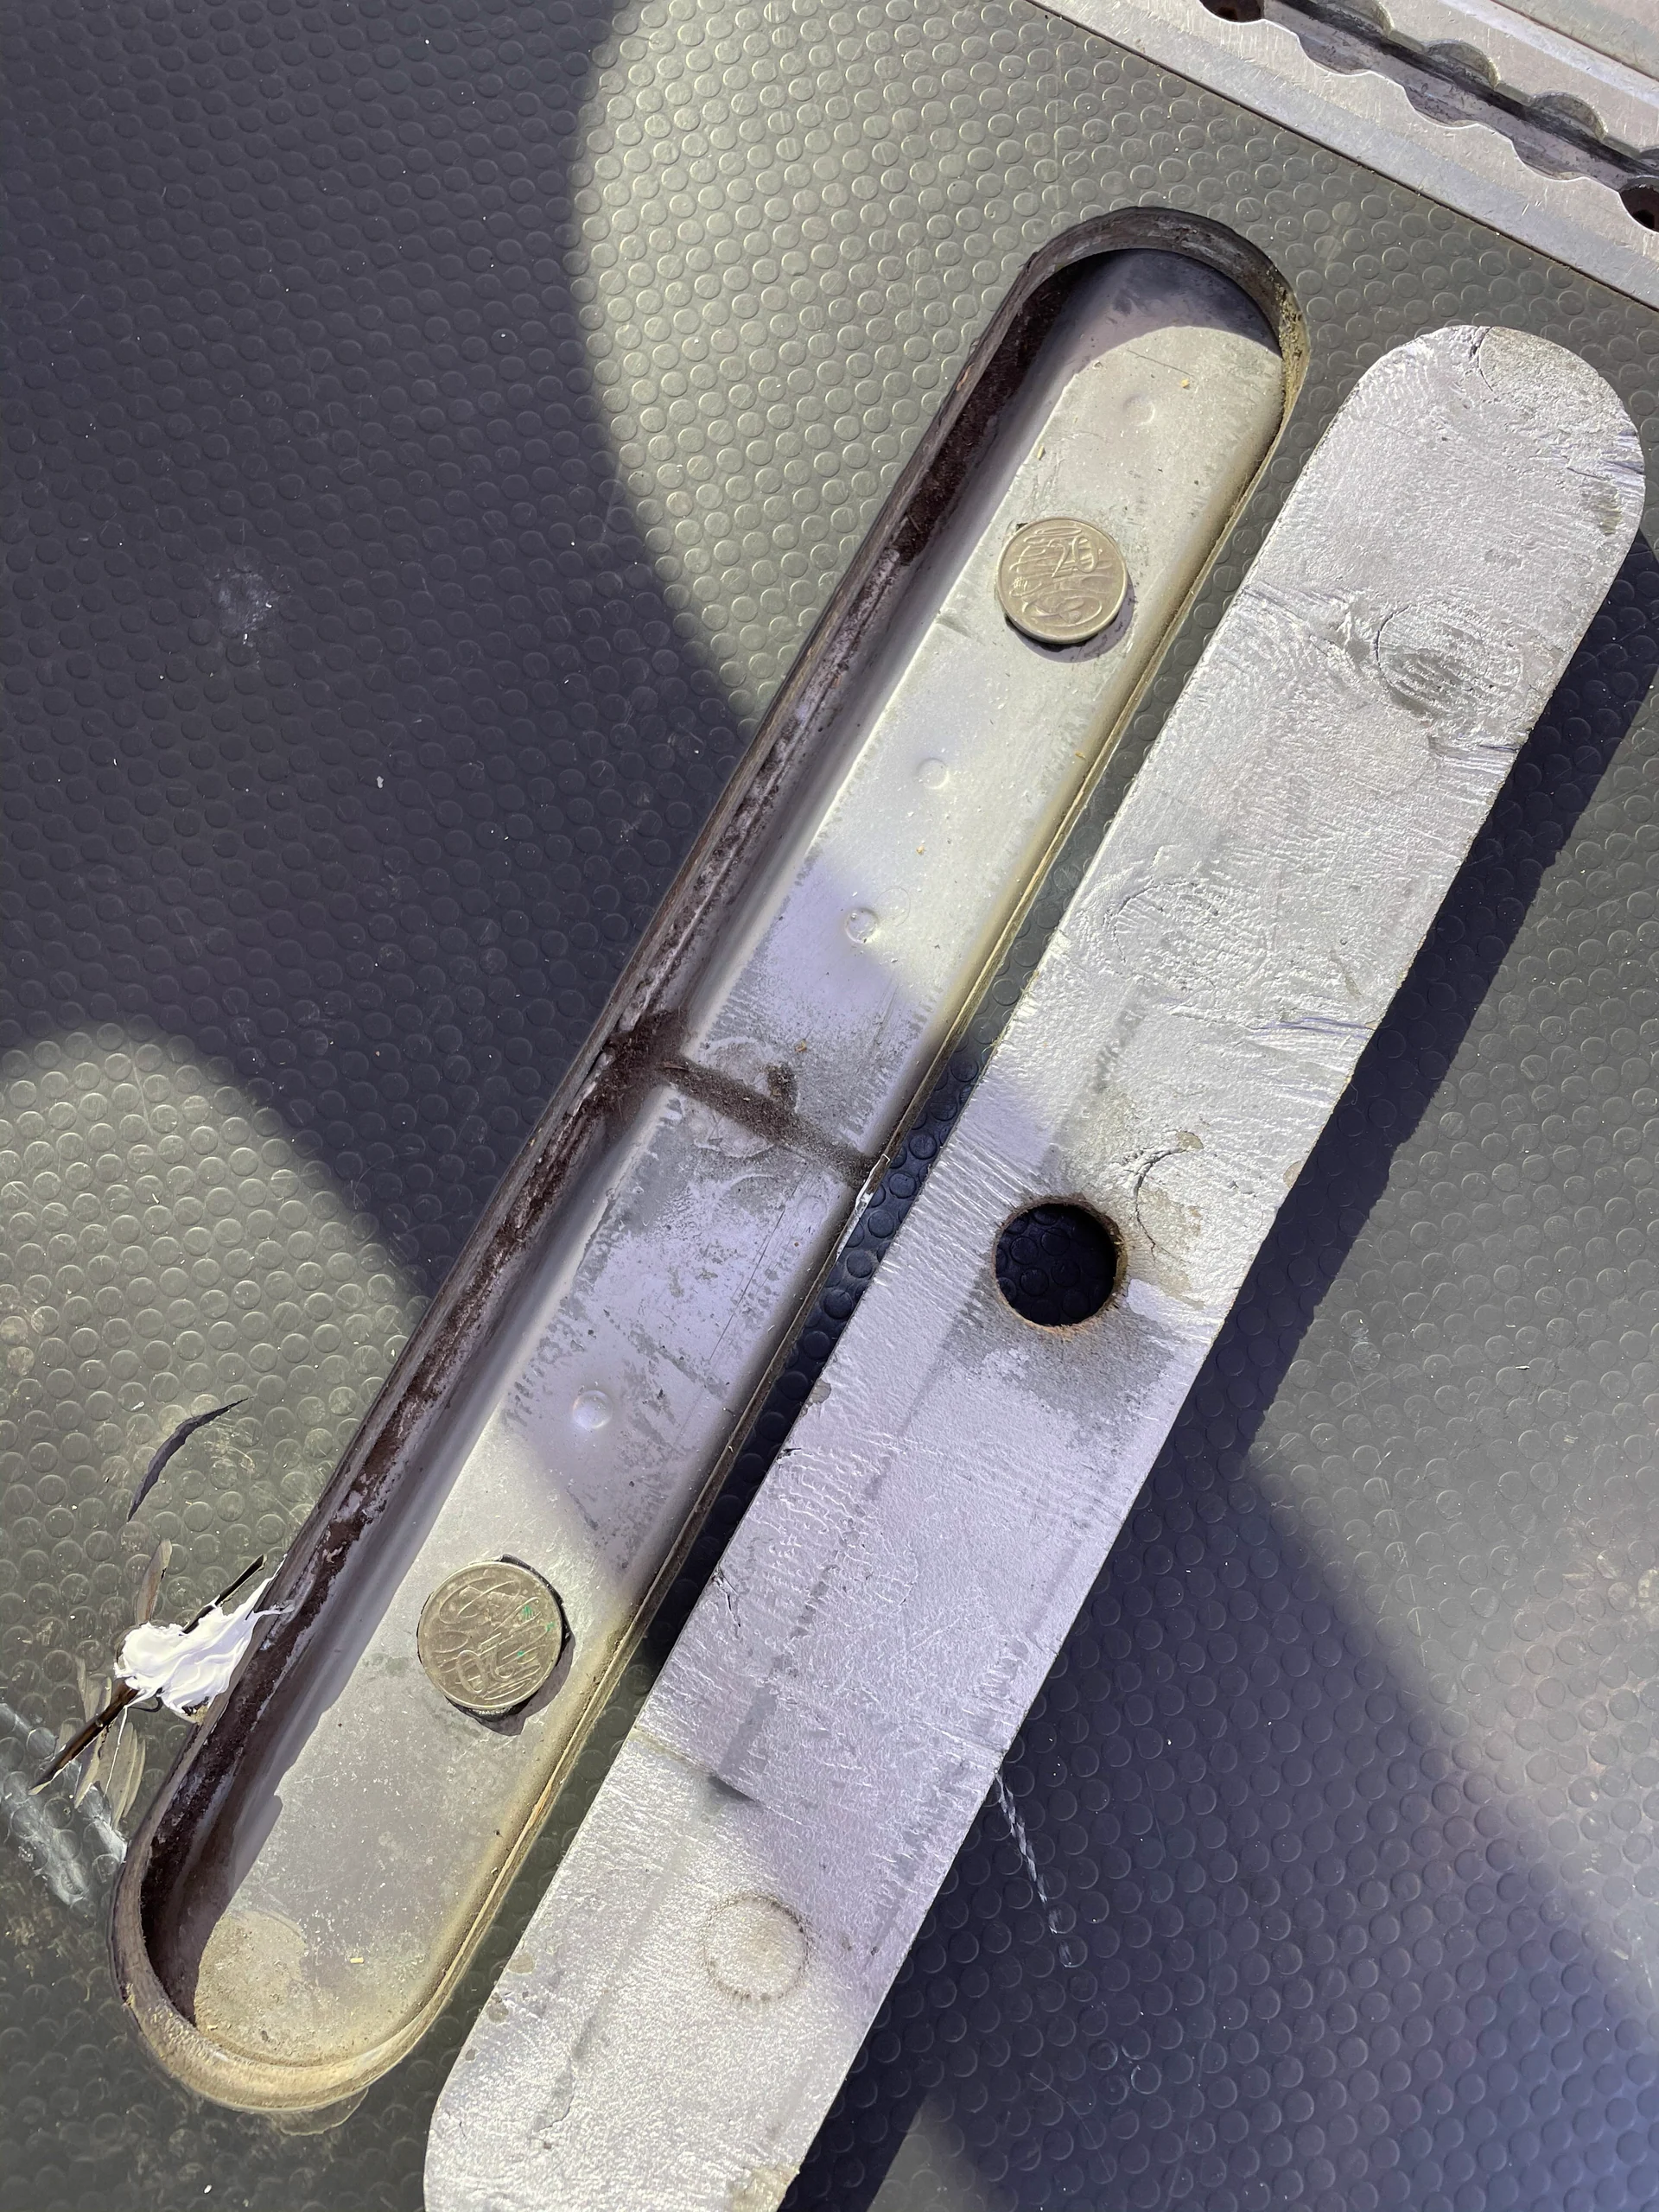
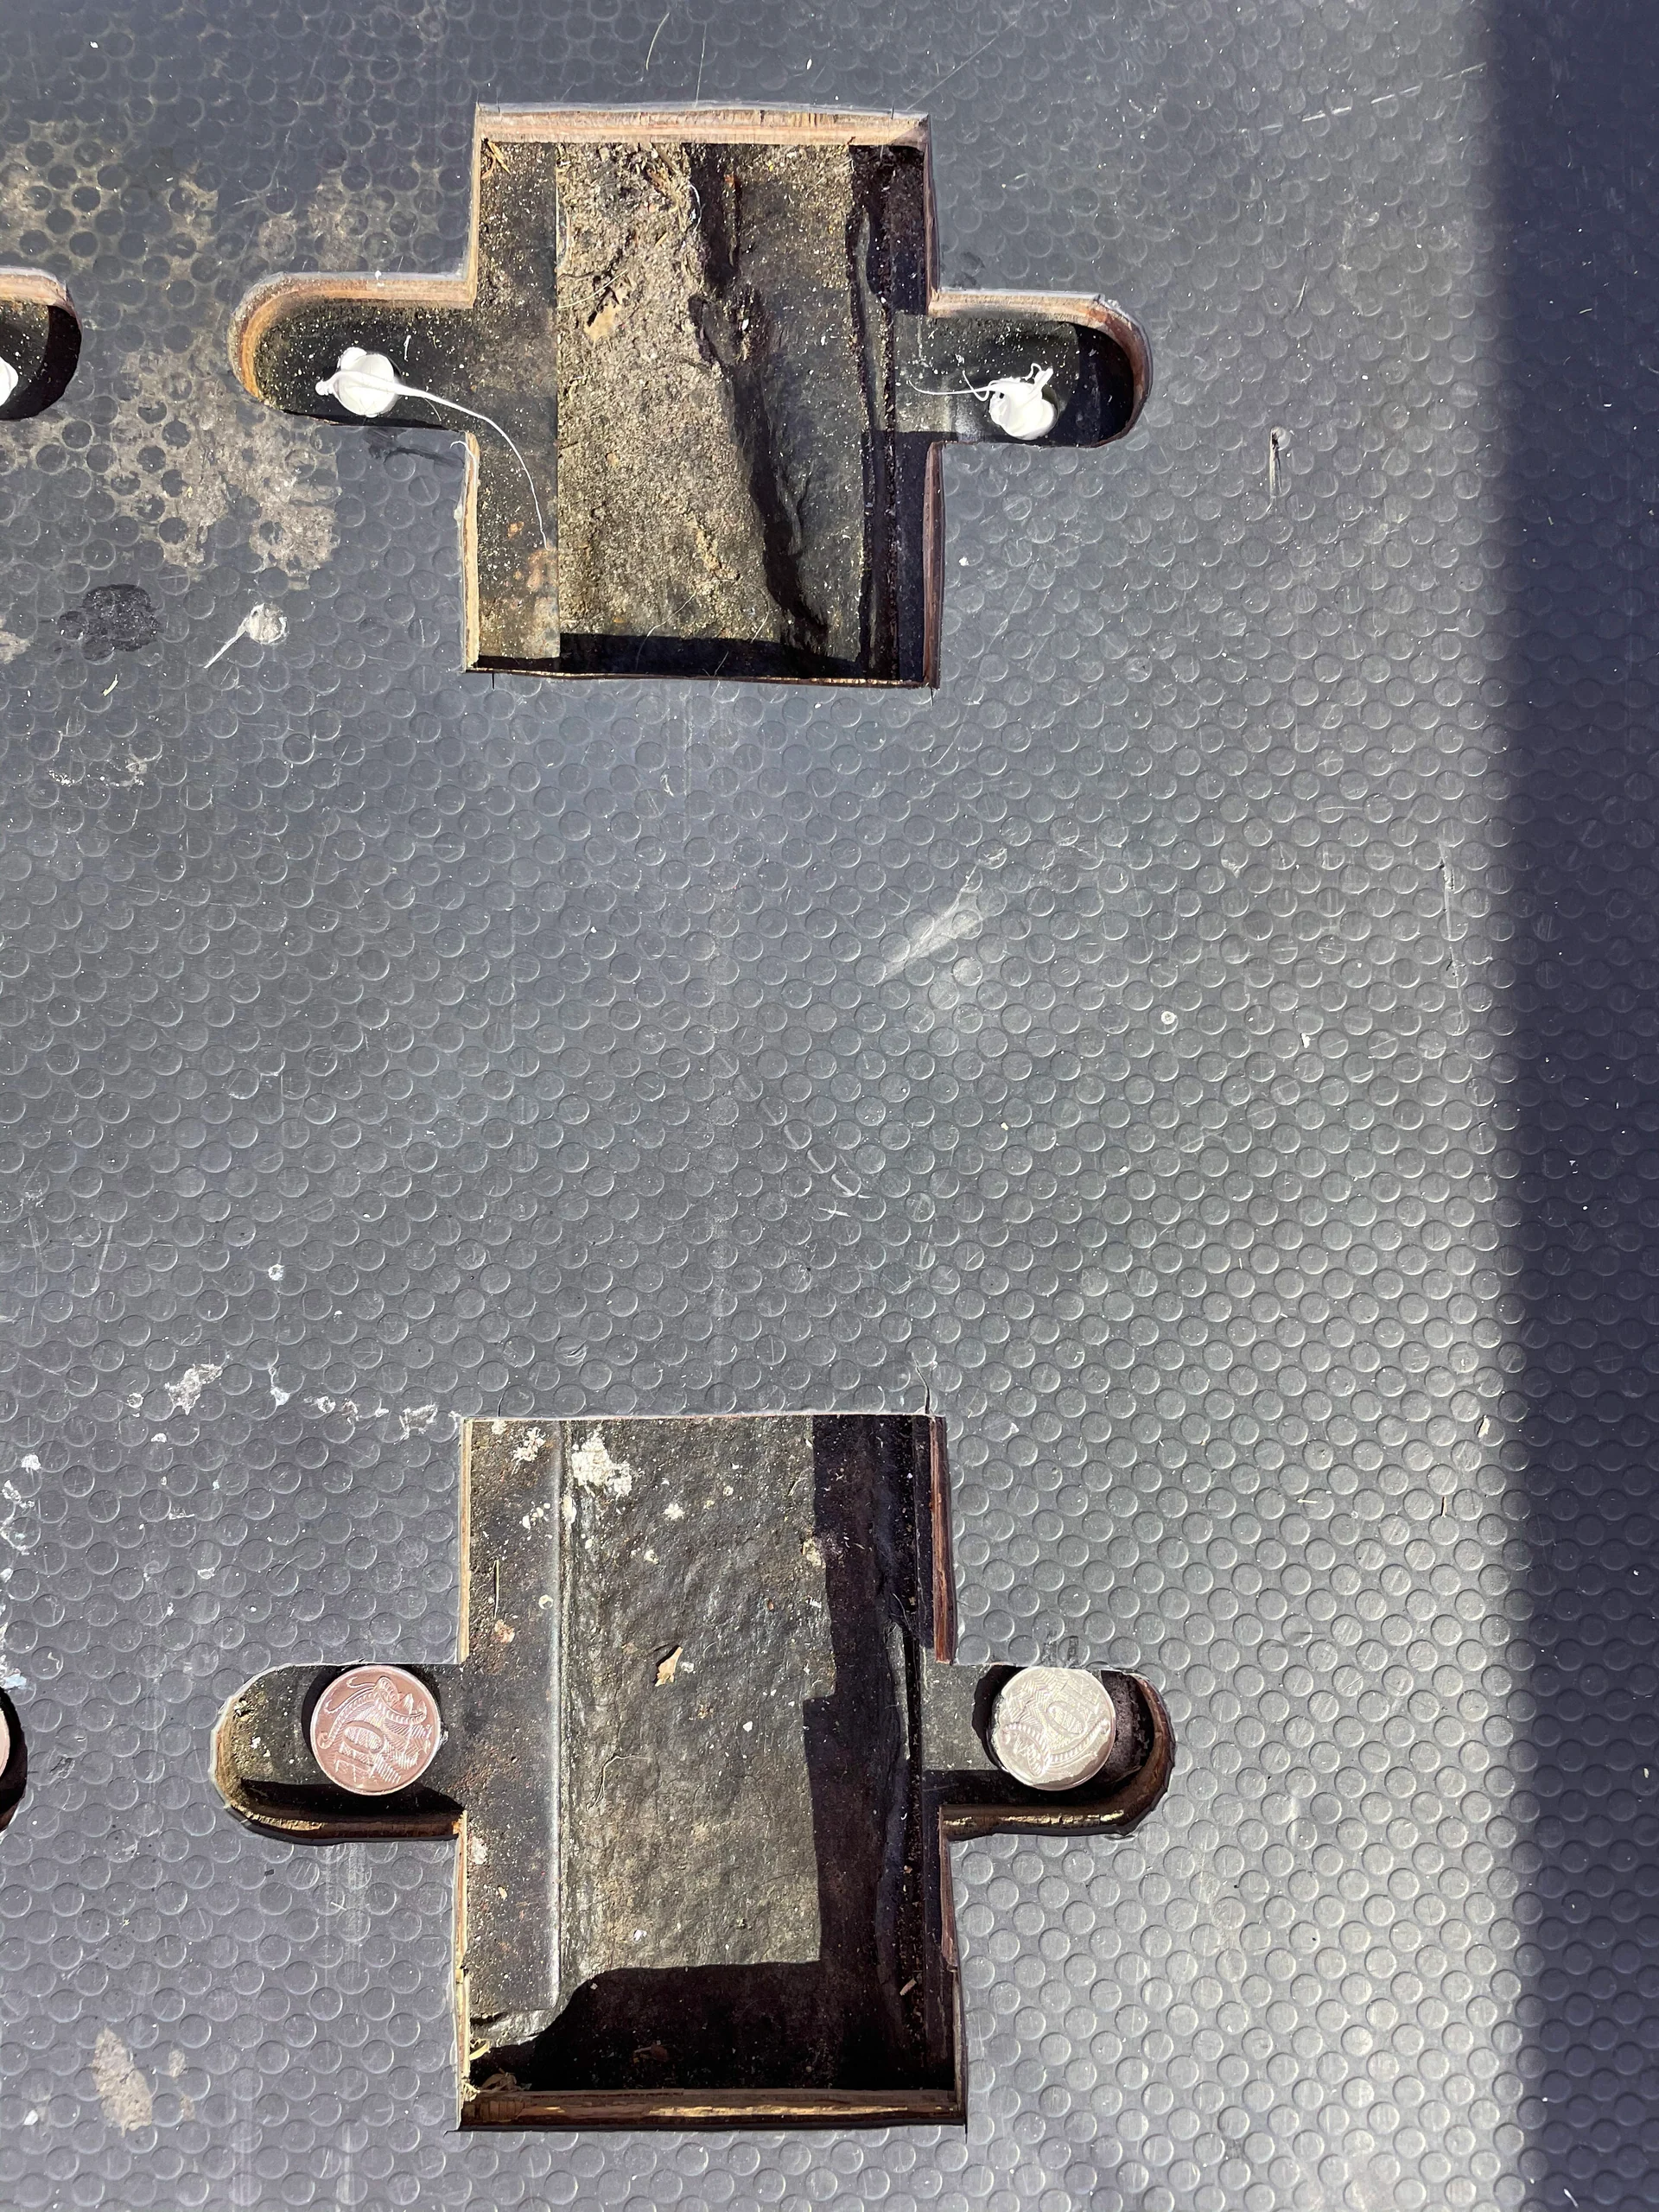
Turns out, a previous owner had converted the van to be wheel chair accessible with a chair lift. That conversion had put dozens of holes in the floor of the car. So first step is to remove some of the old anchor points, treat the holes for rust protection and seal them up against water and critters.
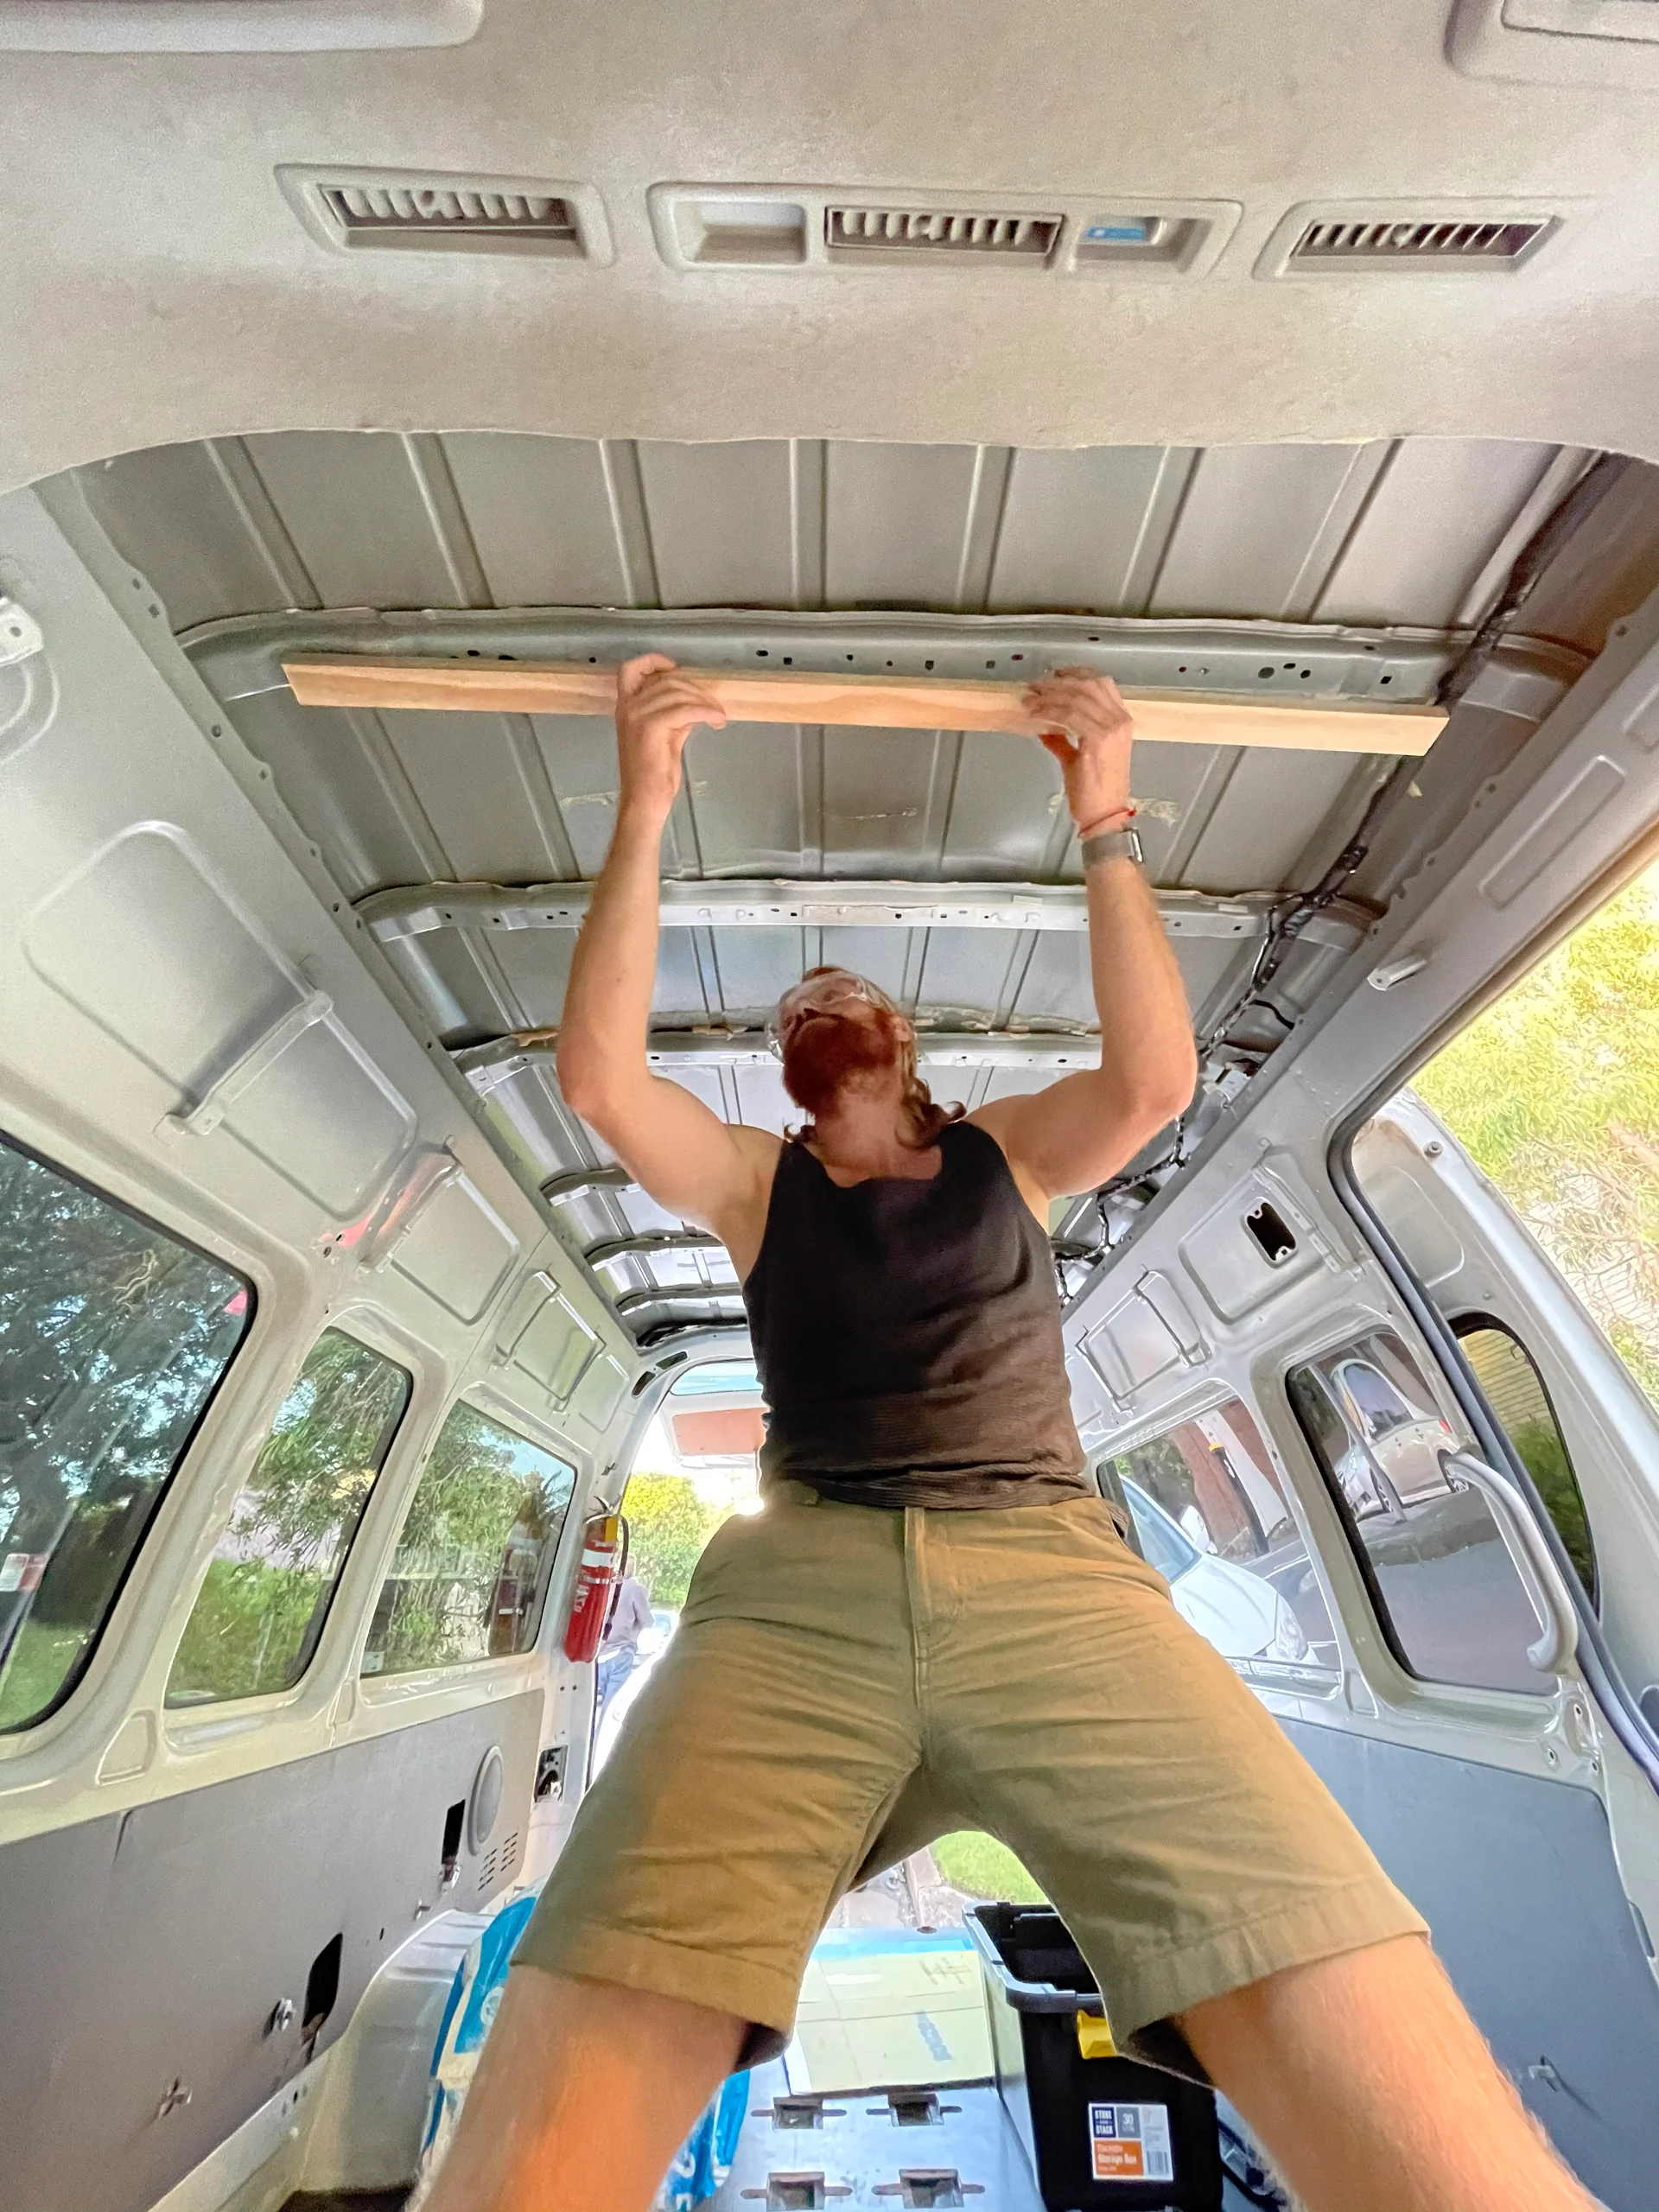
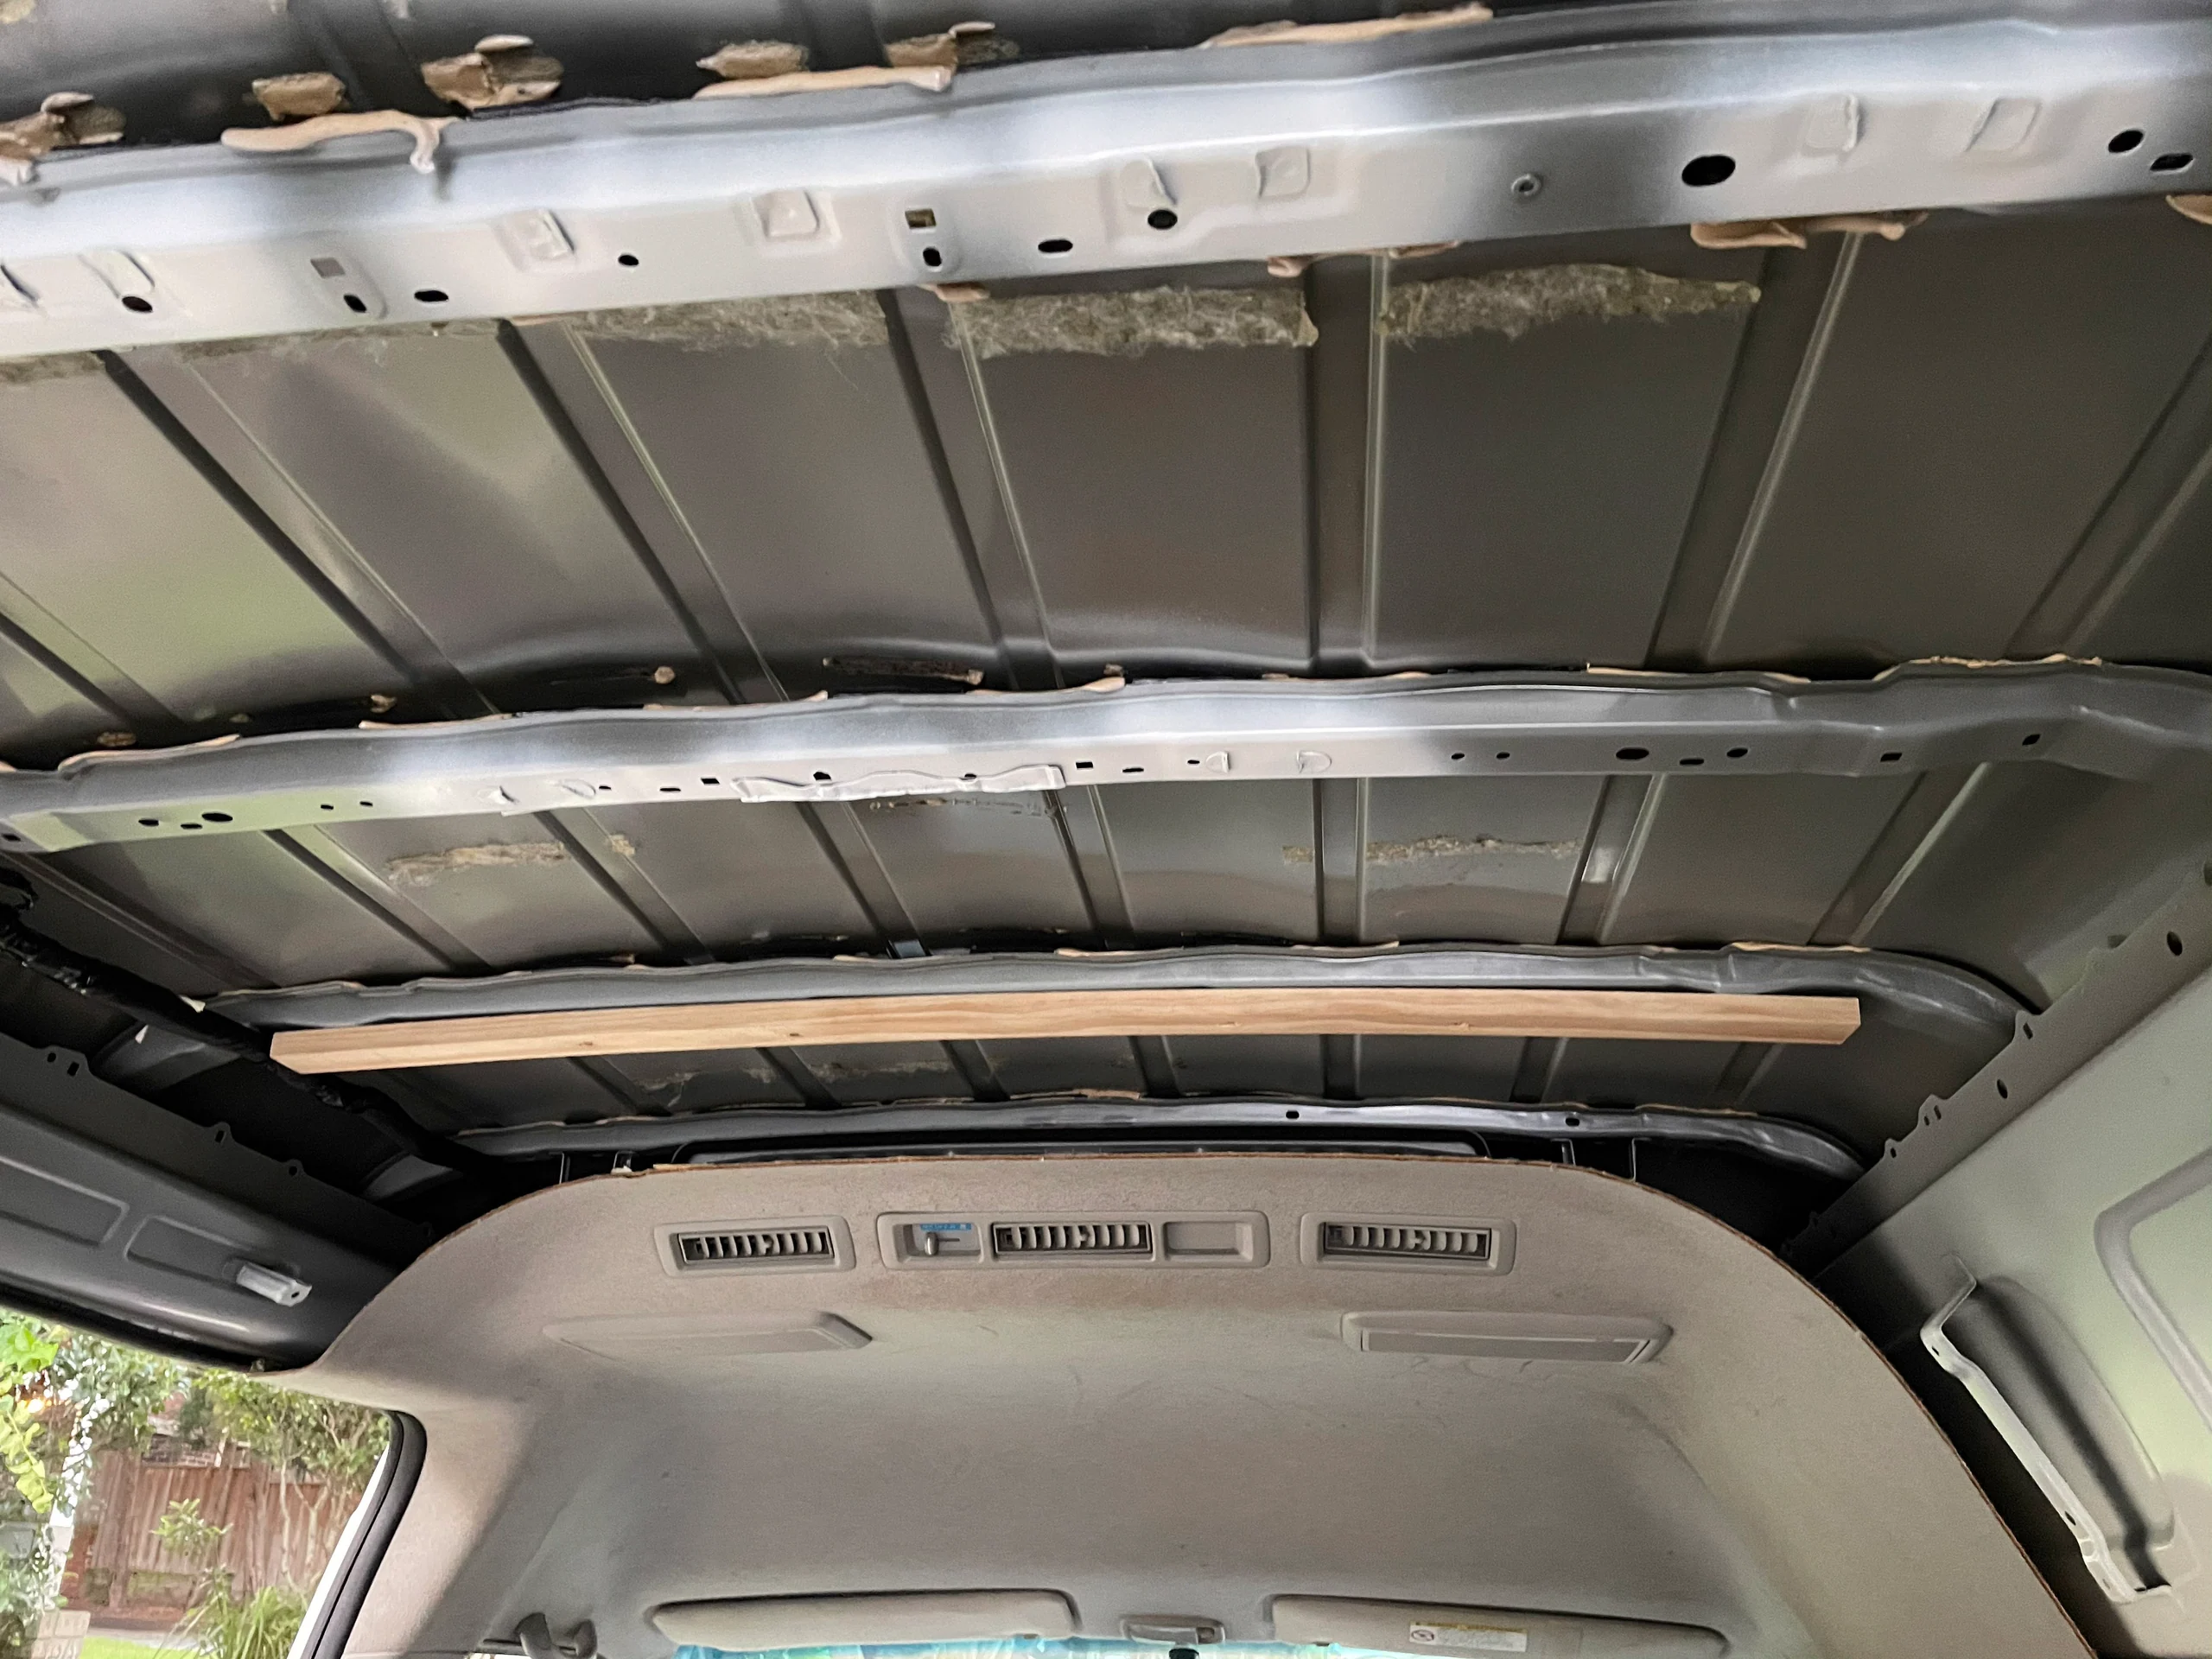
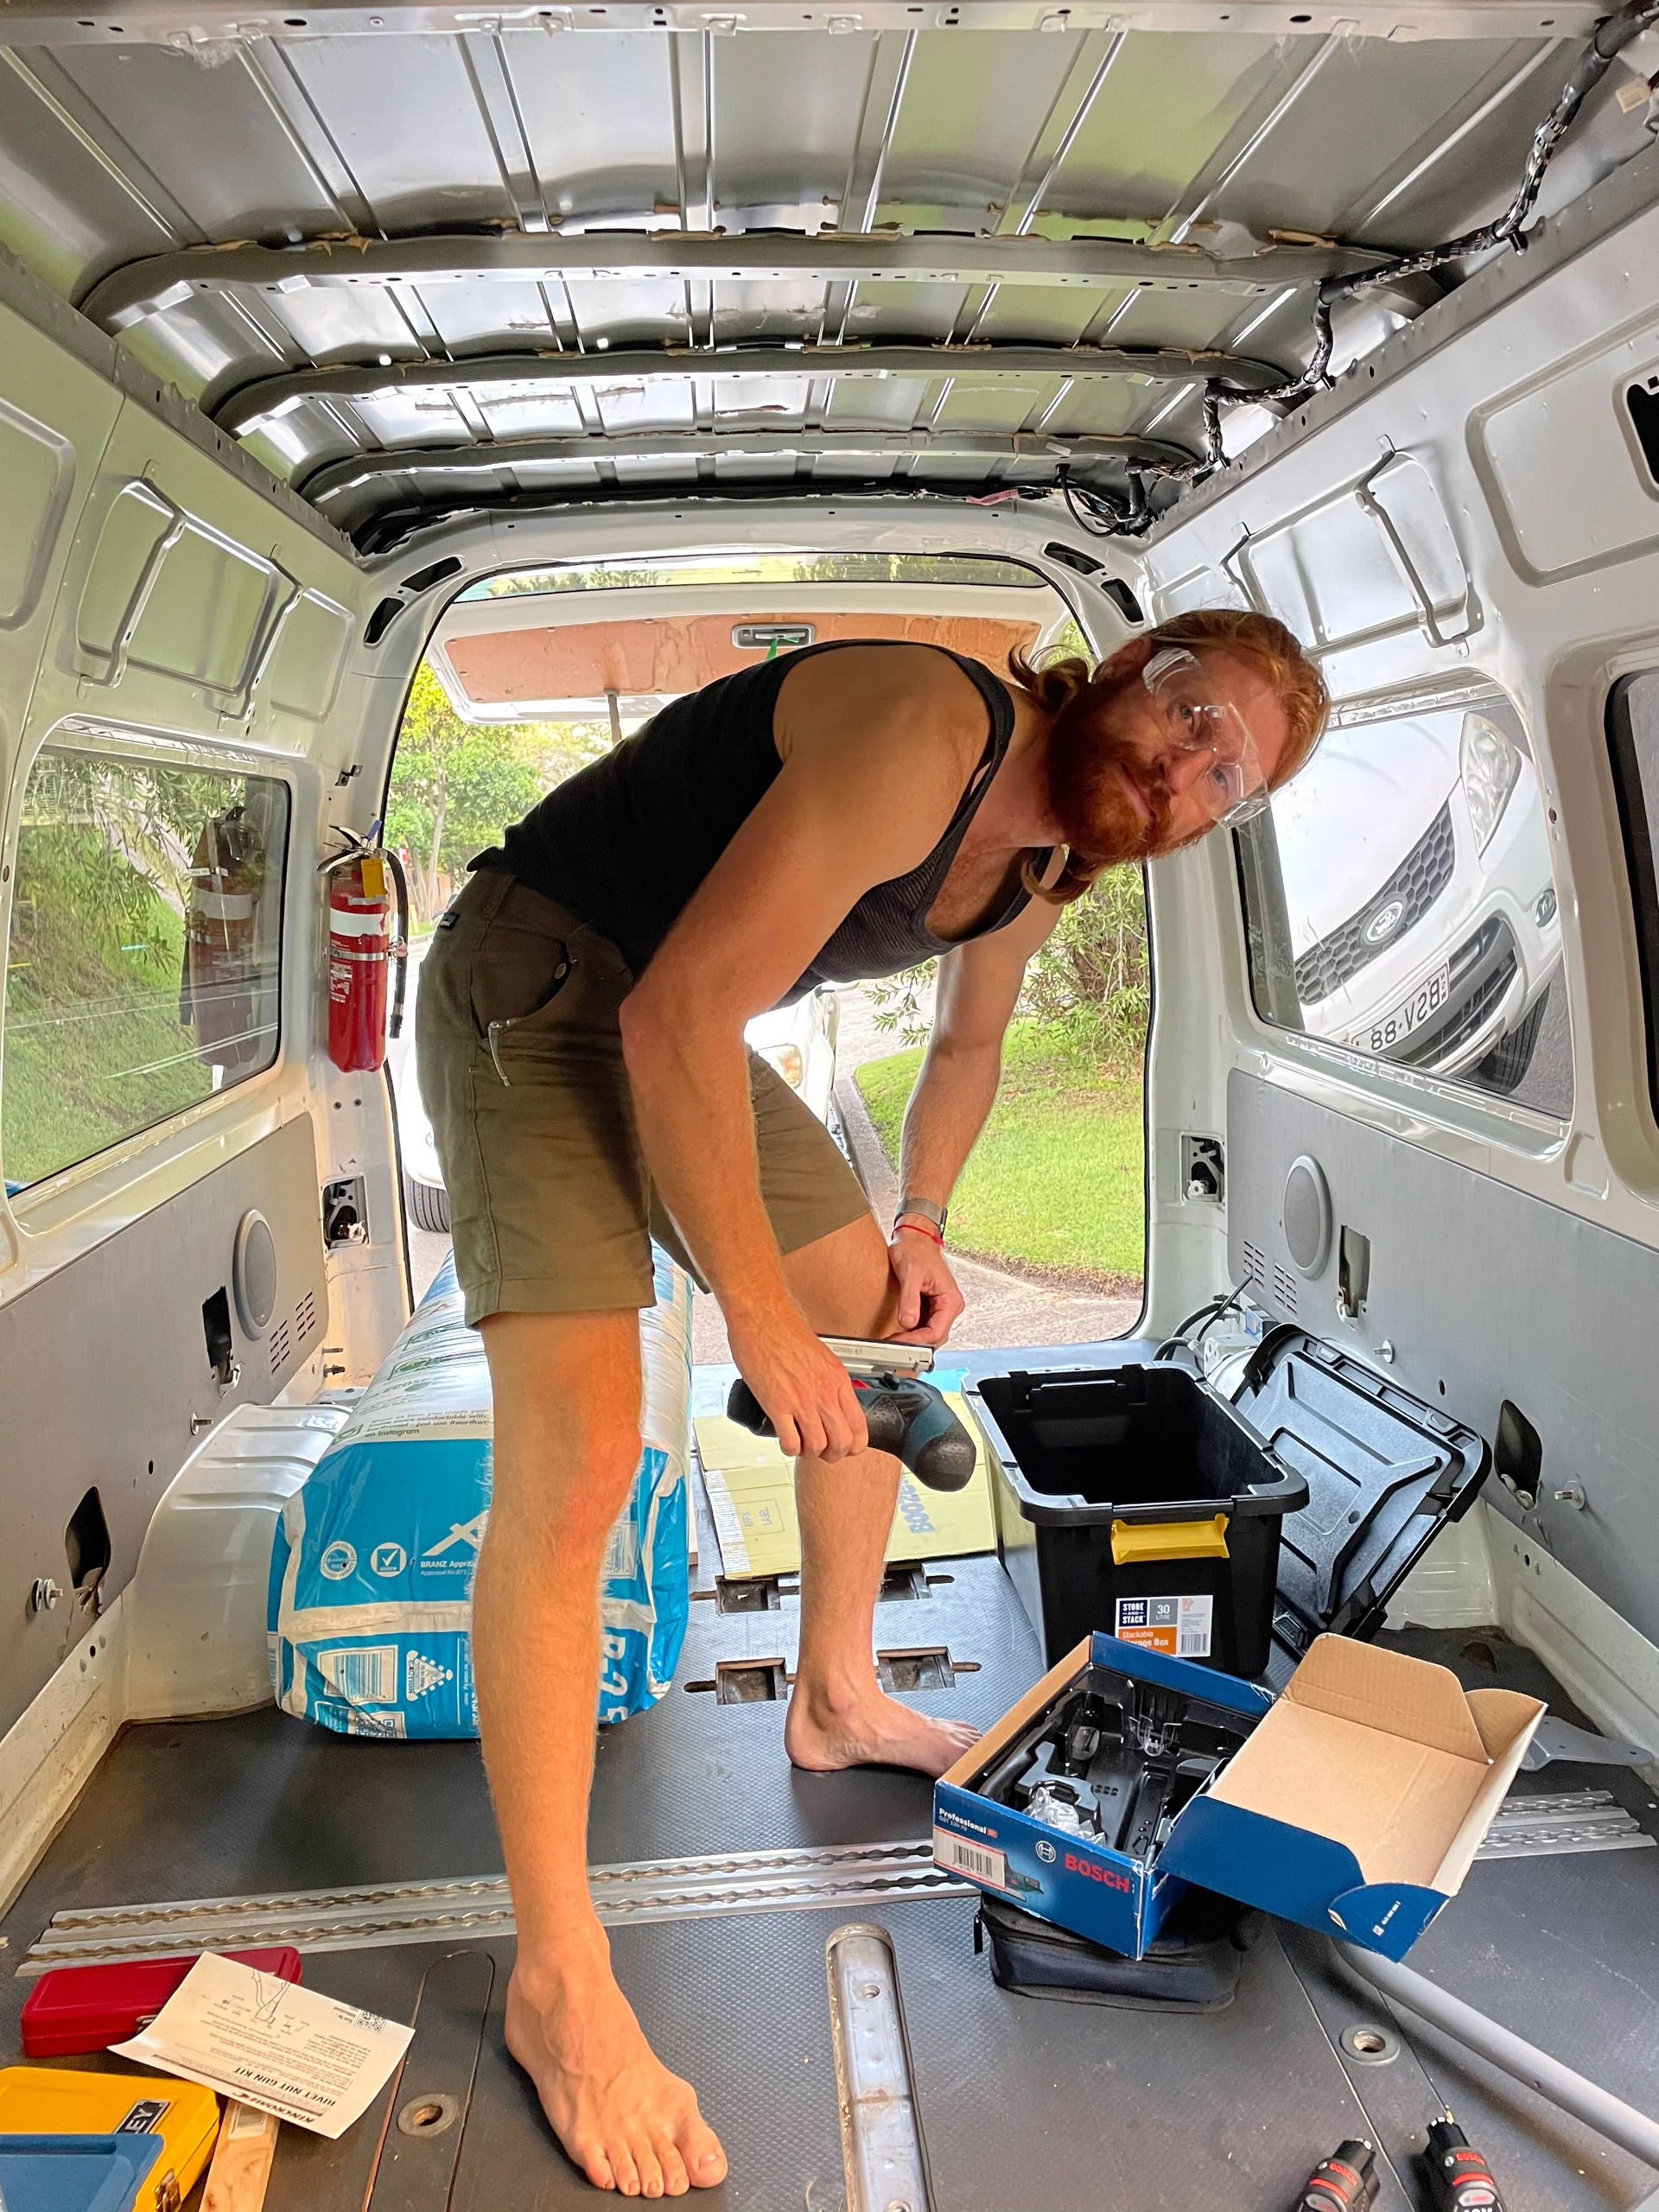
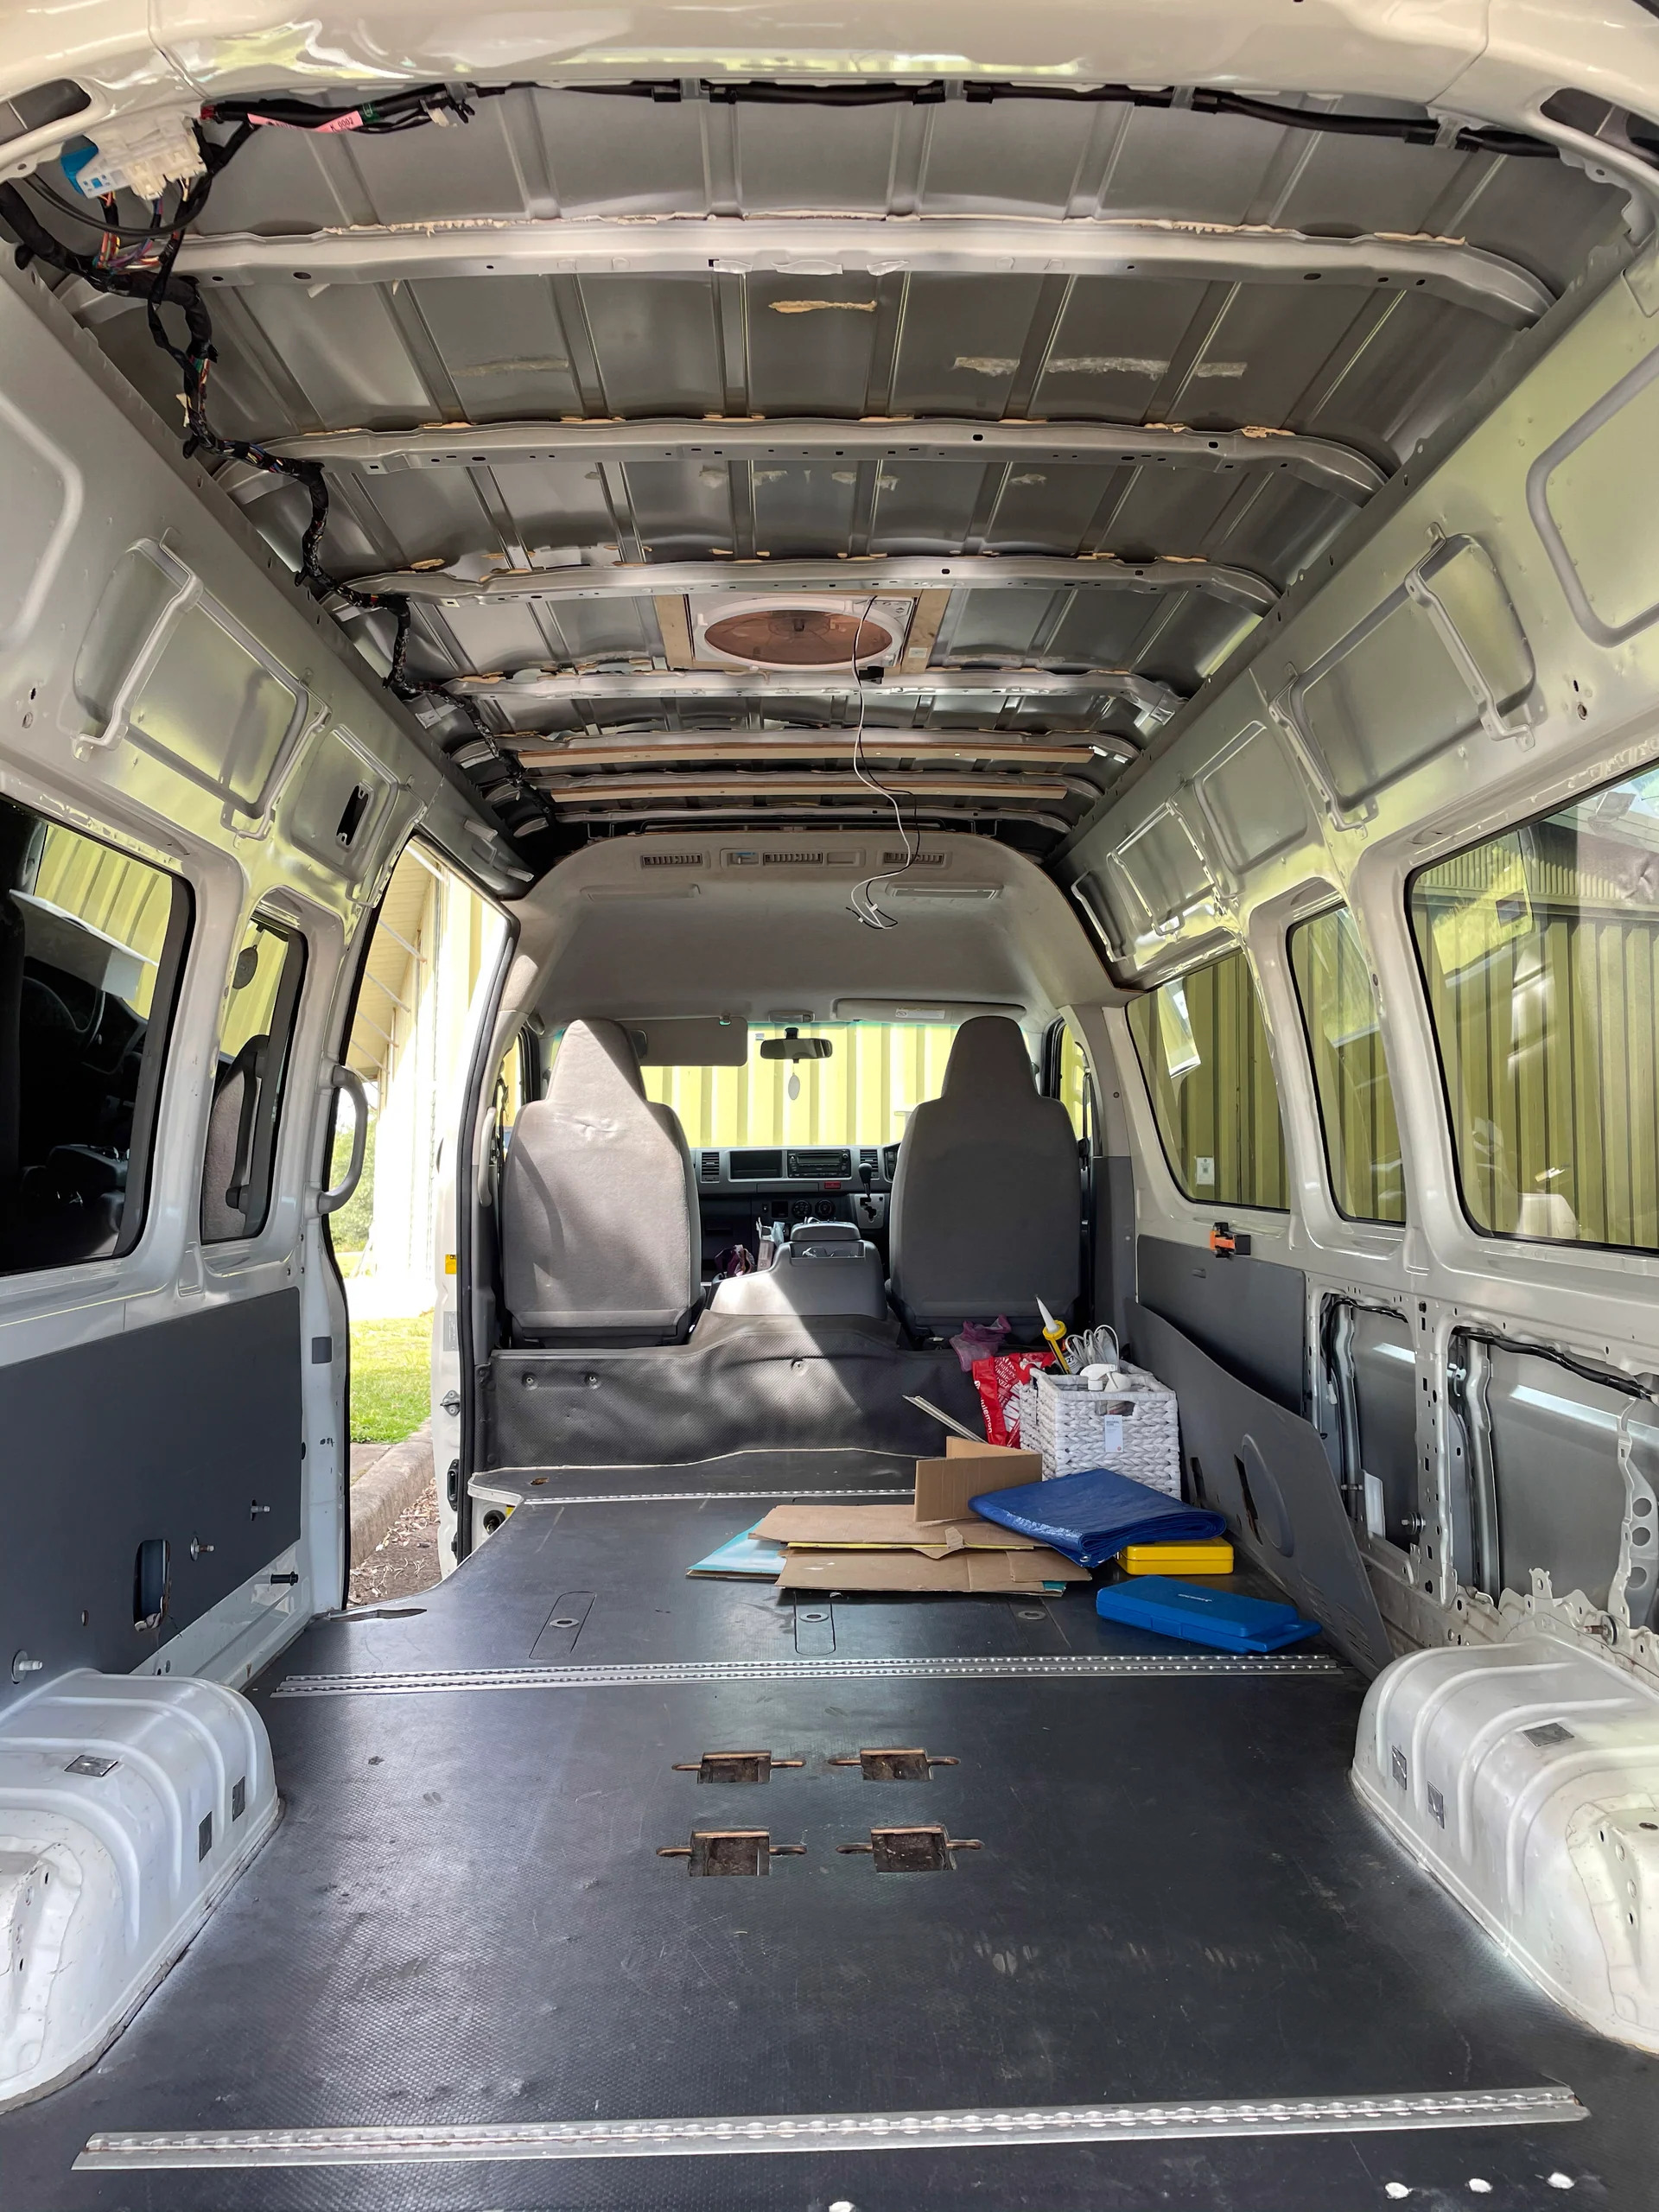
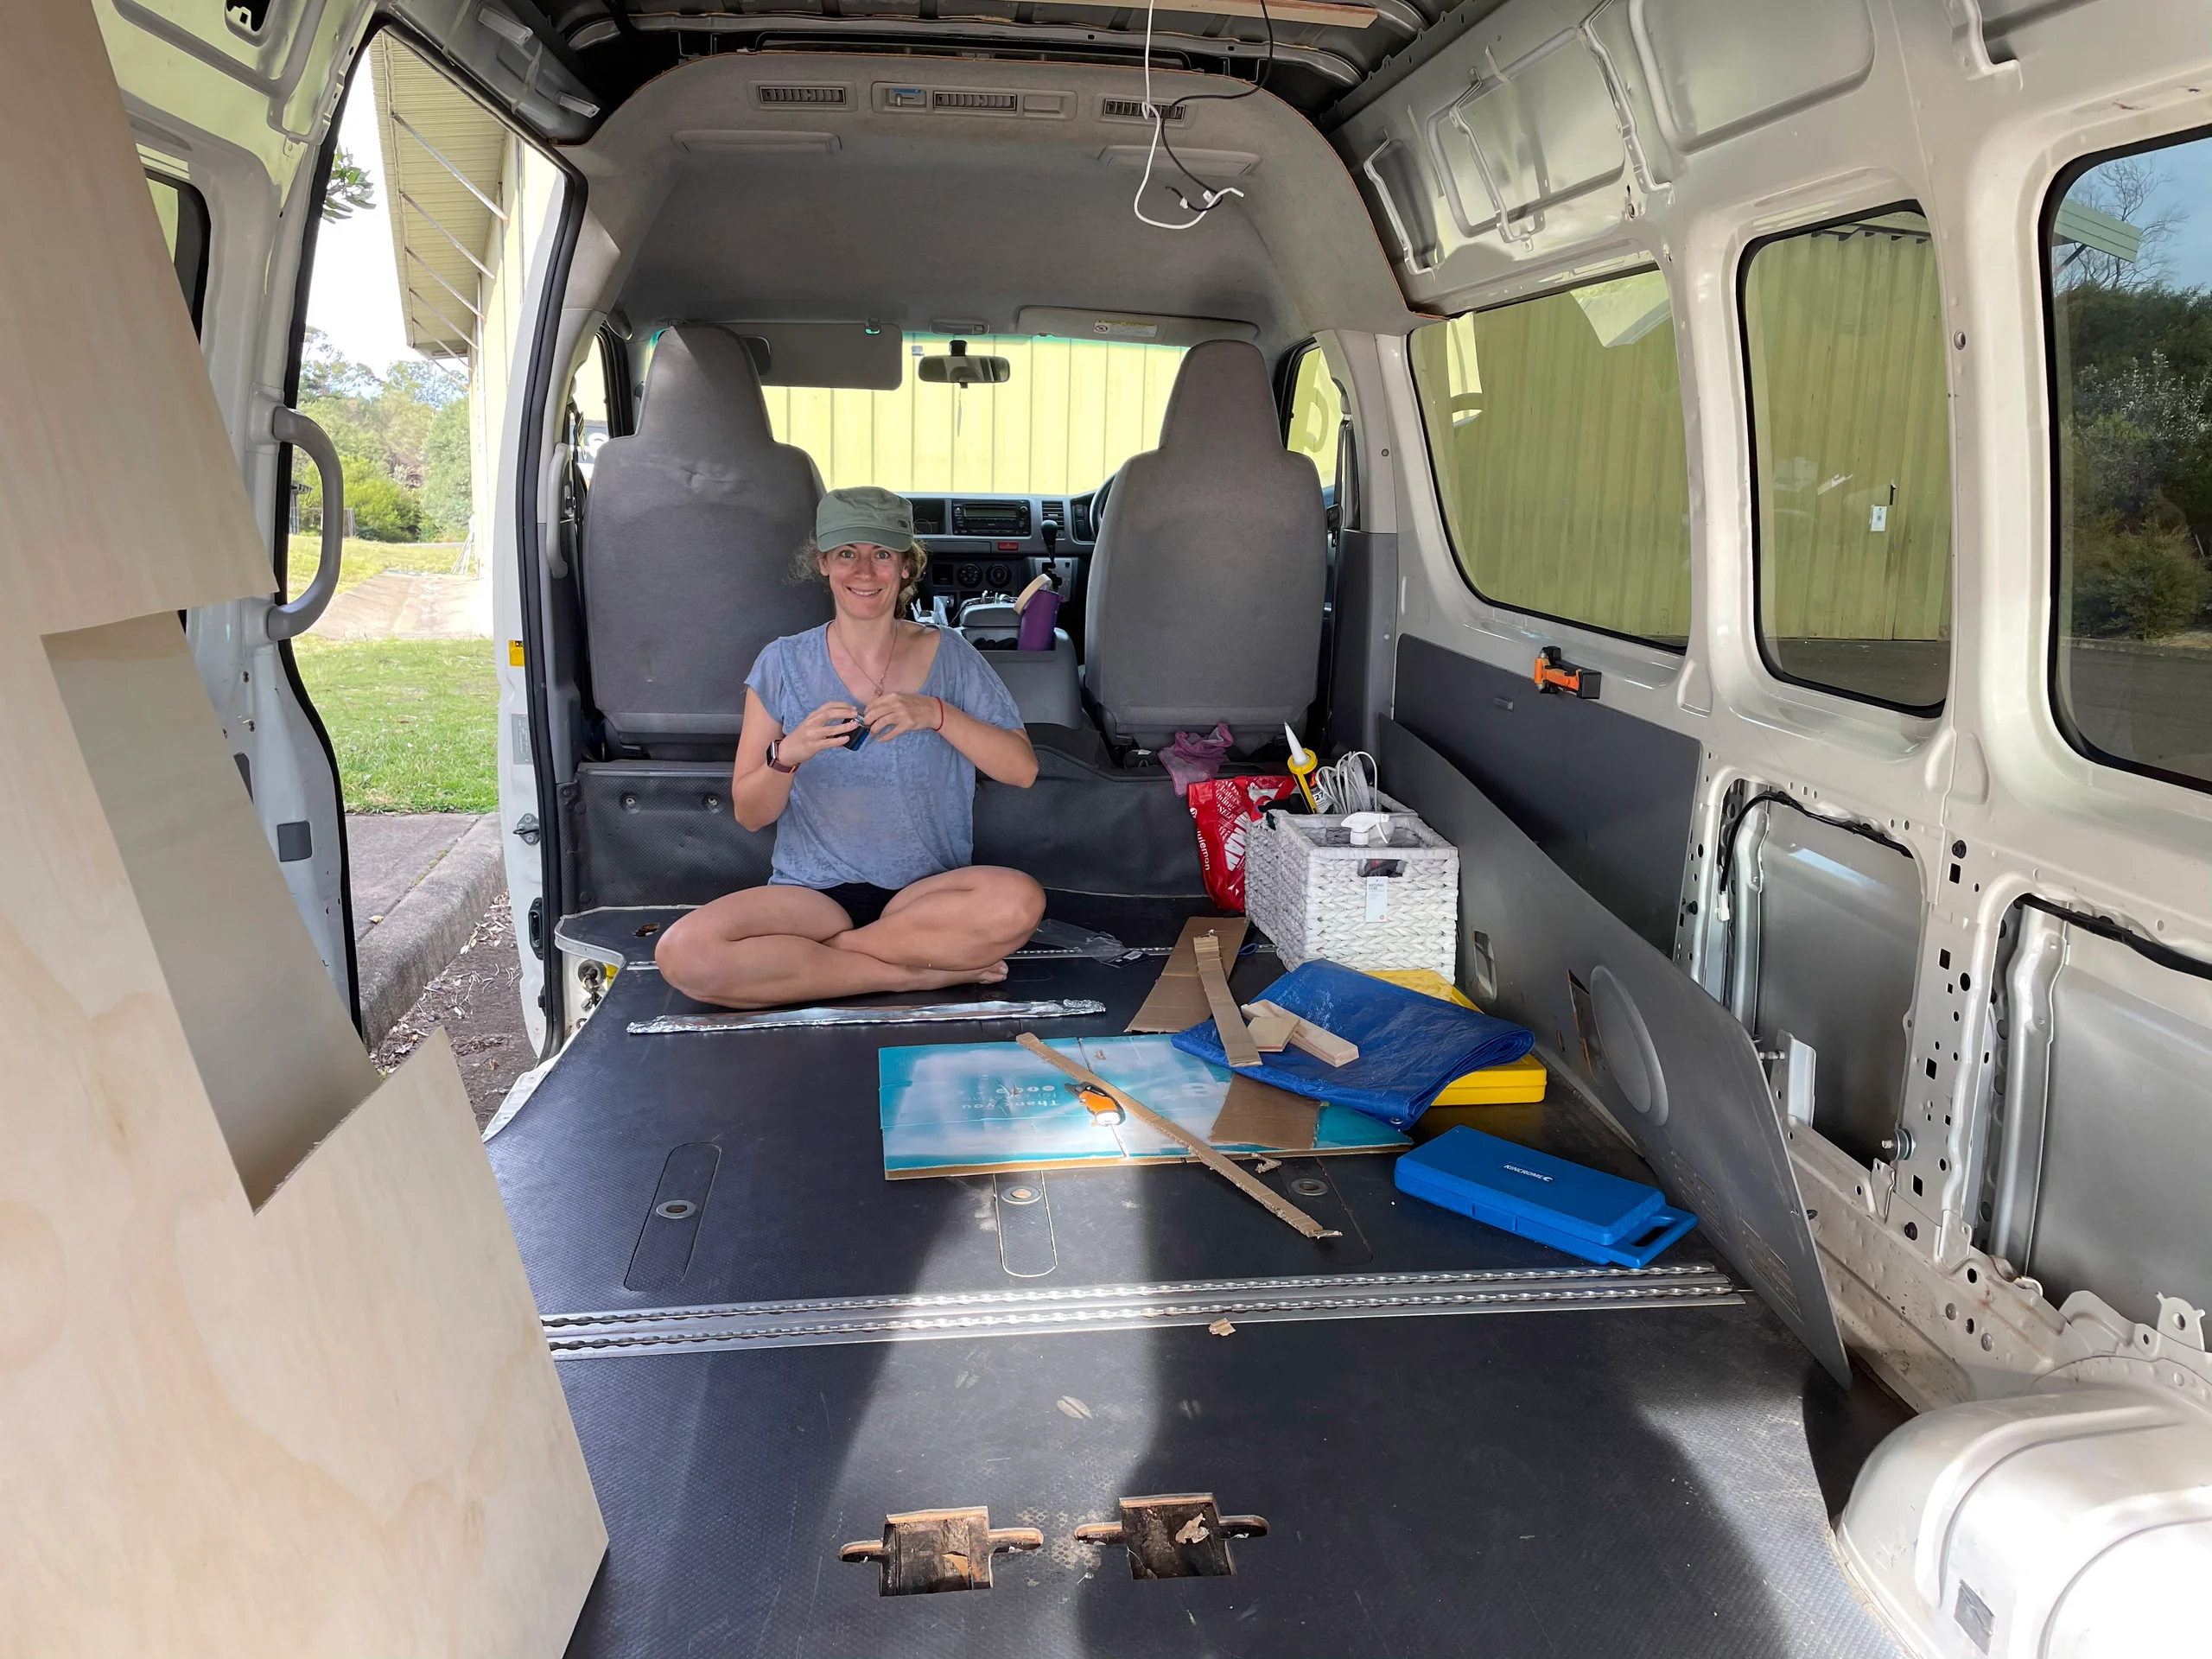
Plan for today is preparing the roof. We will install a vent fan in the ceiling soon. To do that, we need to rip out the old ceiling liner and clean it all up a bit. We will later install a nice timber roof as well. Getting the liner off was easy. But there are a lot of attachment points that we need to cut and grind off.
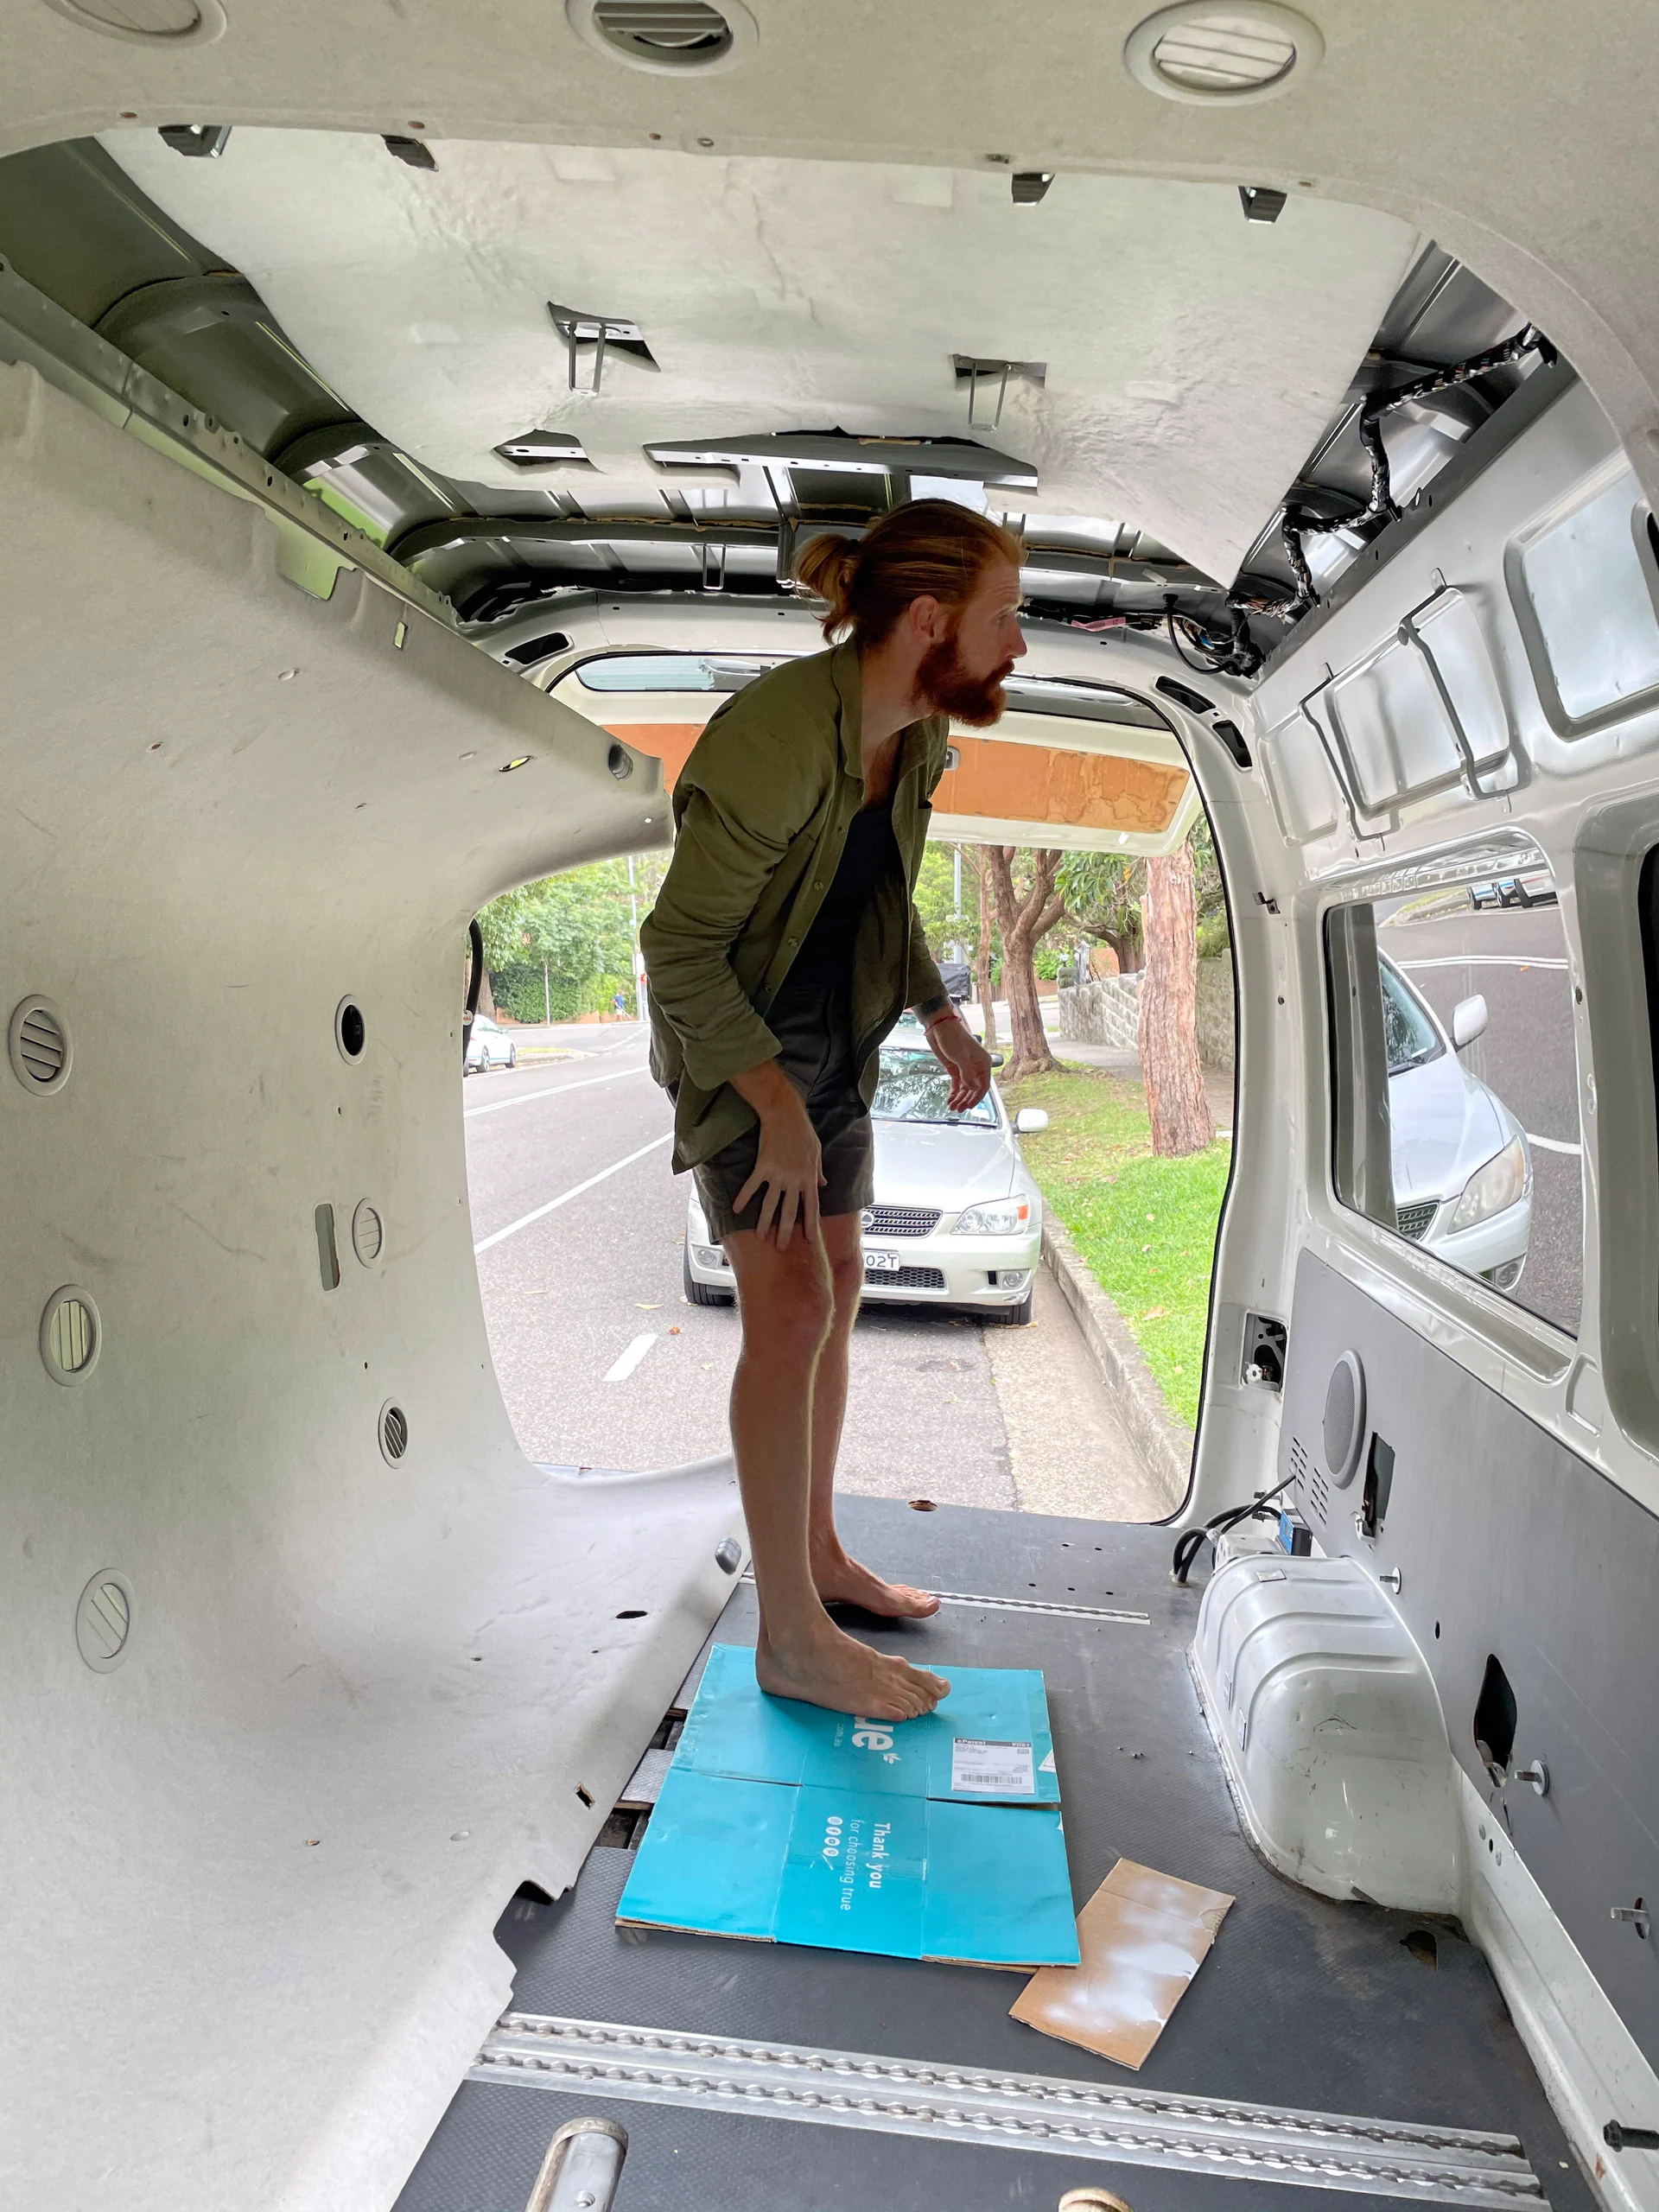
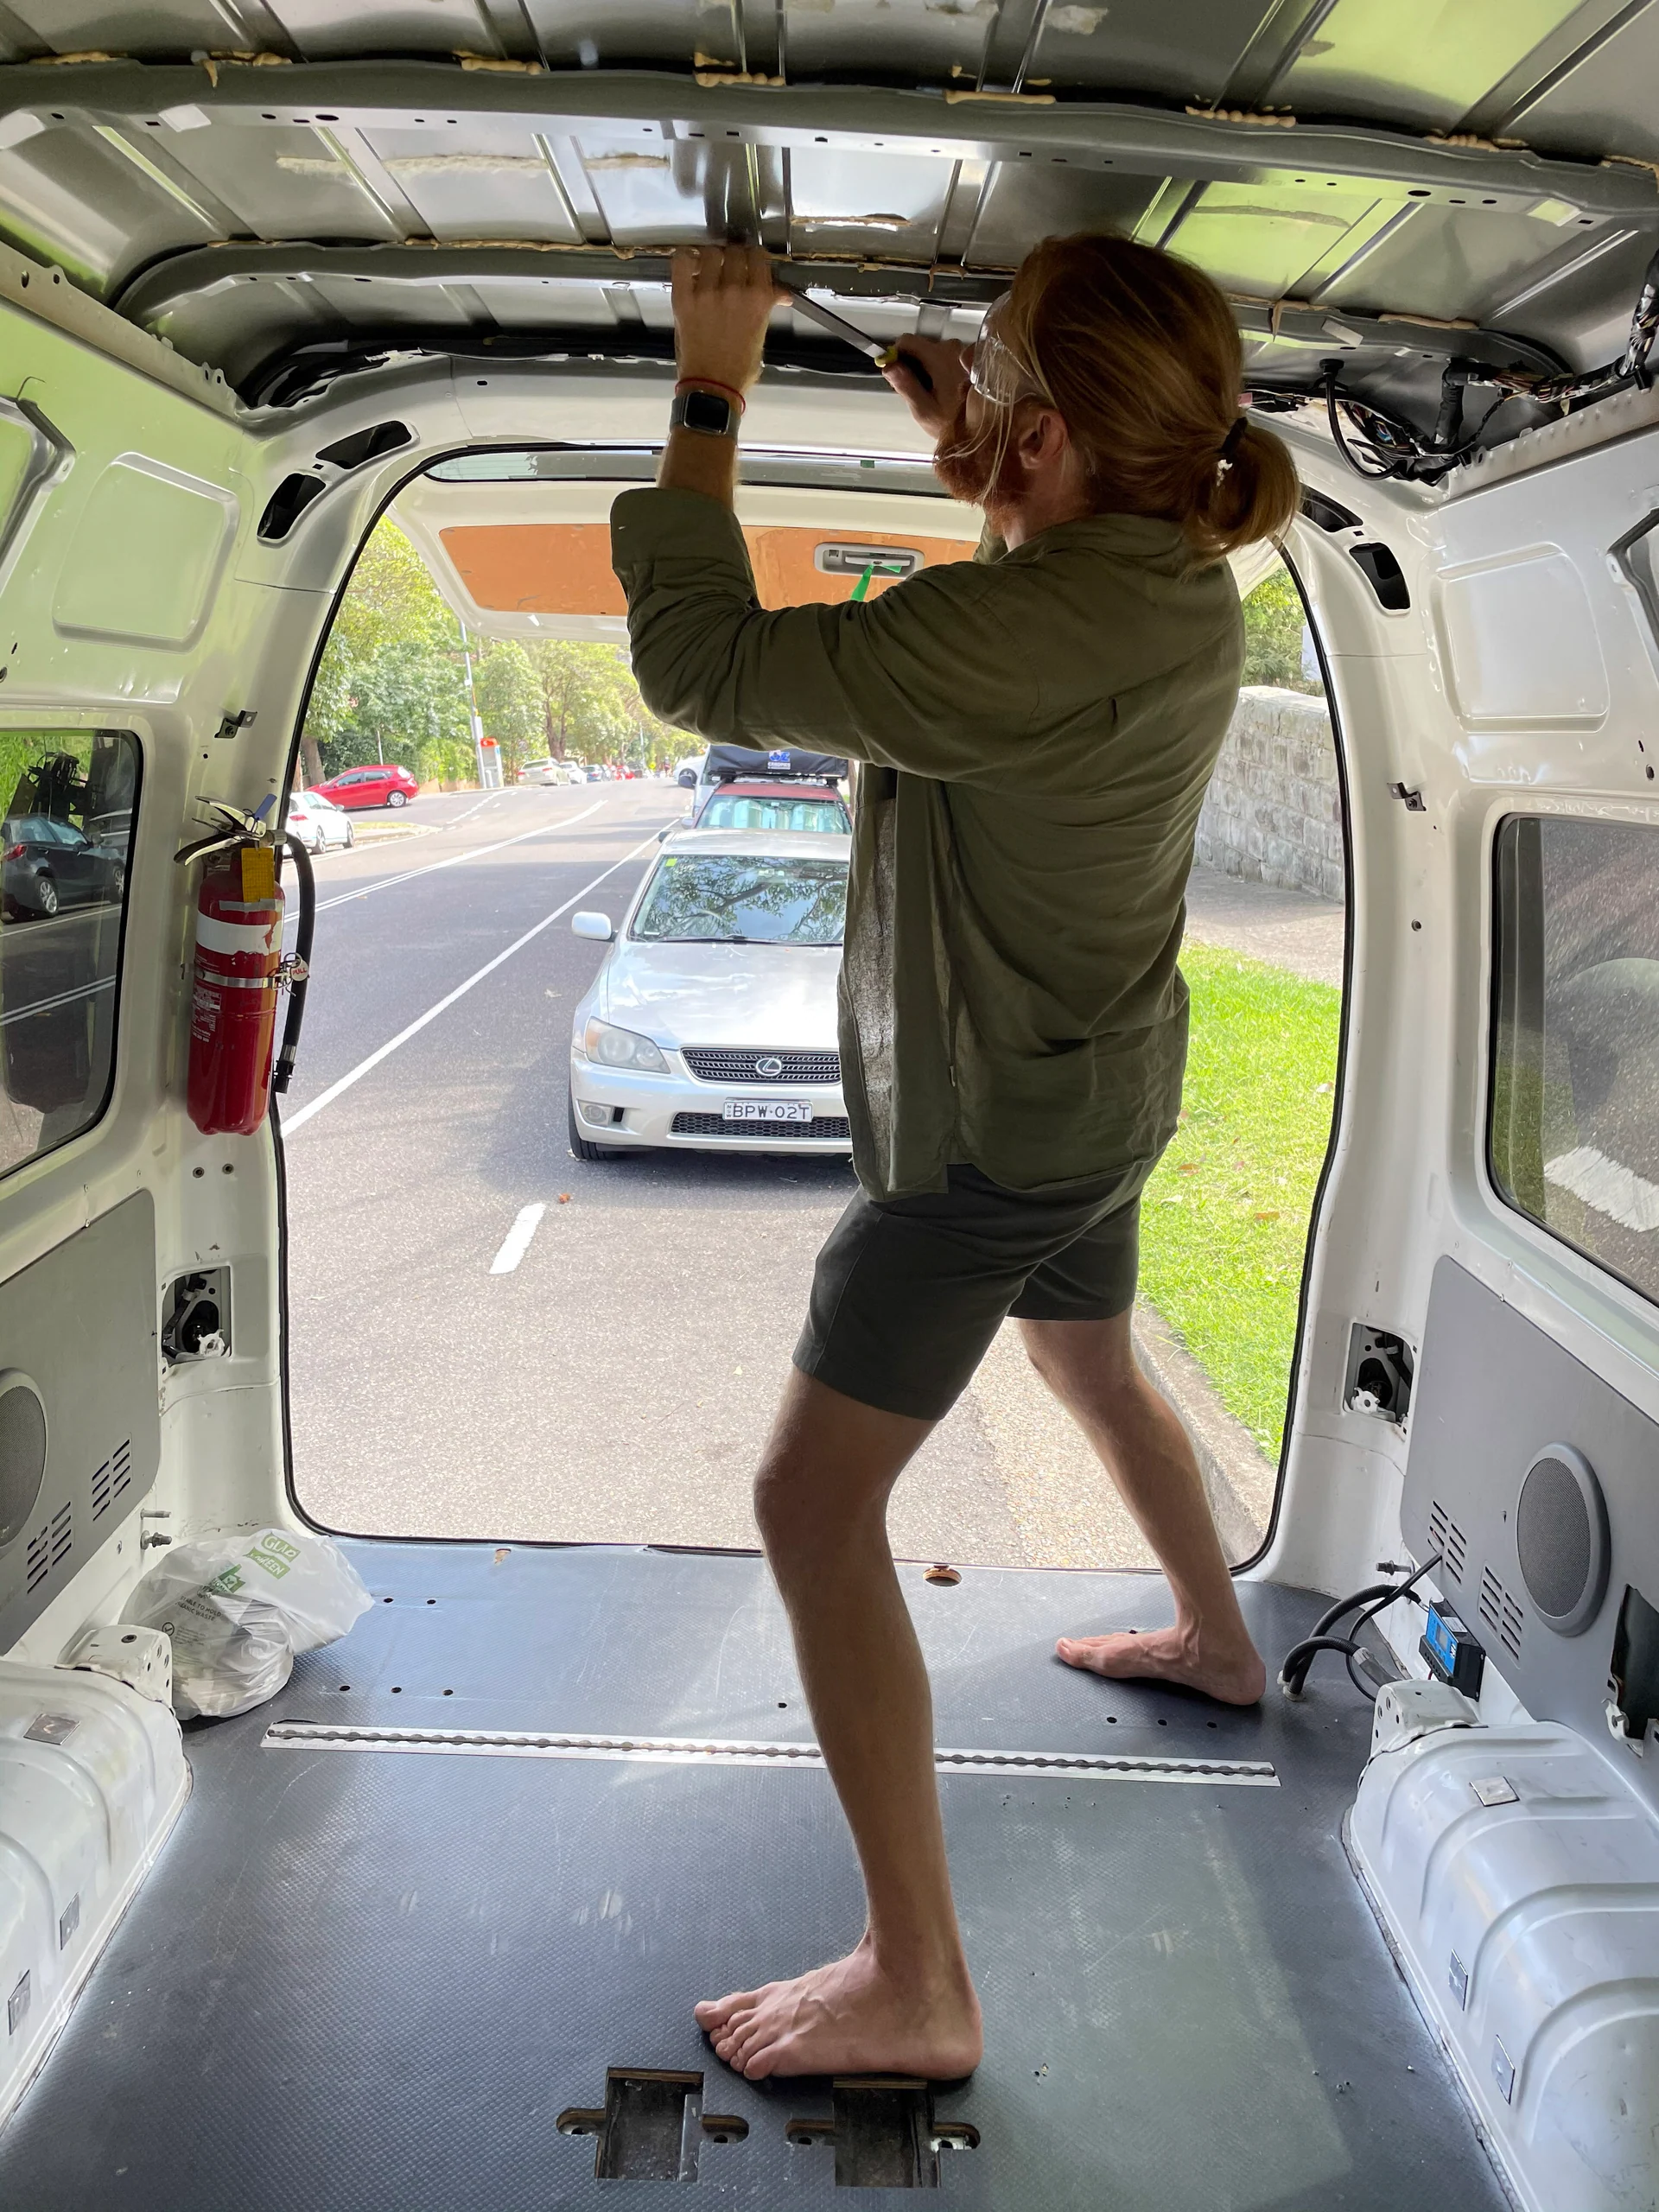
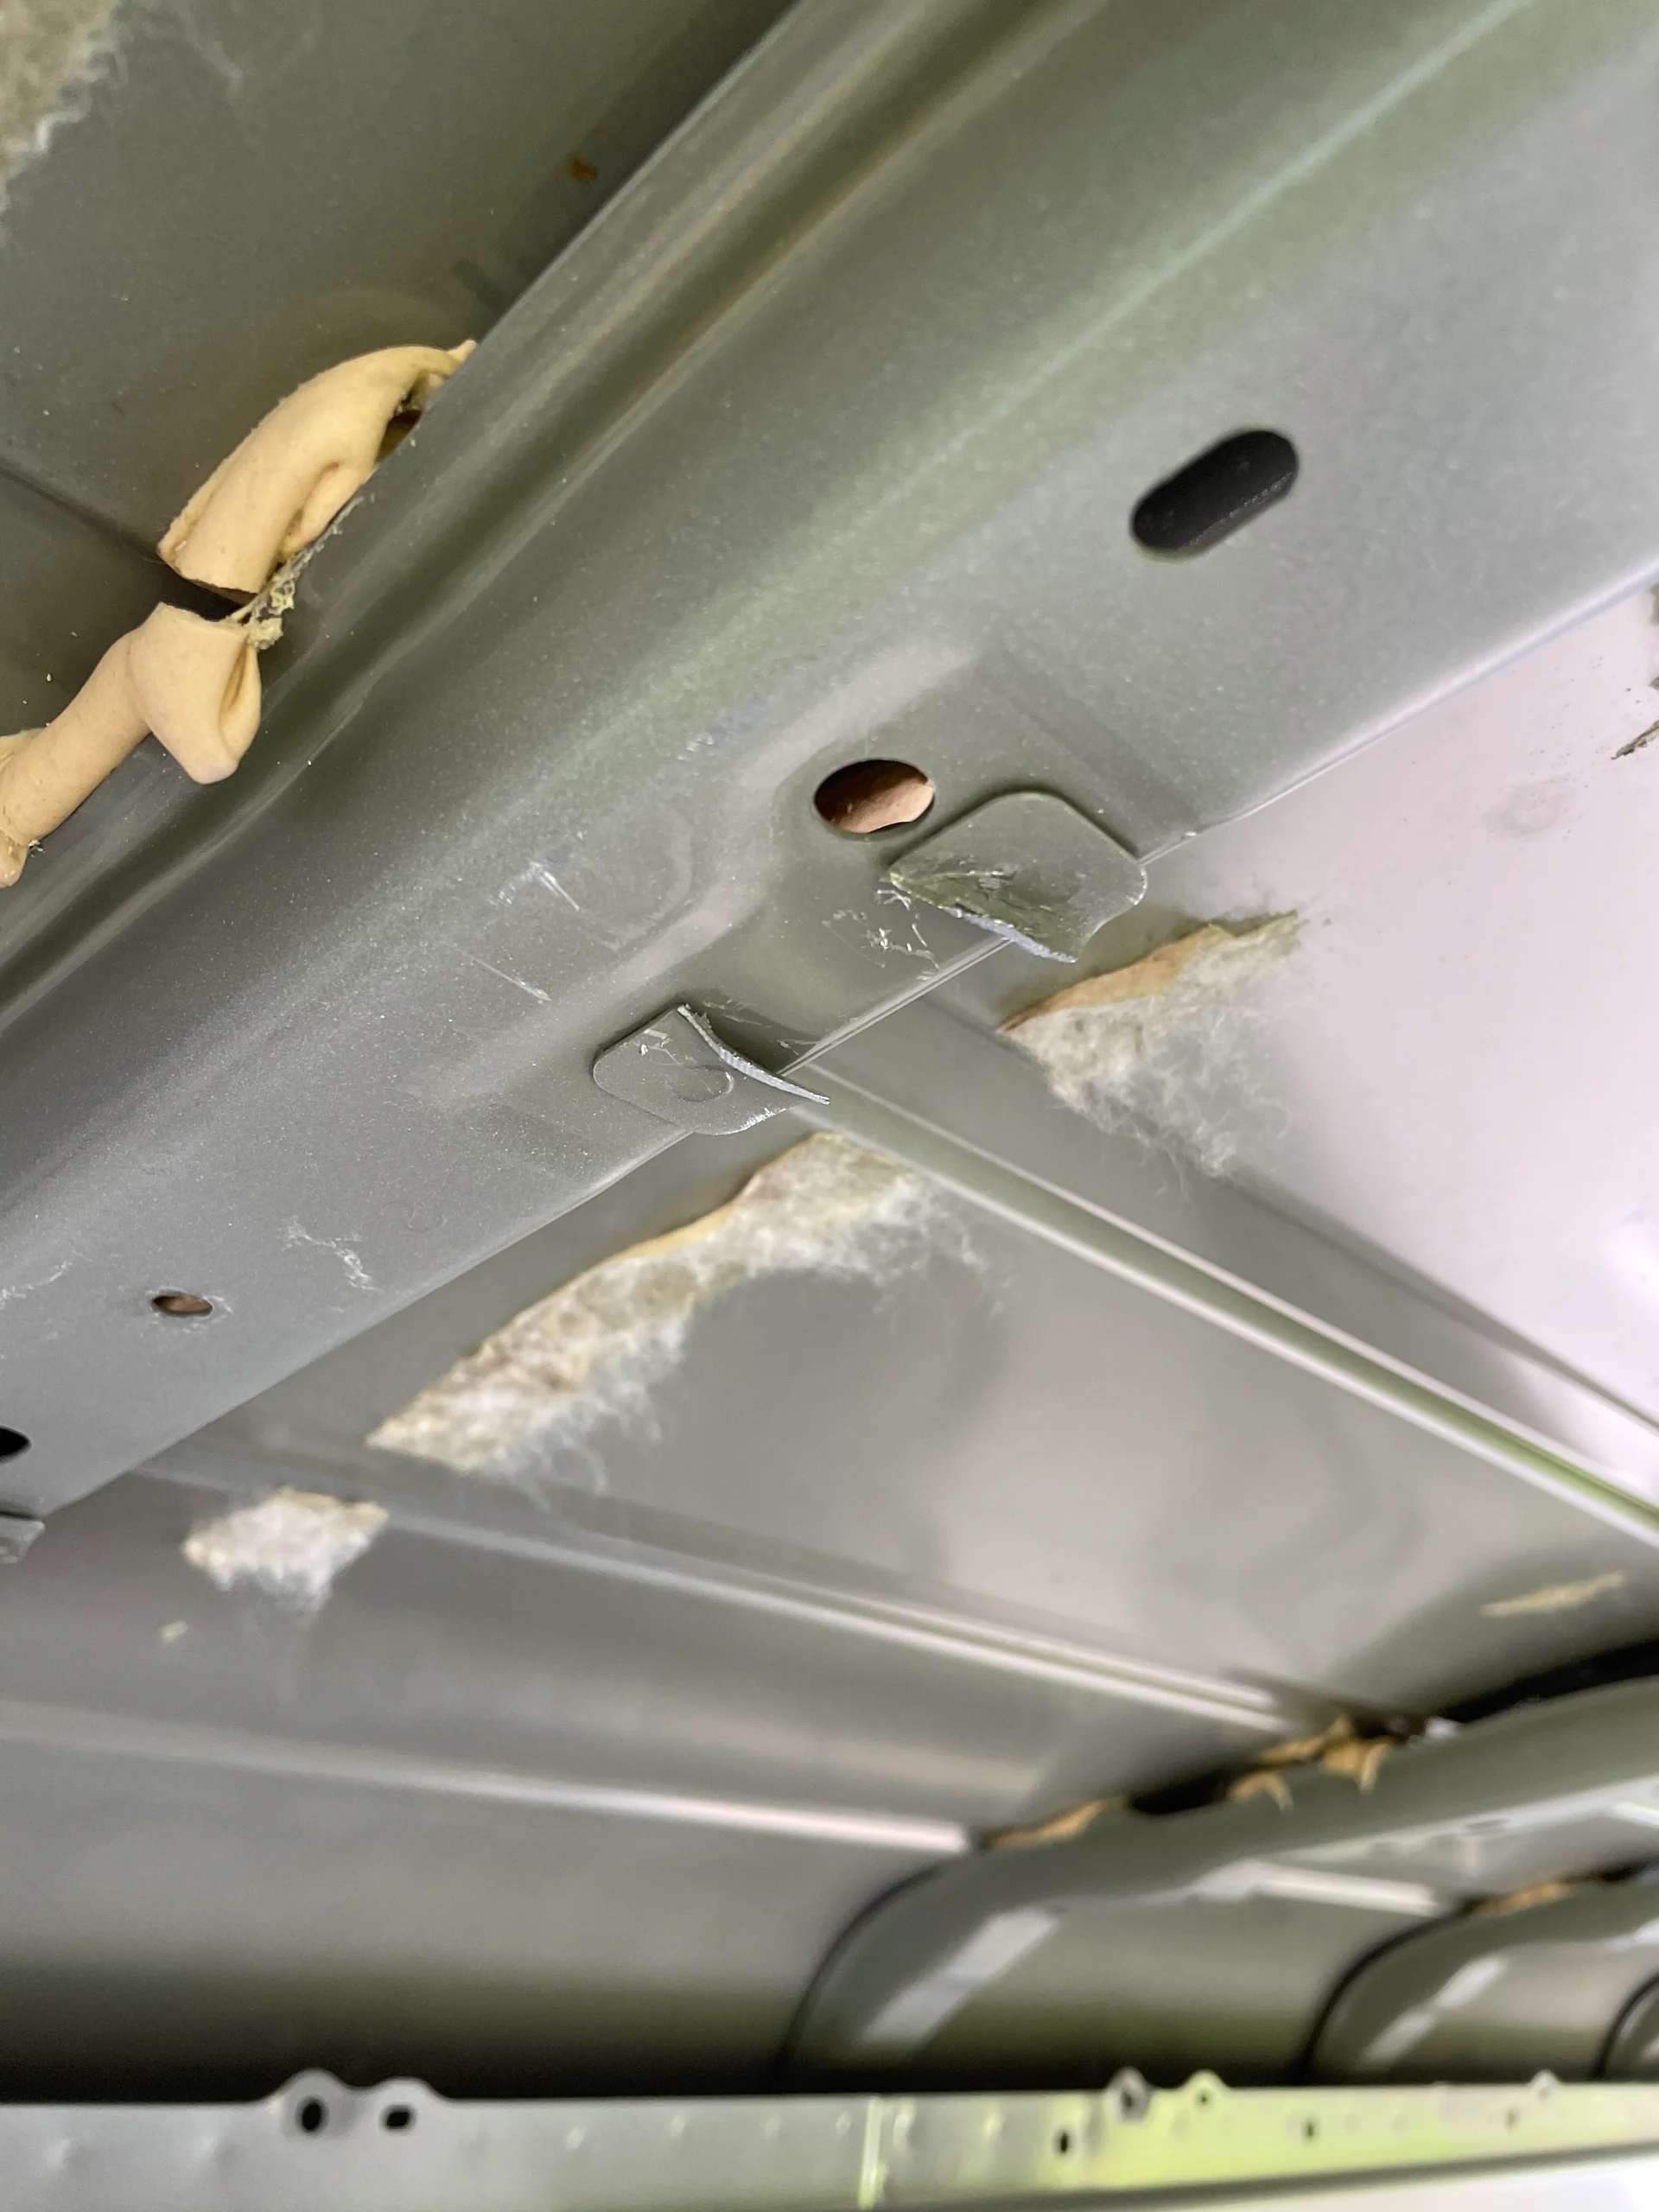
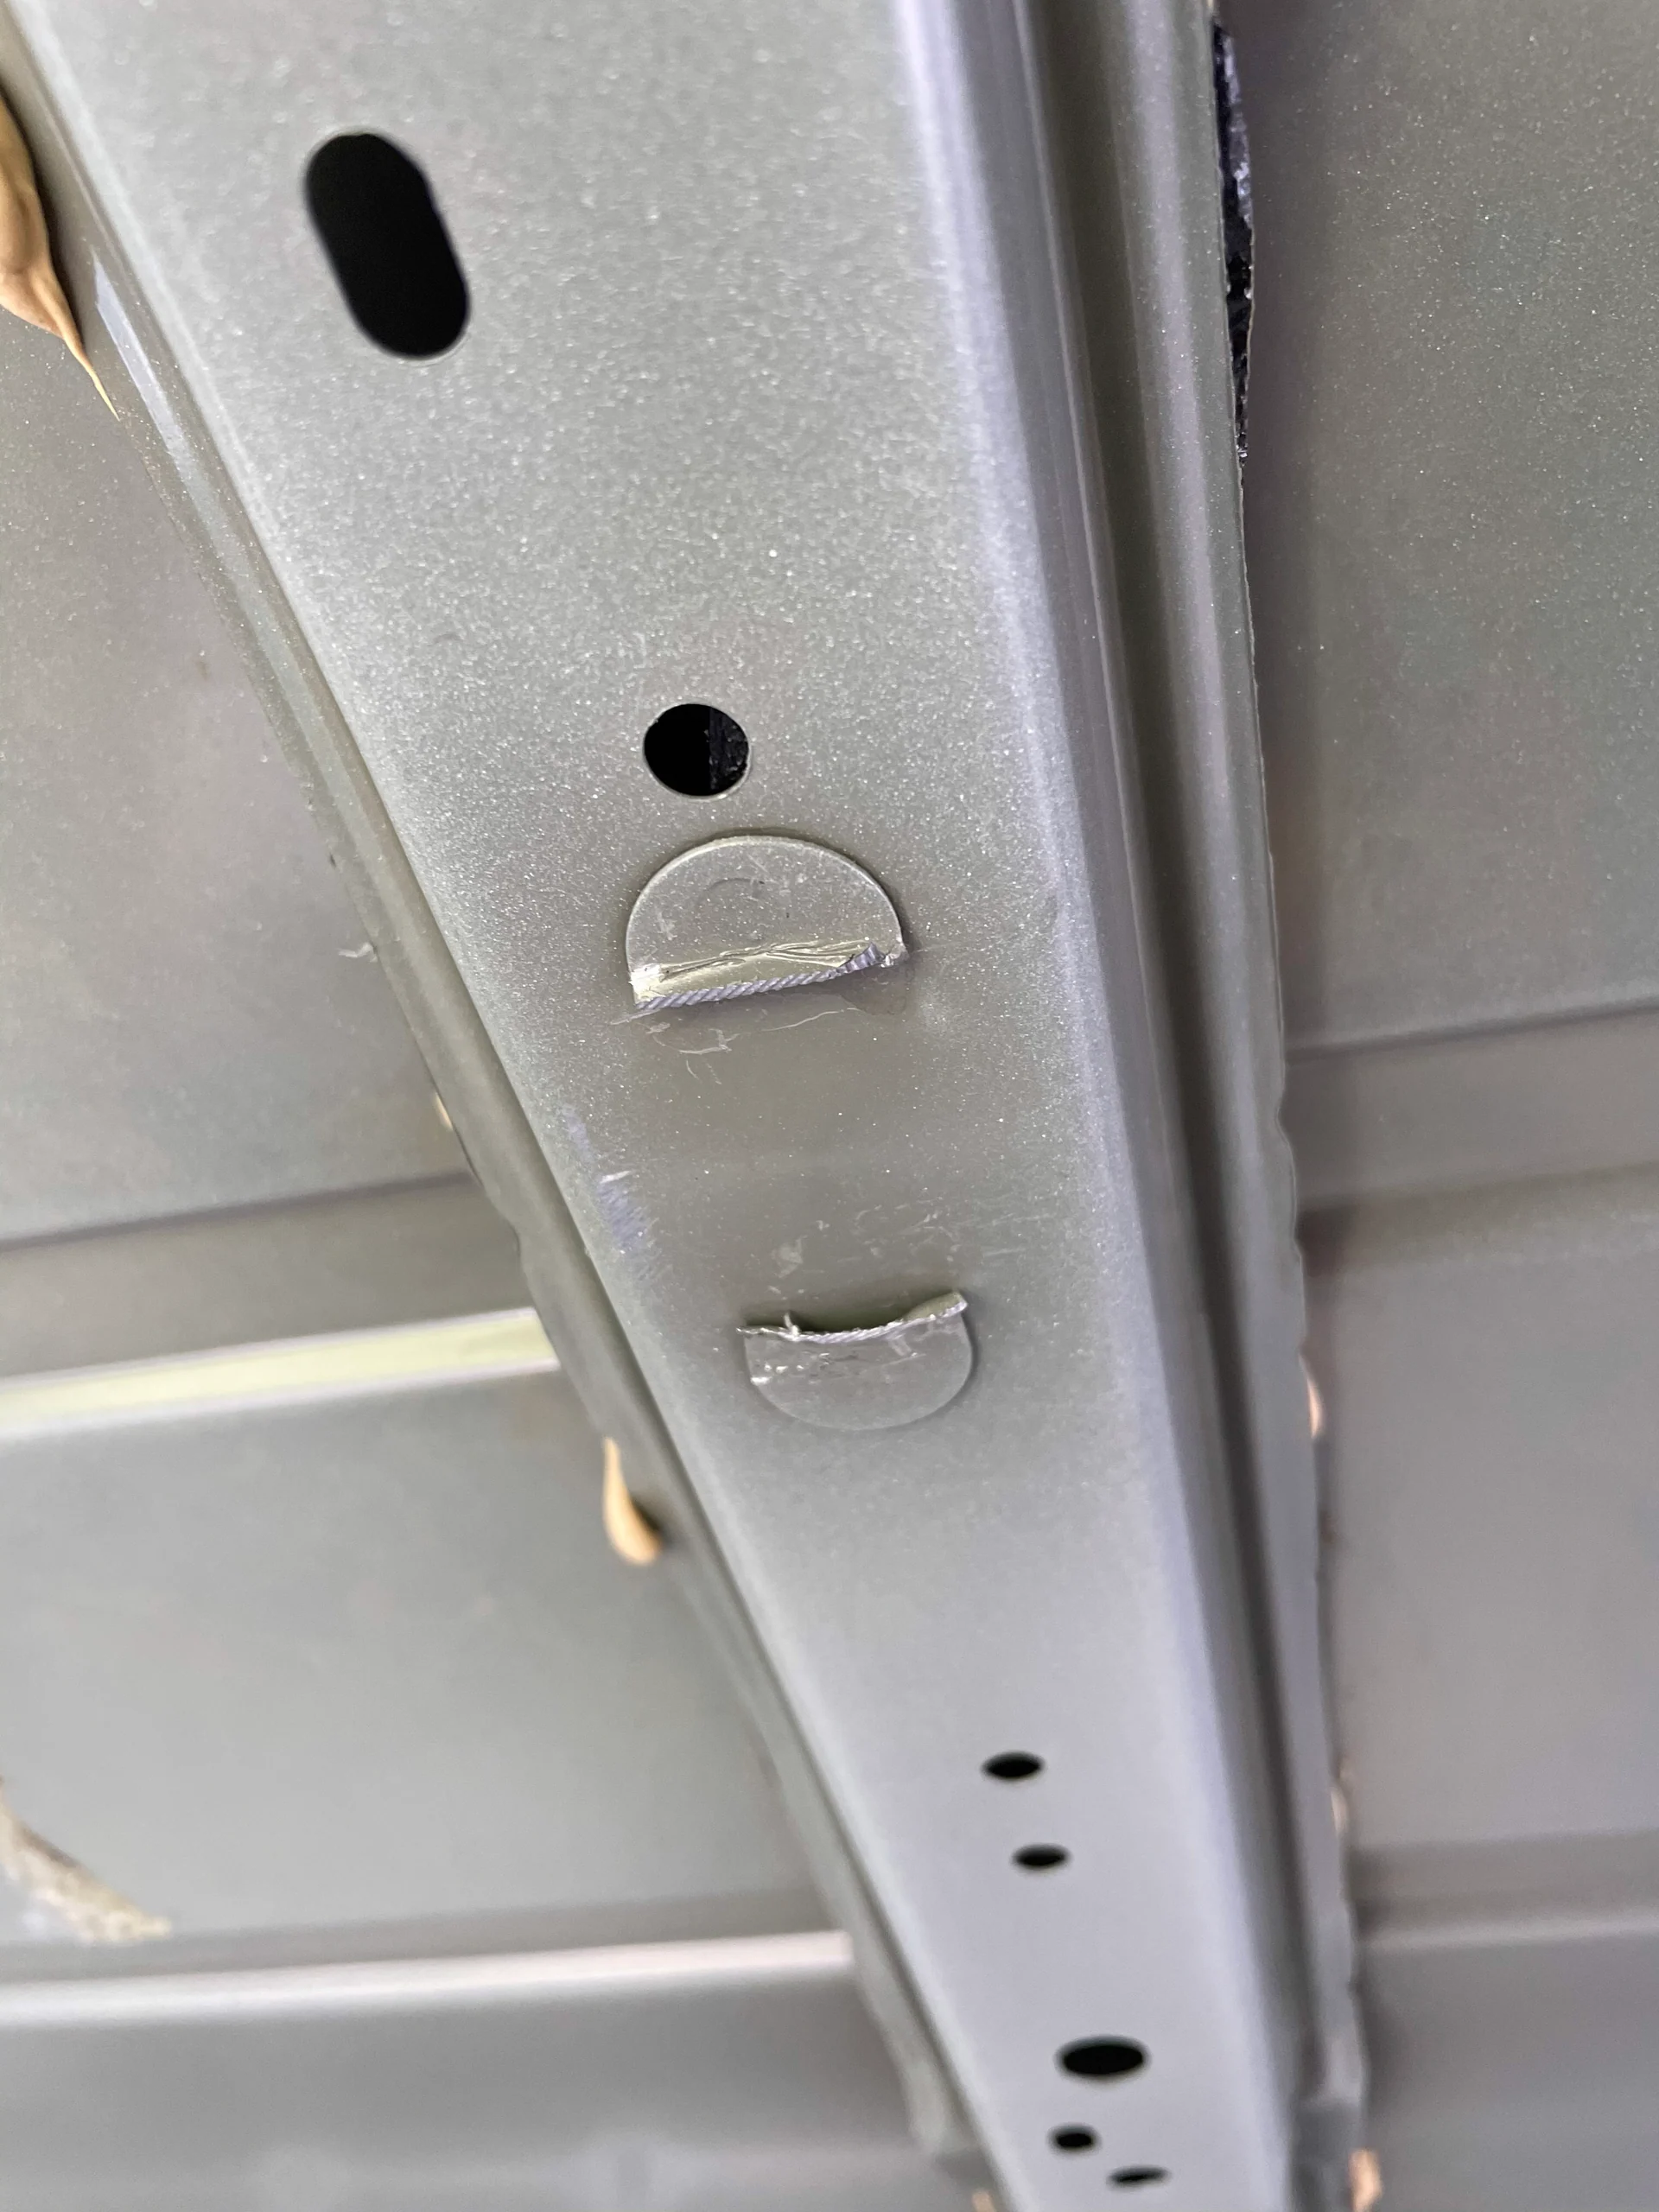
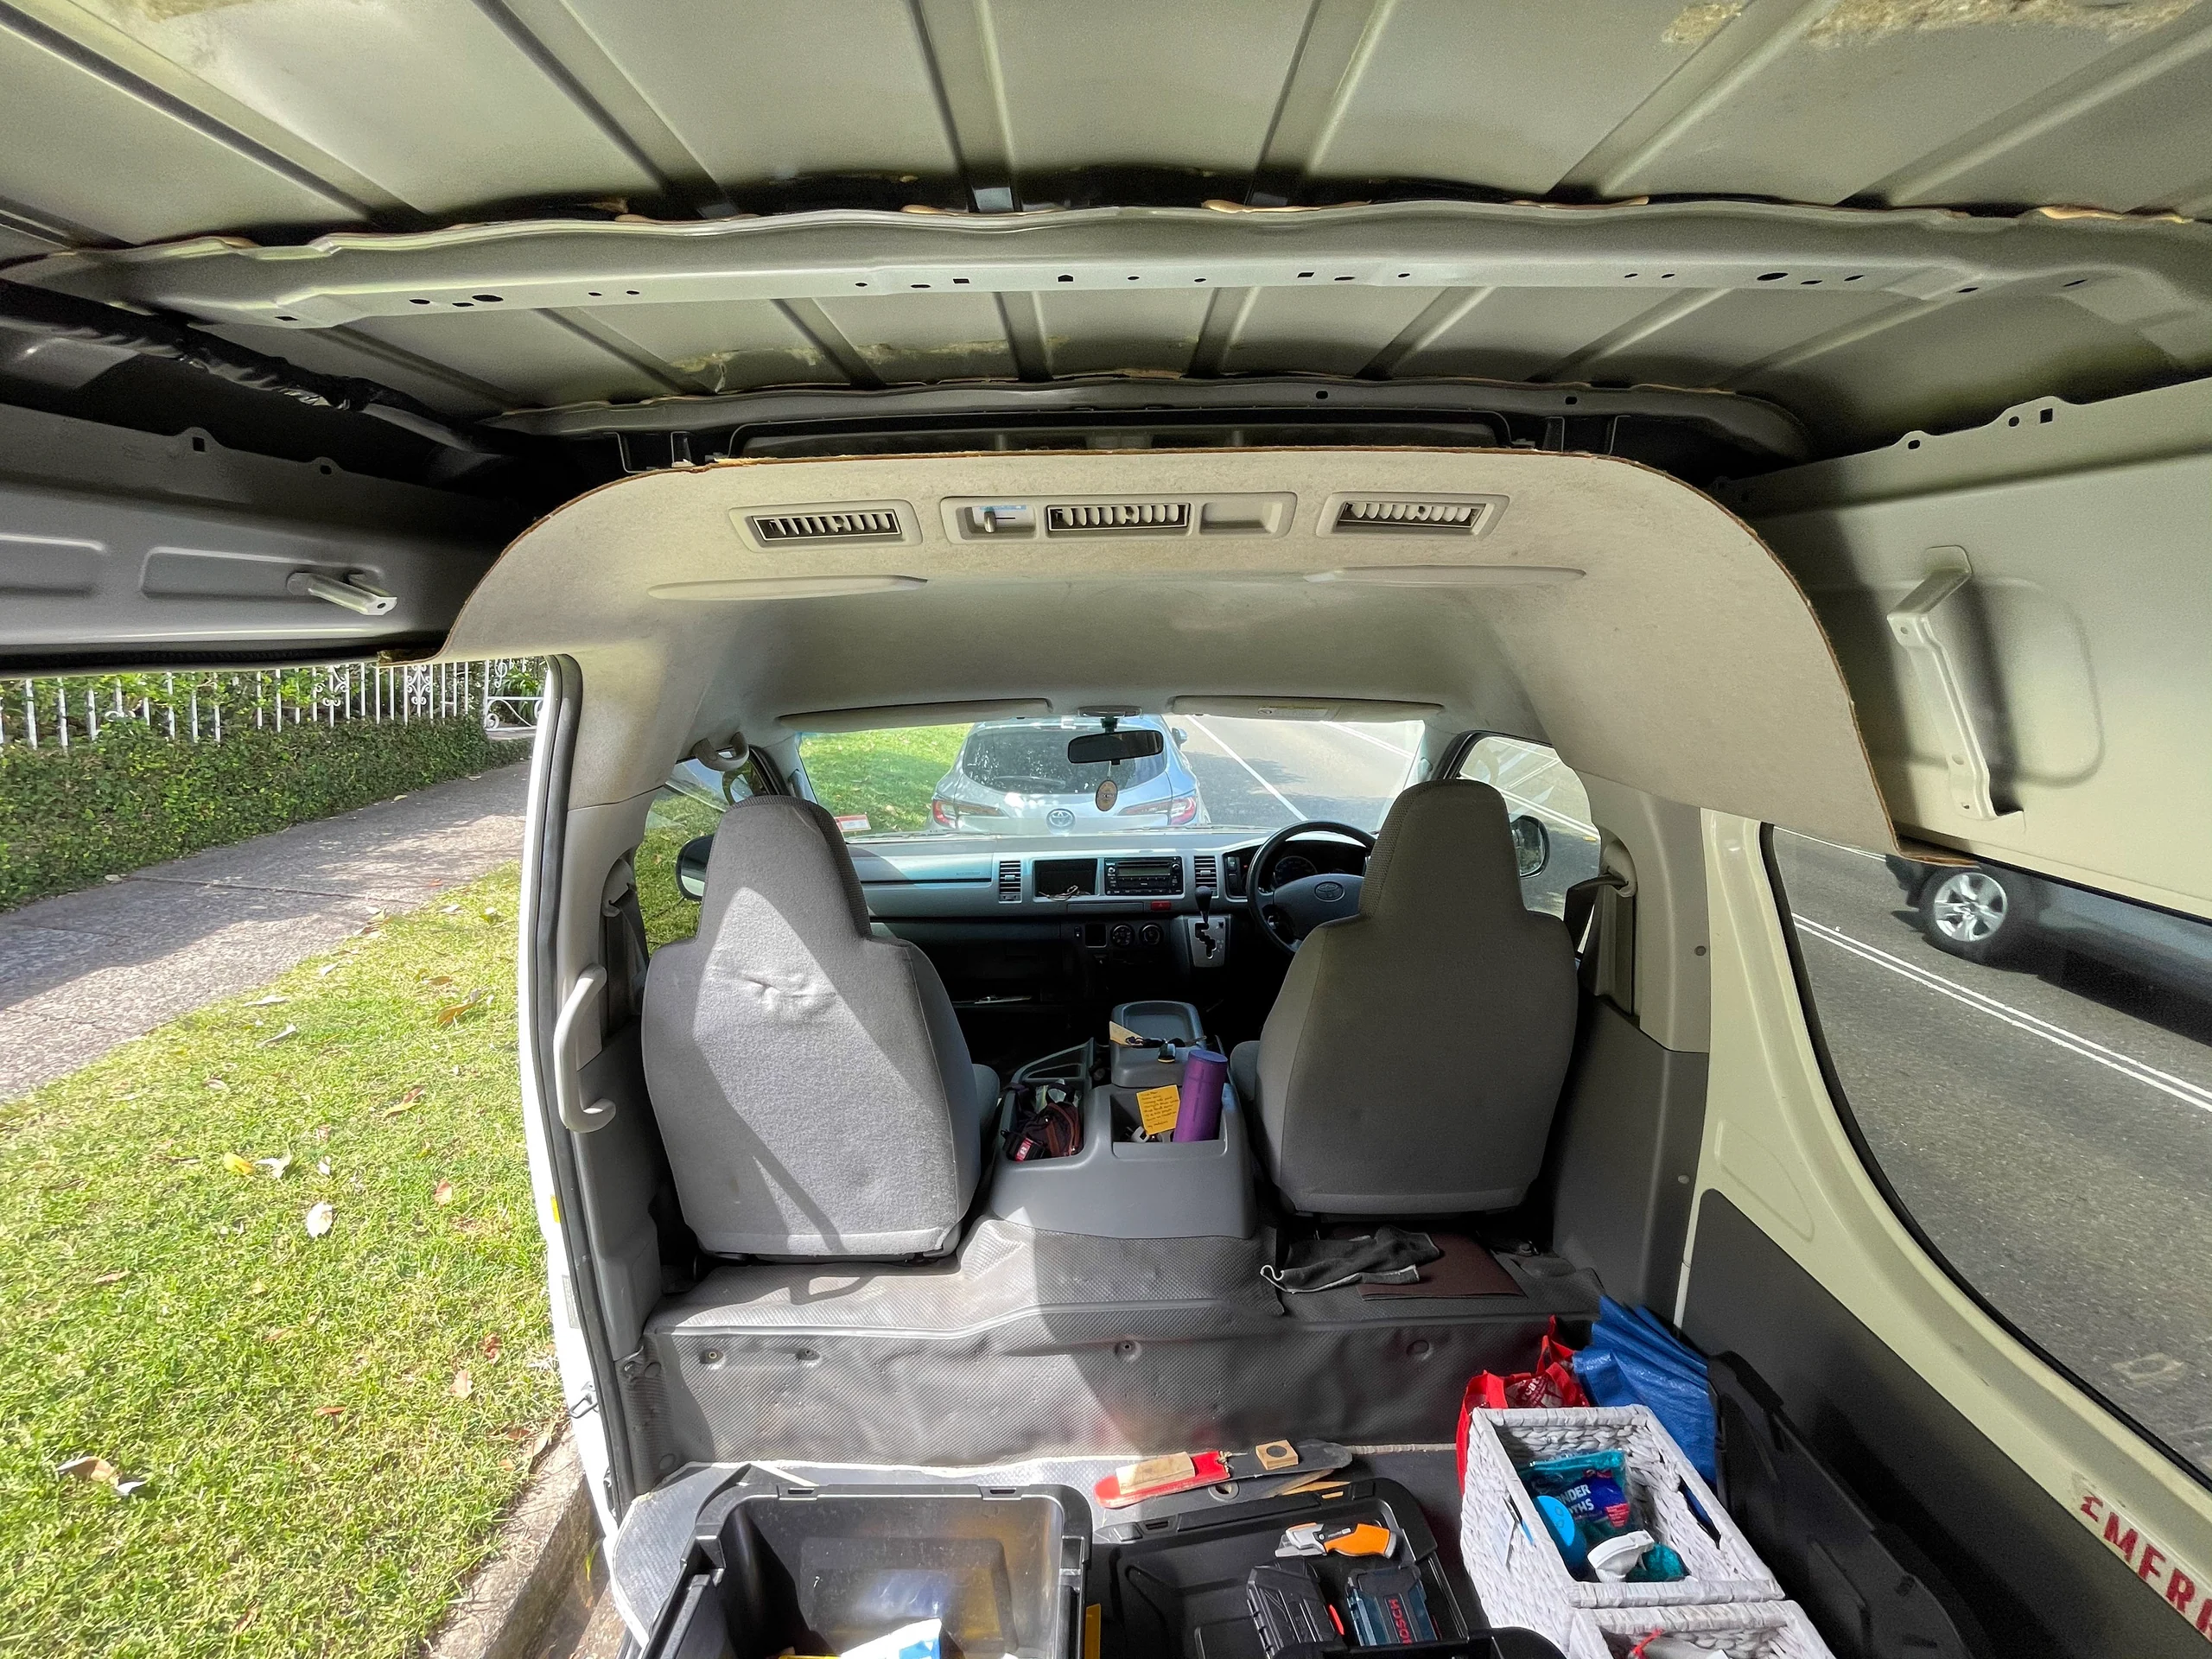
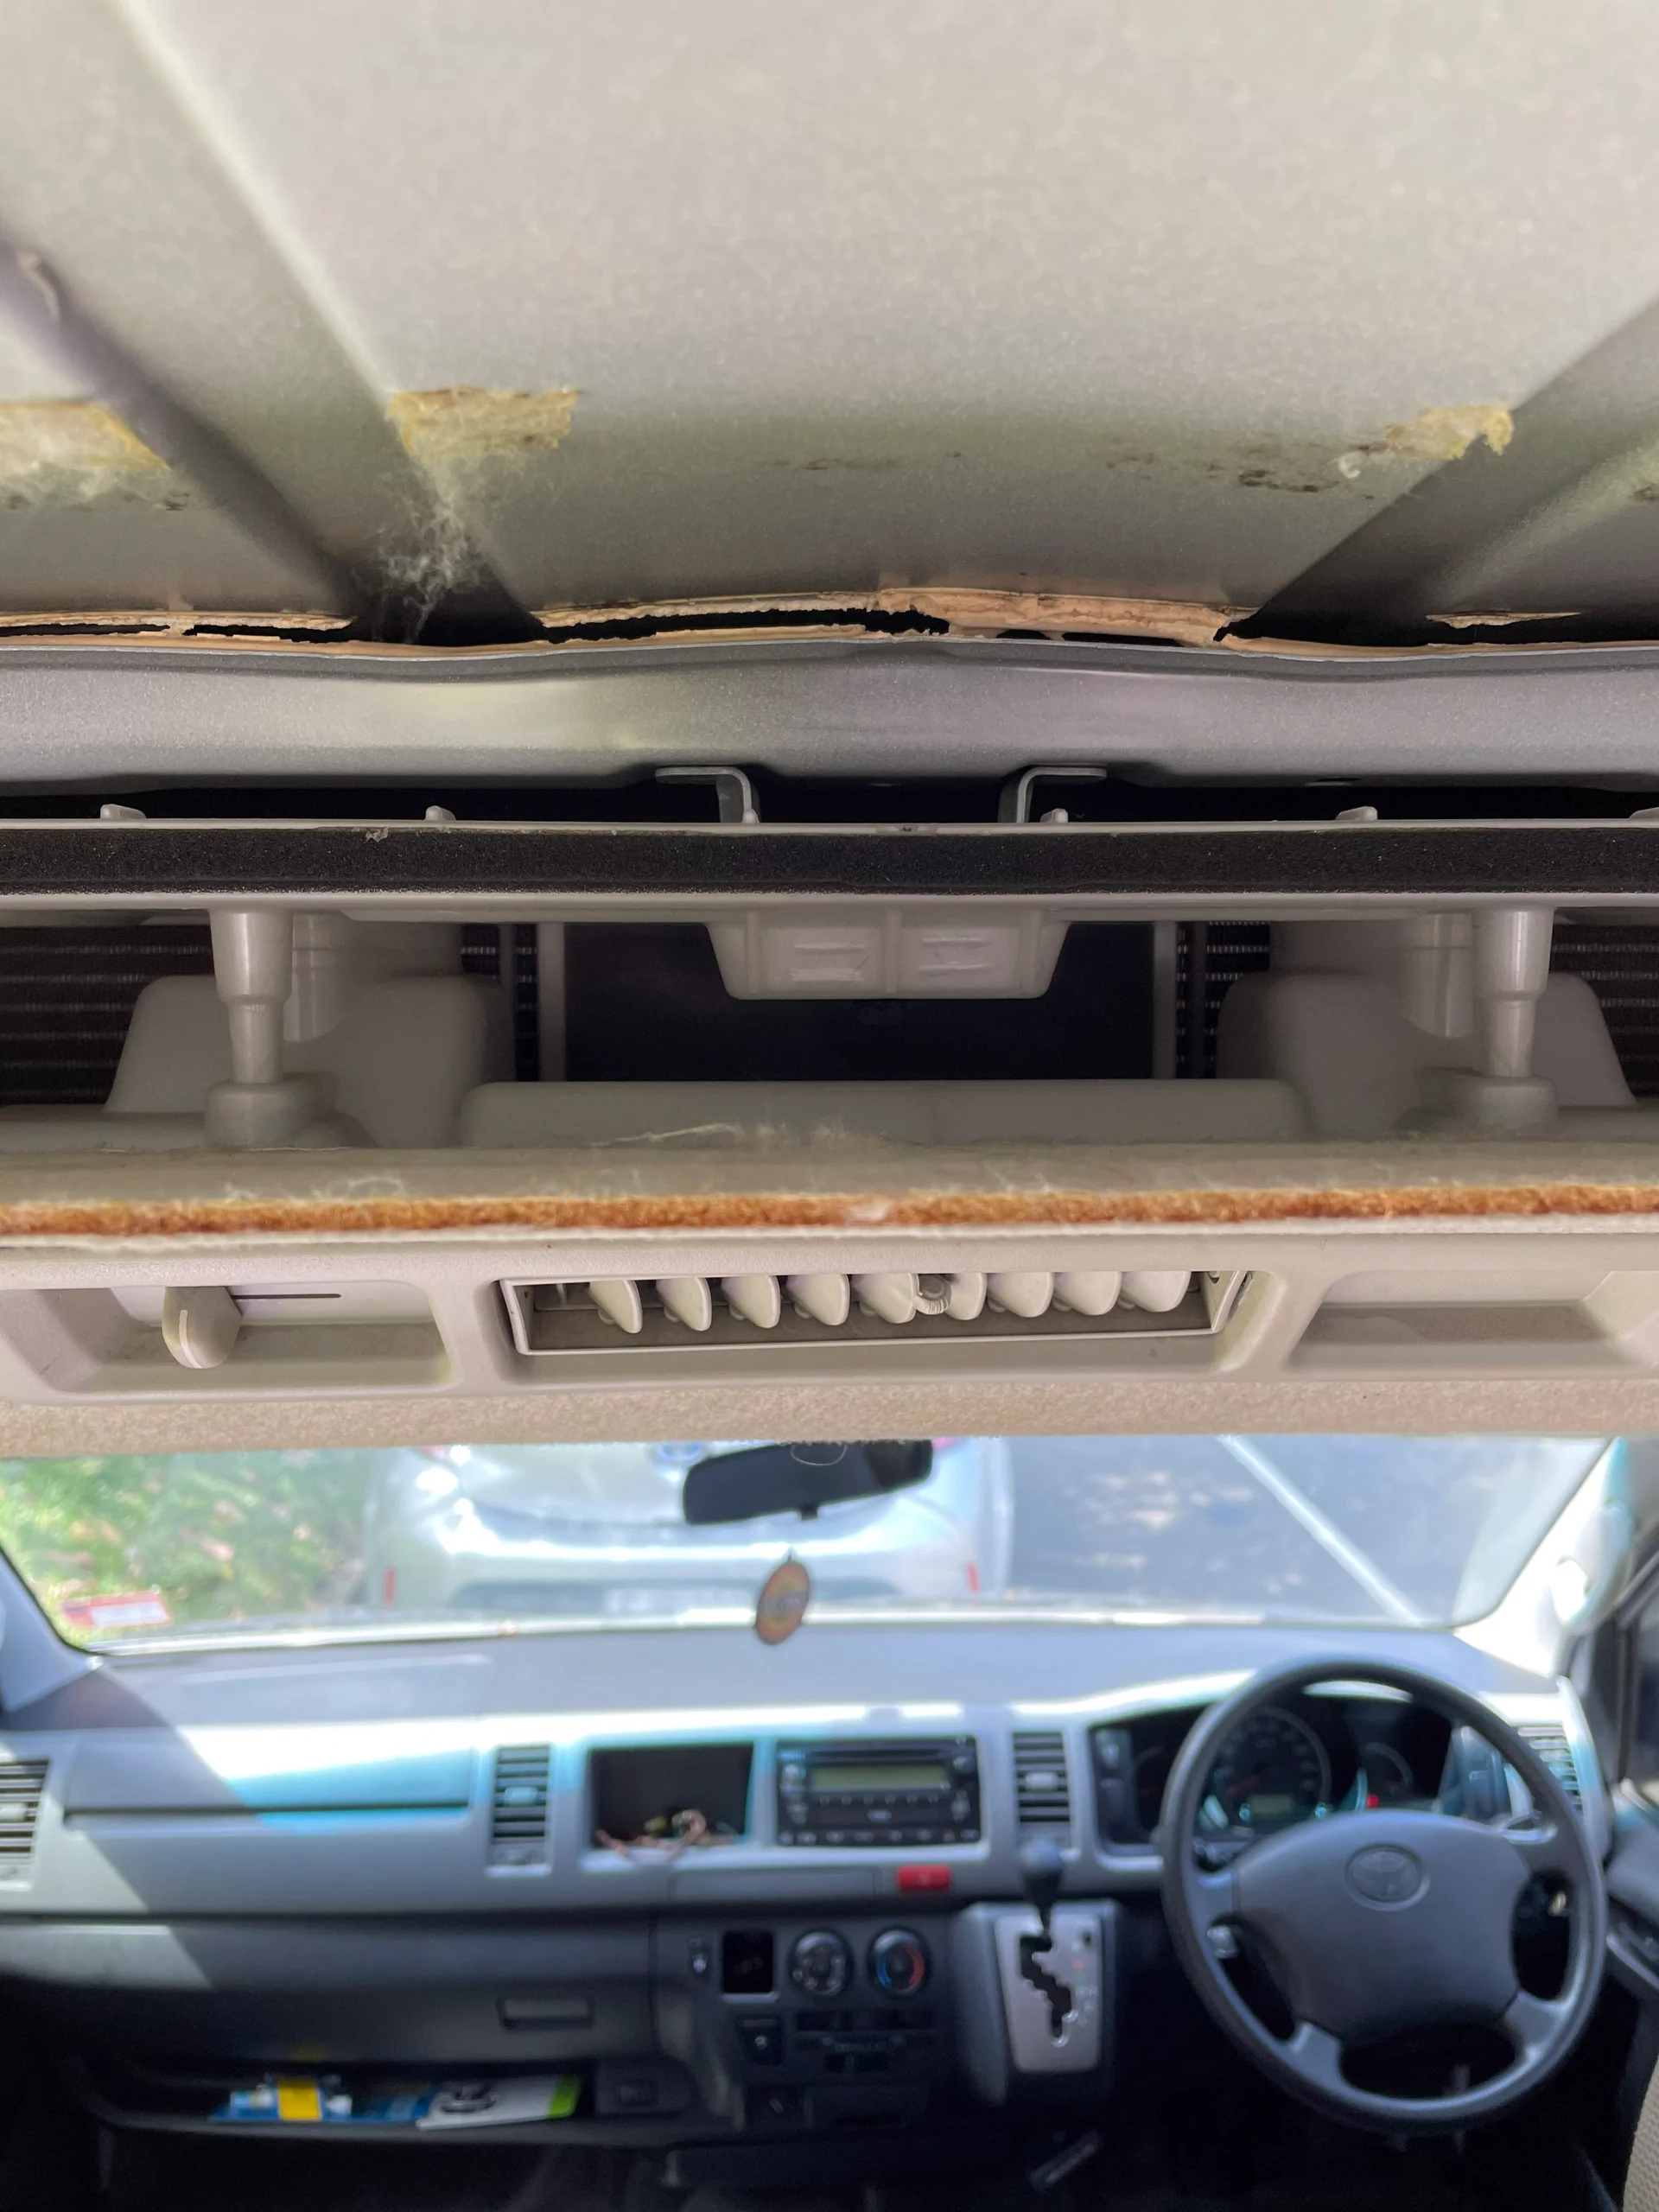
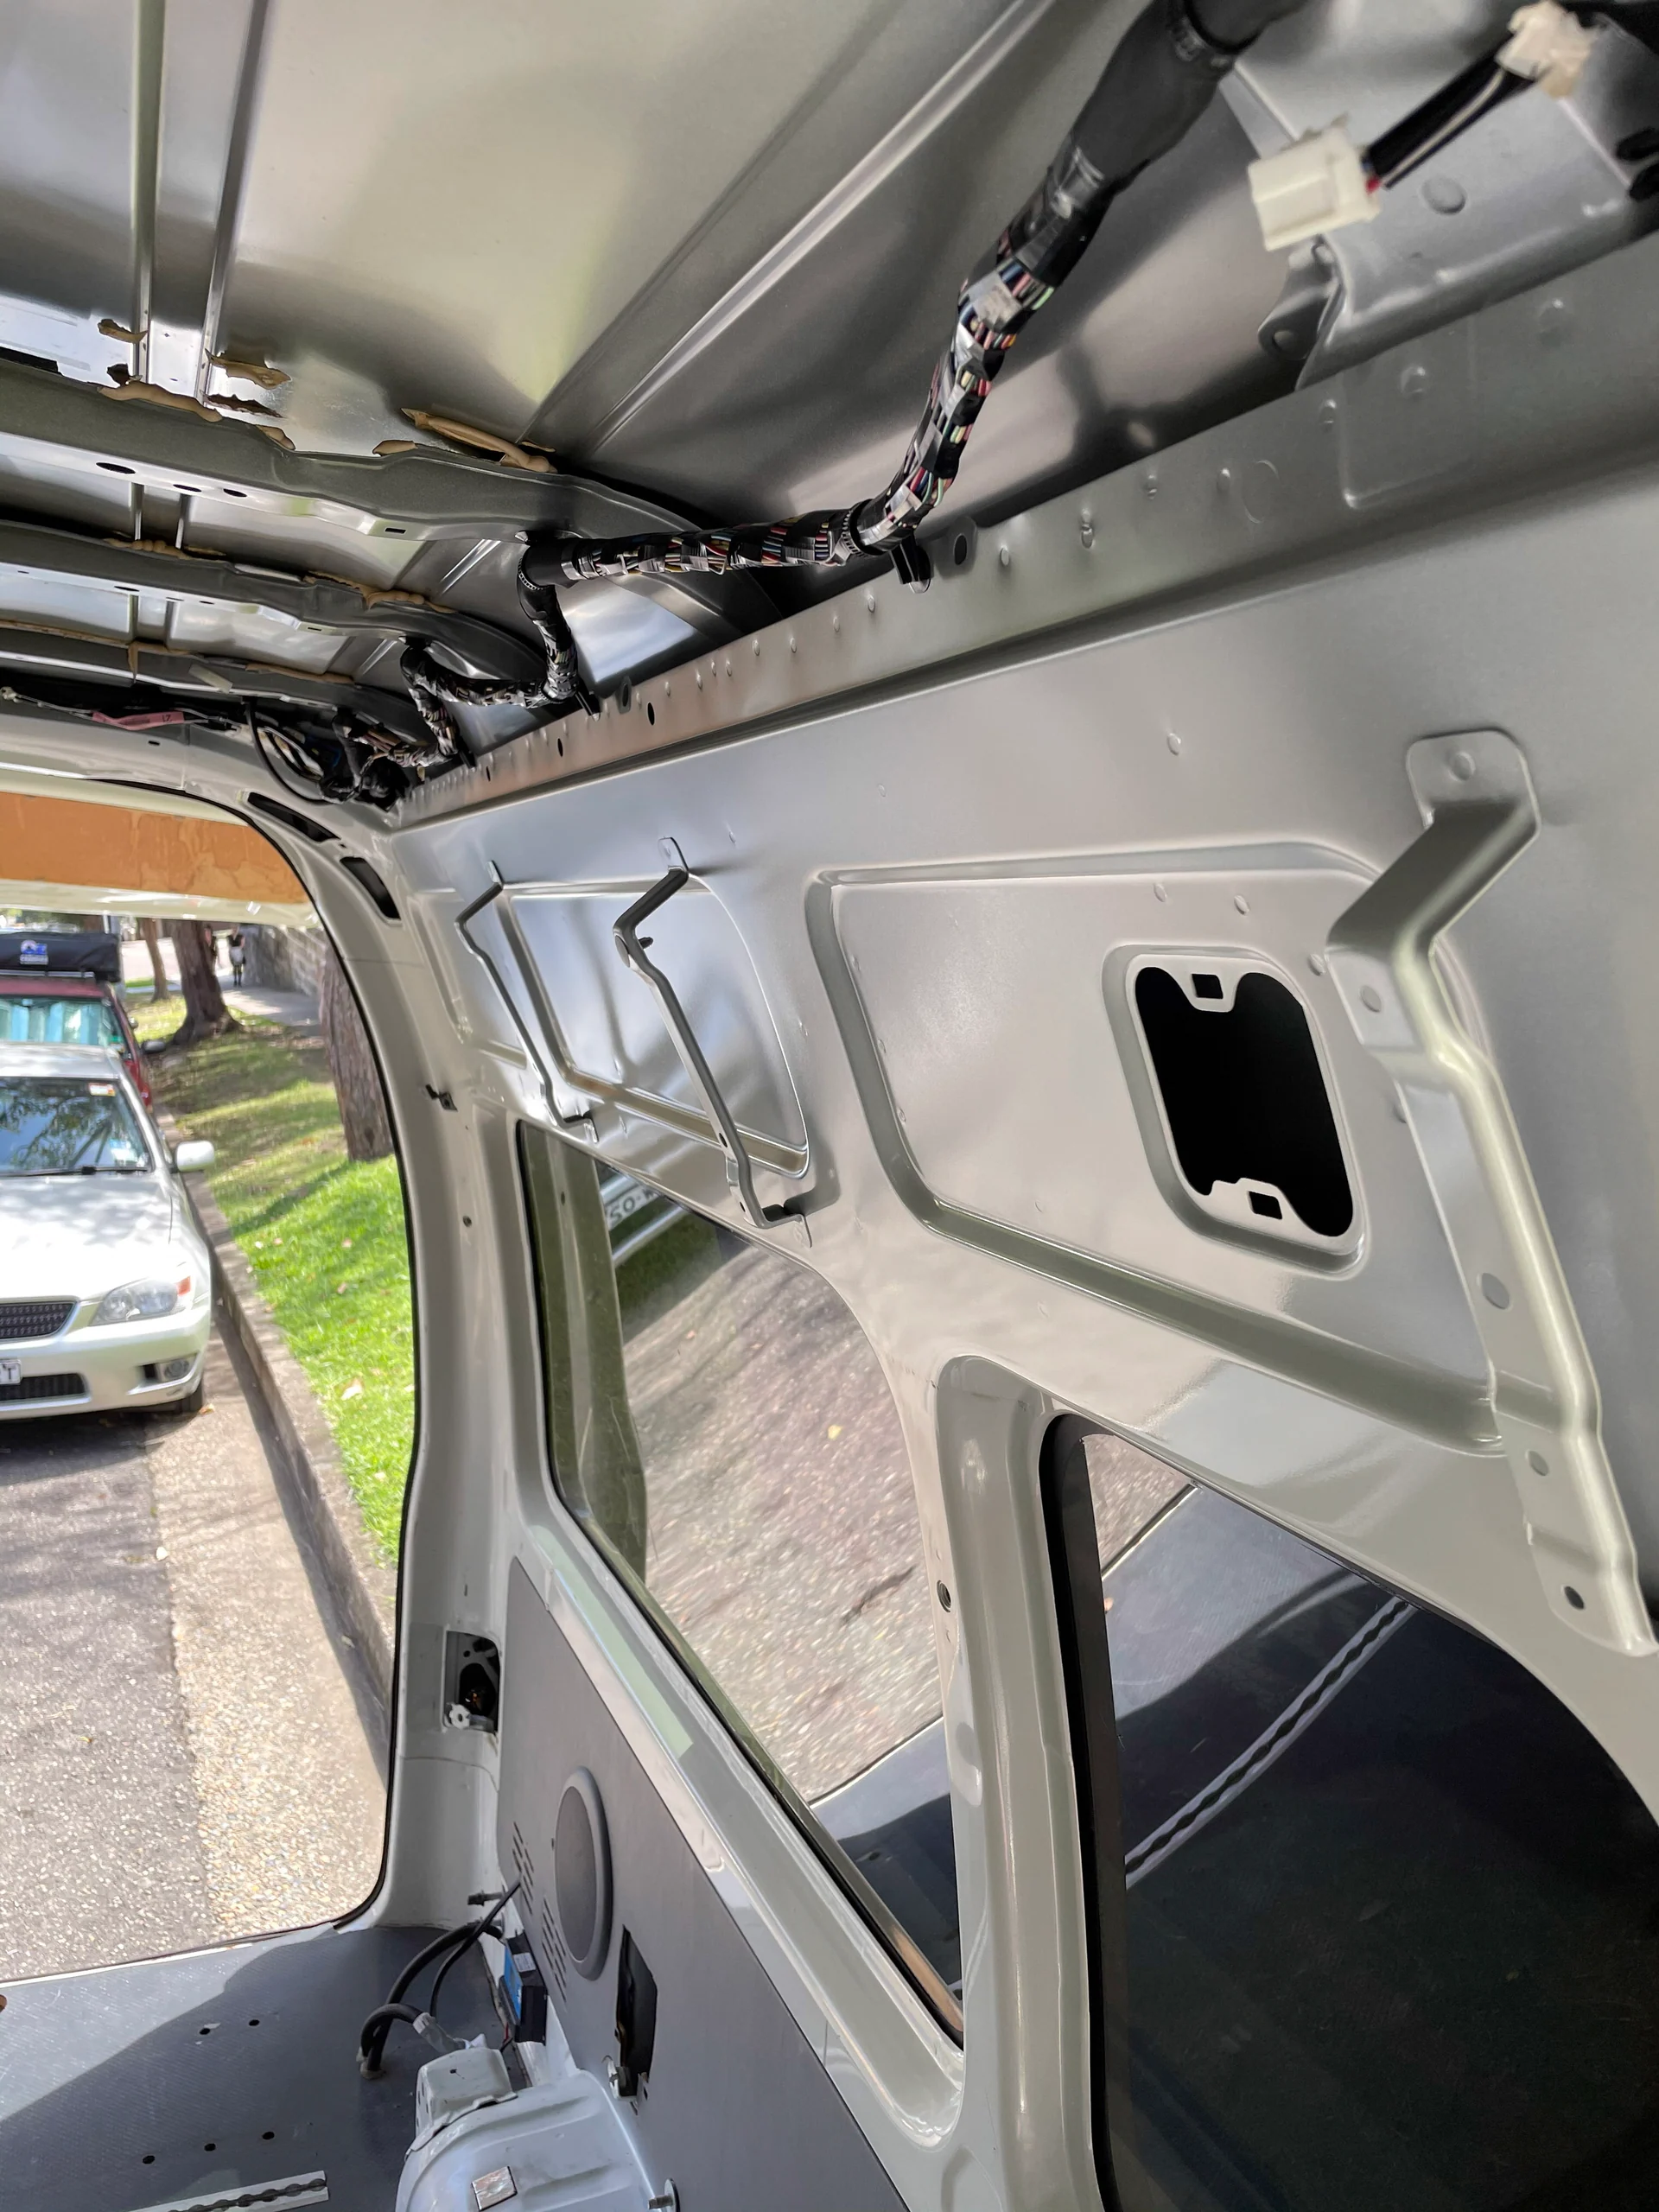
Some more work on the rusty spots and sealing the remaining holes in the floor.
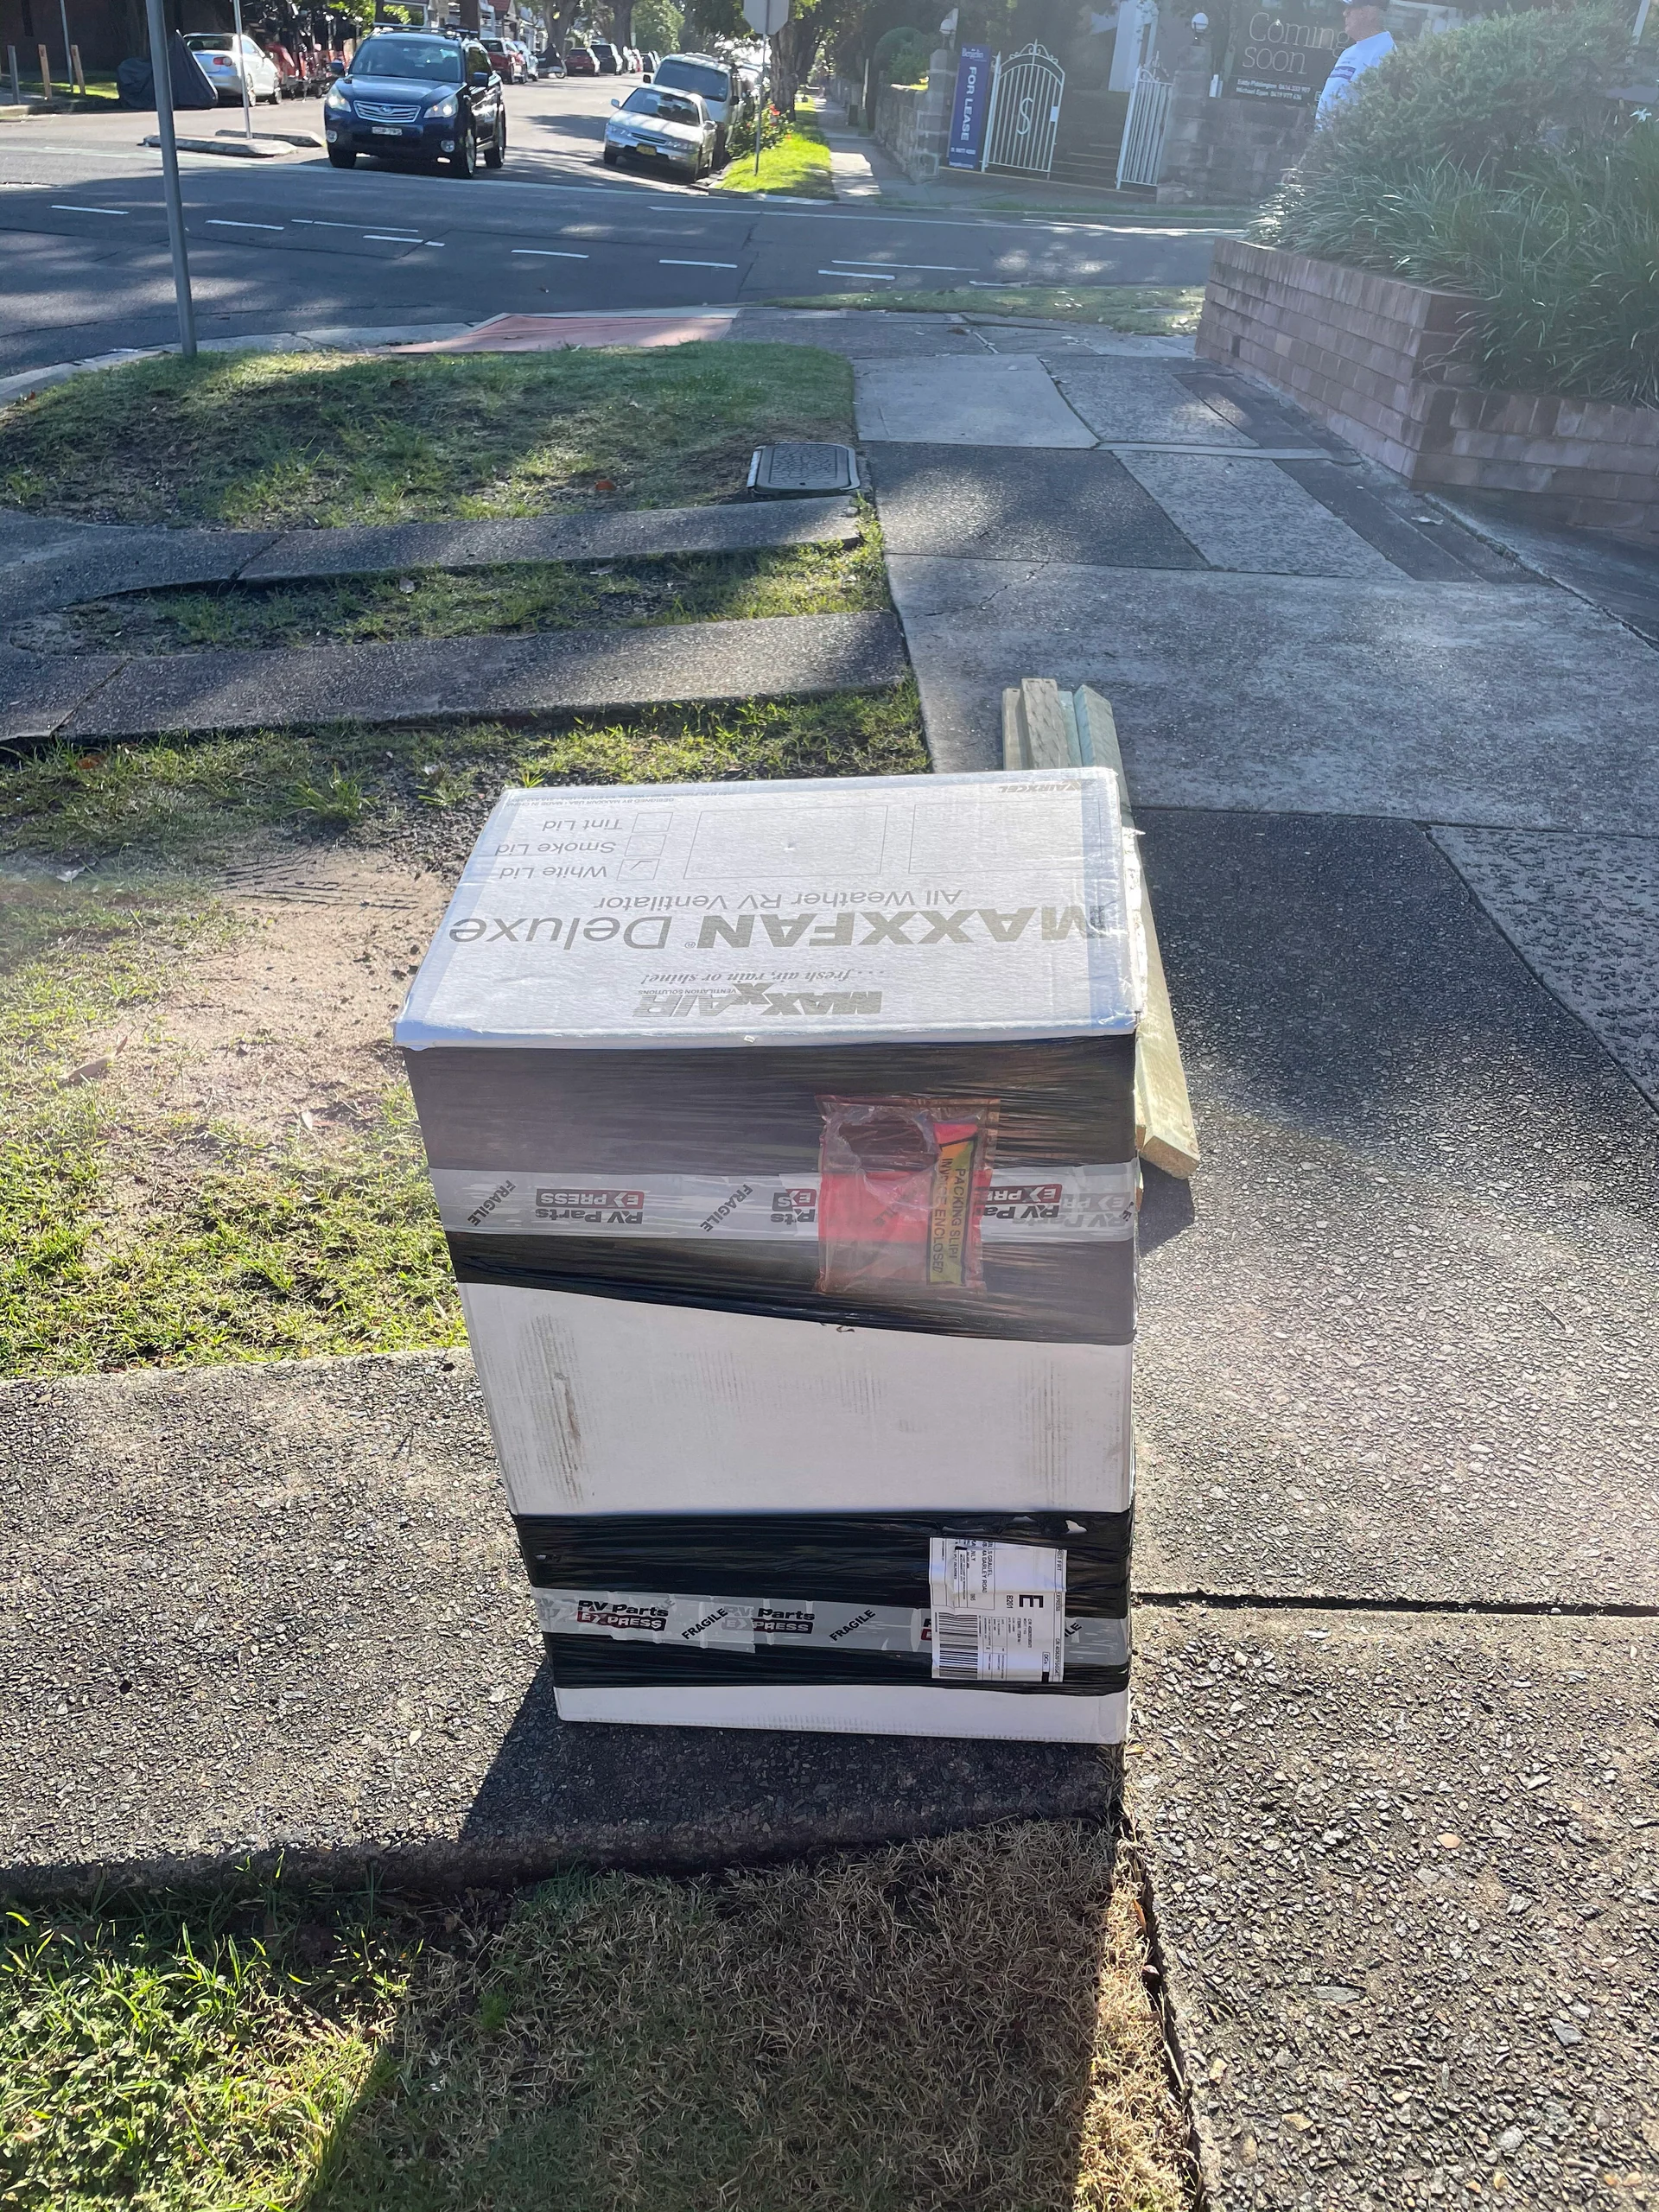
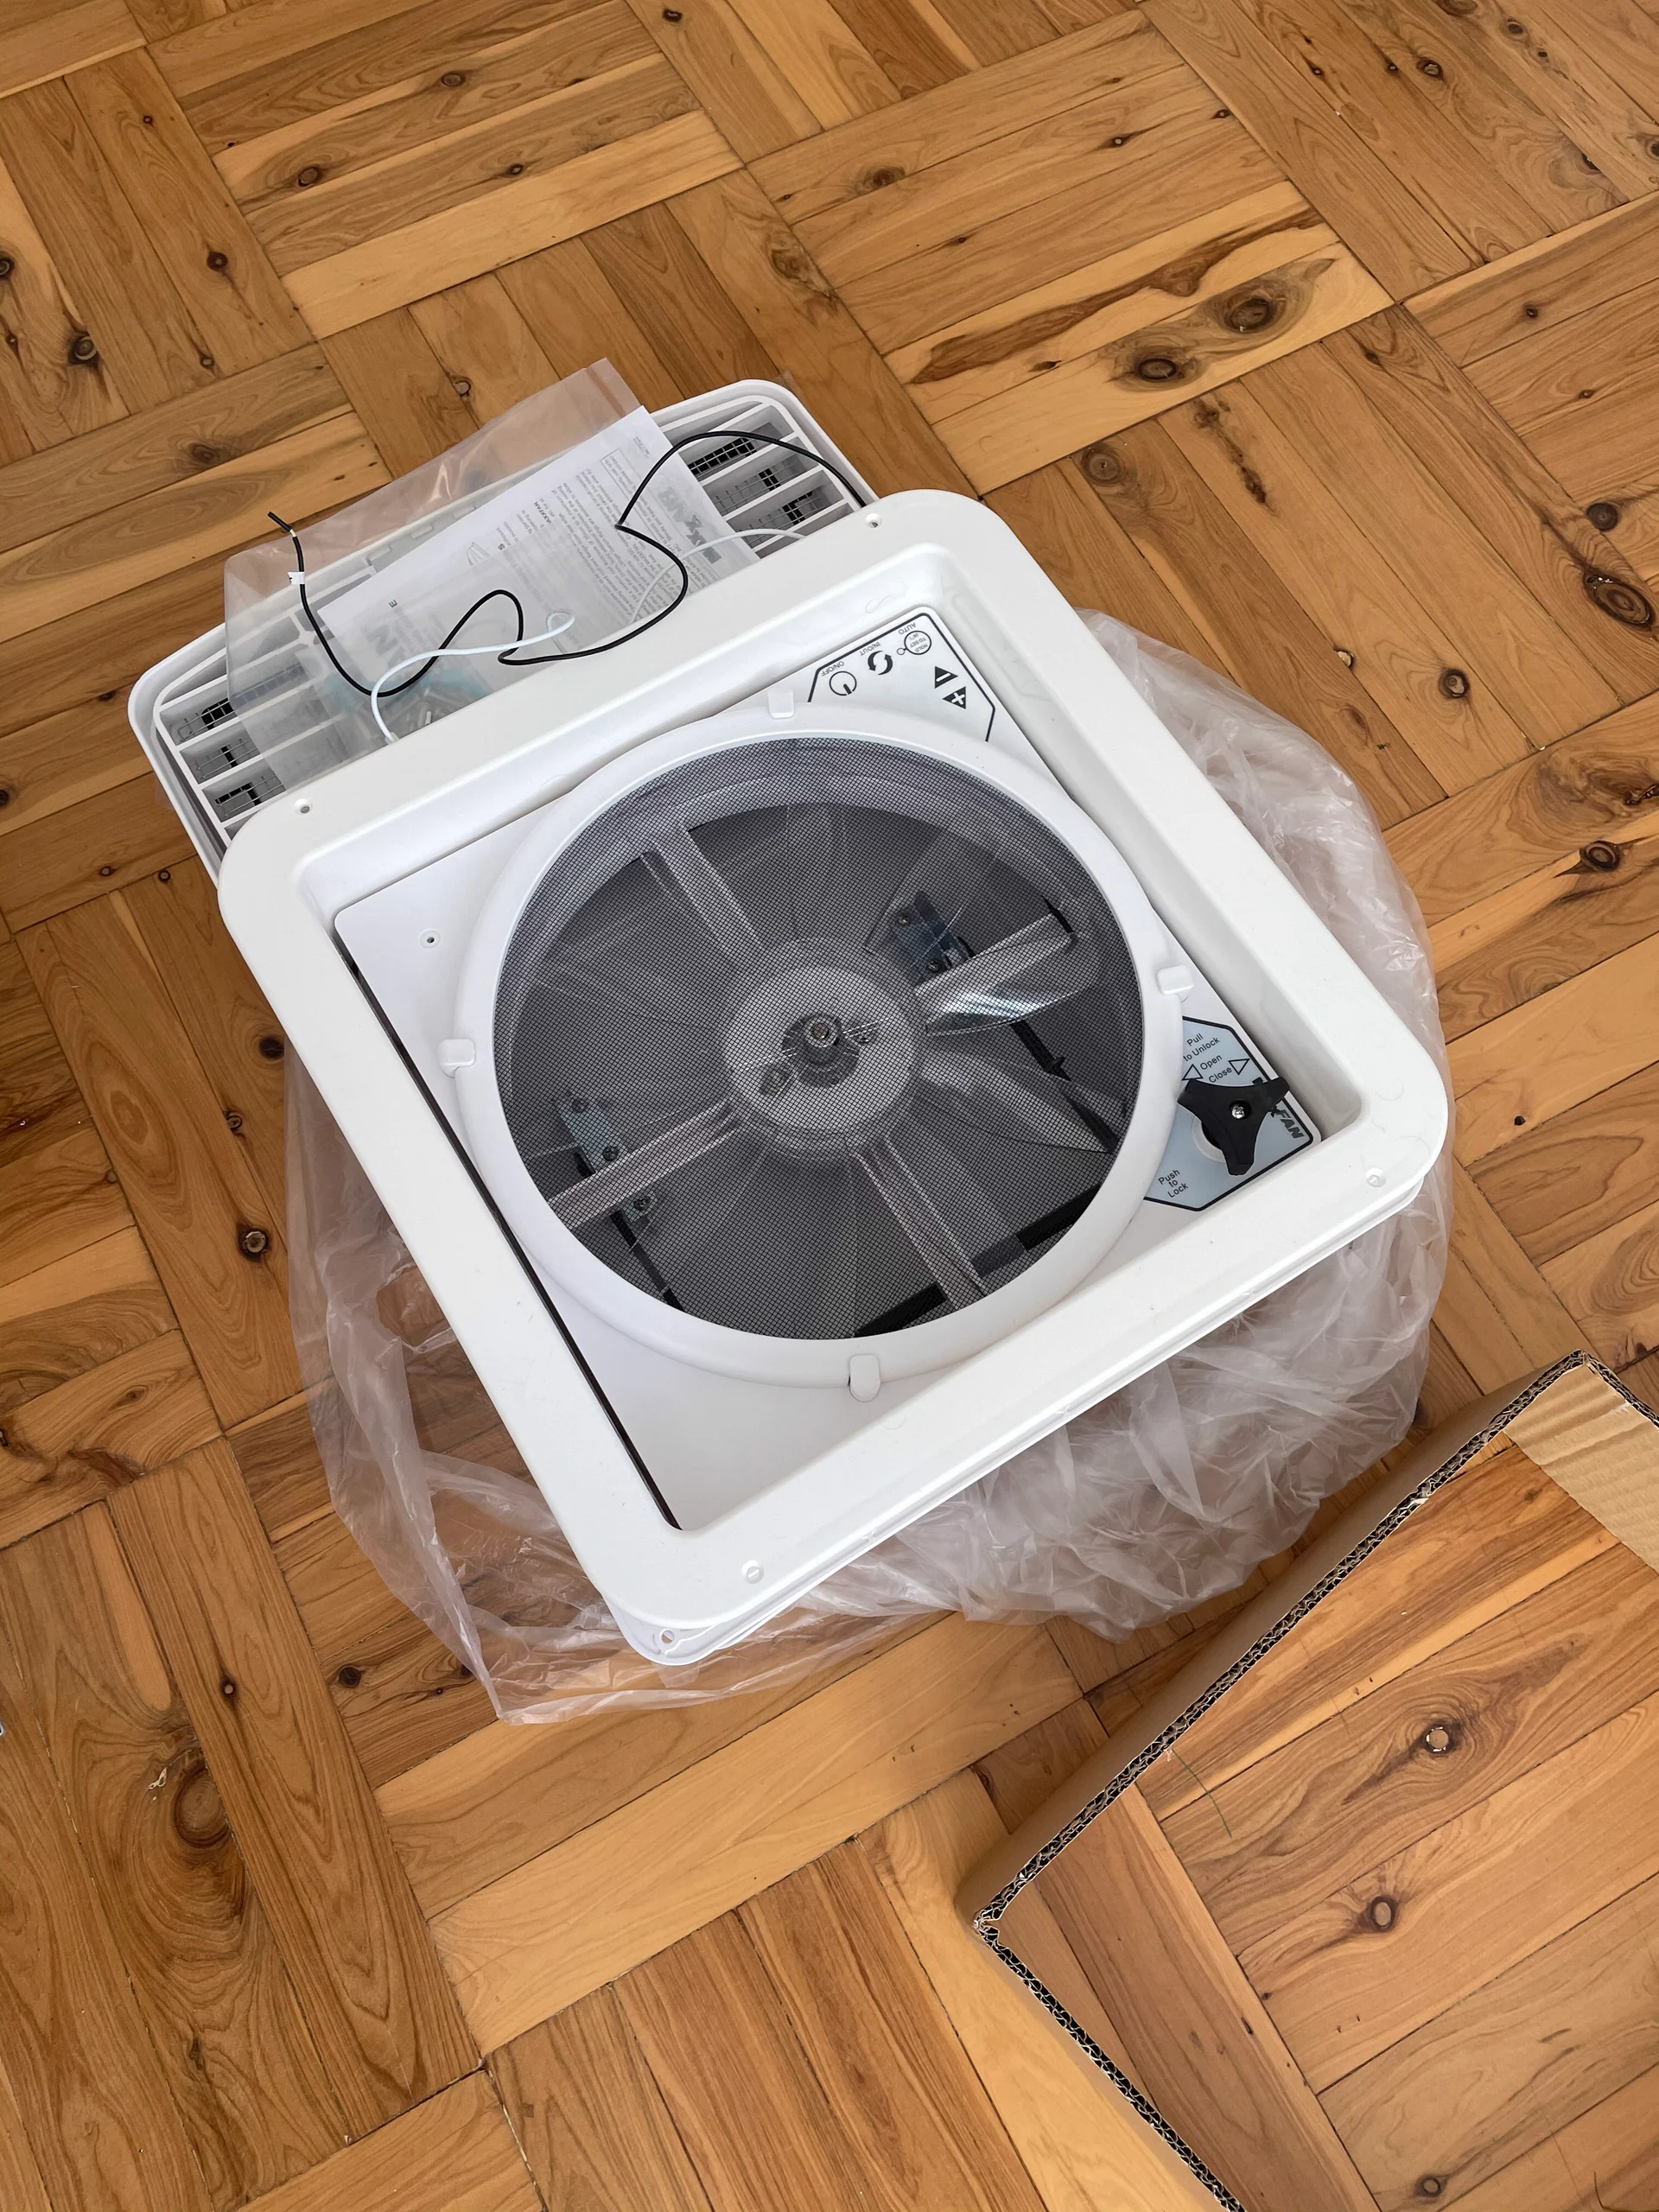
In a country like Australia, having good ventilation in the van is crucial. Thus we ordered a ceiling vent fan that can blow and suck and even run during rain. The only problem: To install it, we have to cut a giant hole in the roof of the van.
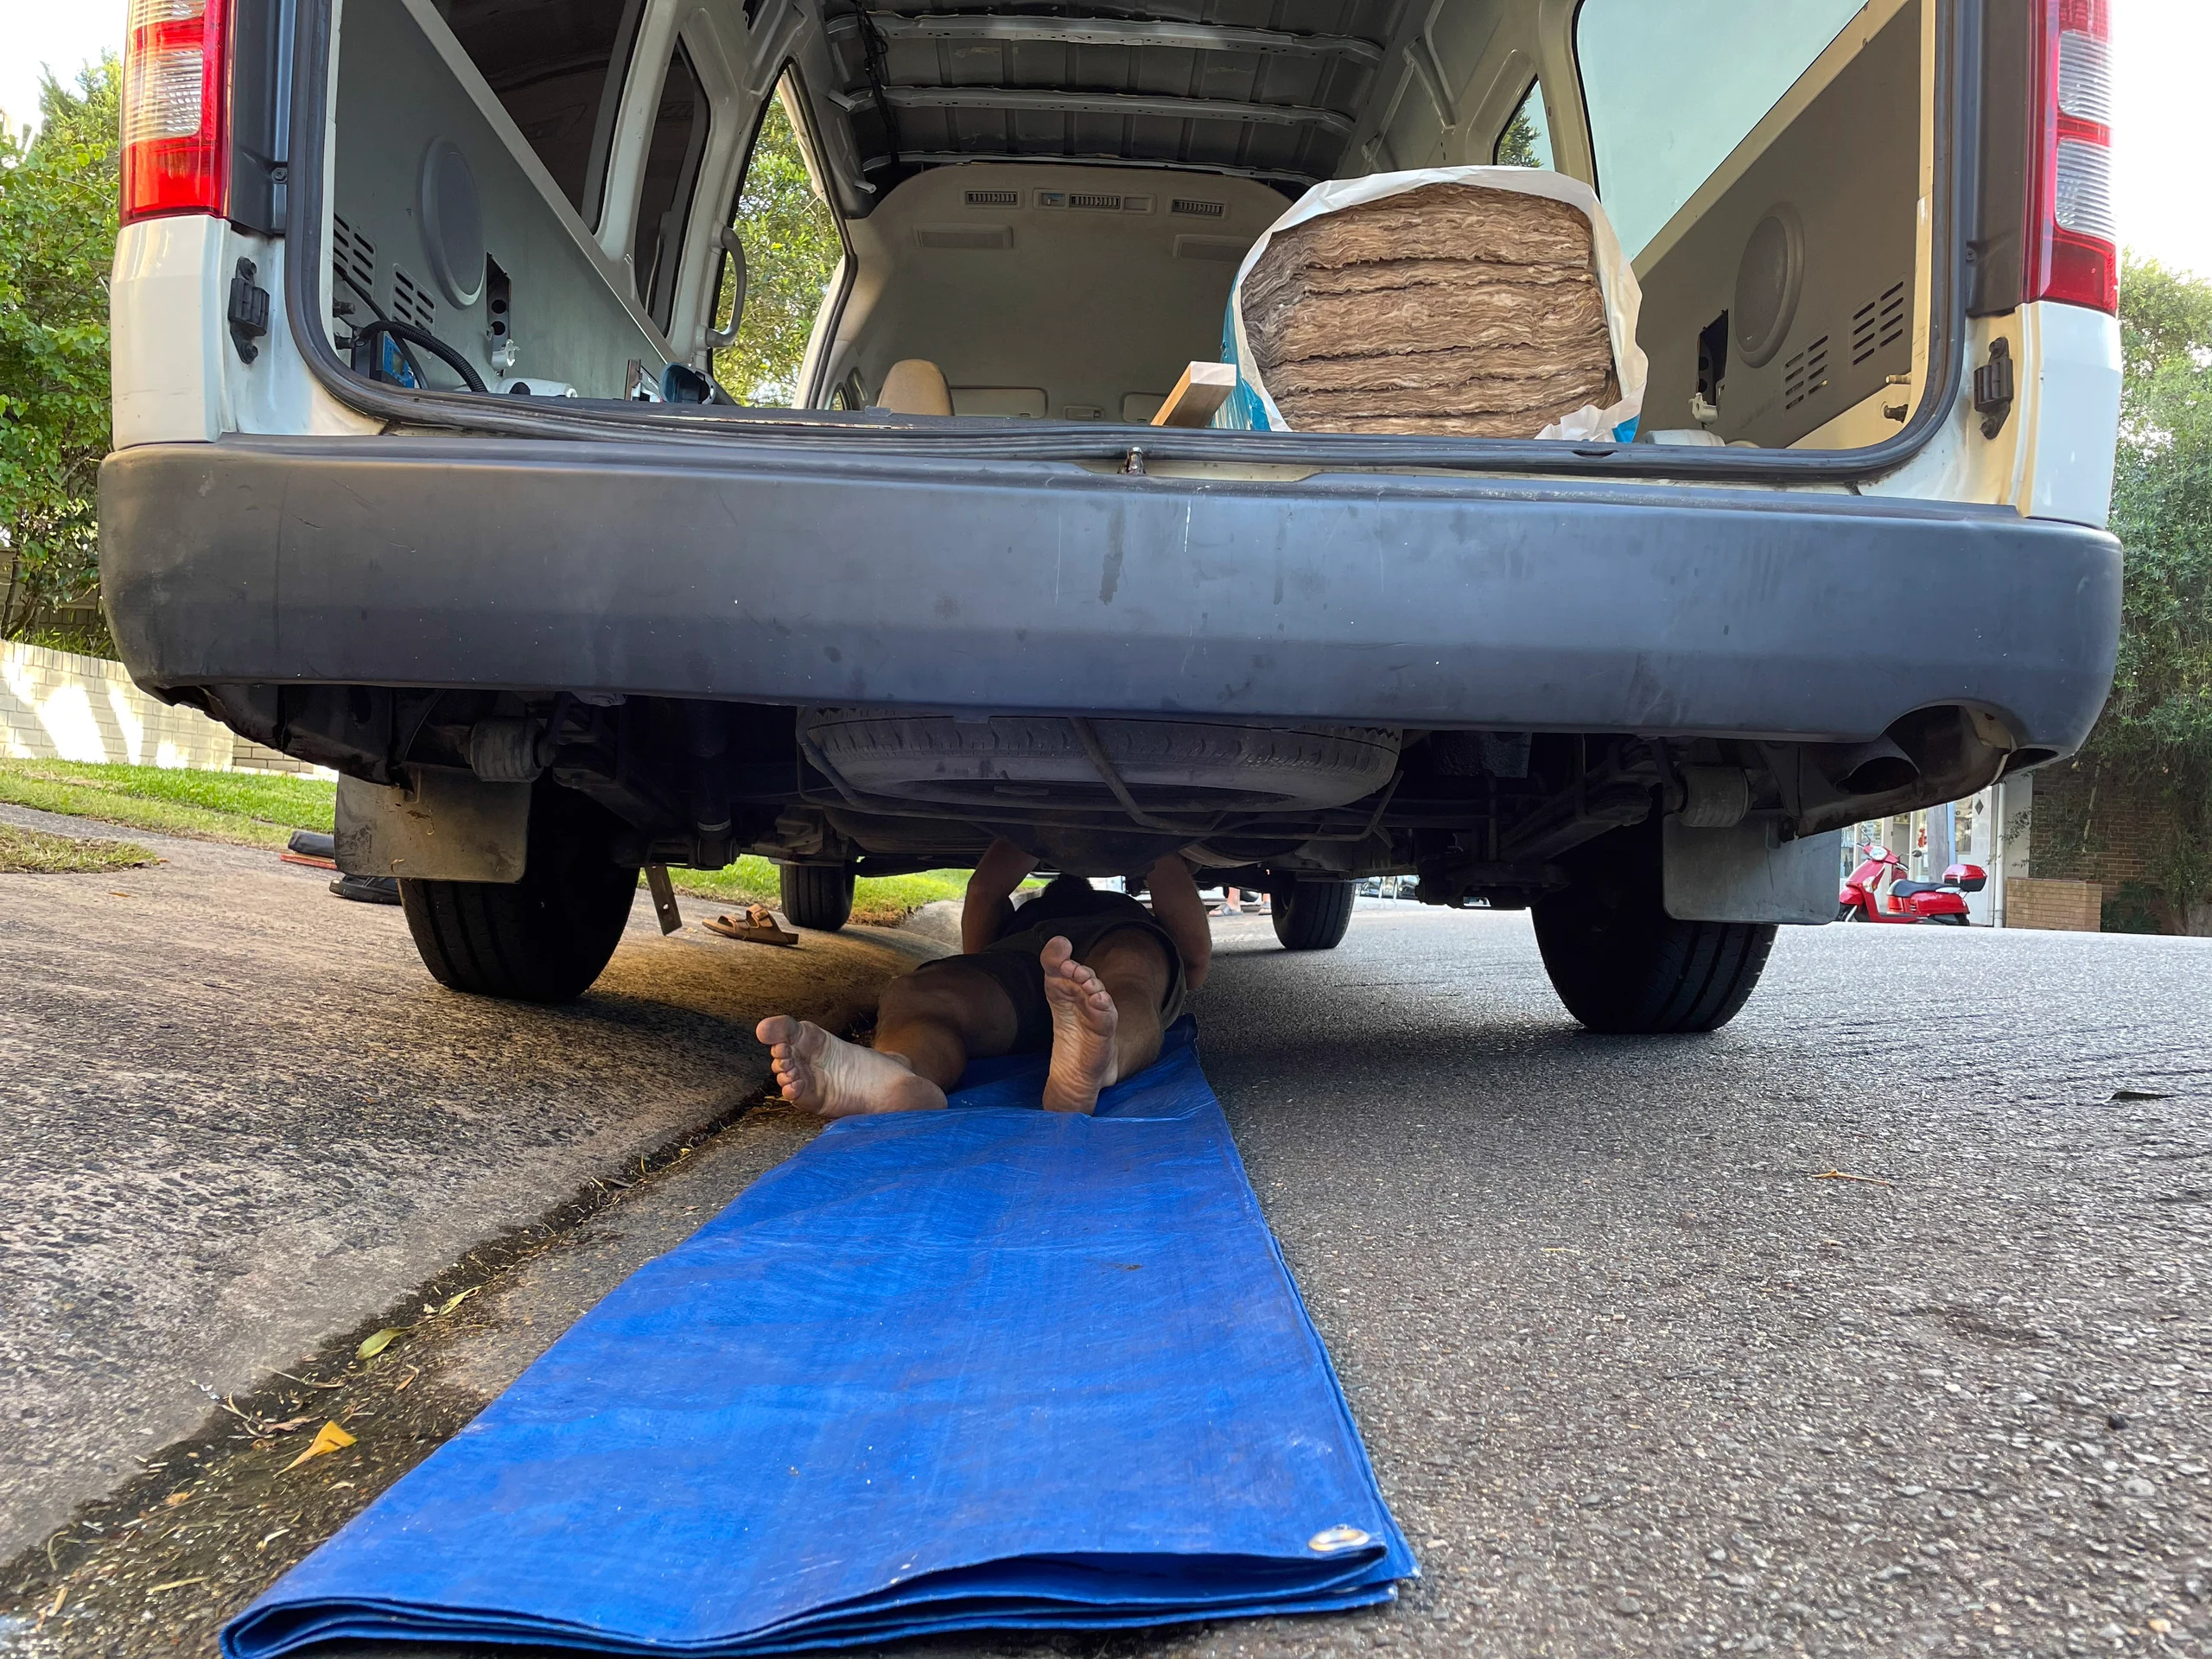
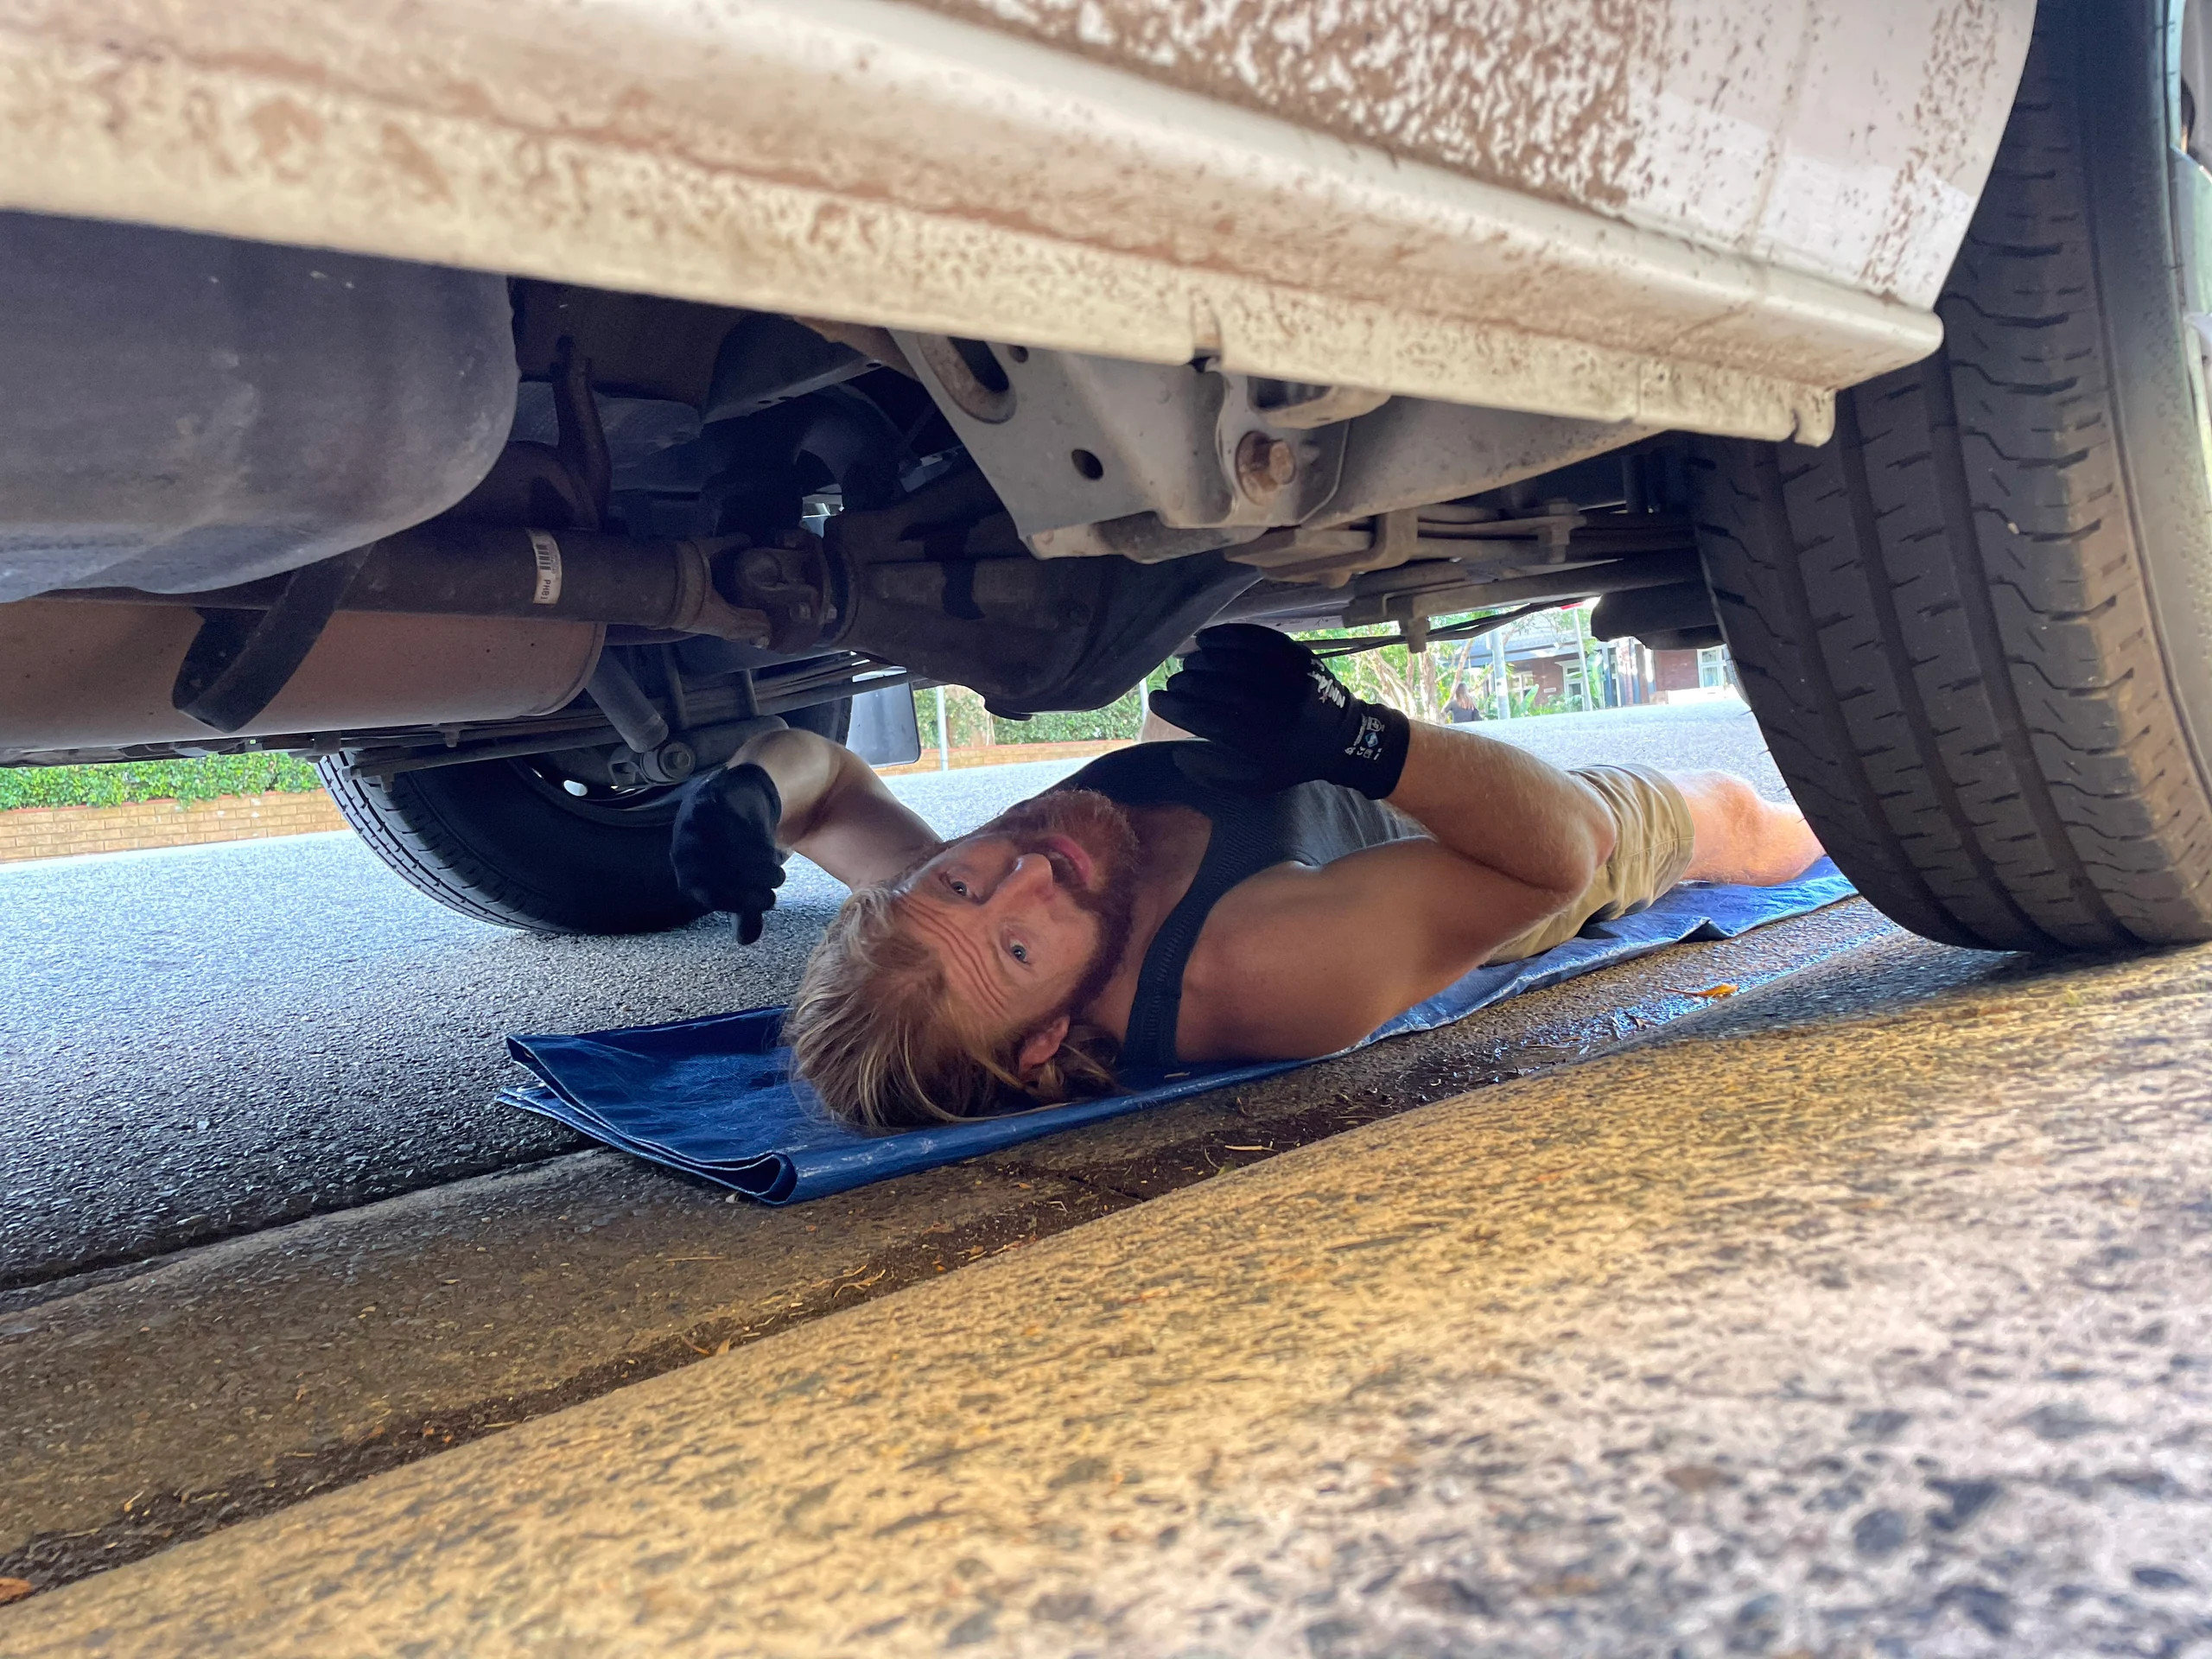
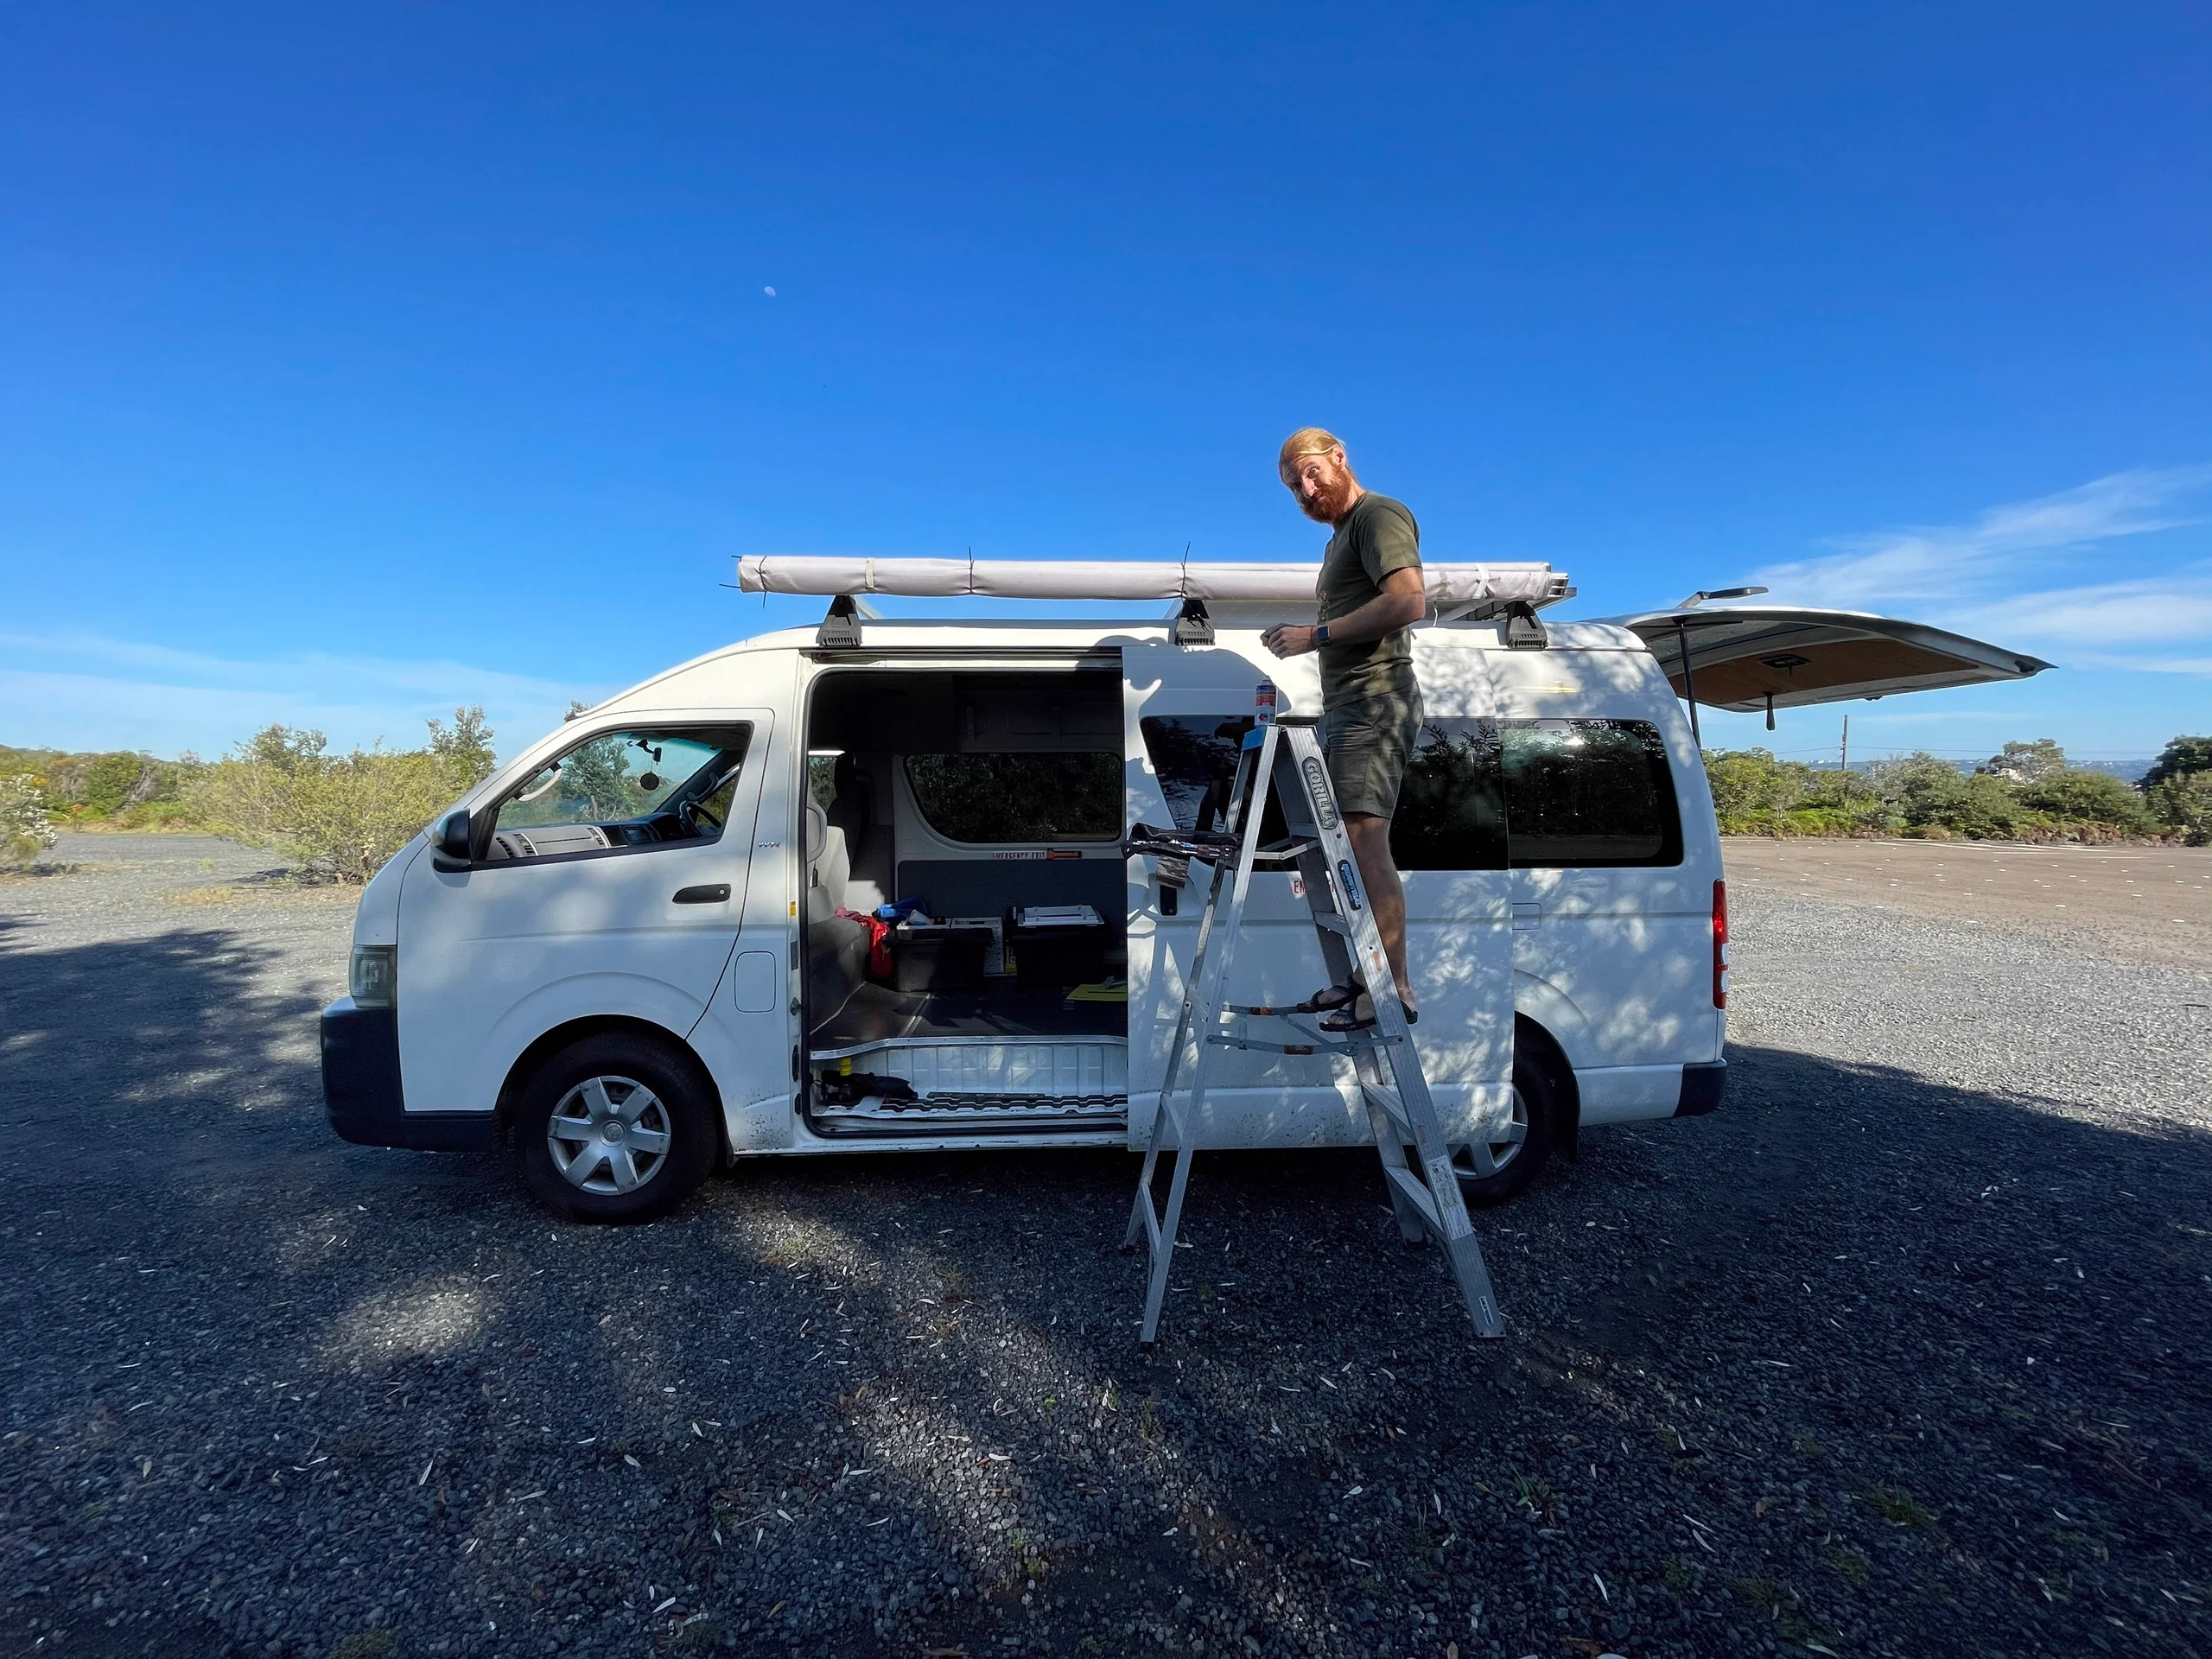
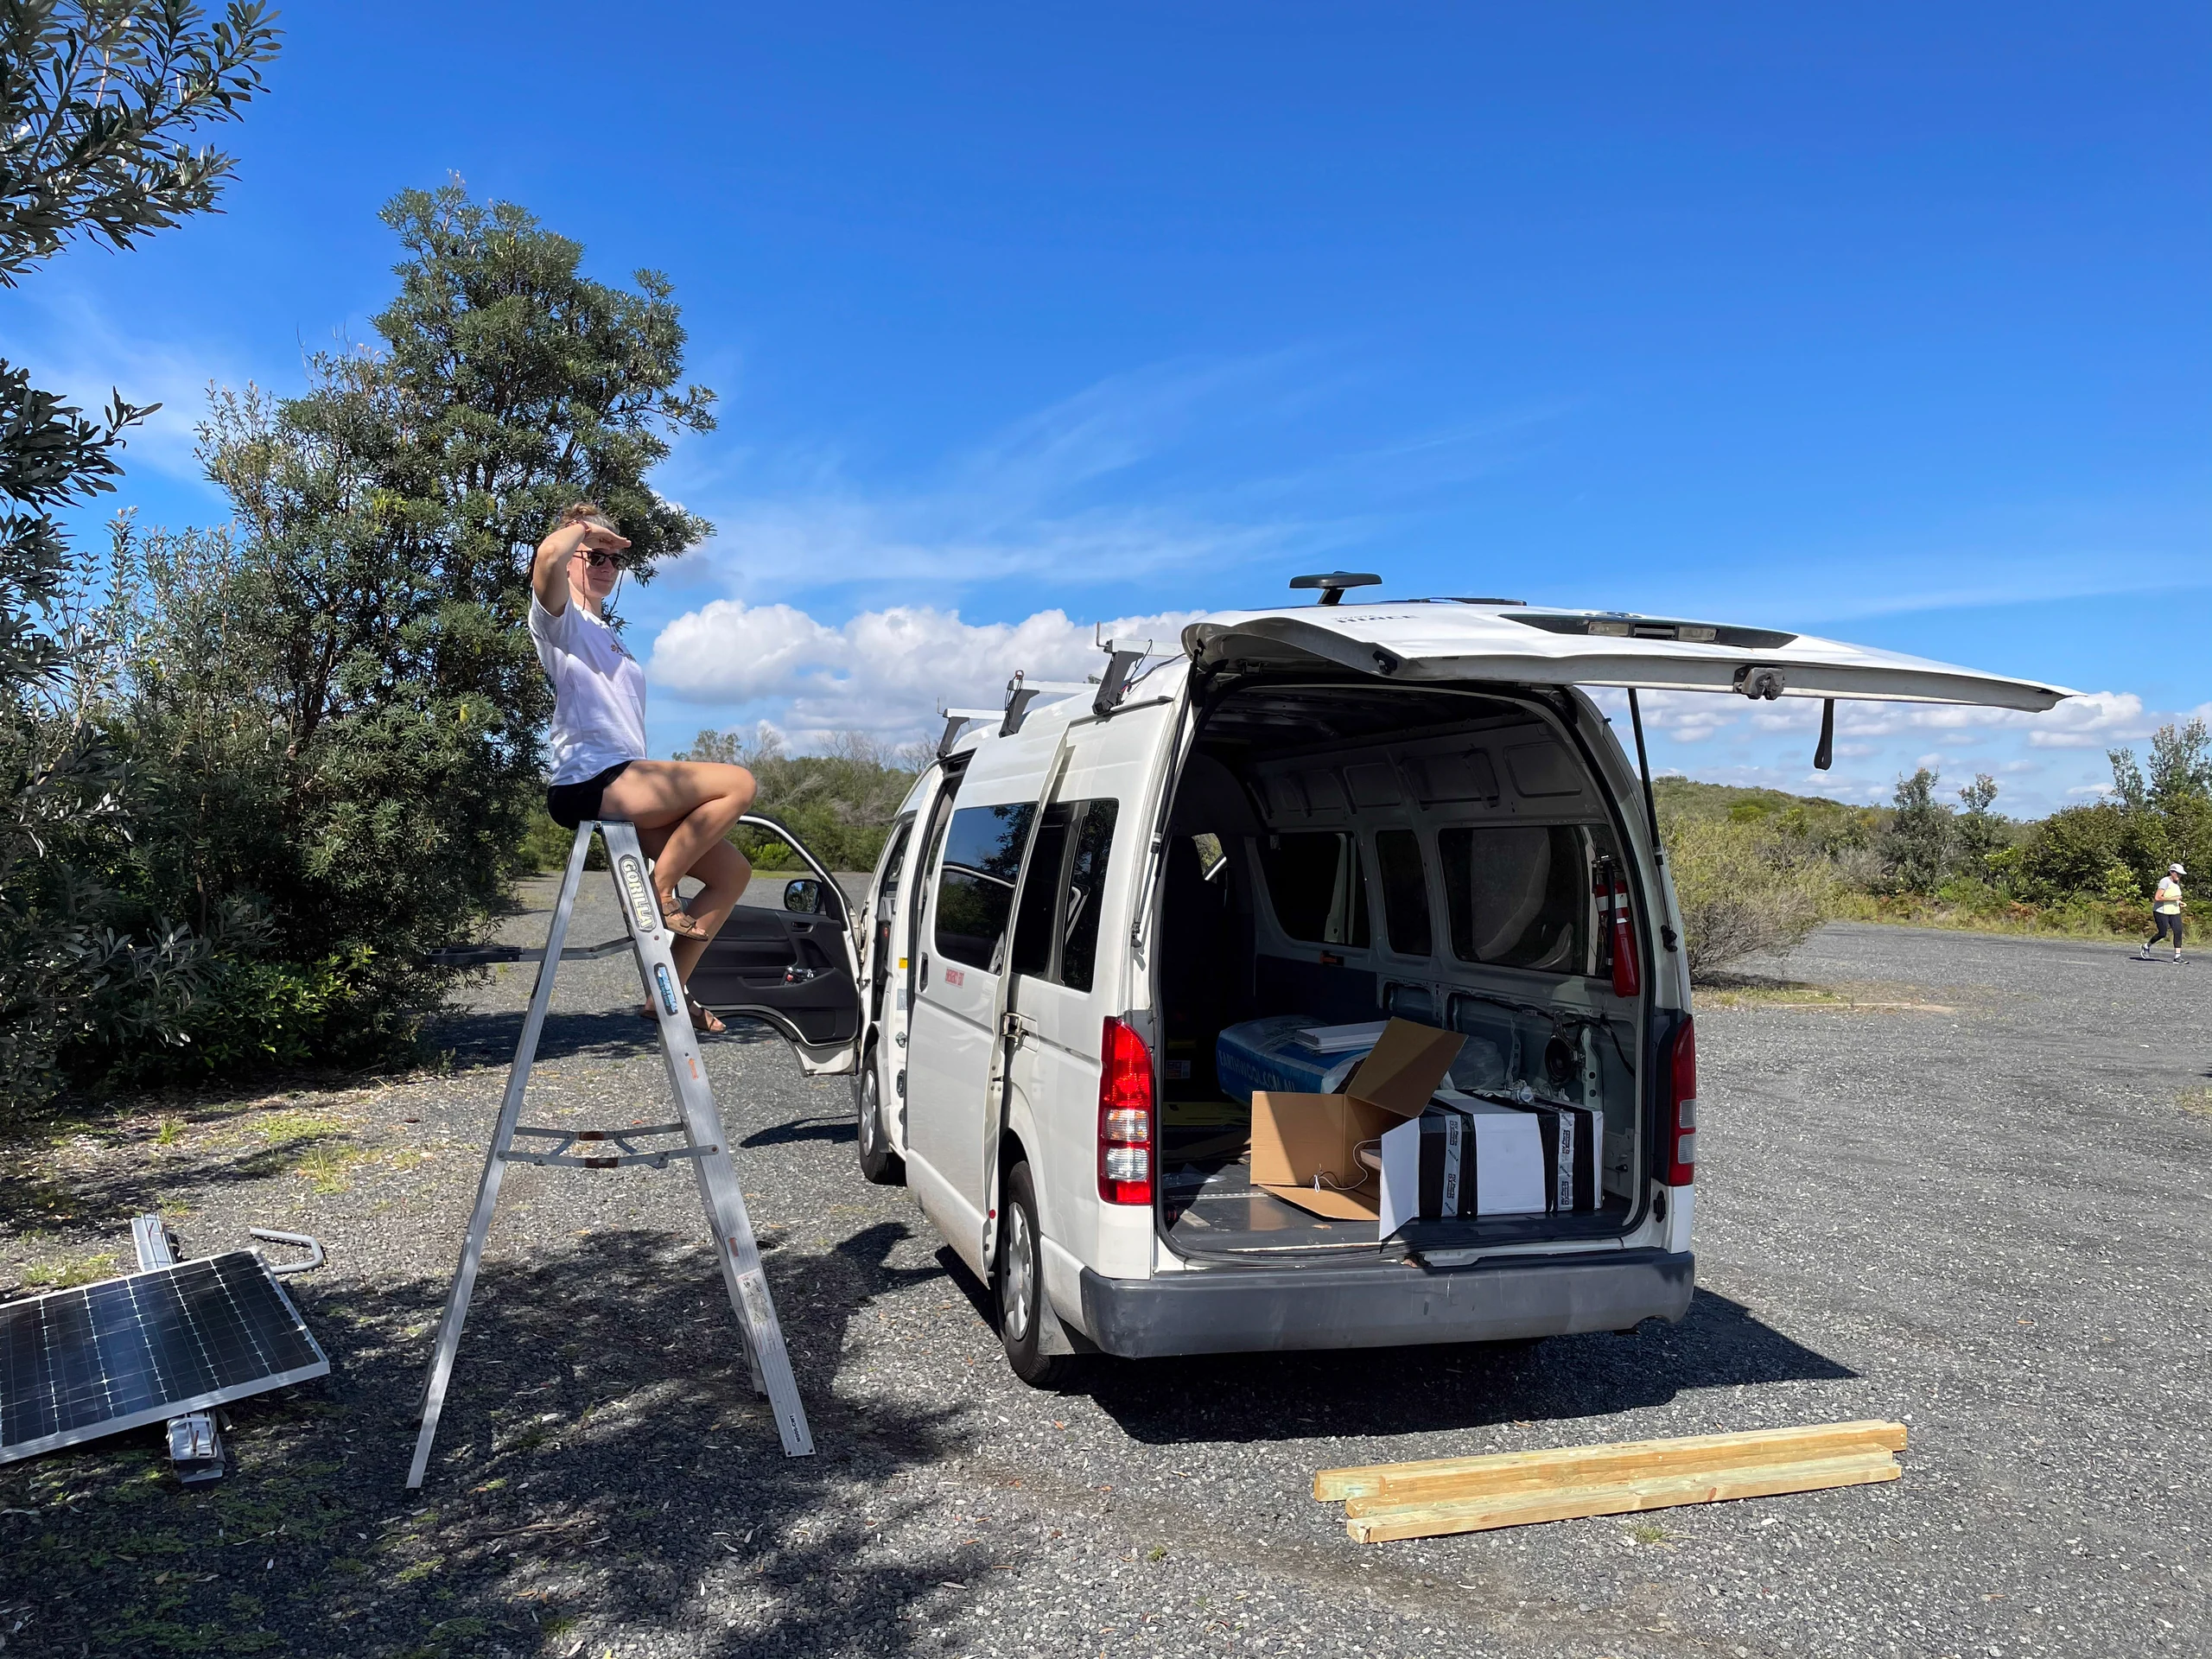
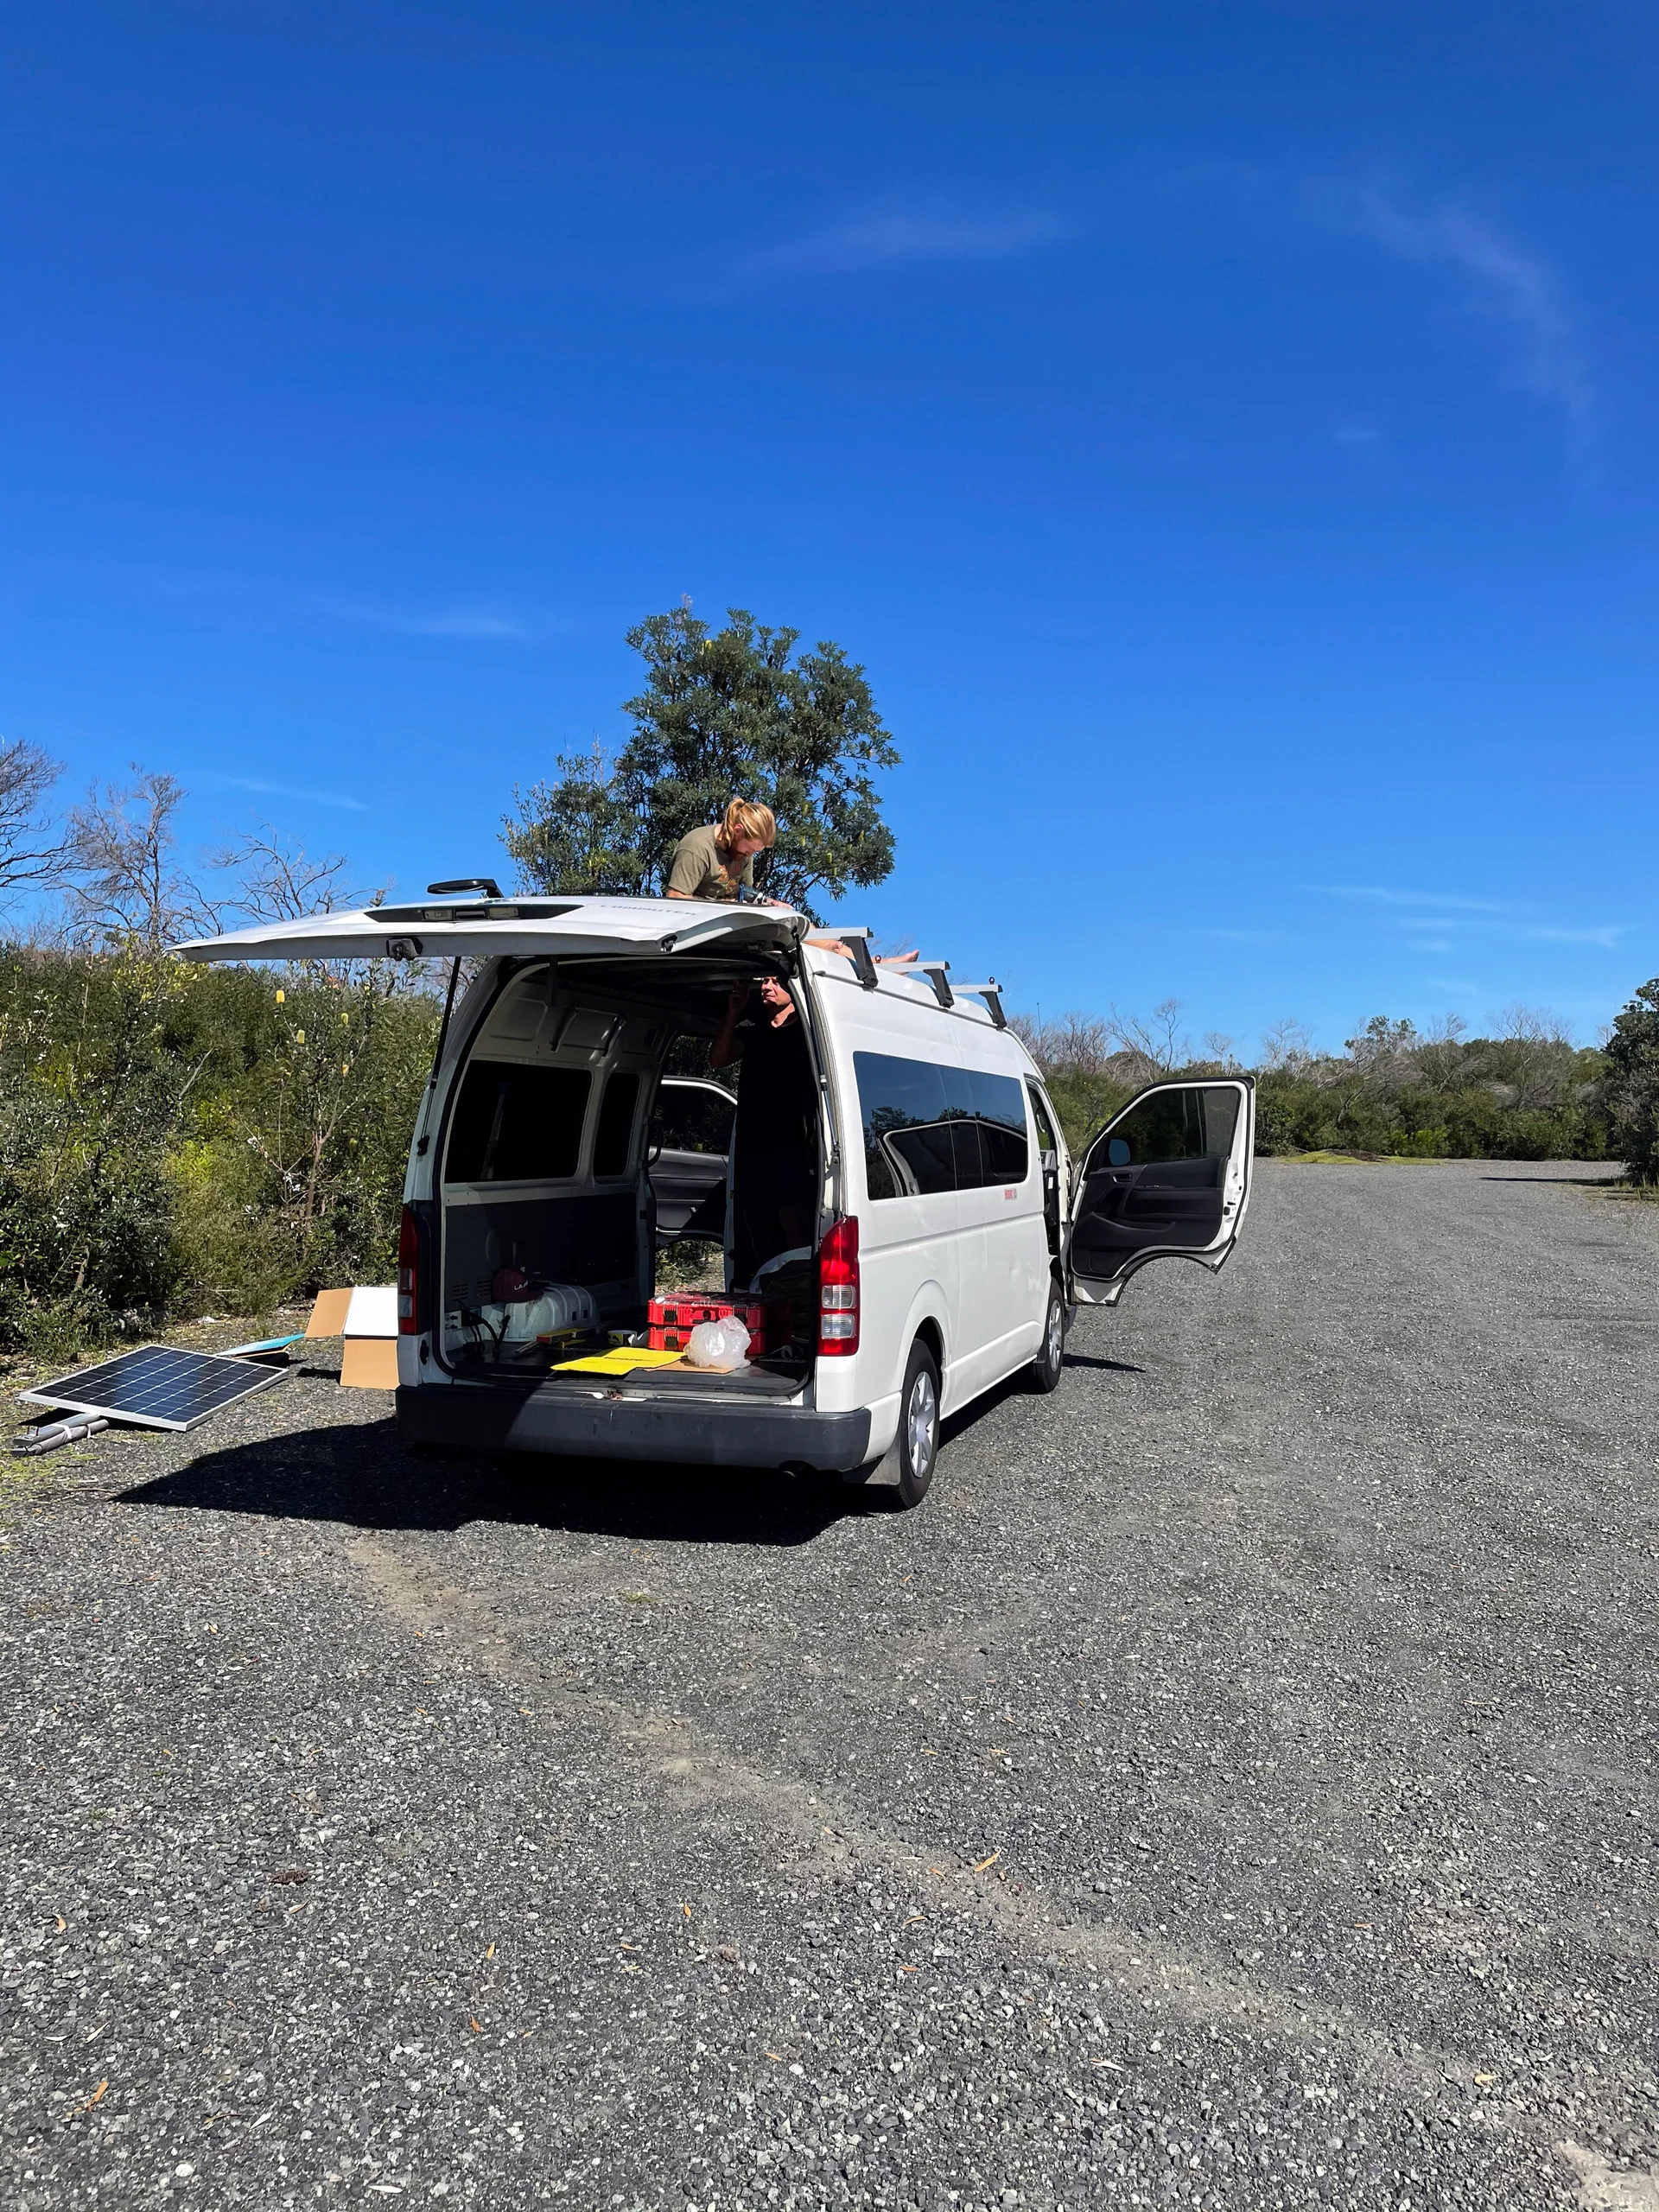
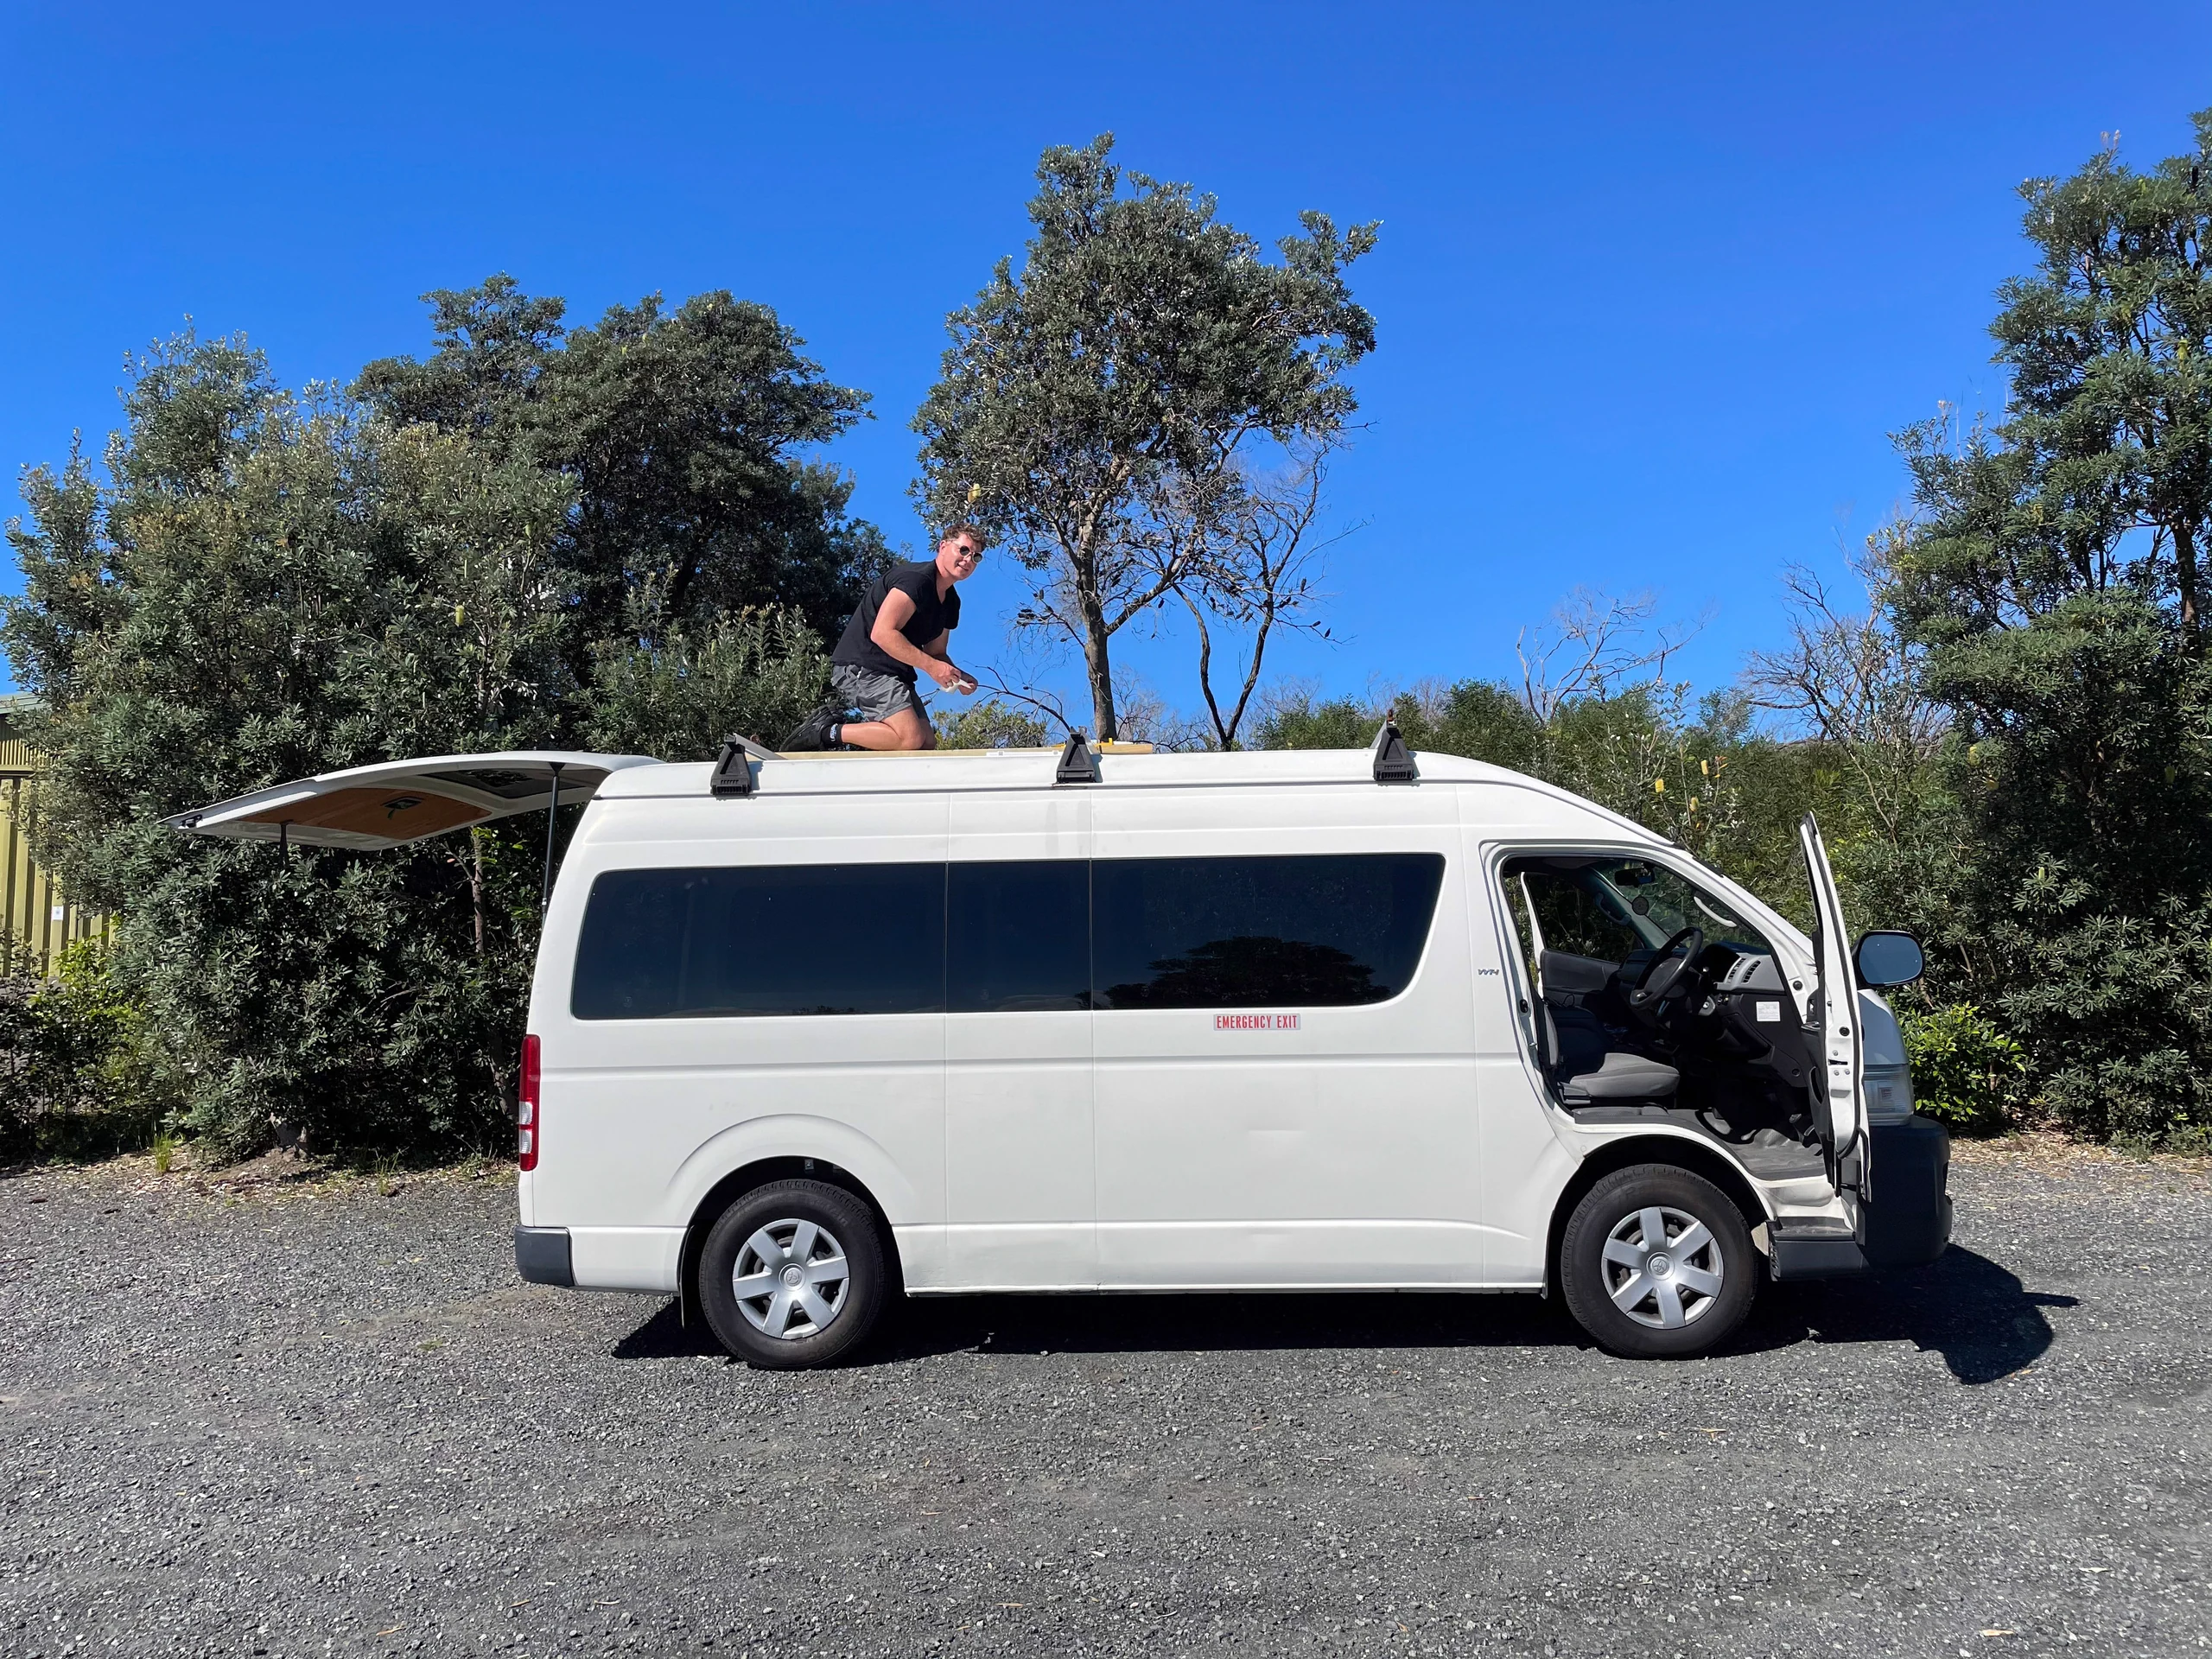
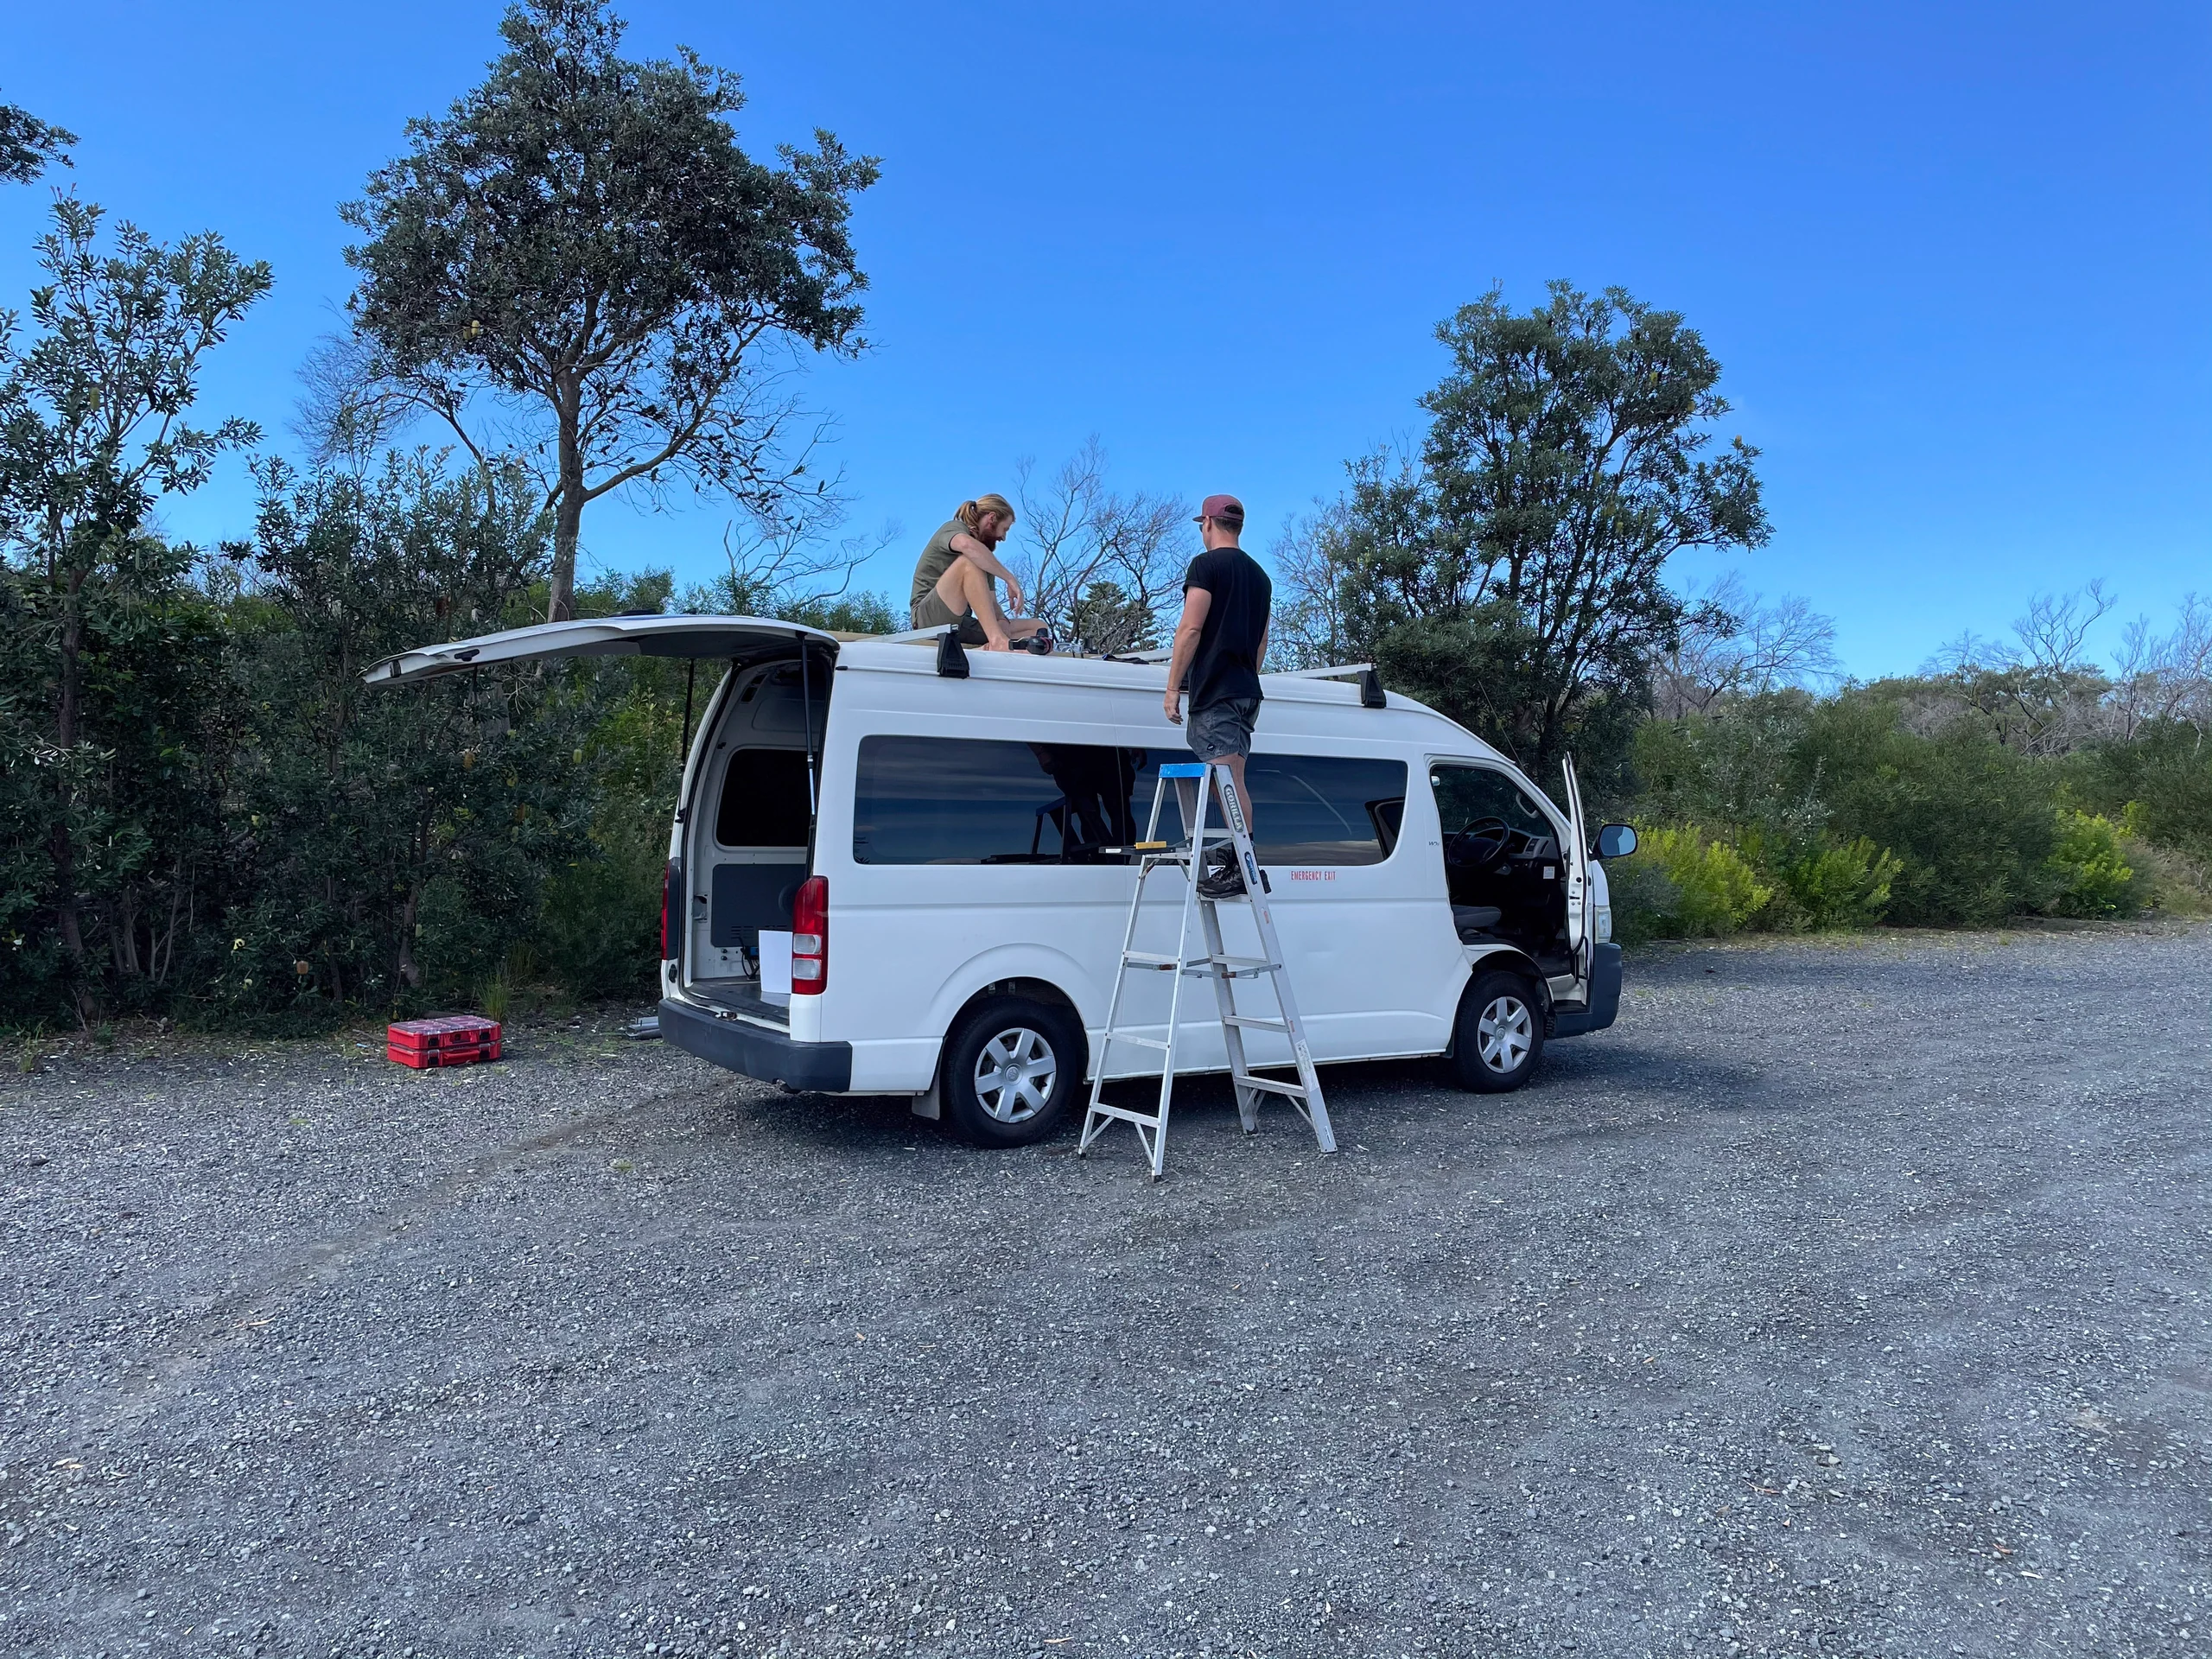
Before we can cut the hole, we have to temporarily remove the solar panels. This turned out much harder than expected due to a combination of impossible screws, rusty screws and unreachable screws. In the end, we had to drill through a few and take down one of the roof racks.
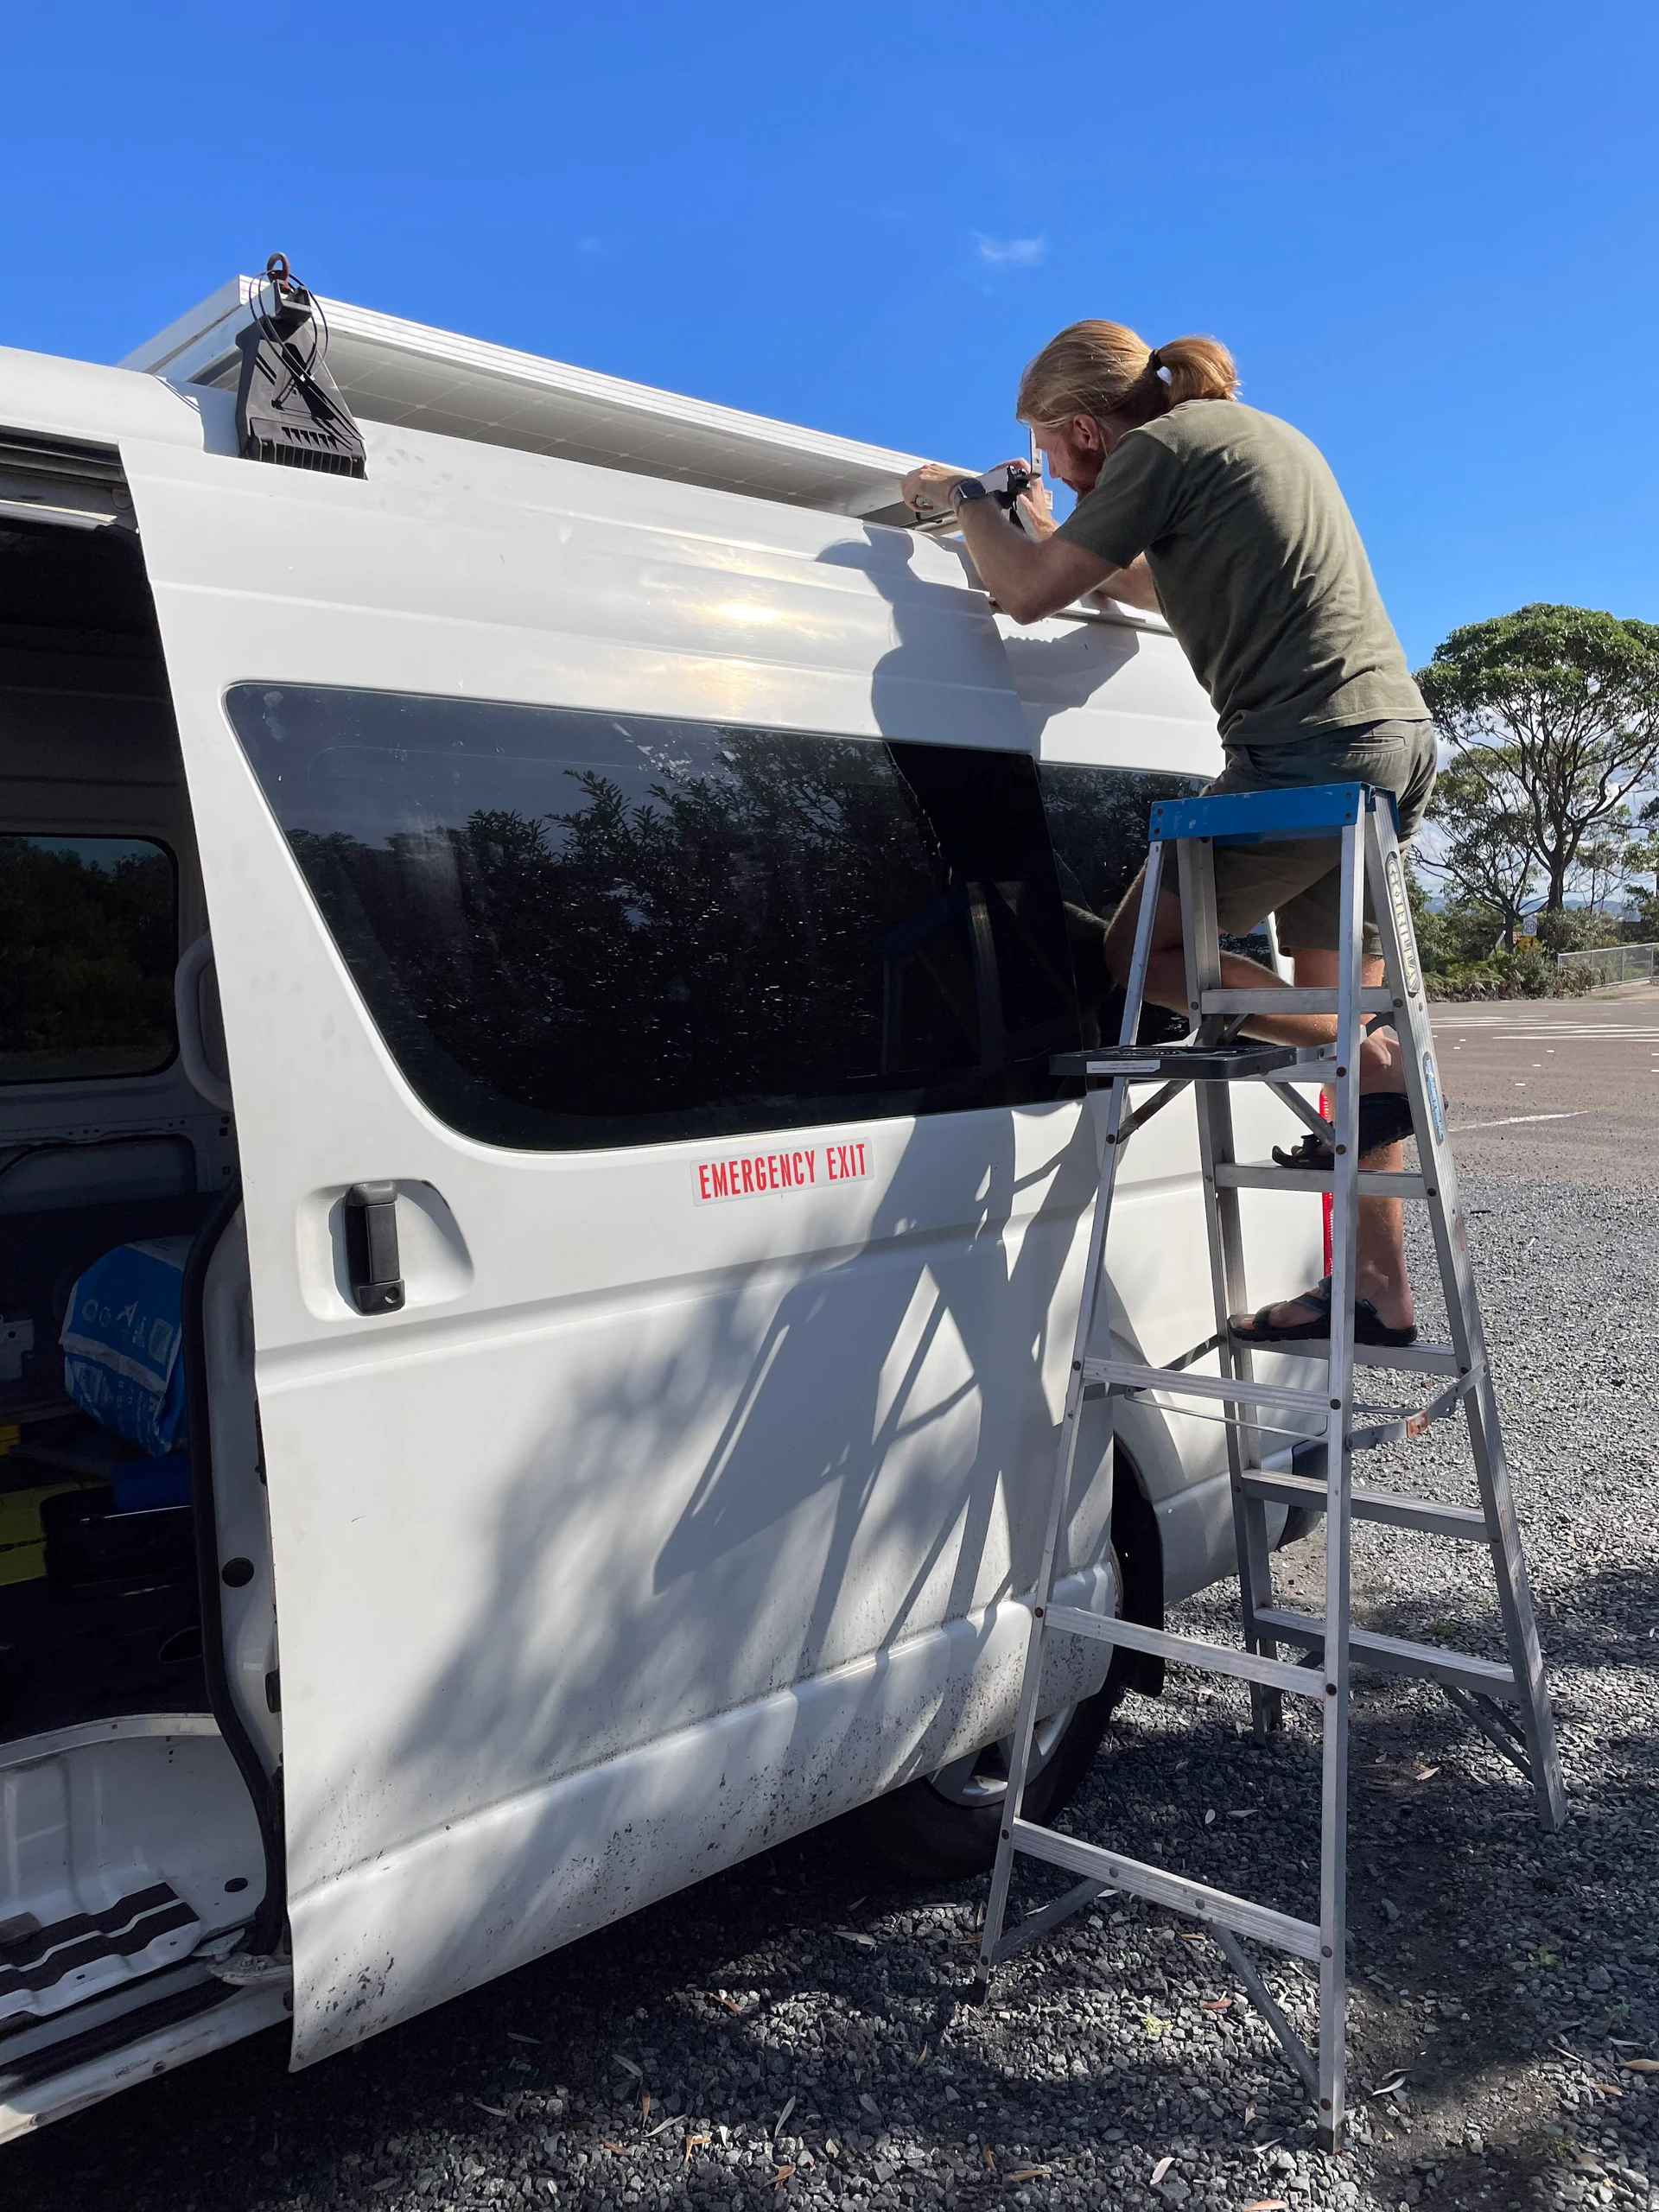
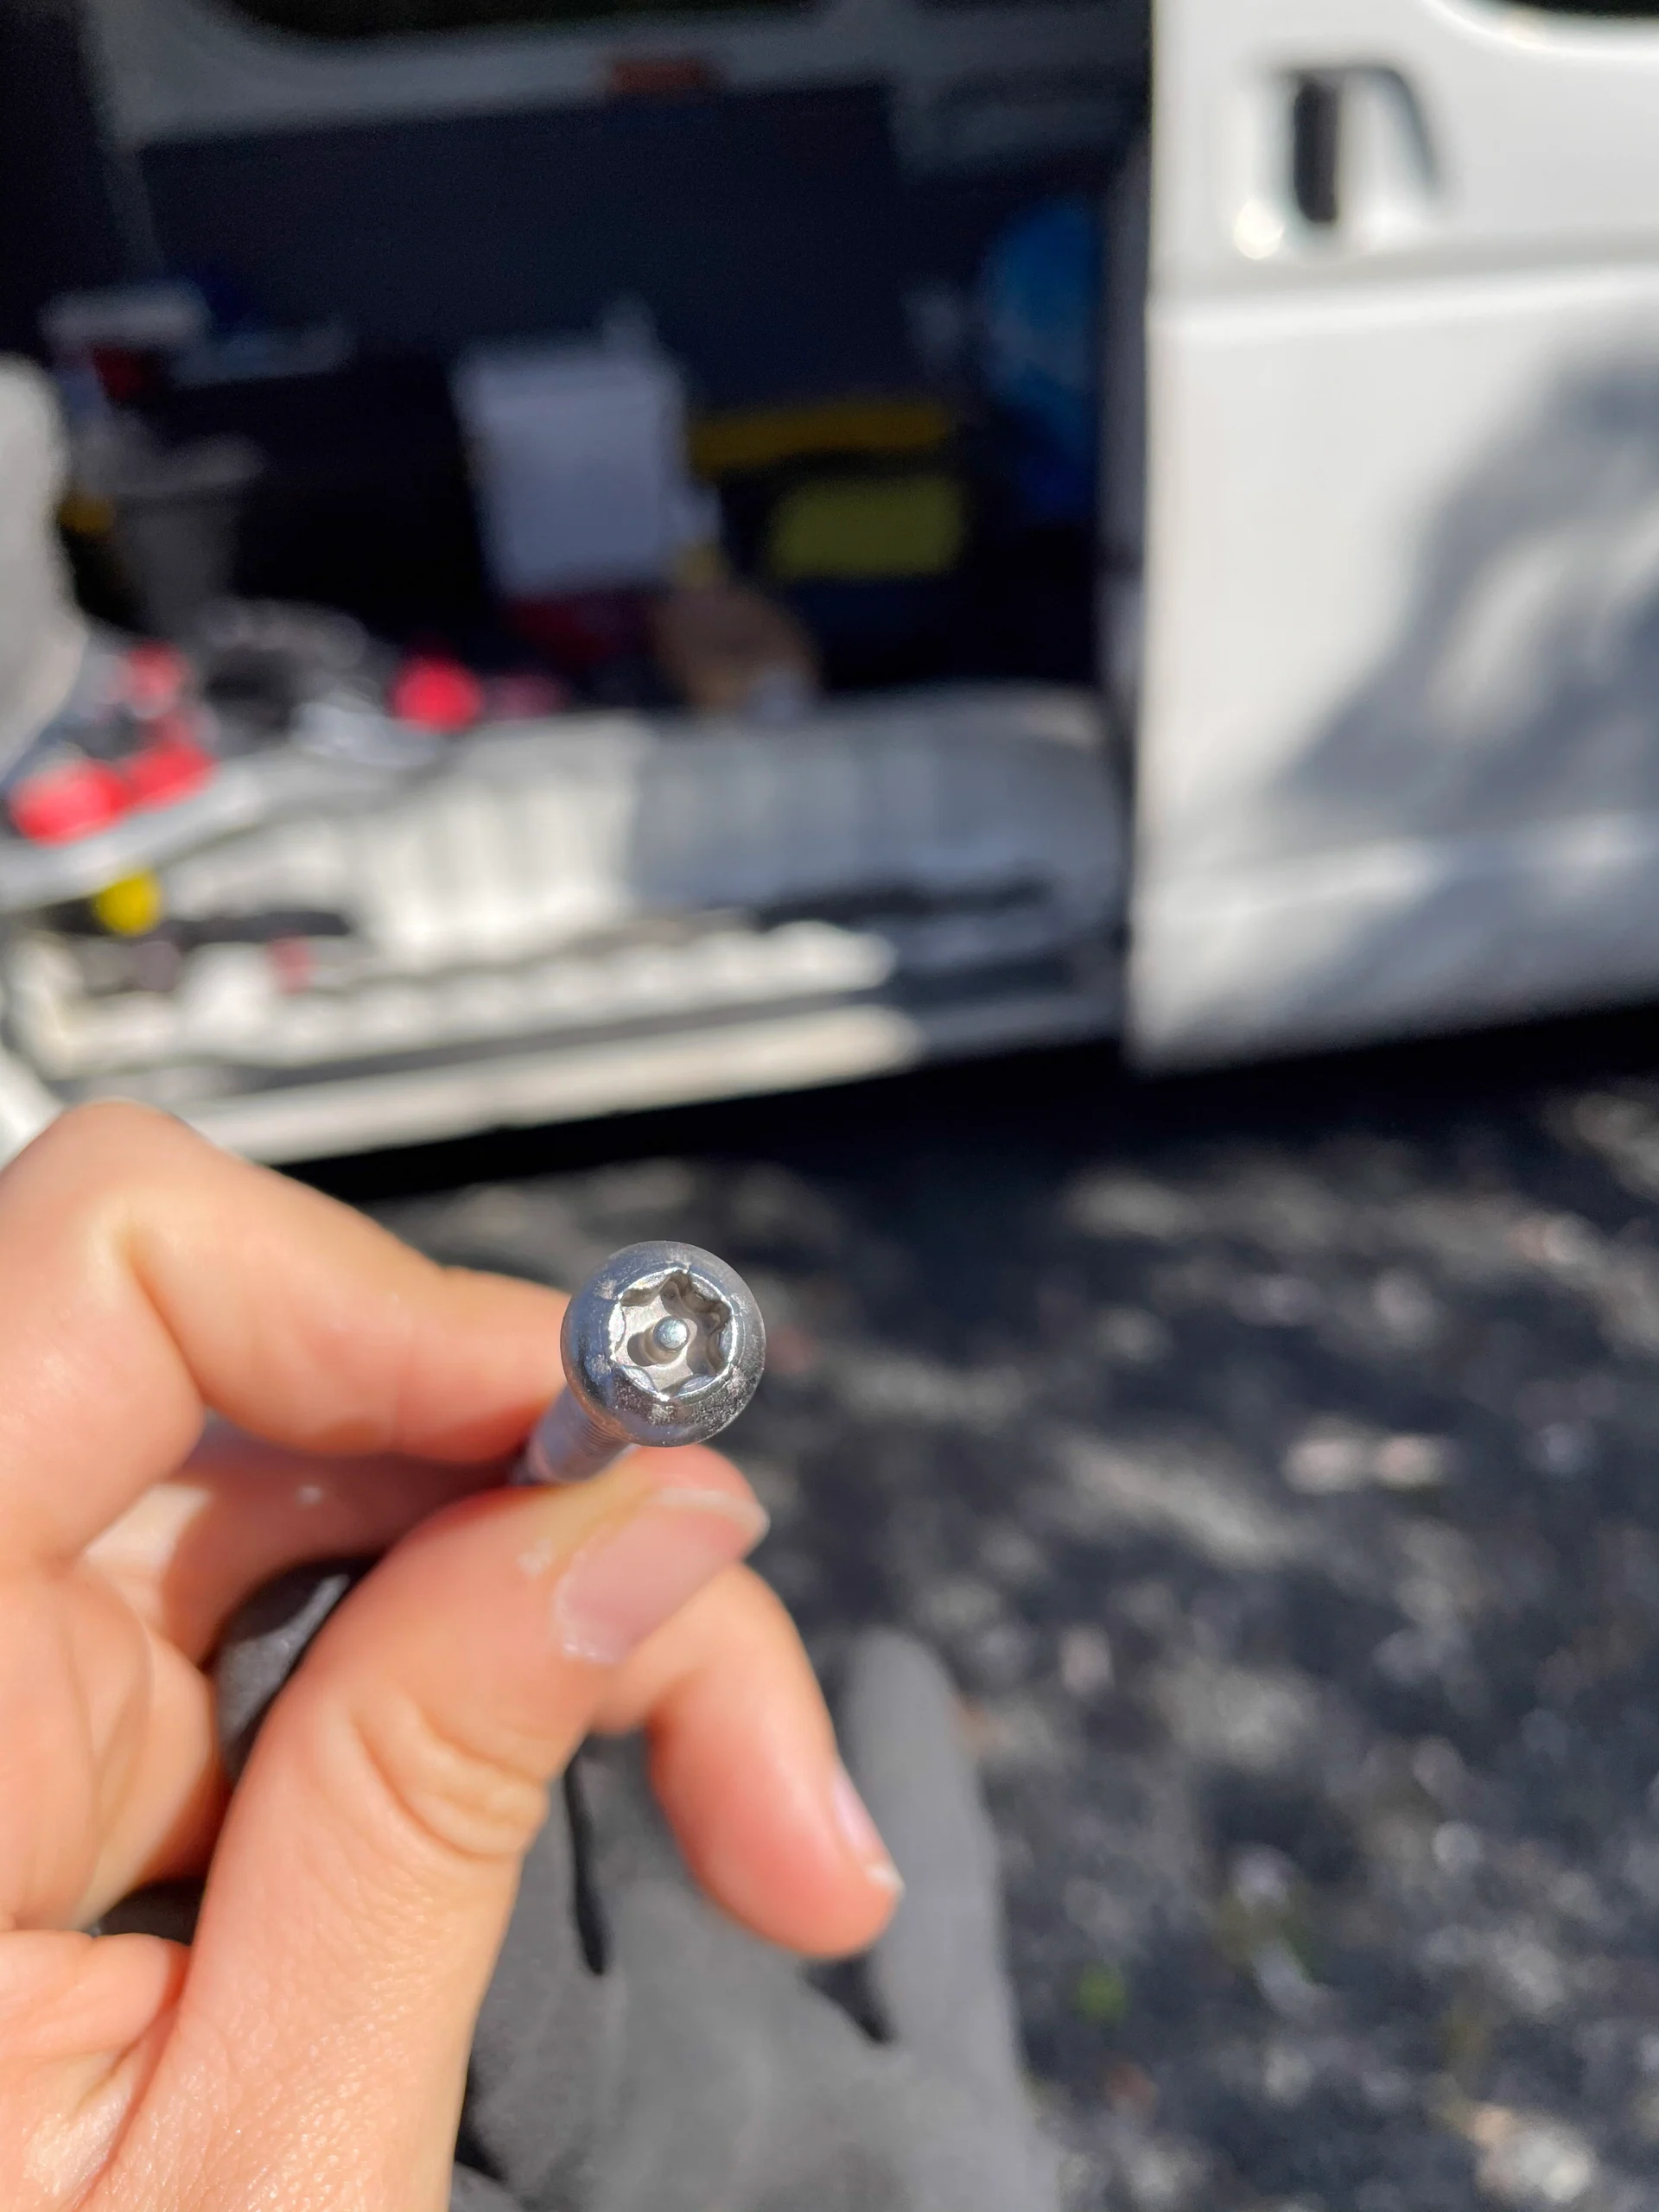
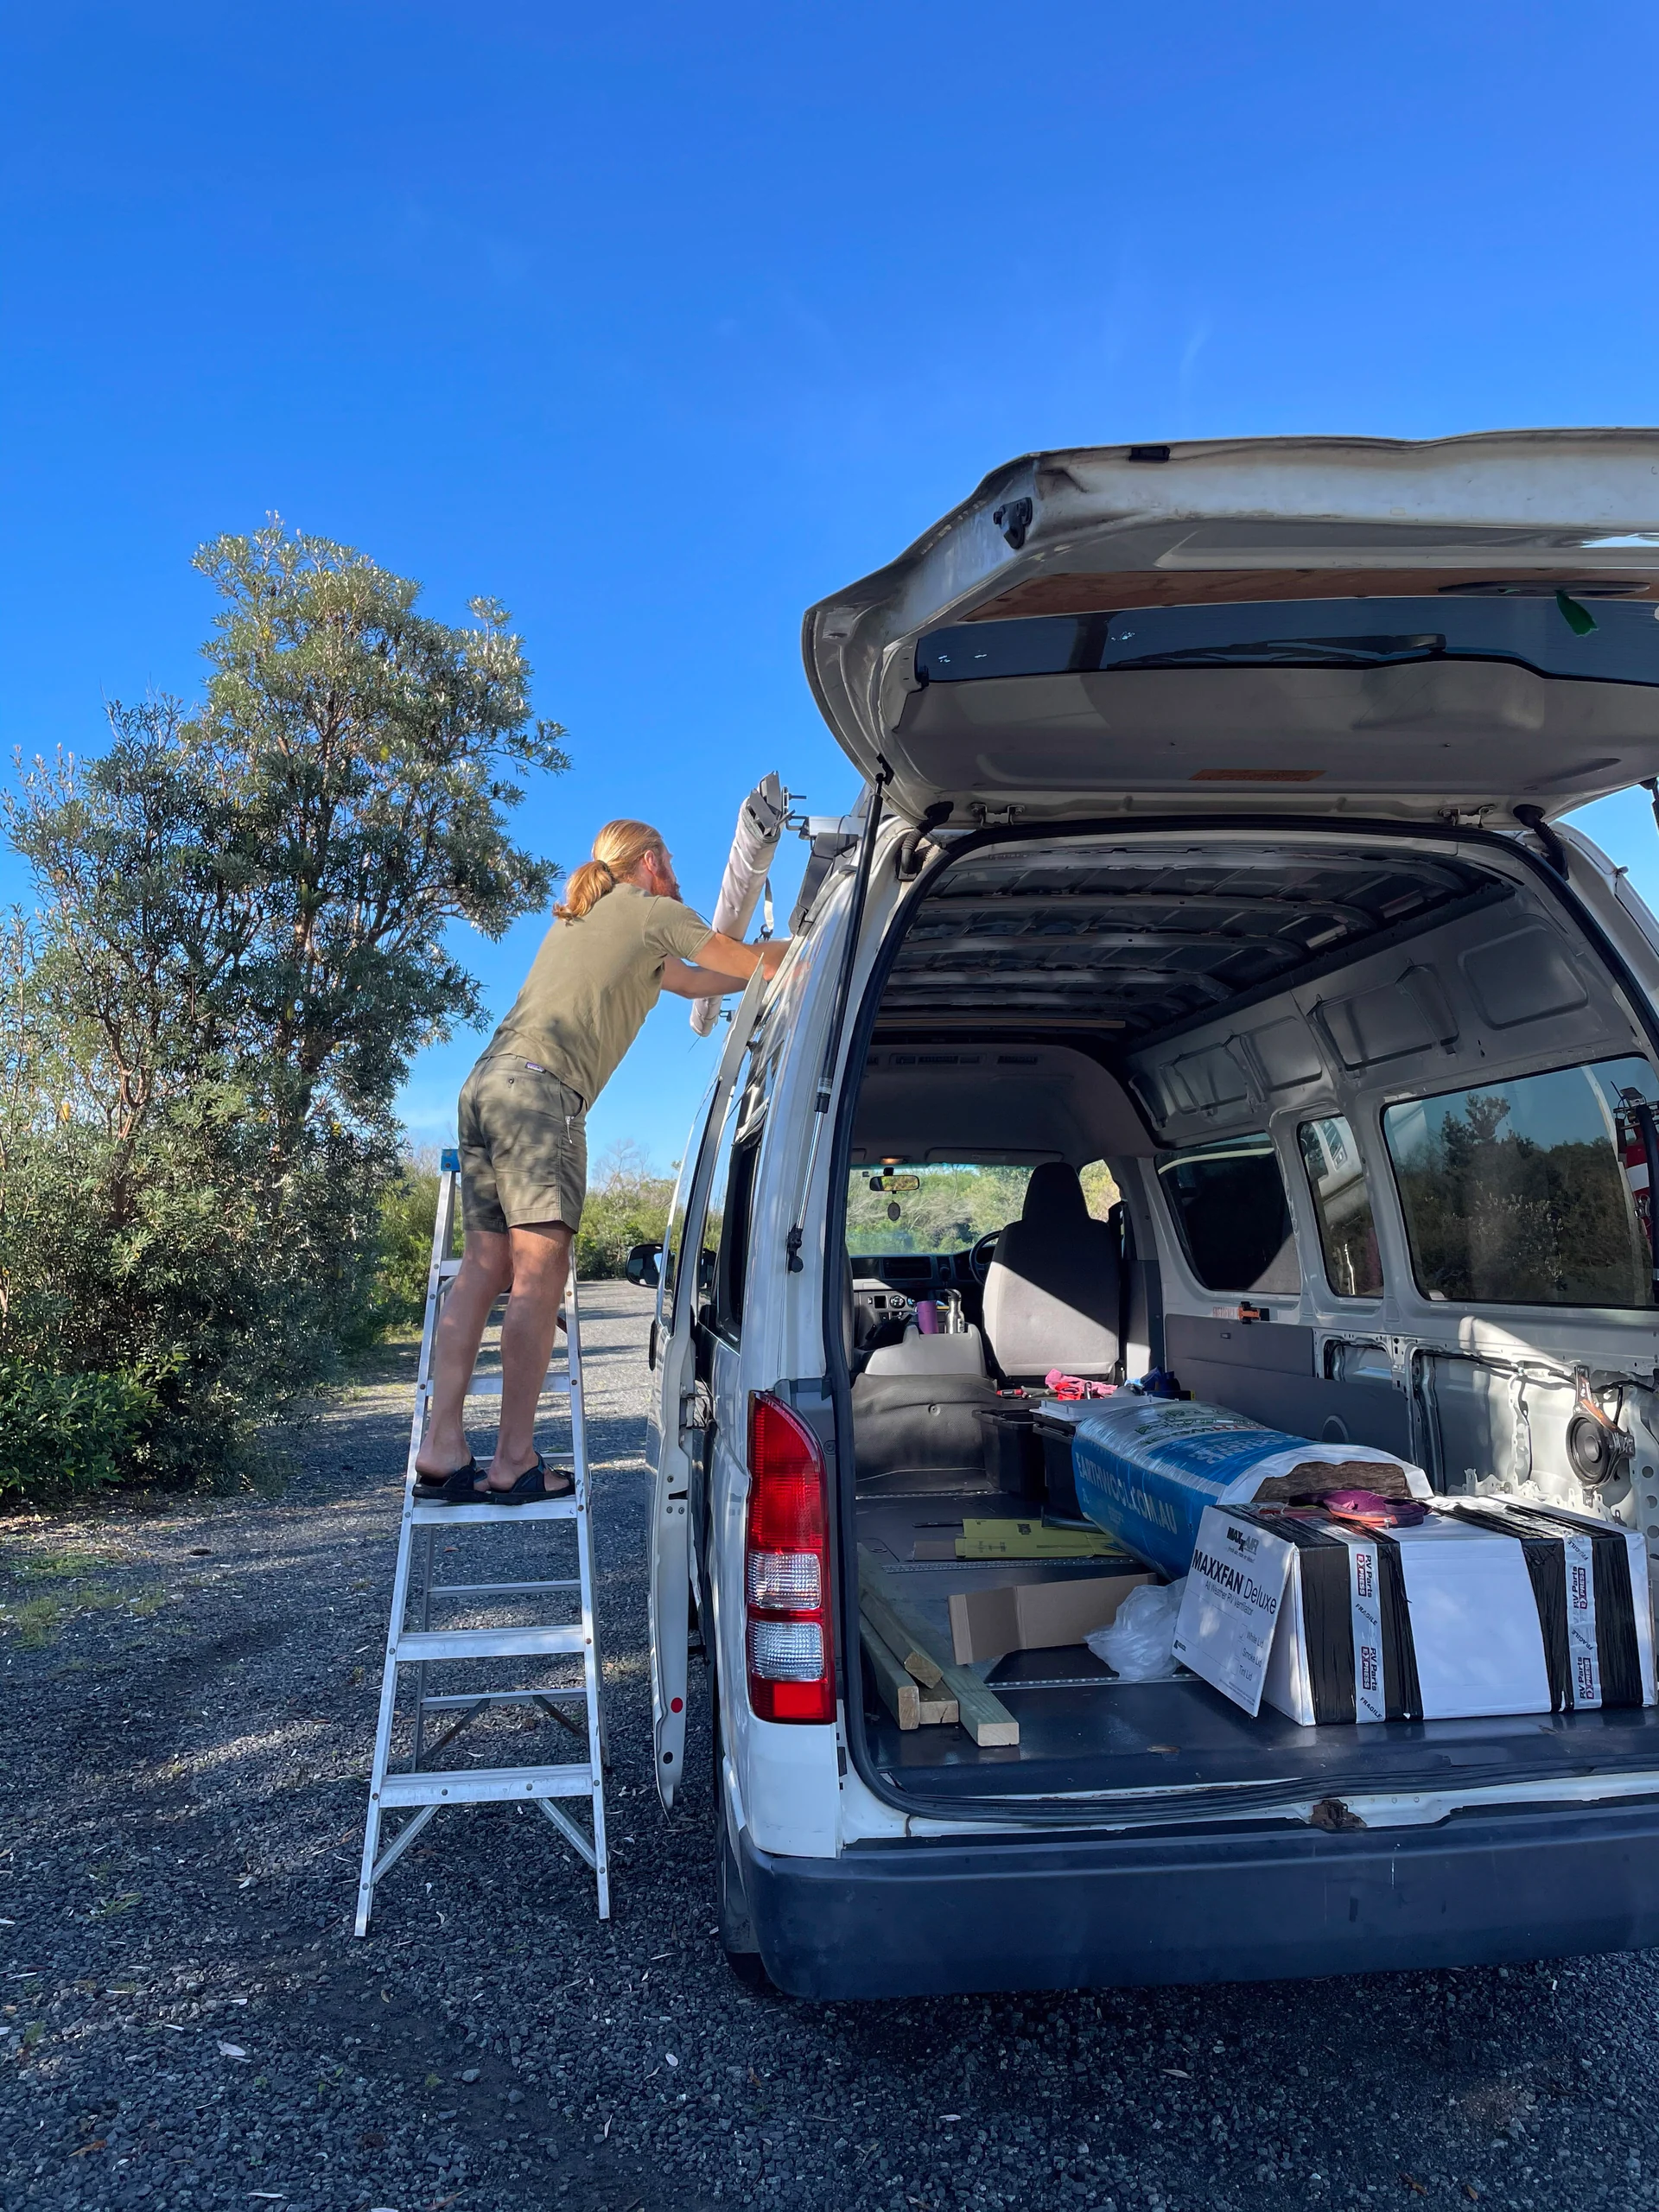
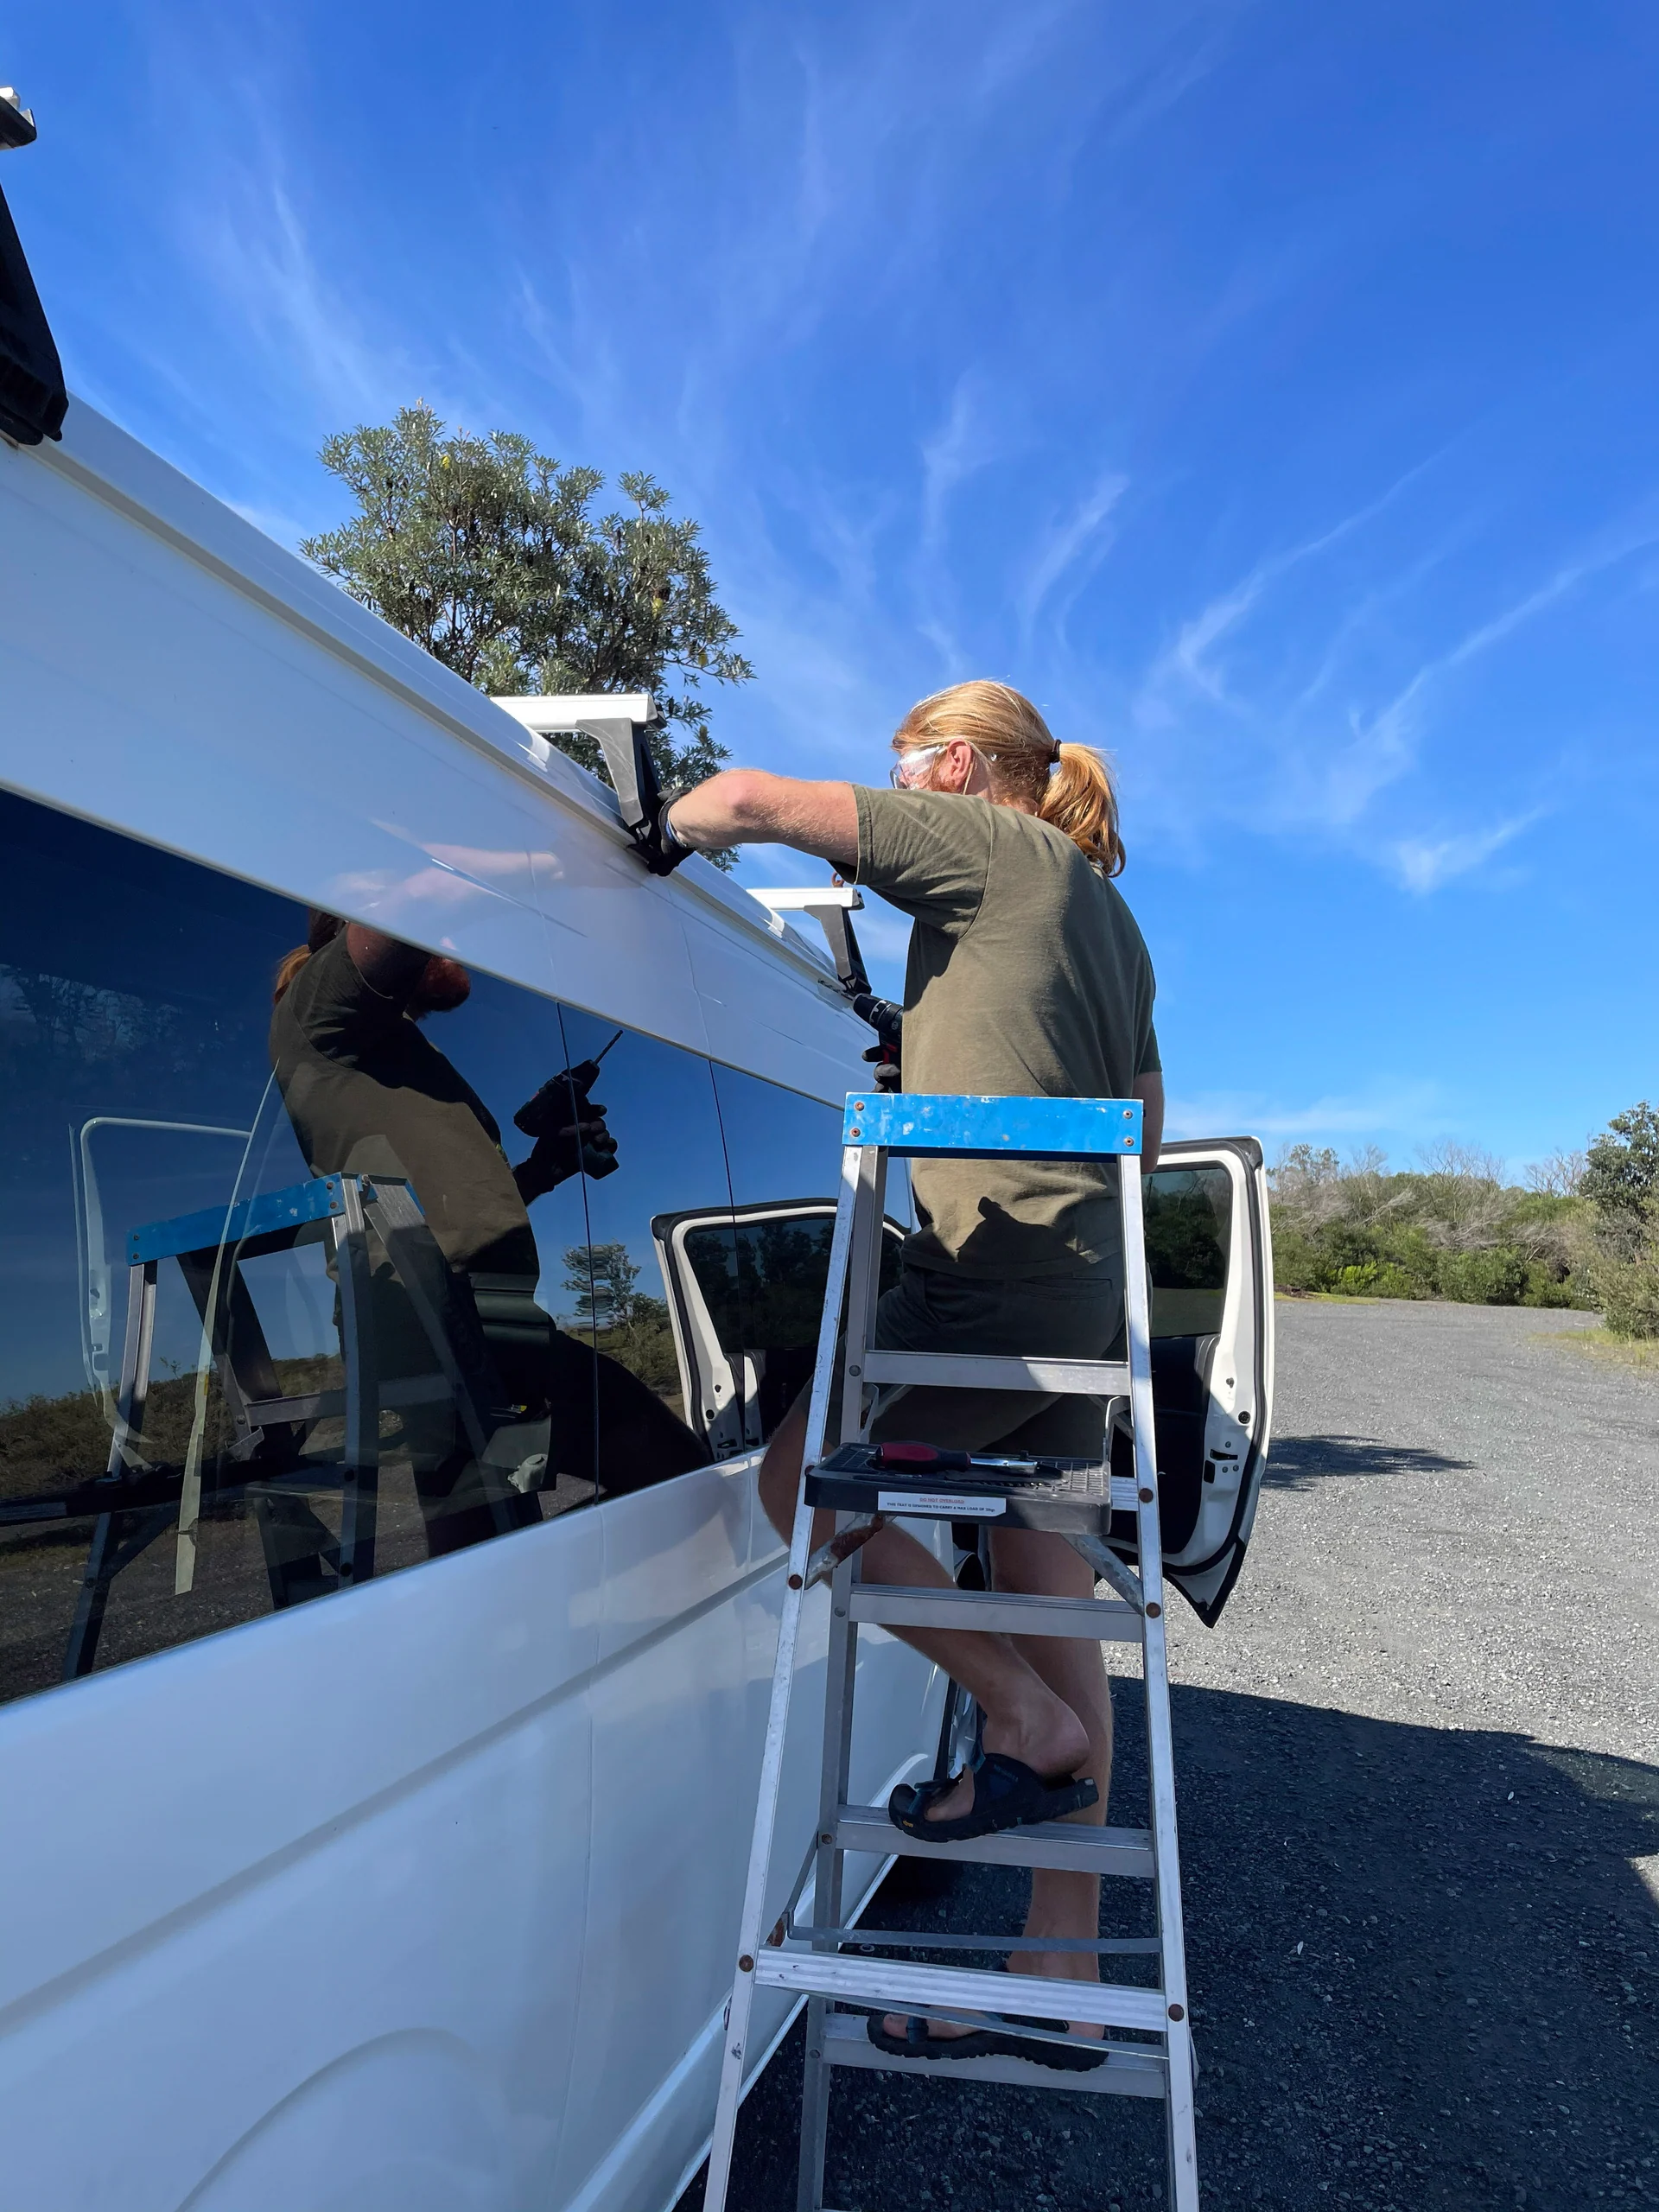
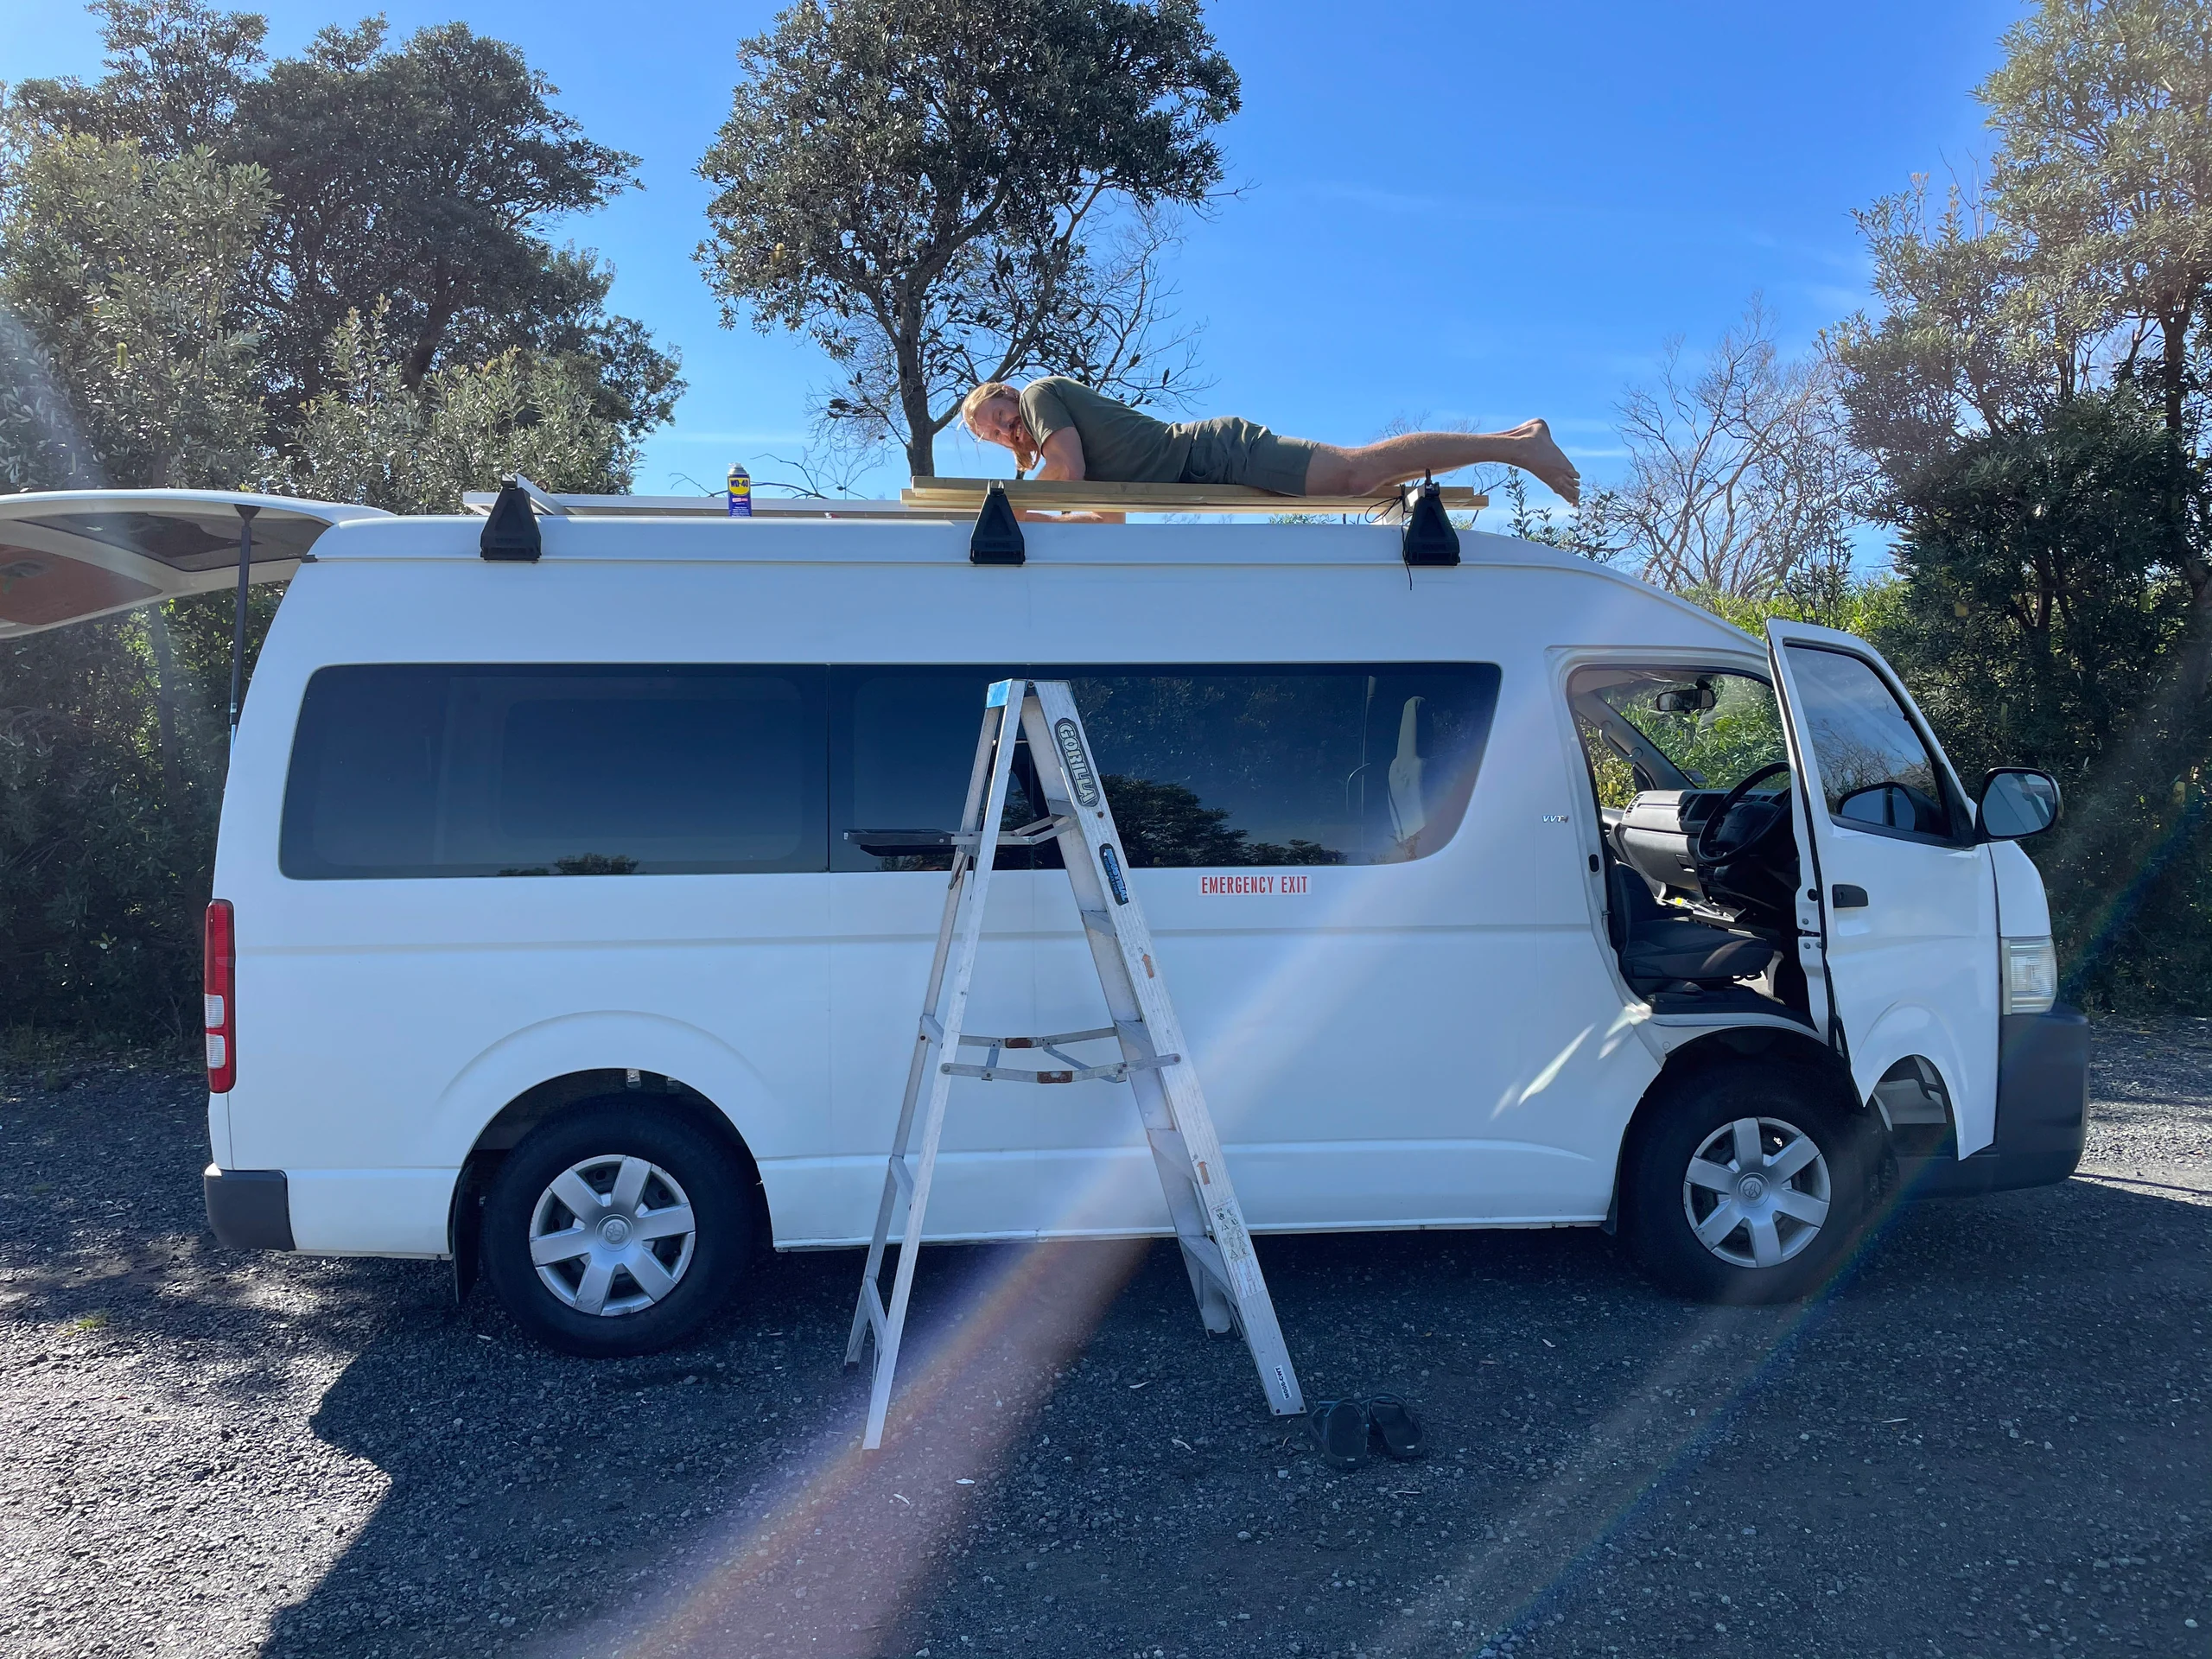
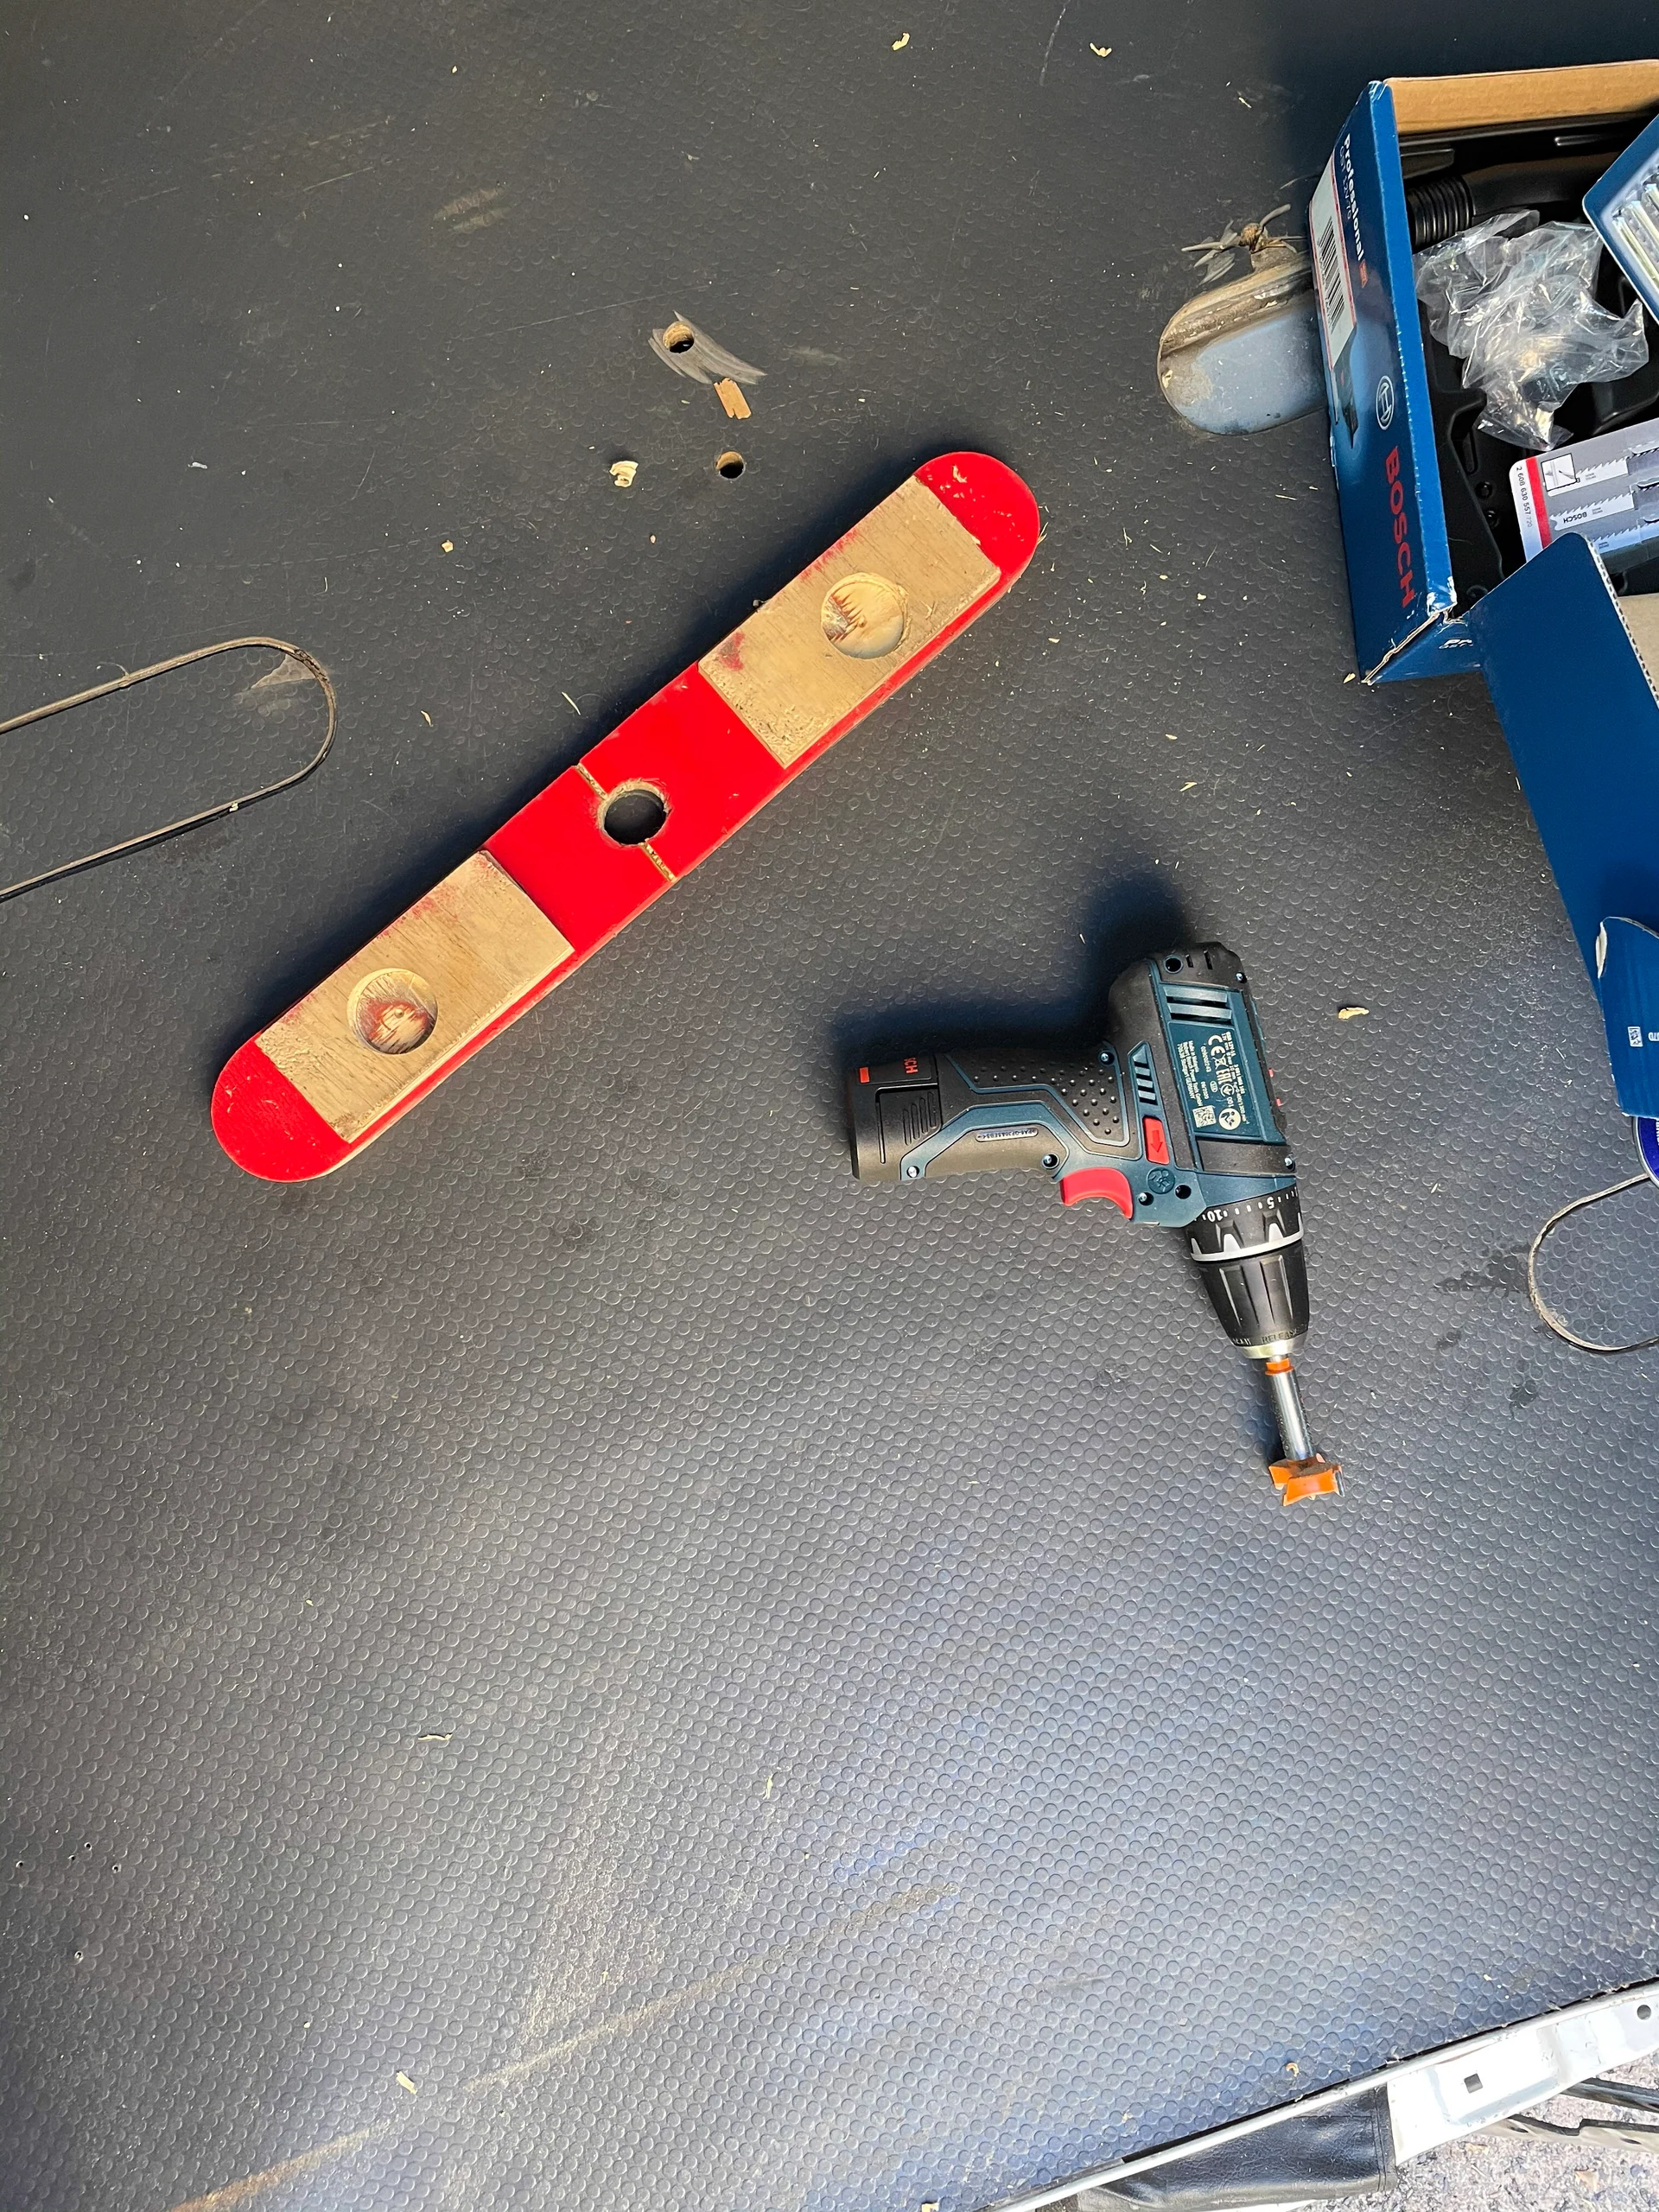
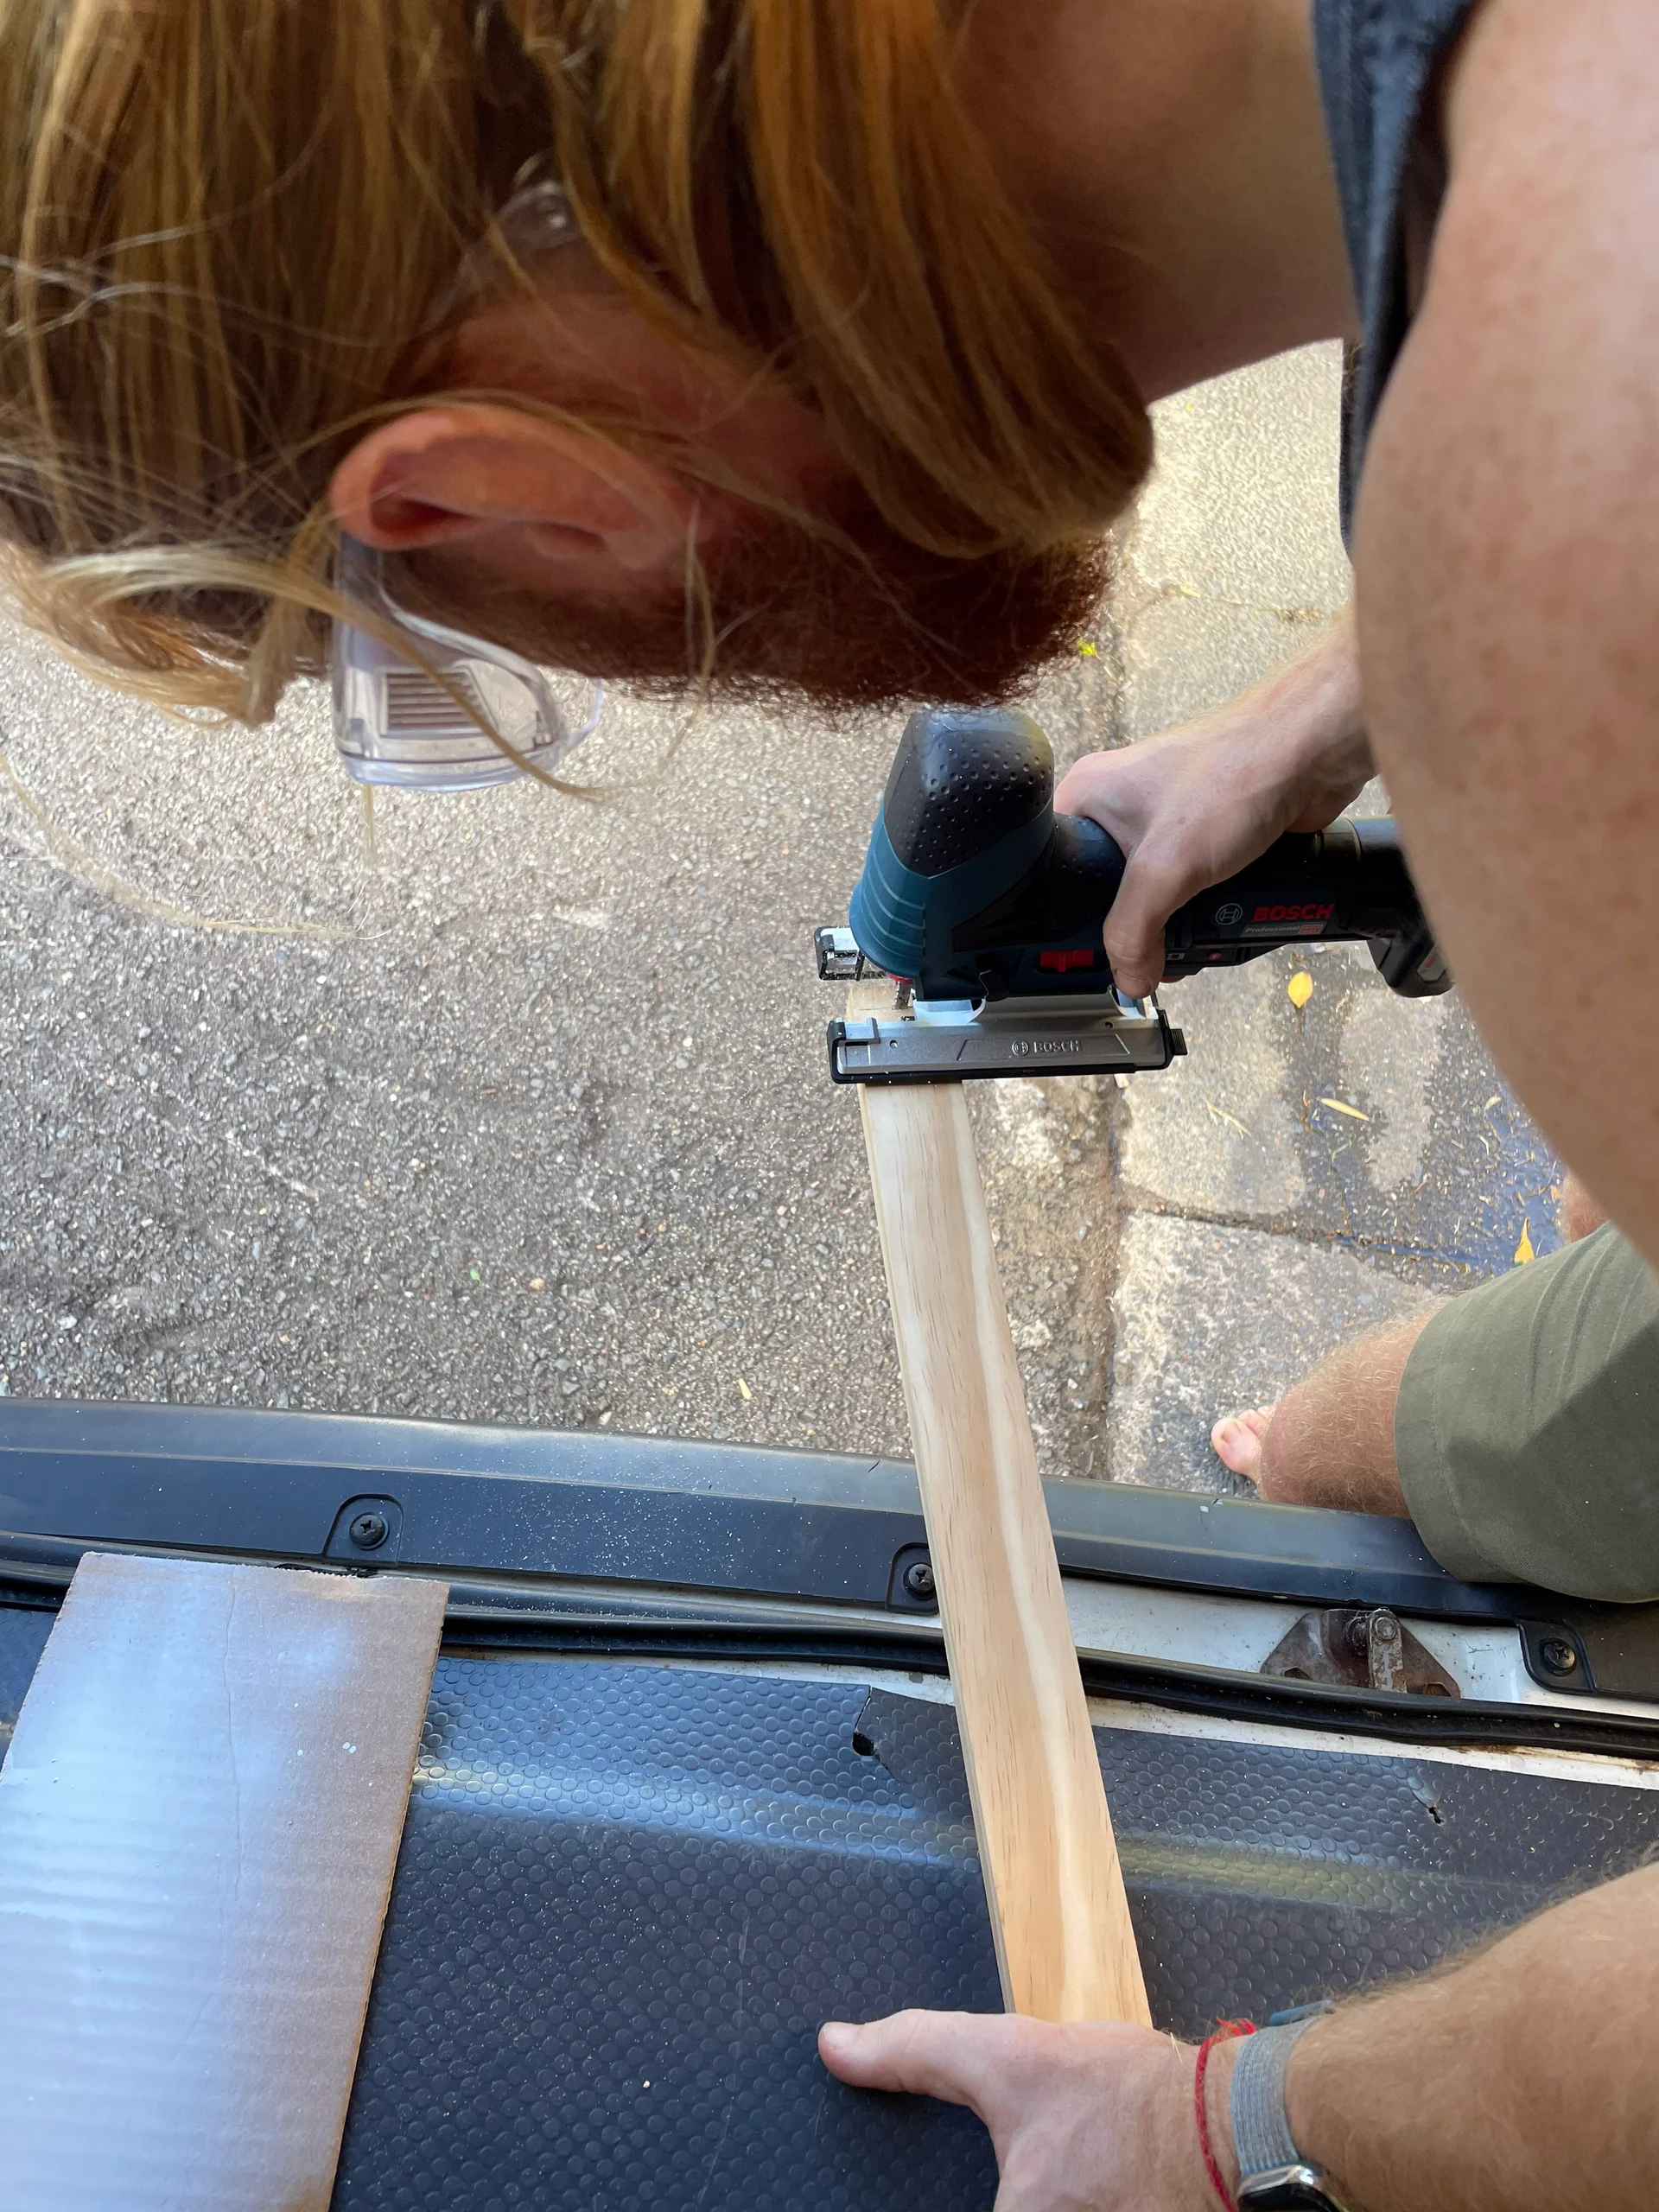
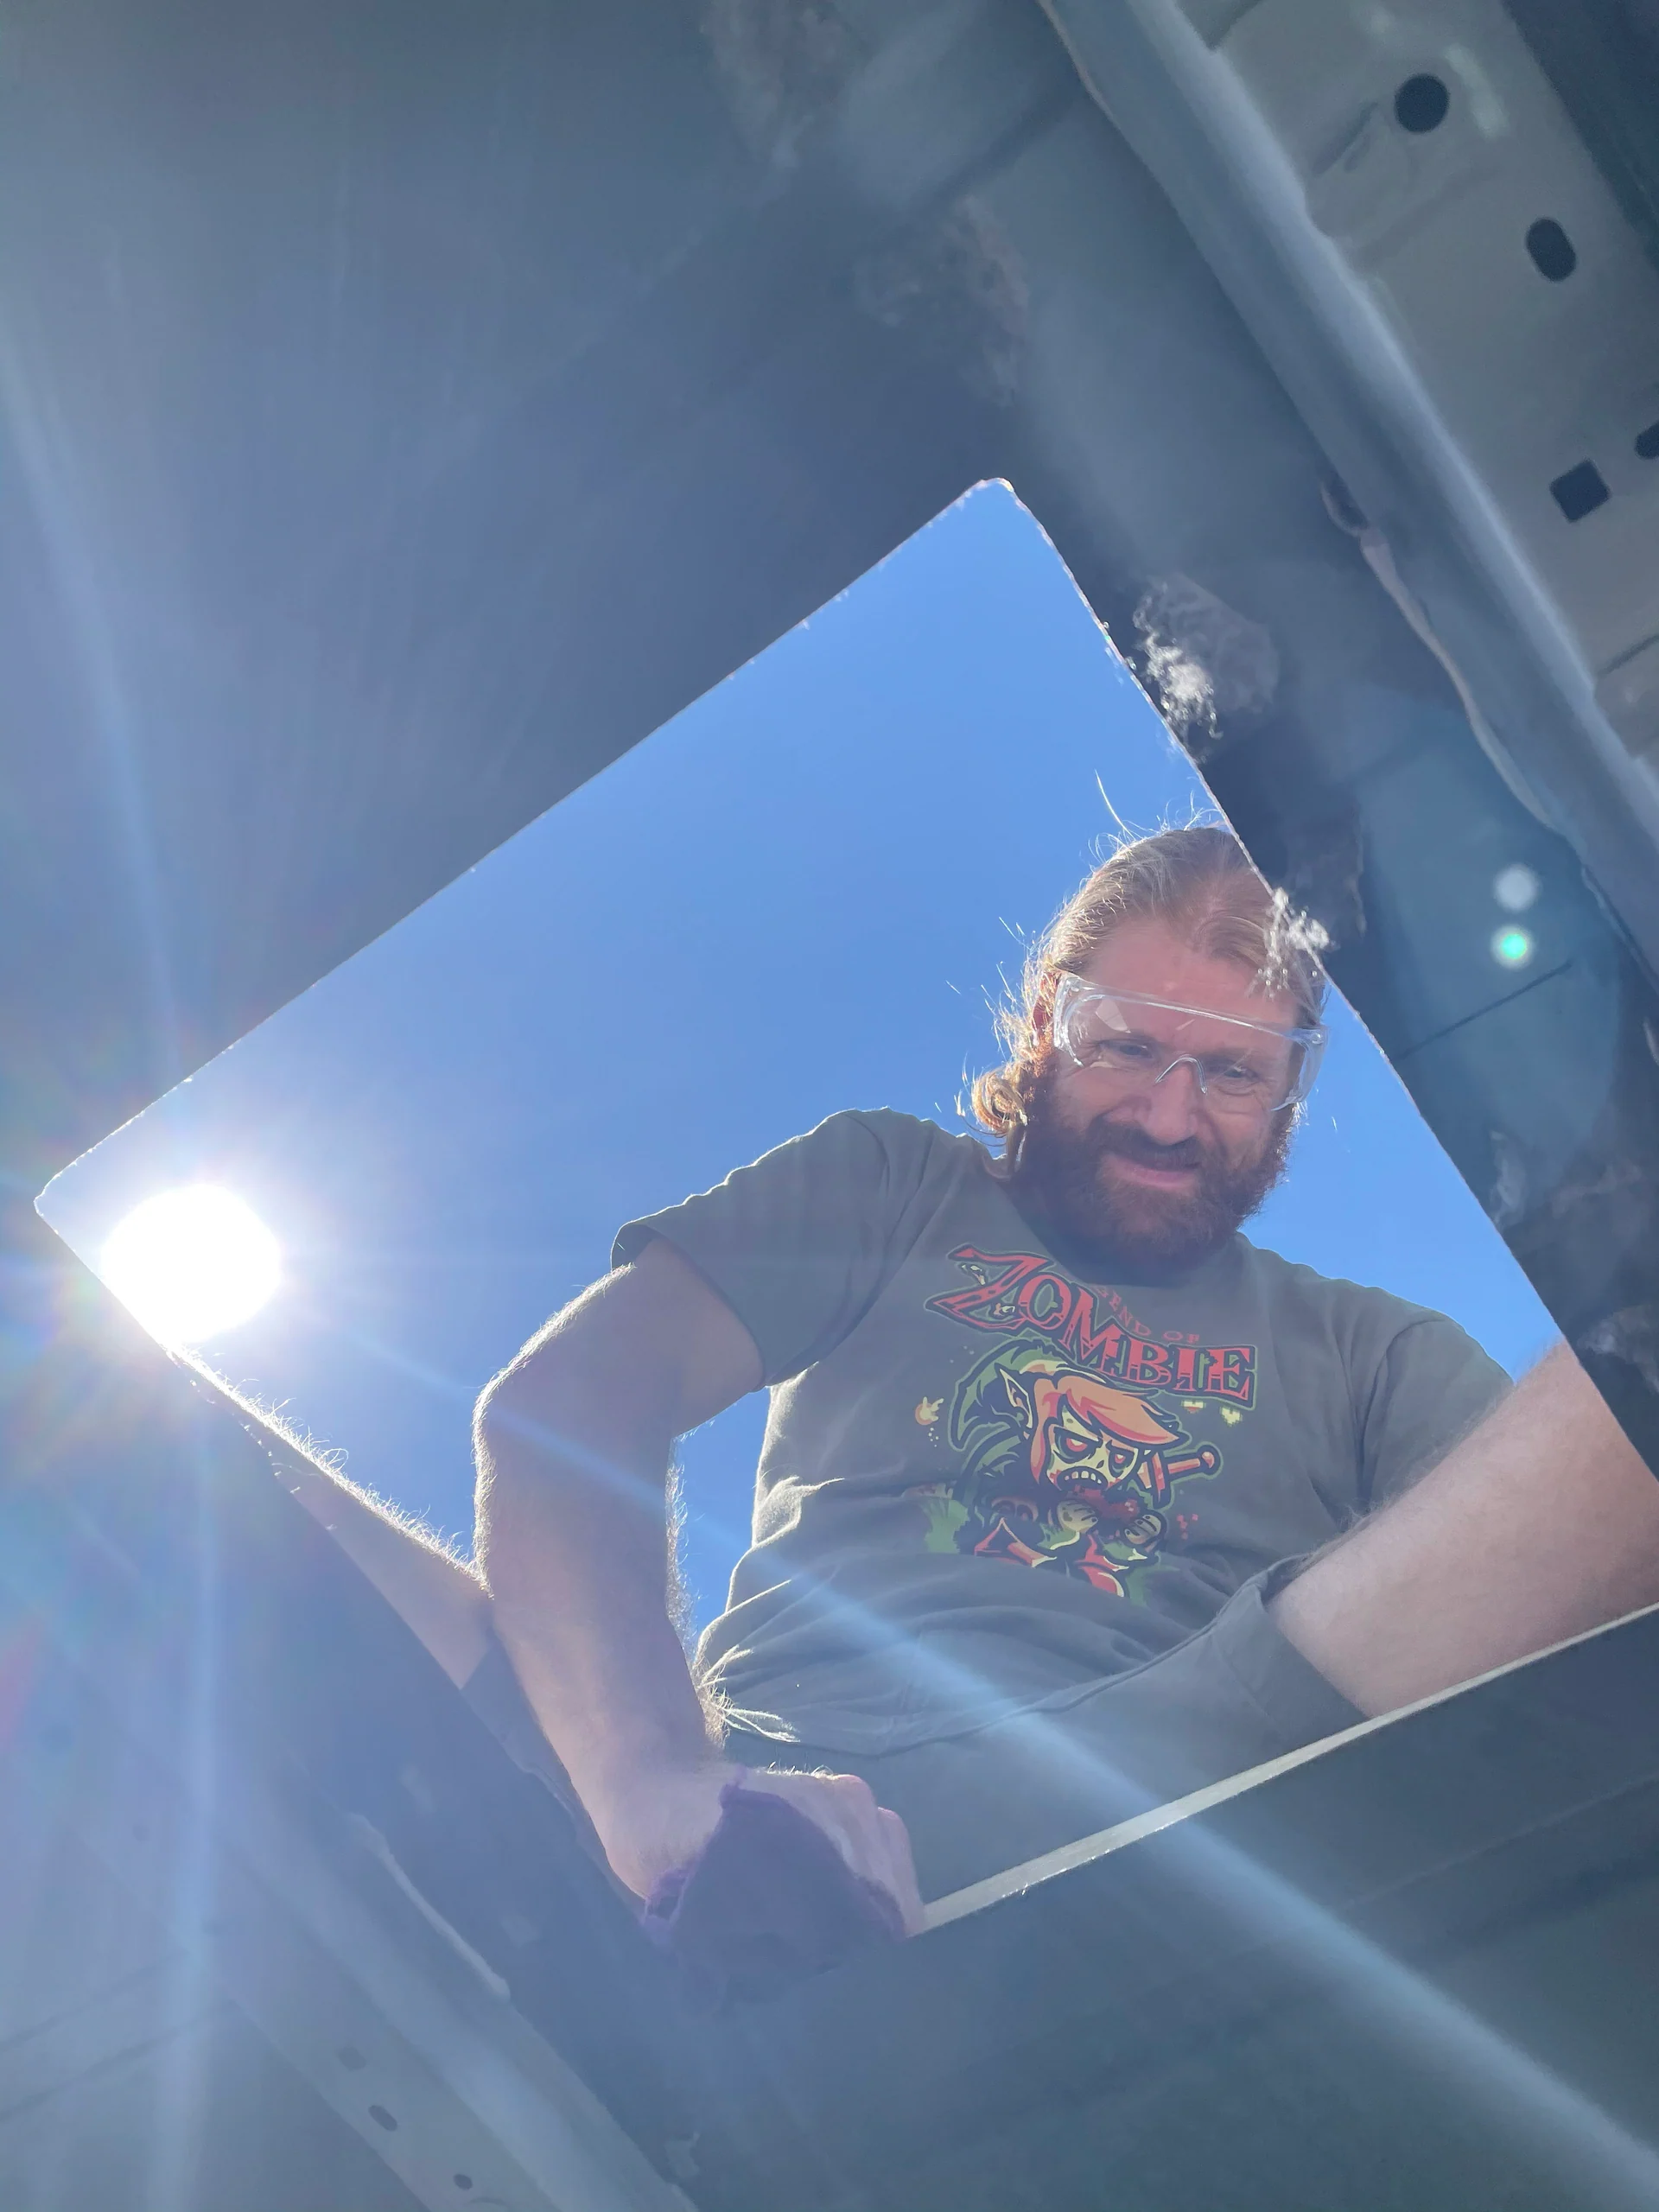
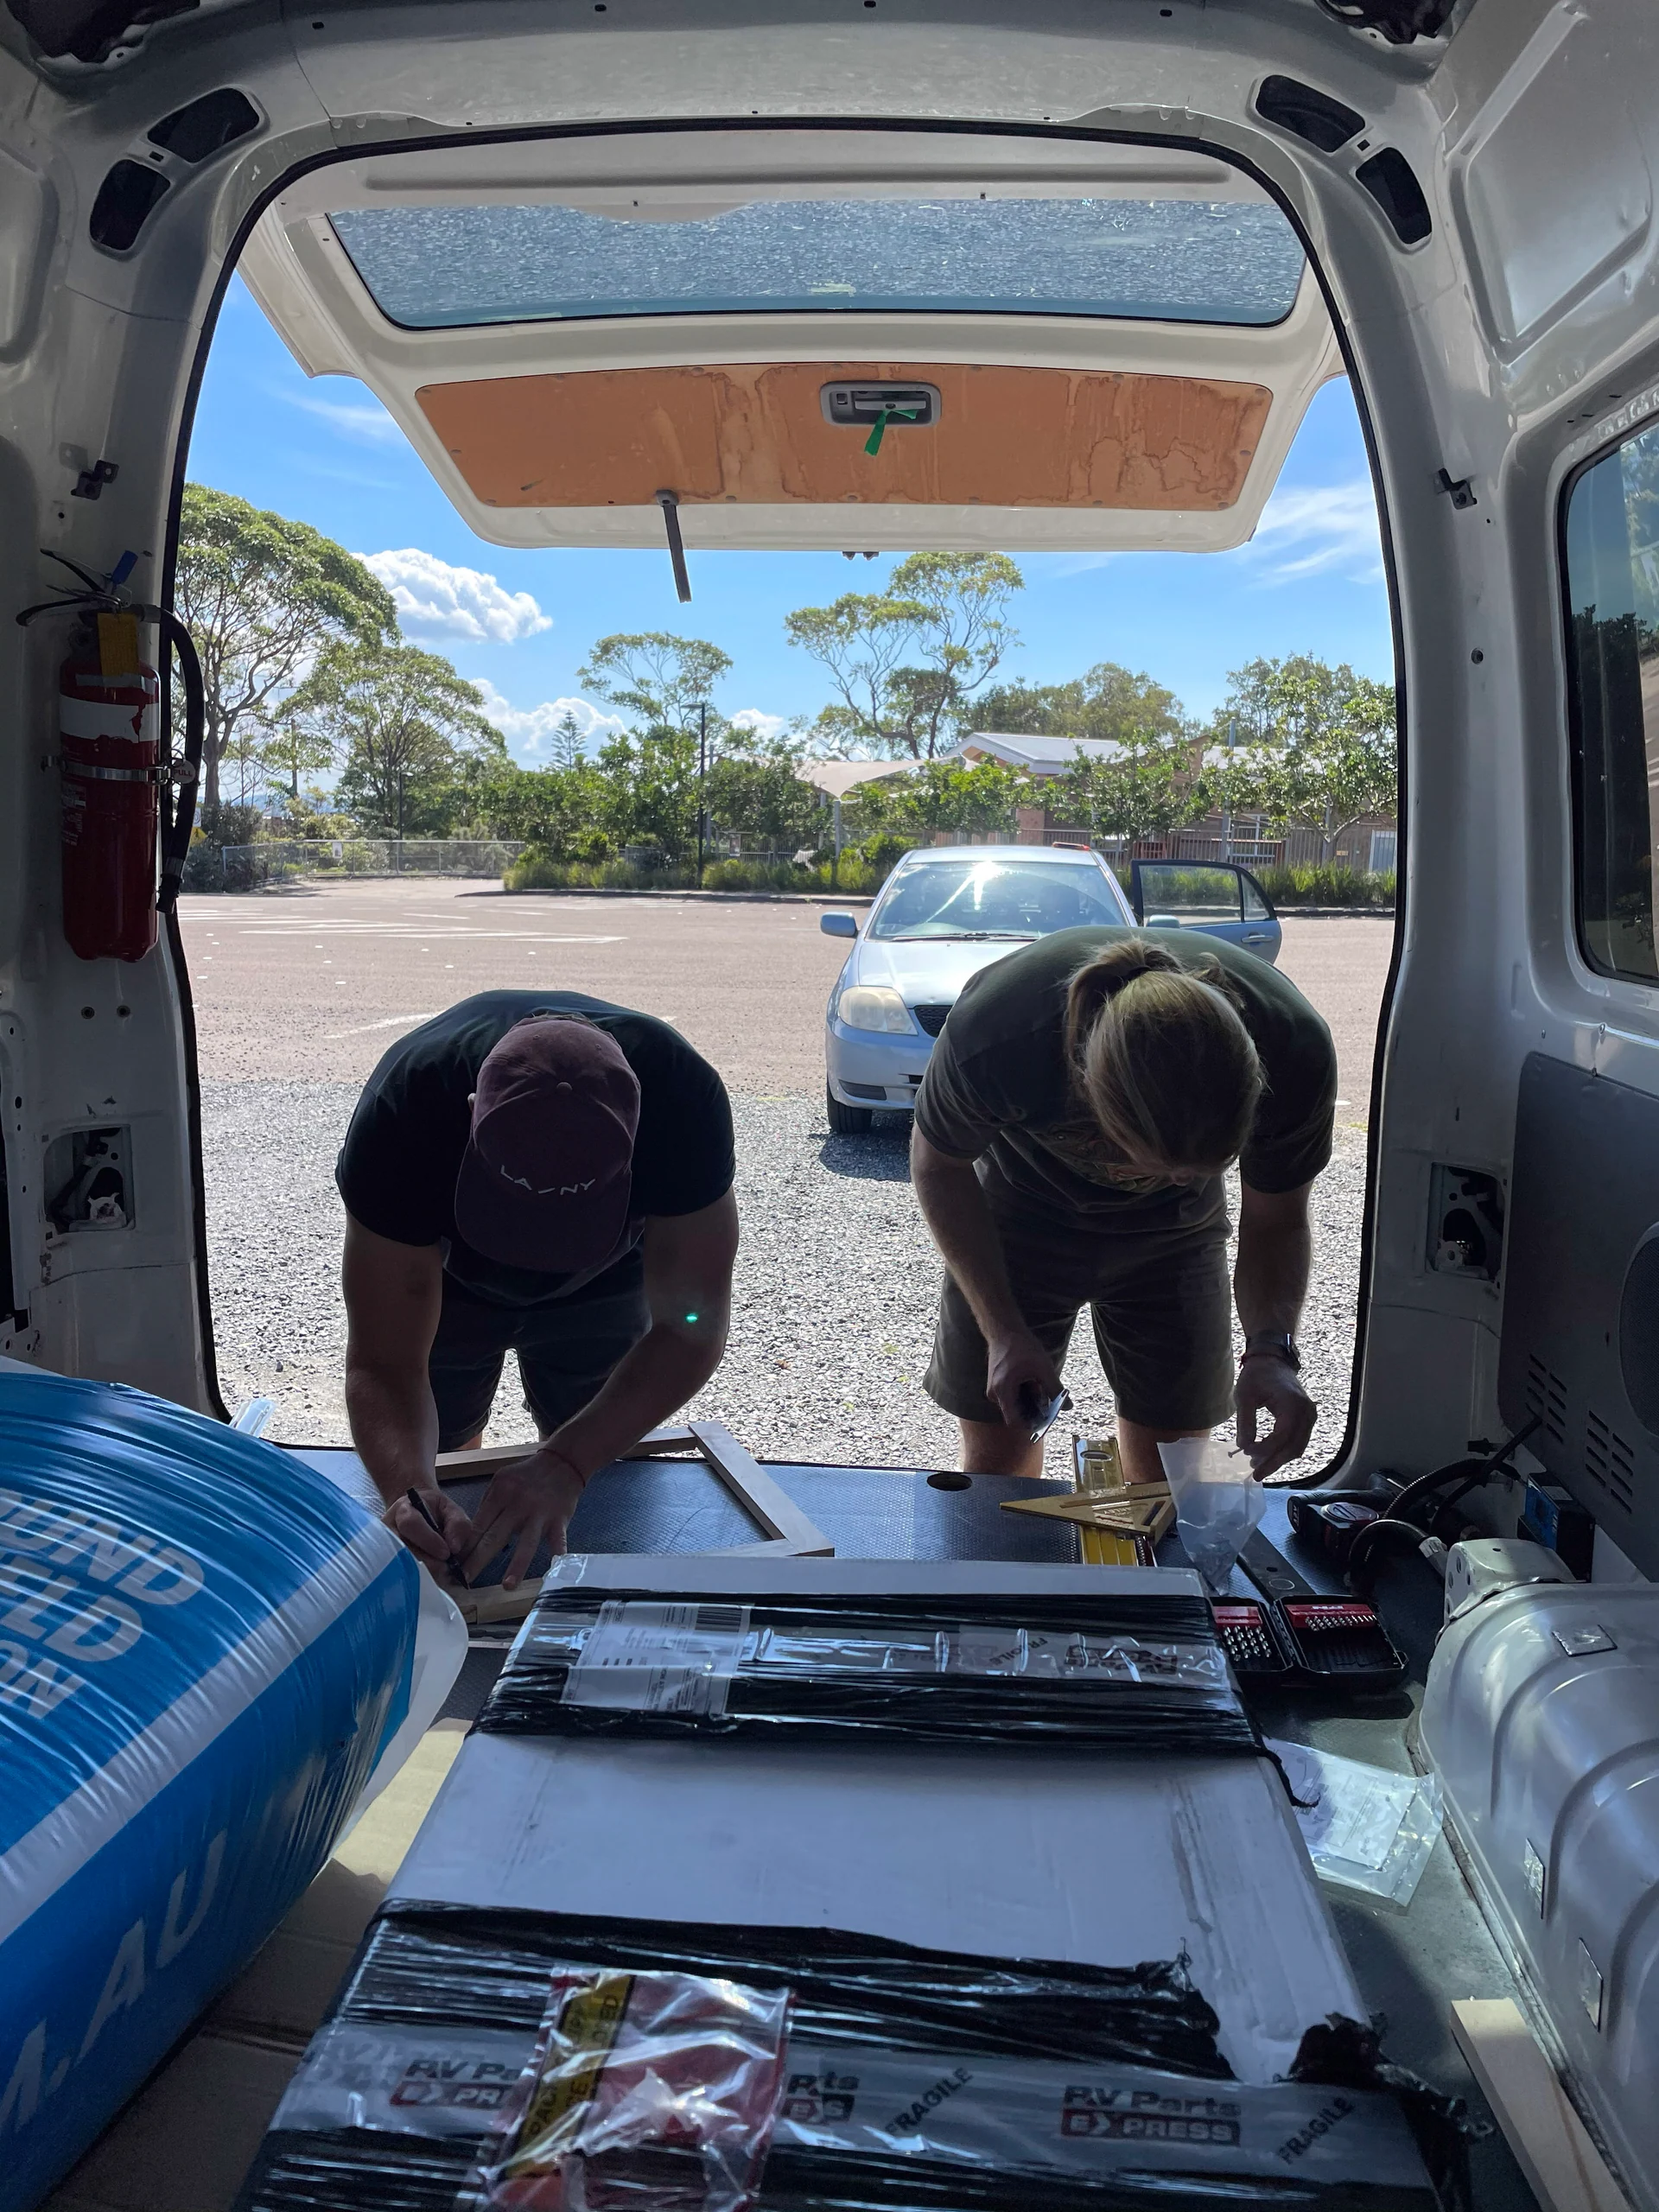
After the solar was down, it was time to measure, measure again, and then mark where the fan shall go. Then drill a hole in each of the corners and connect the holes with the saw. It was surprisingly easy to saw through the roof.
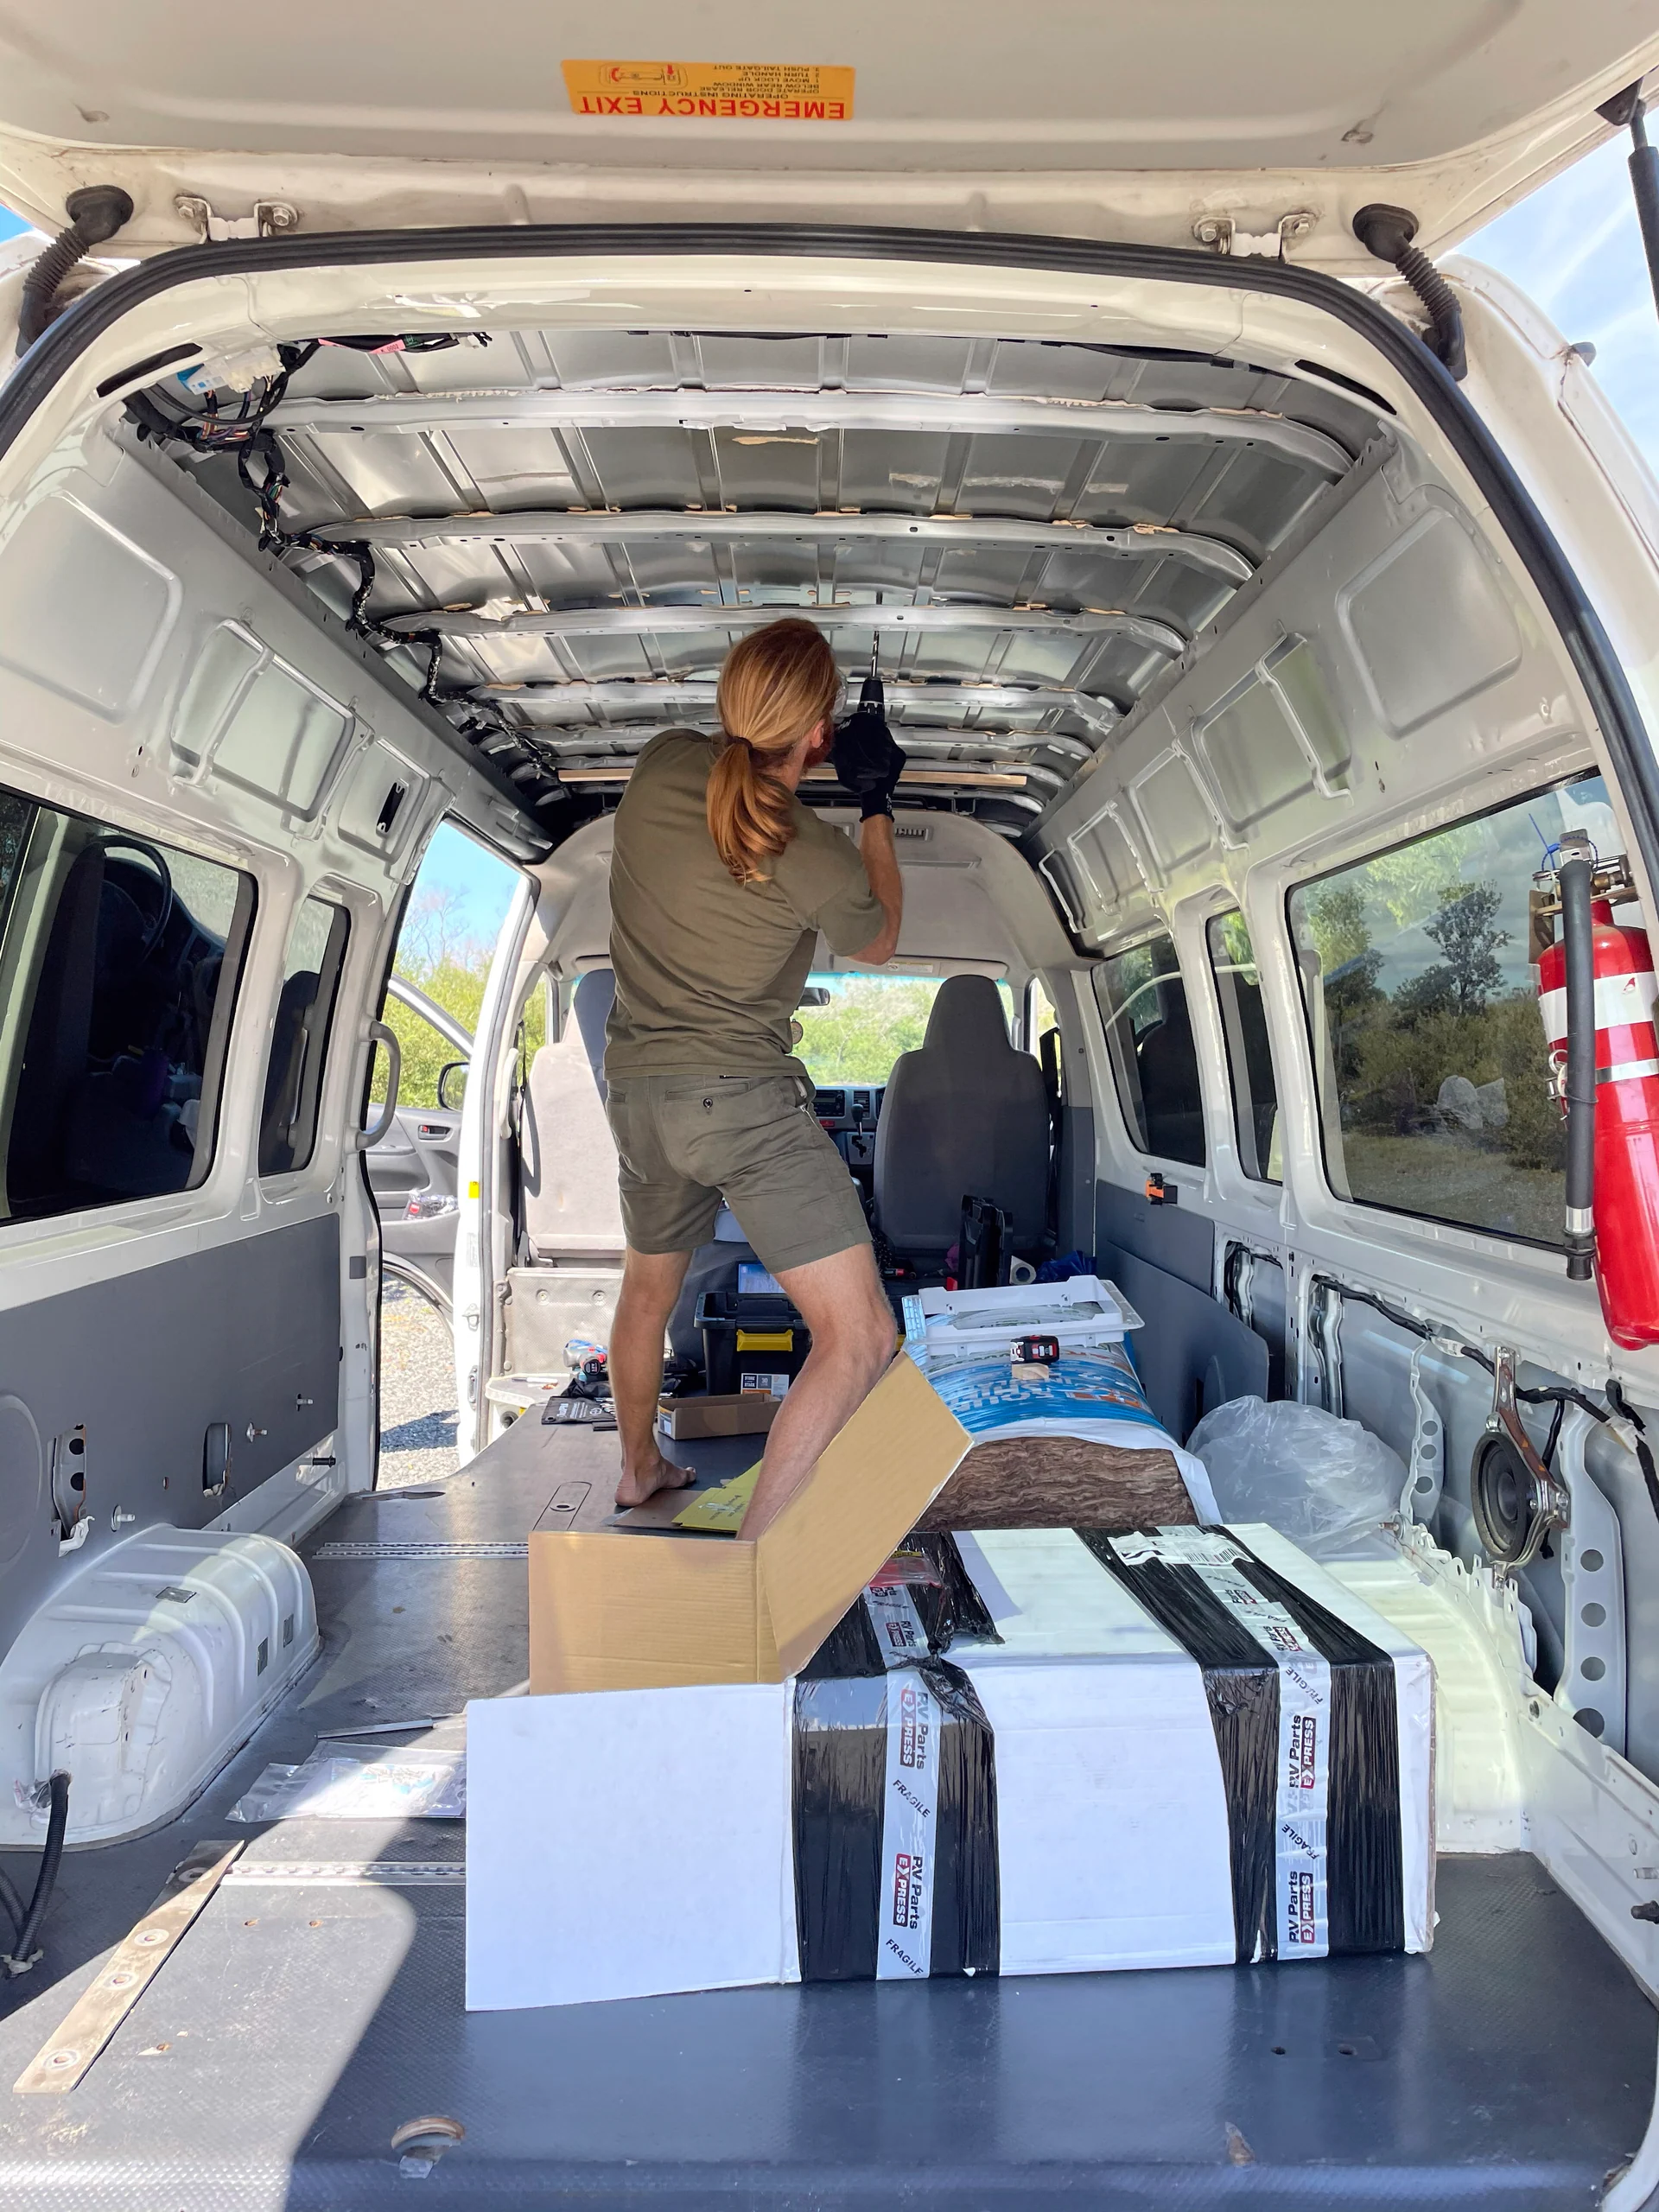
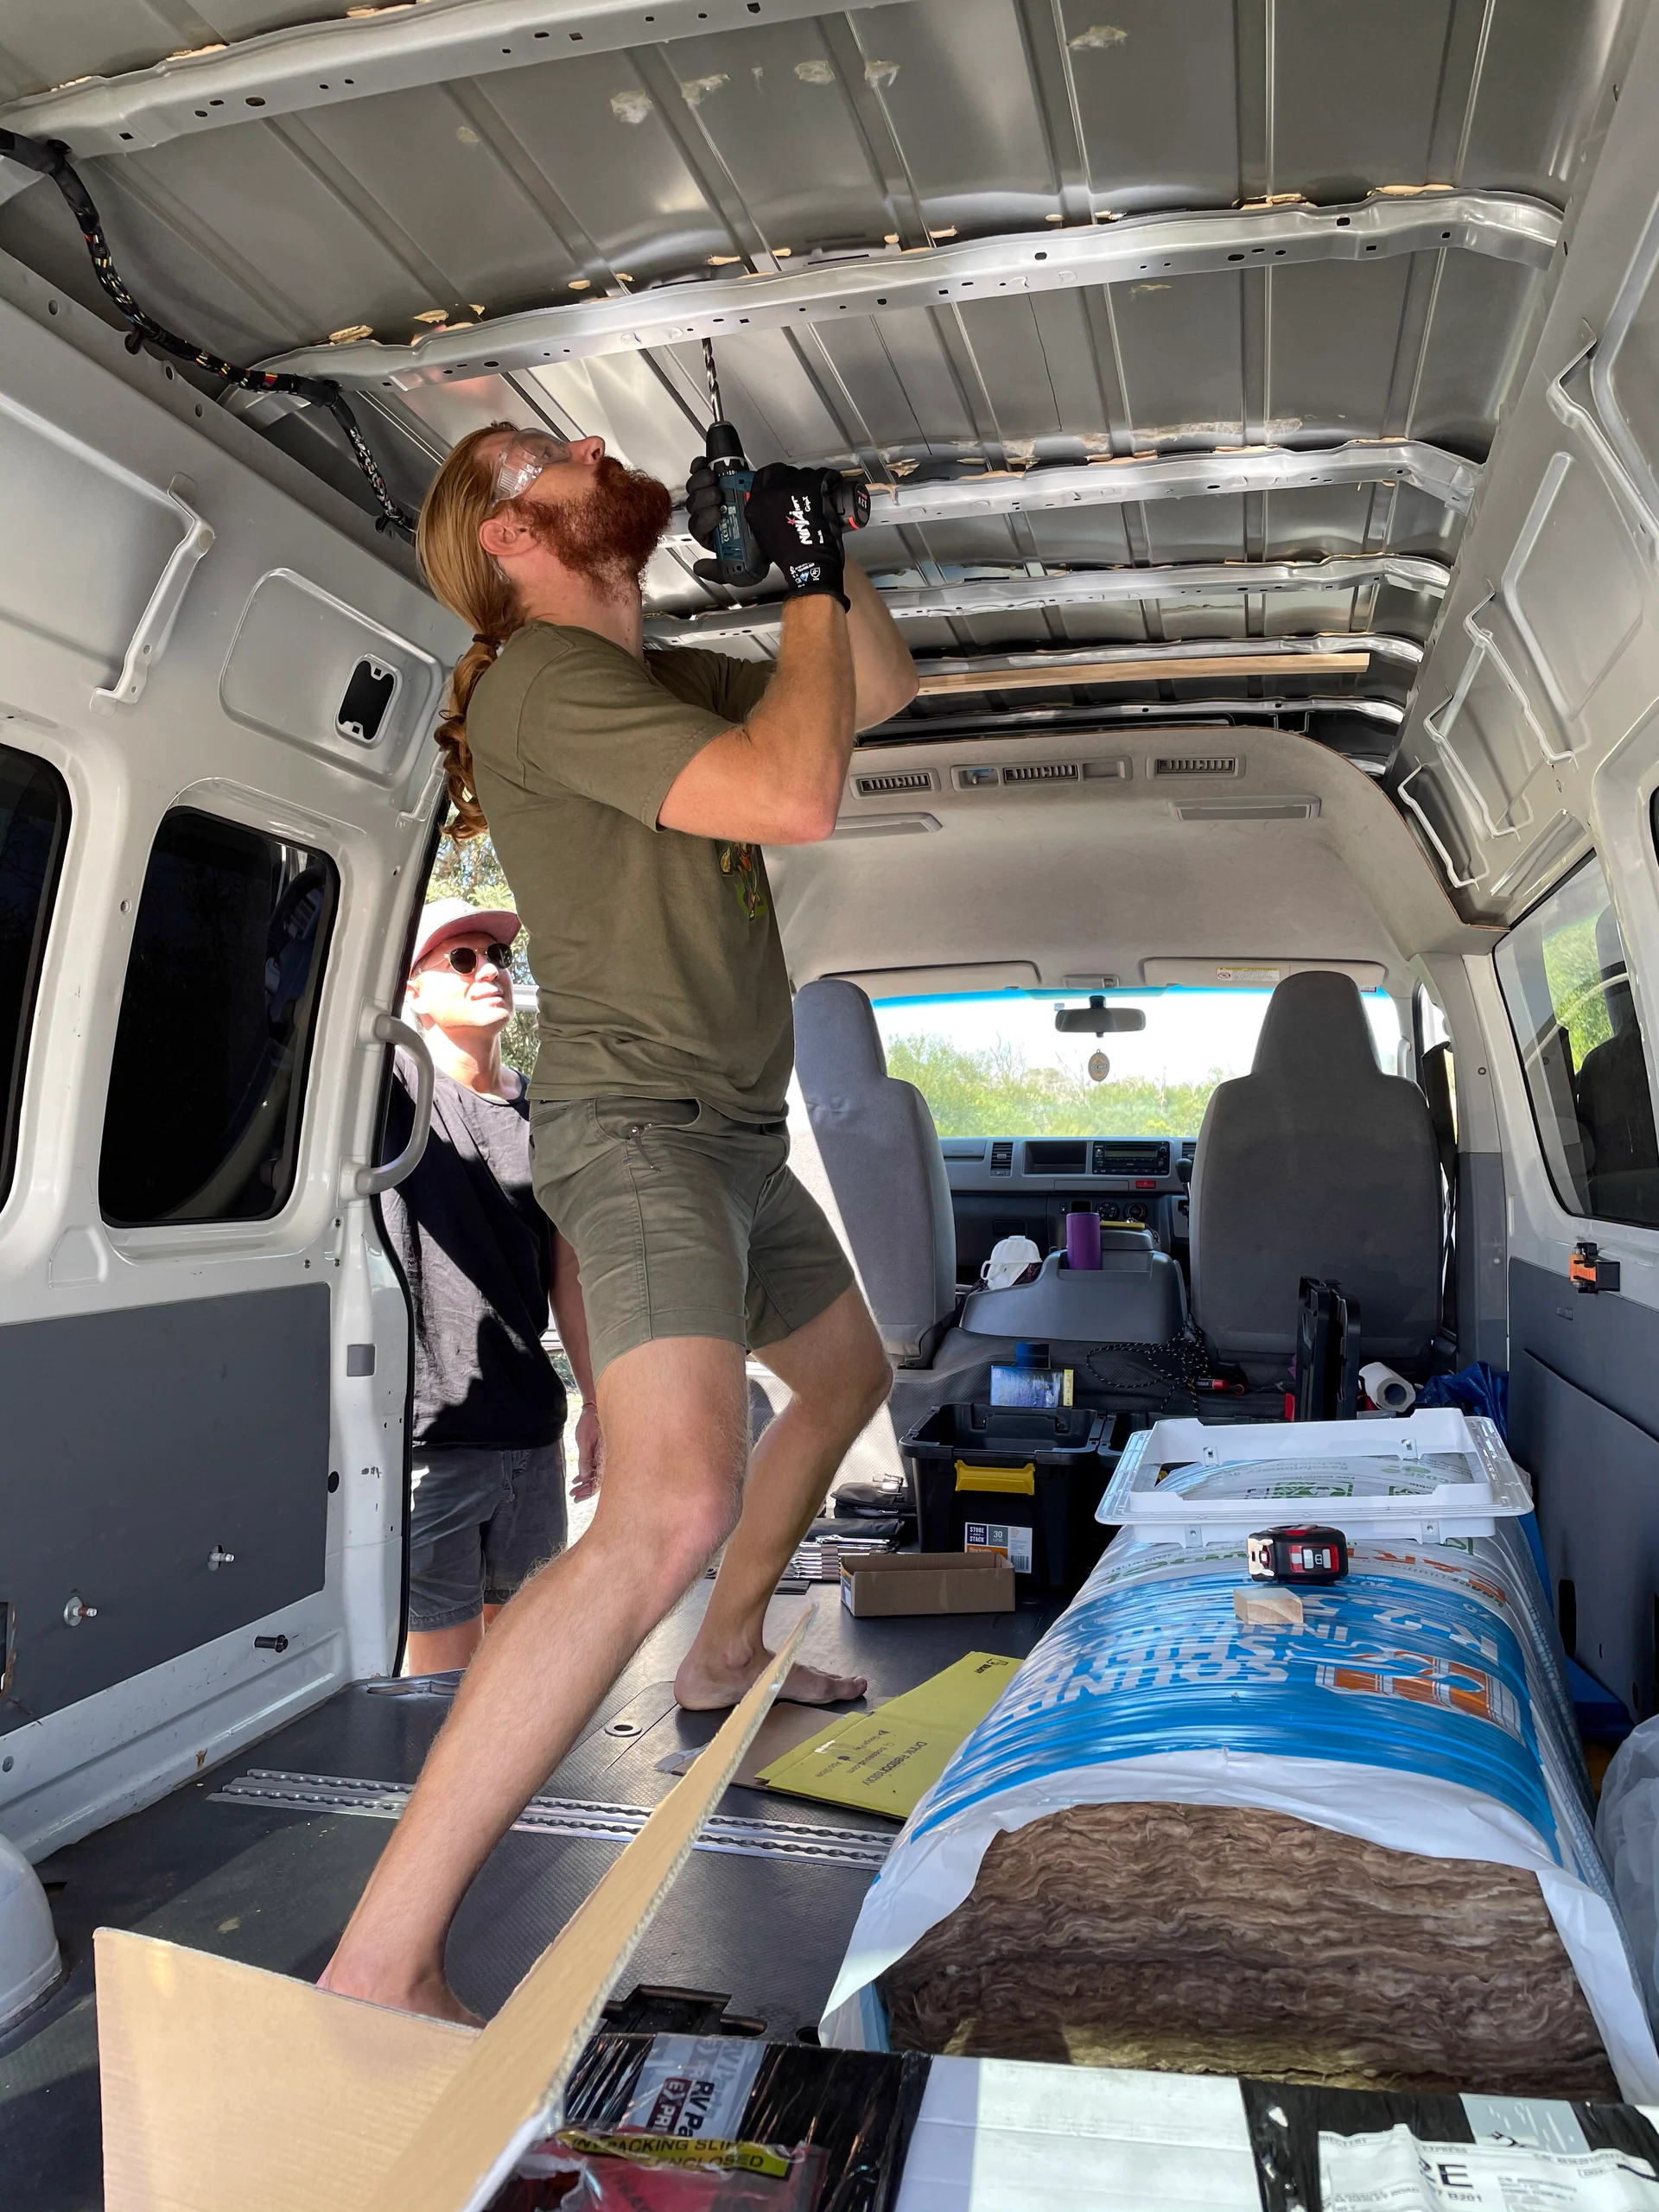
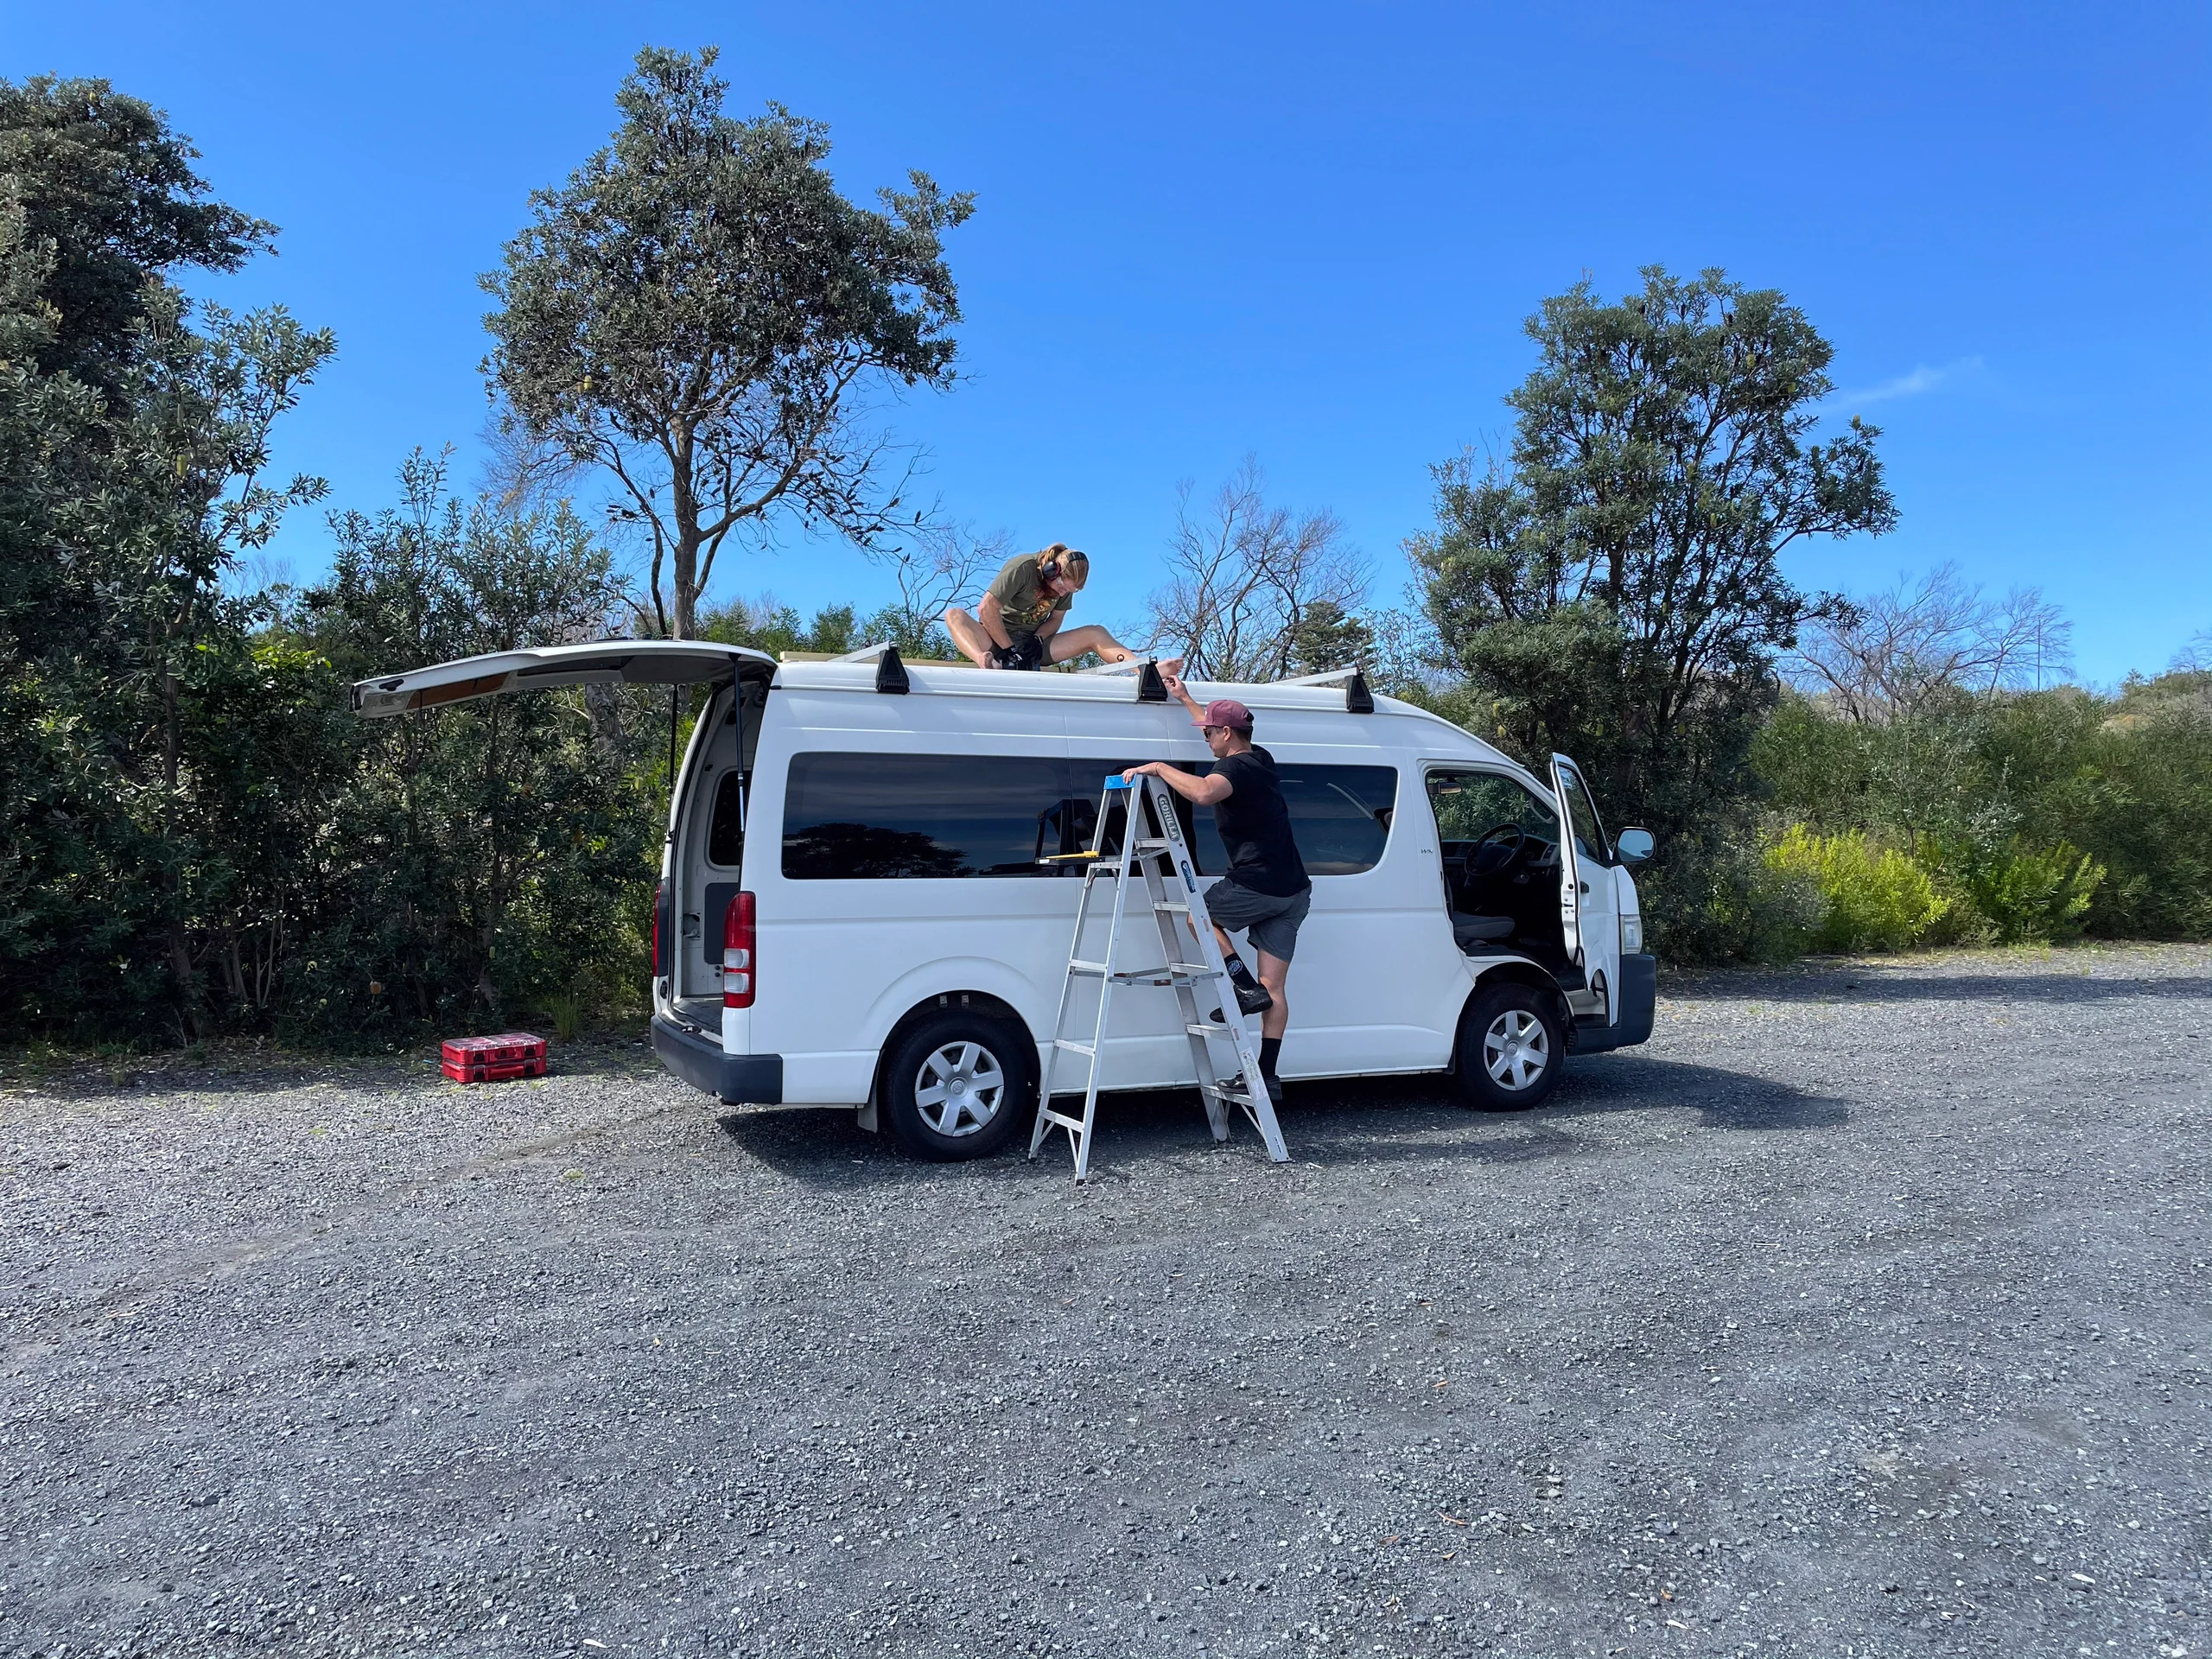
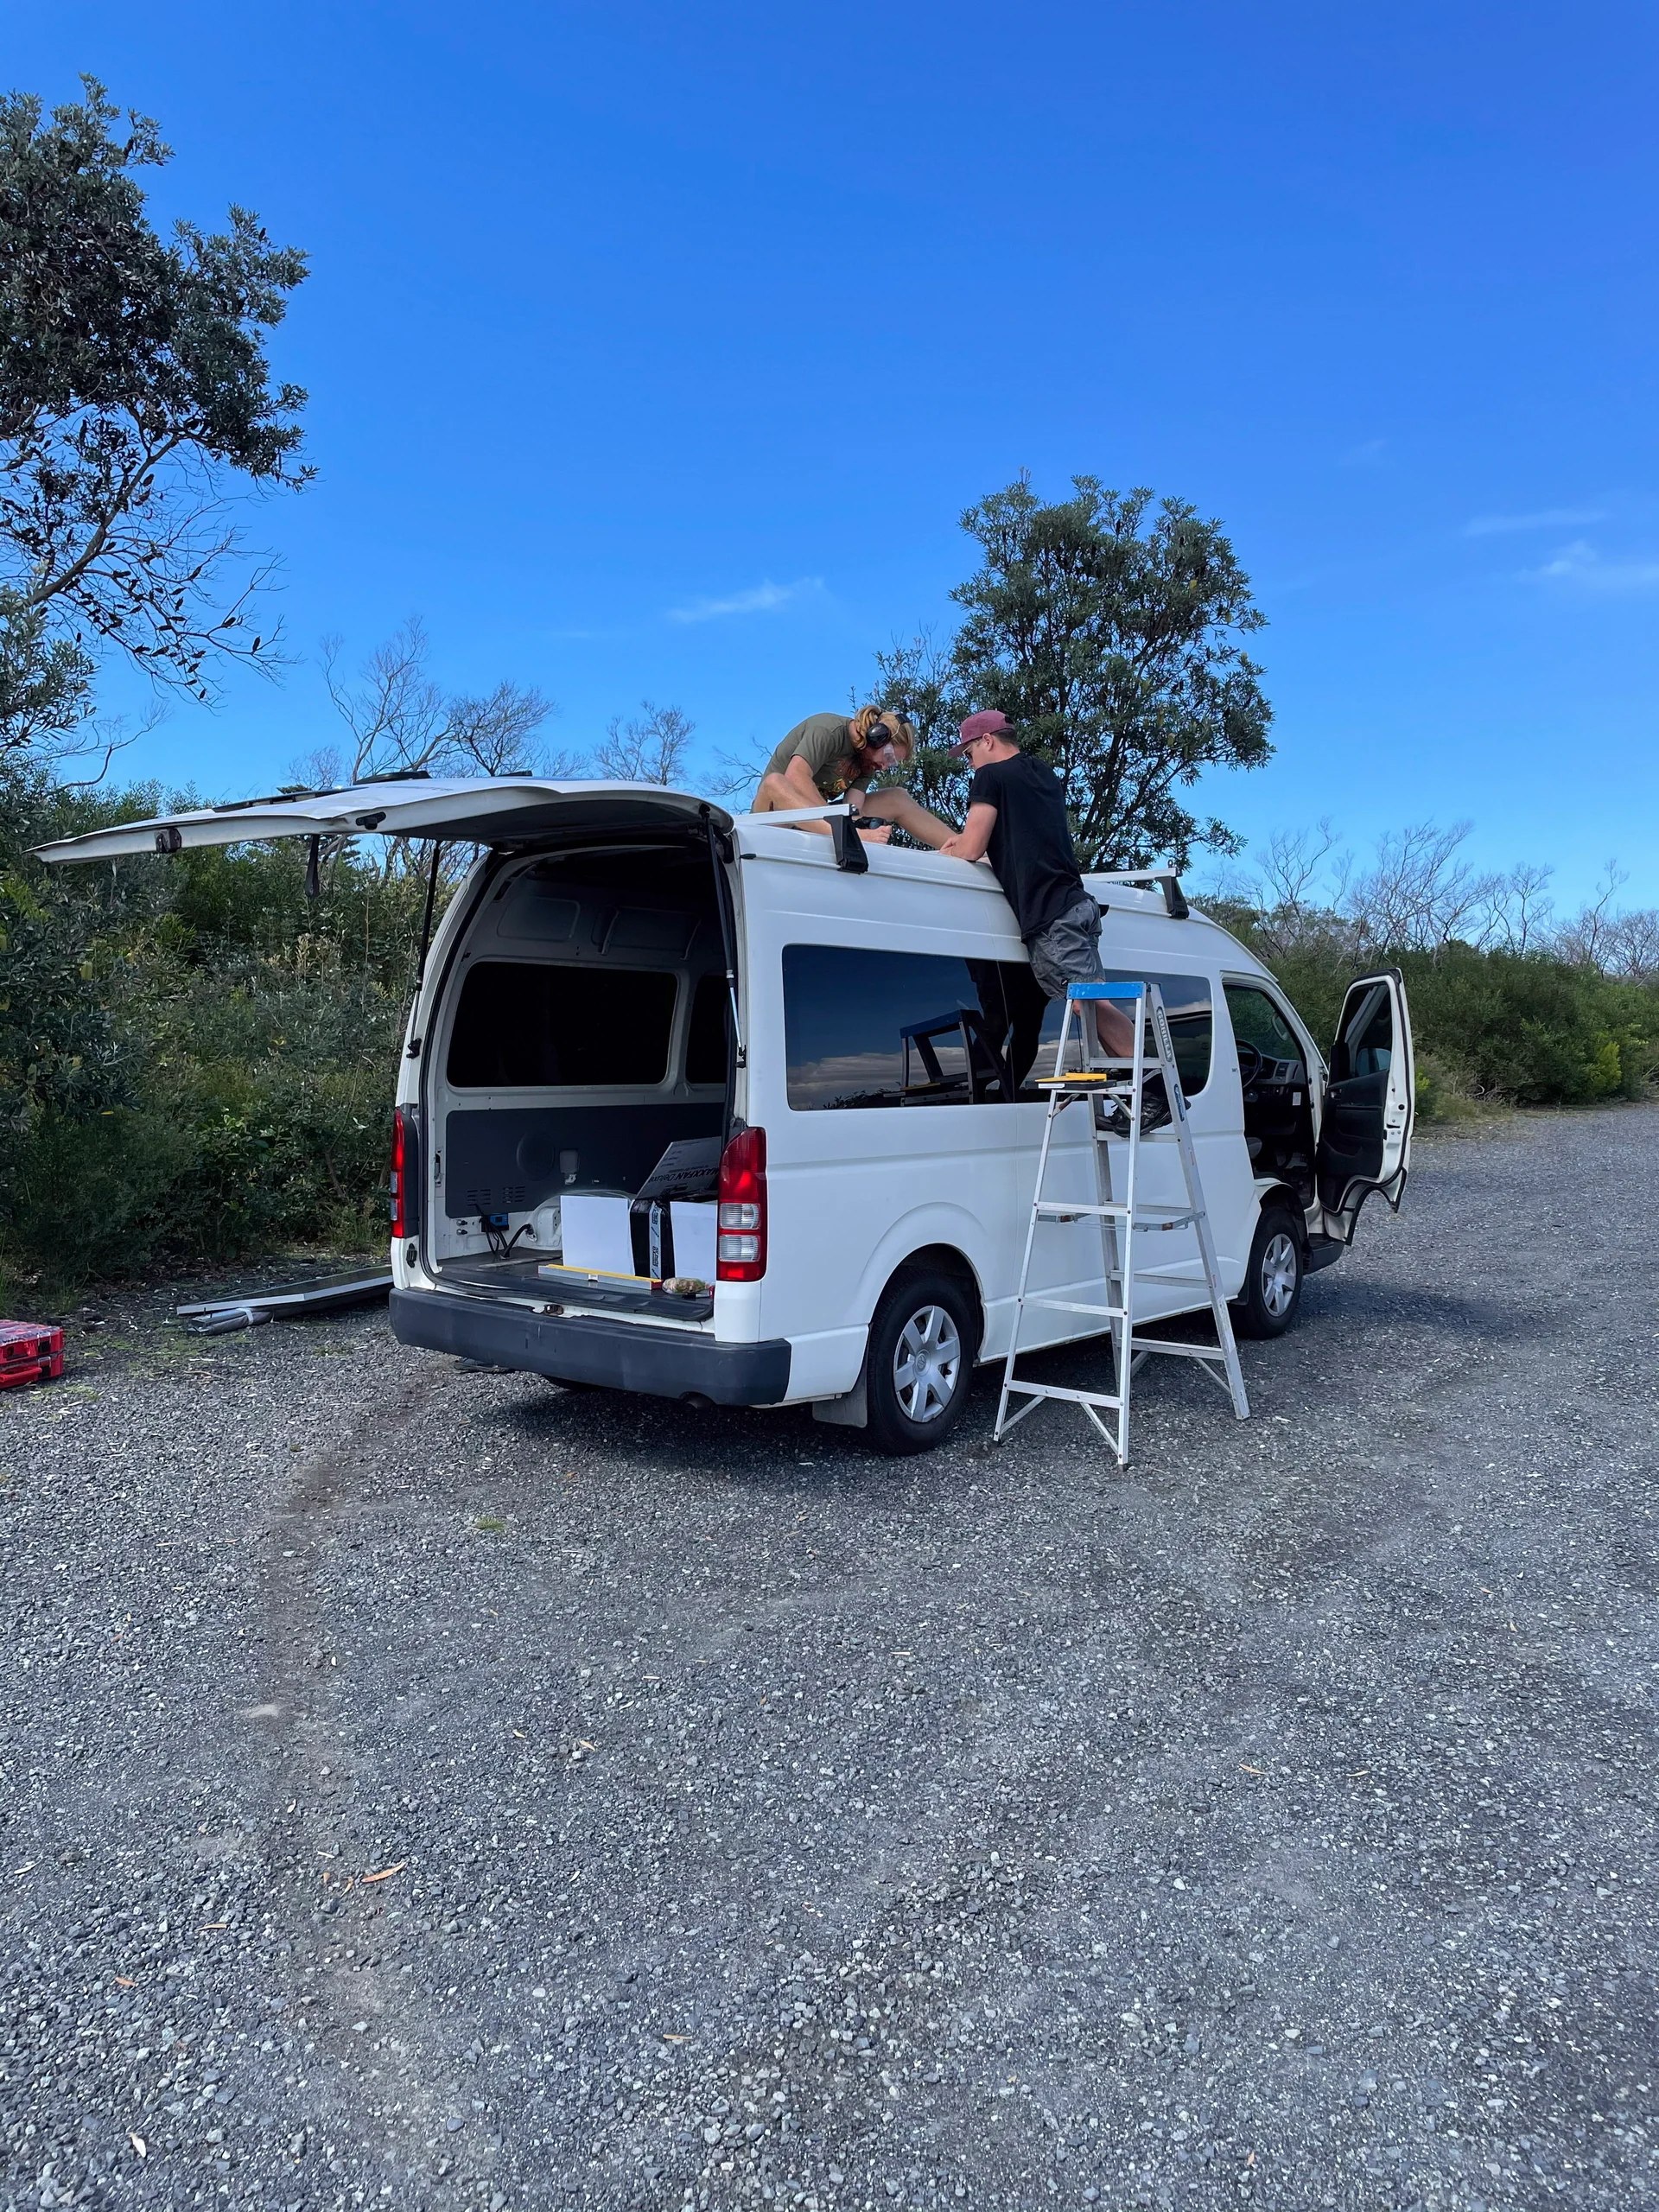
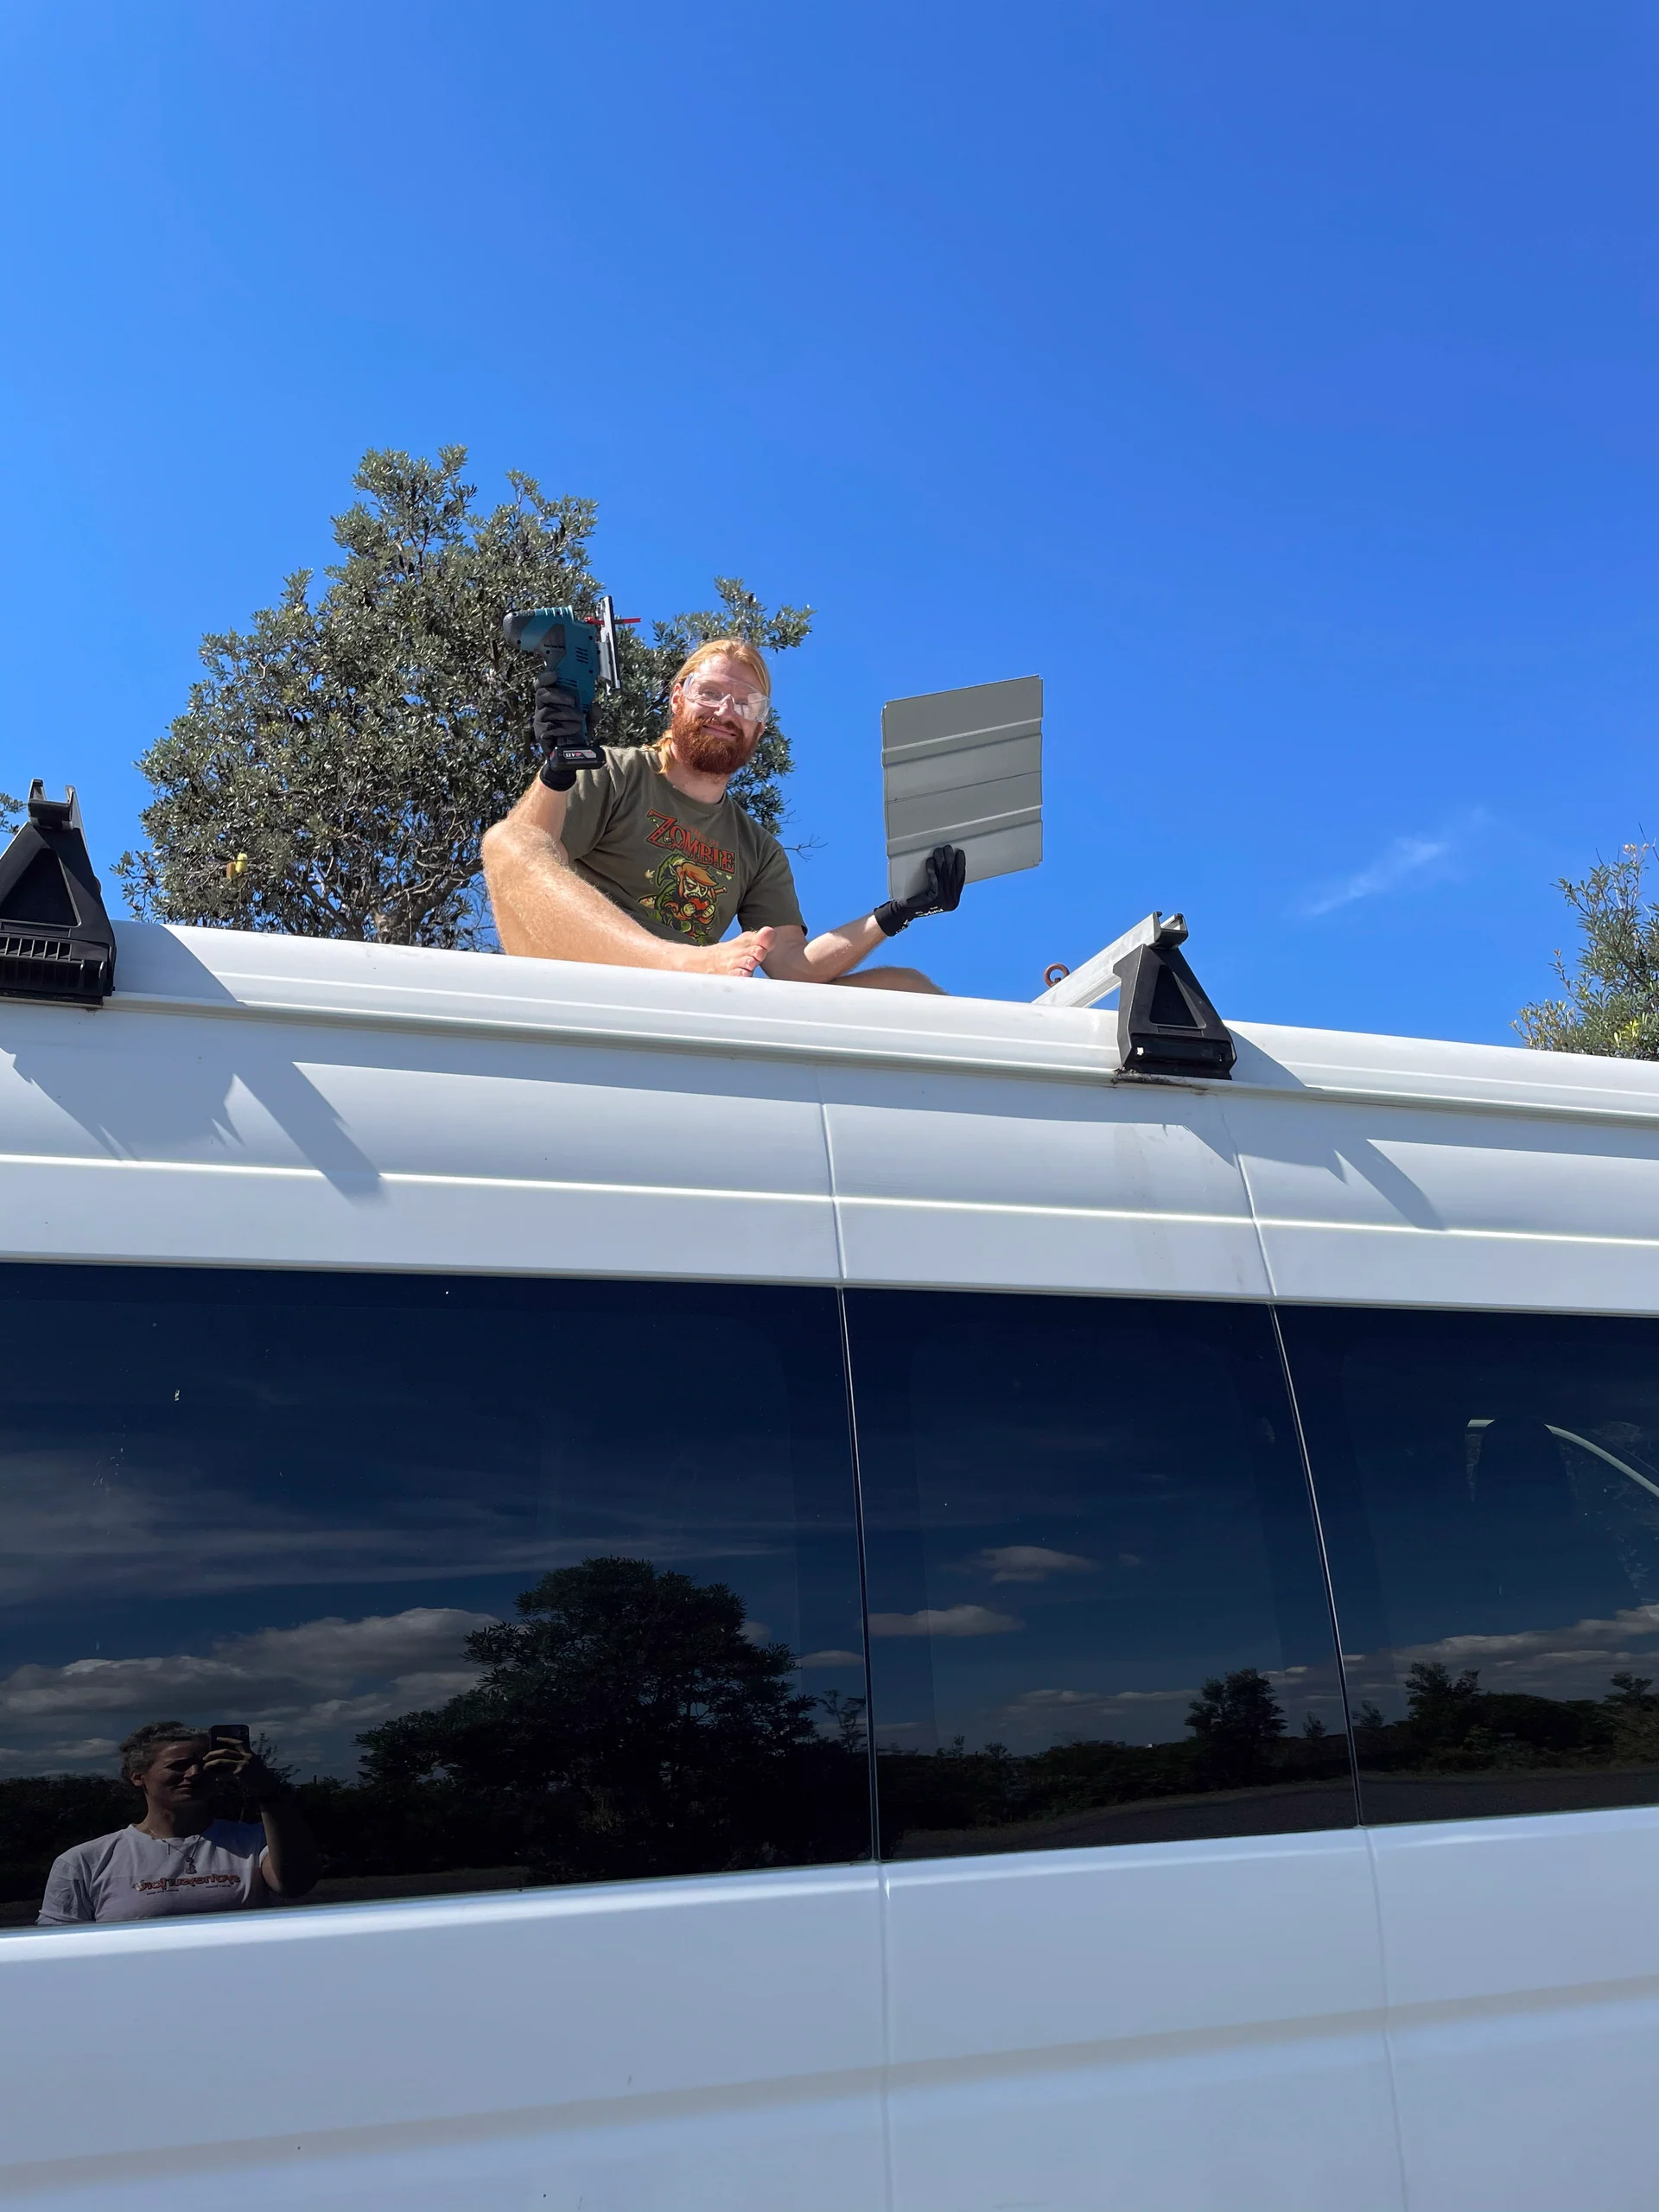
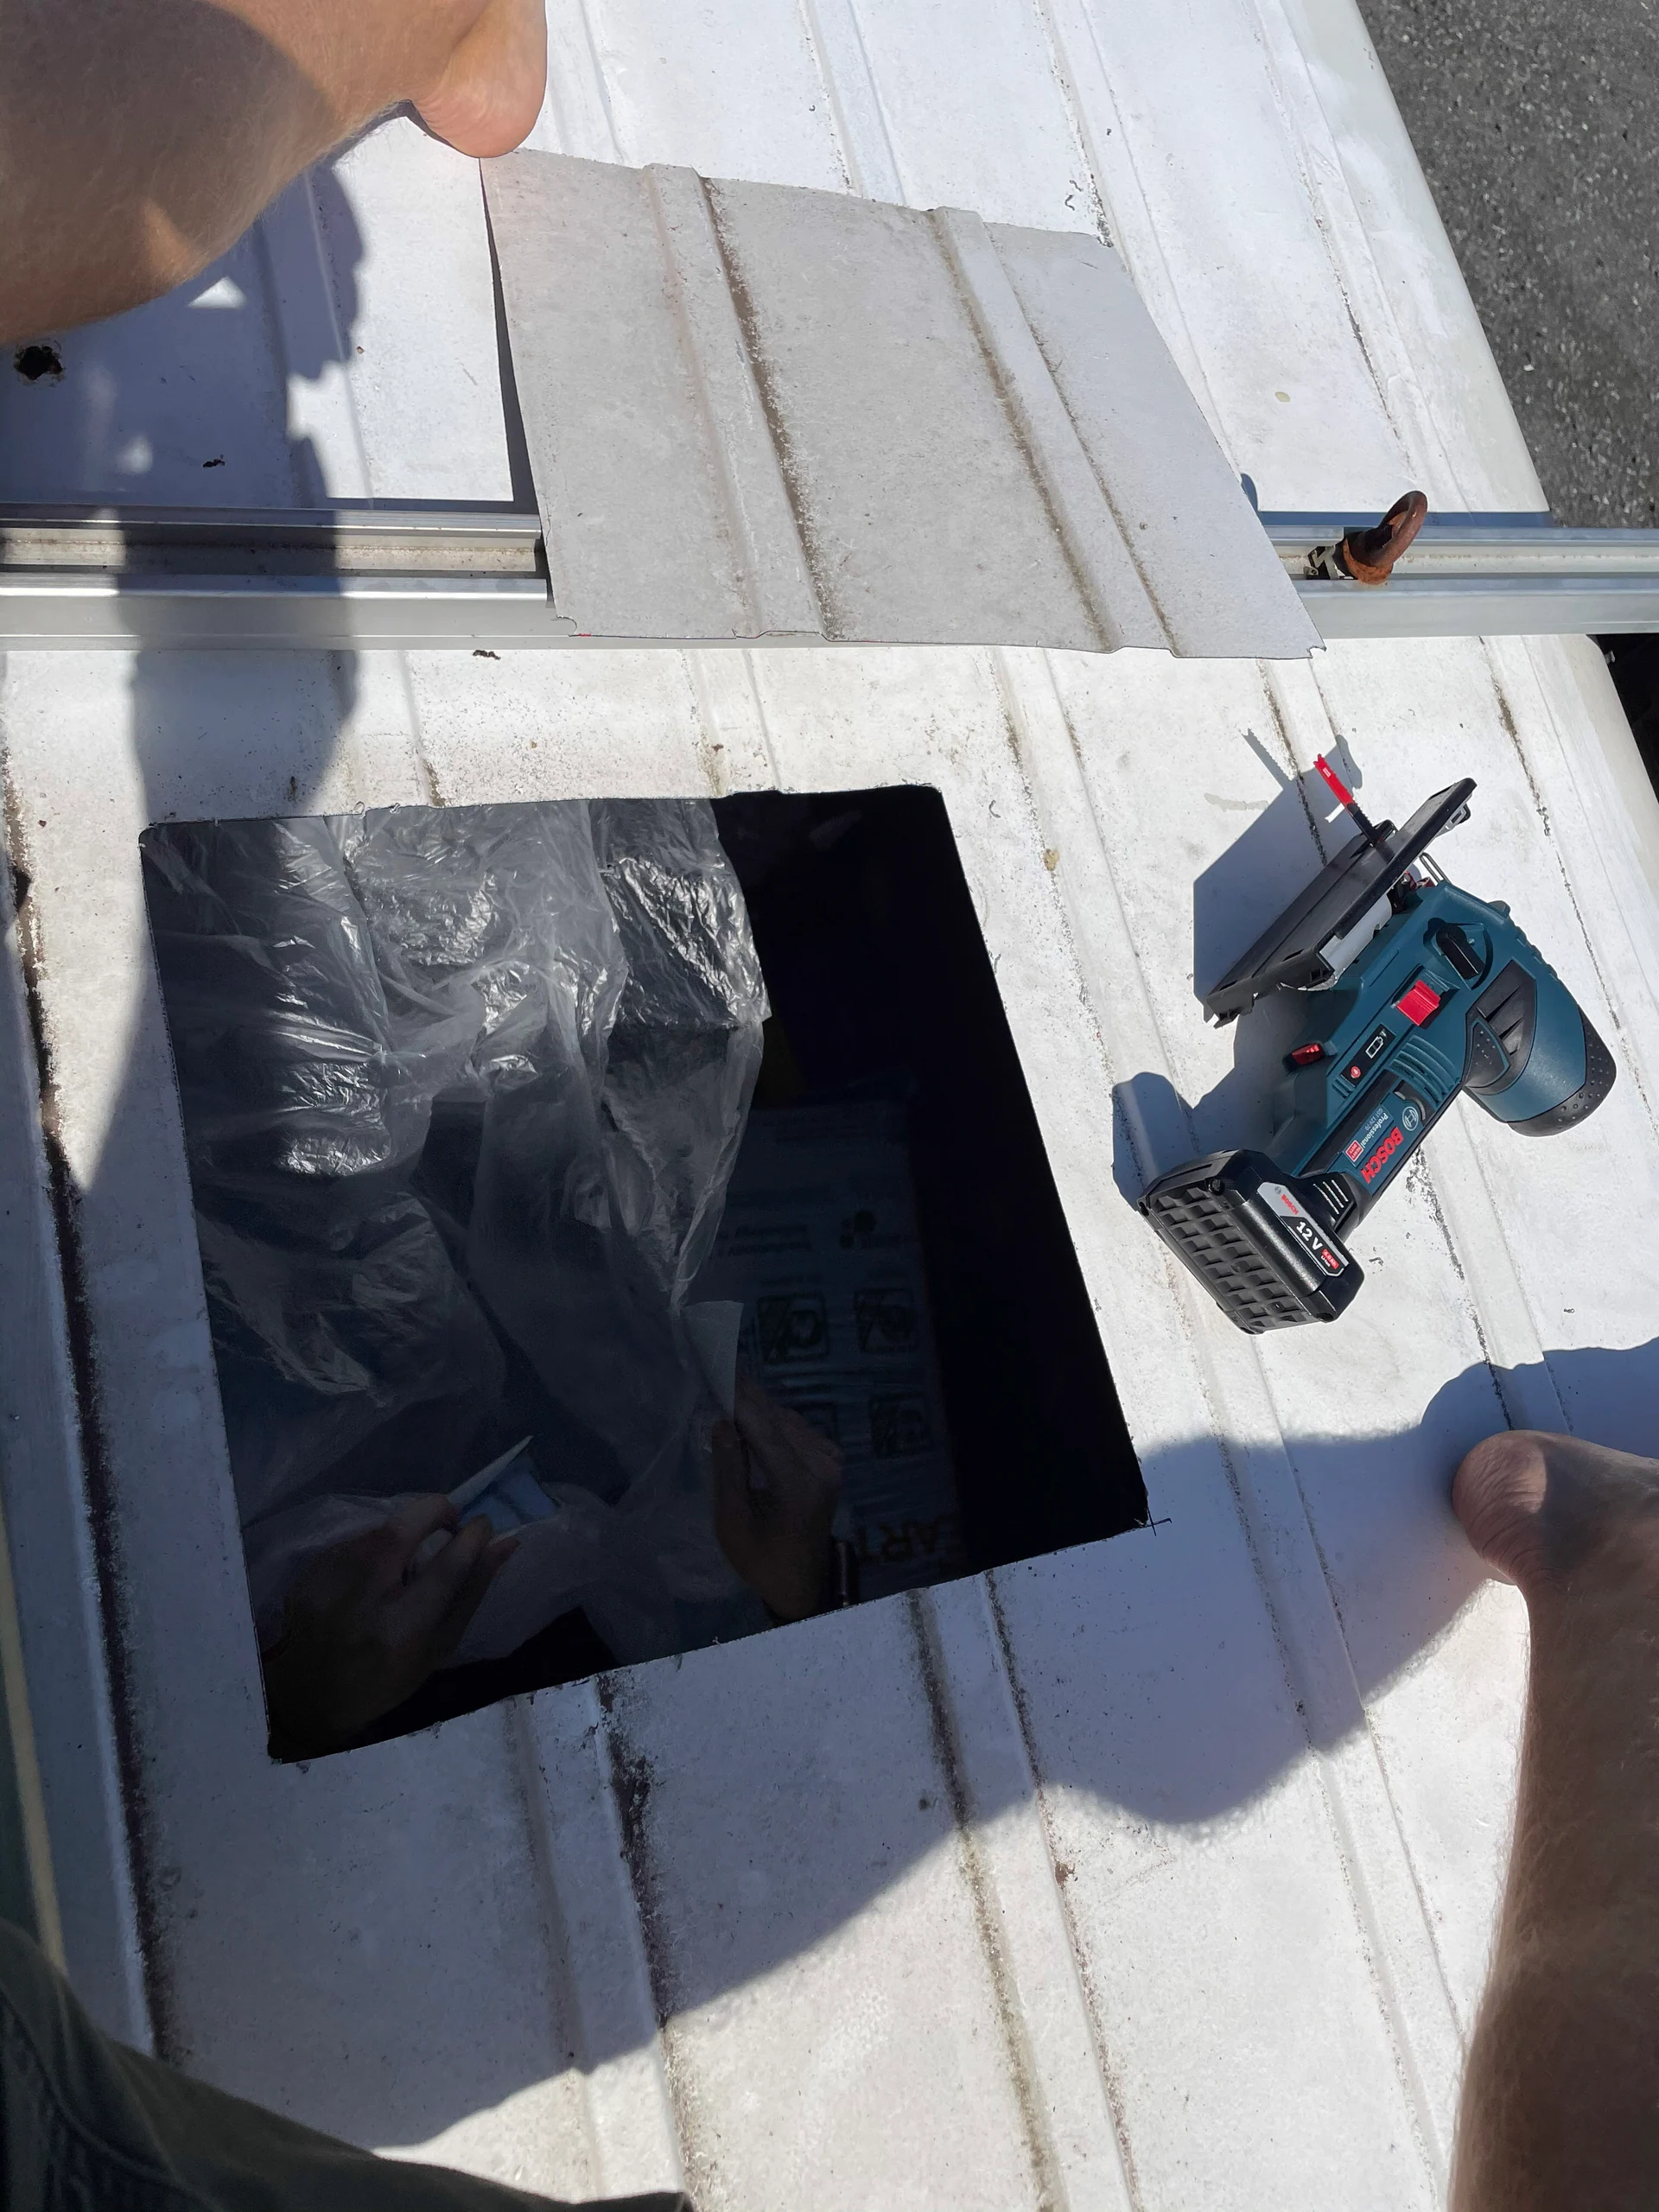
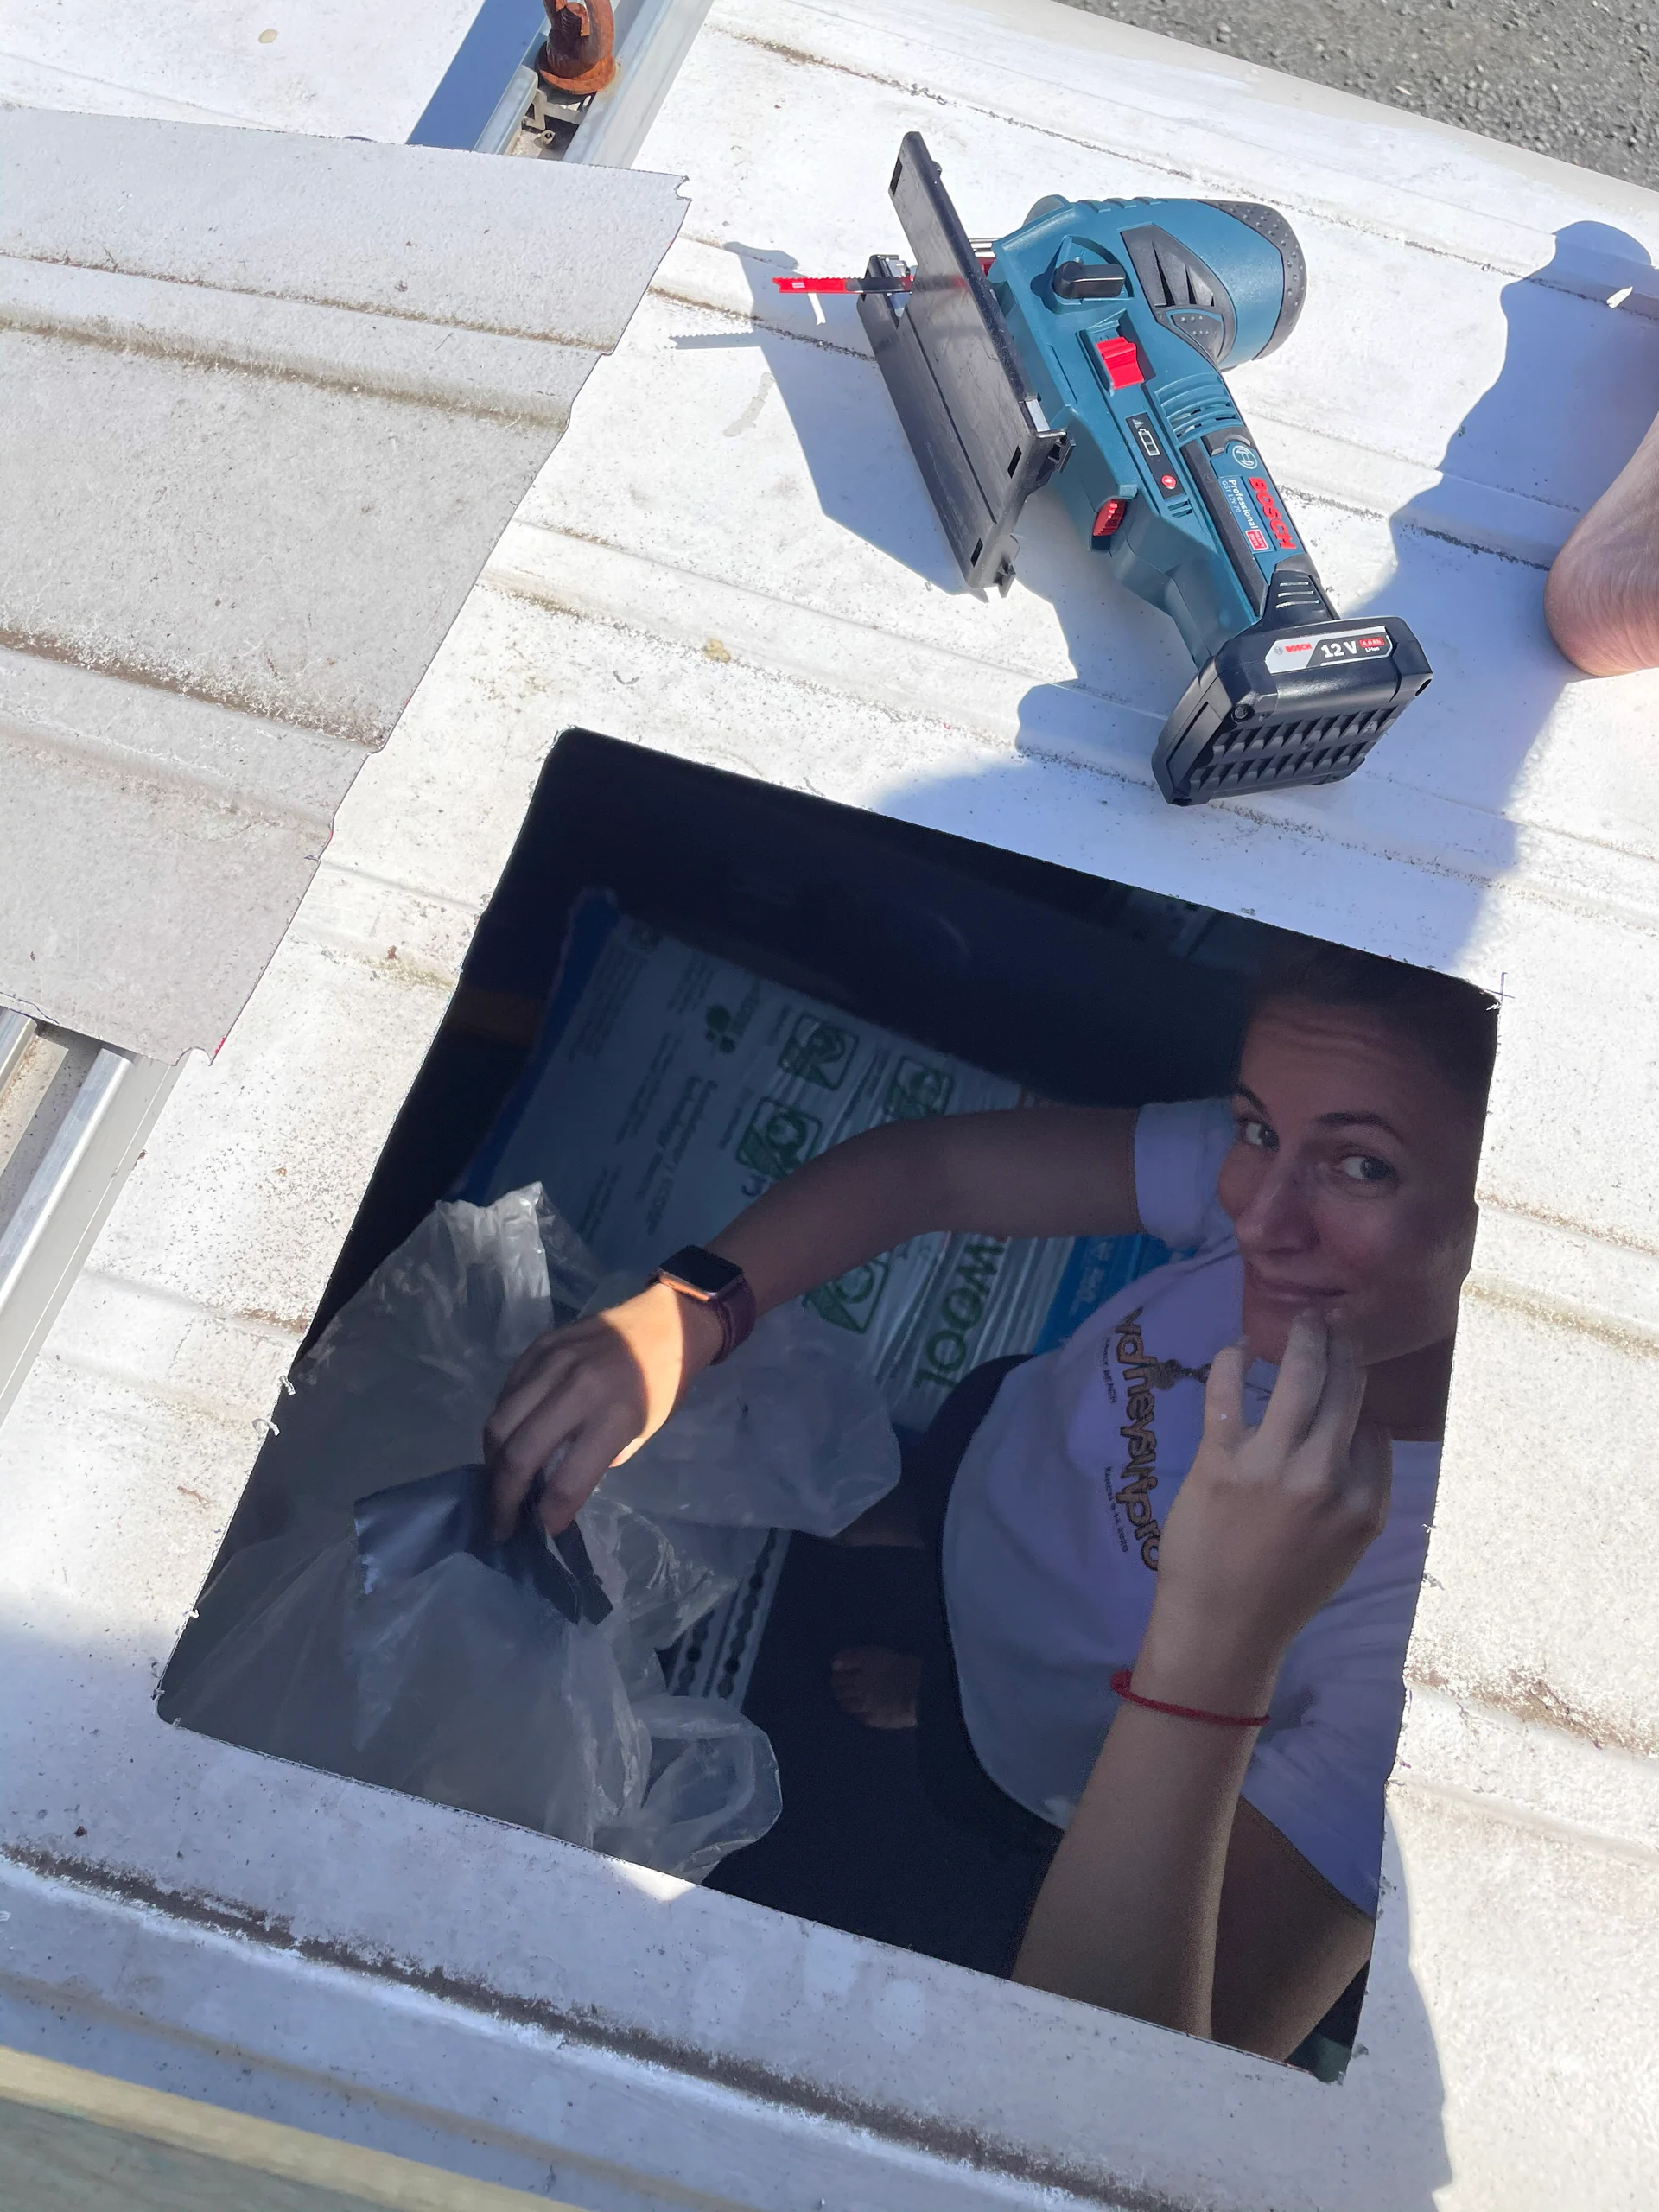
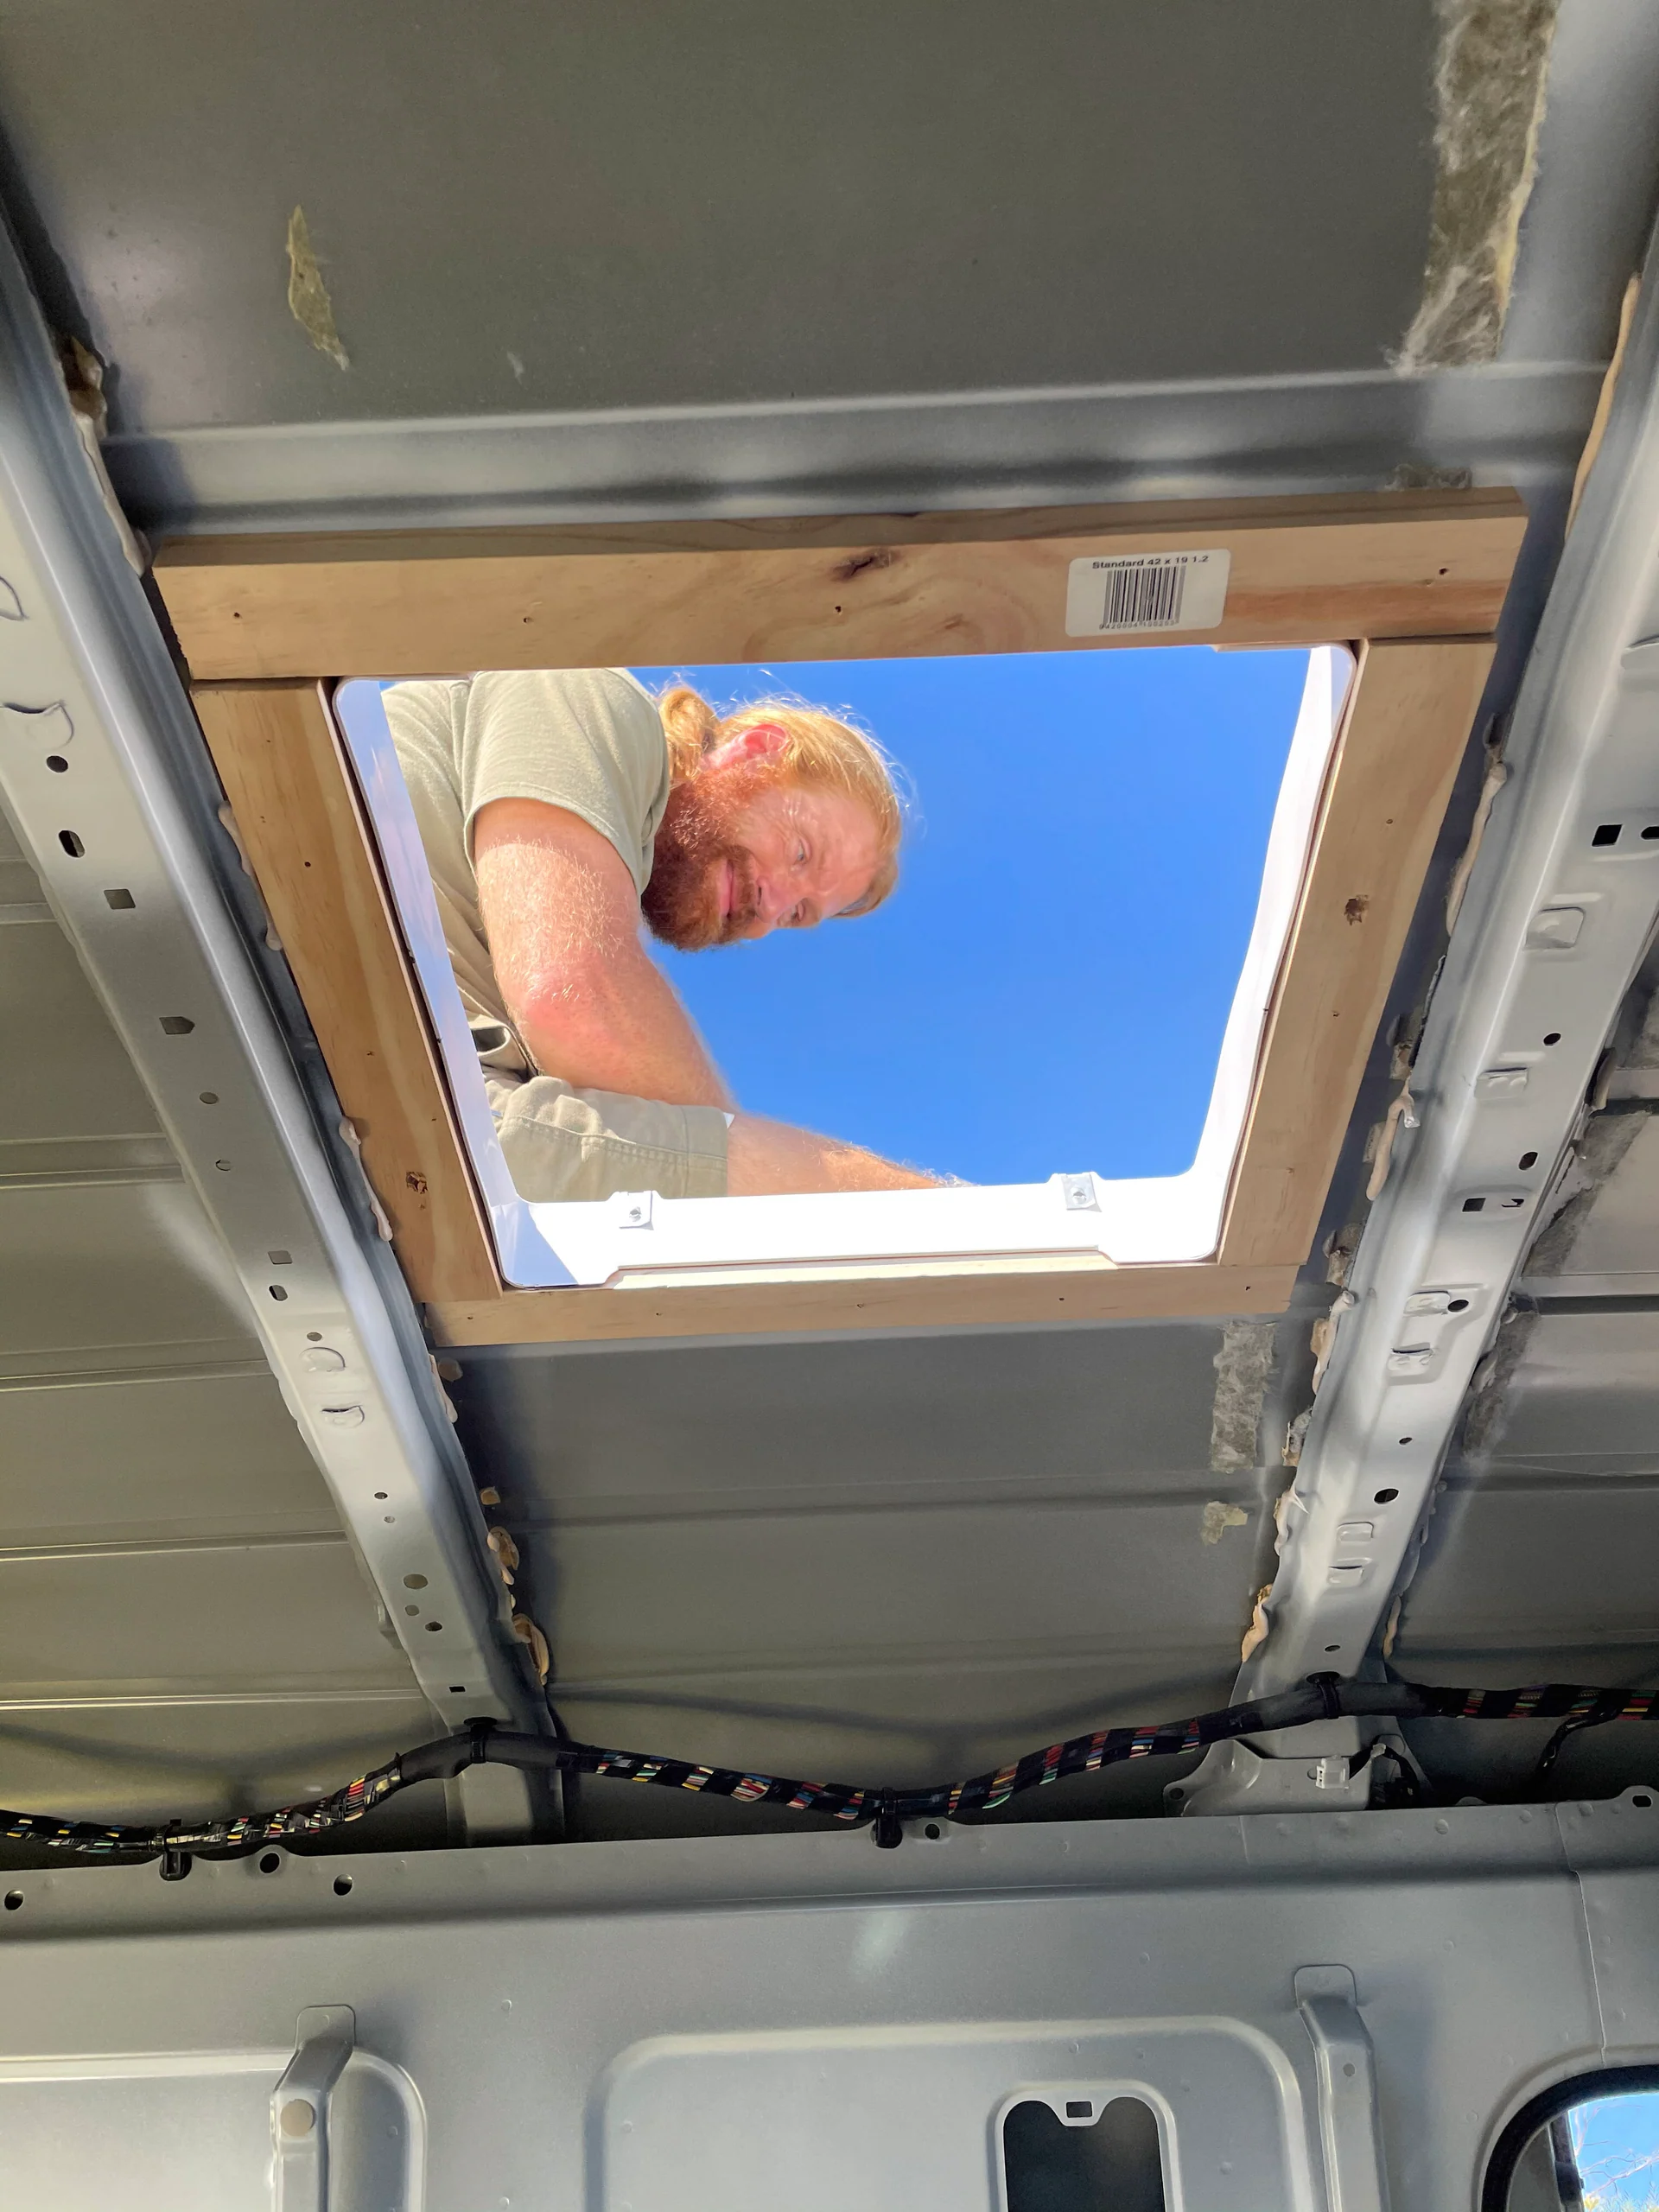
With the hole in the roof, it is time to clean things up, add some rust protective coating, then install the frame and seal it all up to make it water tight.
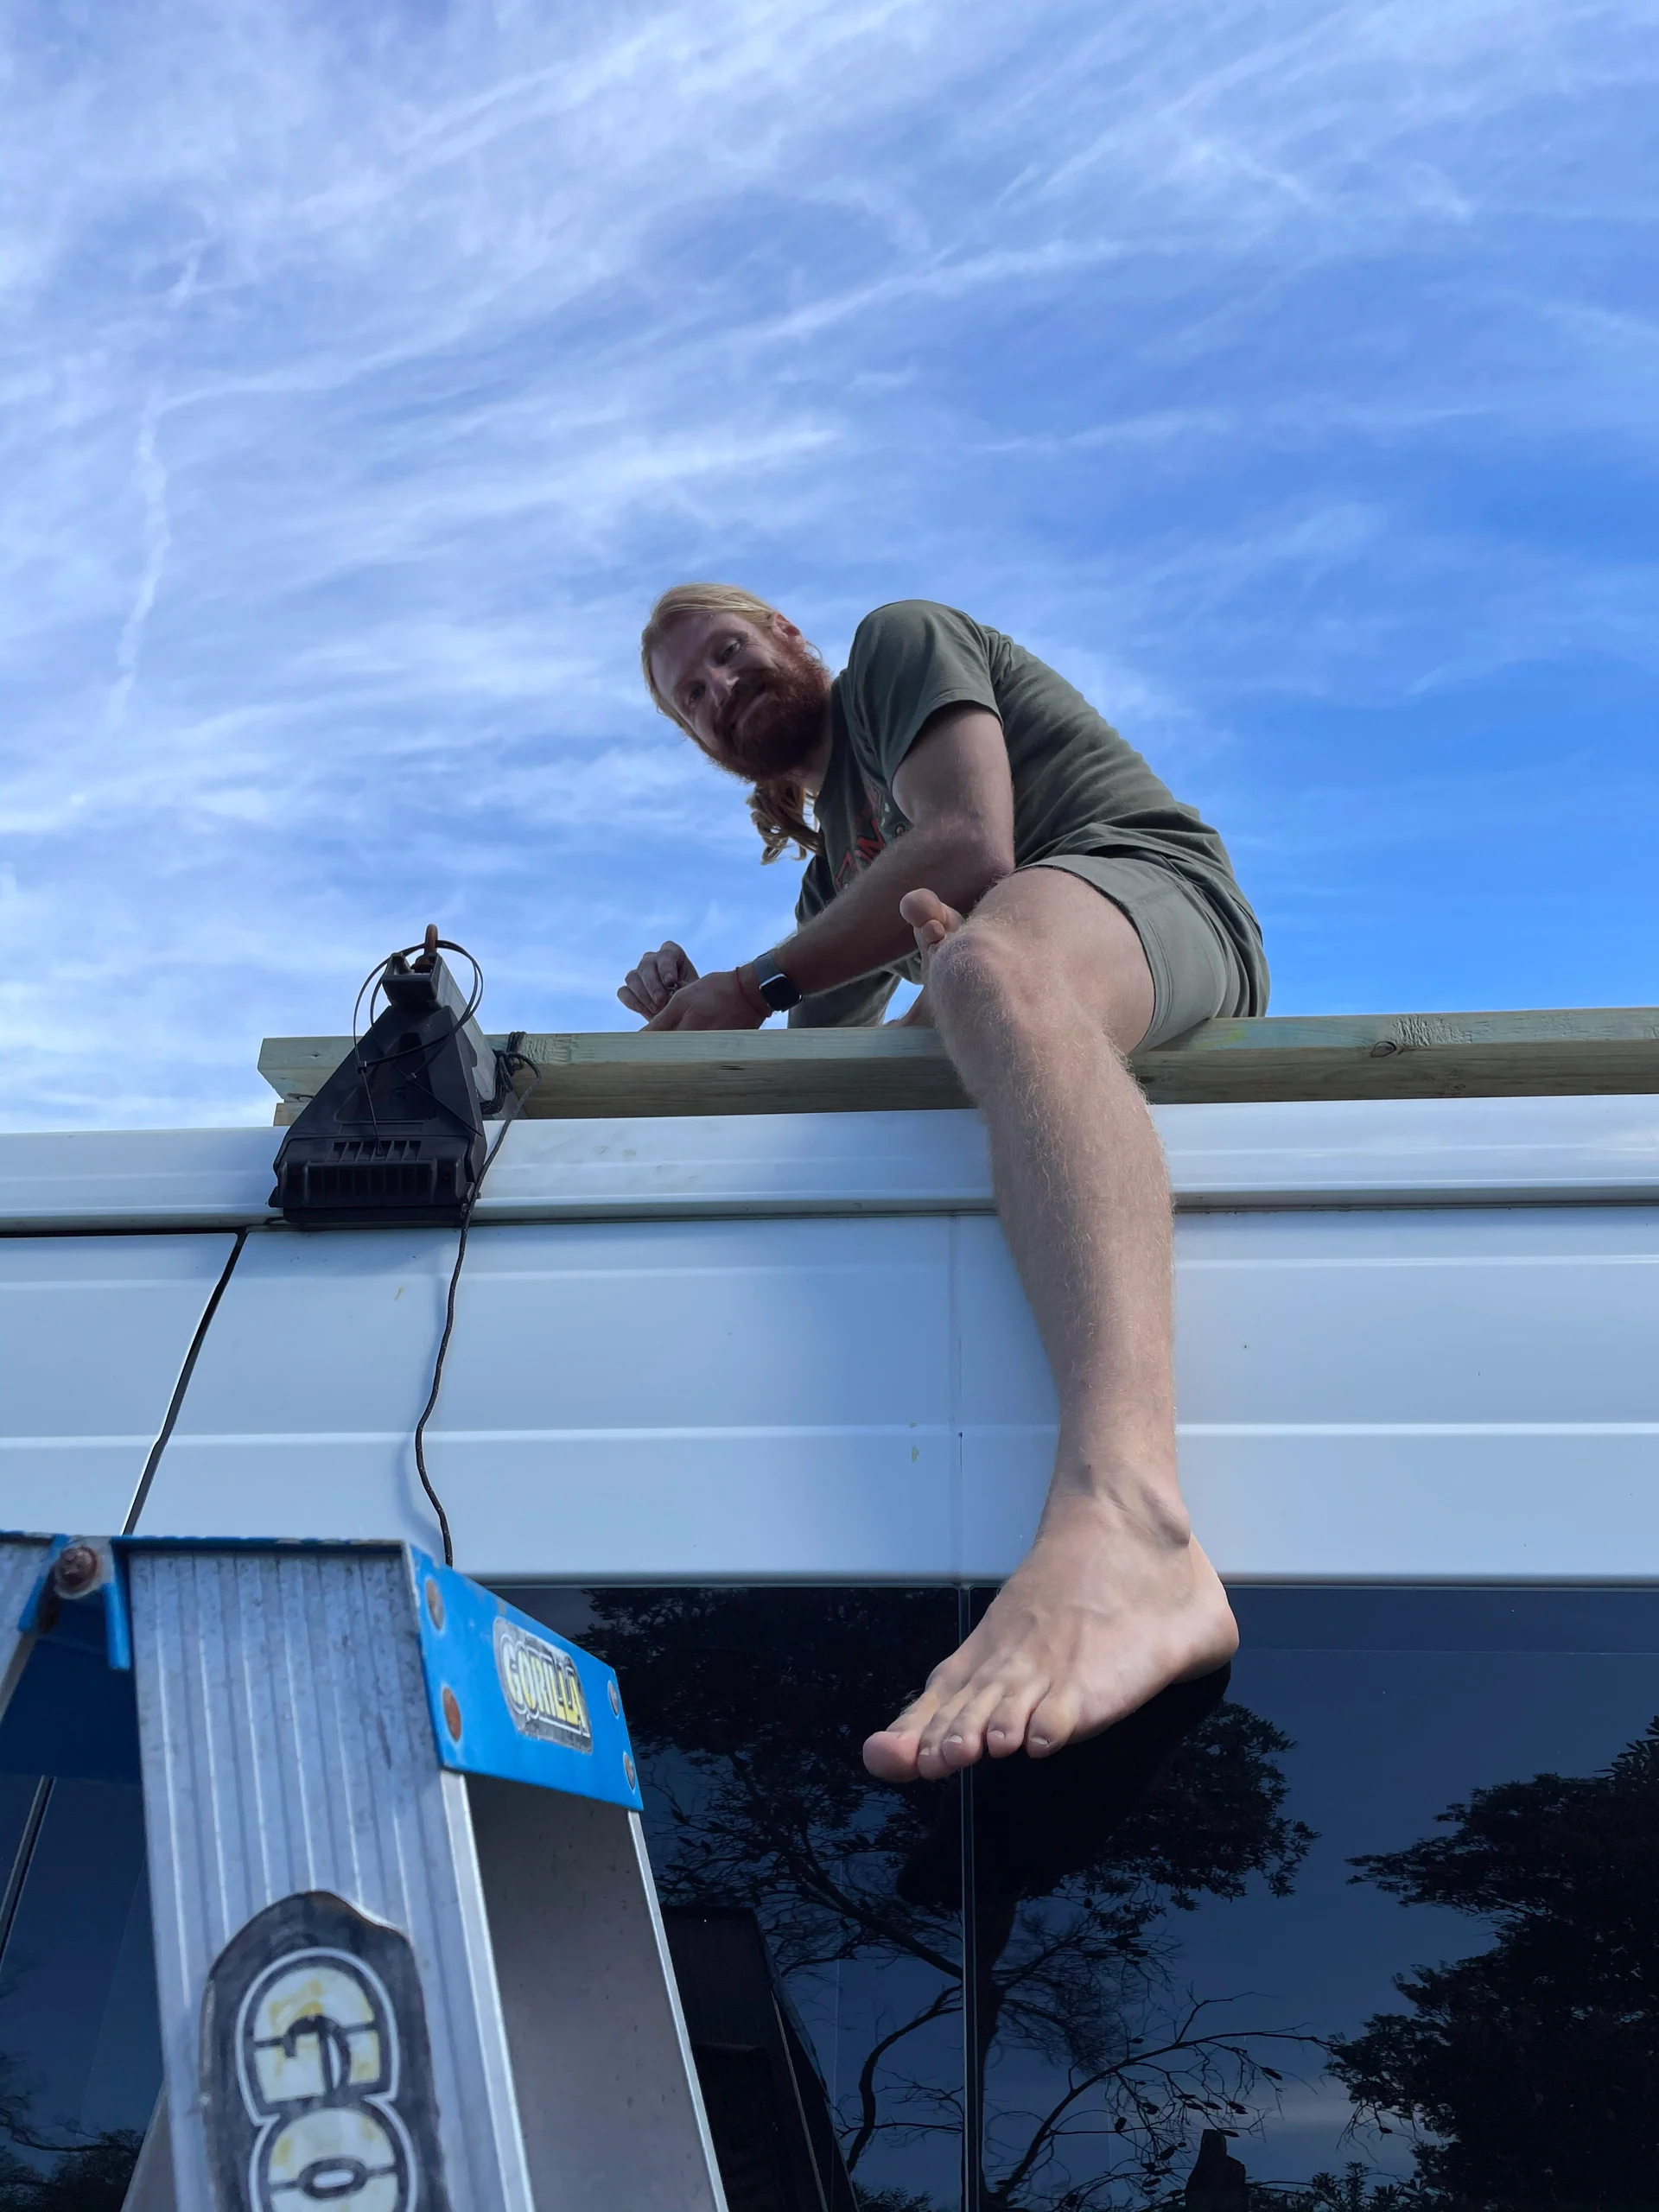
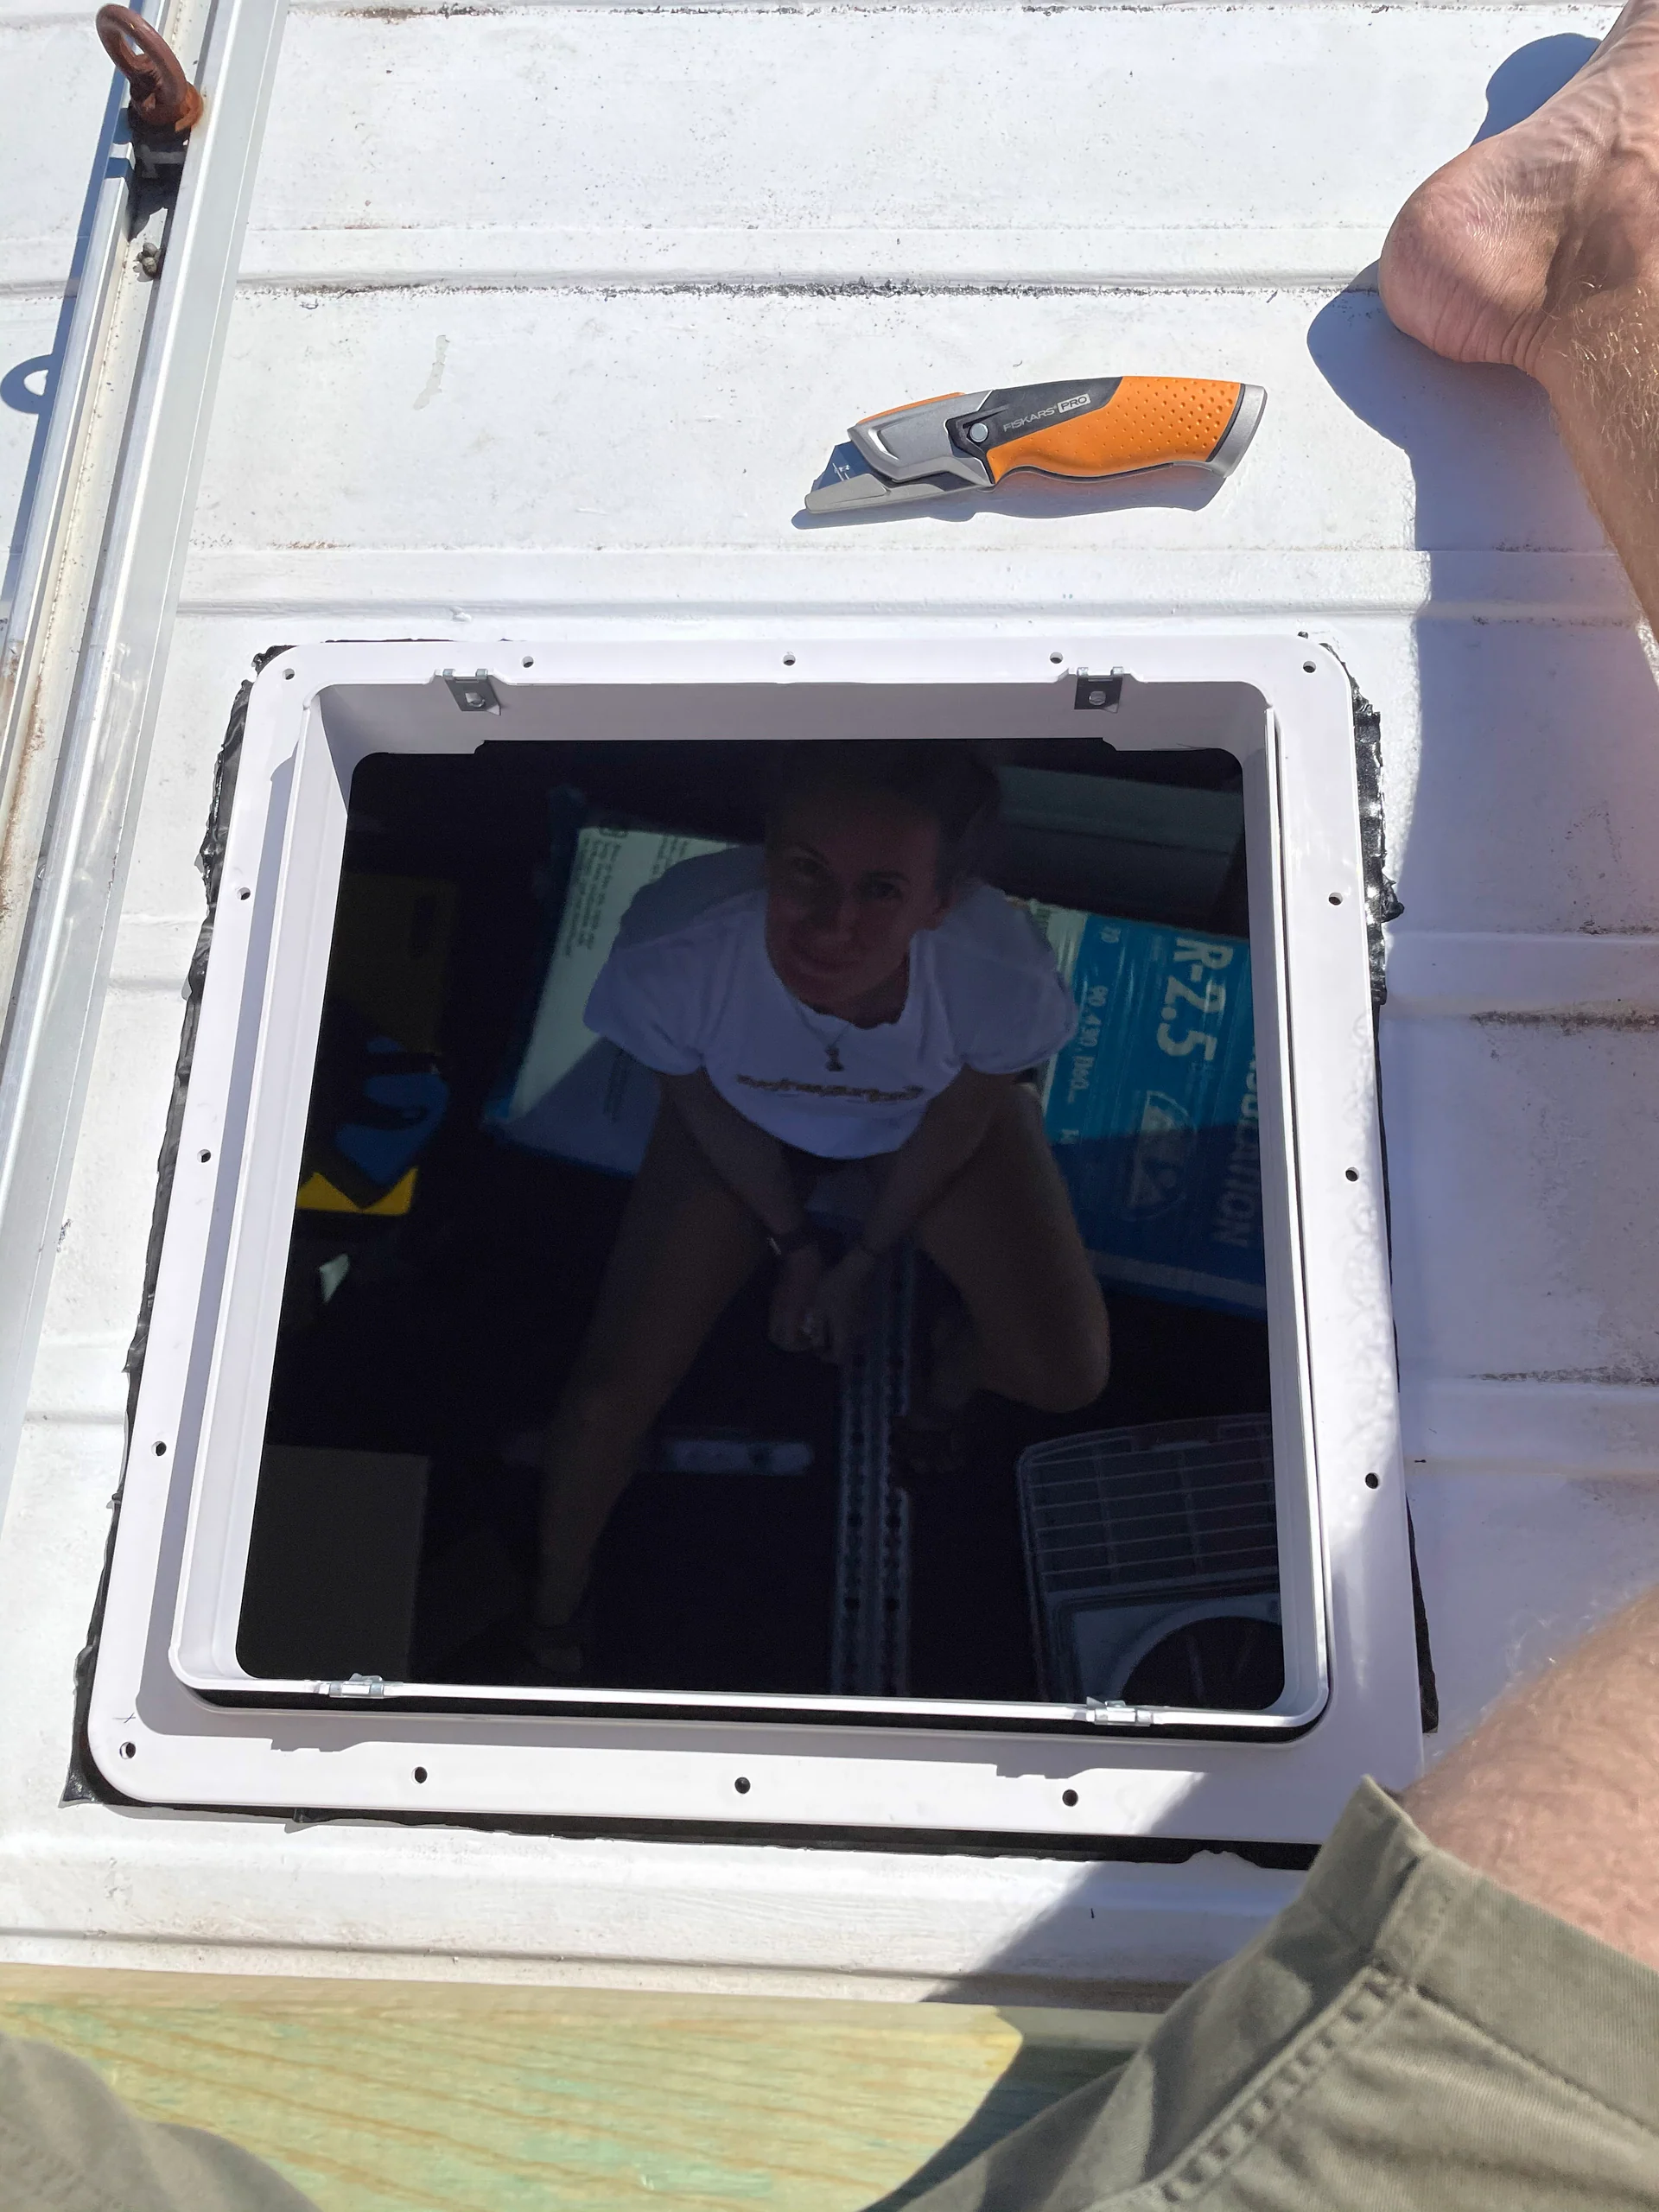
We also used some of the day to finish and seal the remaining holes in the floor.
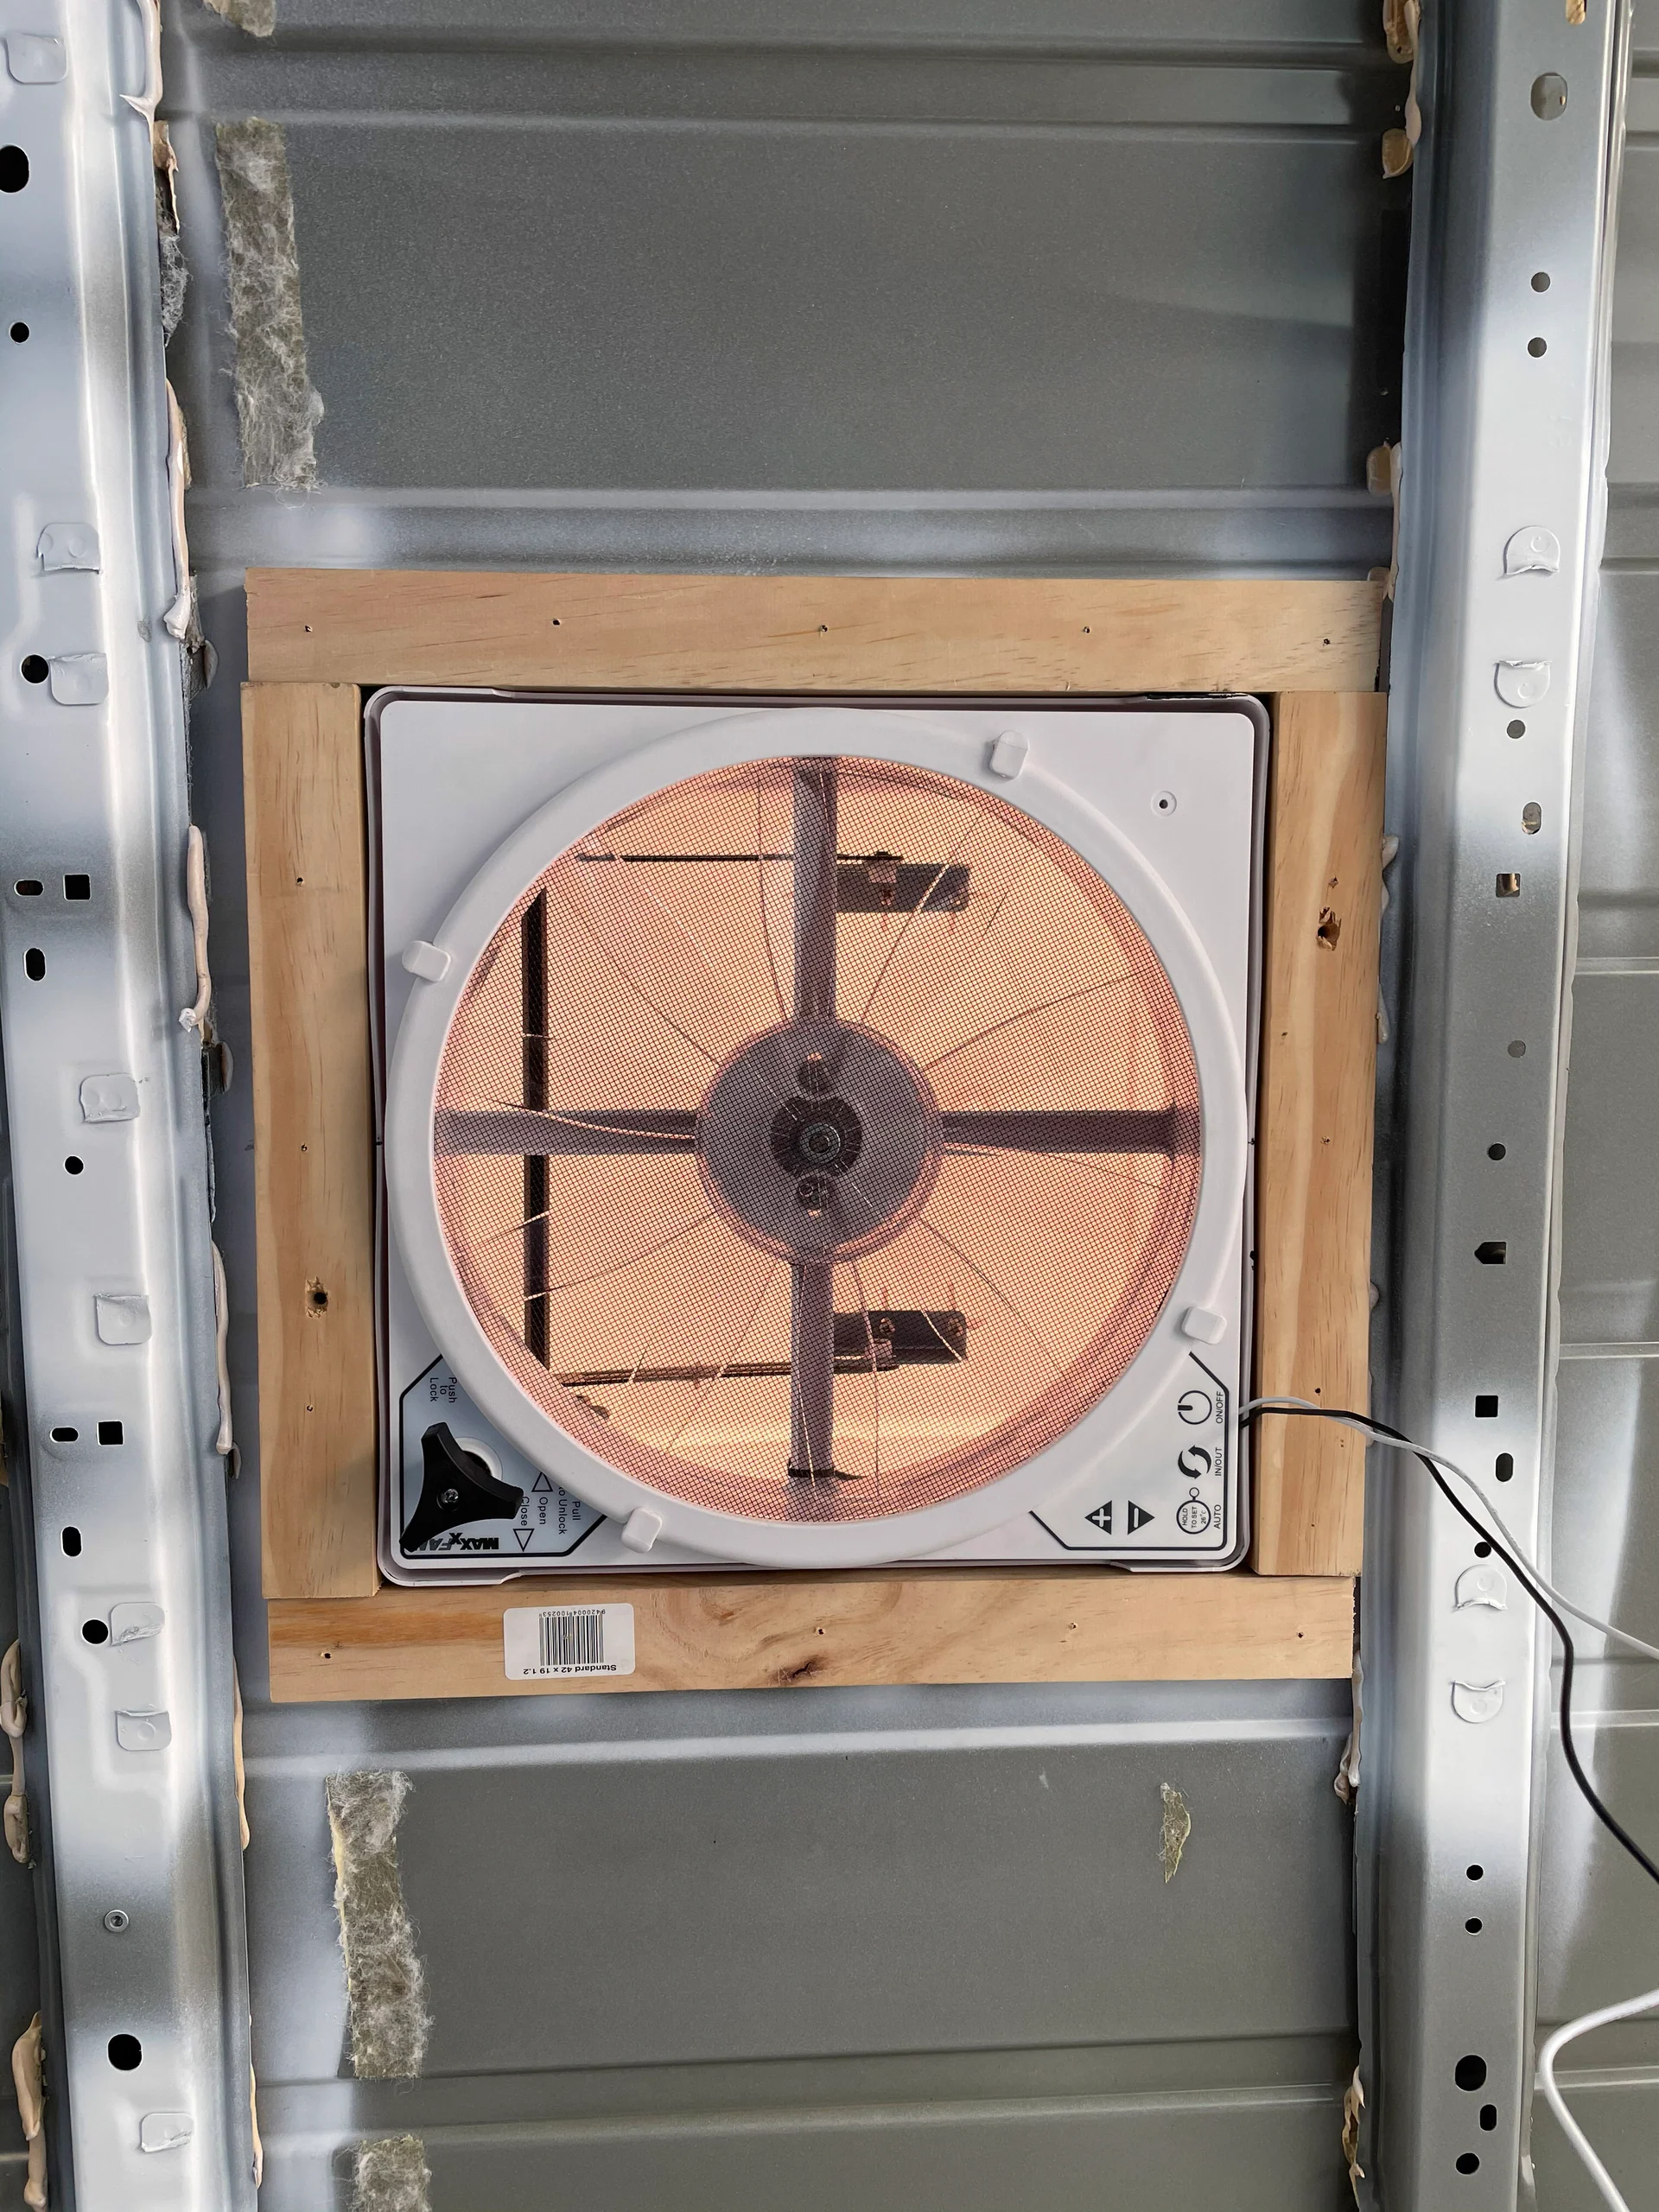
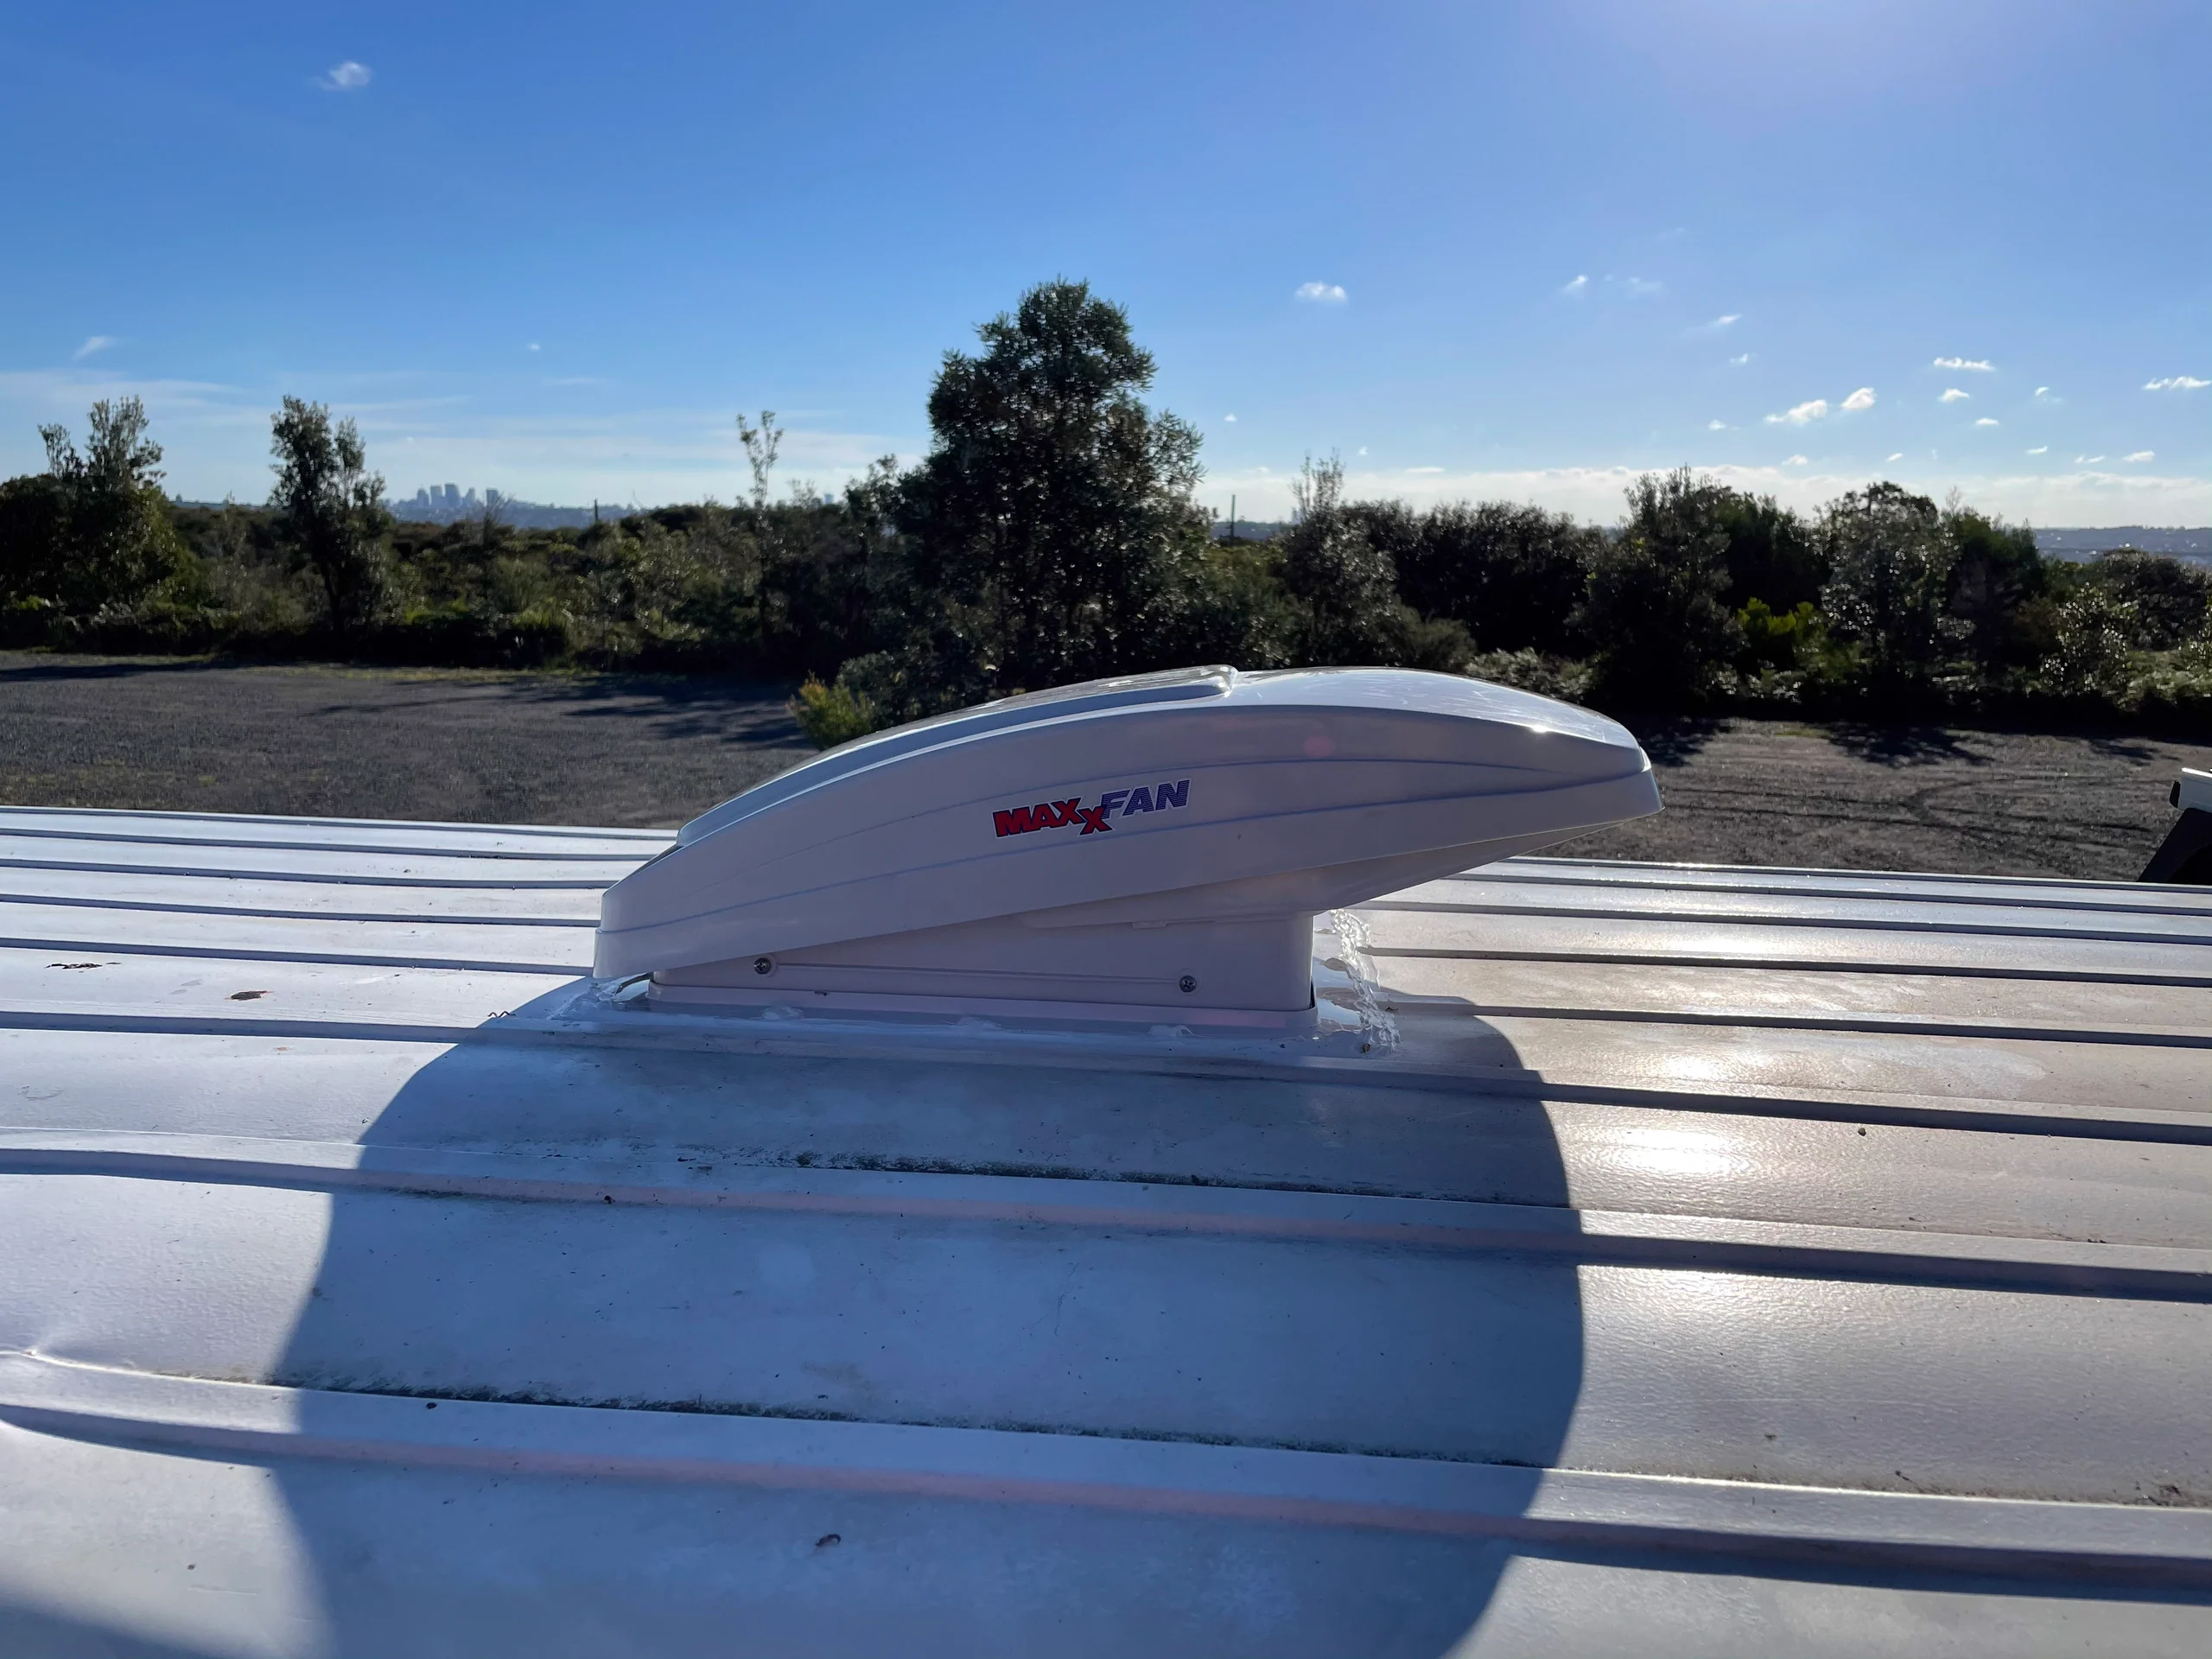
Success! The fan is in and looks really good!
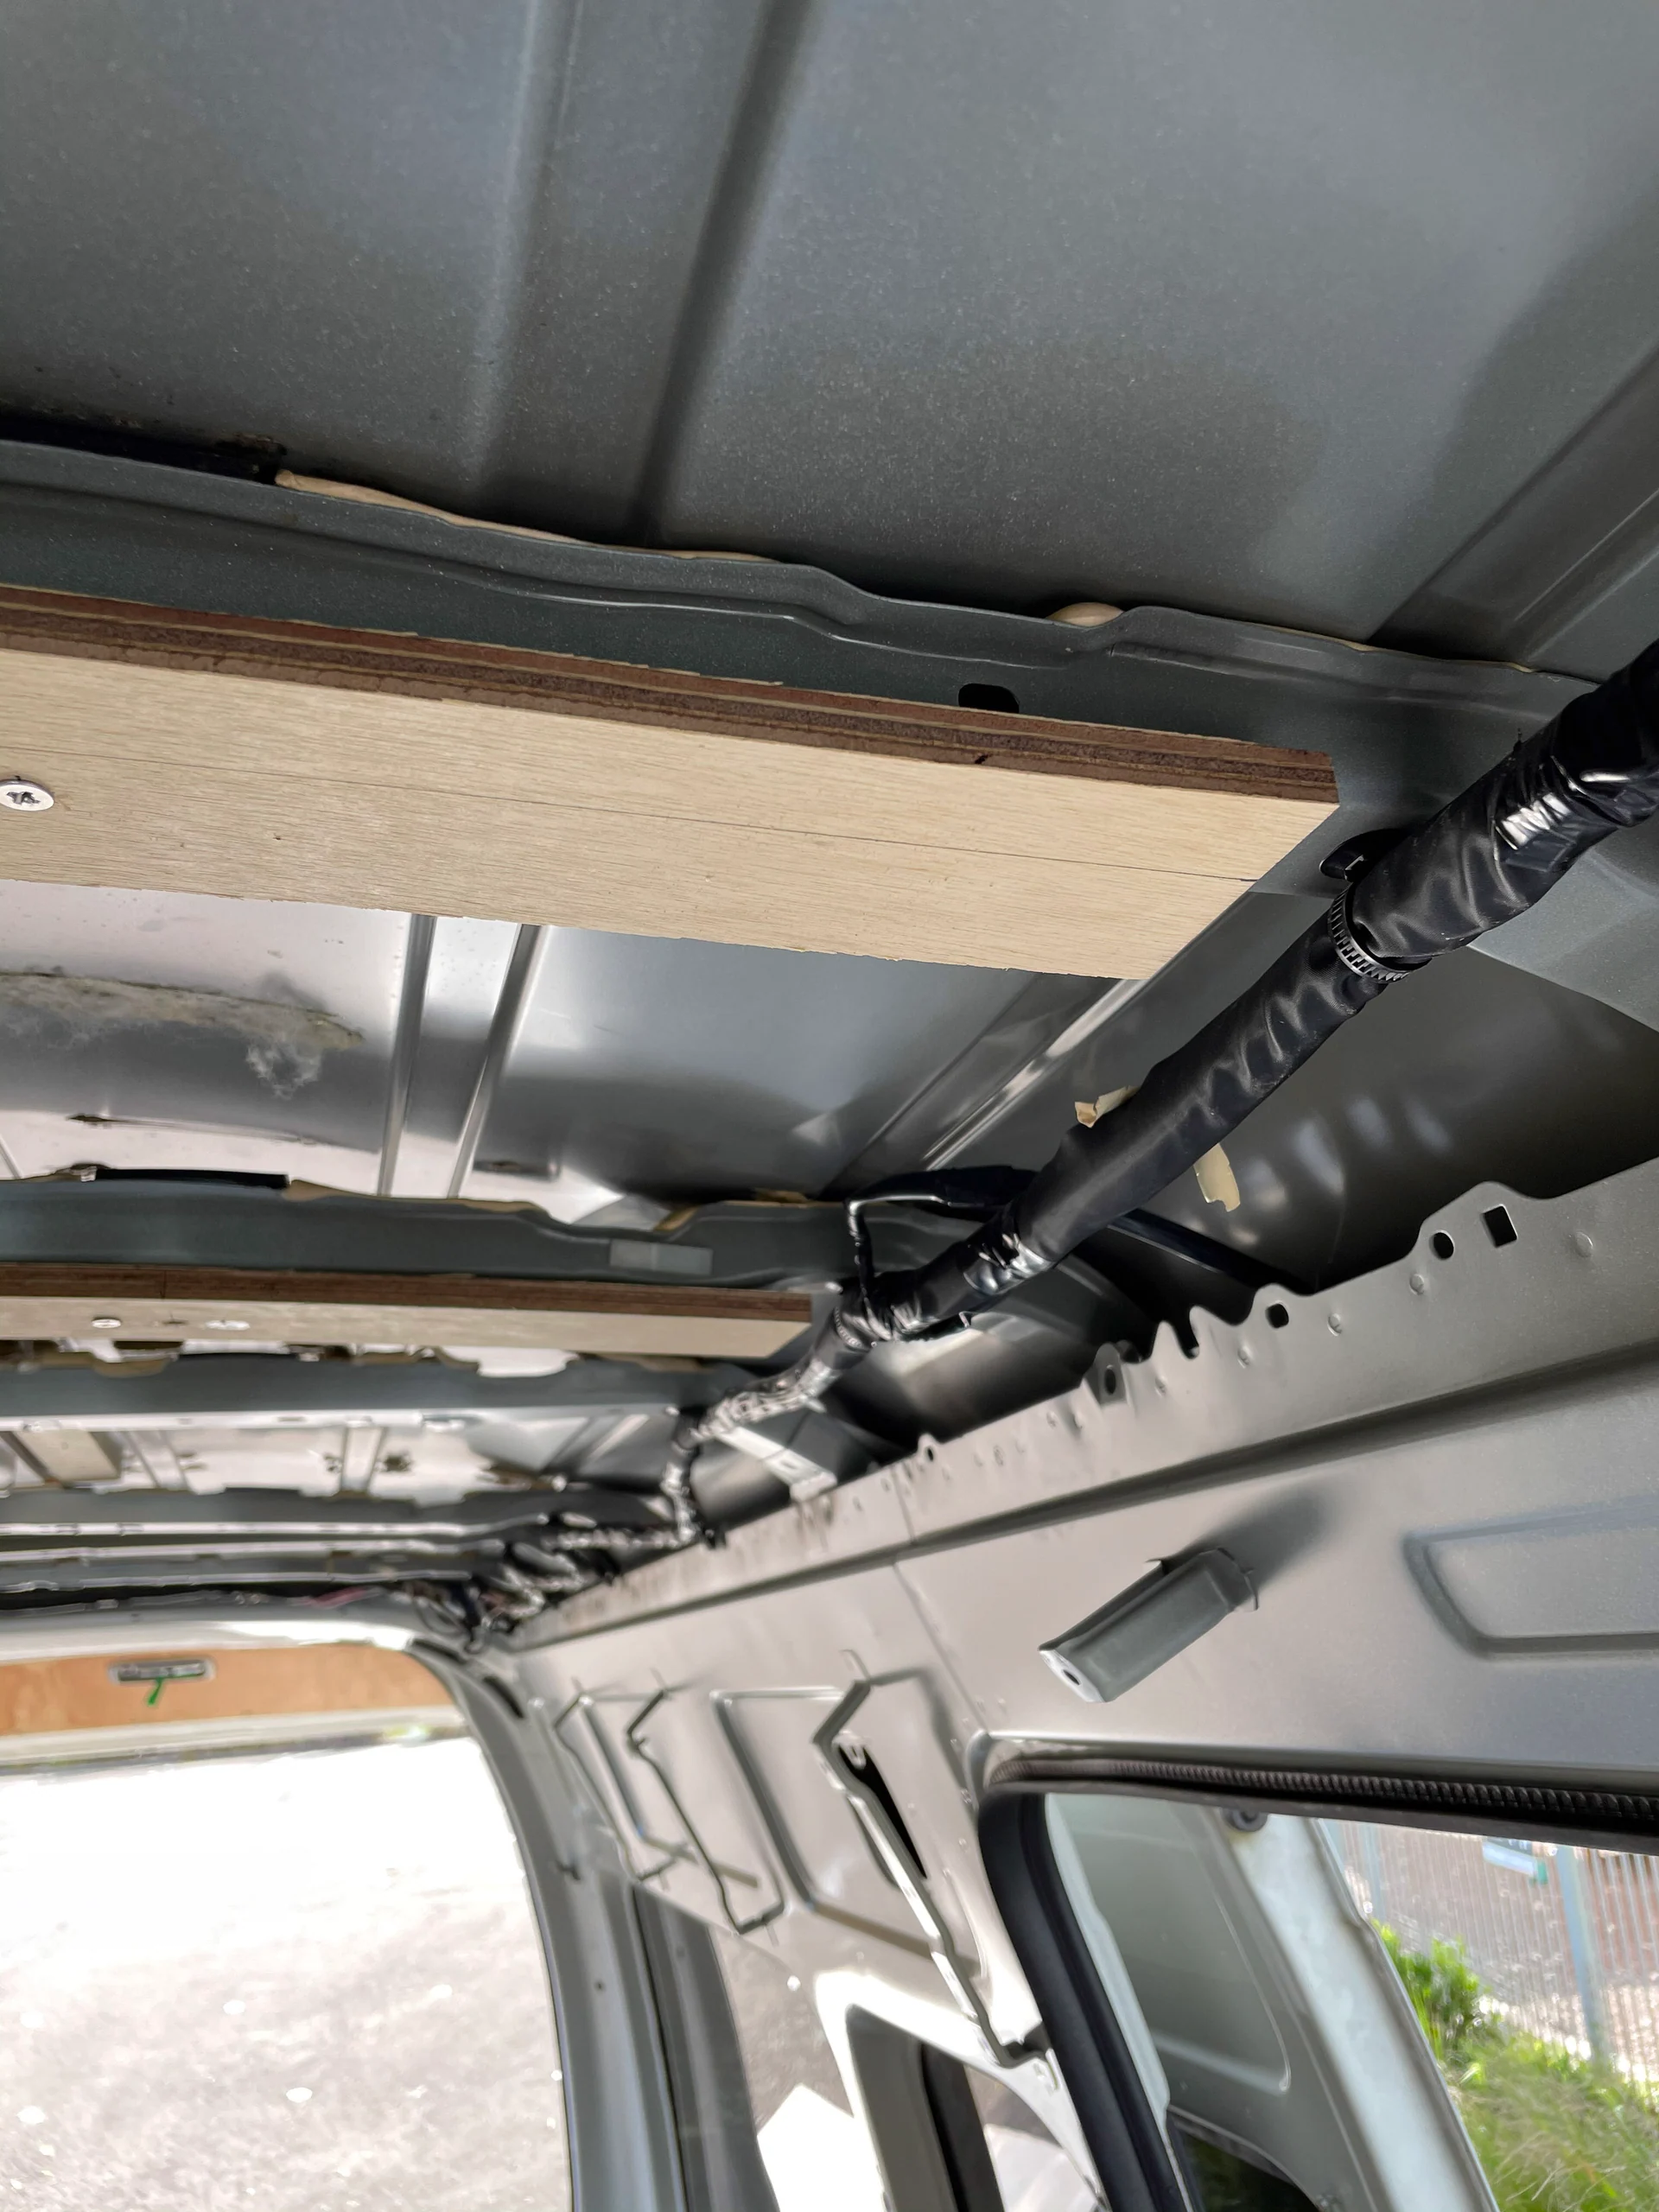
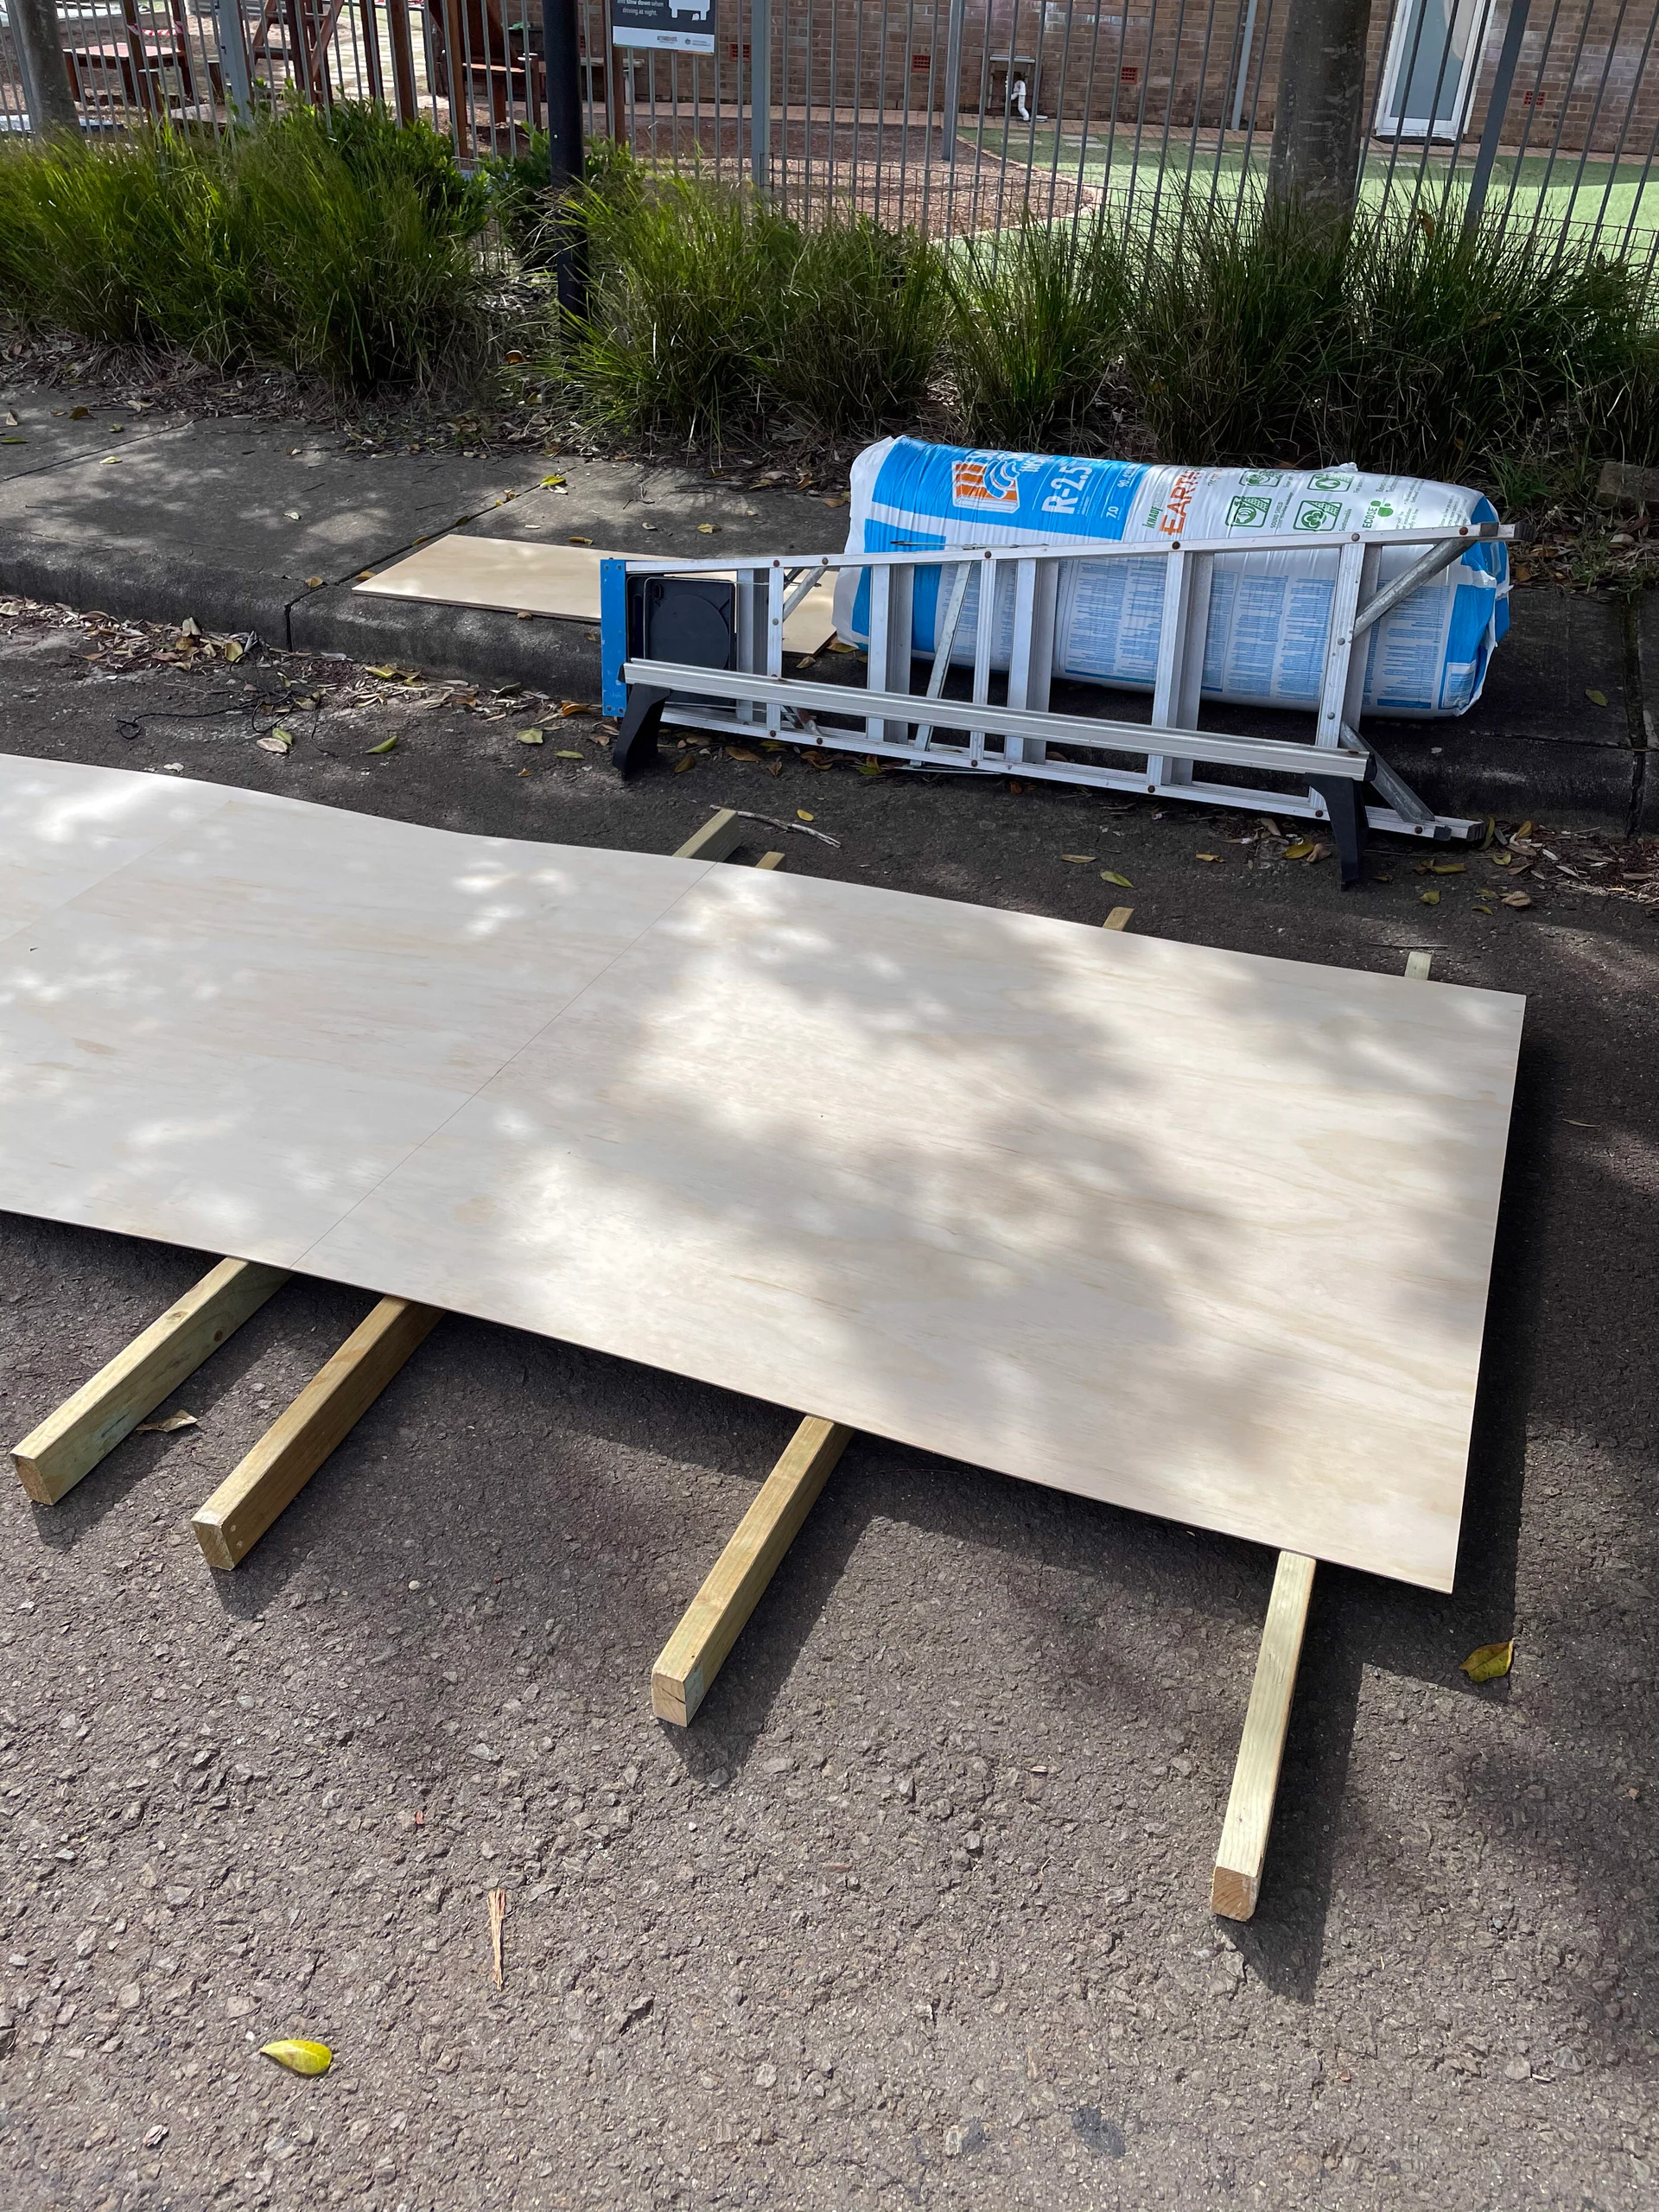
More work on the timber ceiling. Preparing and cutting some plywood, fitting it in and then taking it out again to be painted.
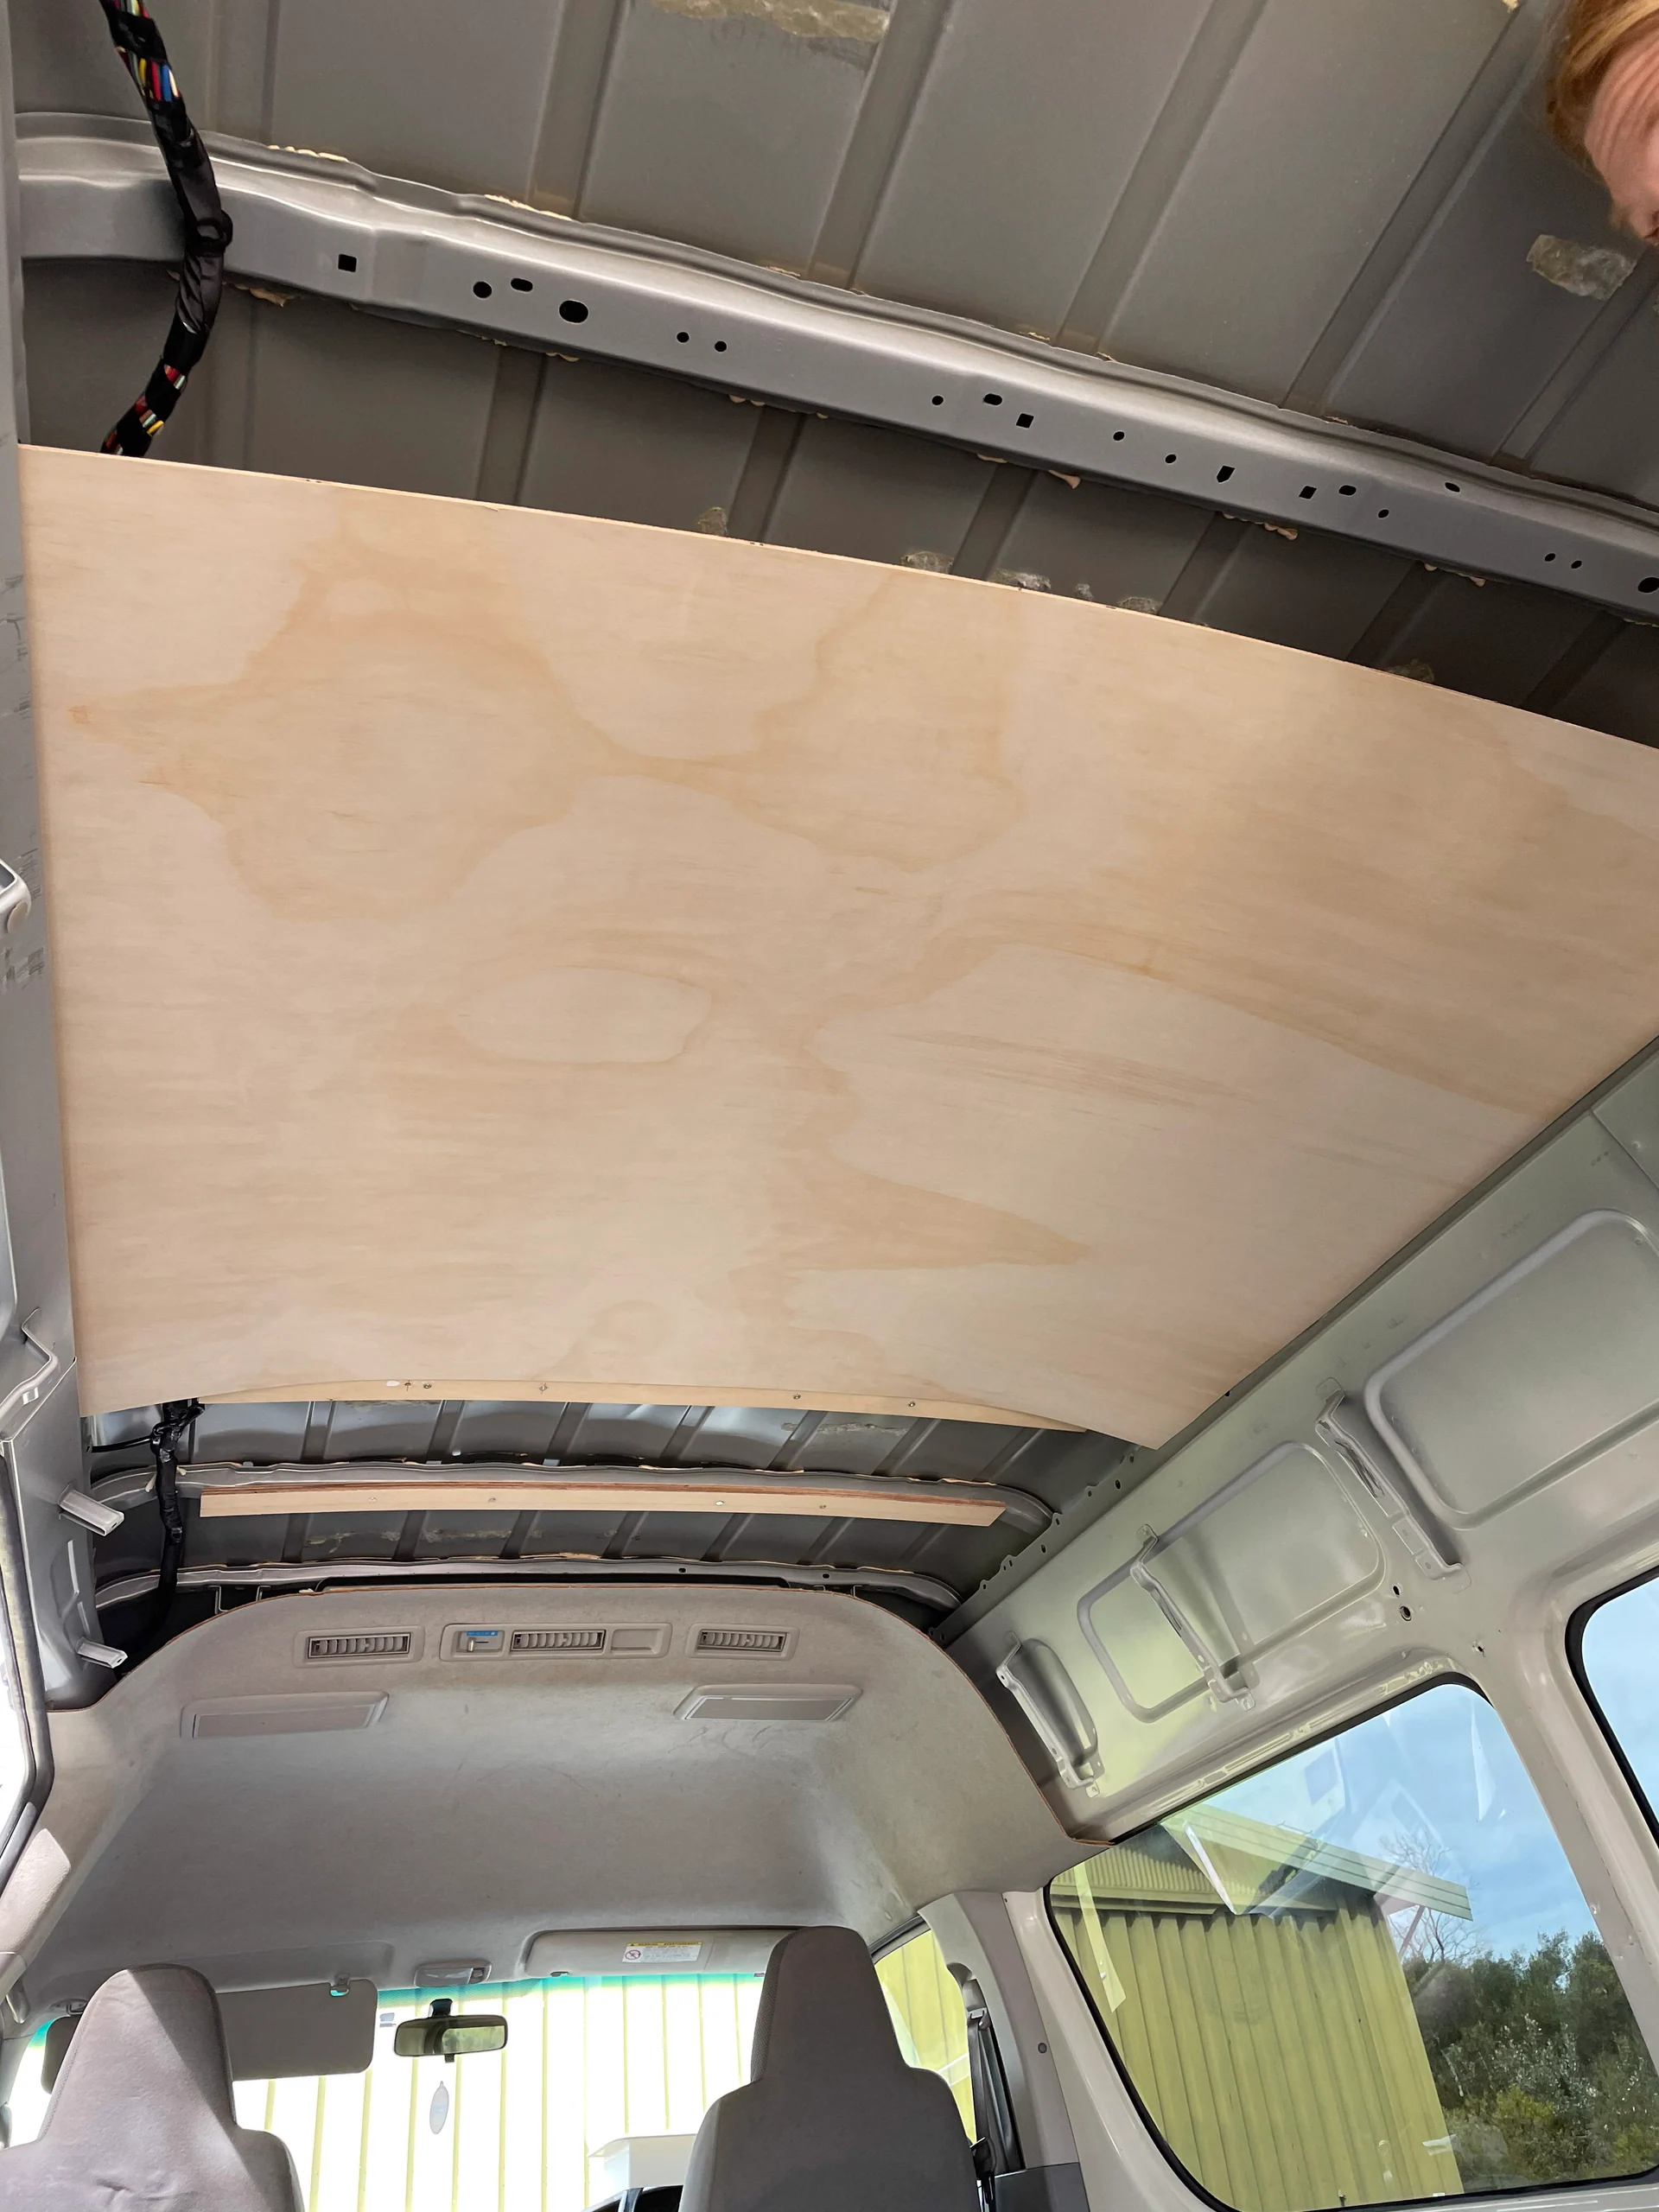
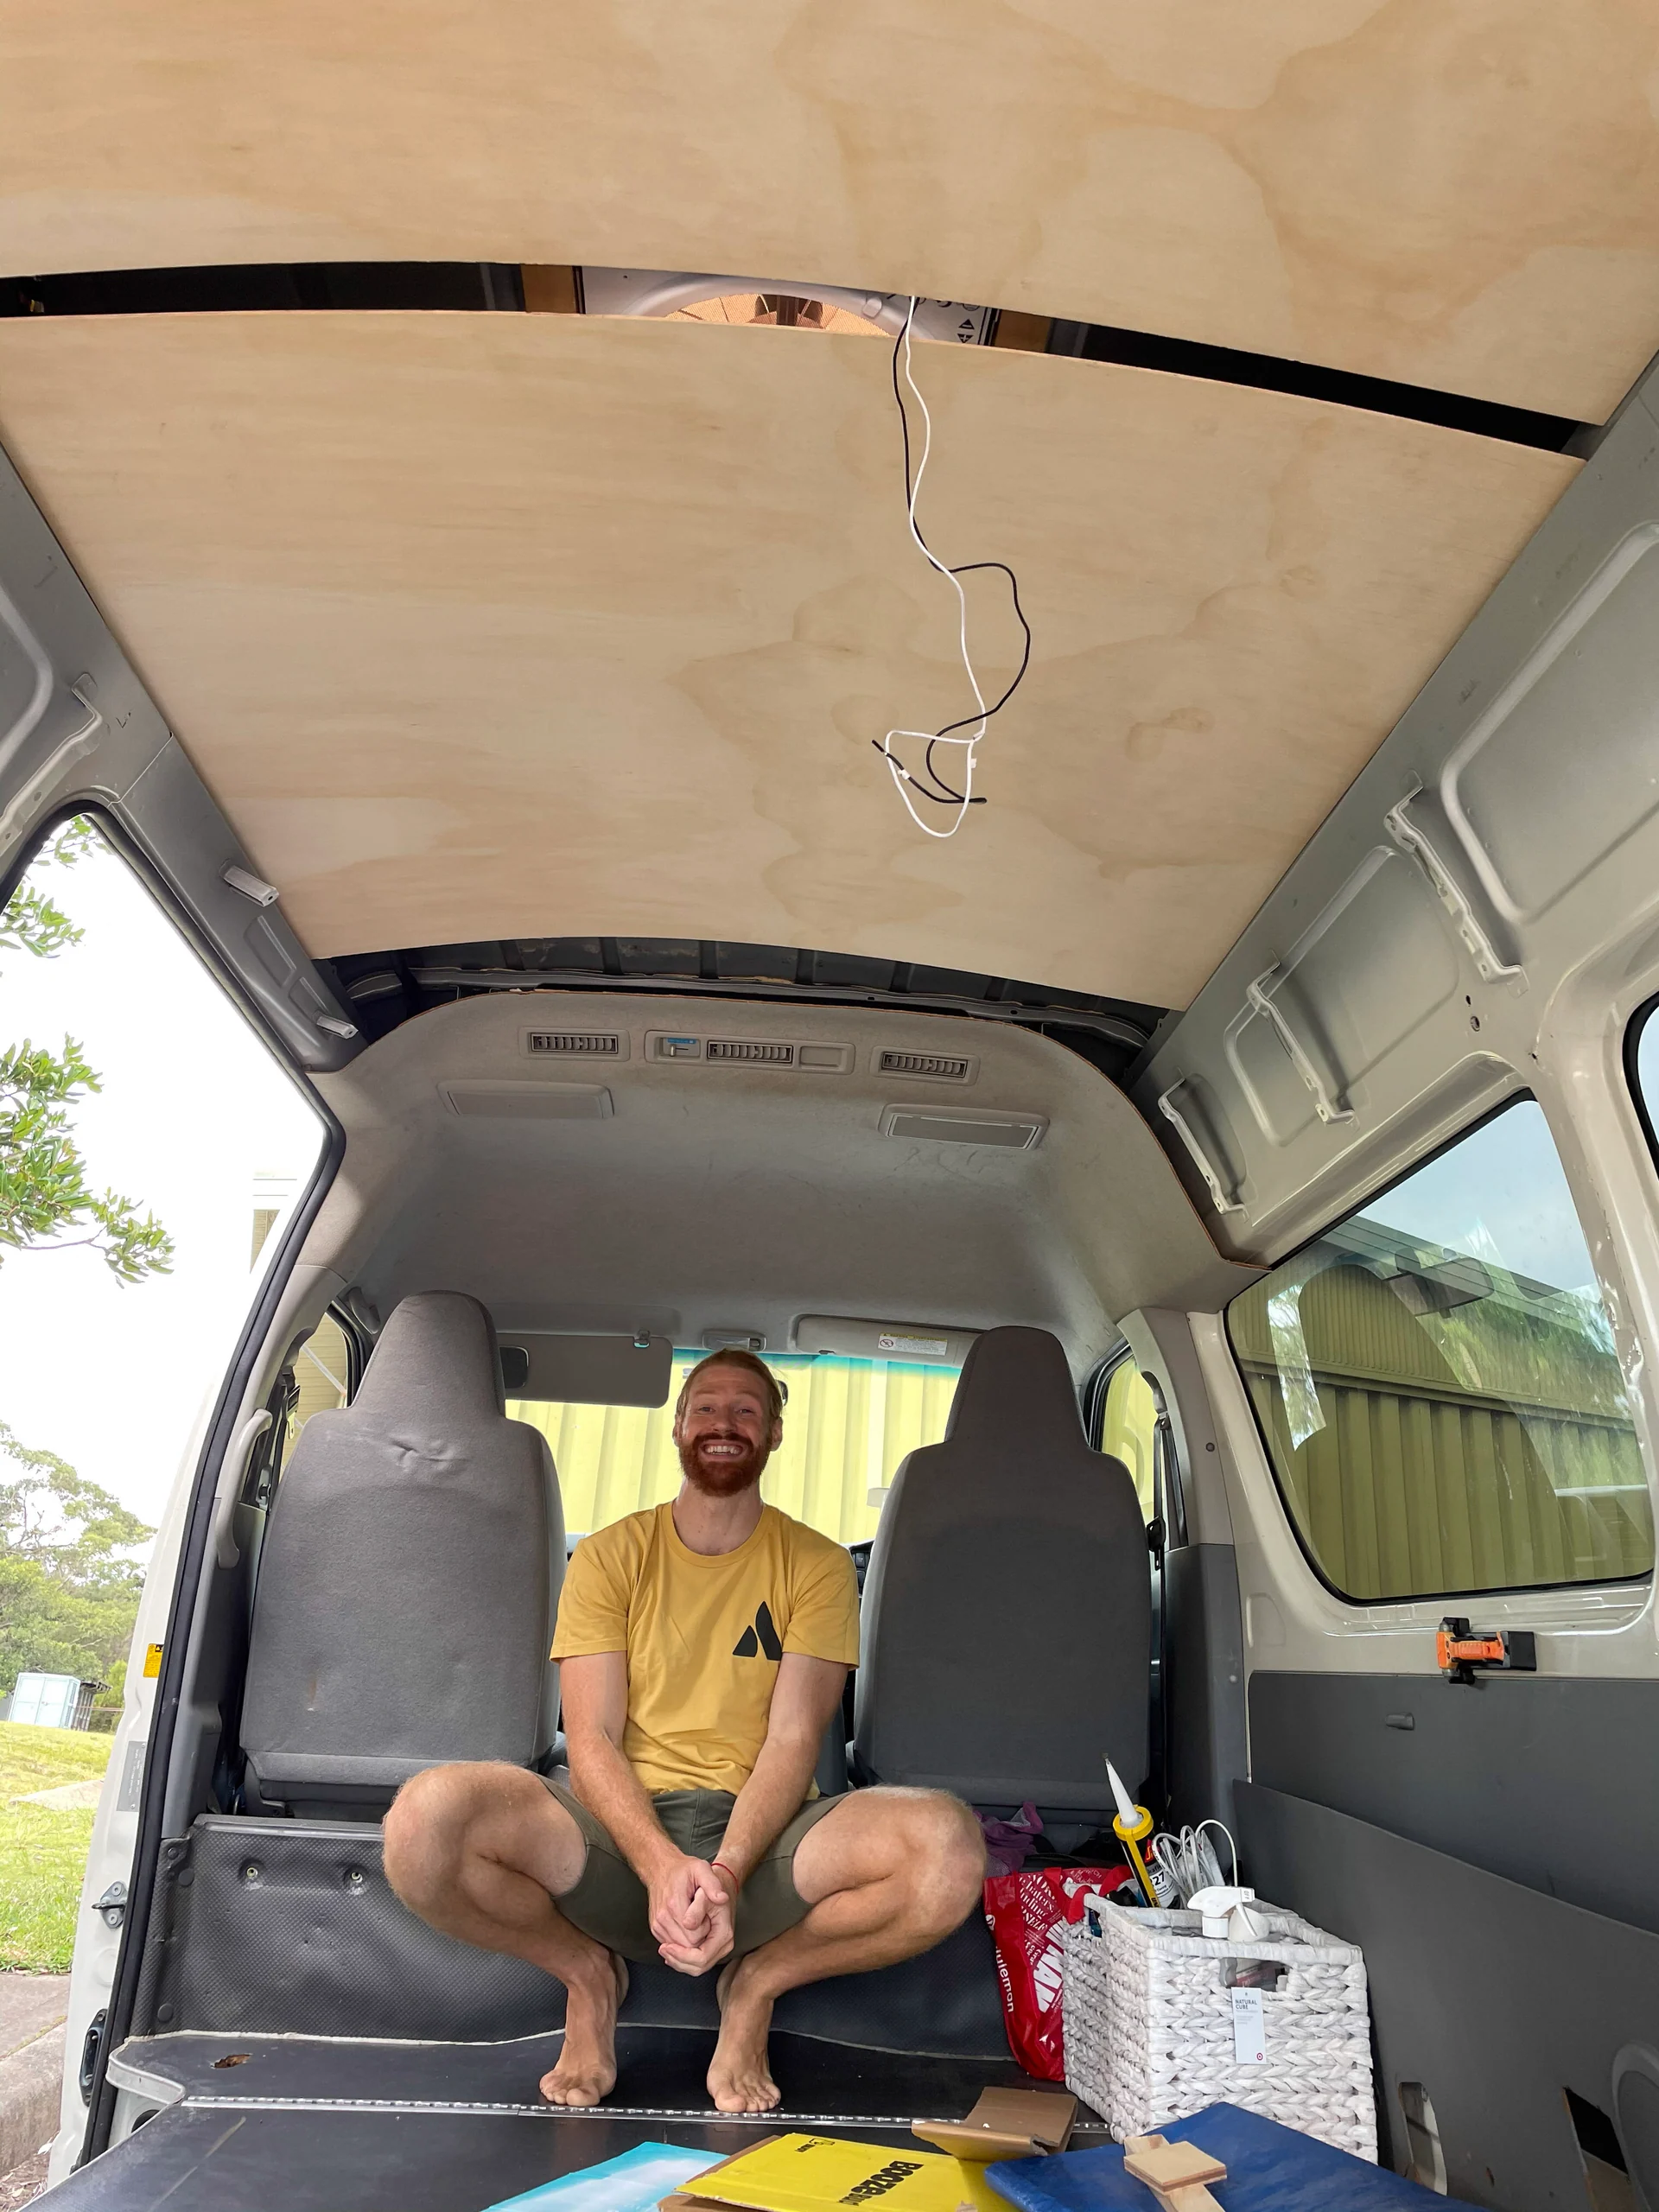
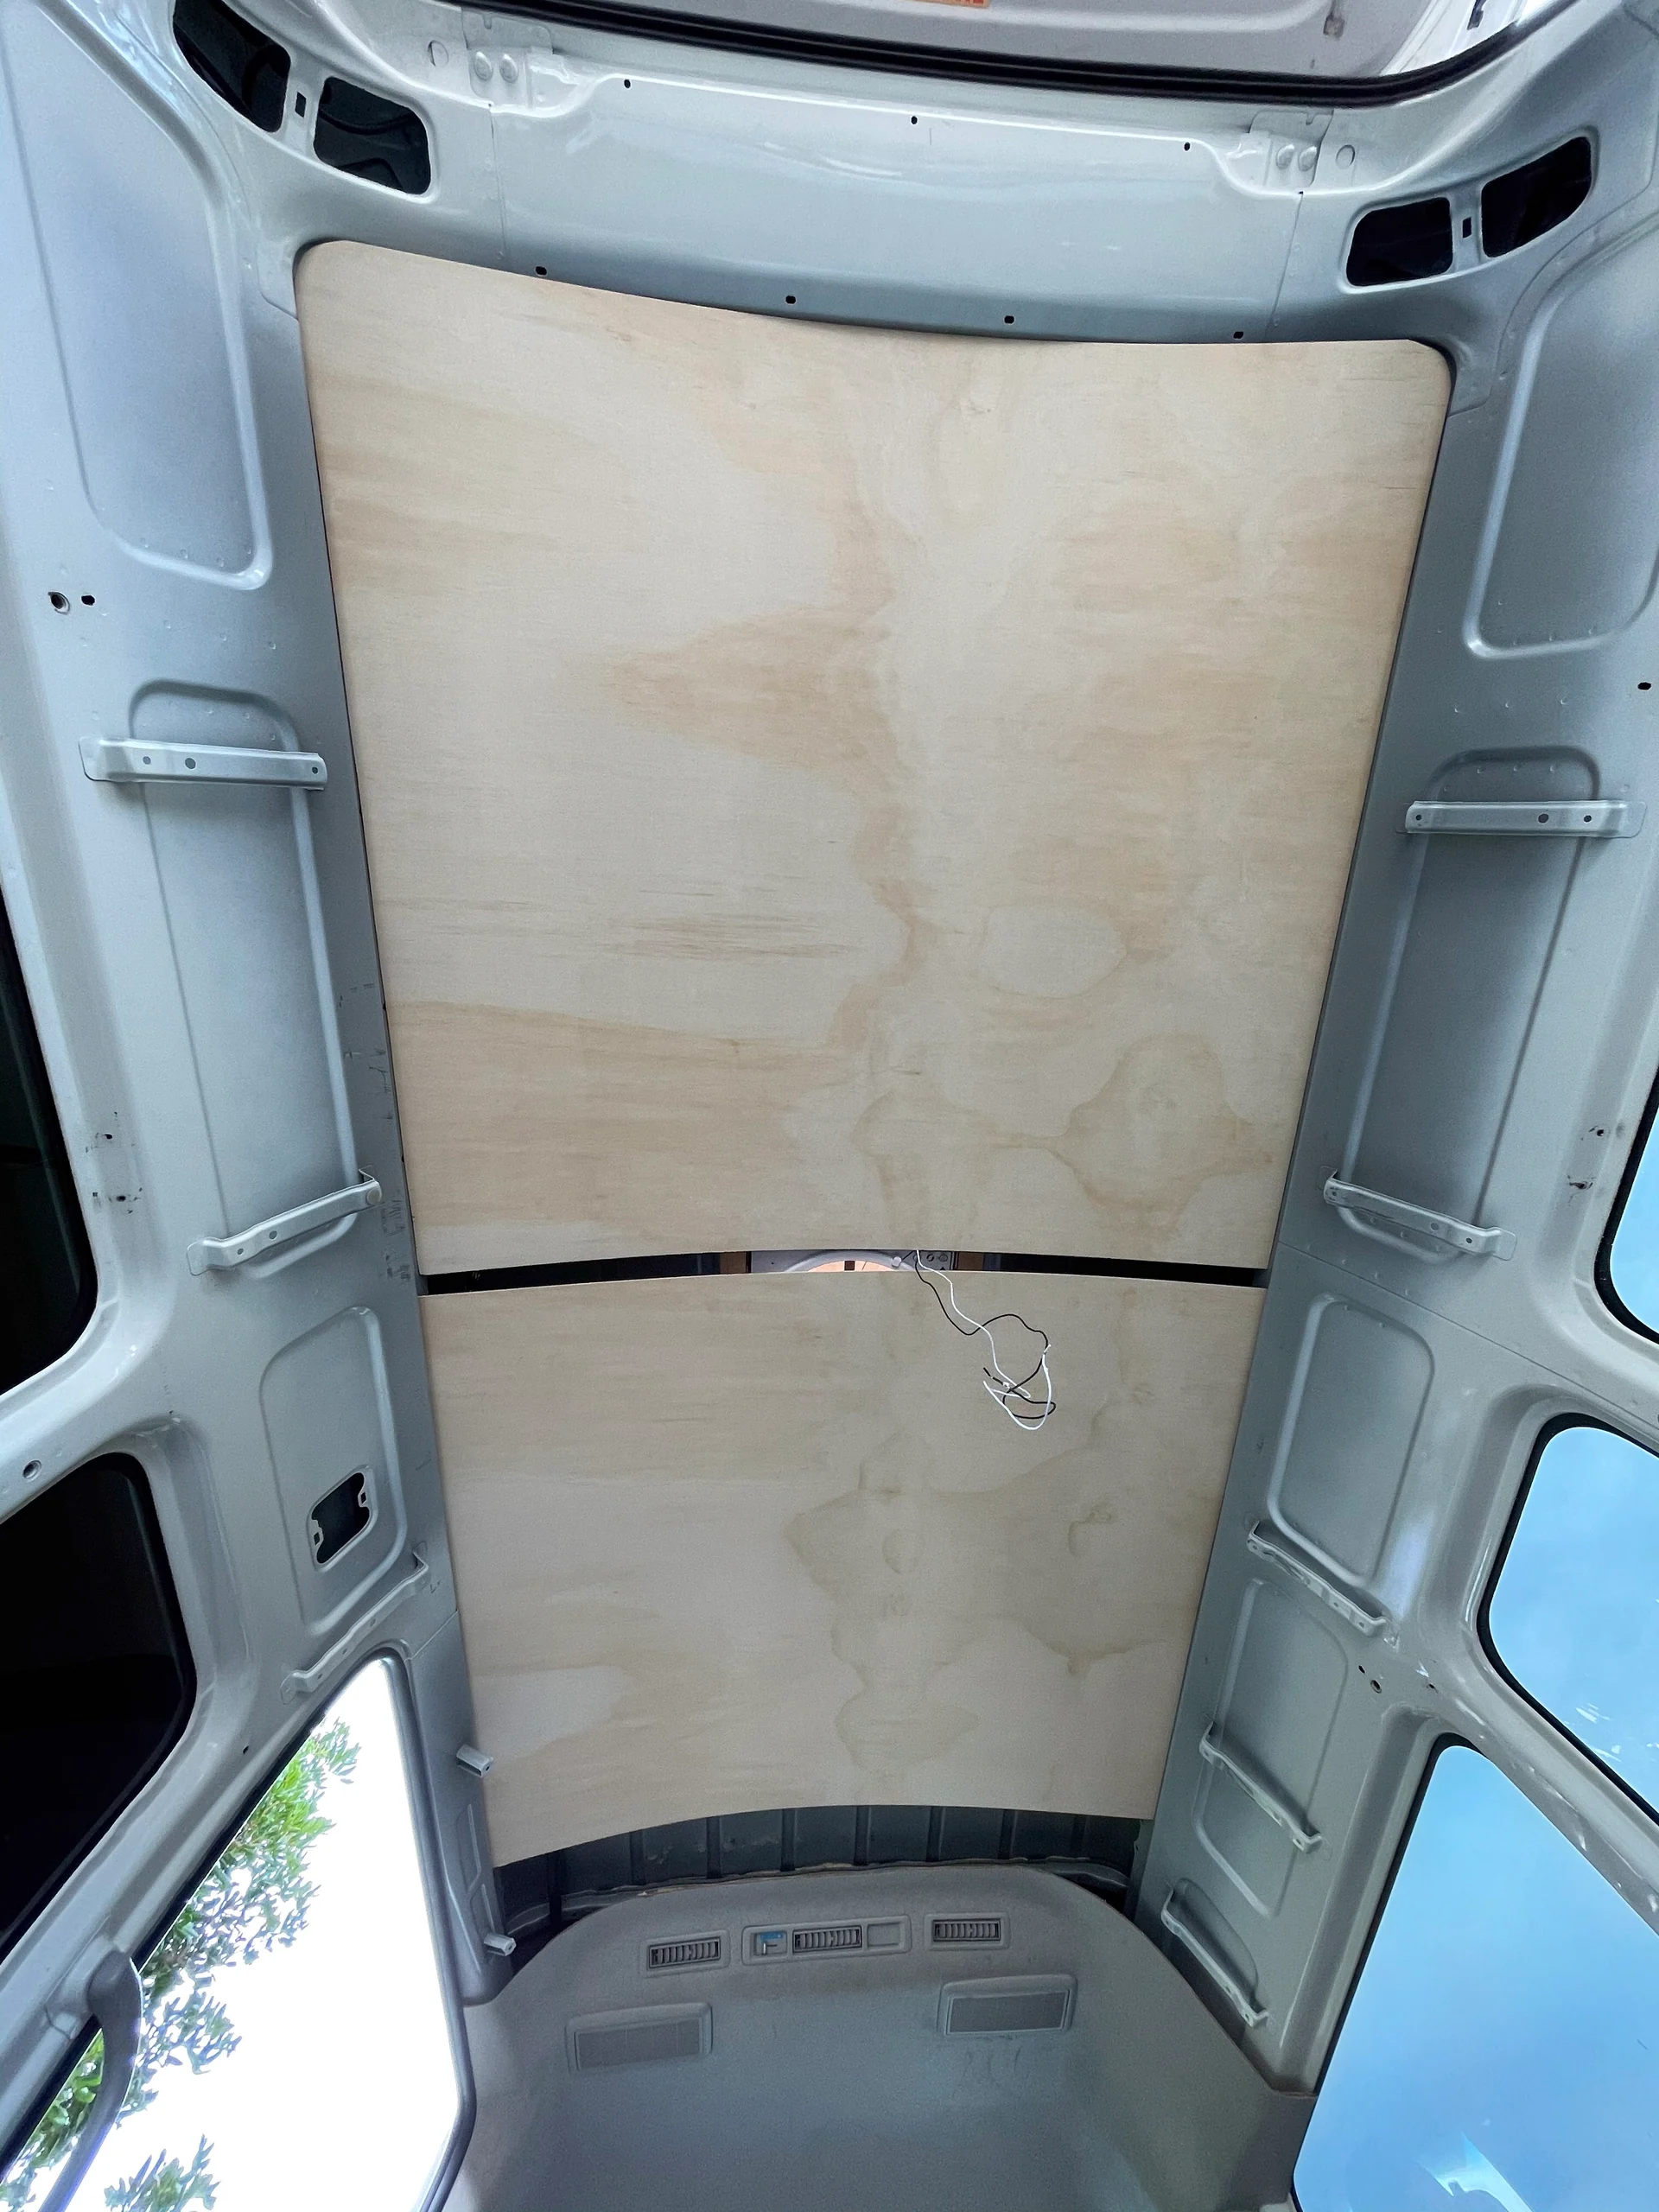
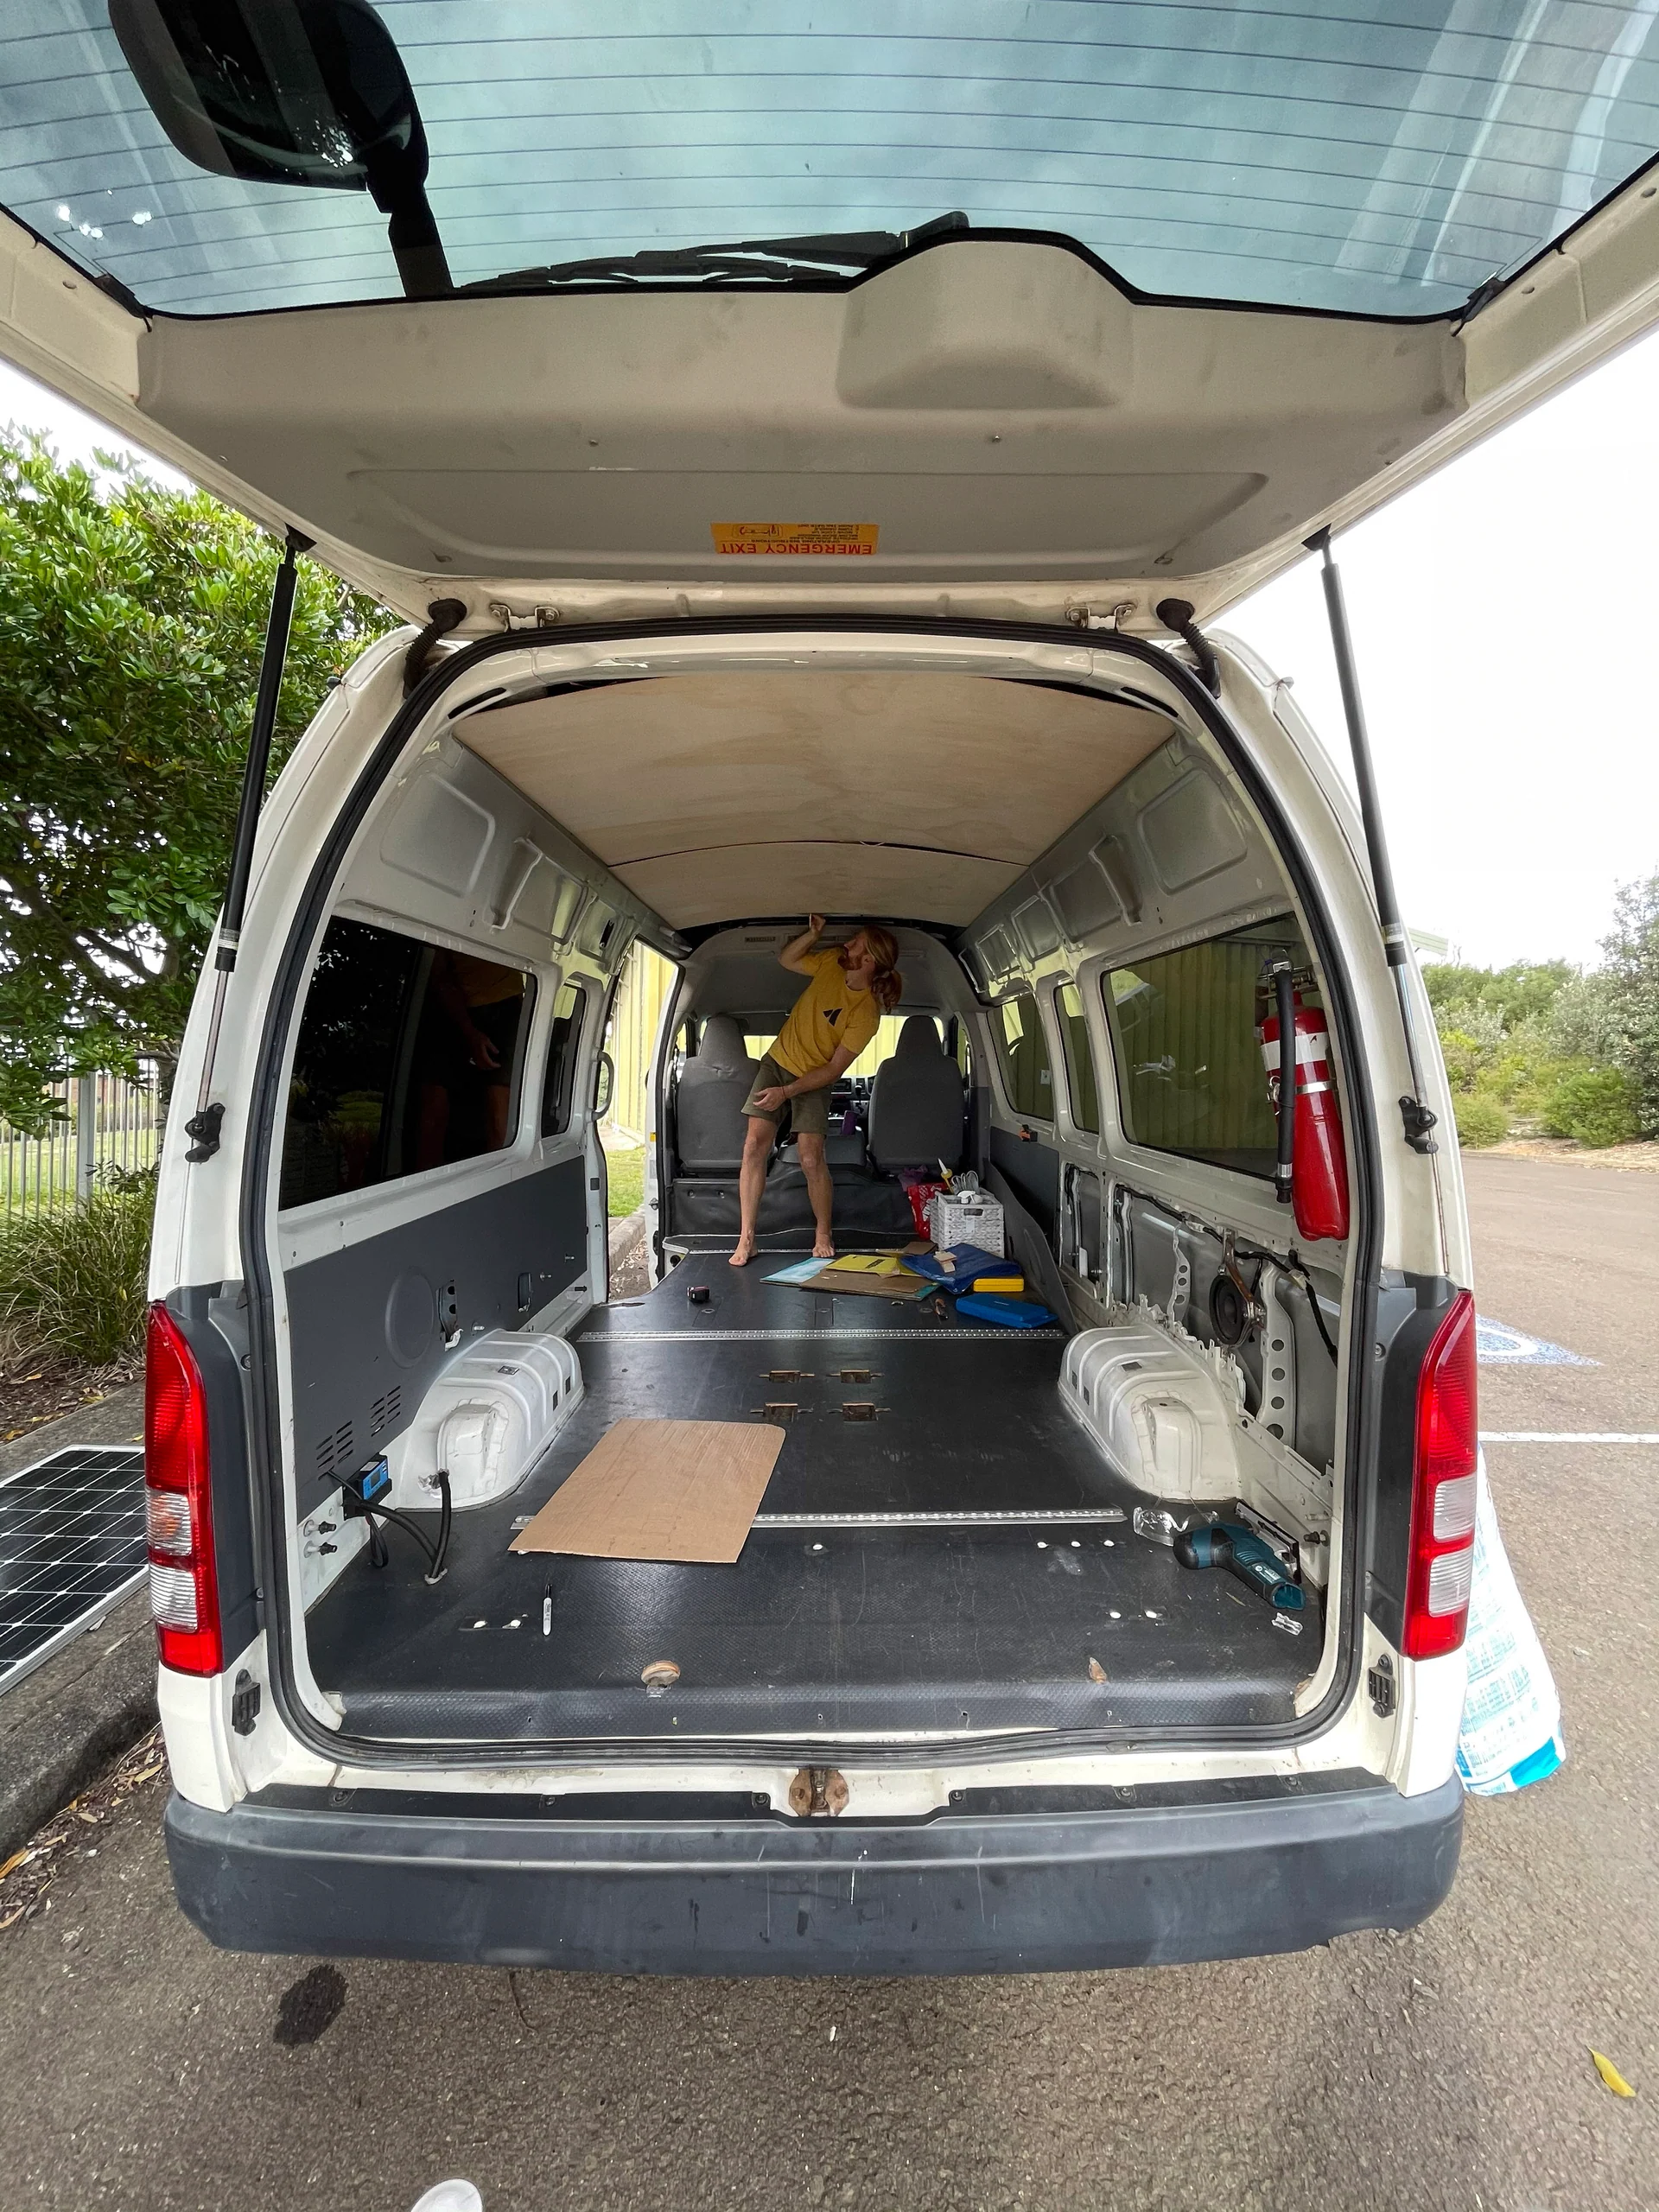
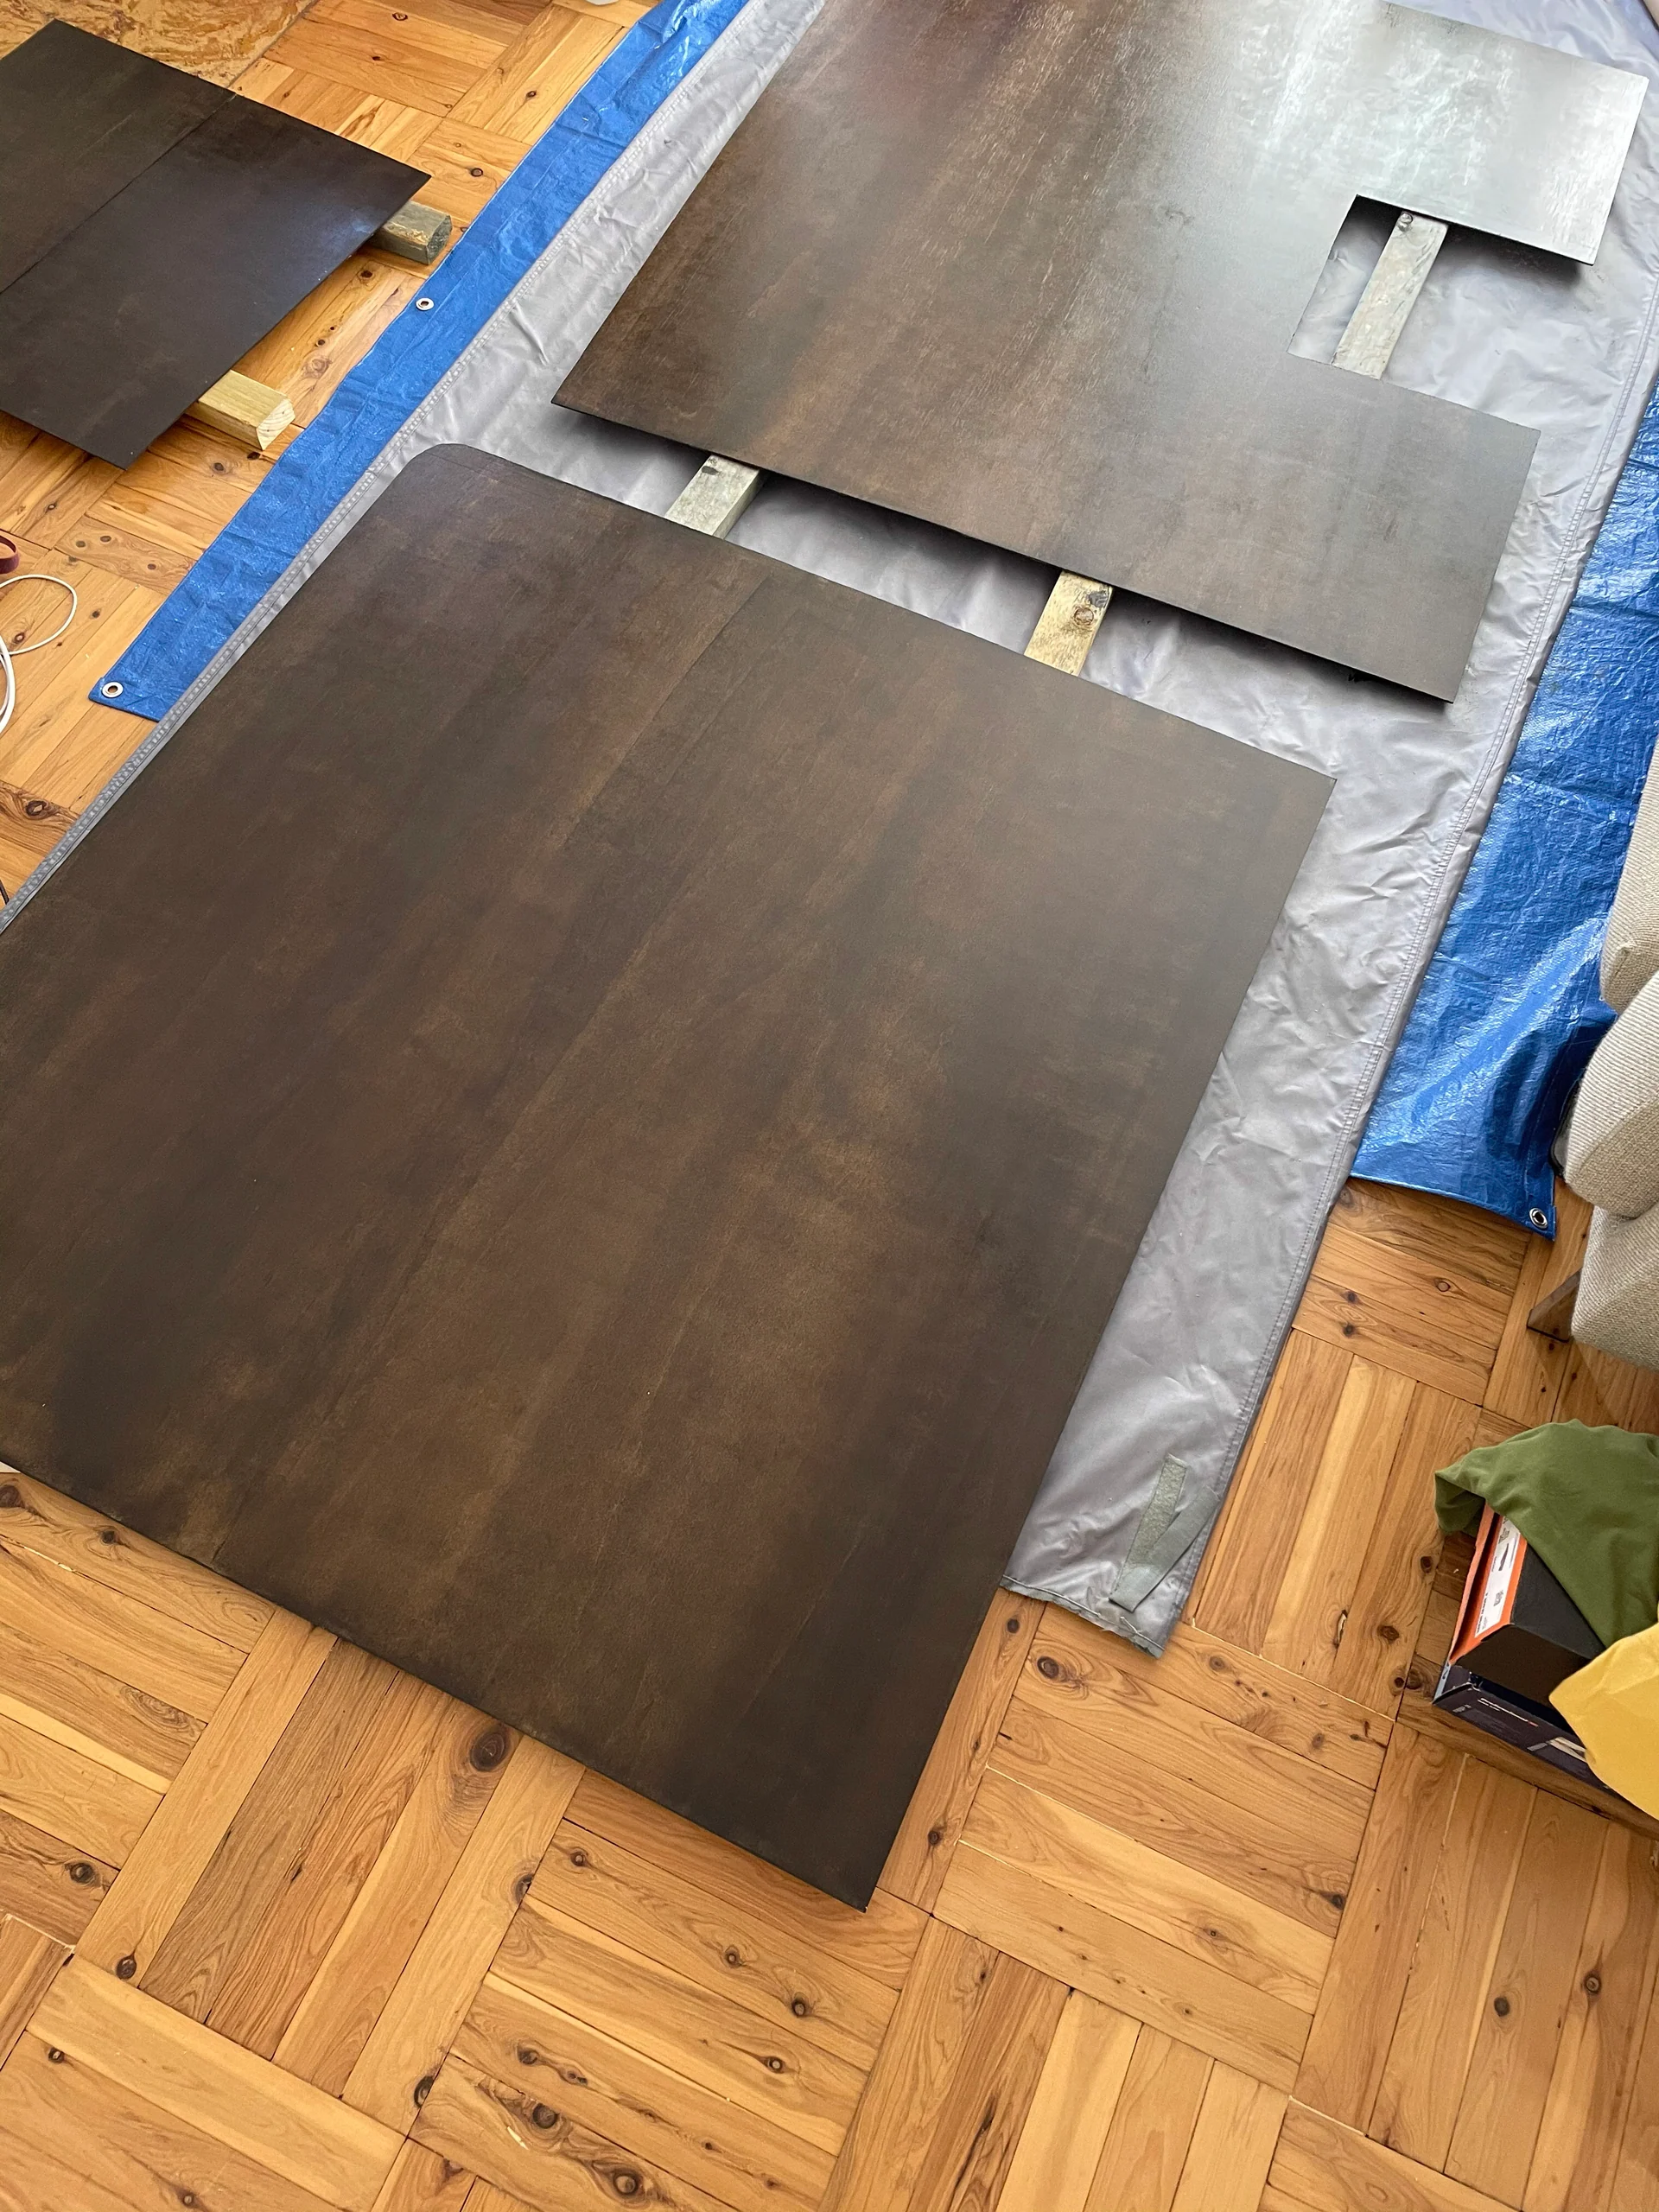
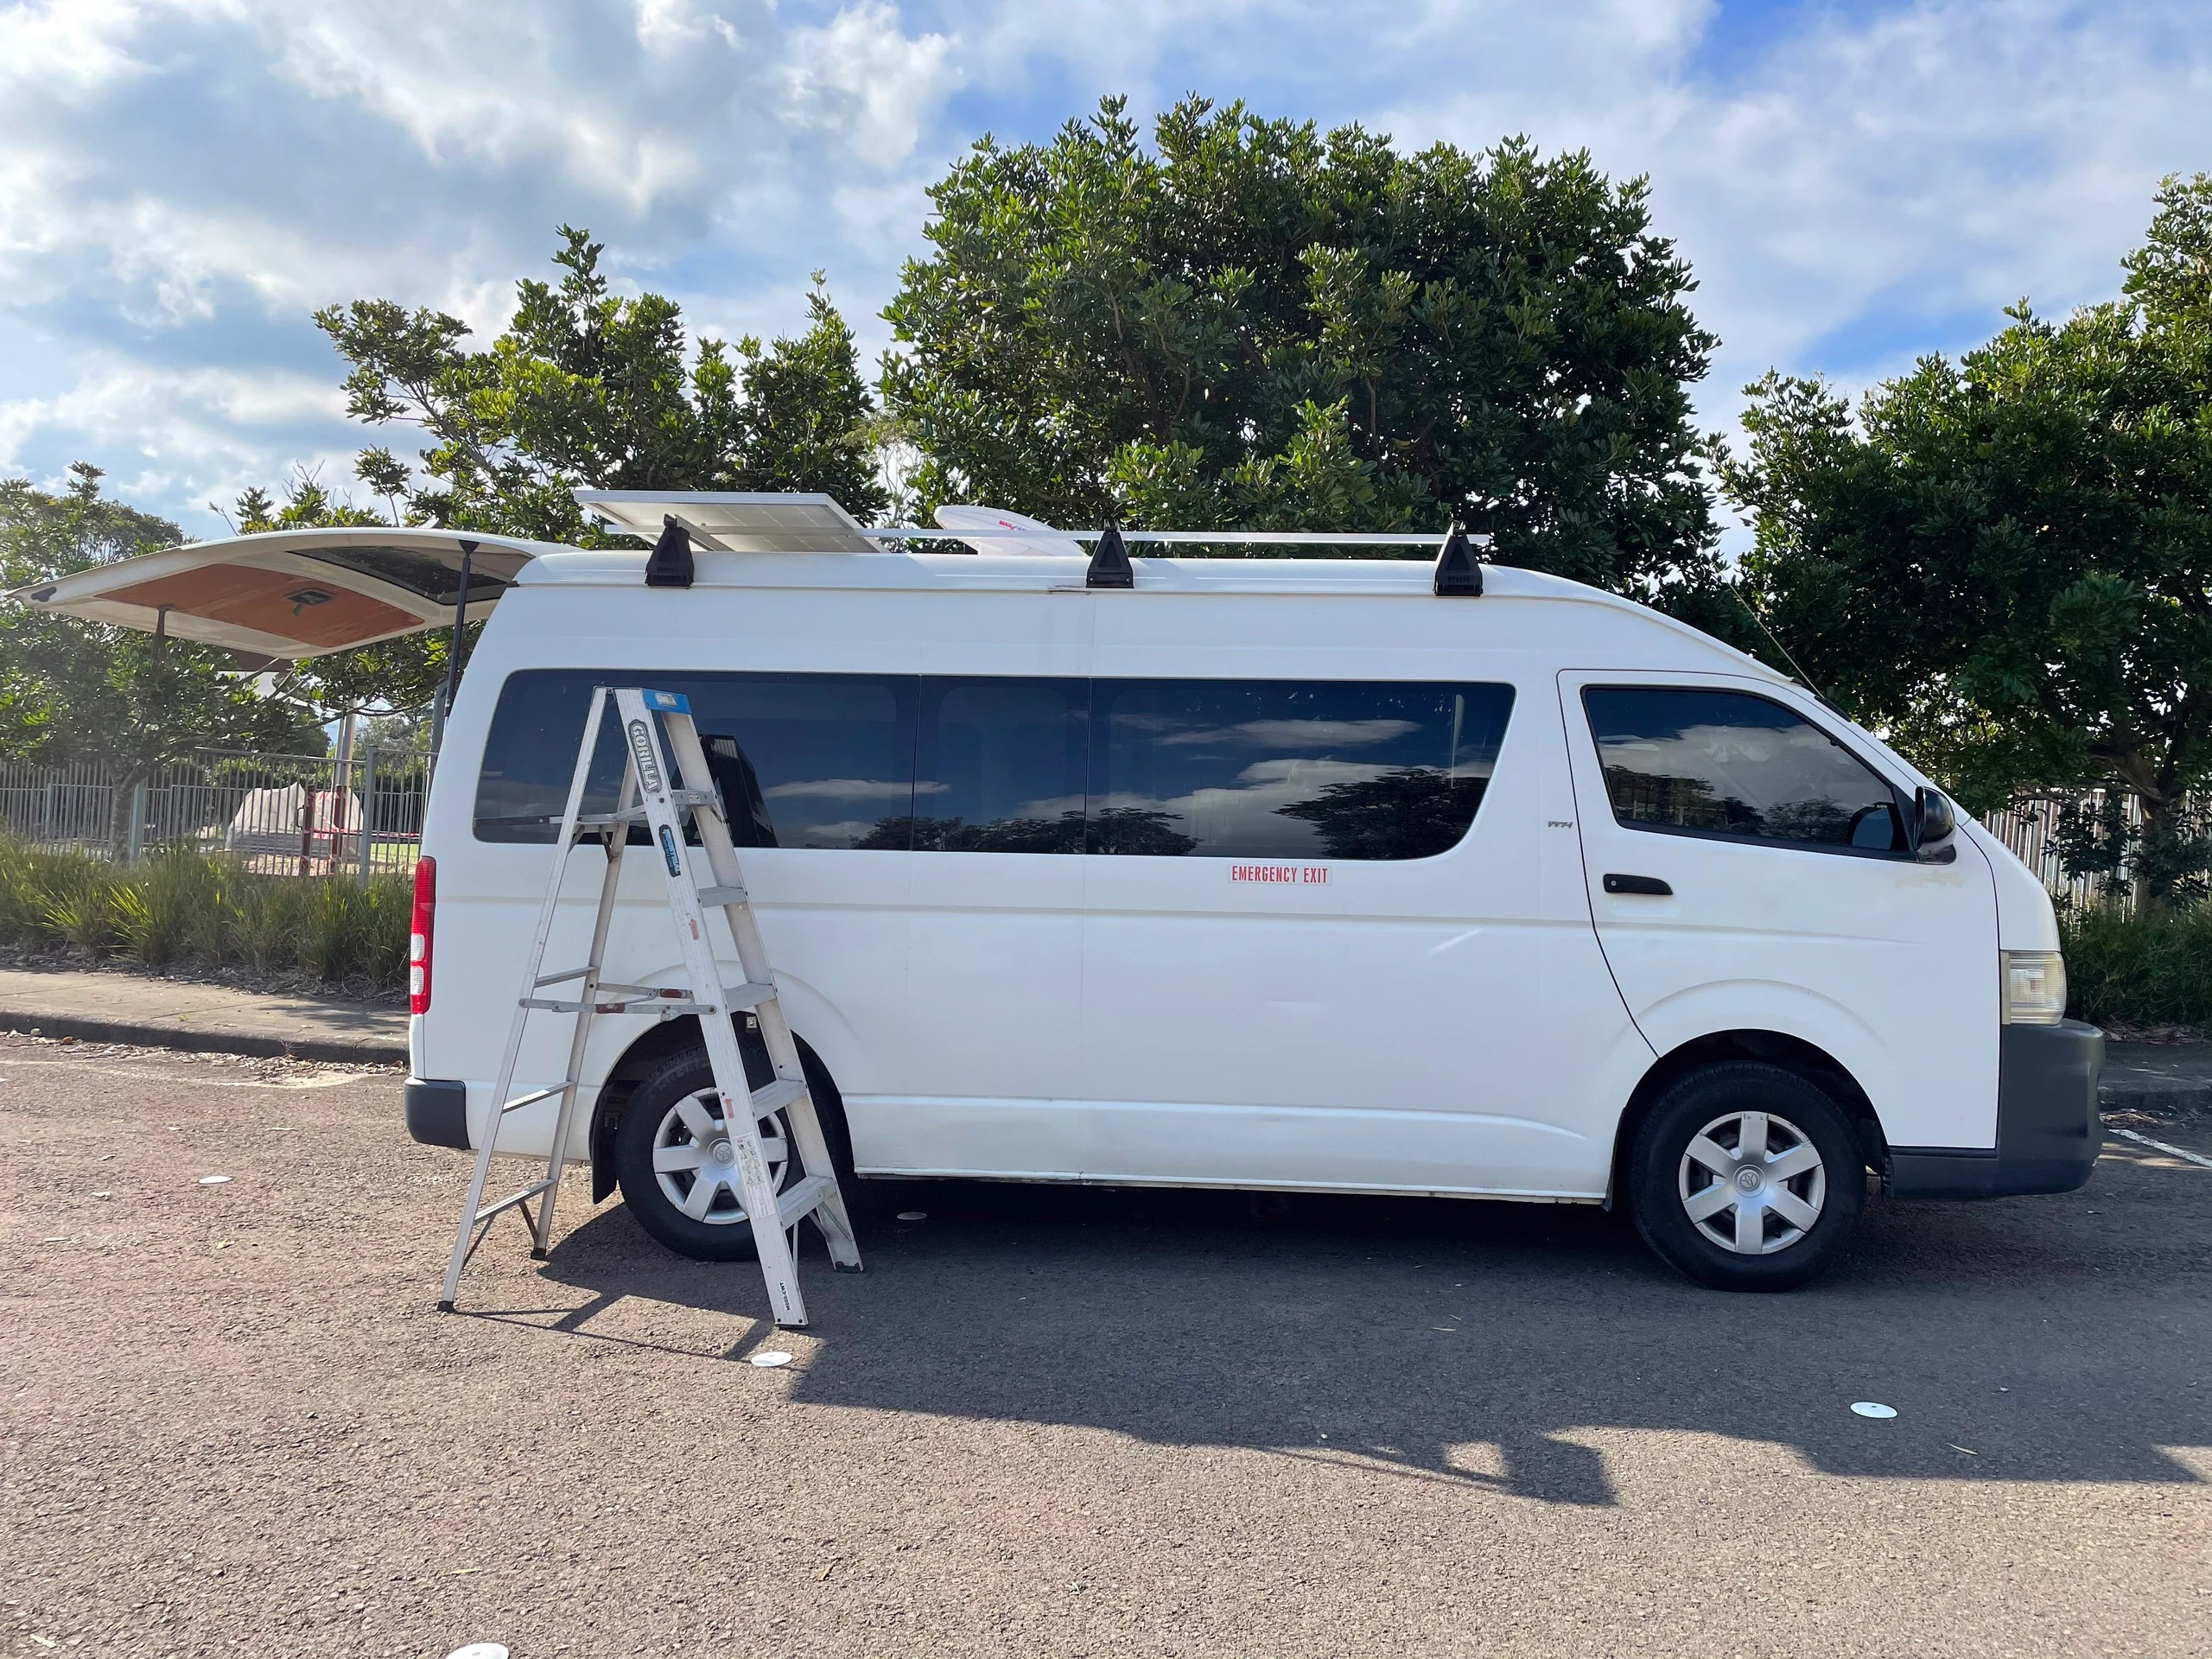
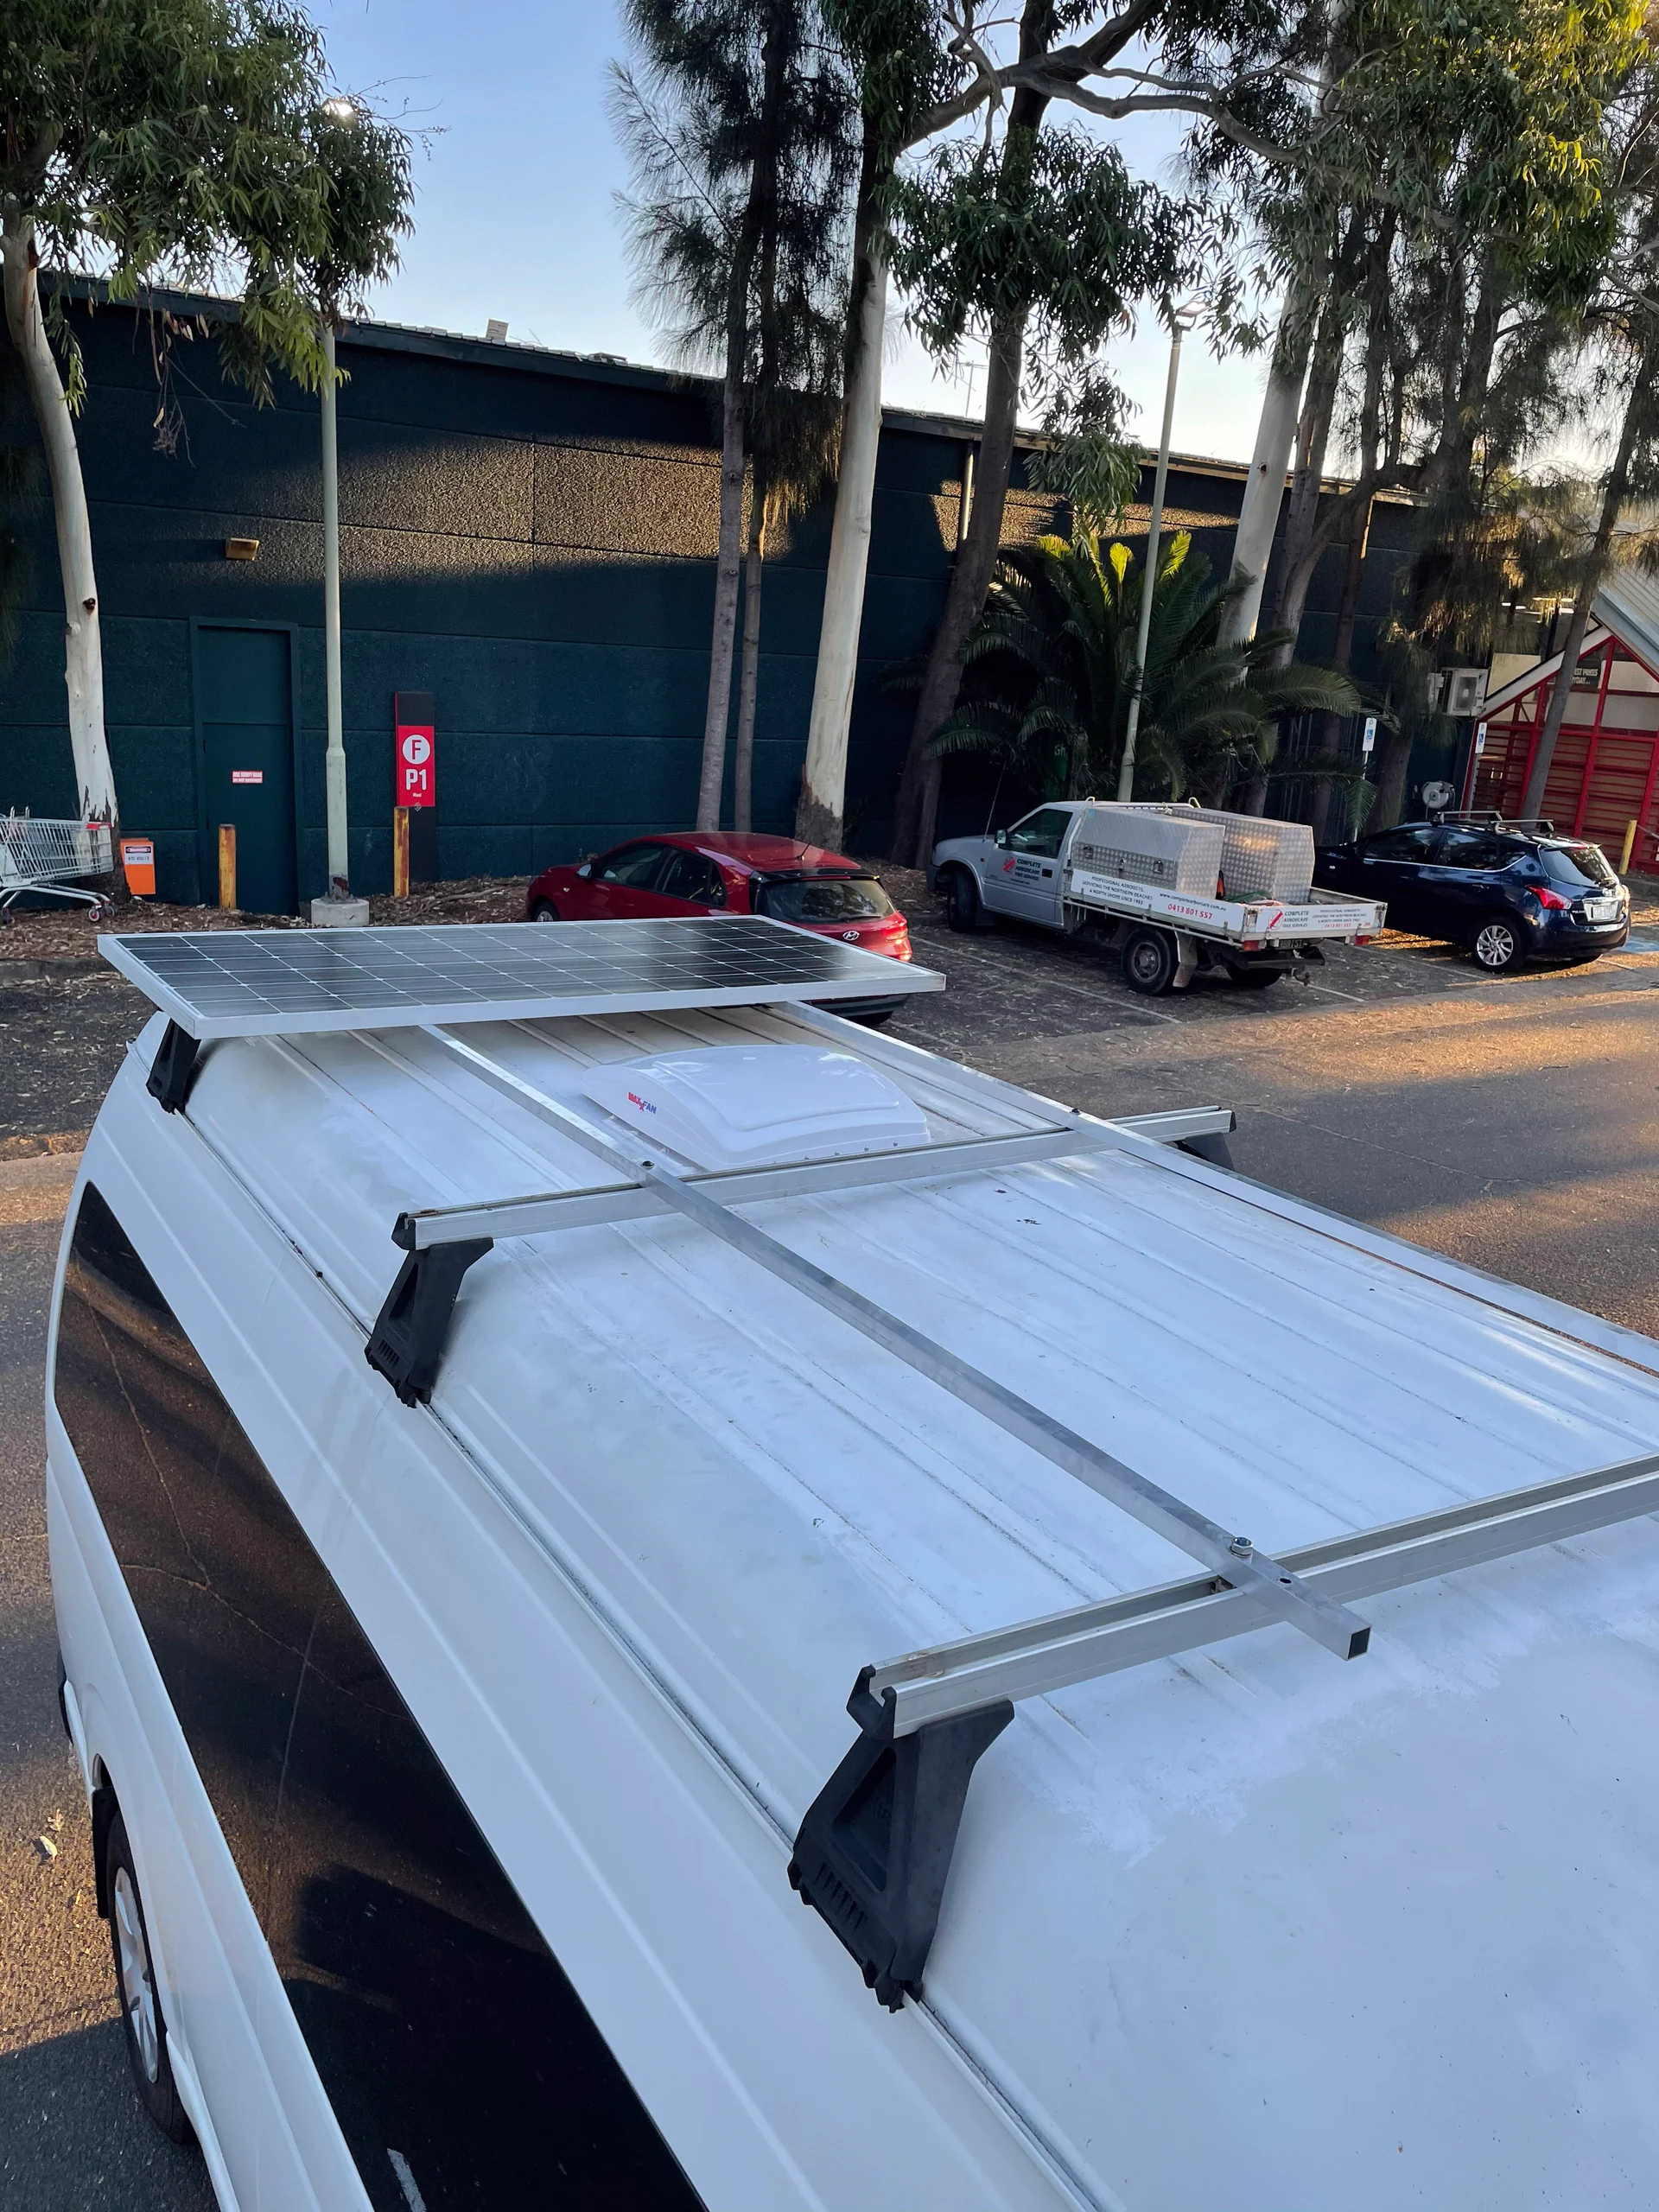
We are aiming for a light on dark wood colour scheme. For that, we need to add some paint to the wood. And it is also time to reinstall the solar. It's big heavy and not really that useful in the back of the car.
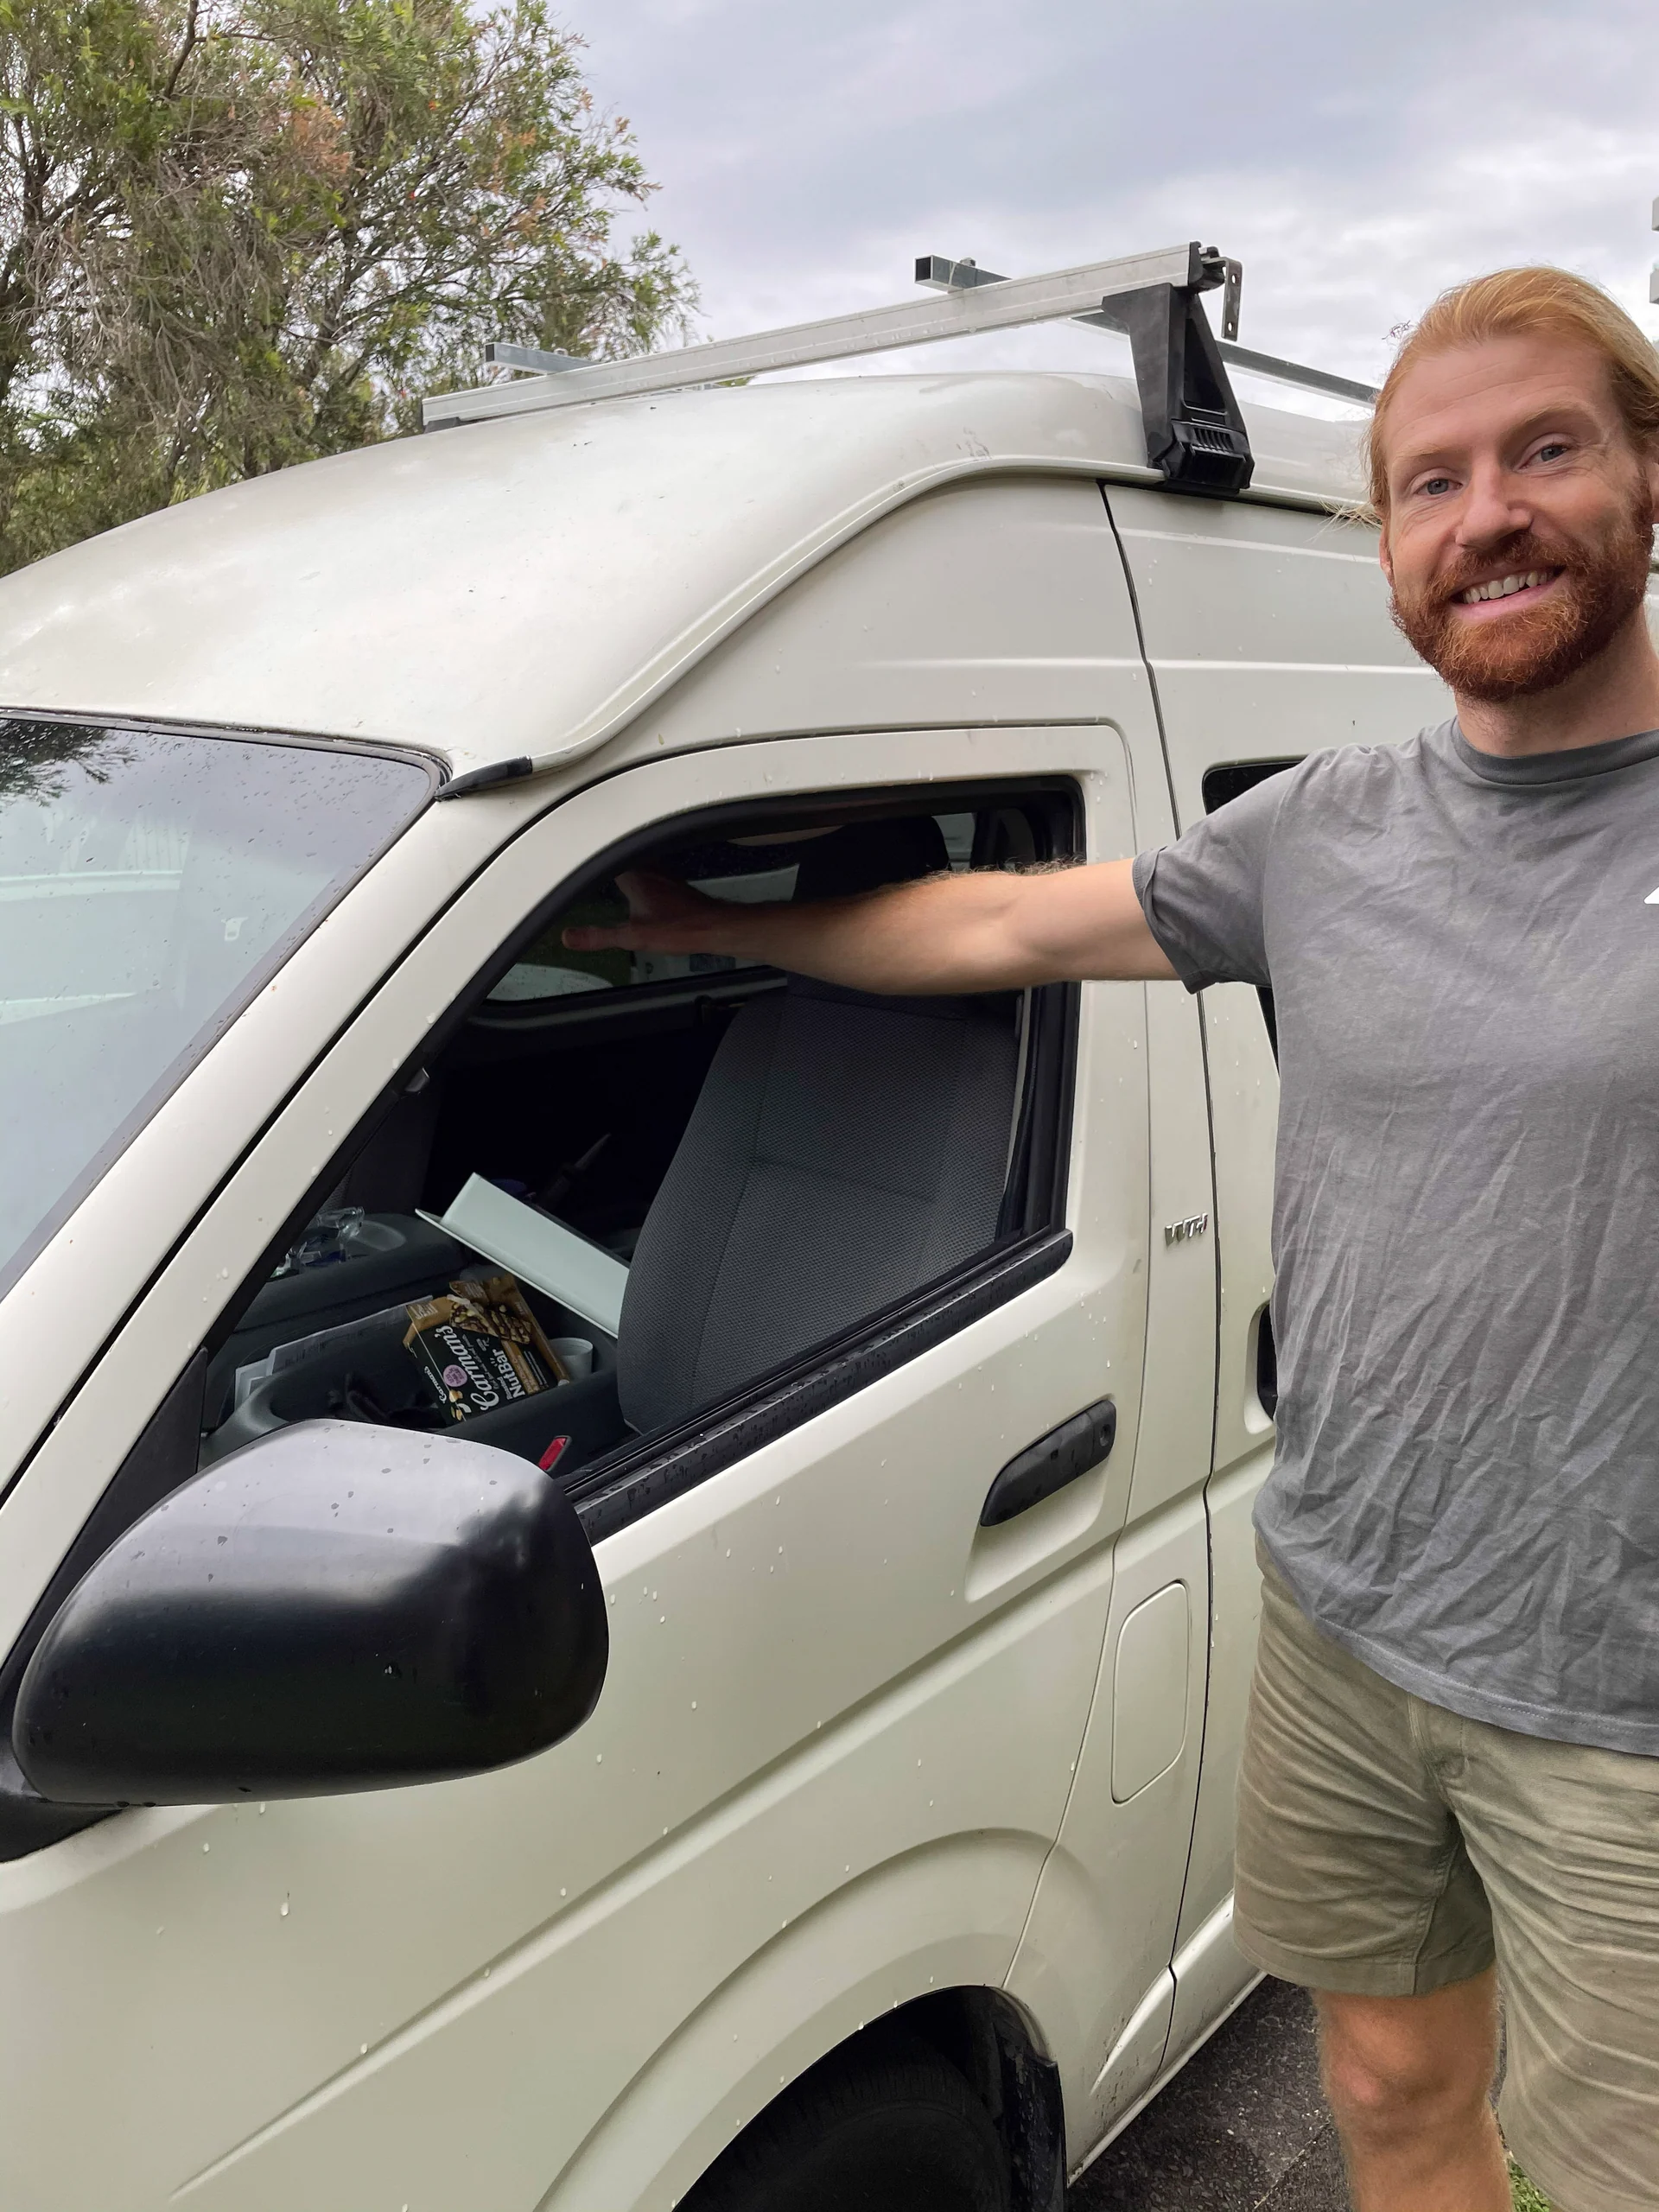
Guess who left the window open for two days (hint: it was Mo). Luckily, the rain came from the other side and we live in a very safe neighbourhood. So we only had a quick look to make sure that no Possum family had moved in and then got off to work.
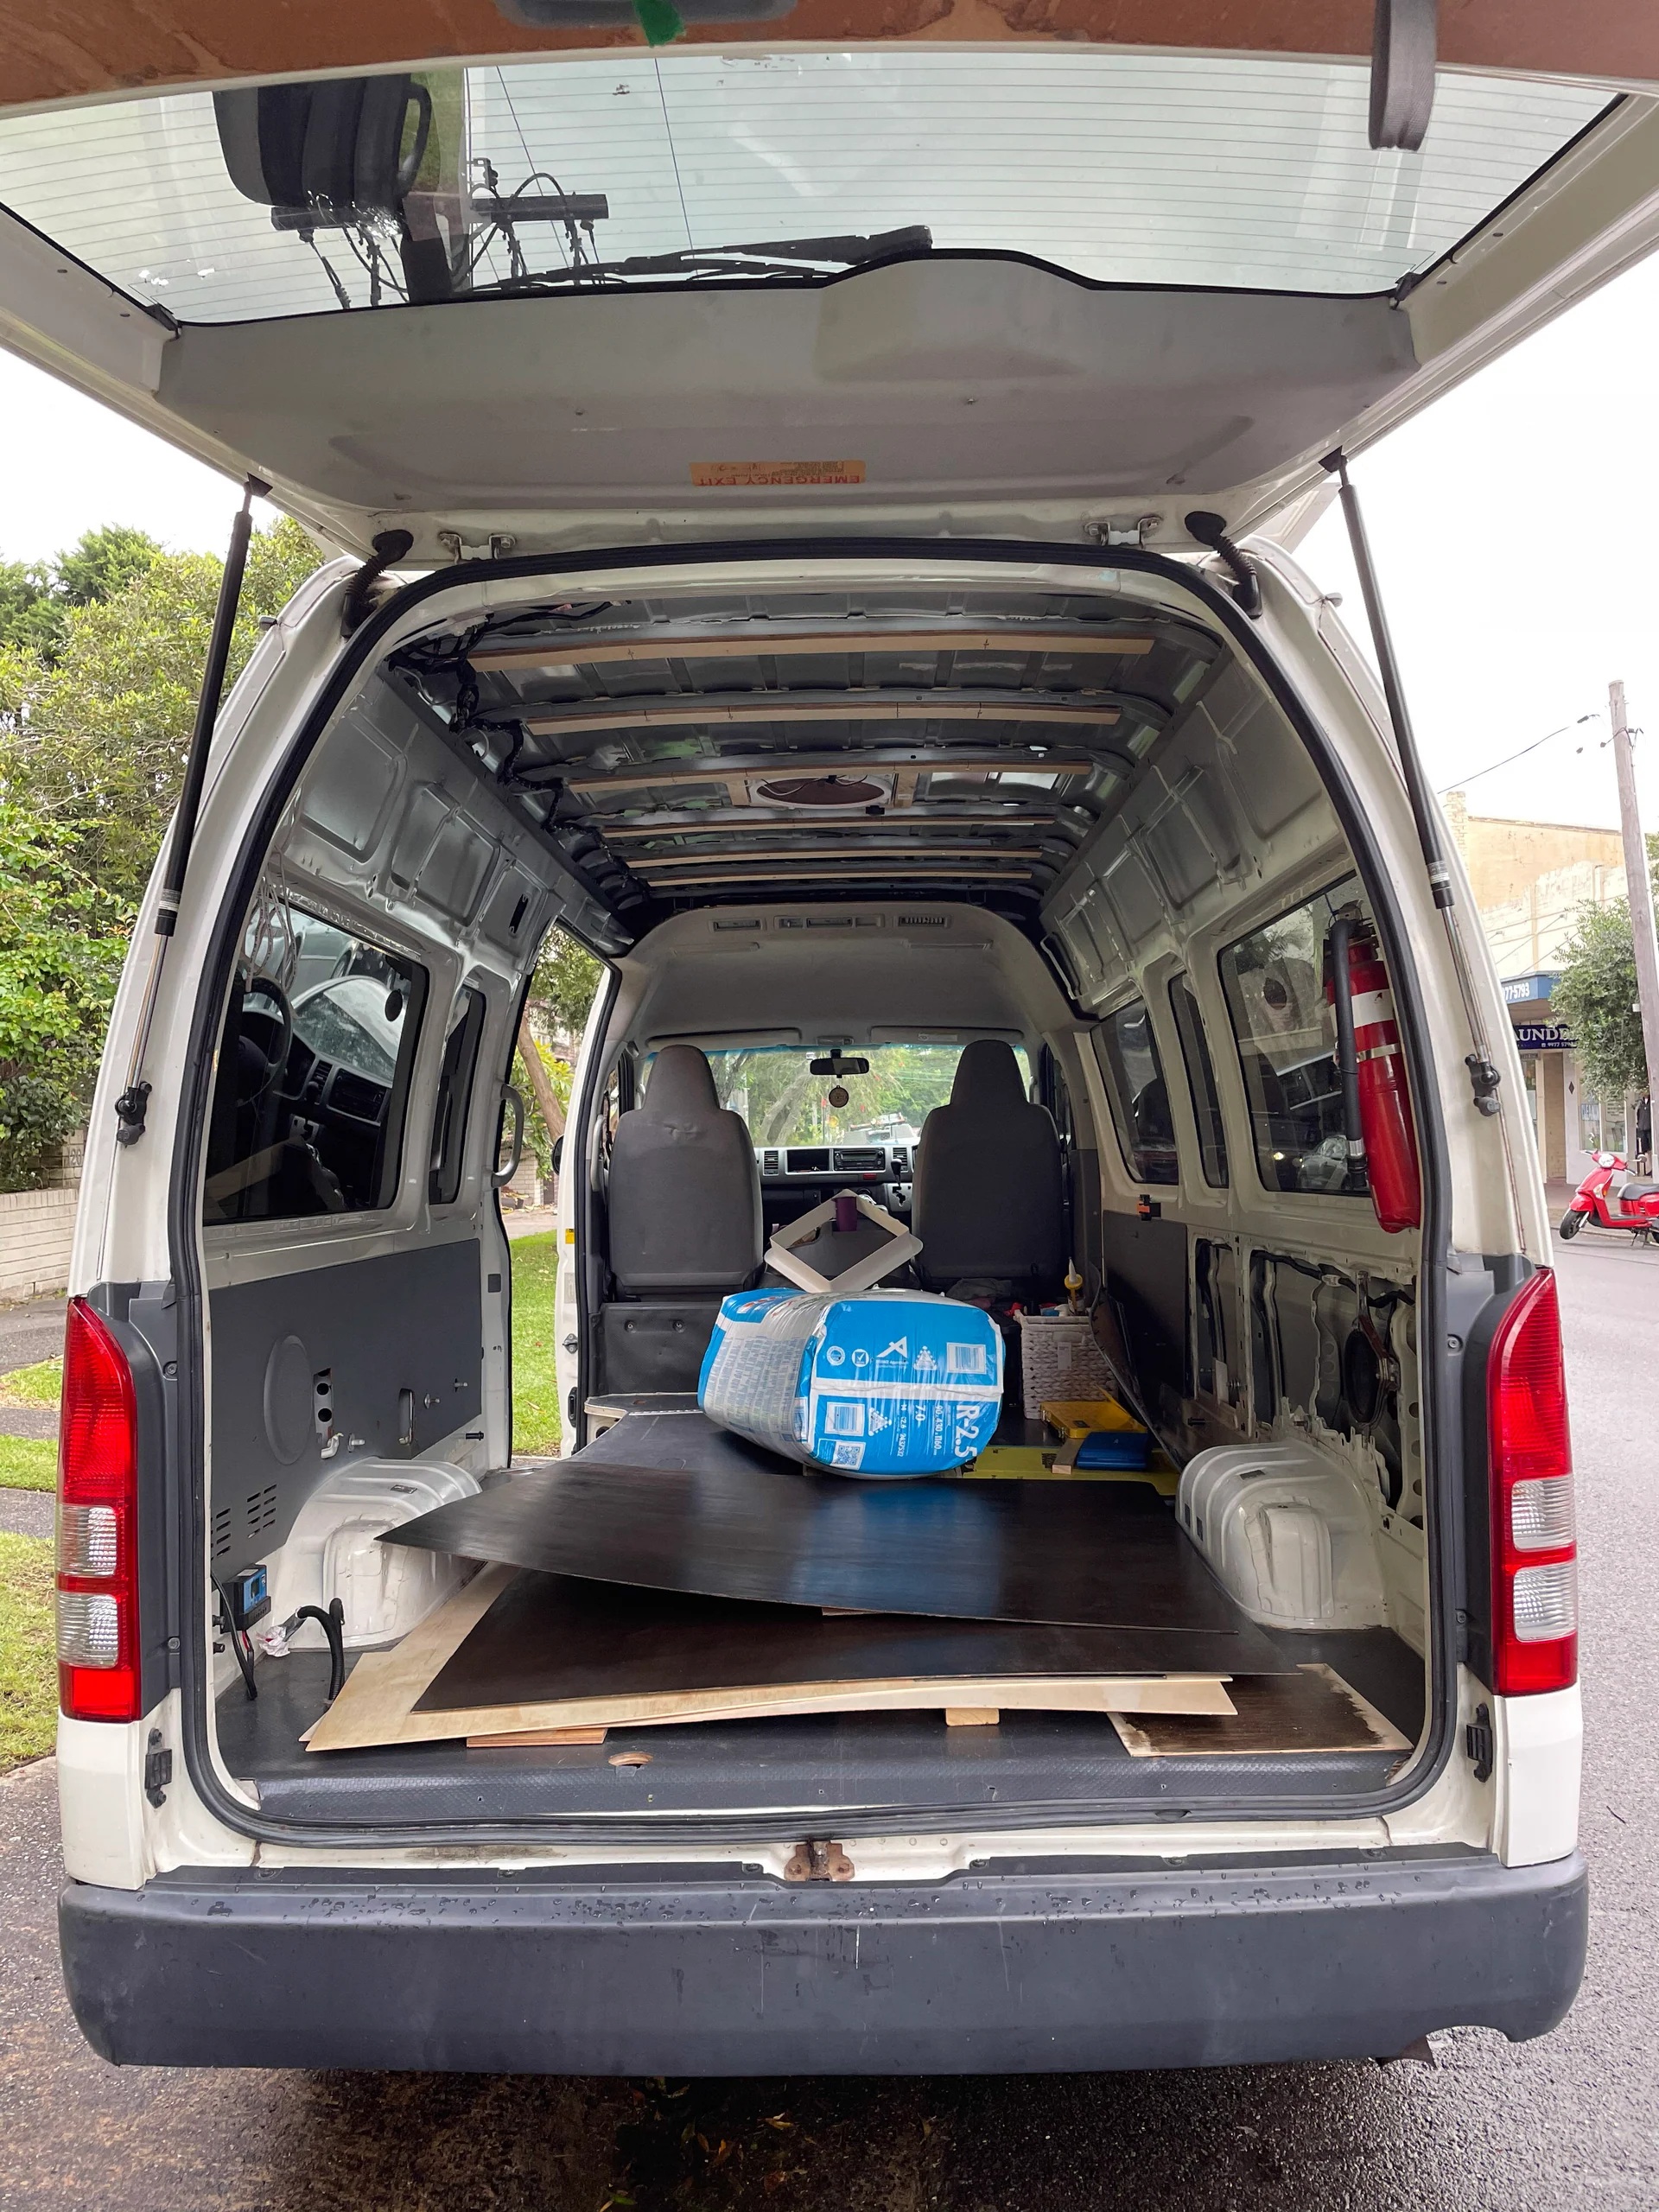
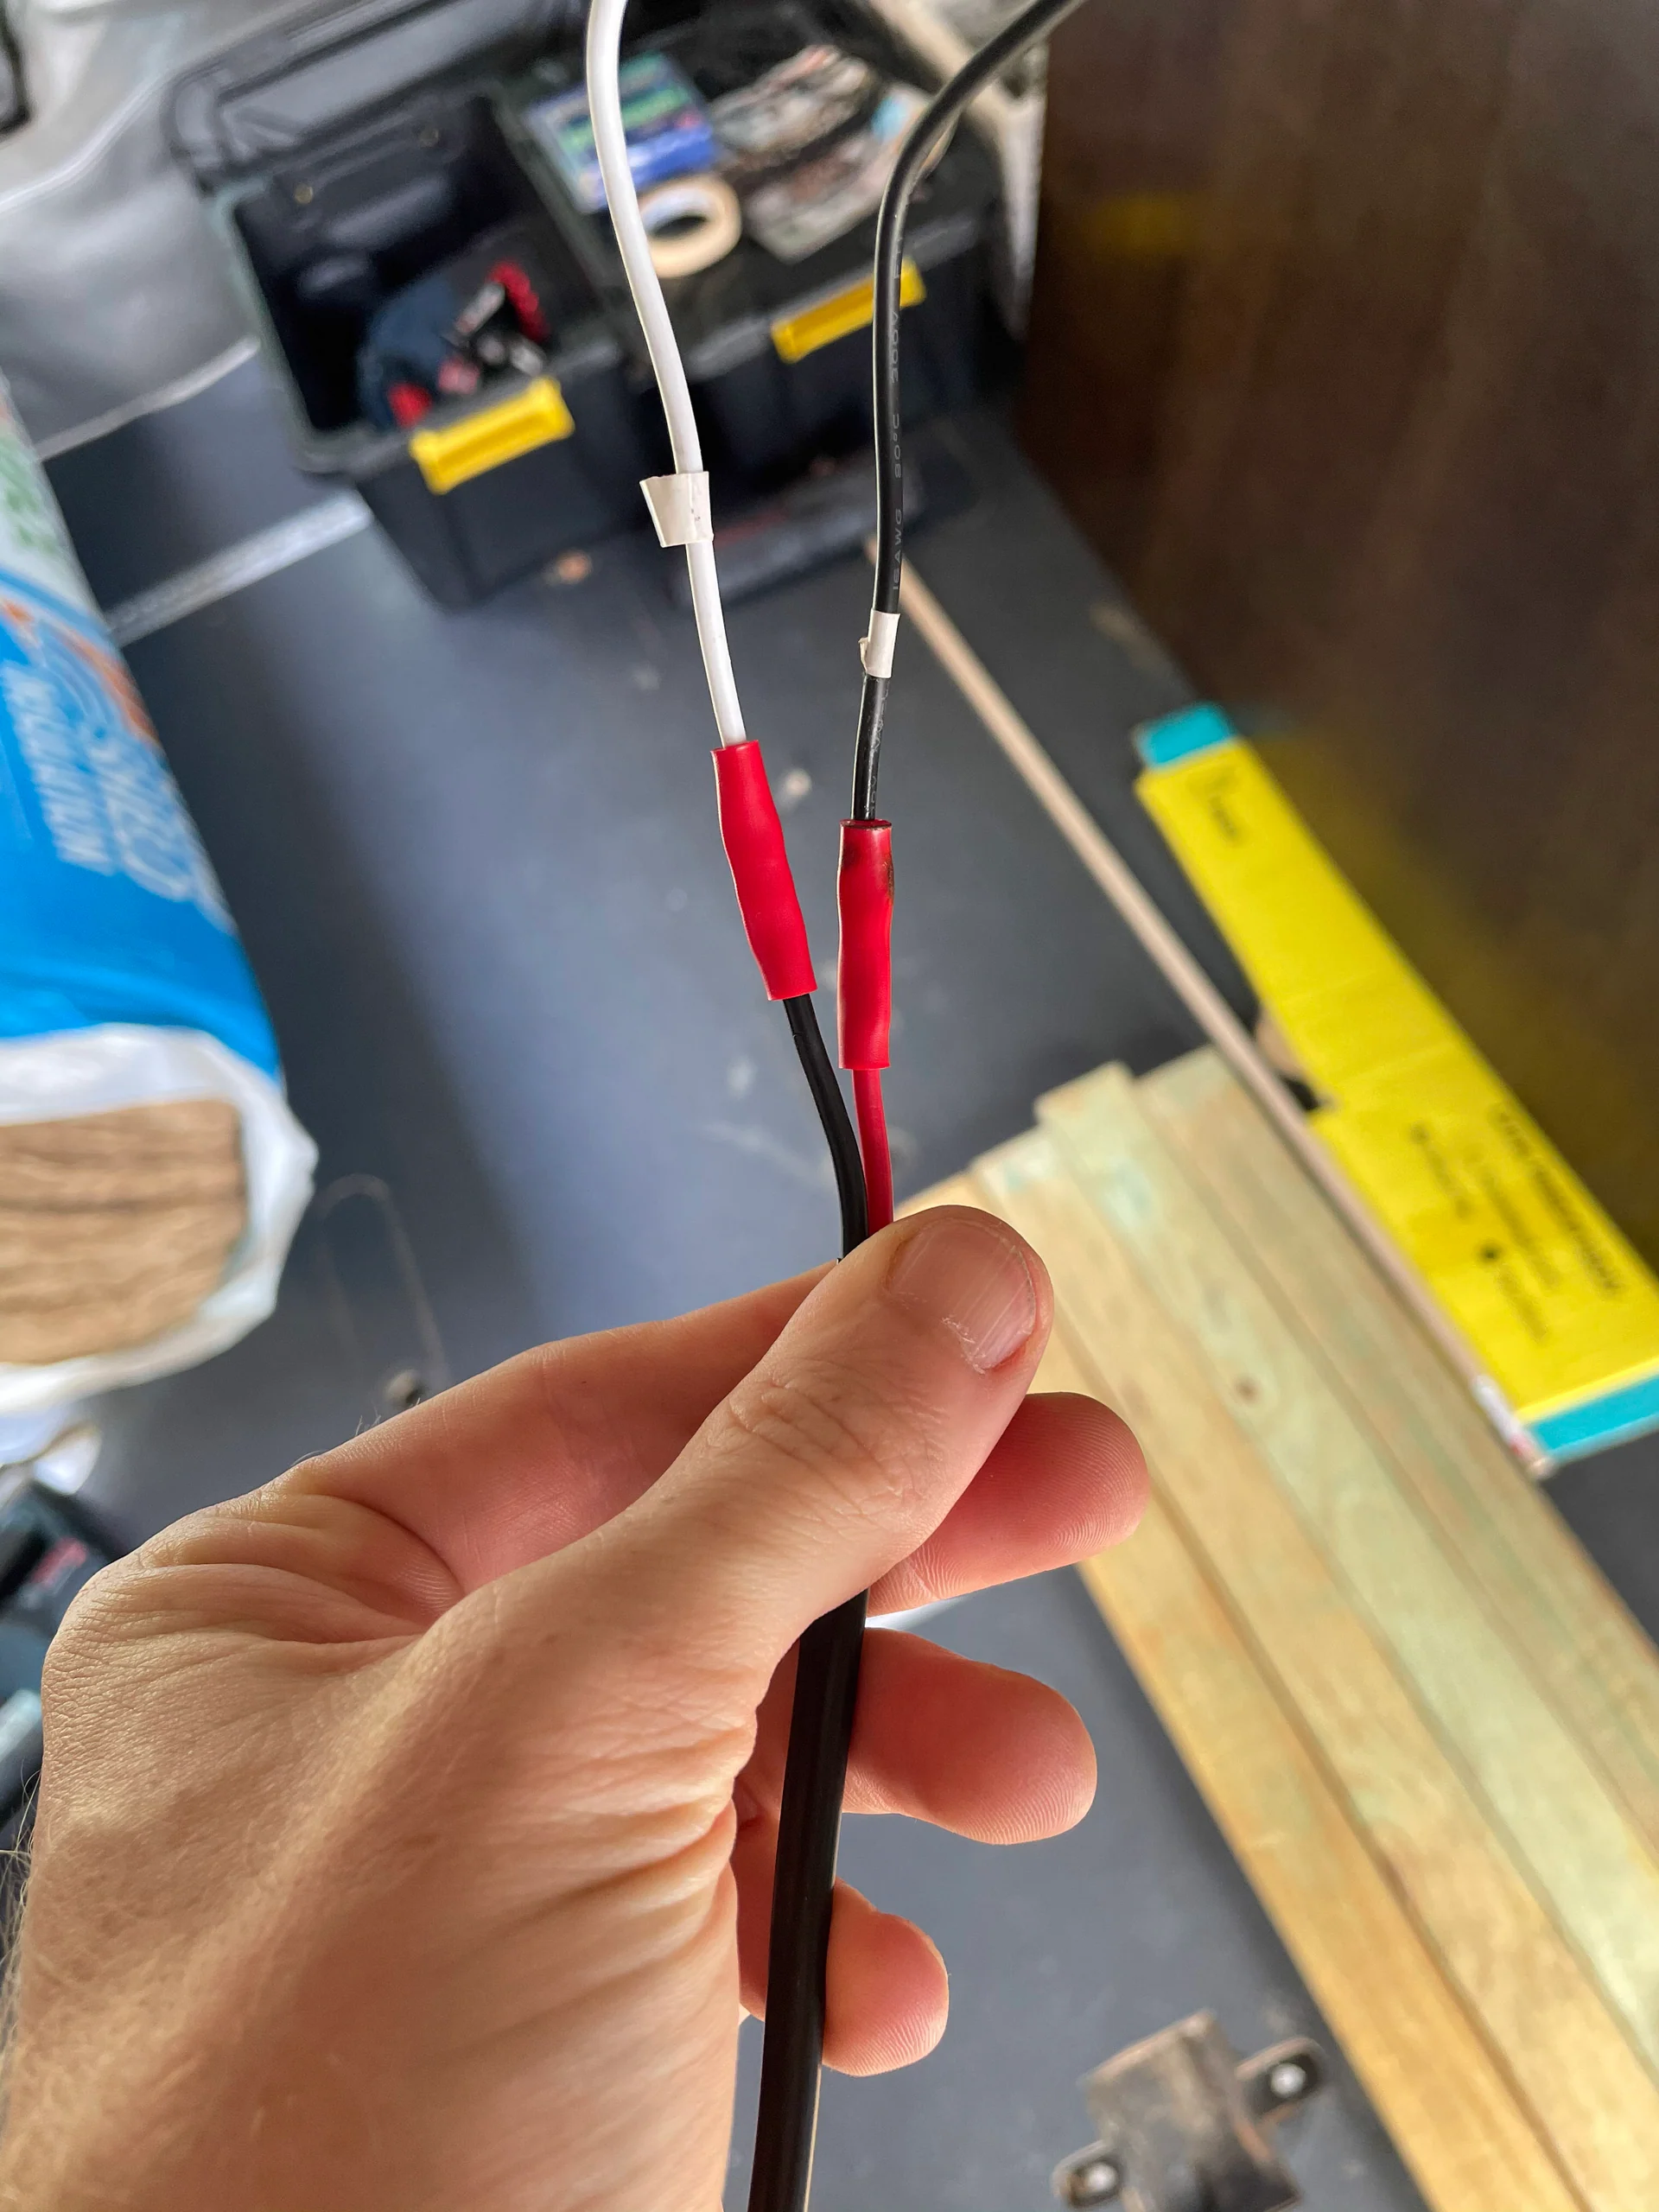
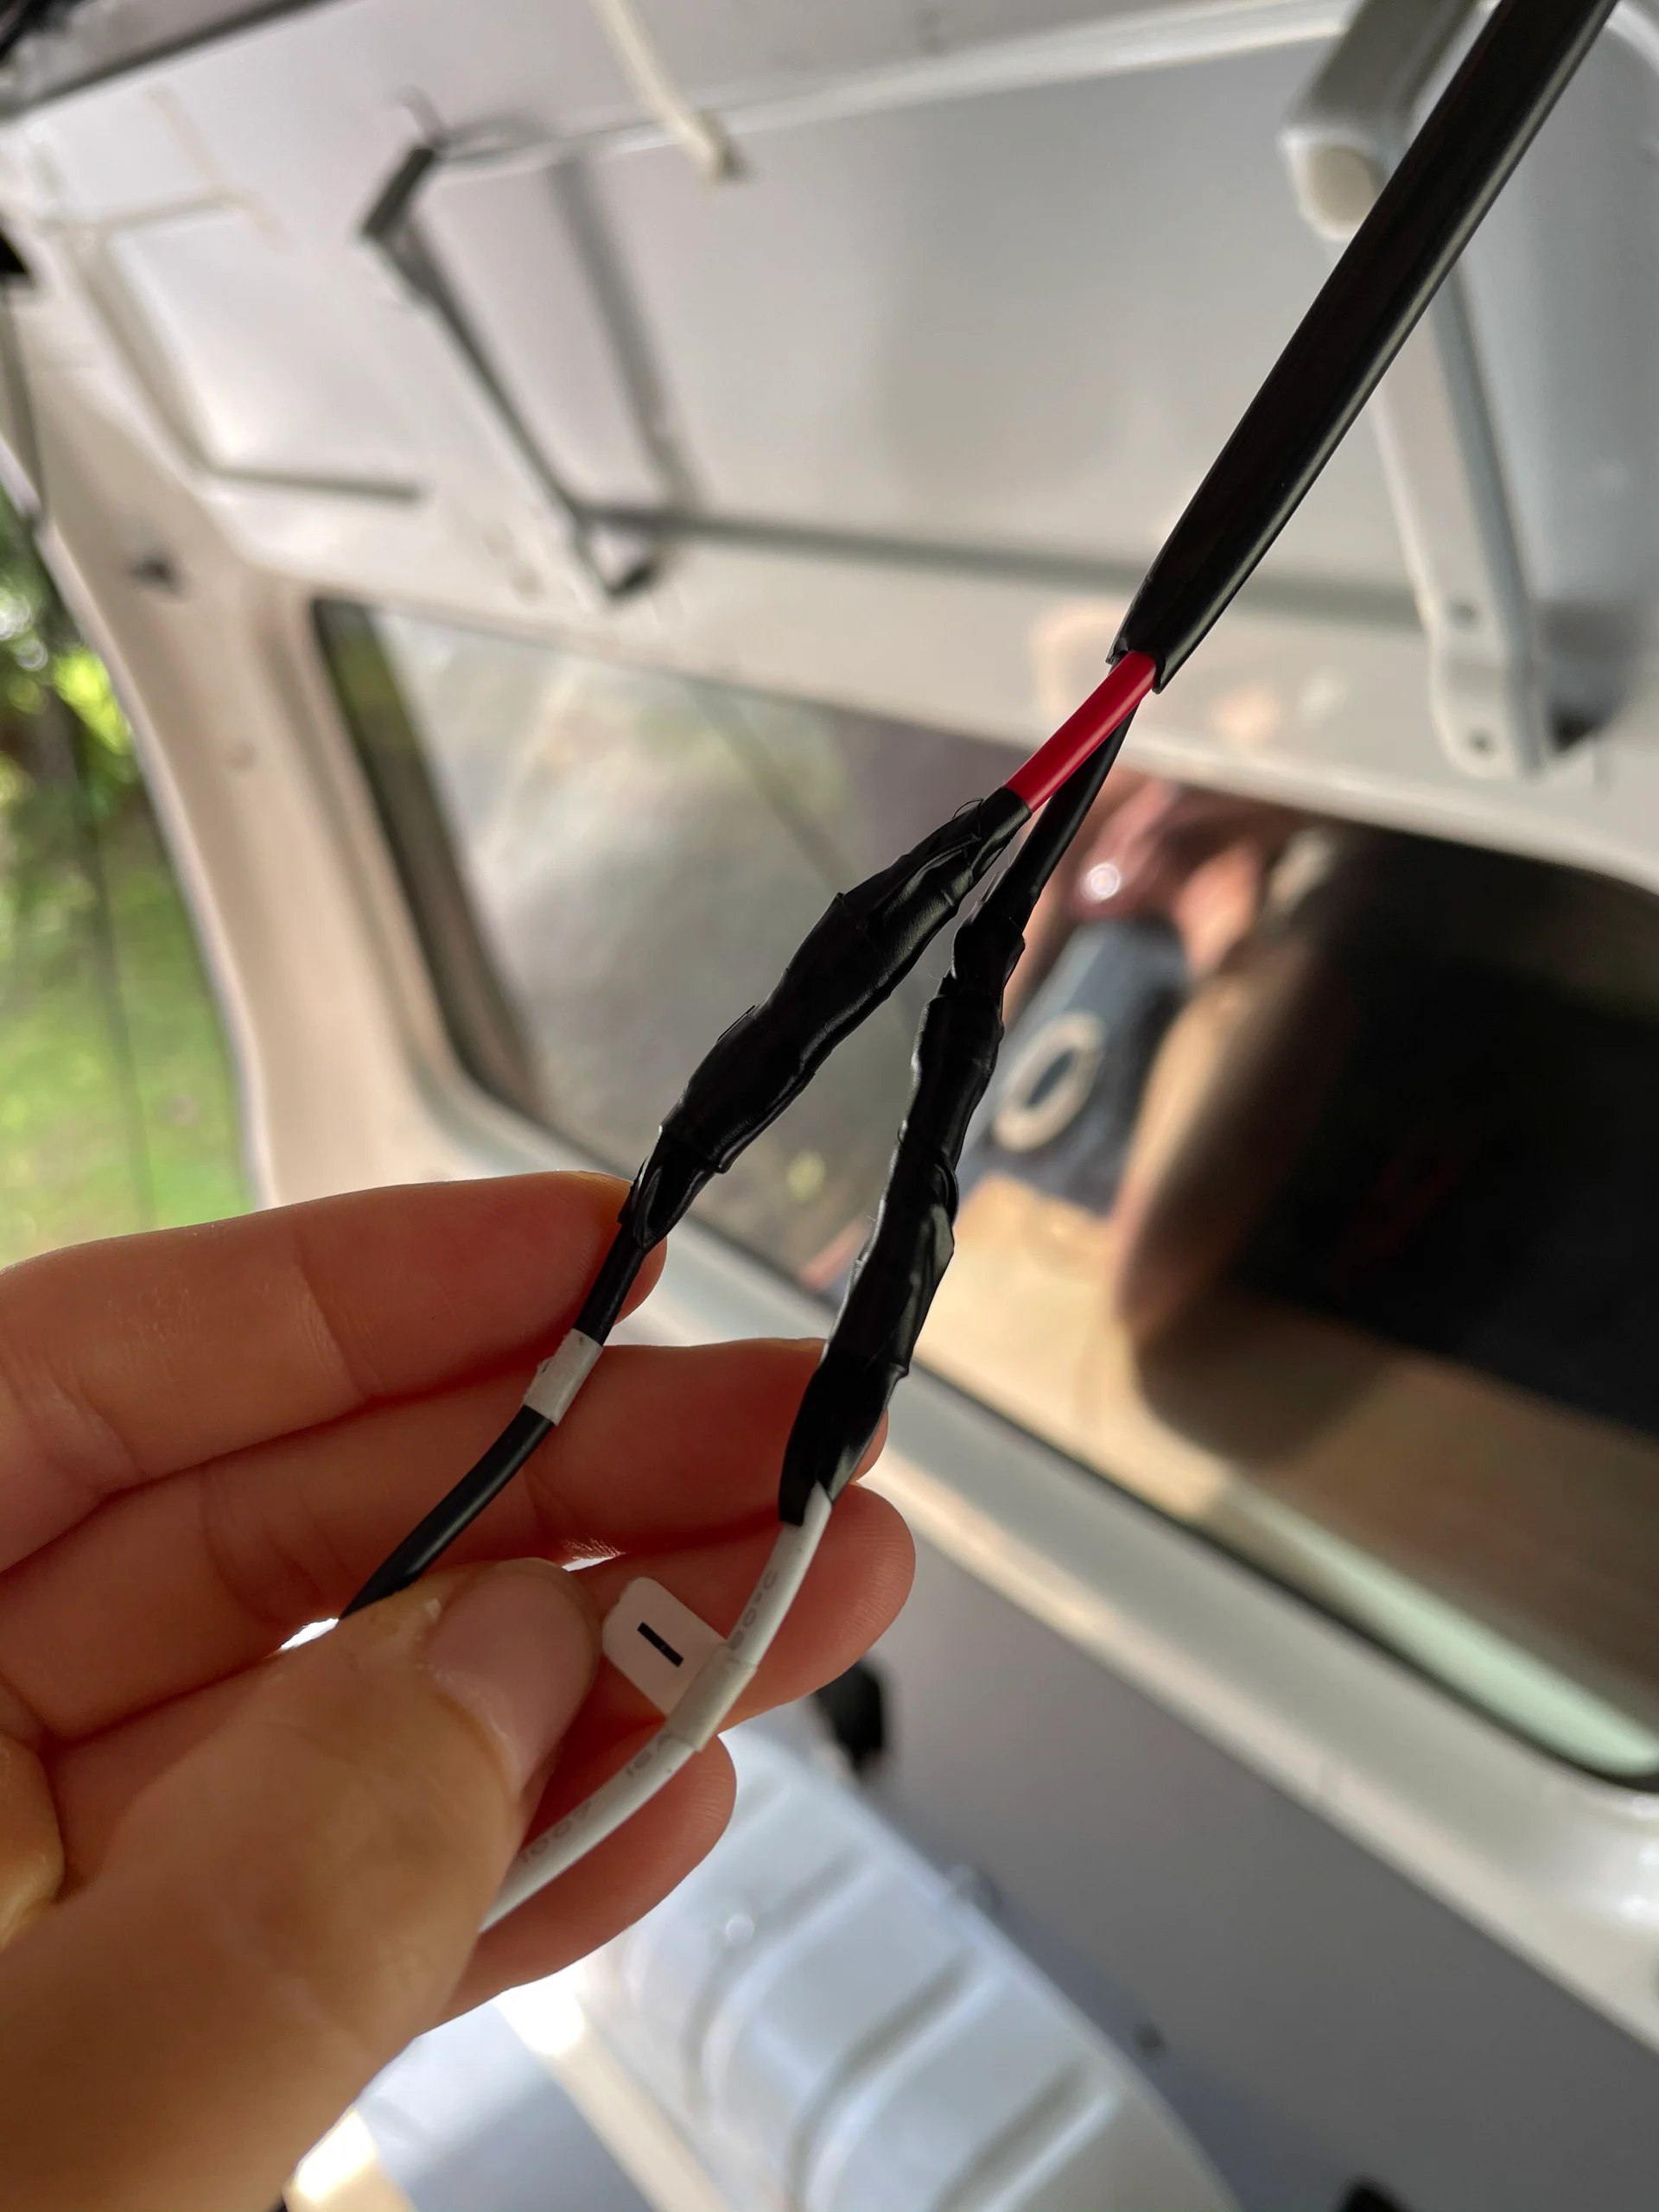
Plan for today is insulating and lining the roof. But before we can start work on the roof, we needed to finalise the wiring of the fan. Someone at Maxx Air decided it might be a good idea to have positive on the black wire. I decided that I want plus on the red wire. So we ended up with a slightly fishy looking connection crossing the colours.
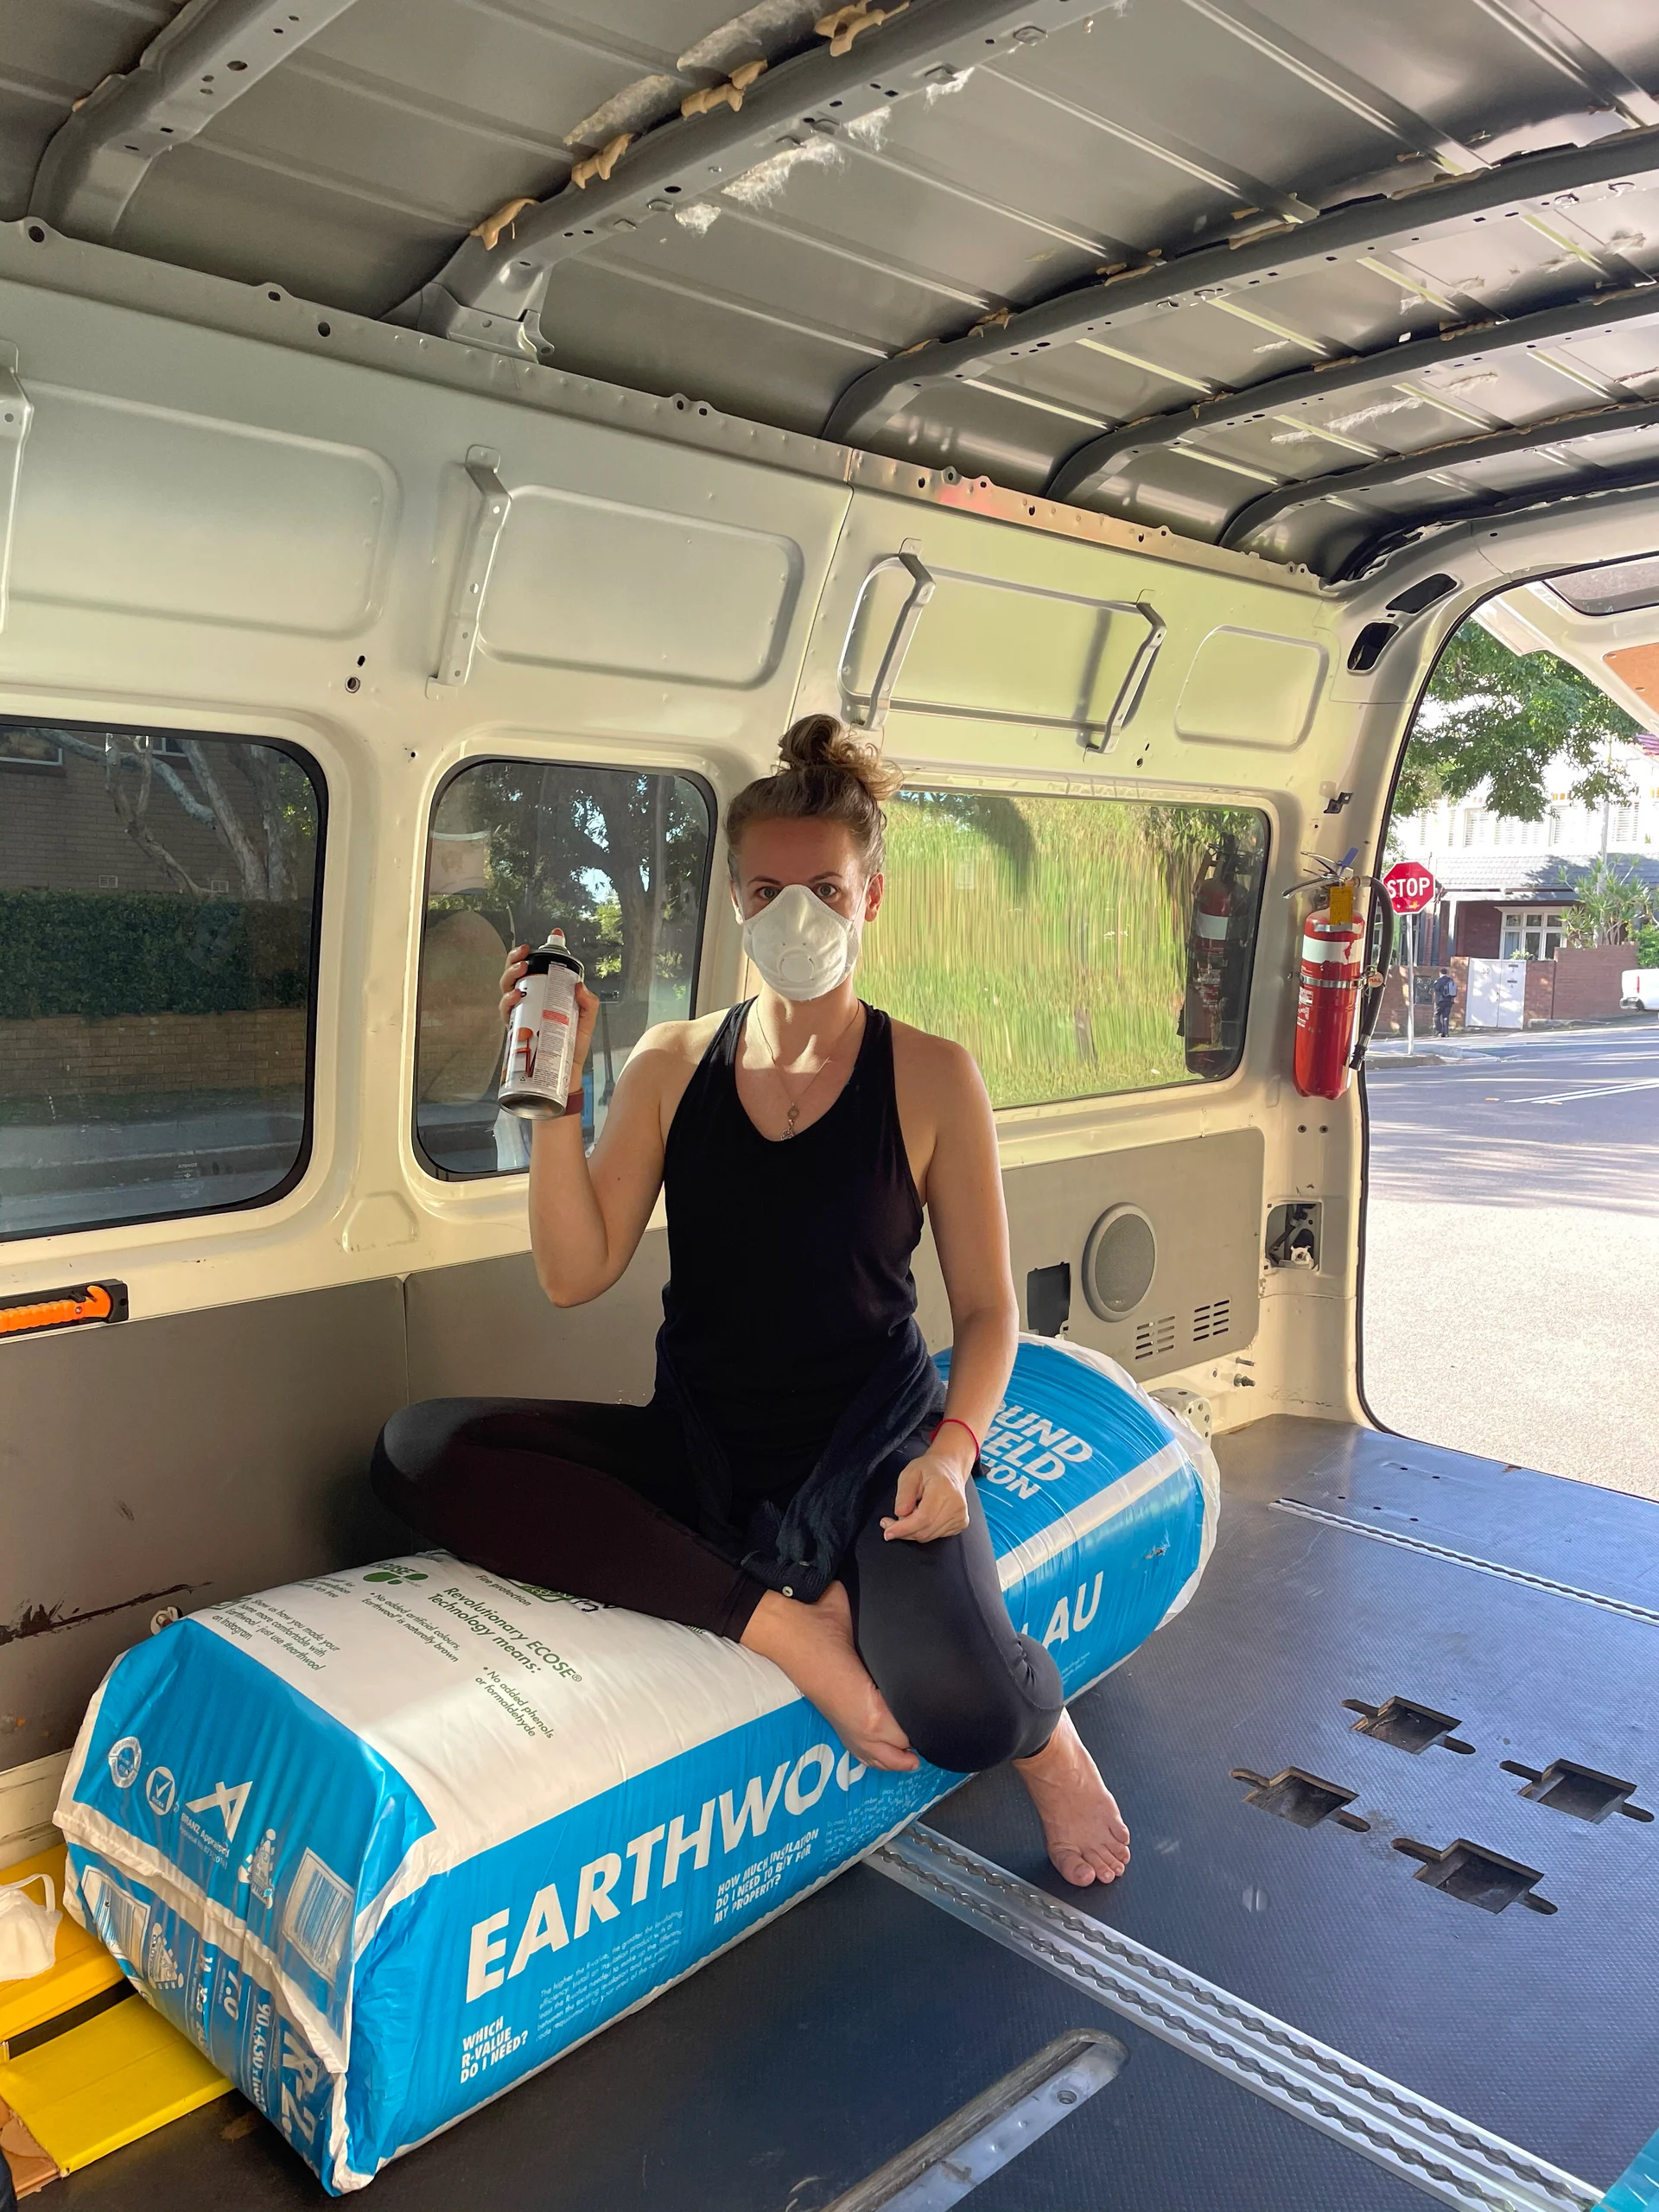
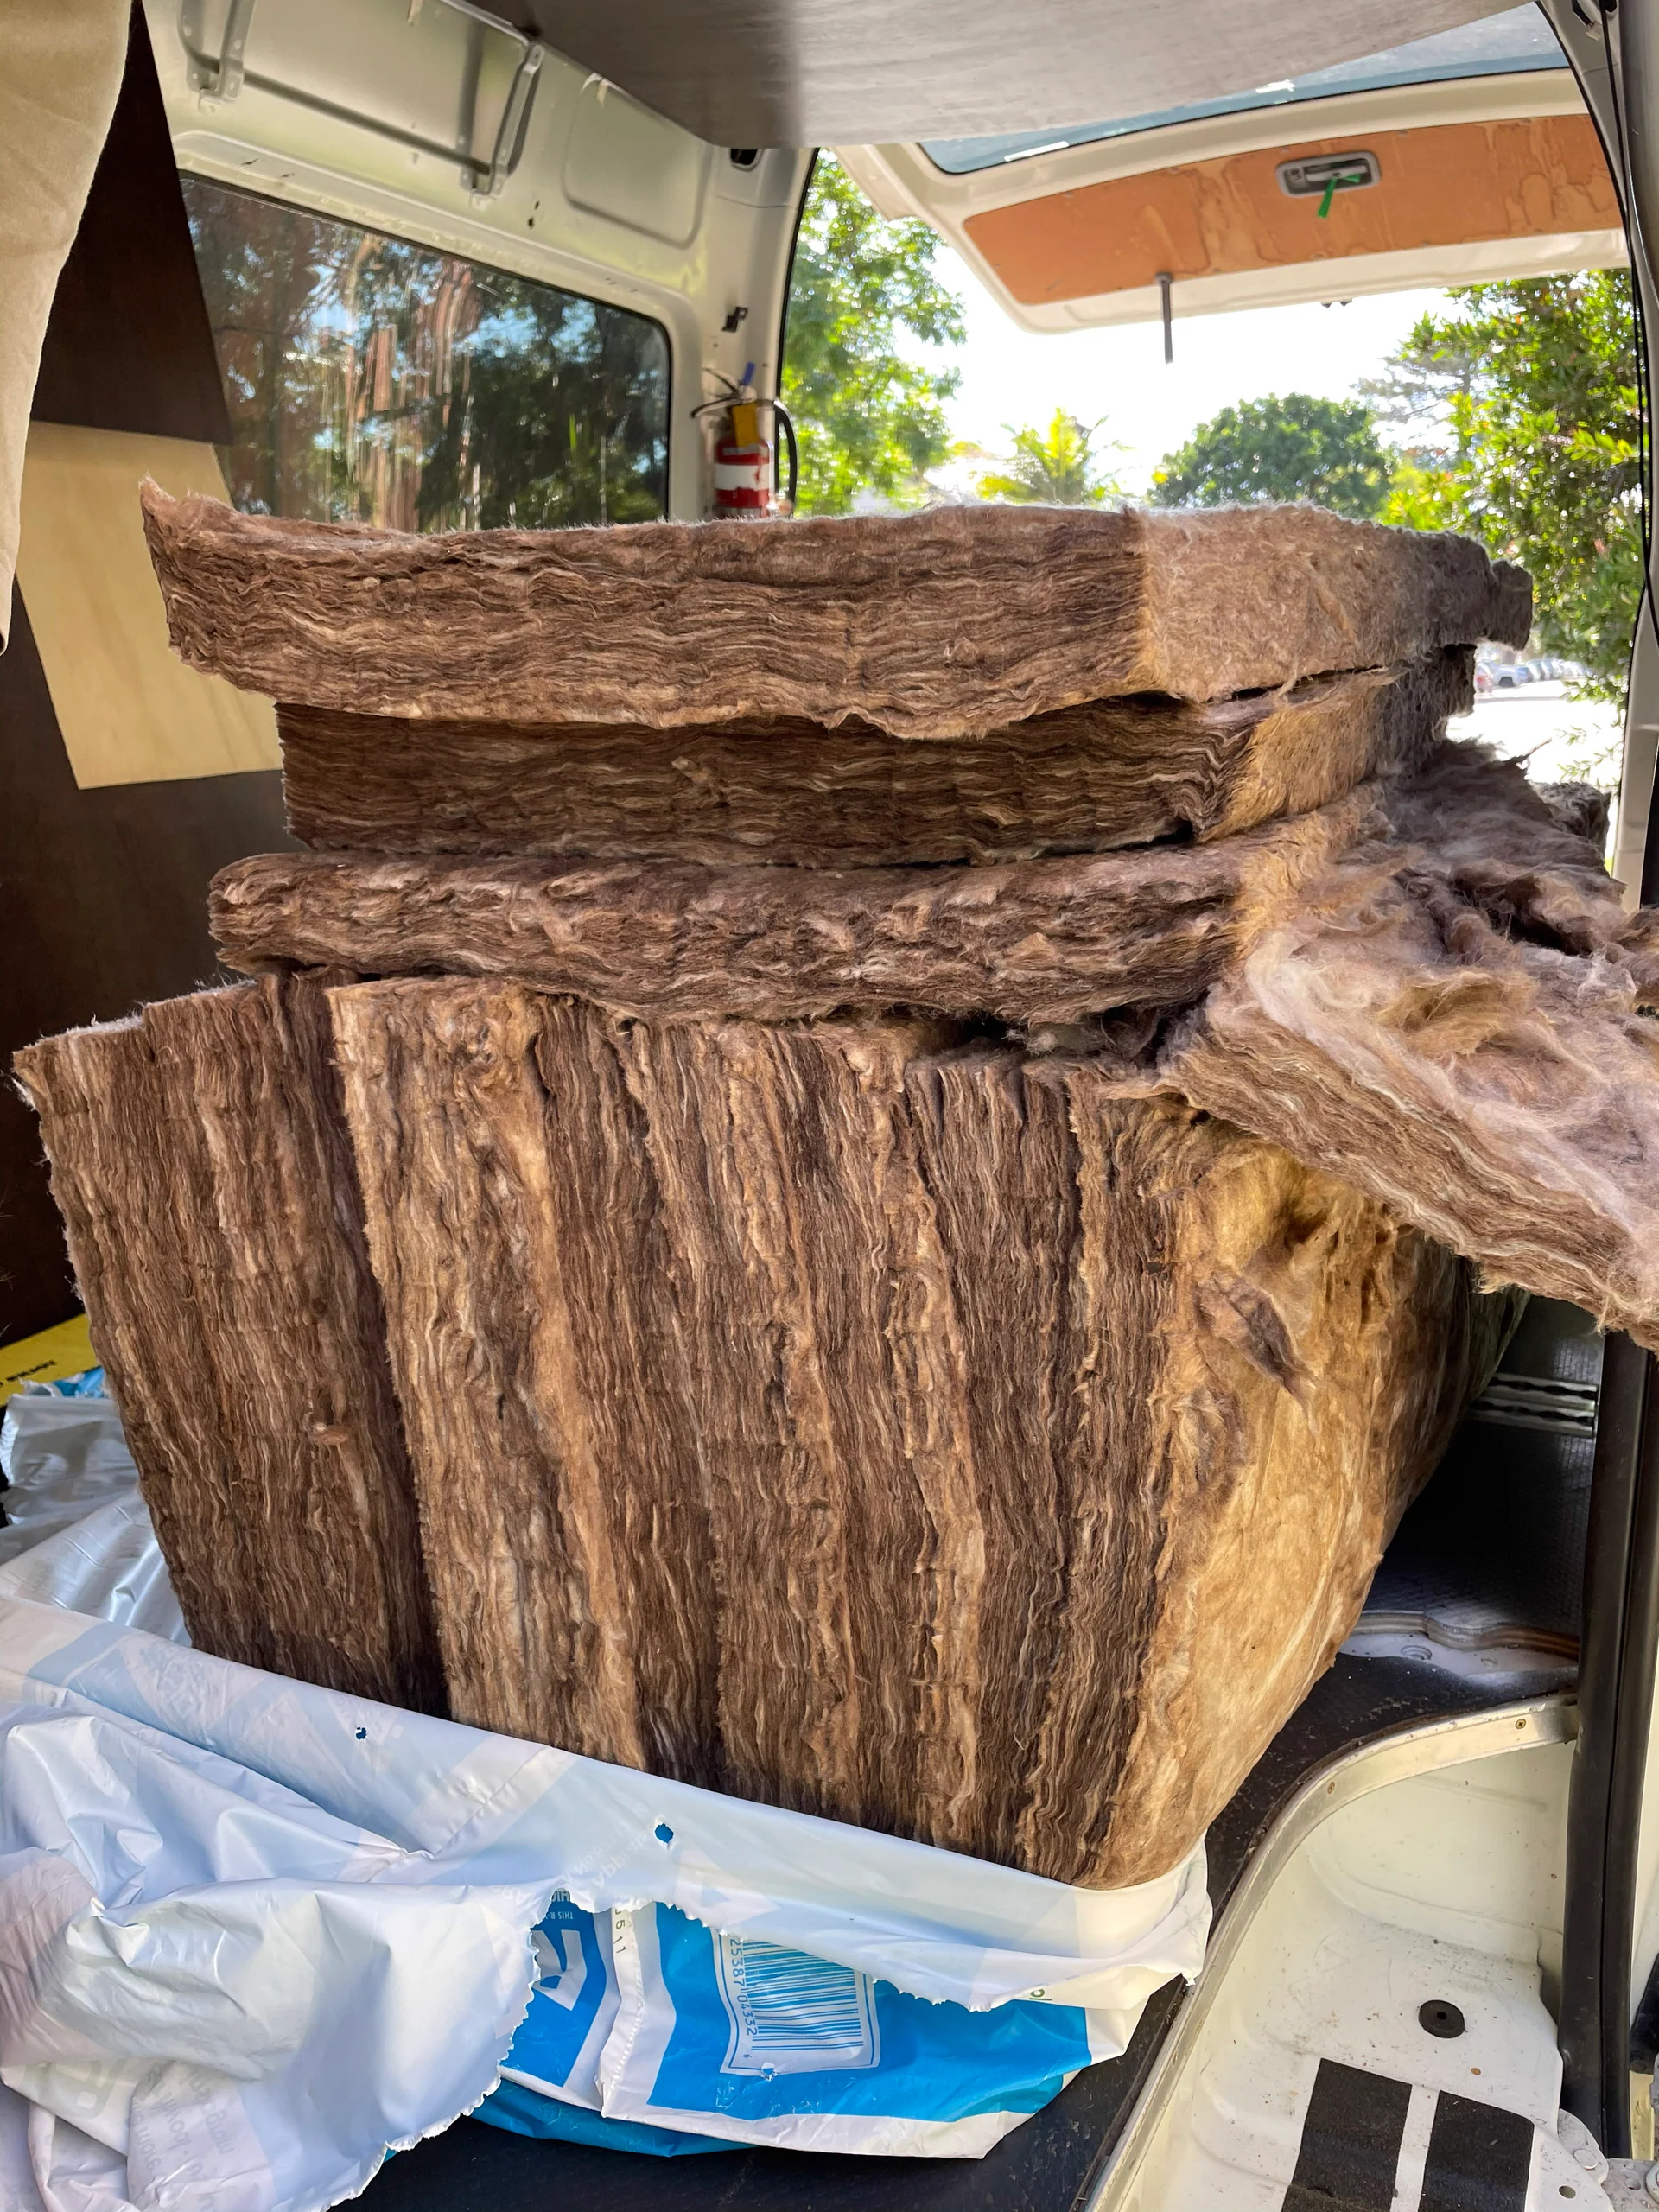
This is the earthwool that we are using to improve the cars insulation (mostly against the blistering heat of the sun).
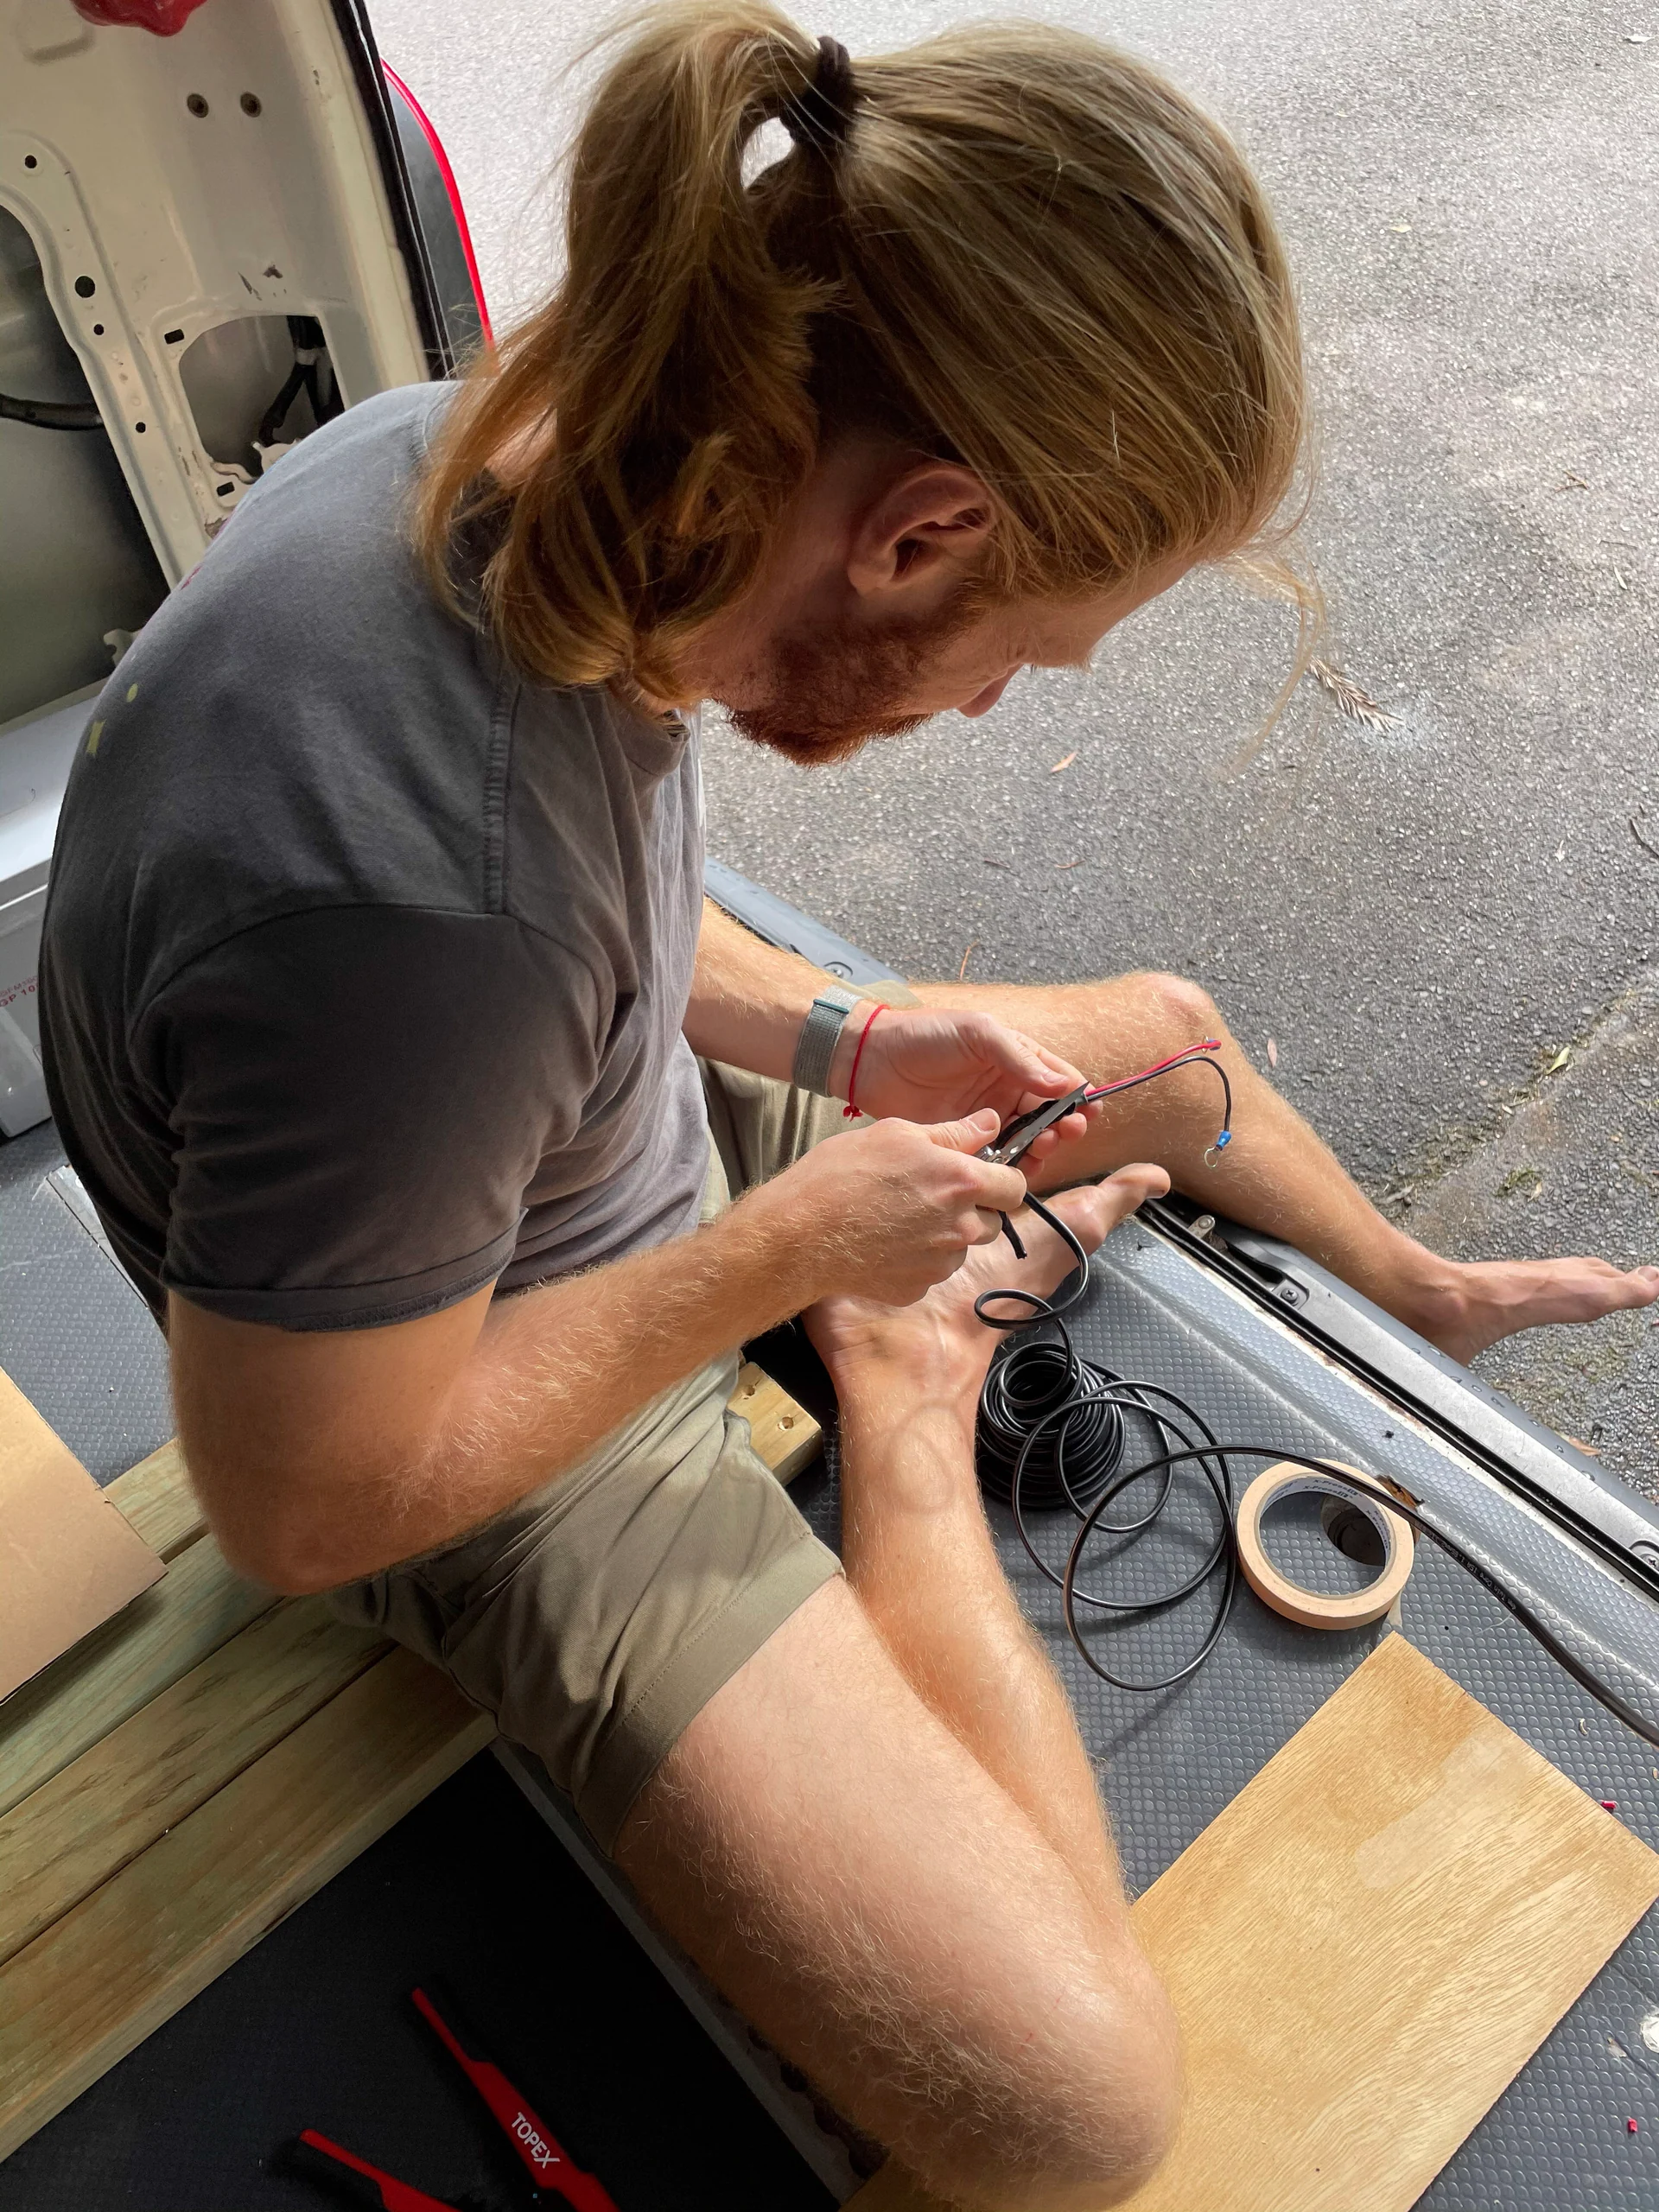
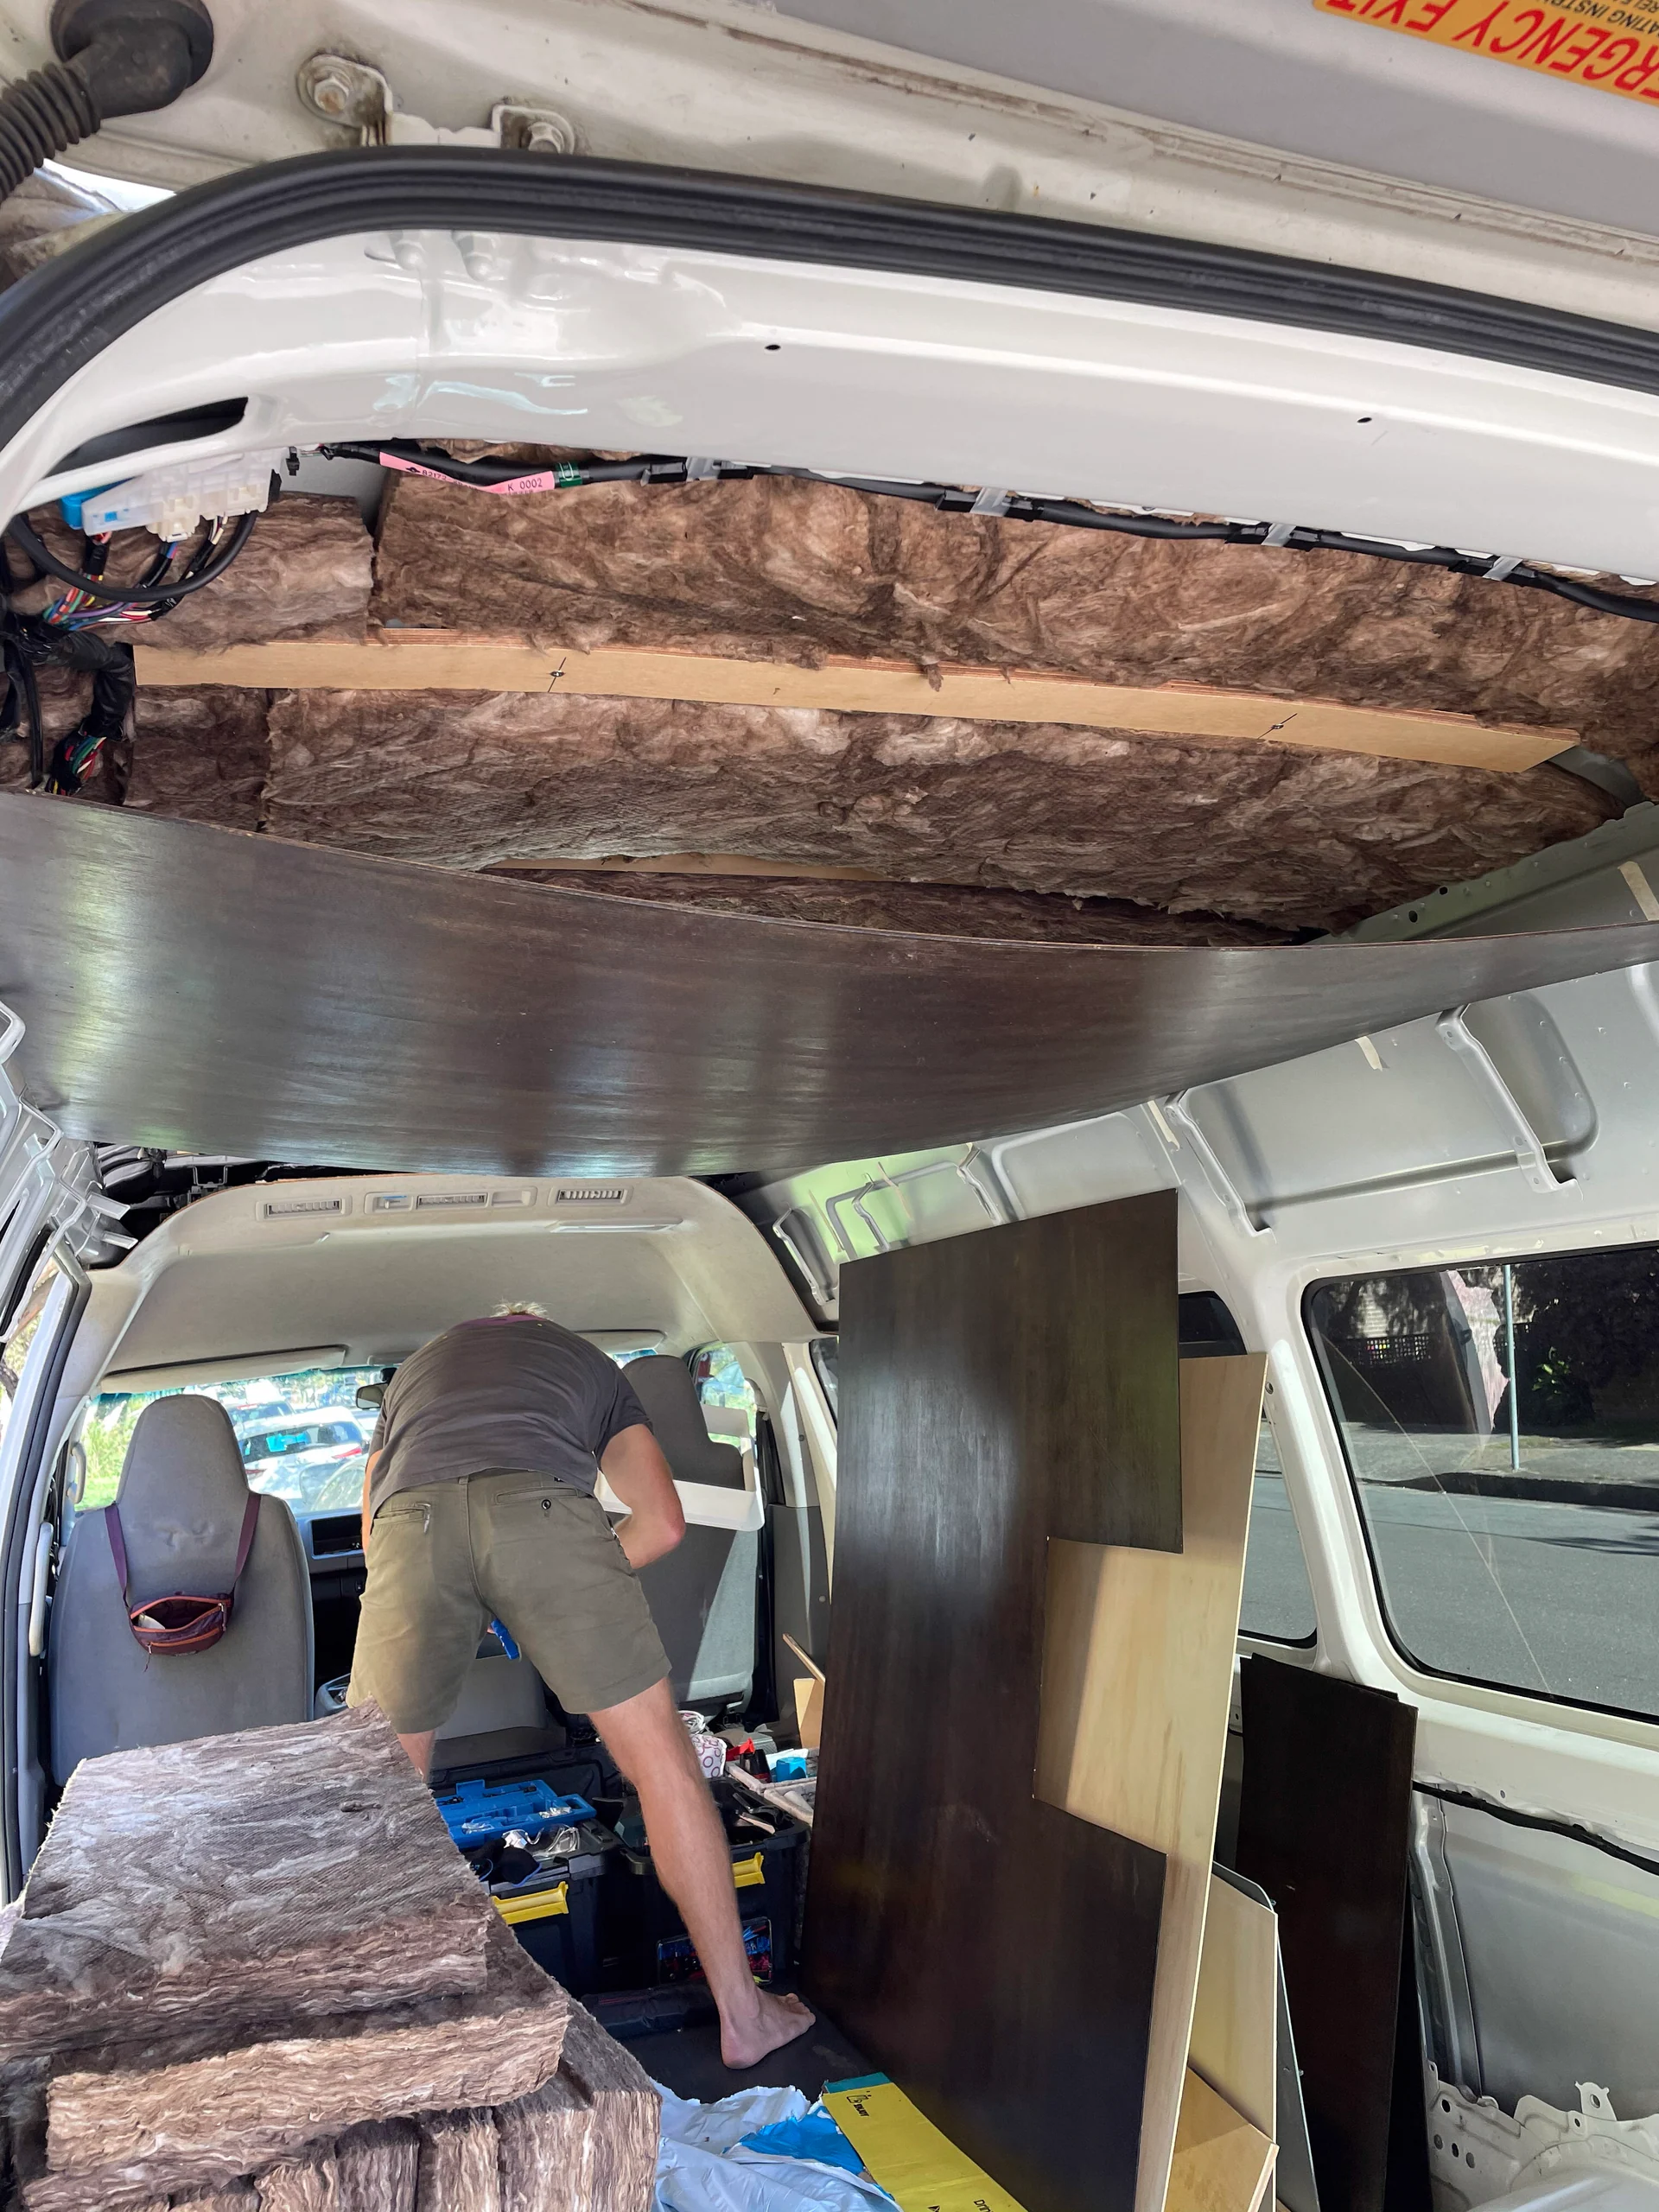
A short moment of planning and thinking before screwing everything down (or up?)
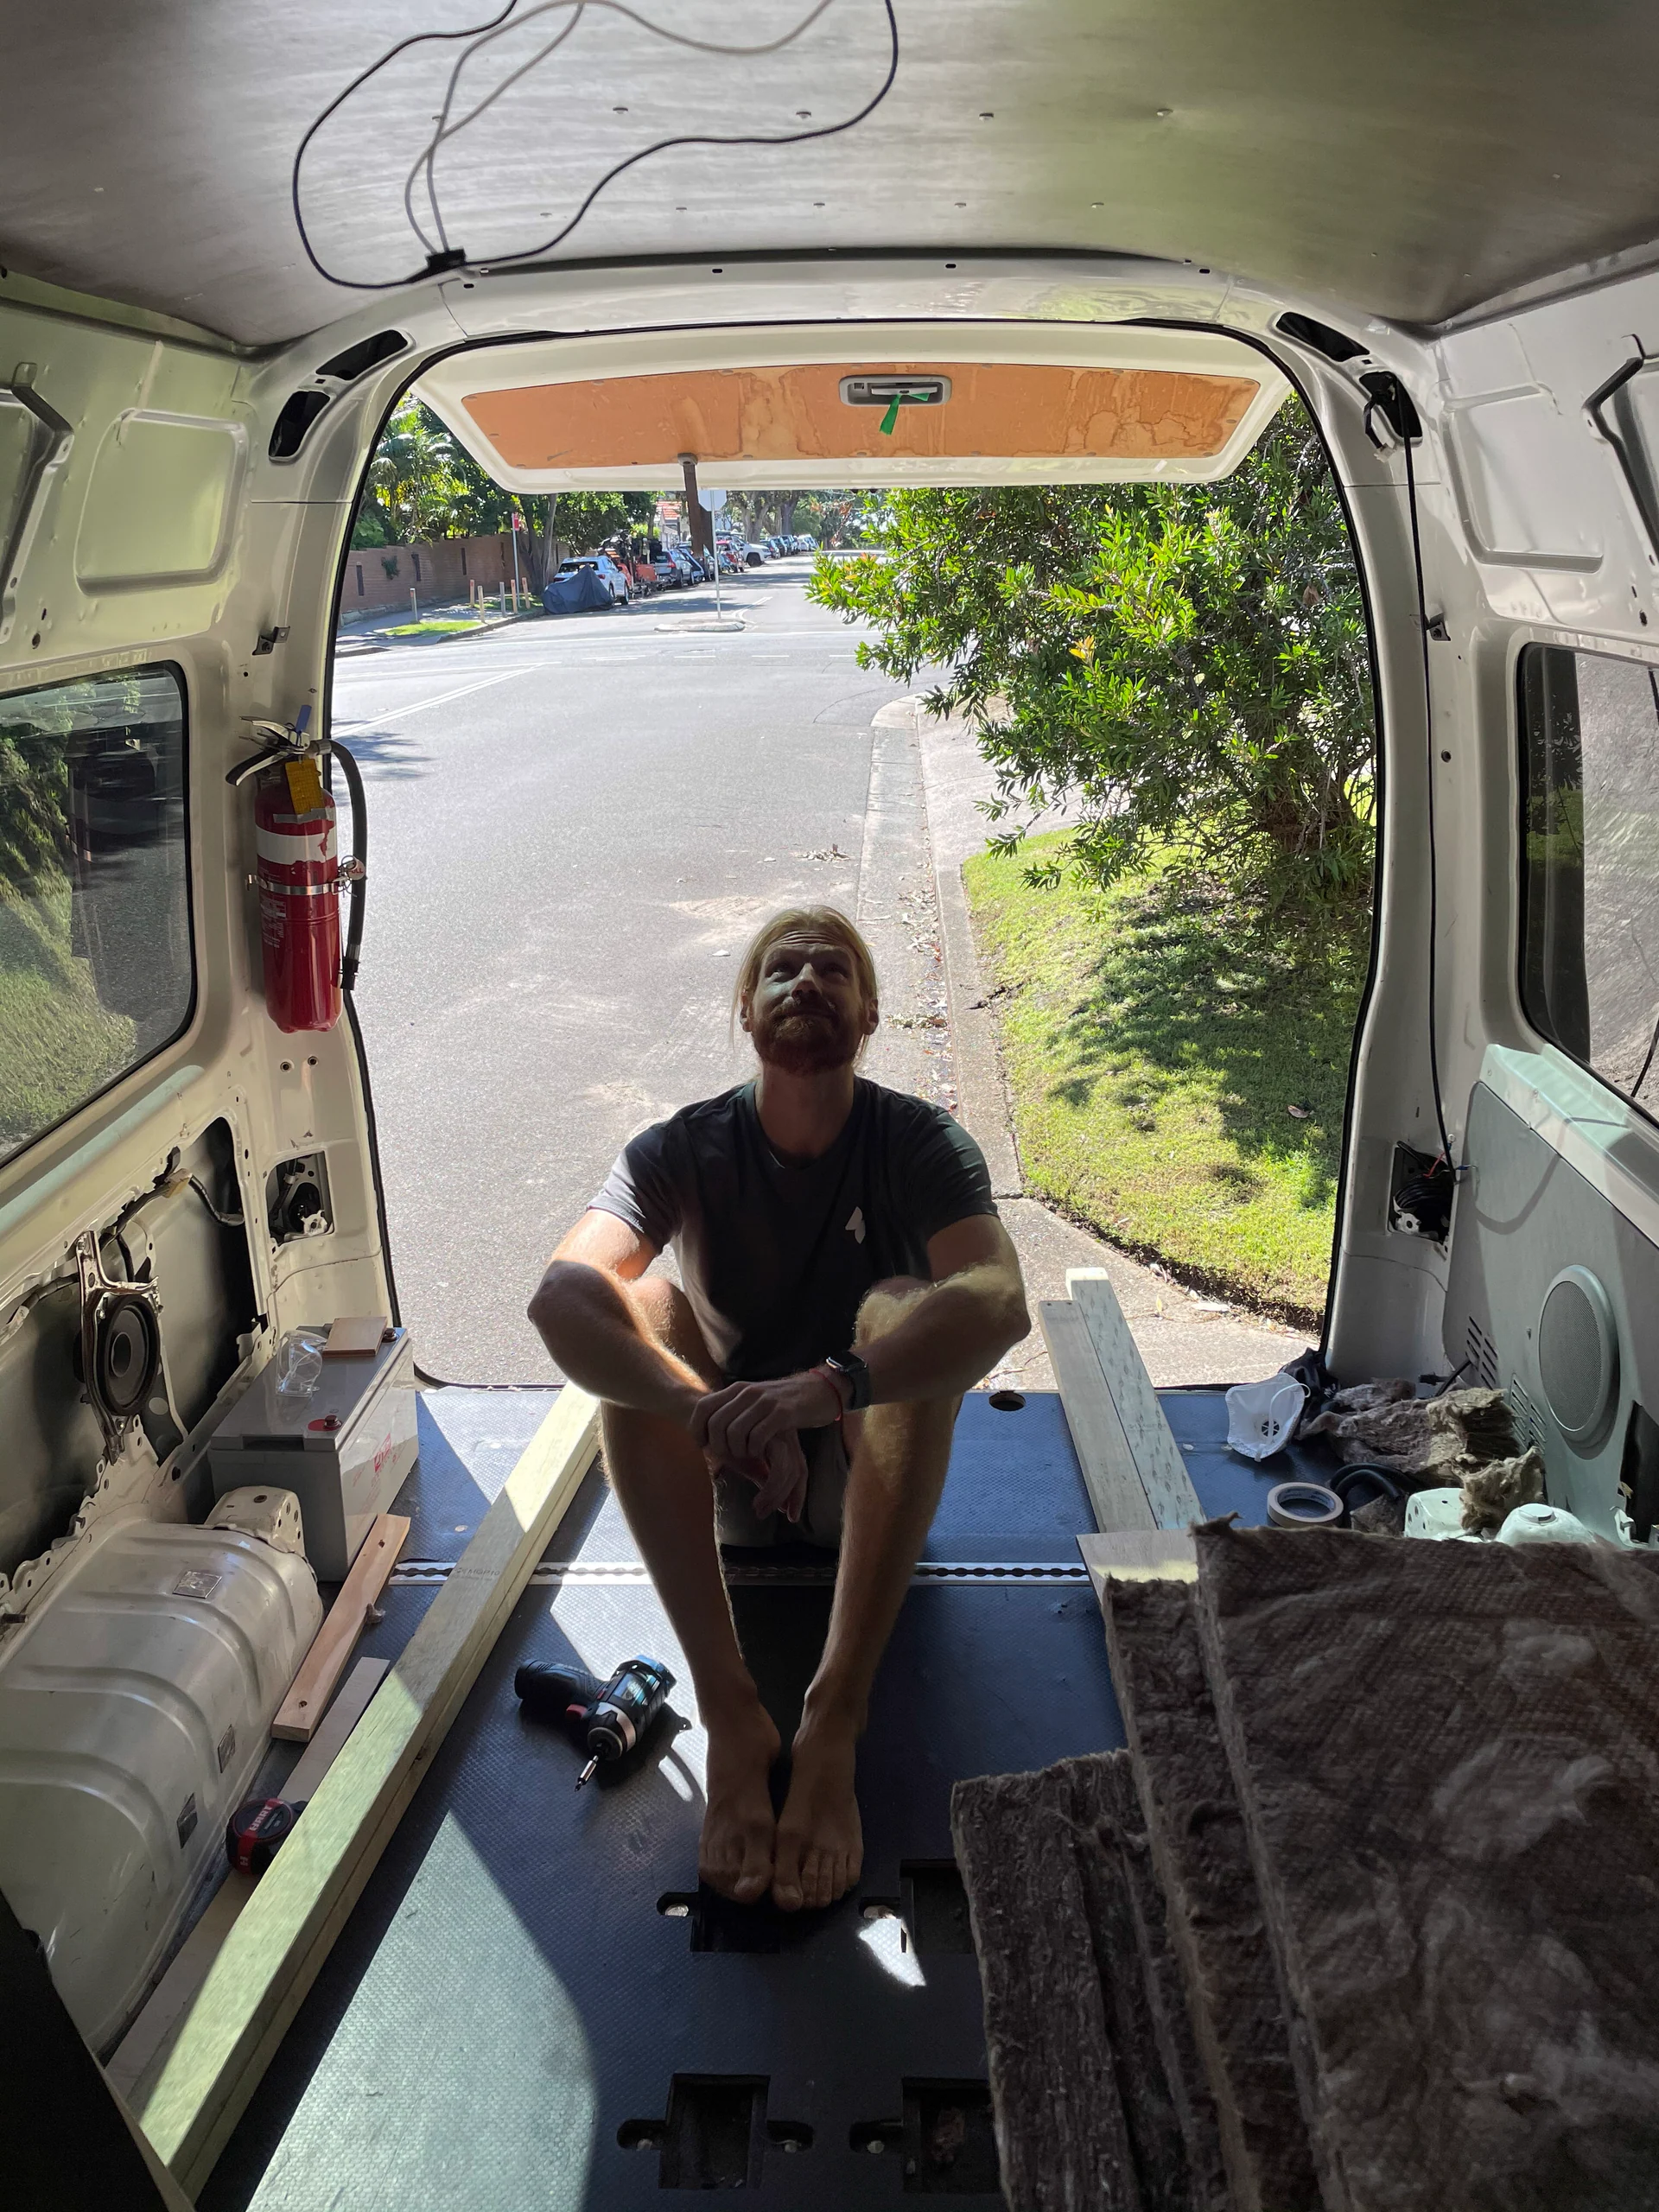
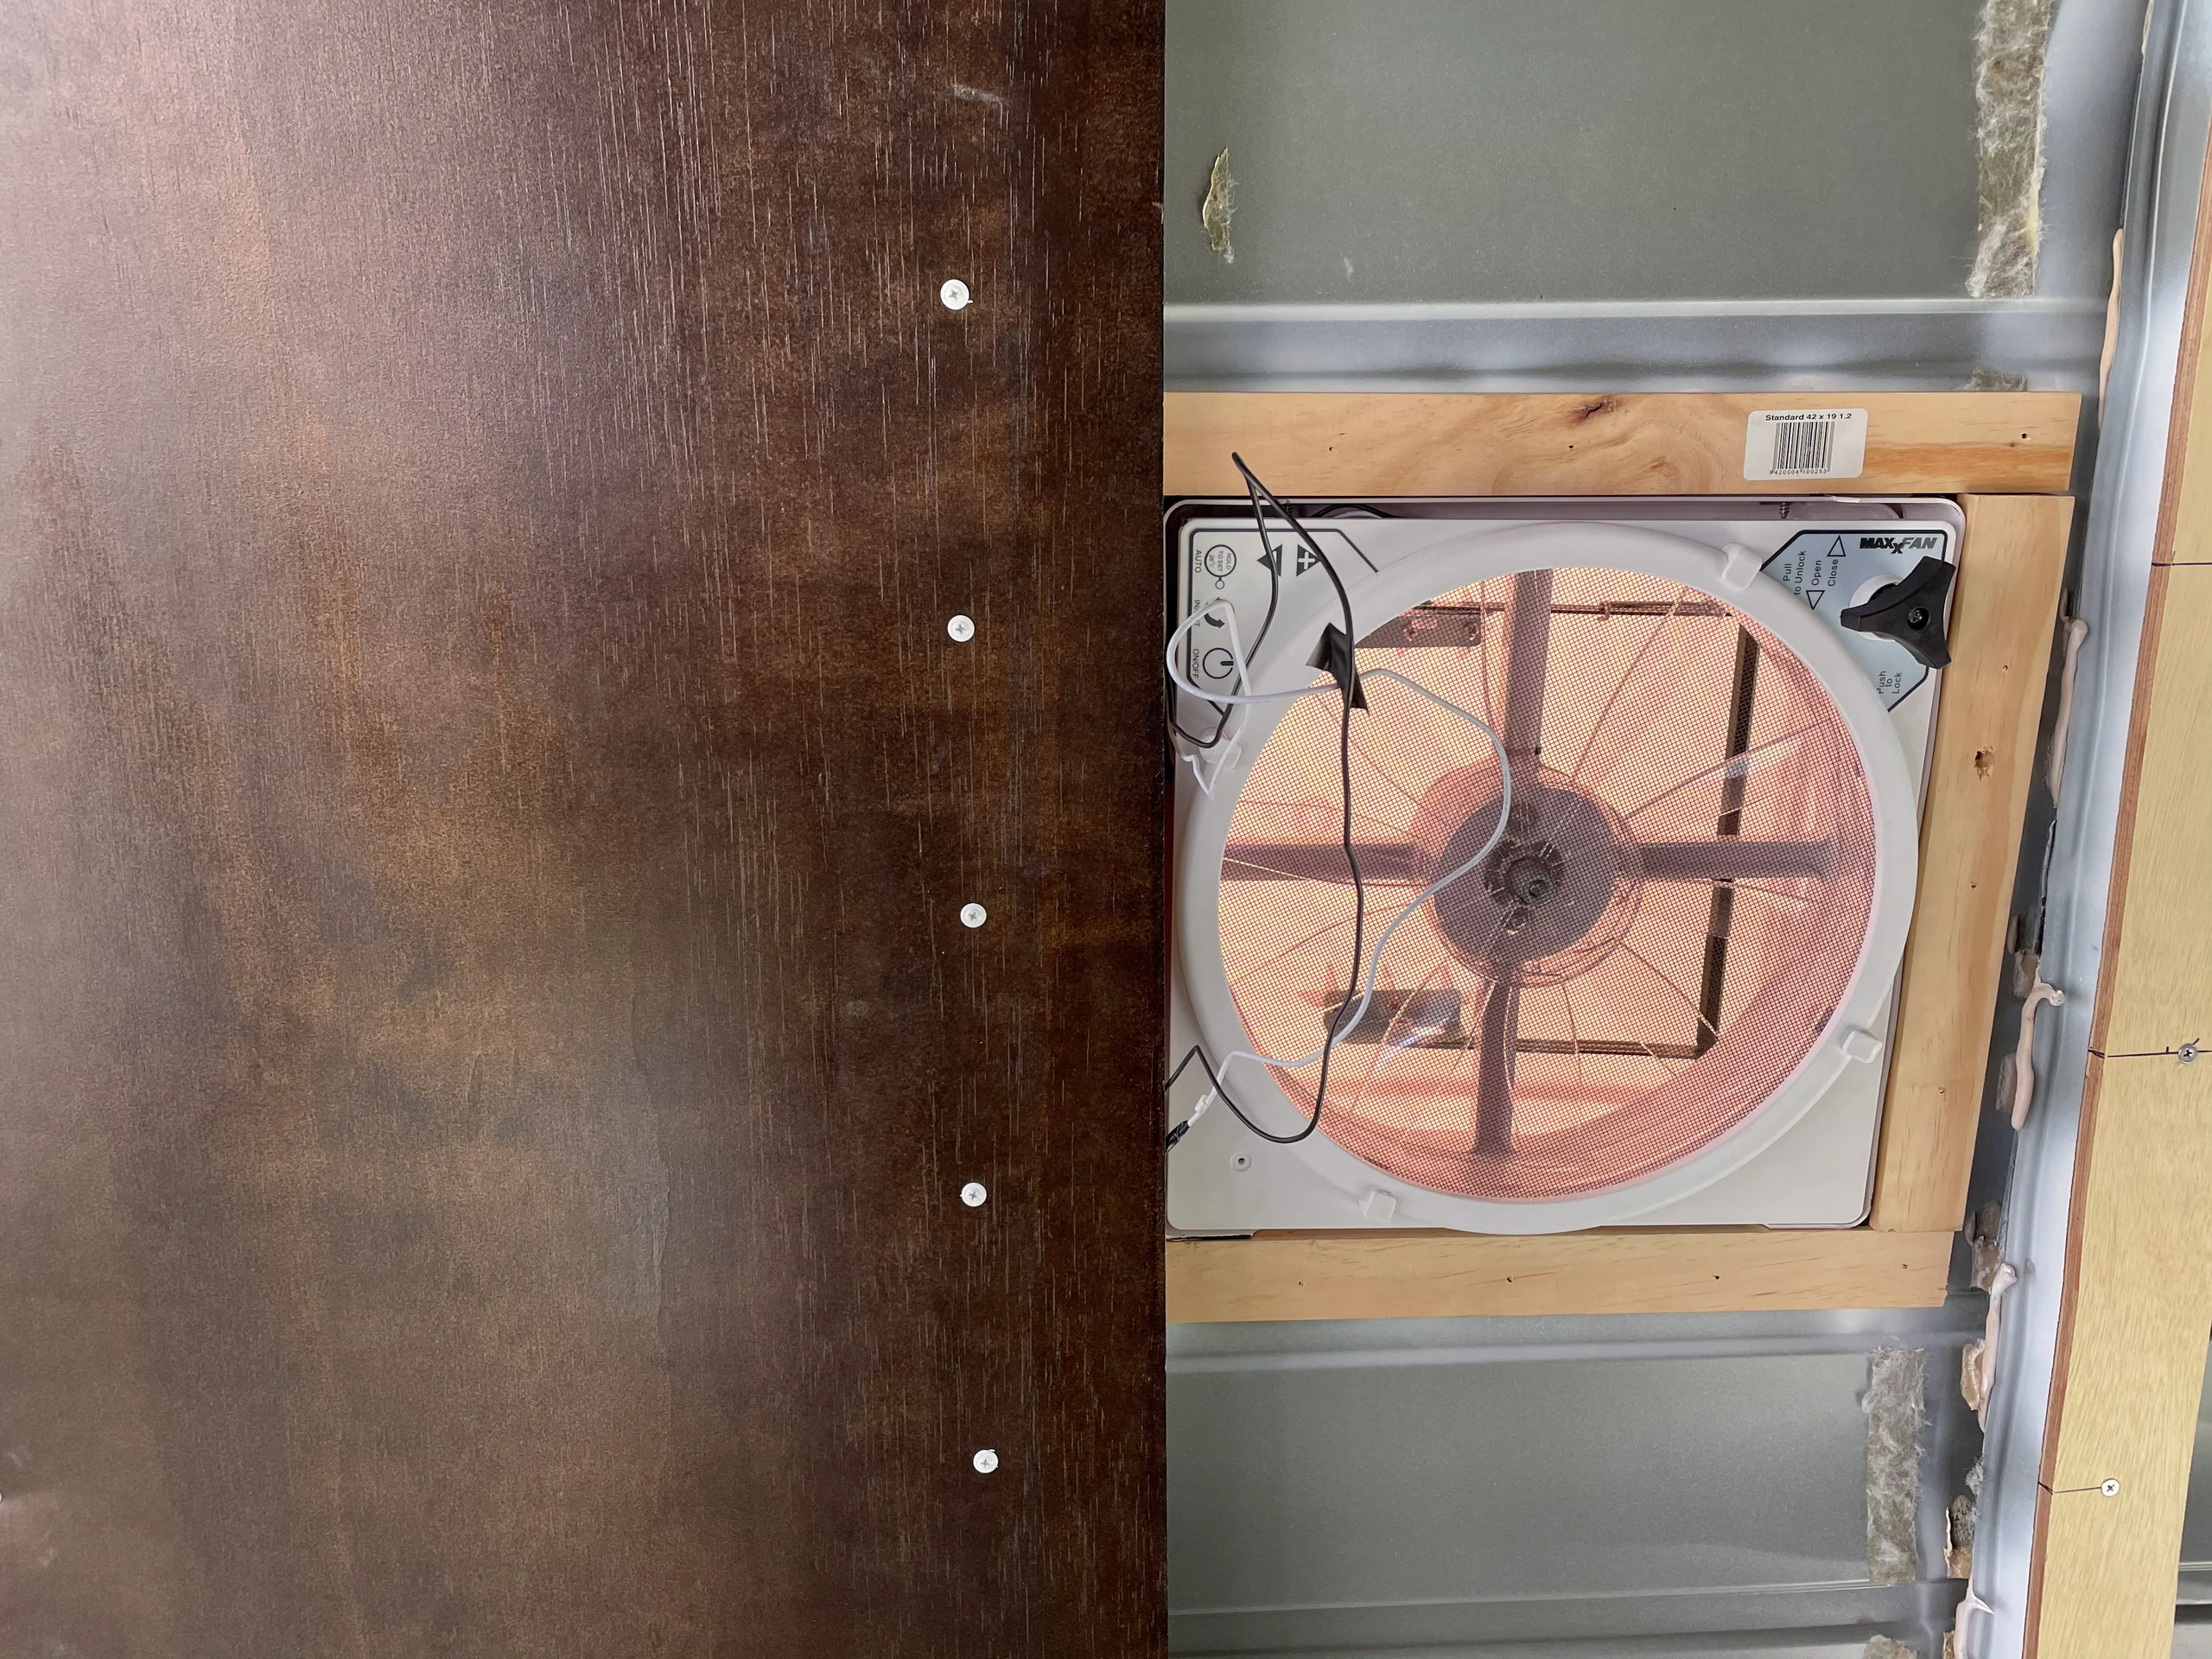
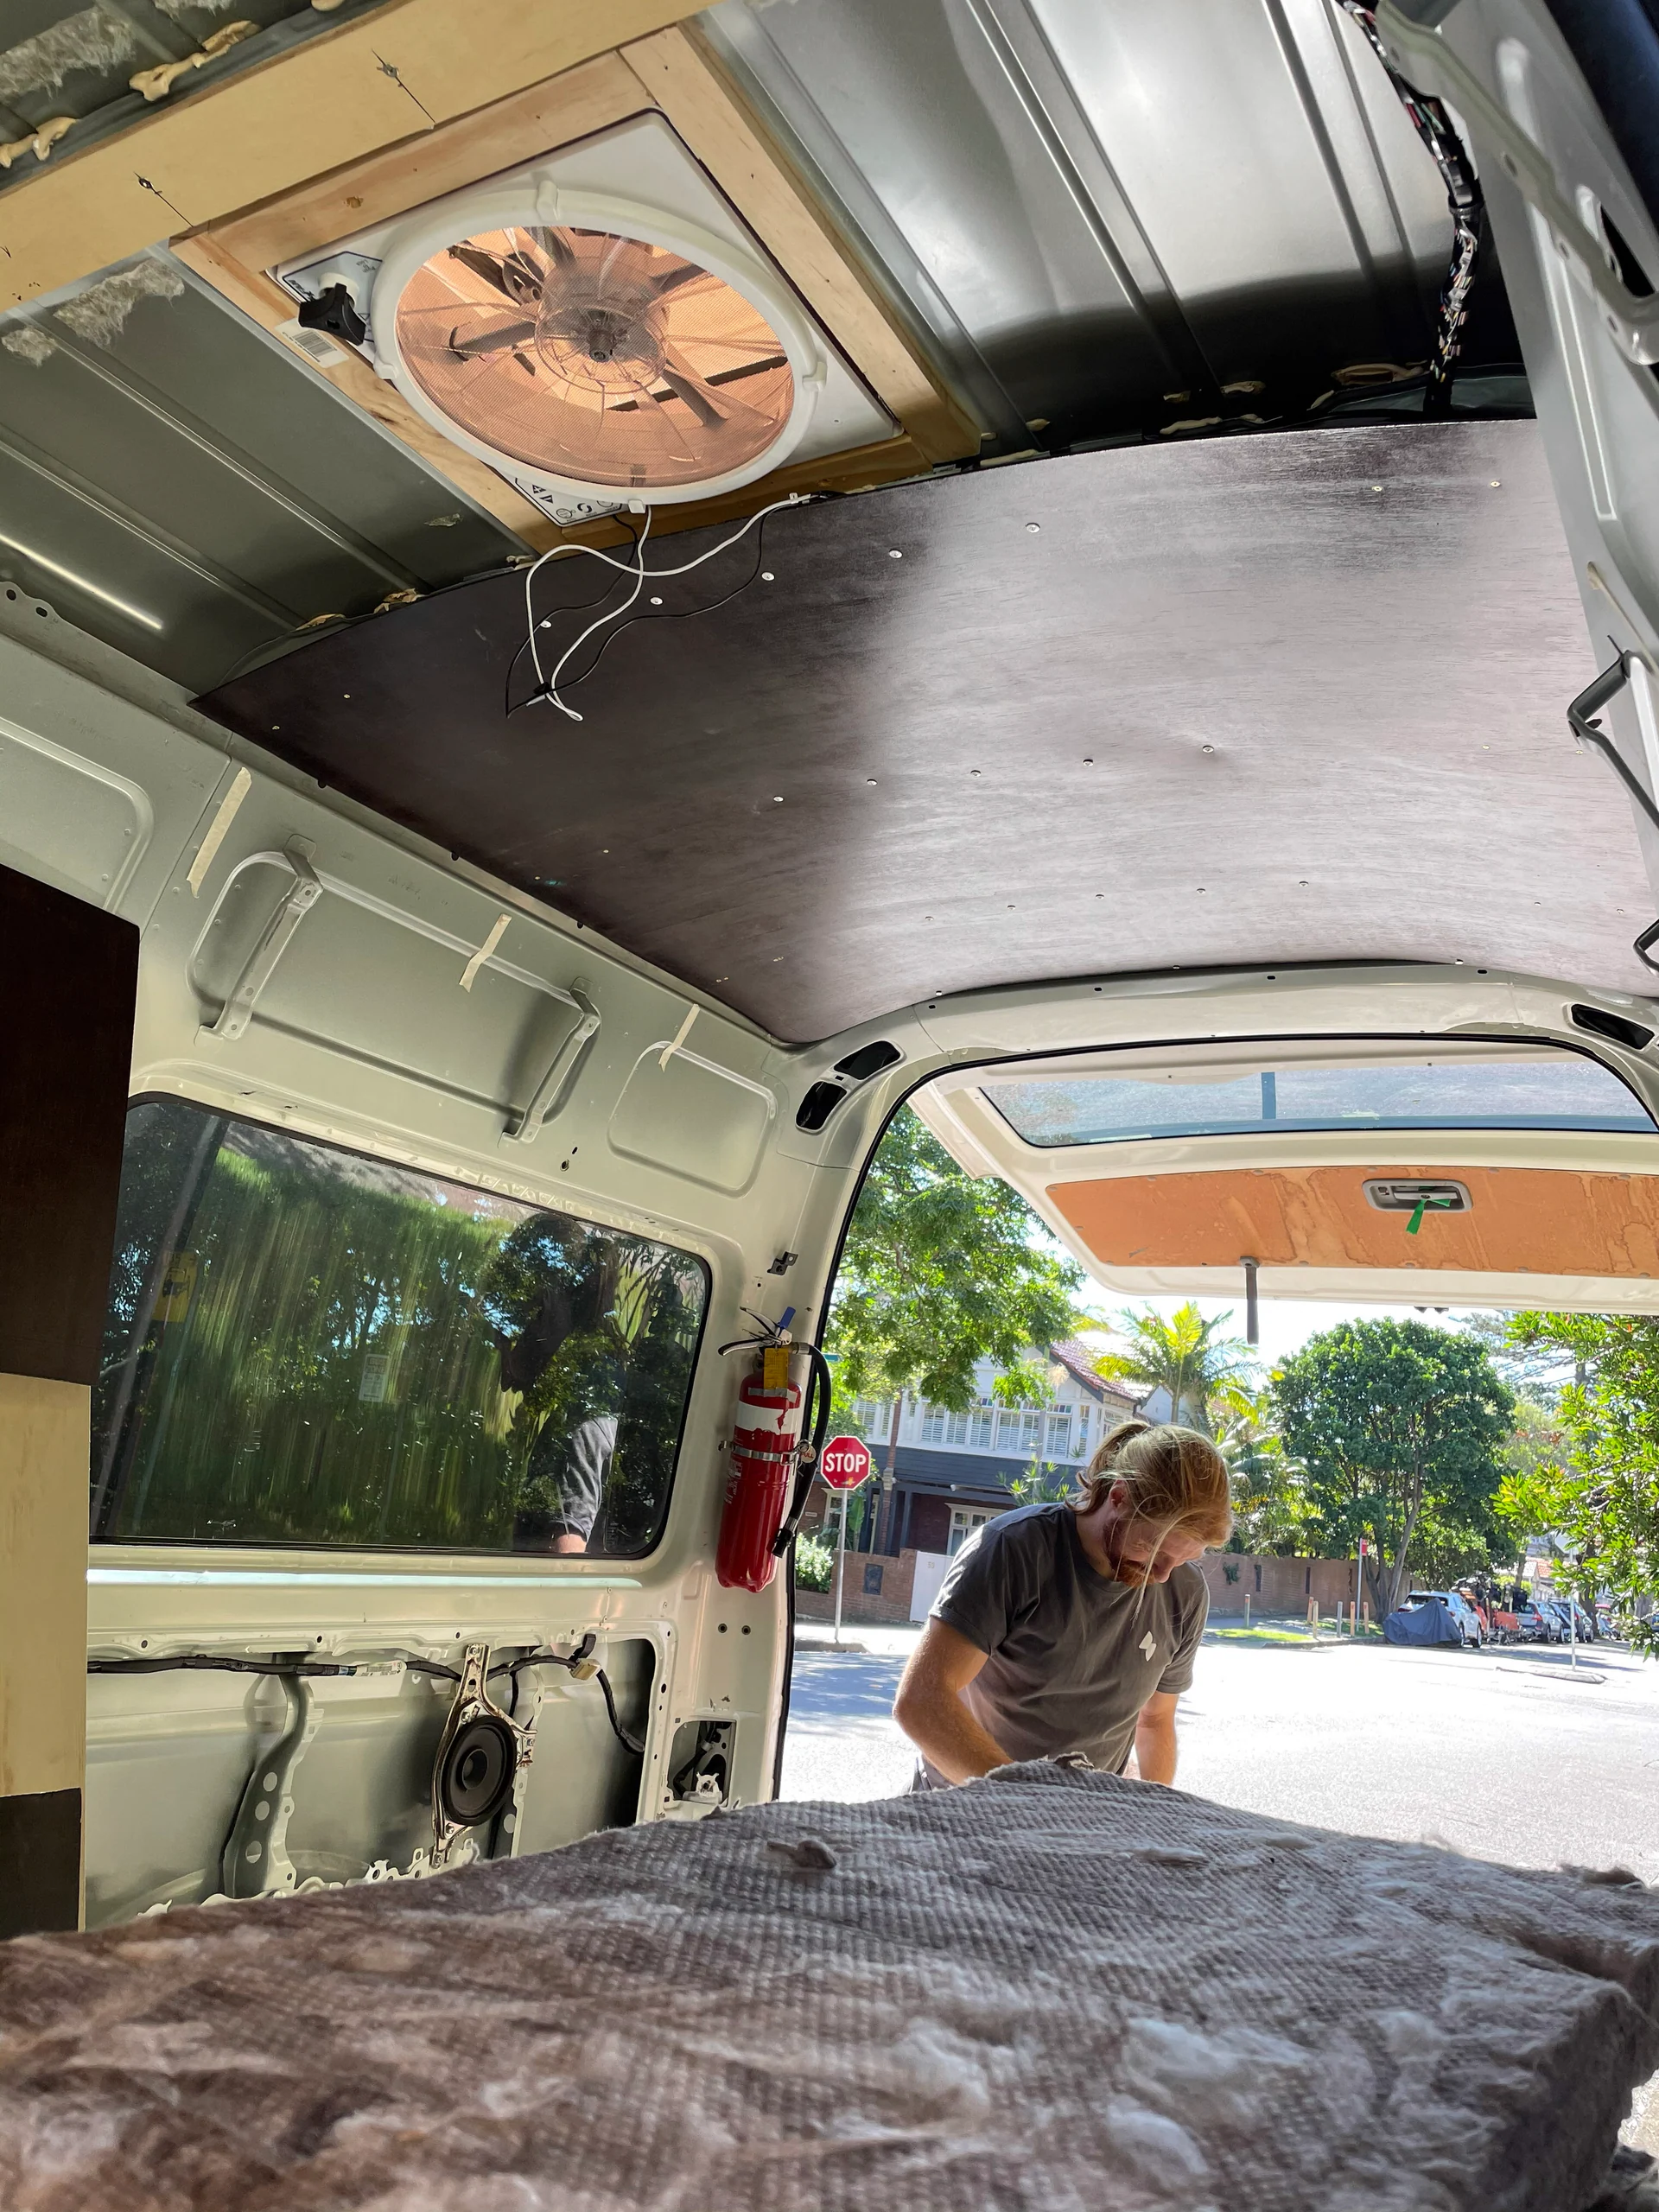
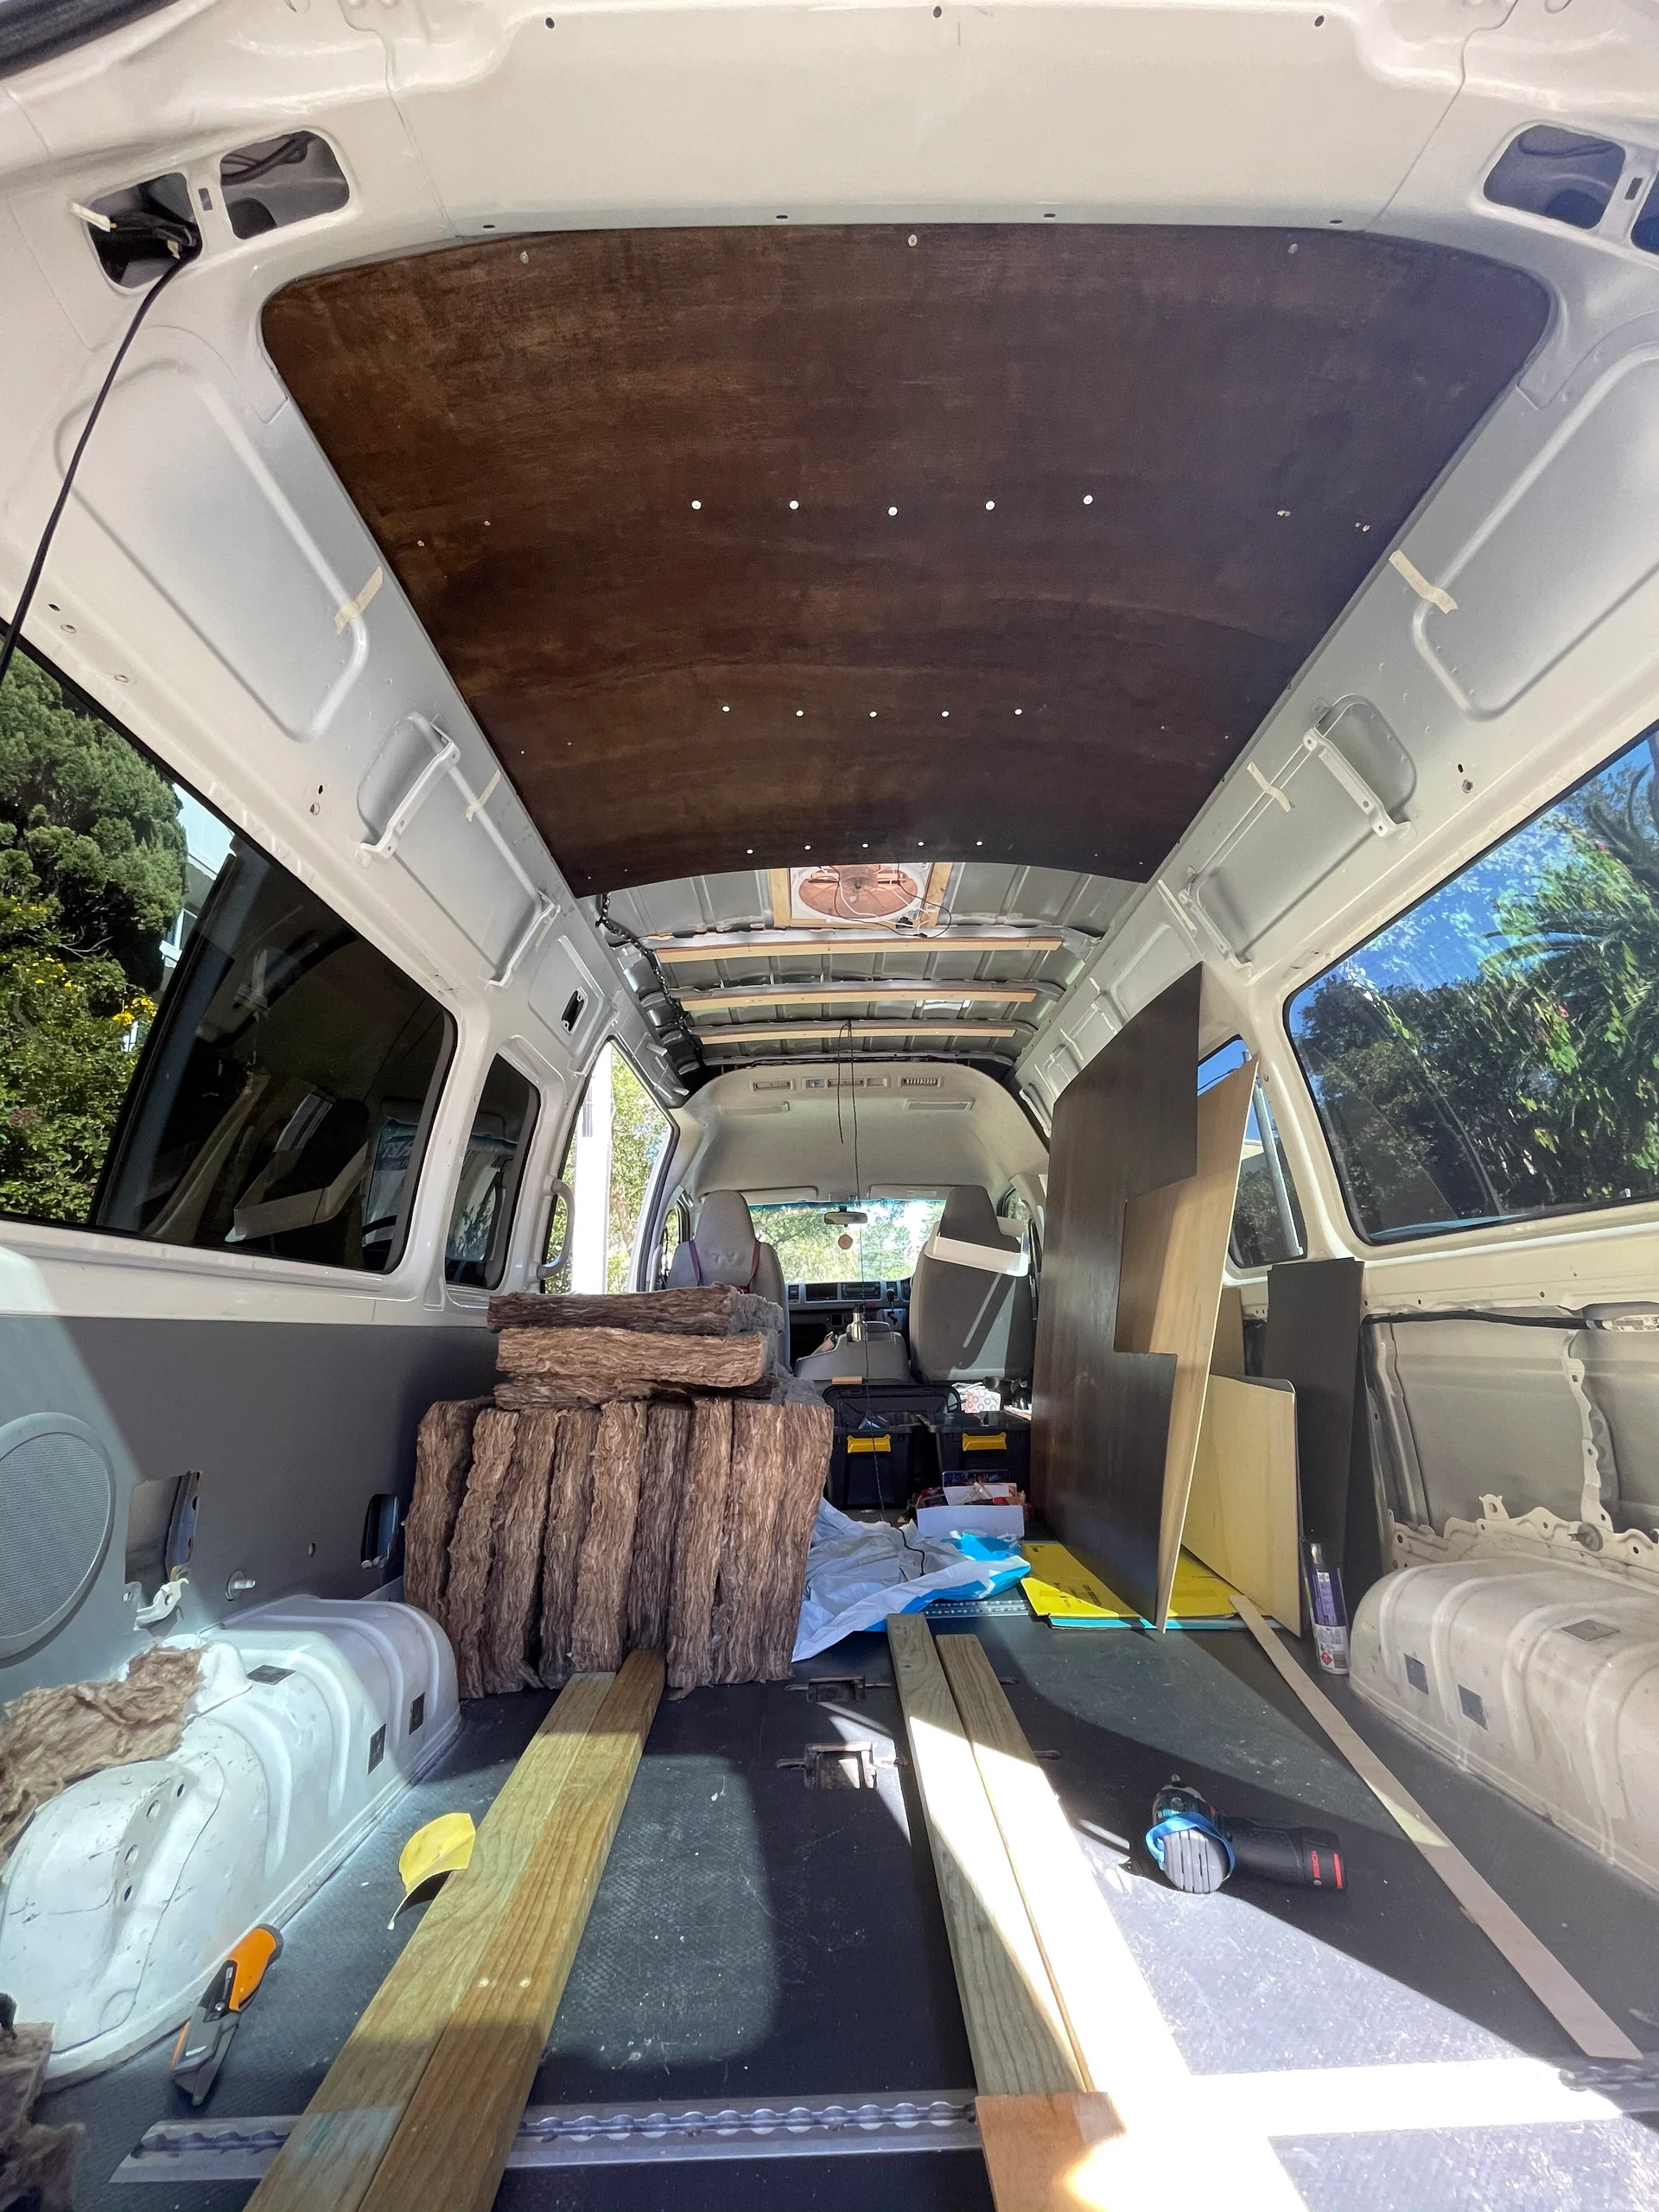
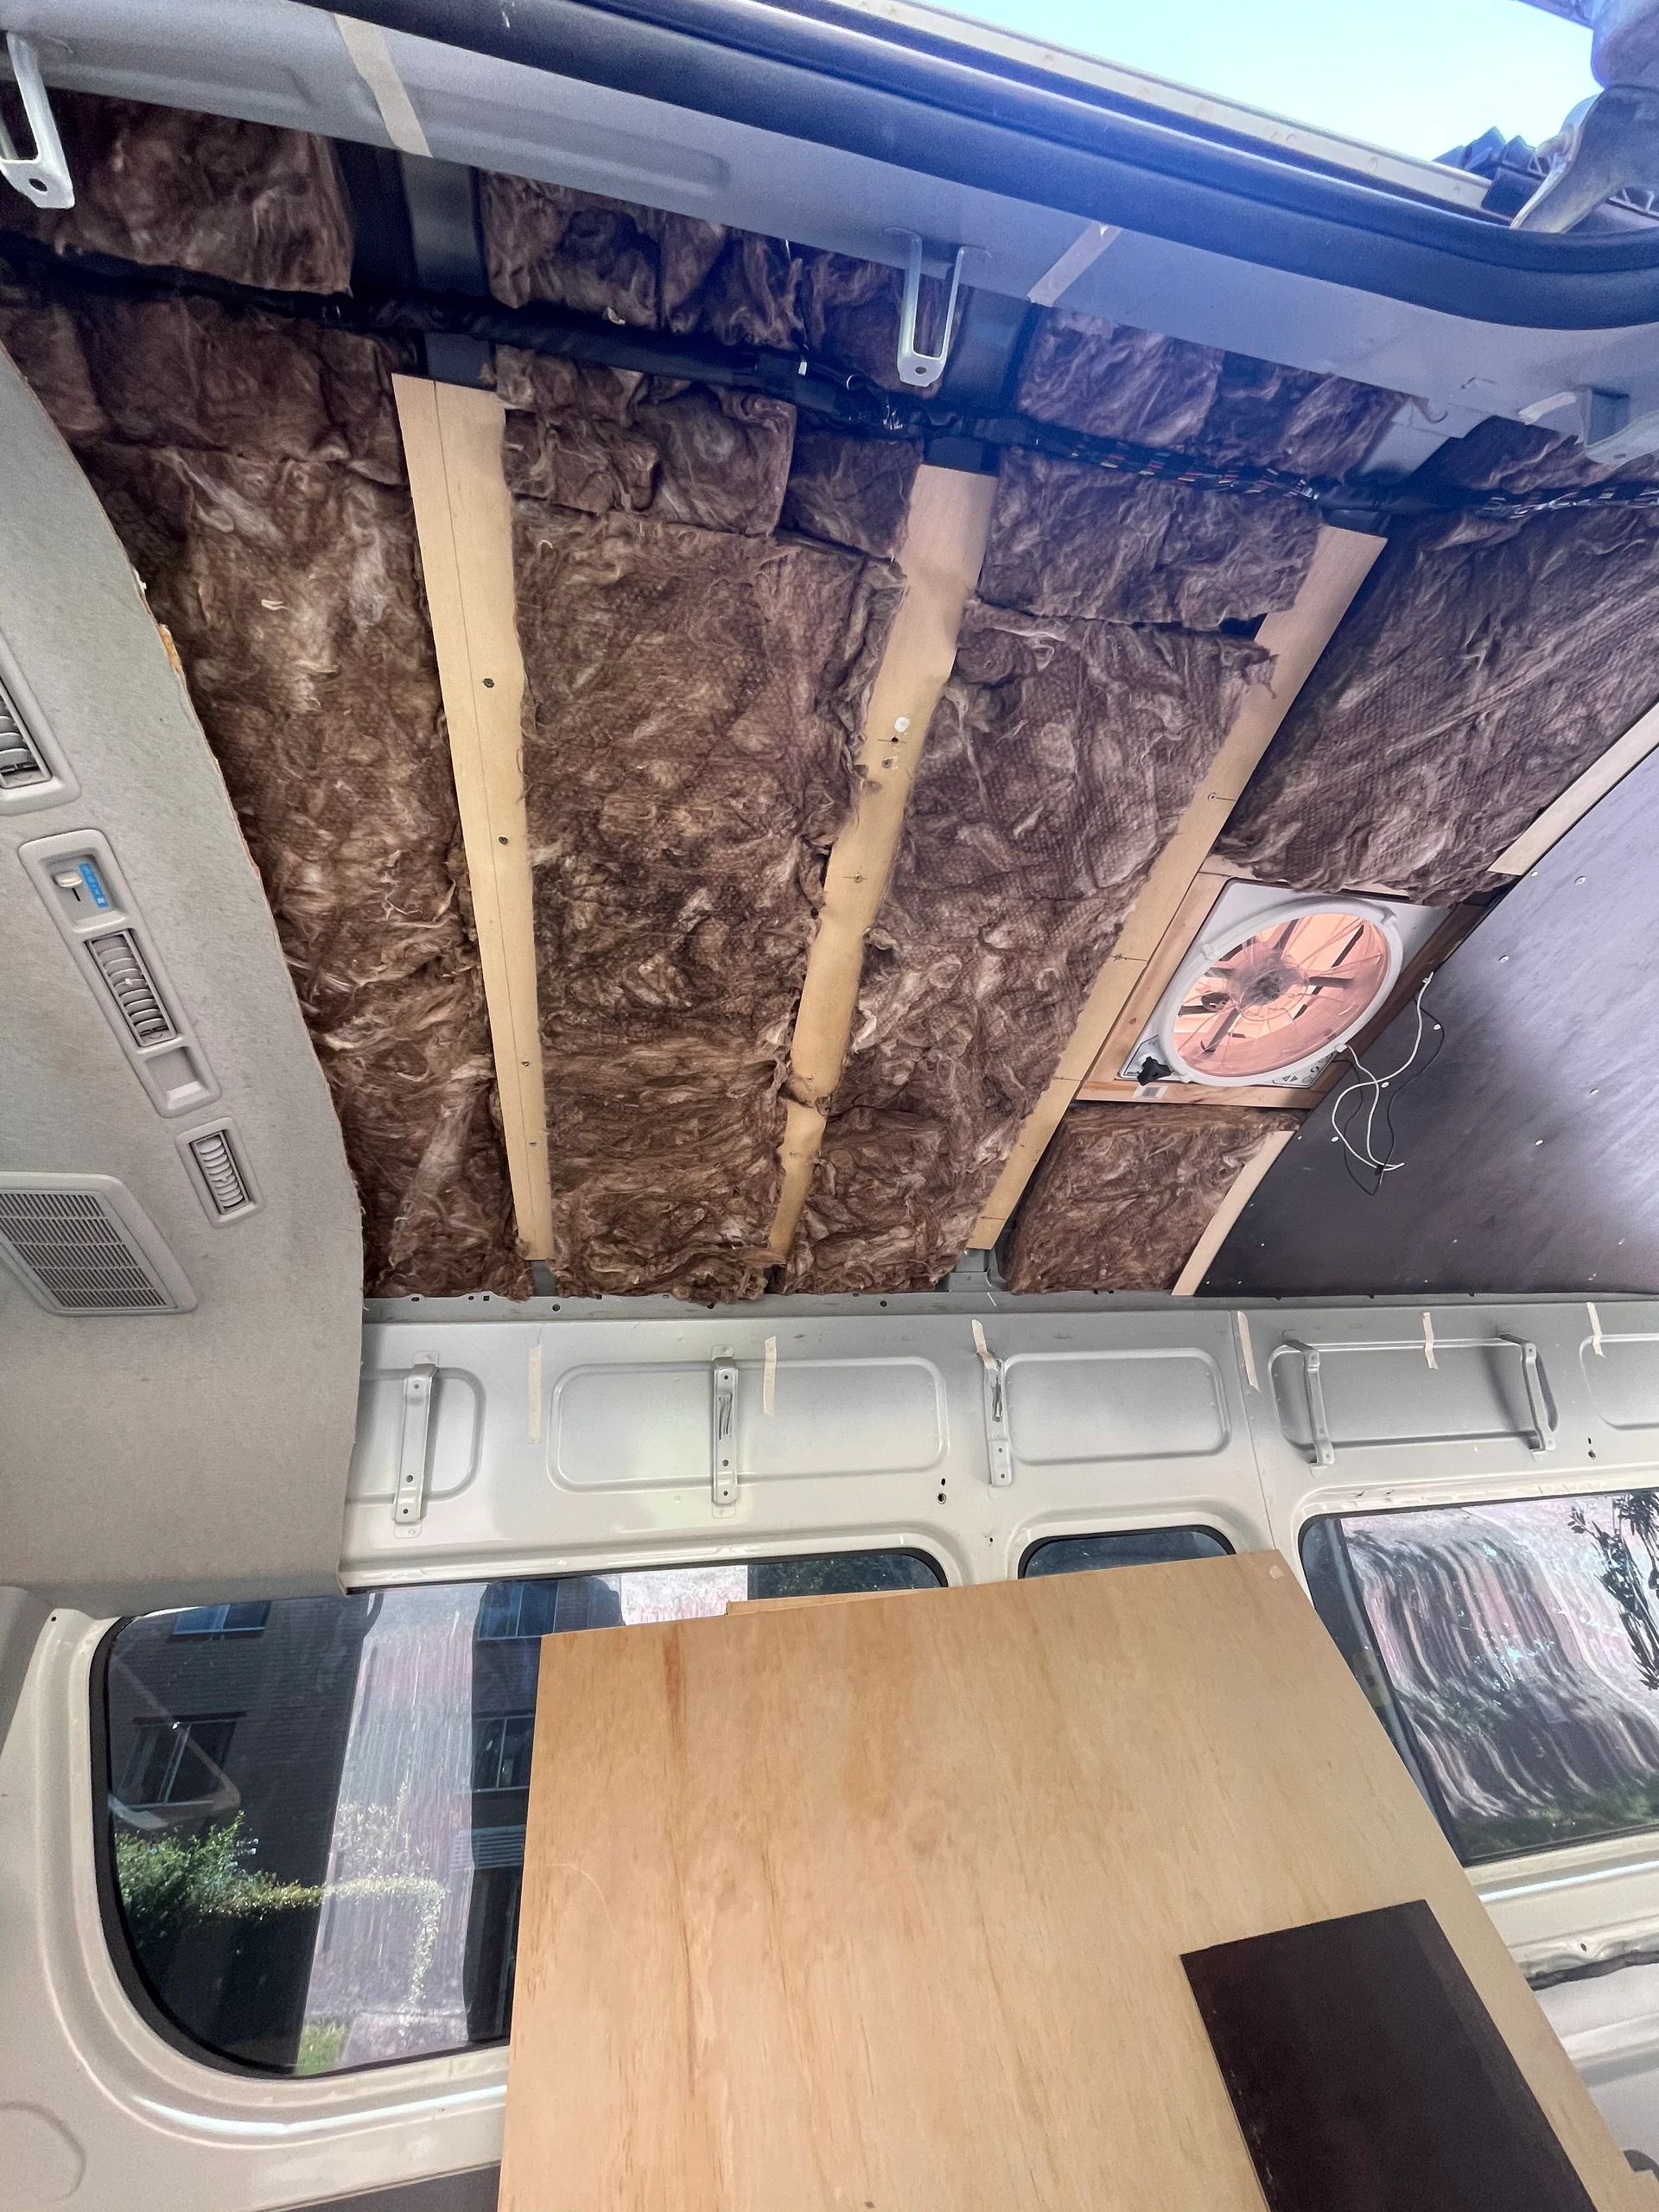
First phase of the ceiling done: ✅ We will later add some brighter timber boards as a contrast. But it already looks pretty good this way.
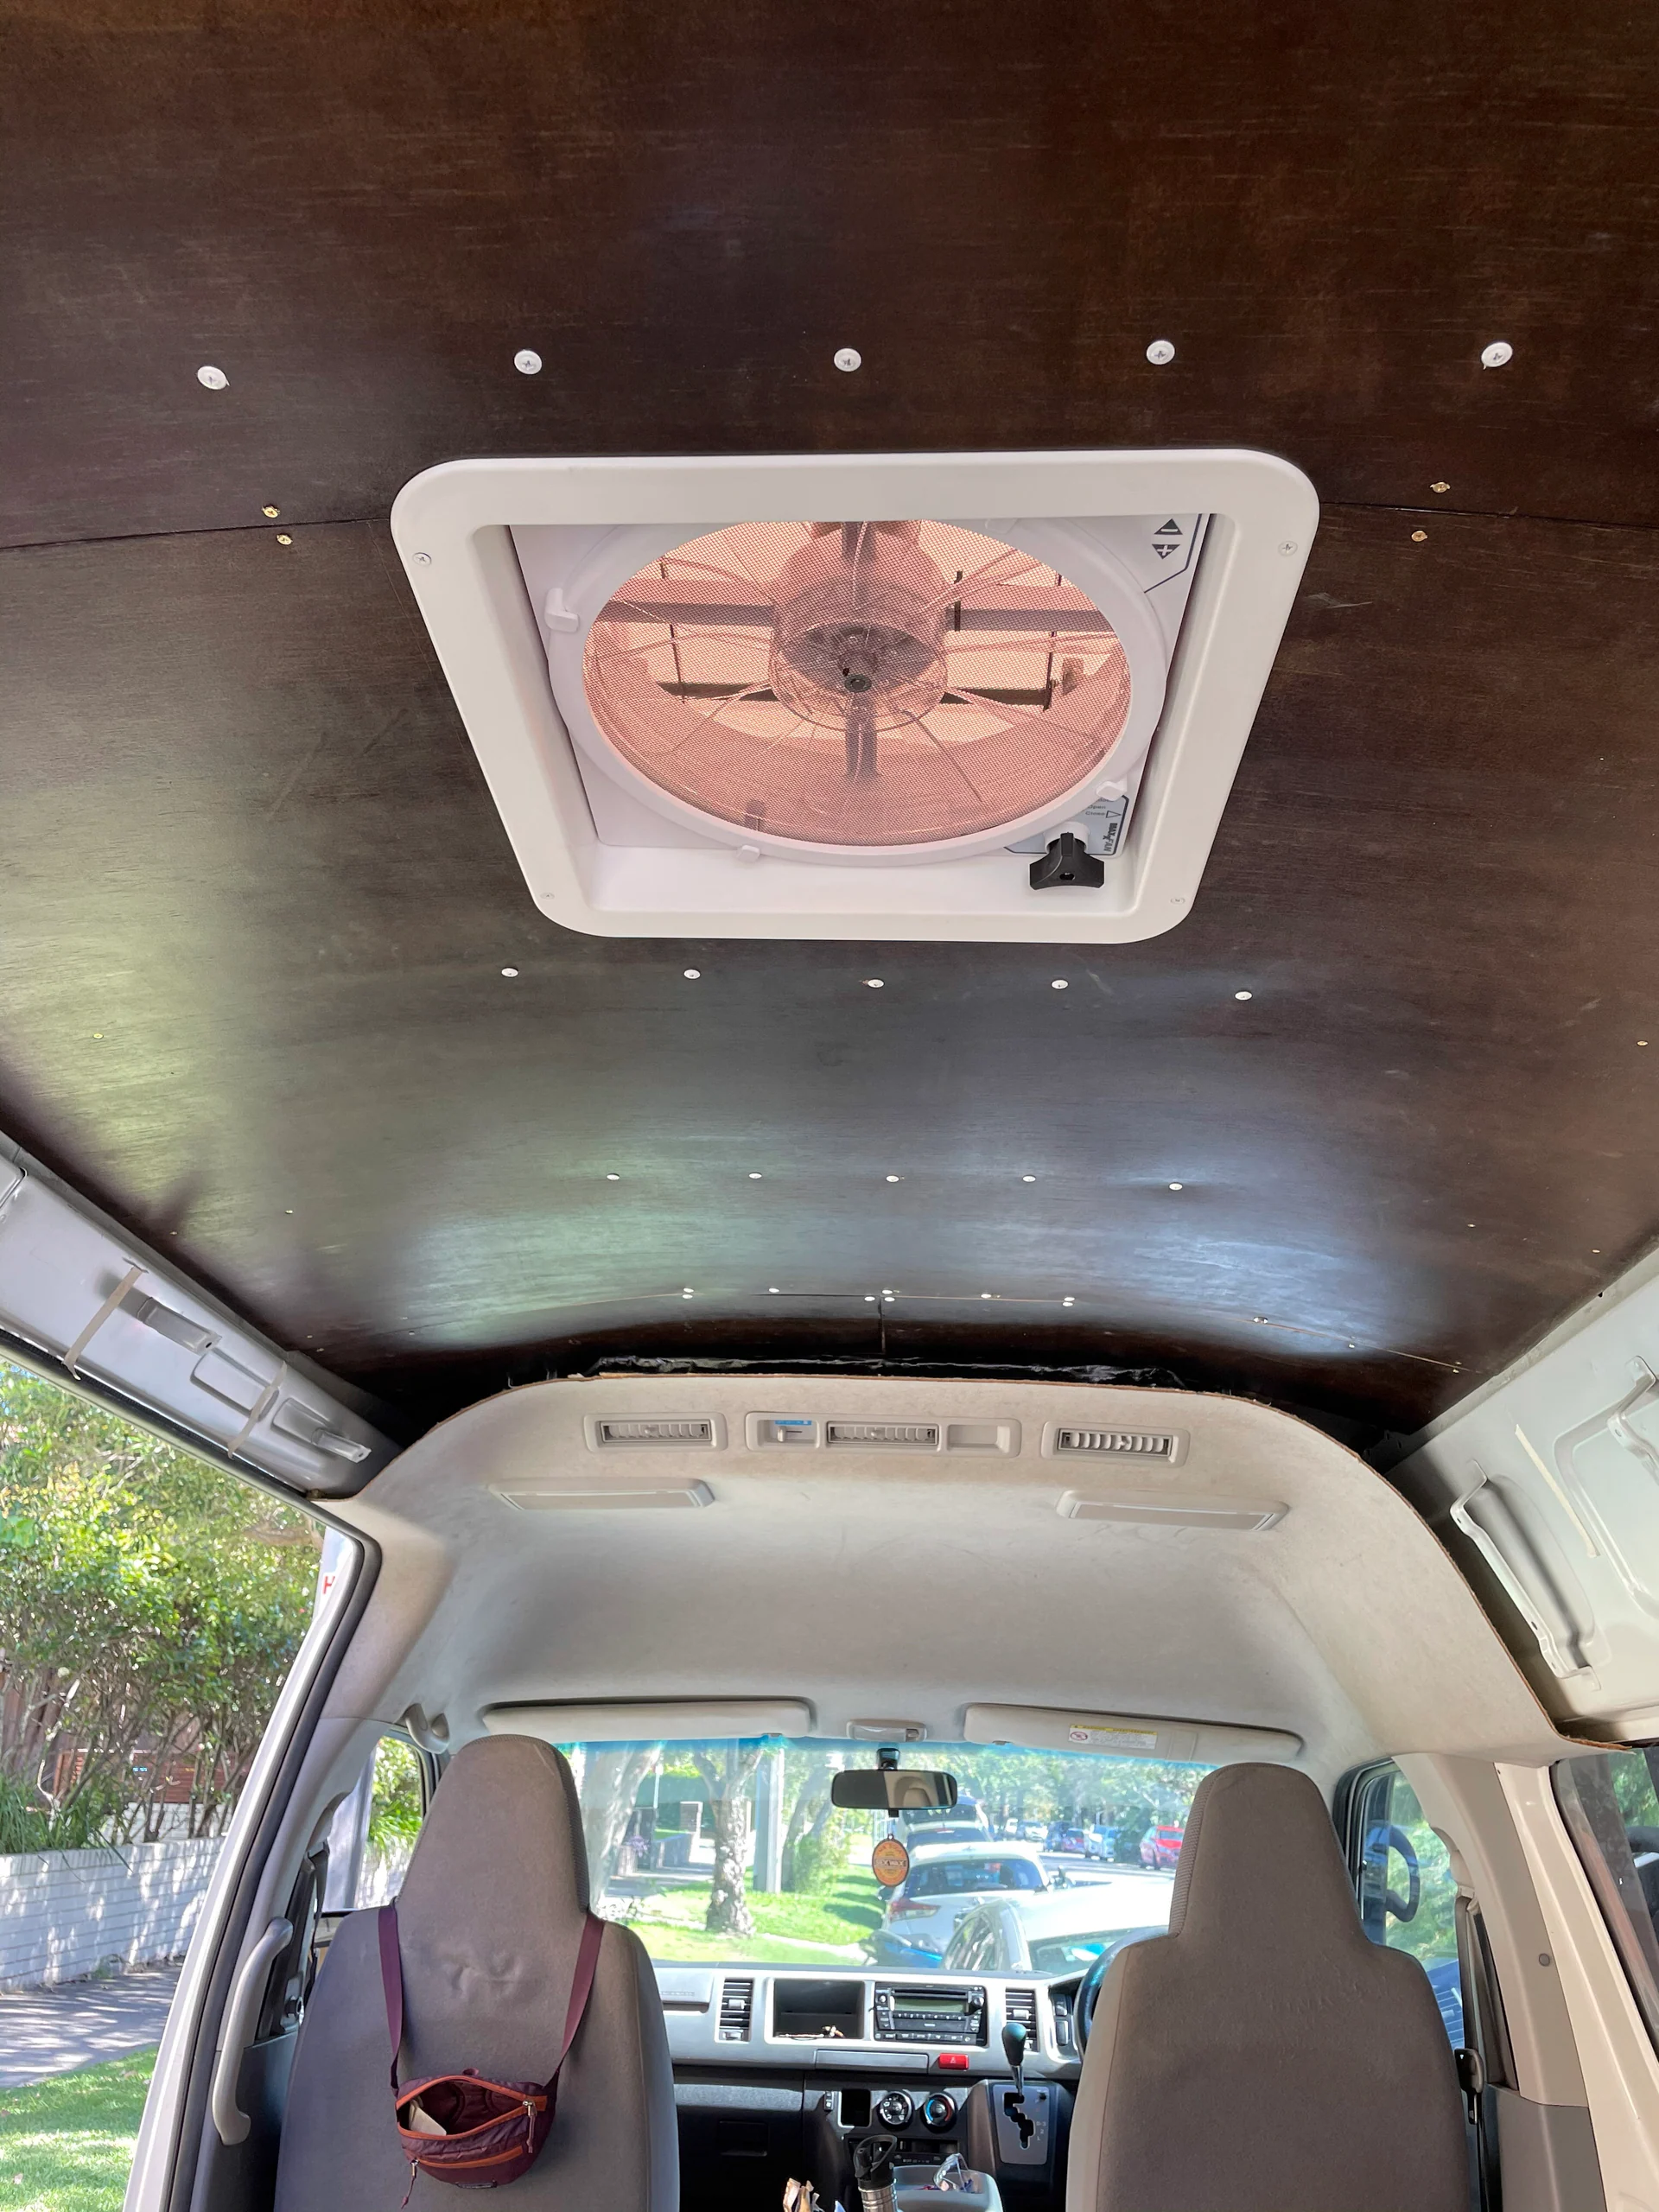
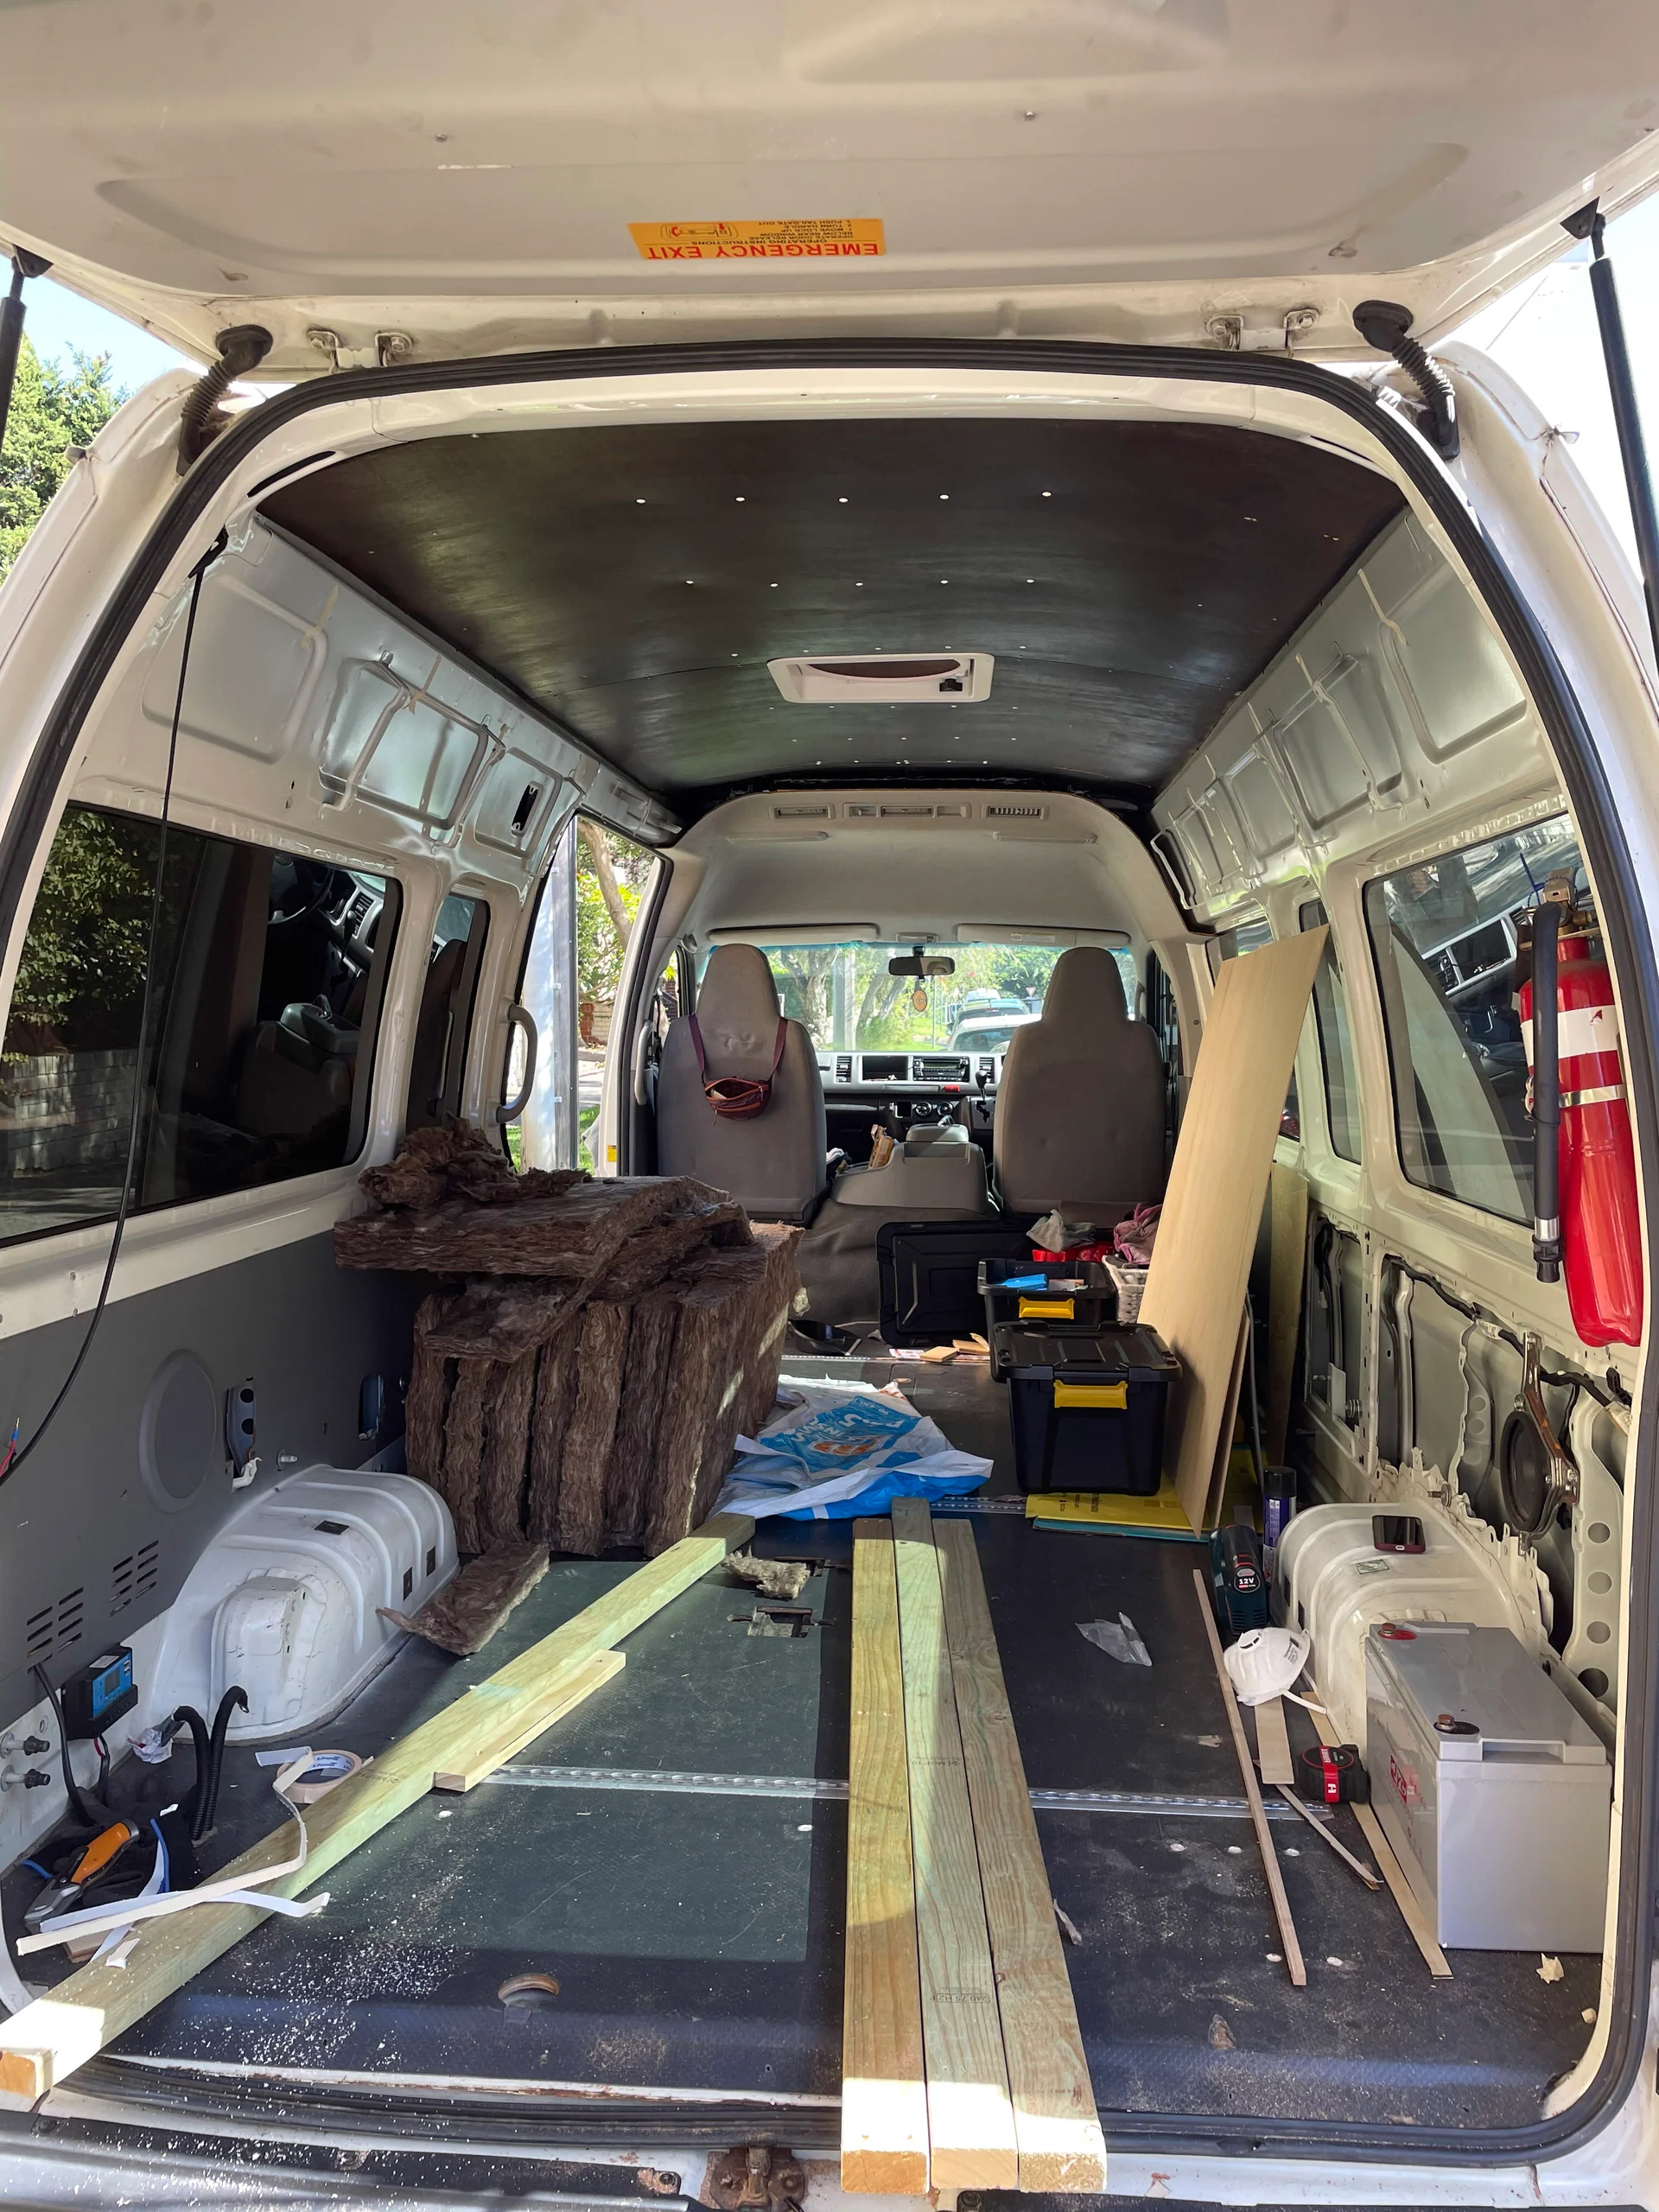
Stuffing the remaining earth wool in the side walls was a quick and easy job after the struggle with the ceiling.
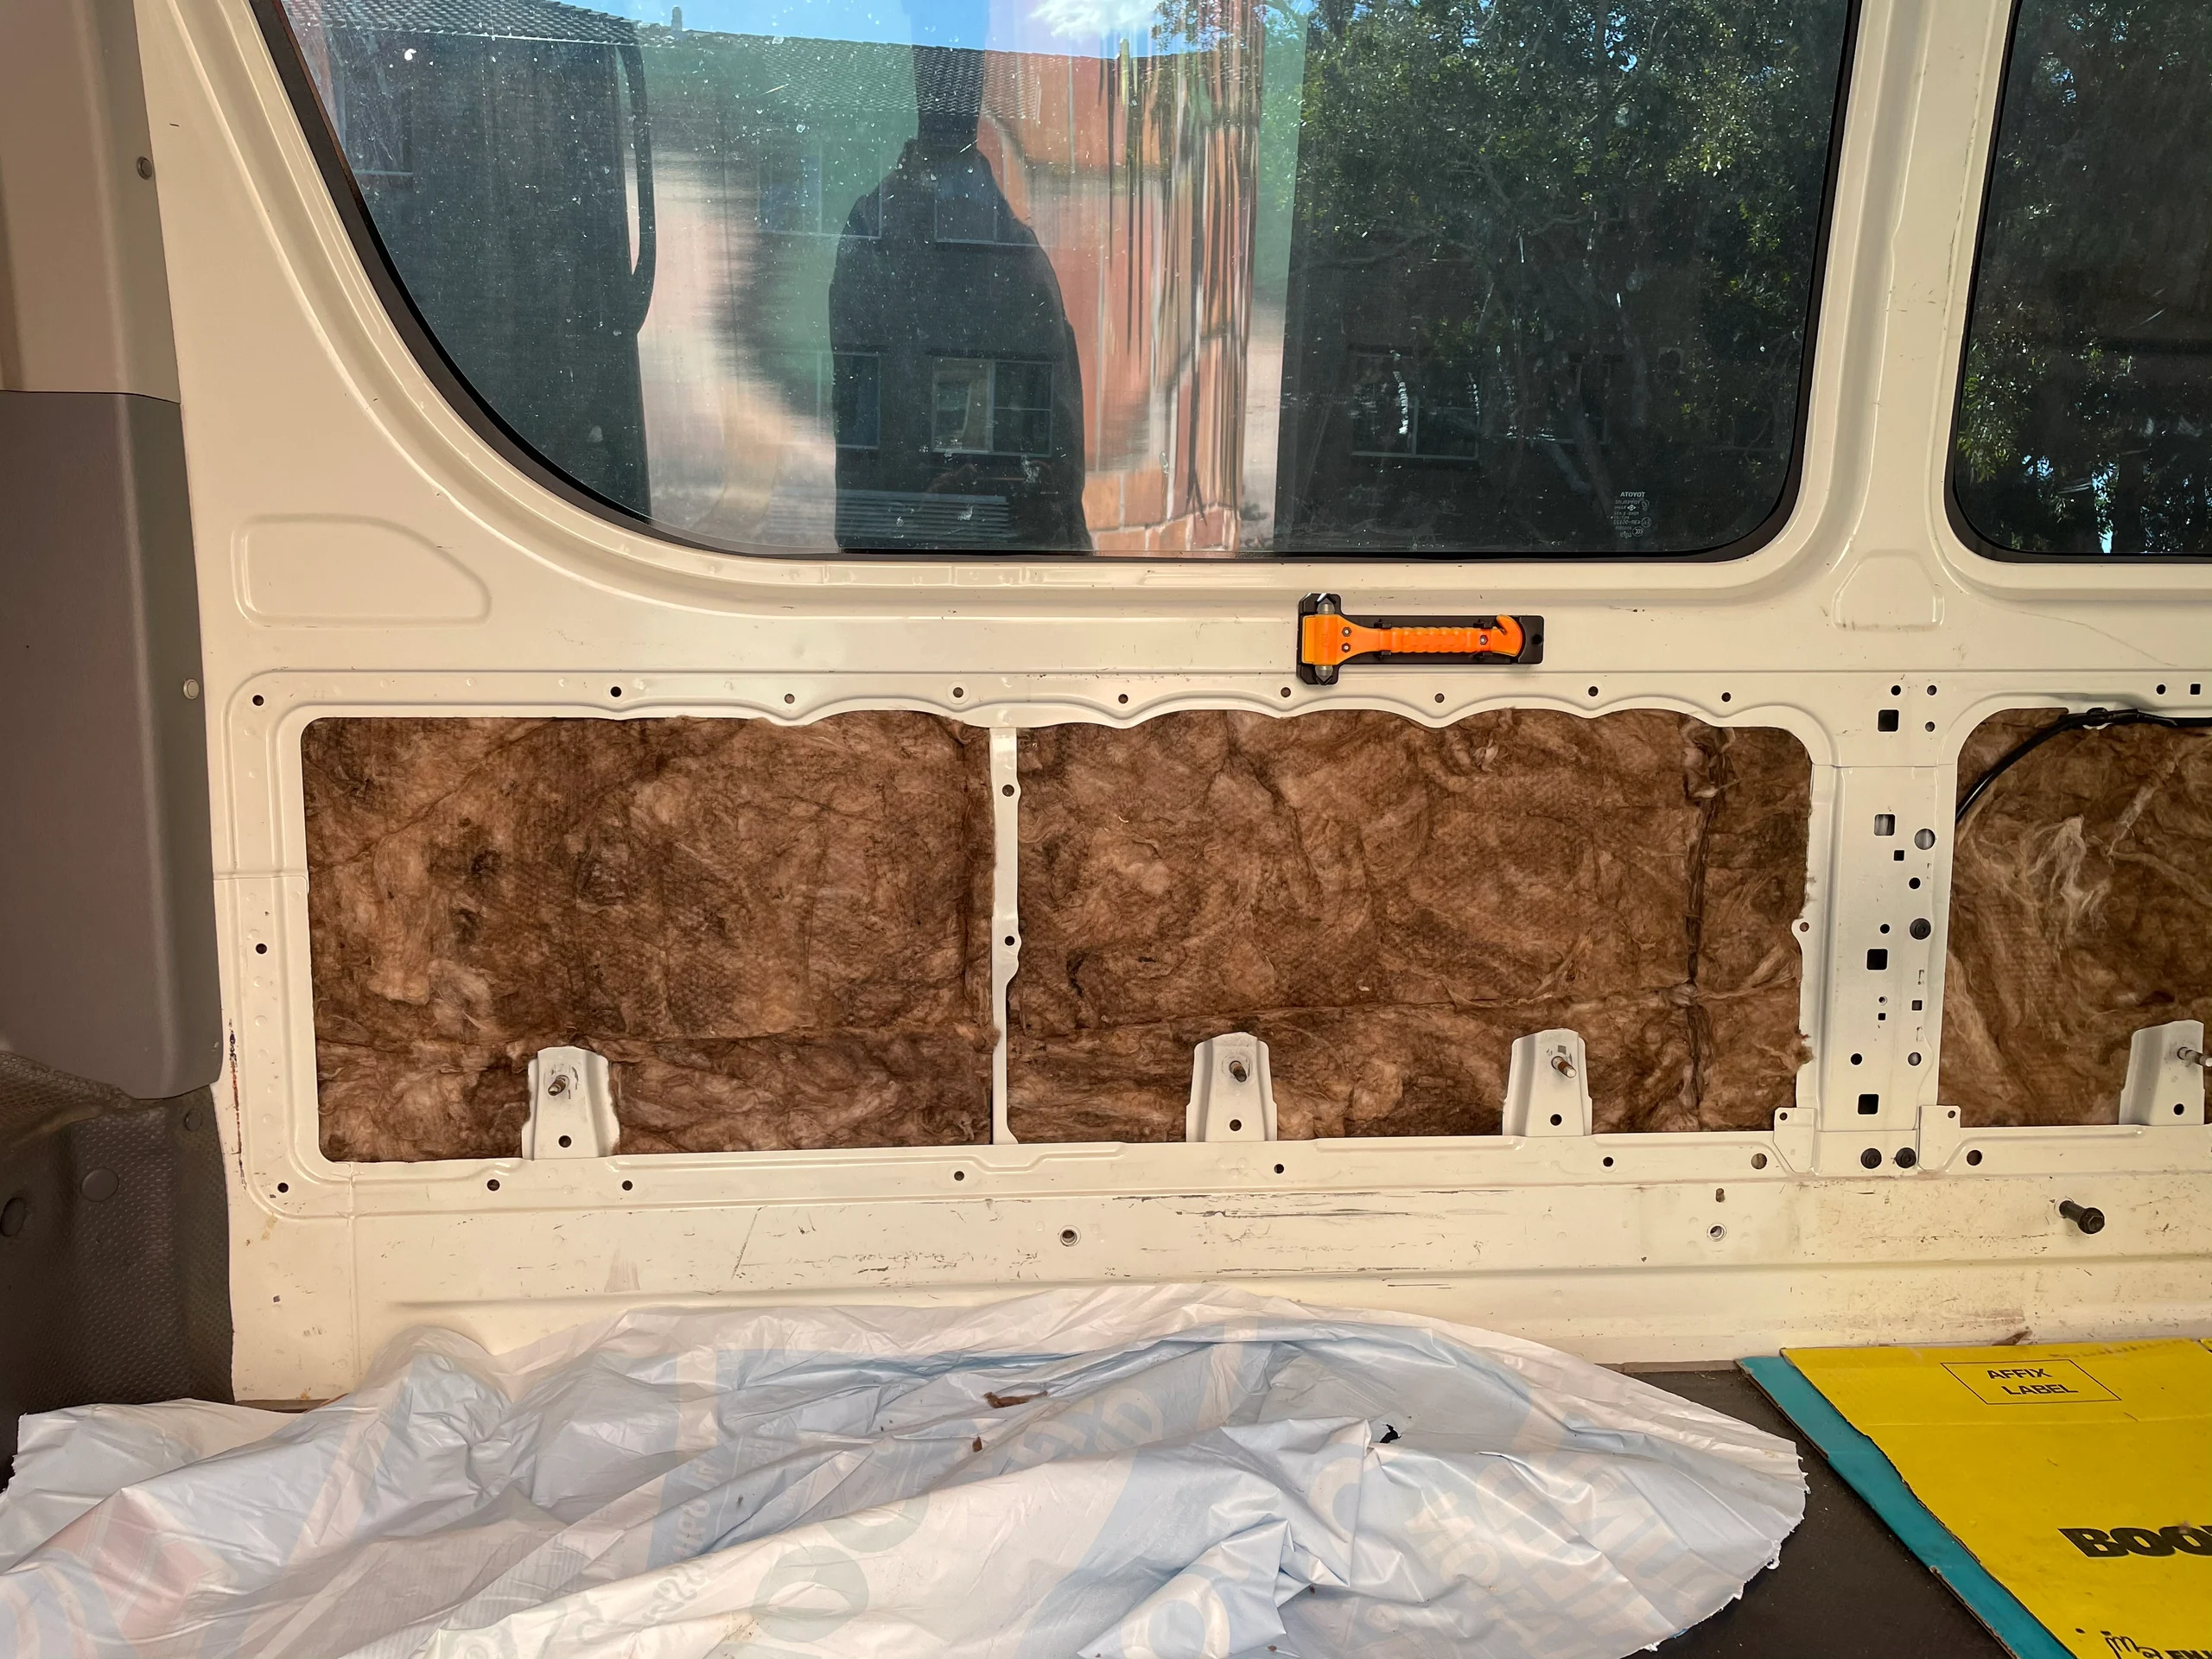
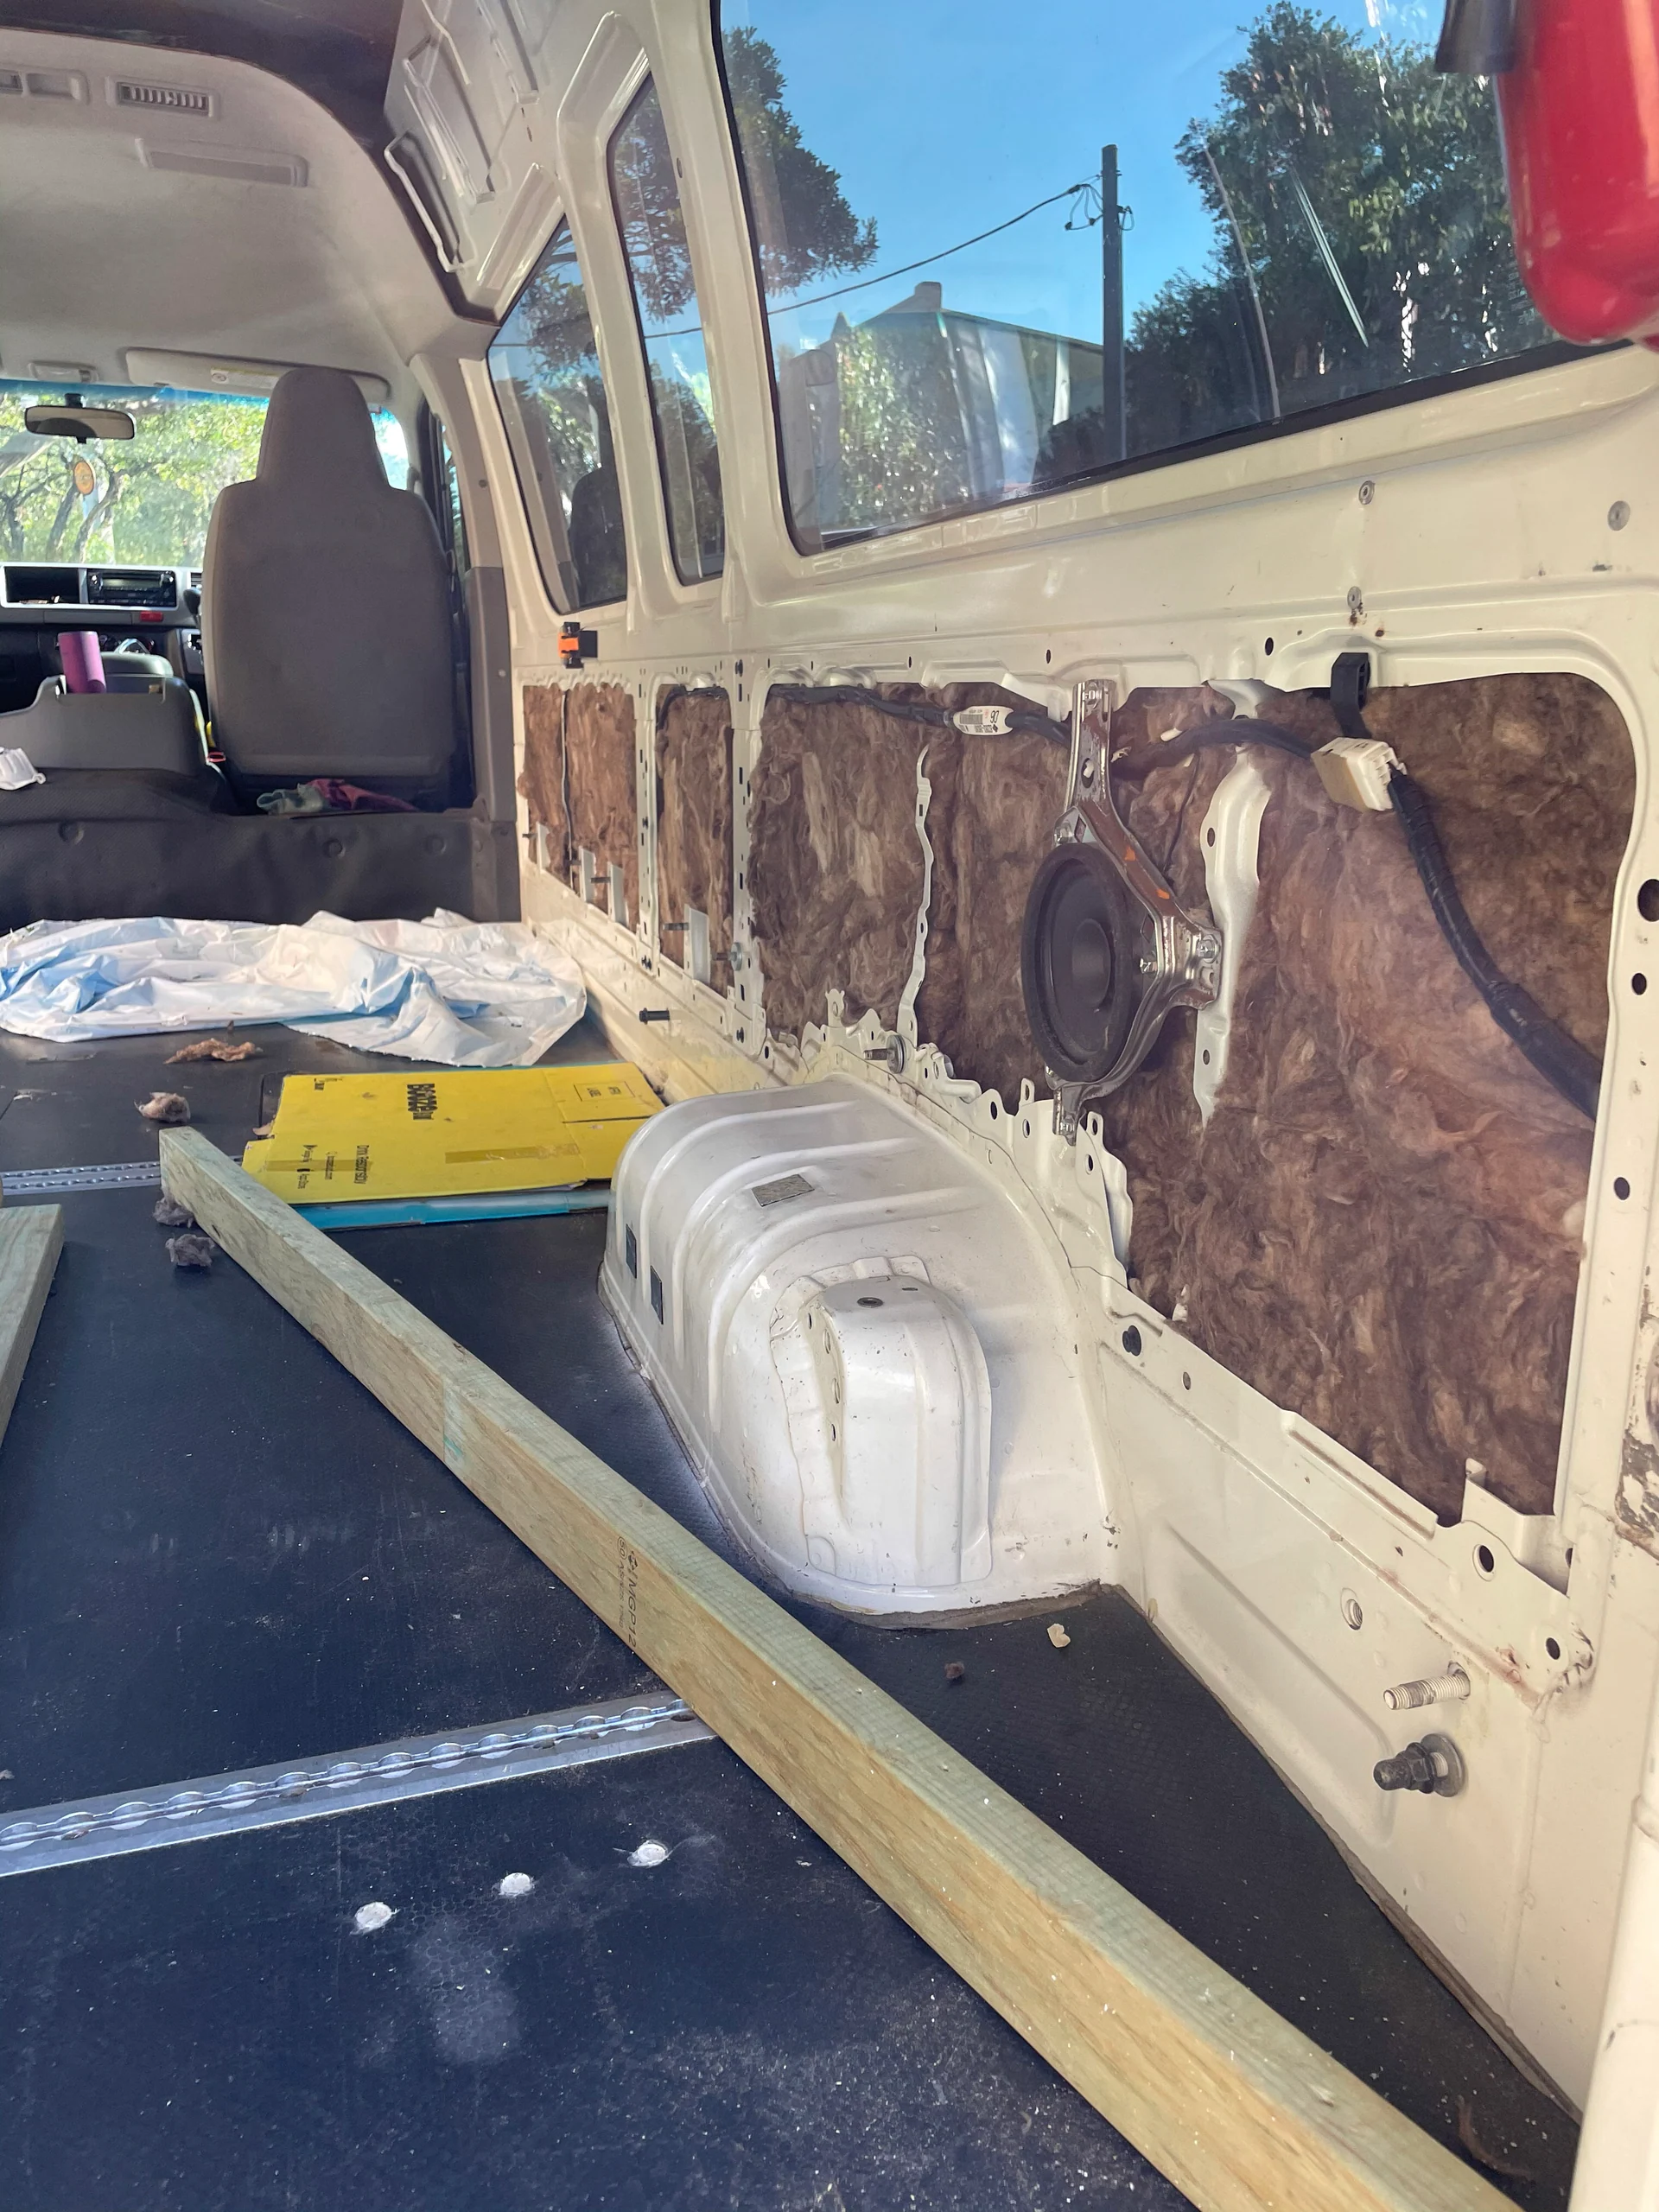
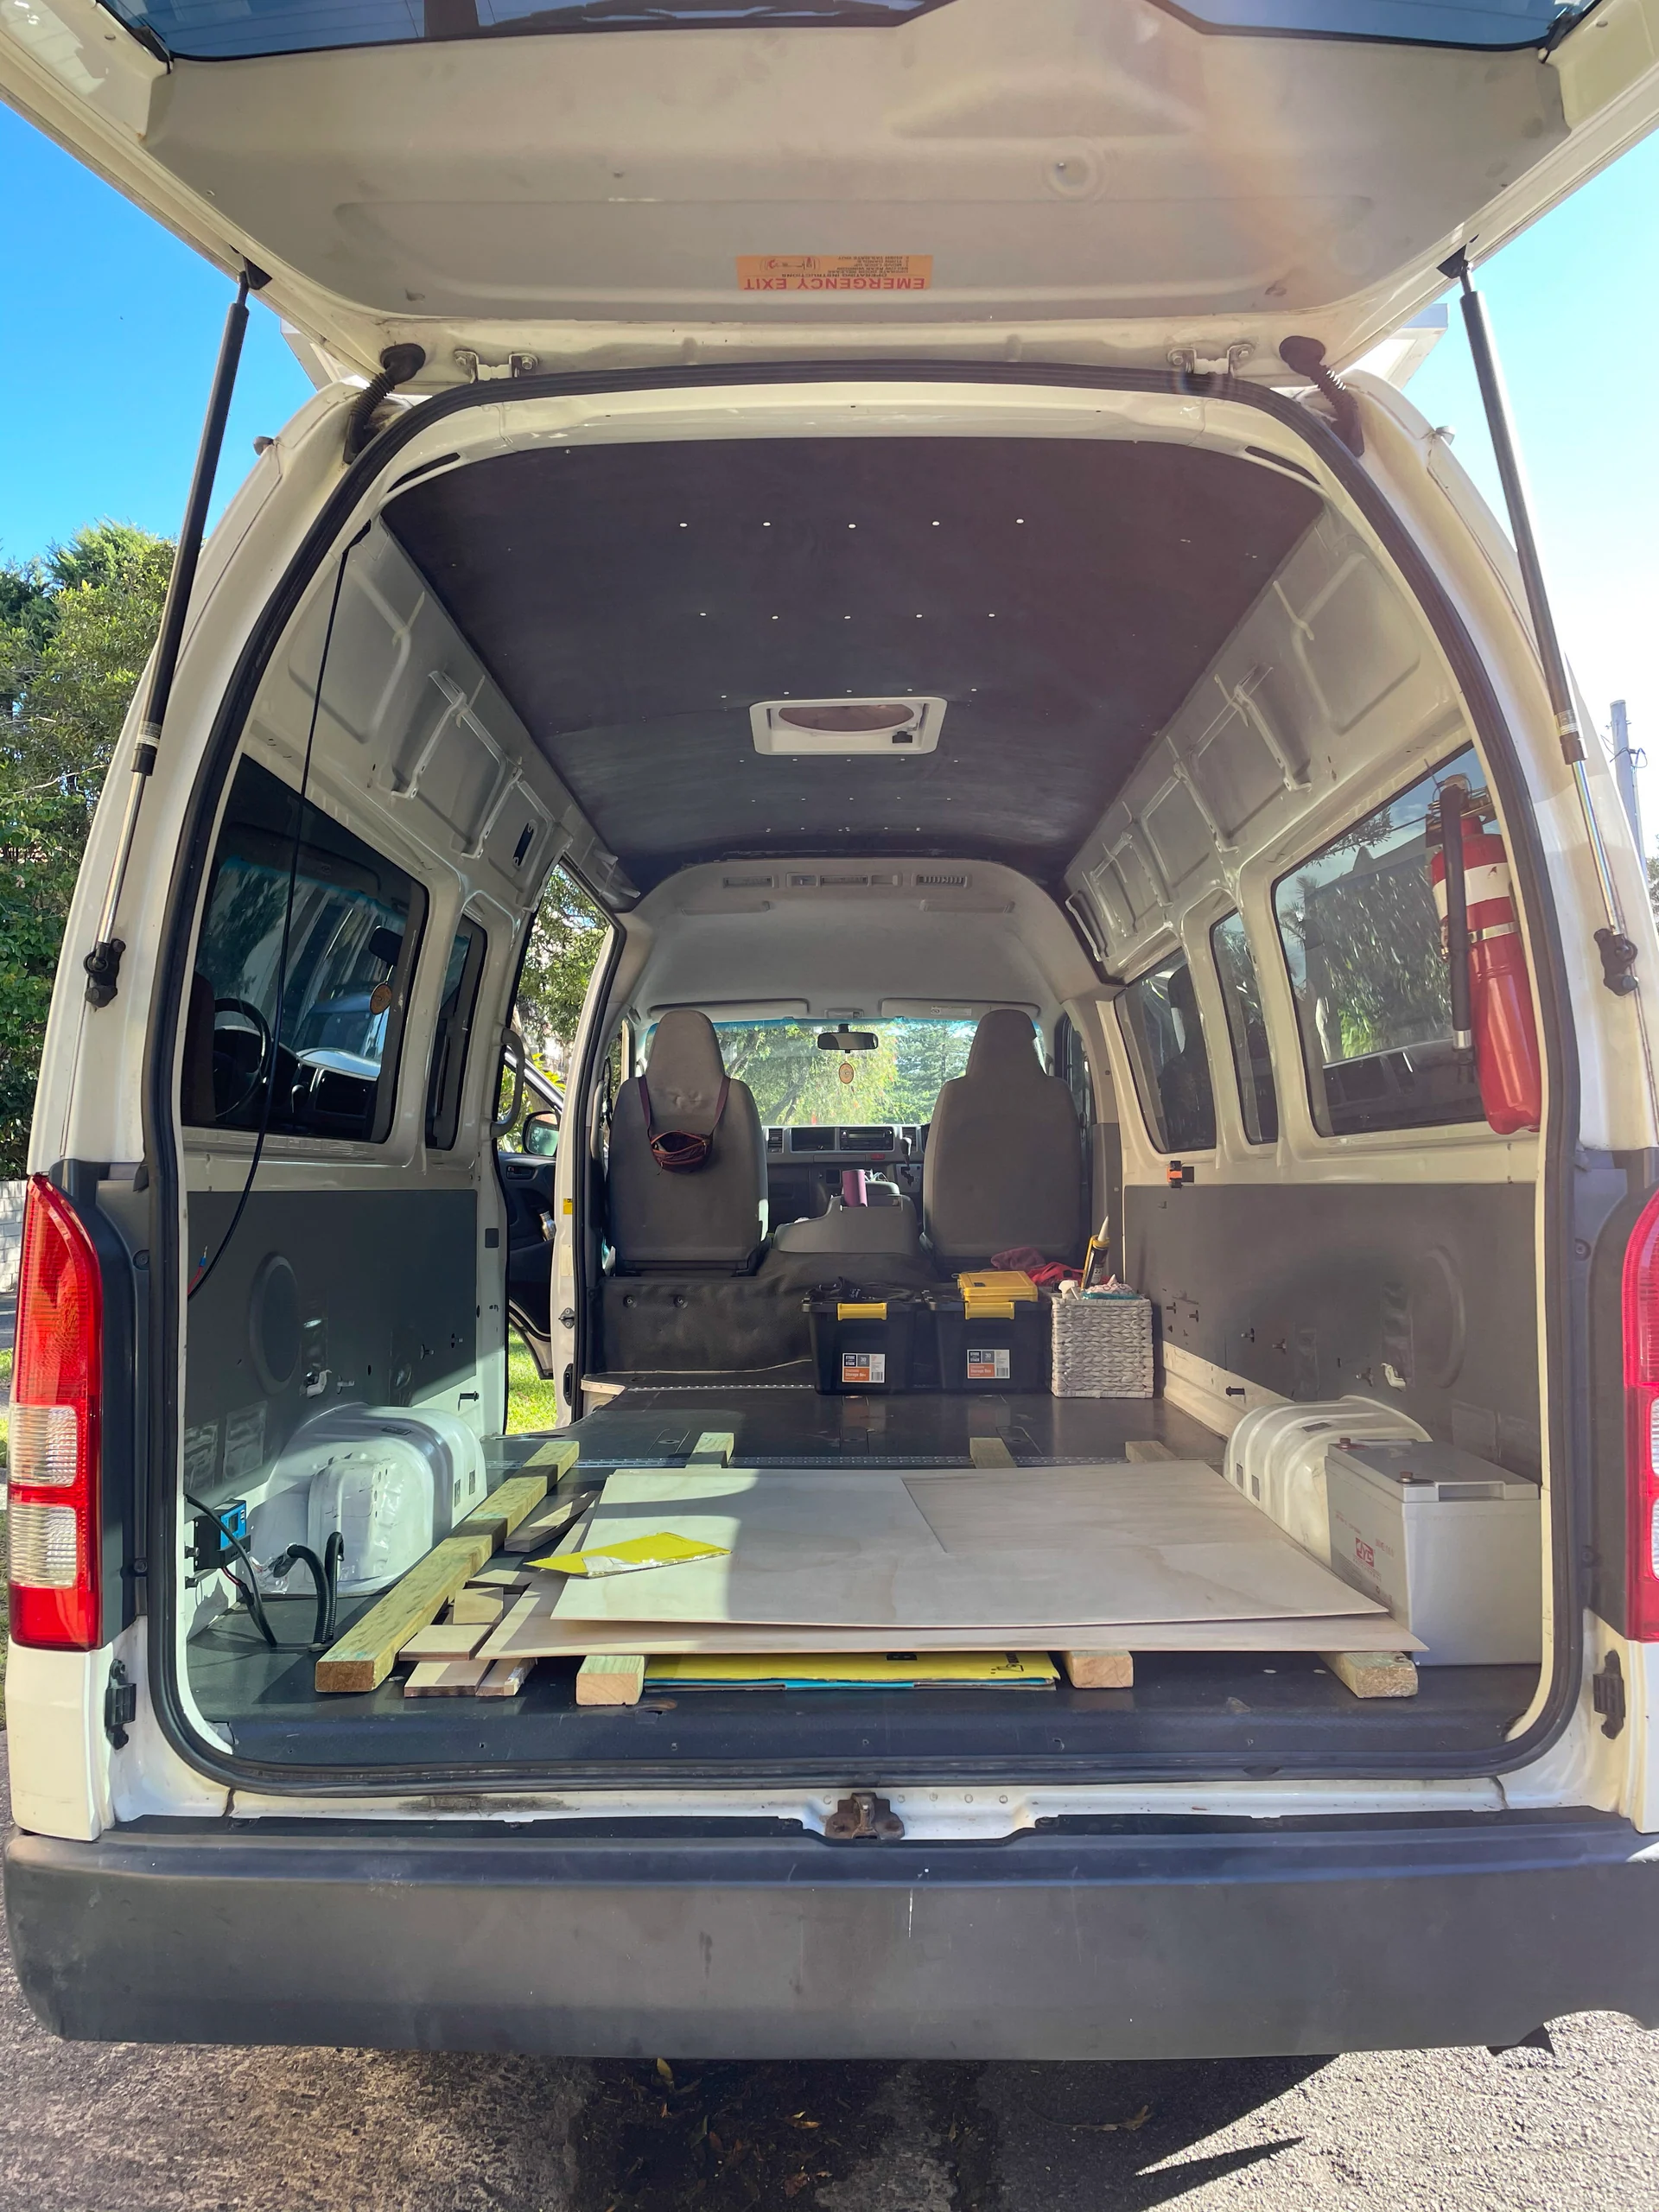
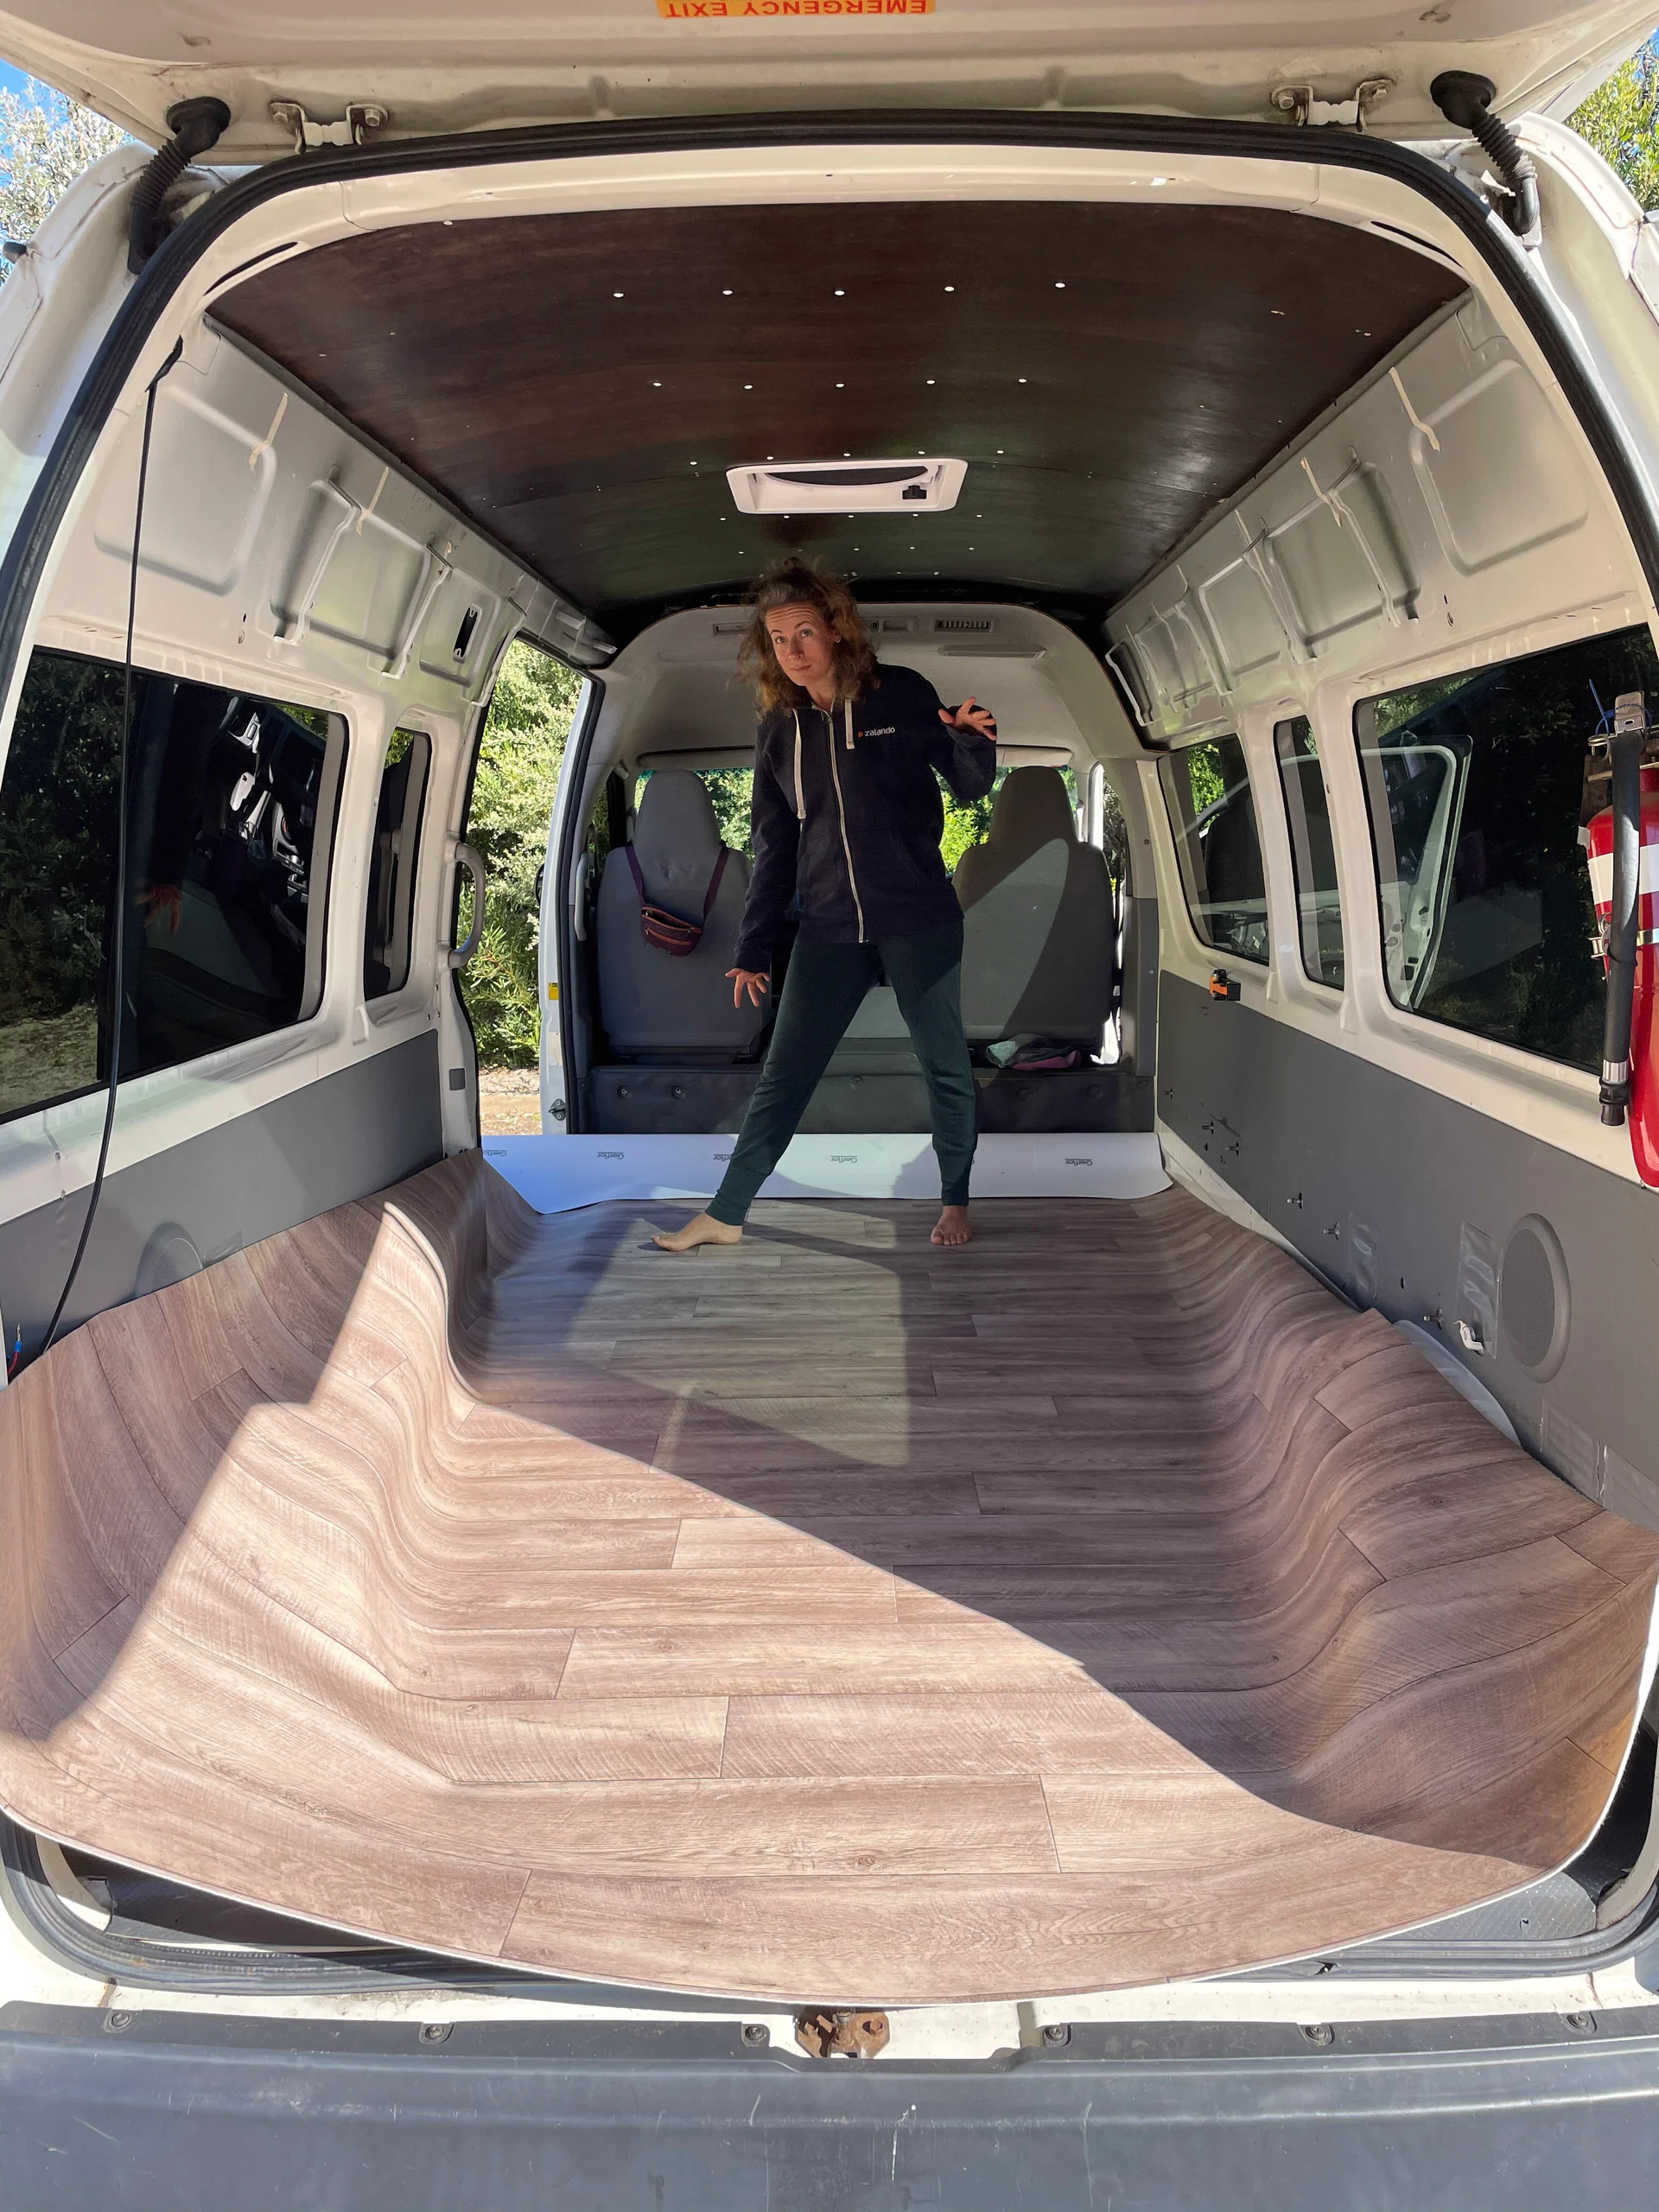
We wanted to get the floor done today. But our Bunnings was sold out of the vinyl sheets that we wanted. So we spend half of the day driving to various shops looking for alternatives. In the end it was totally worth it as we managed to get a killer deal on a really nice high quality sheet. Installation will have to wait for another day, though. But here is a sneak peek.
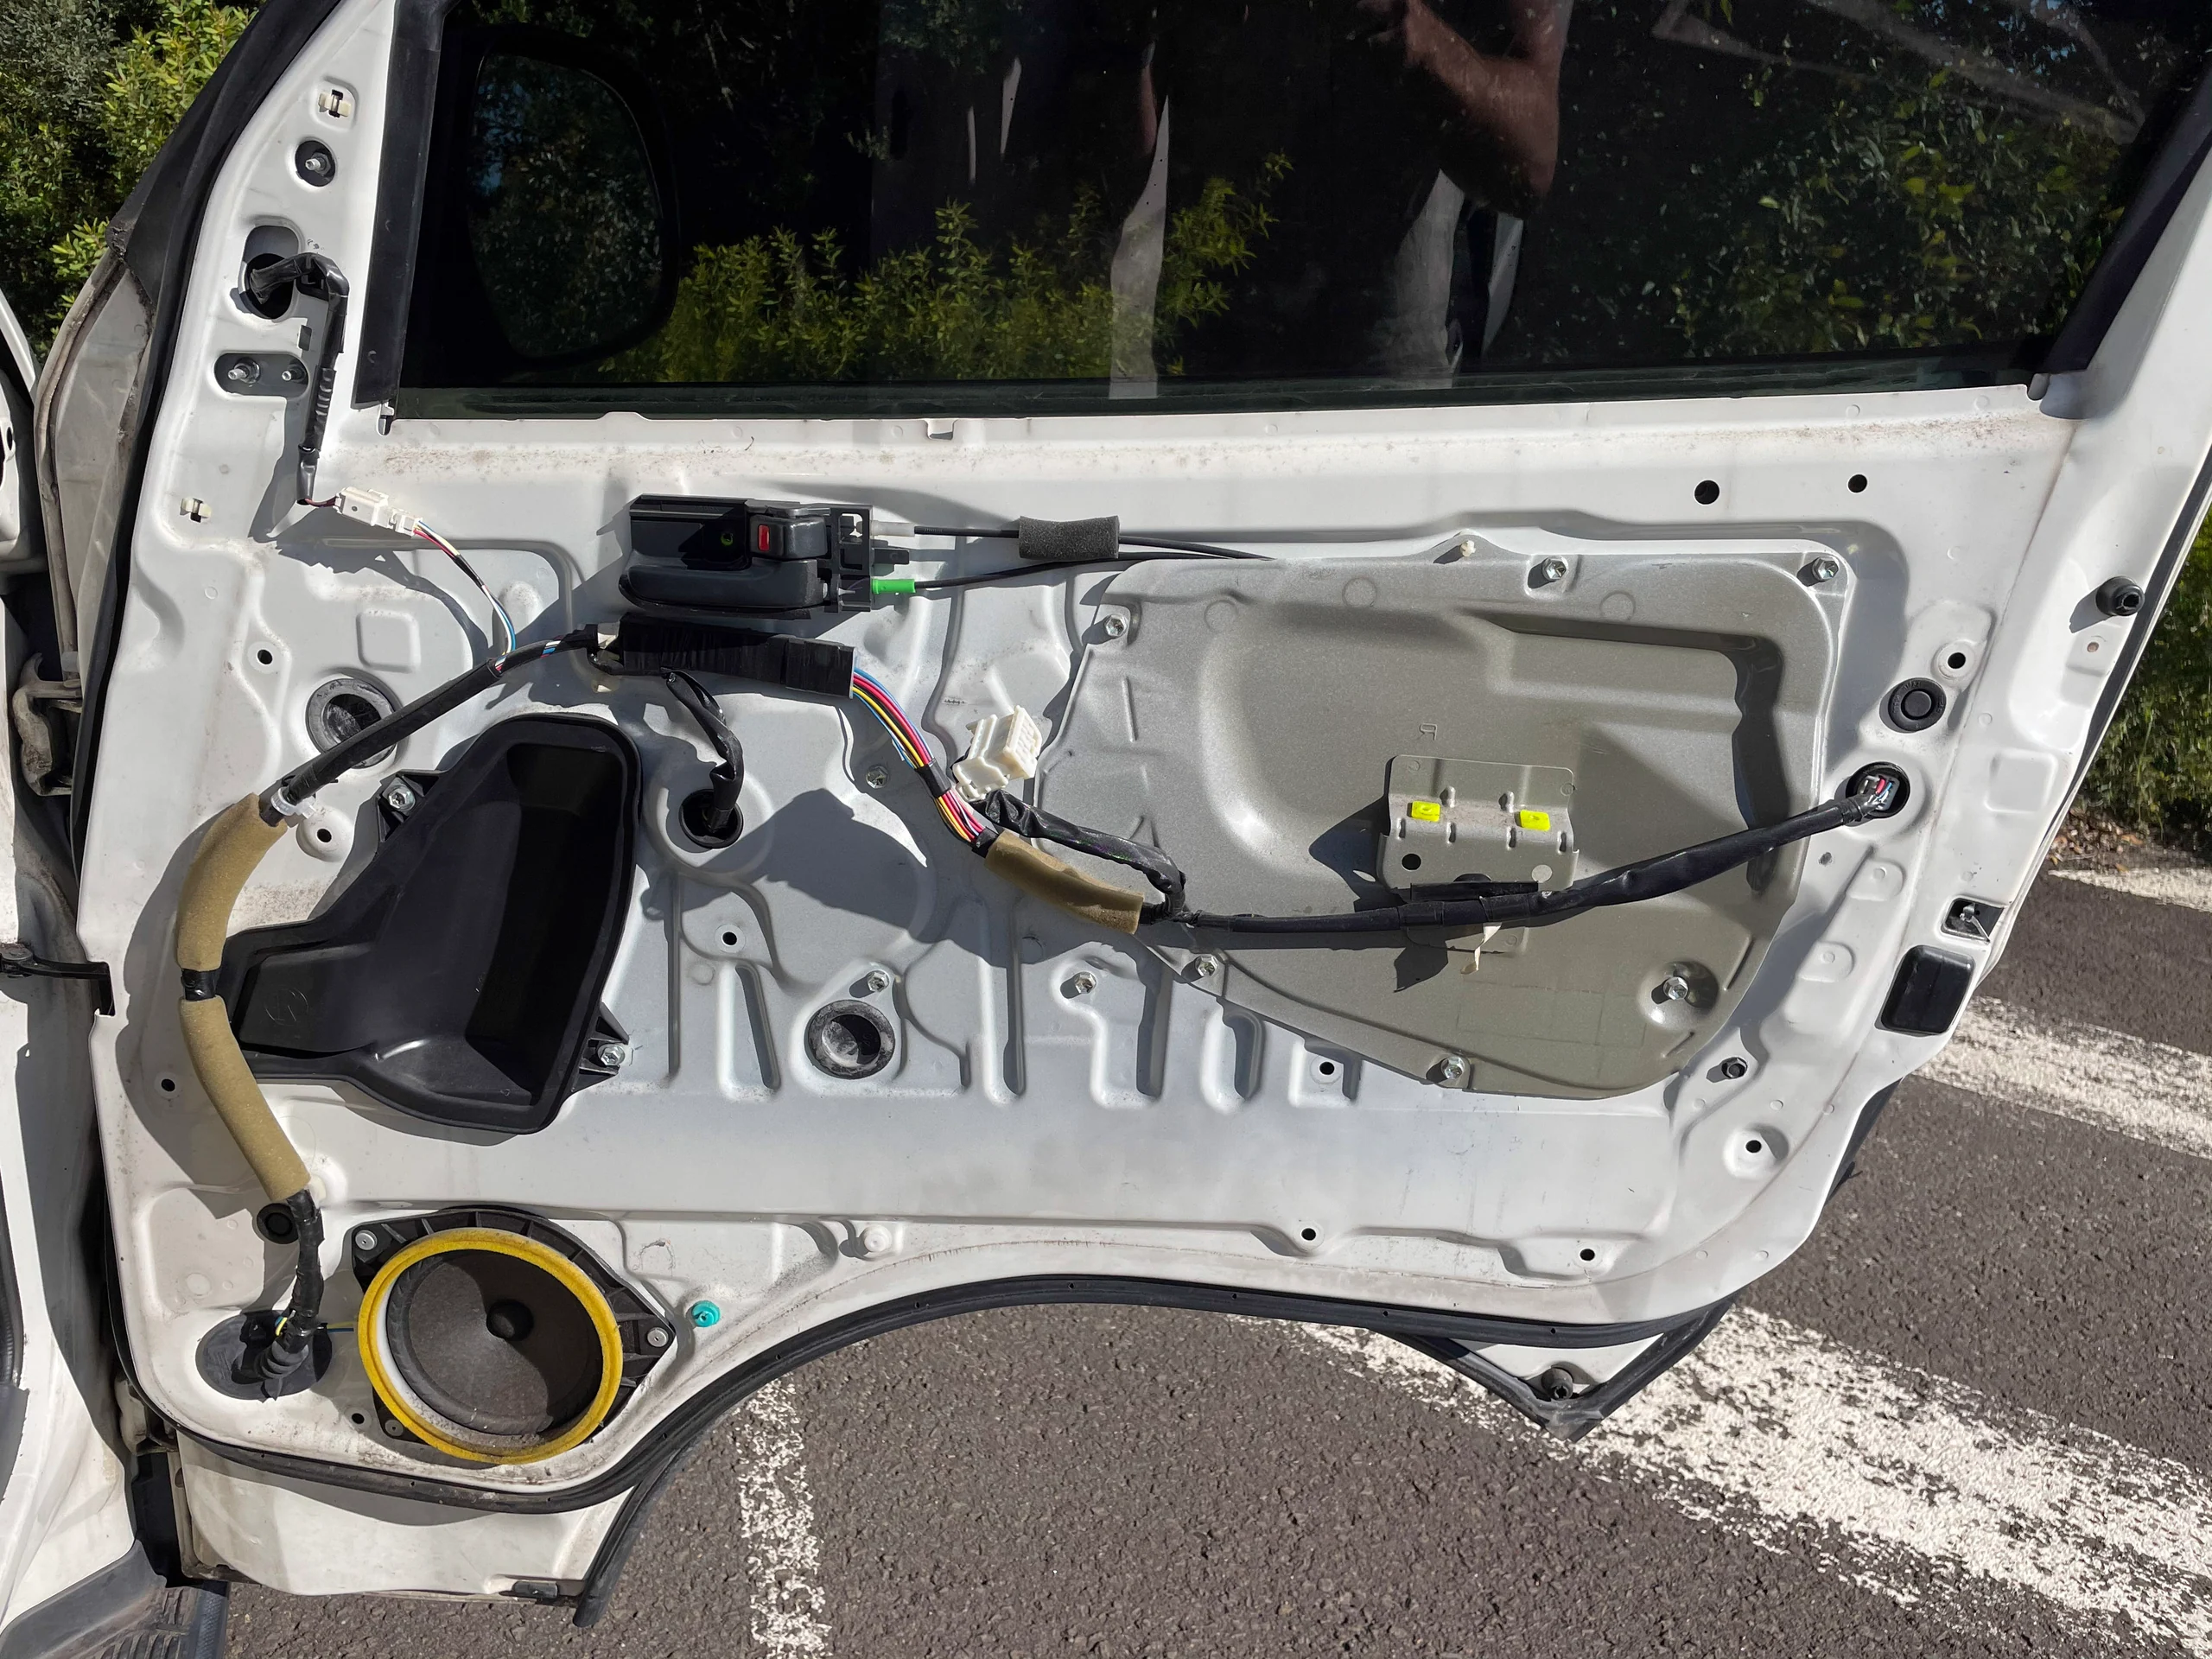
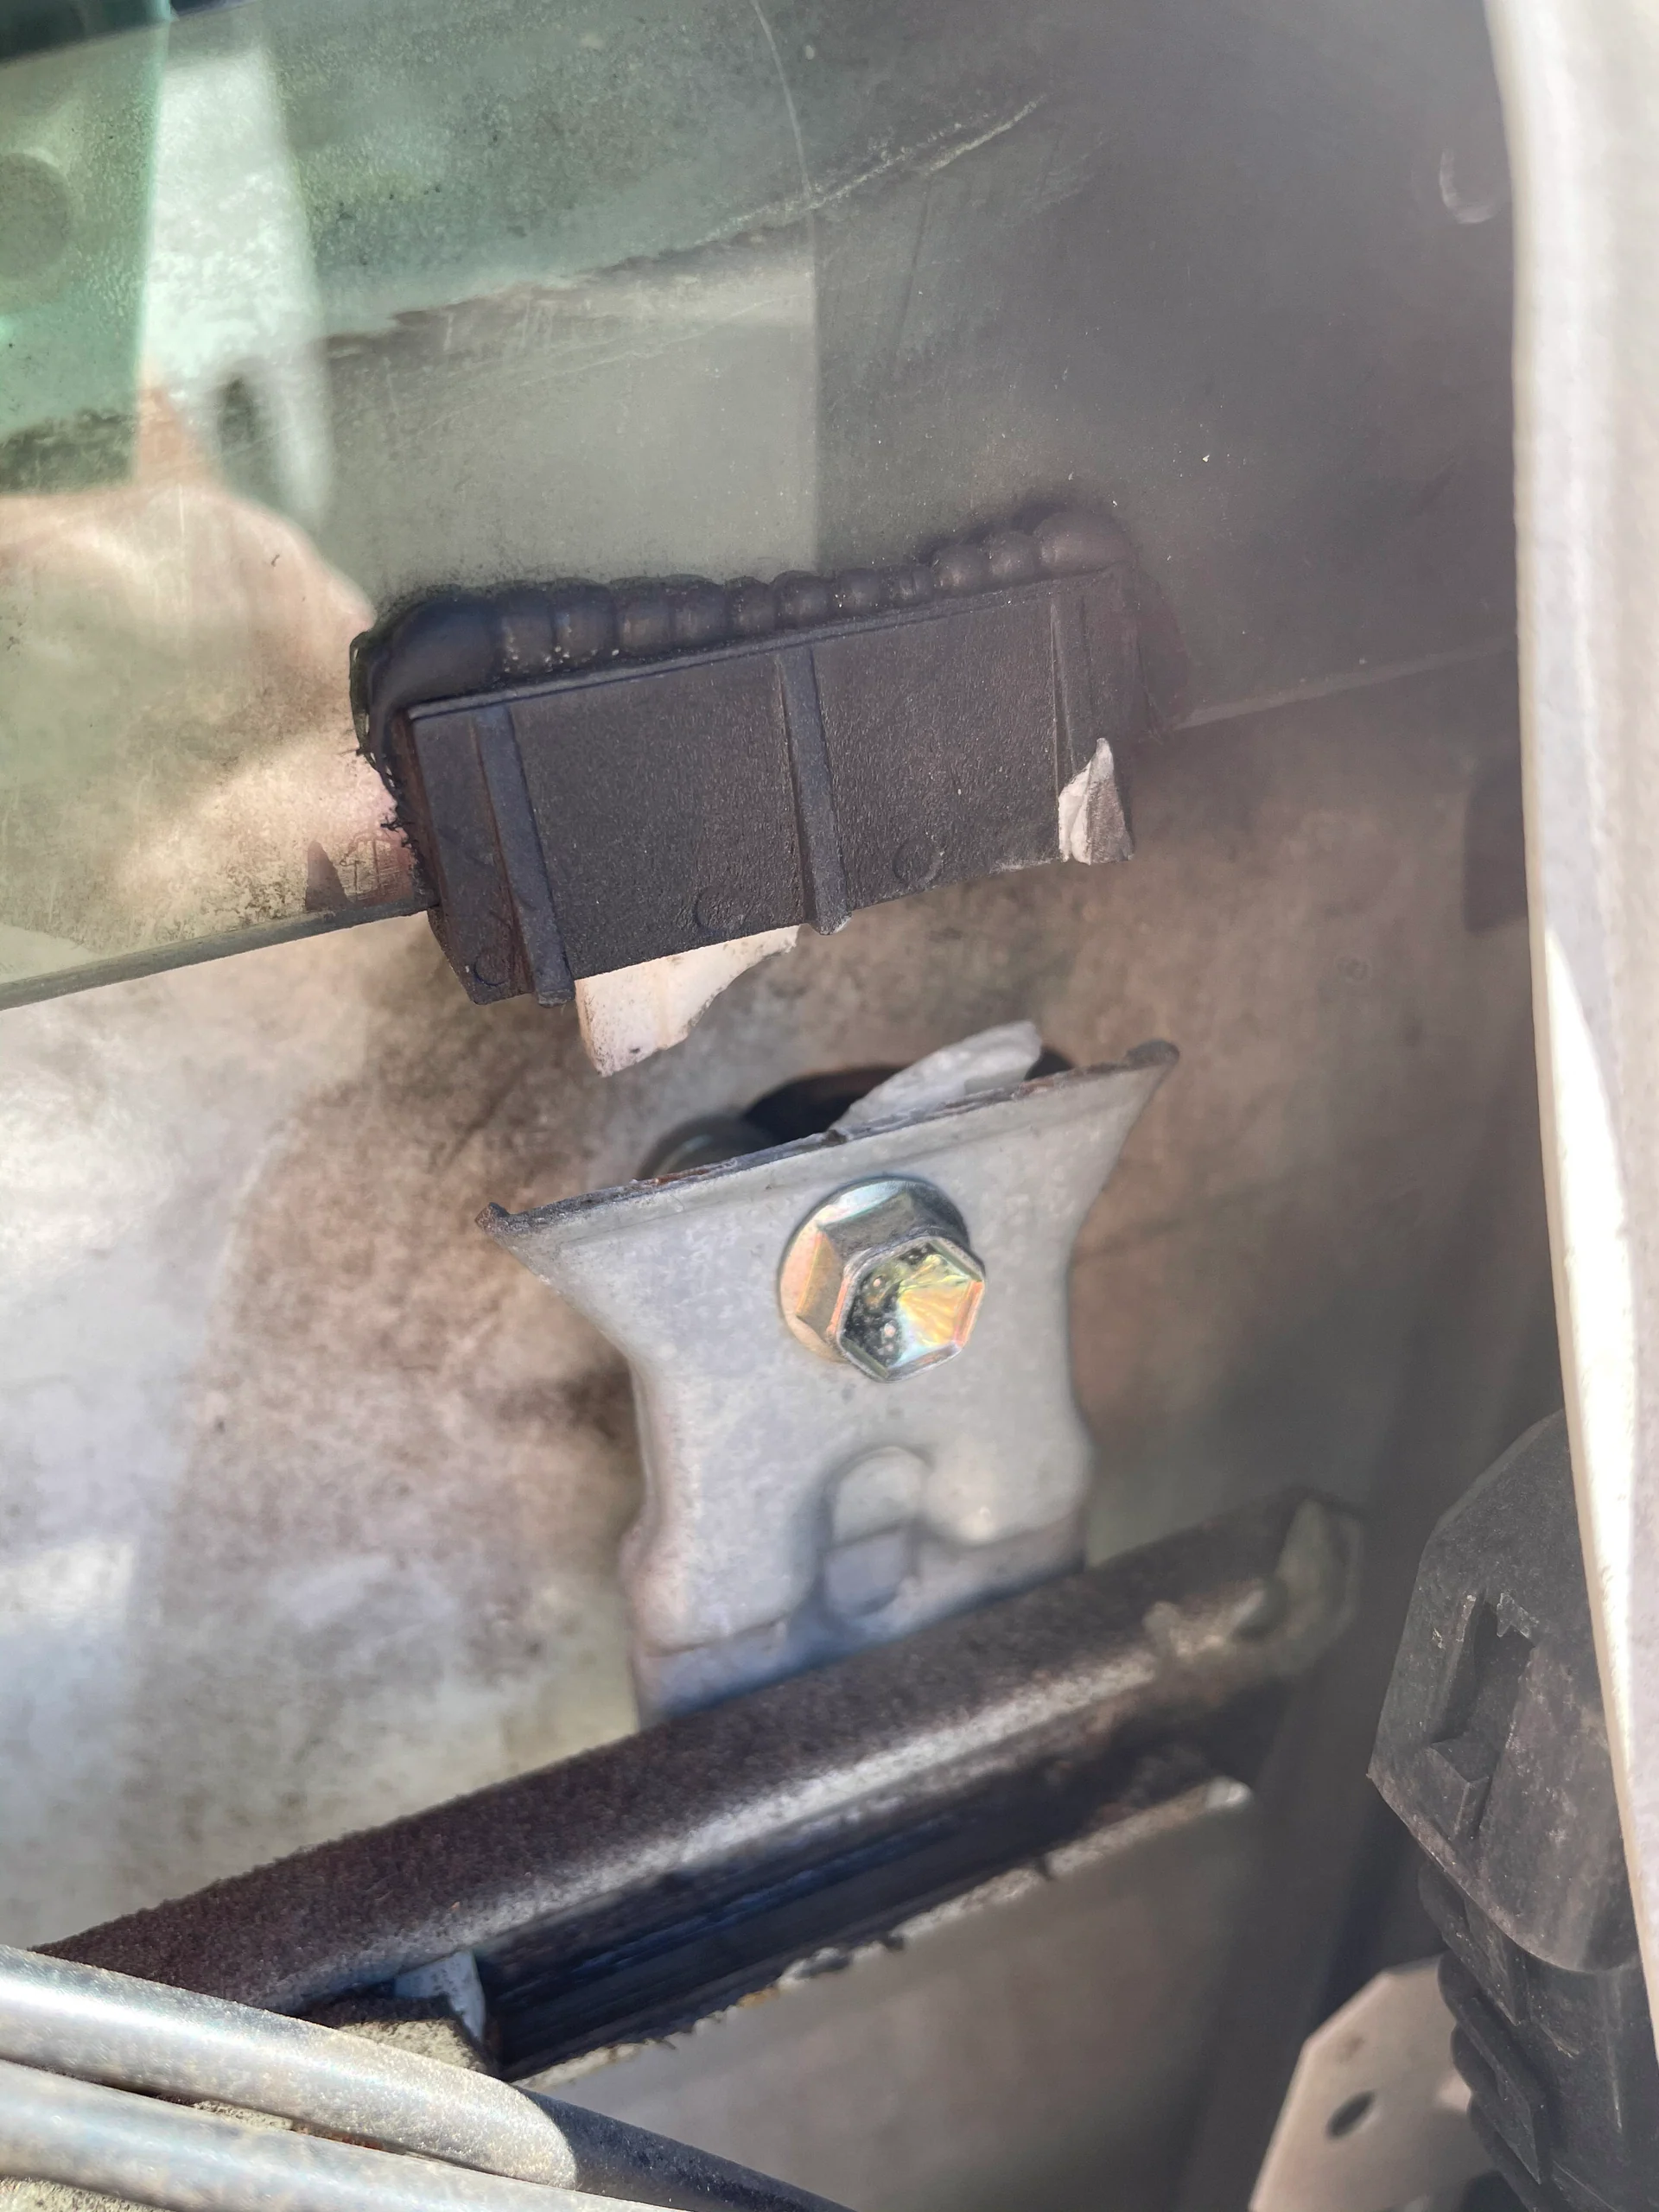
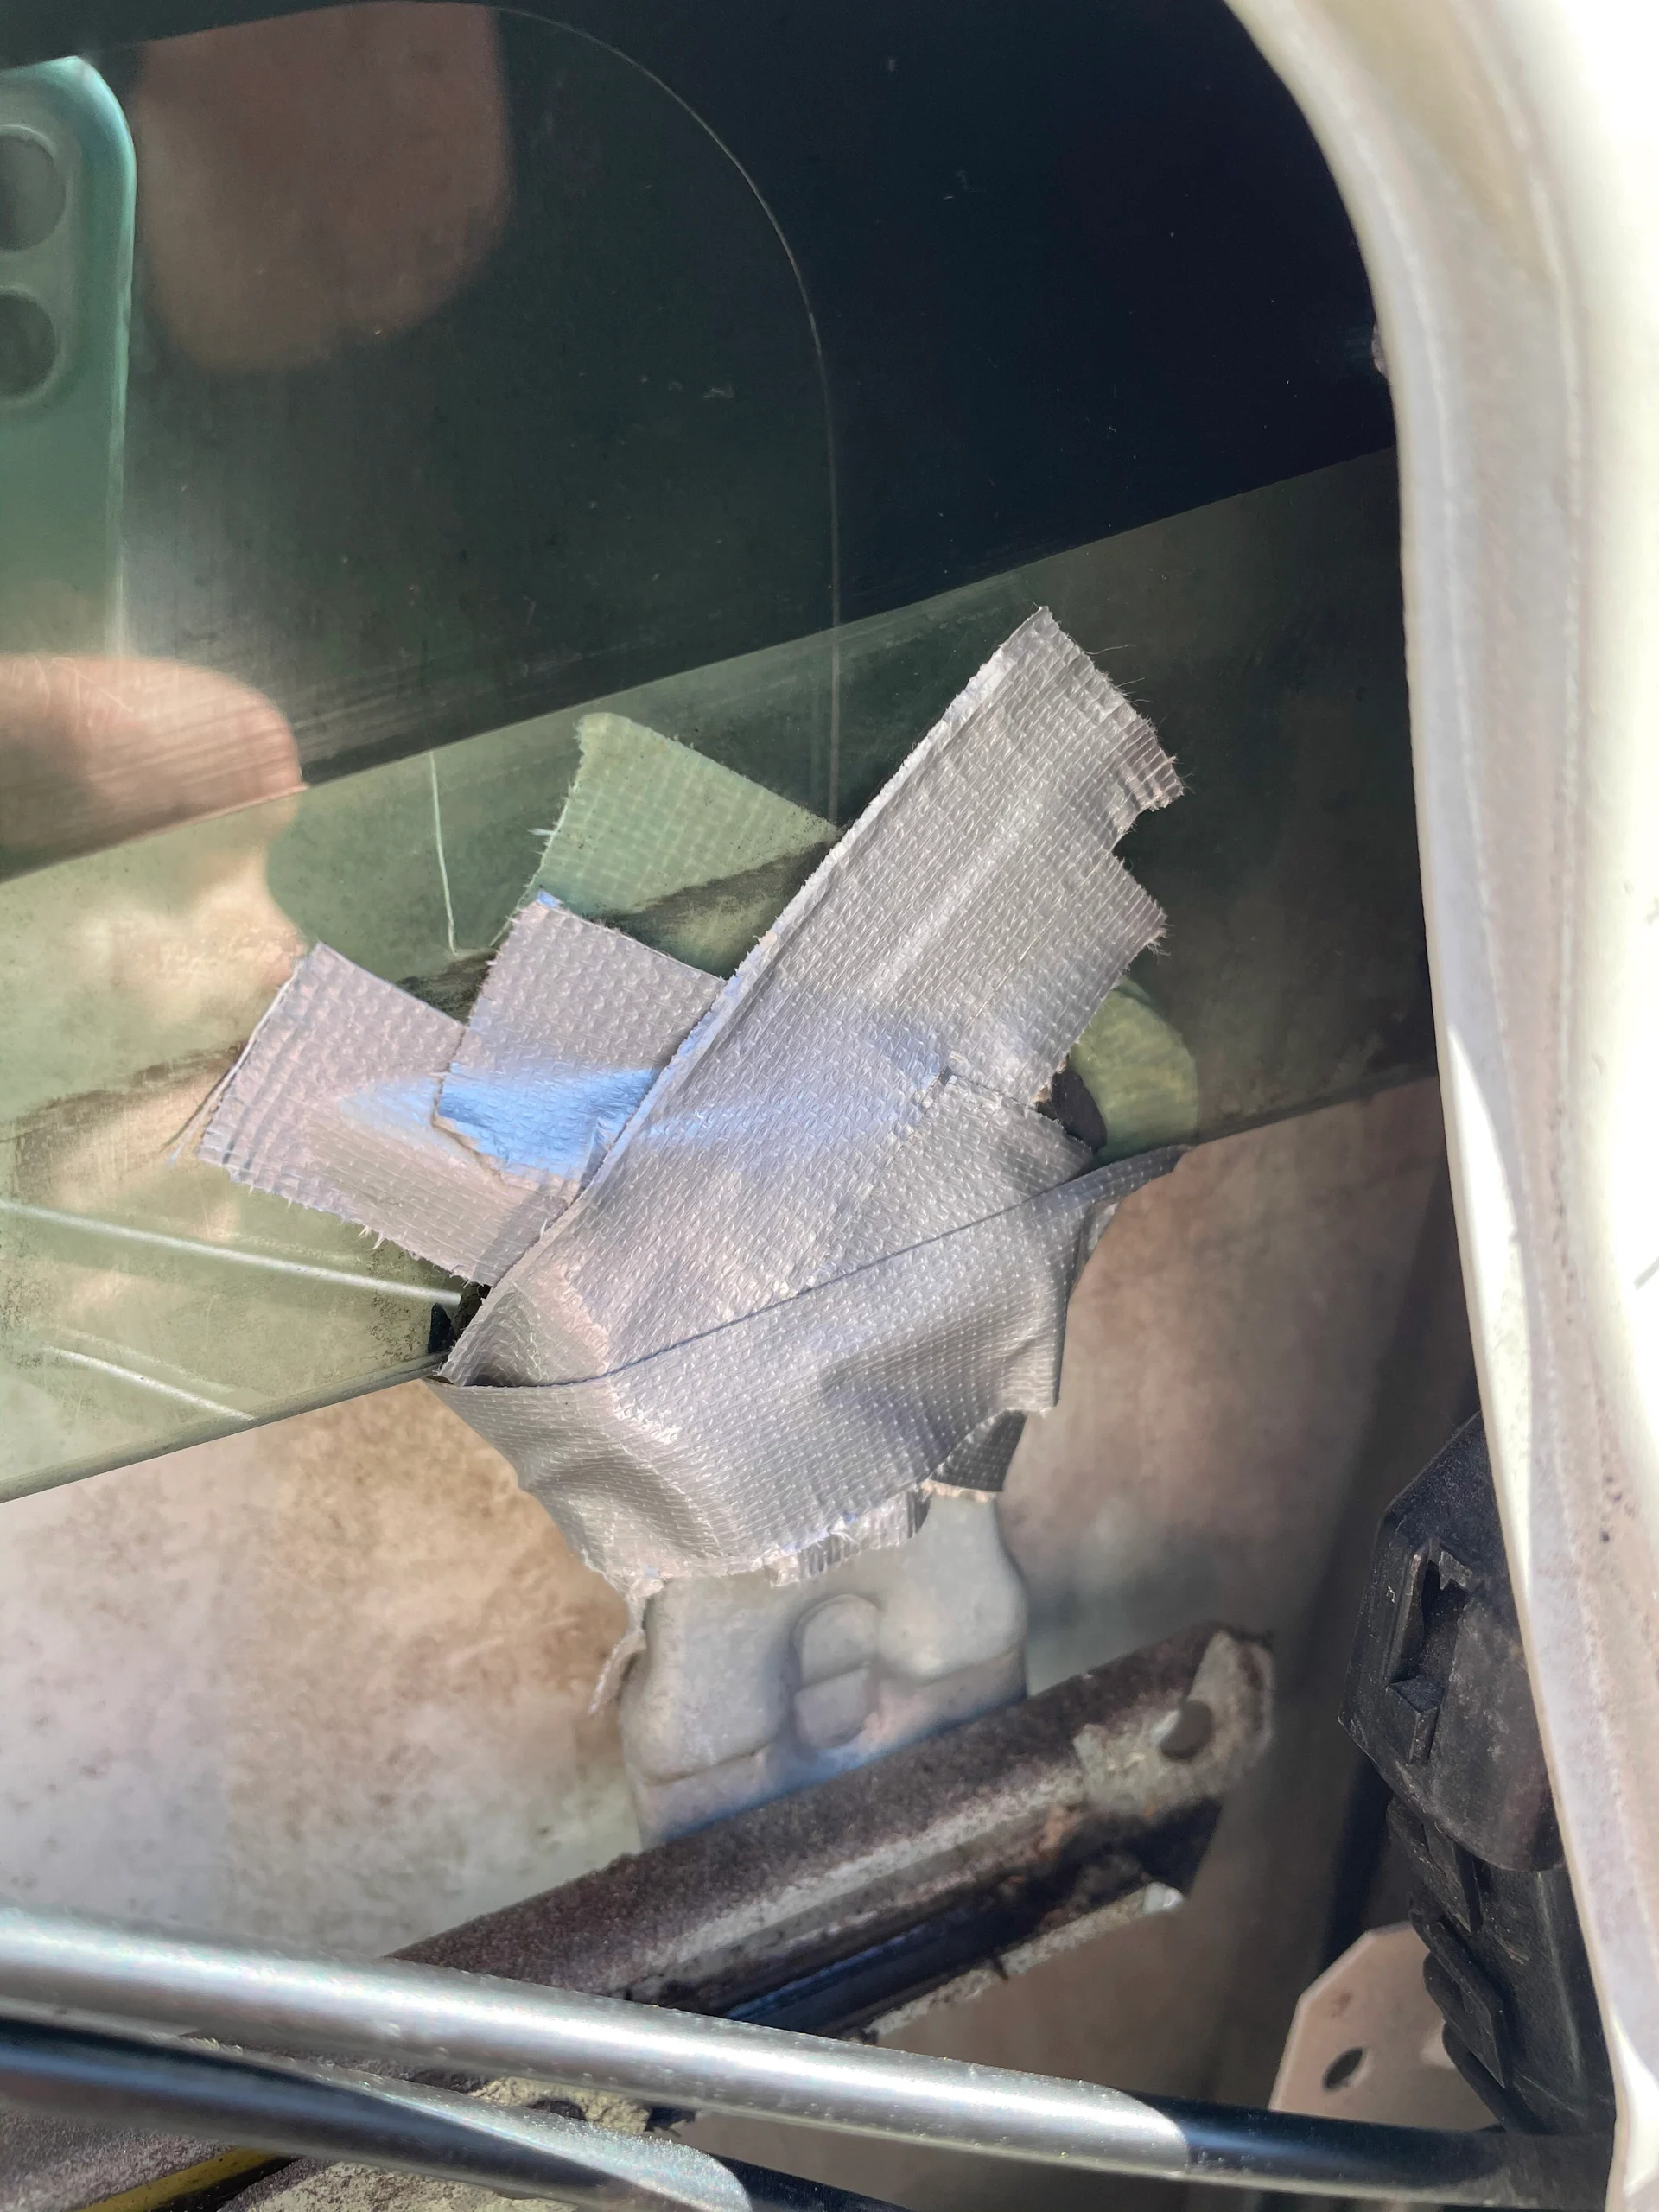
But we managed to get a few smaller things done. I tried to fix the electric window. Sadly, Mo had ordered the wrong spare part. So we tried our best with duct tape. Hopefully, it'll hold up until we can source the right spare part. After that, we also properly installed the DCDC charger and solar regulator.
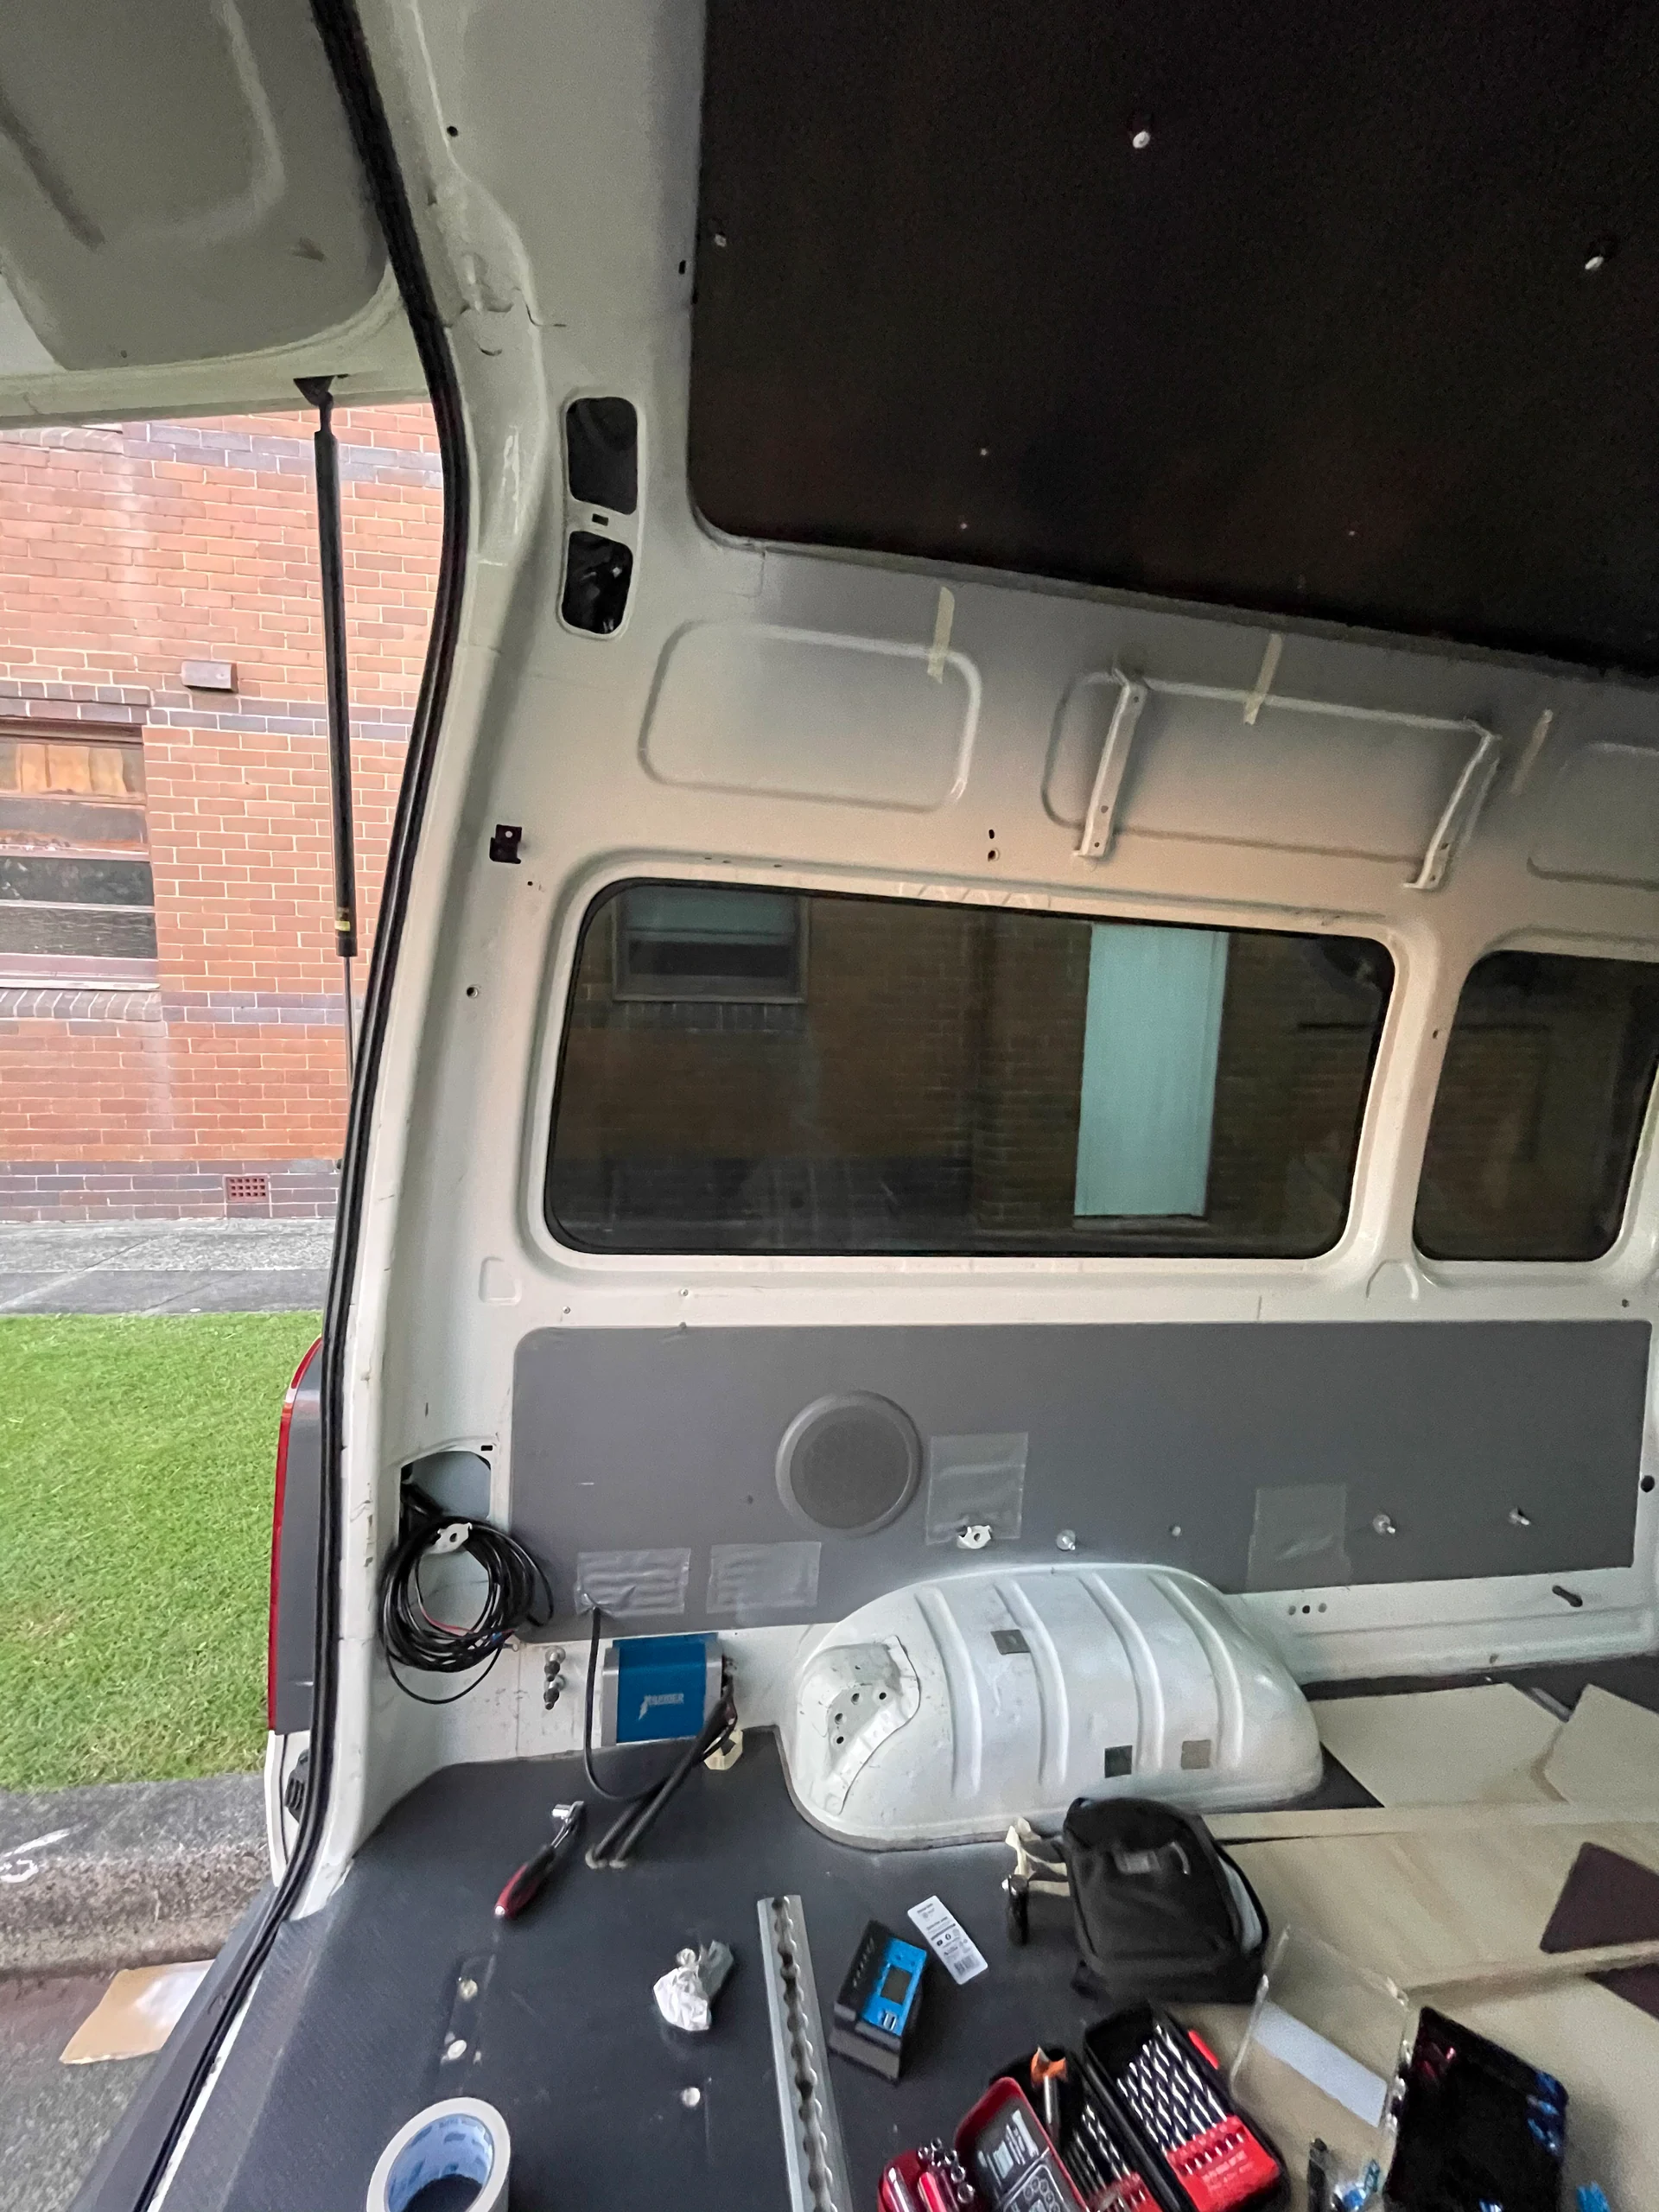
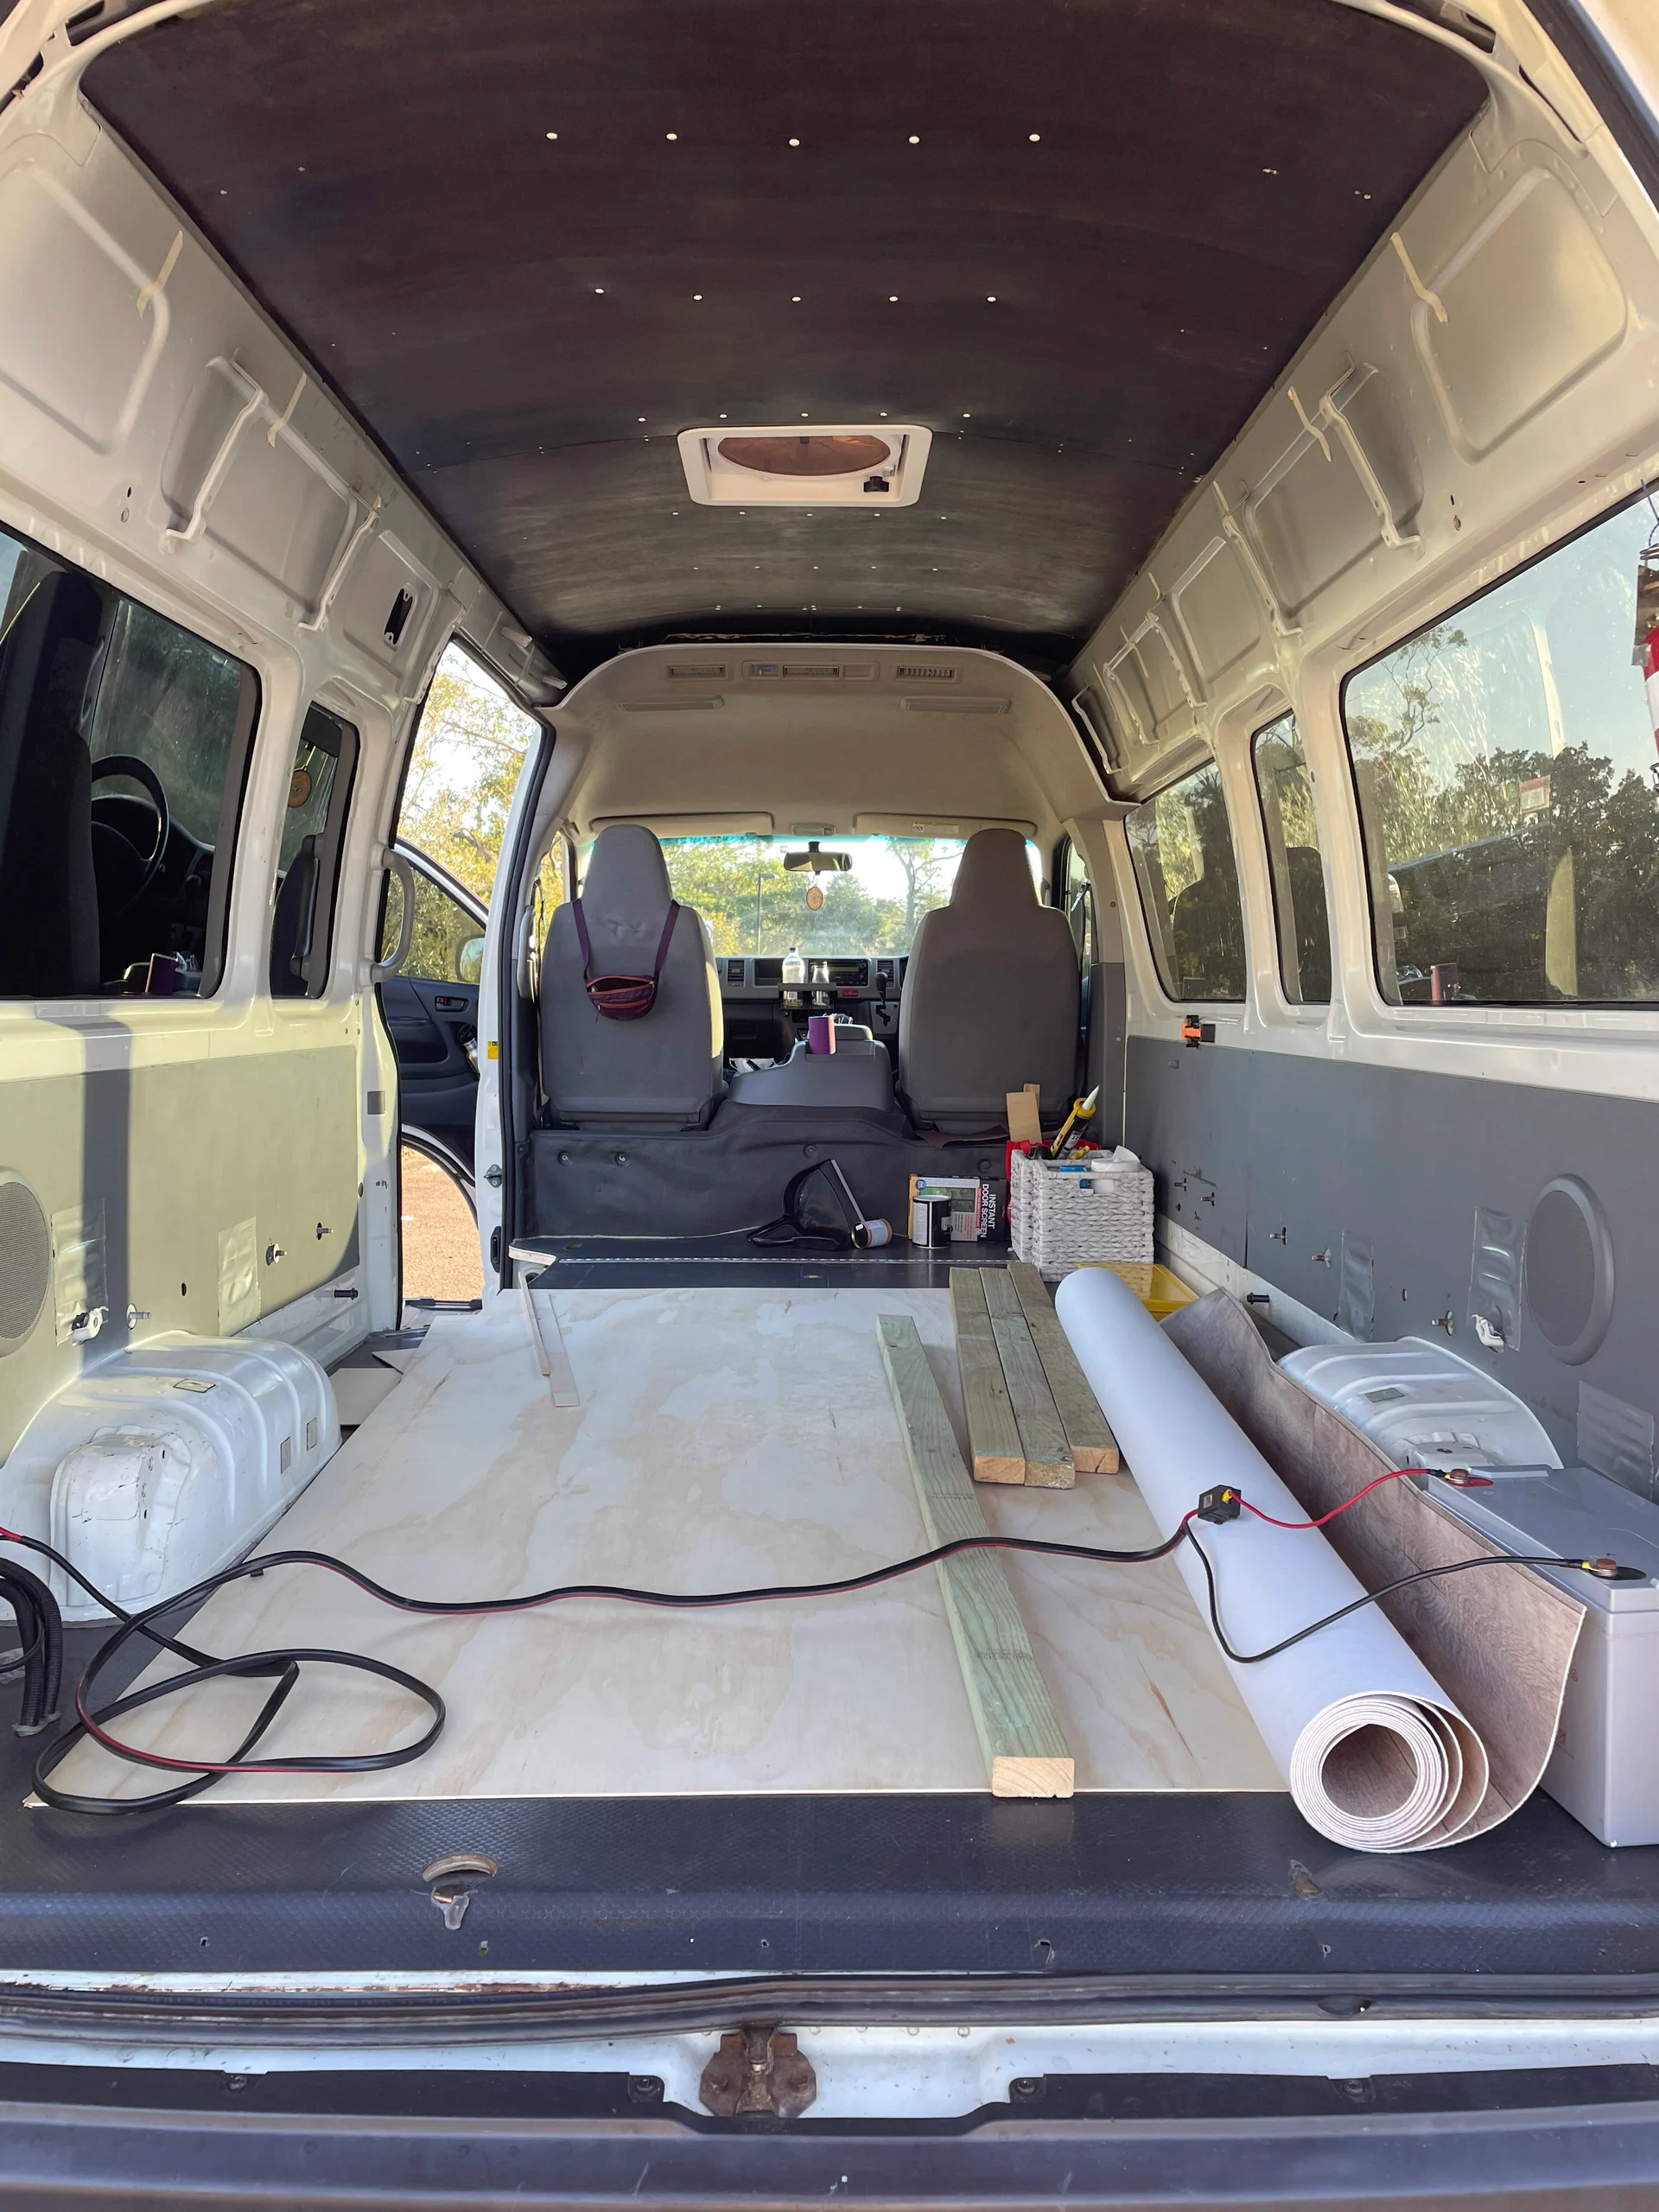
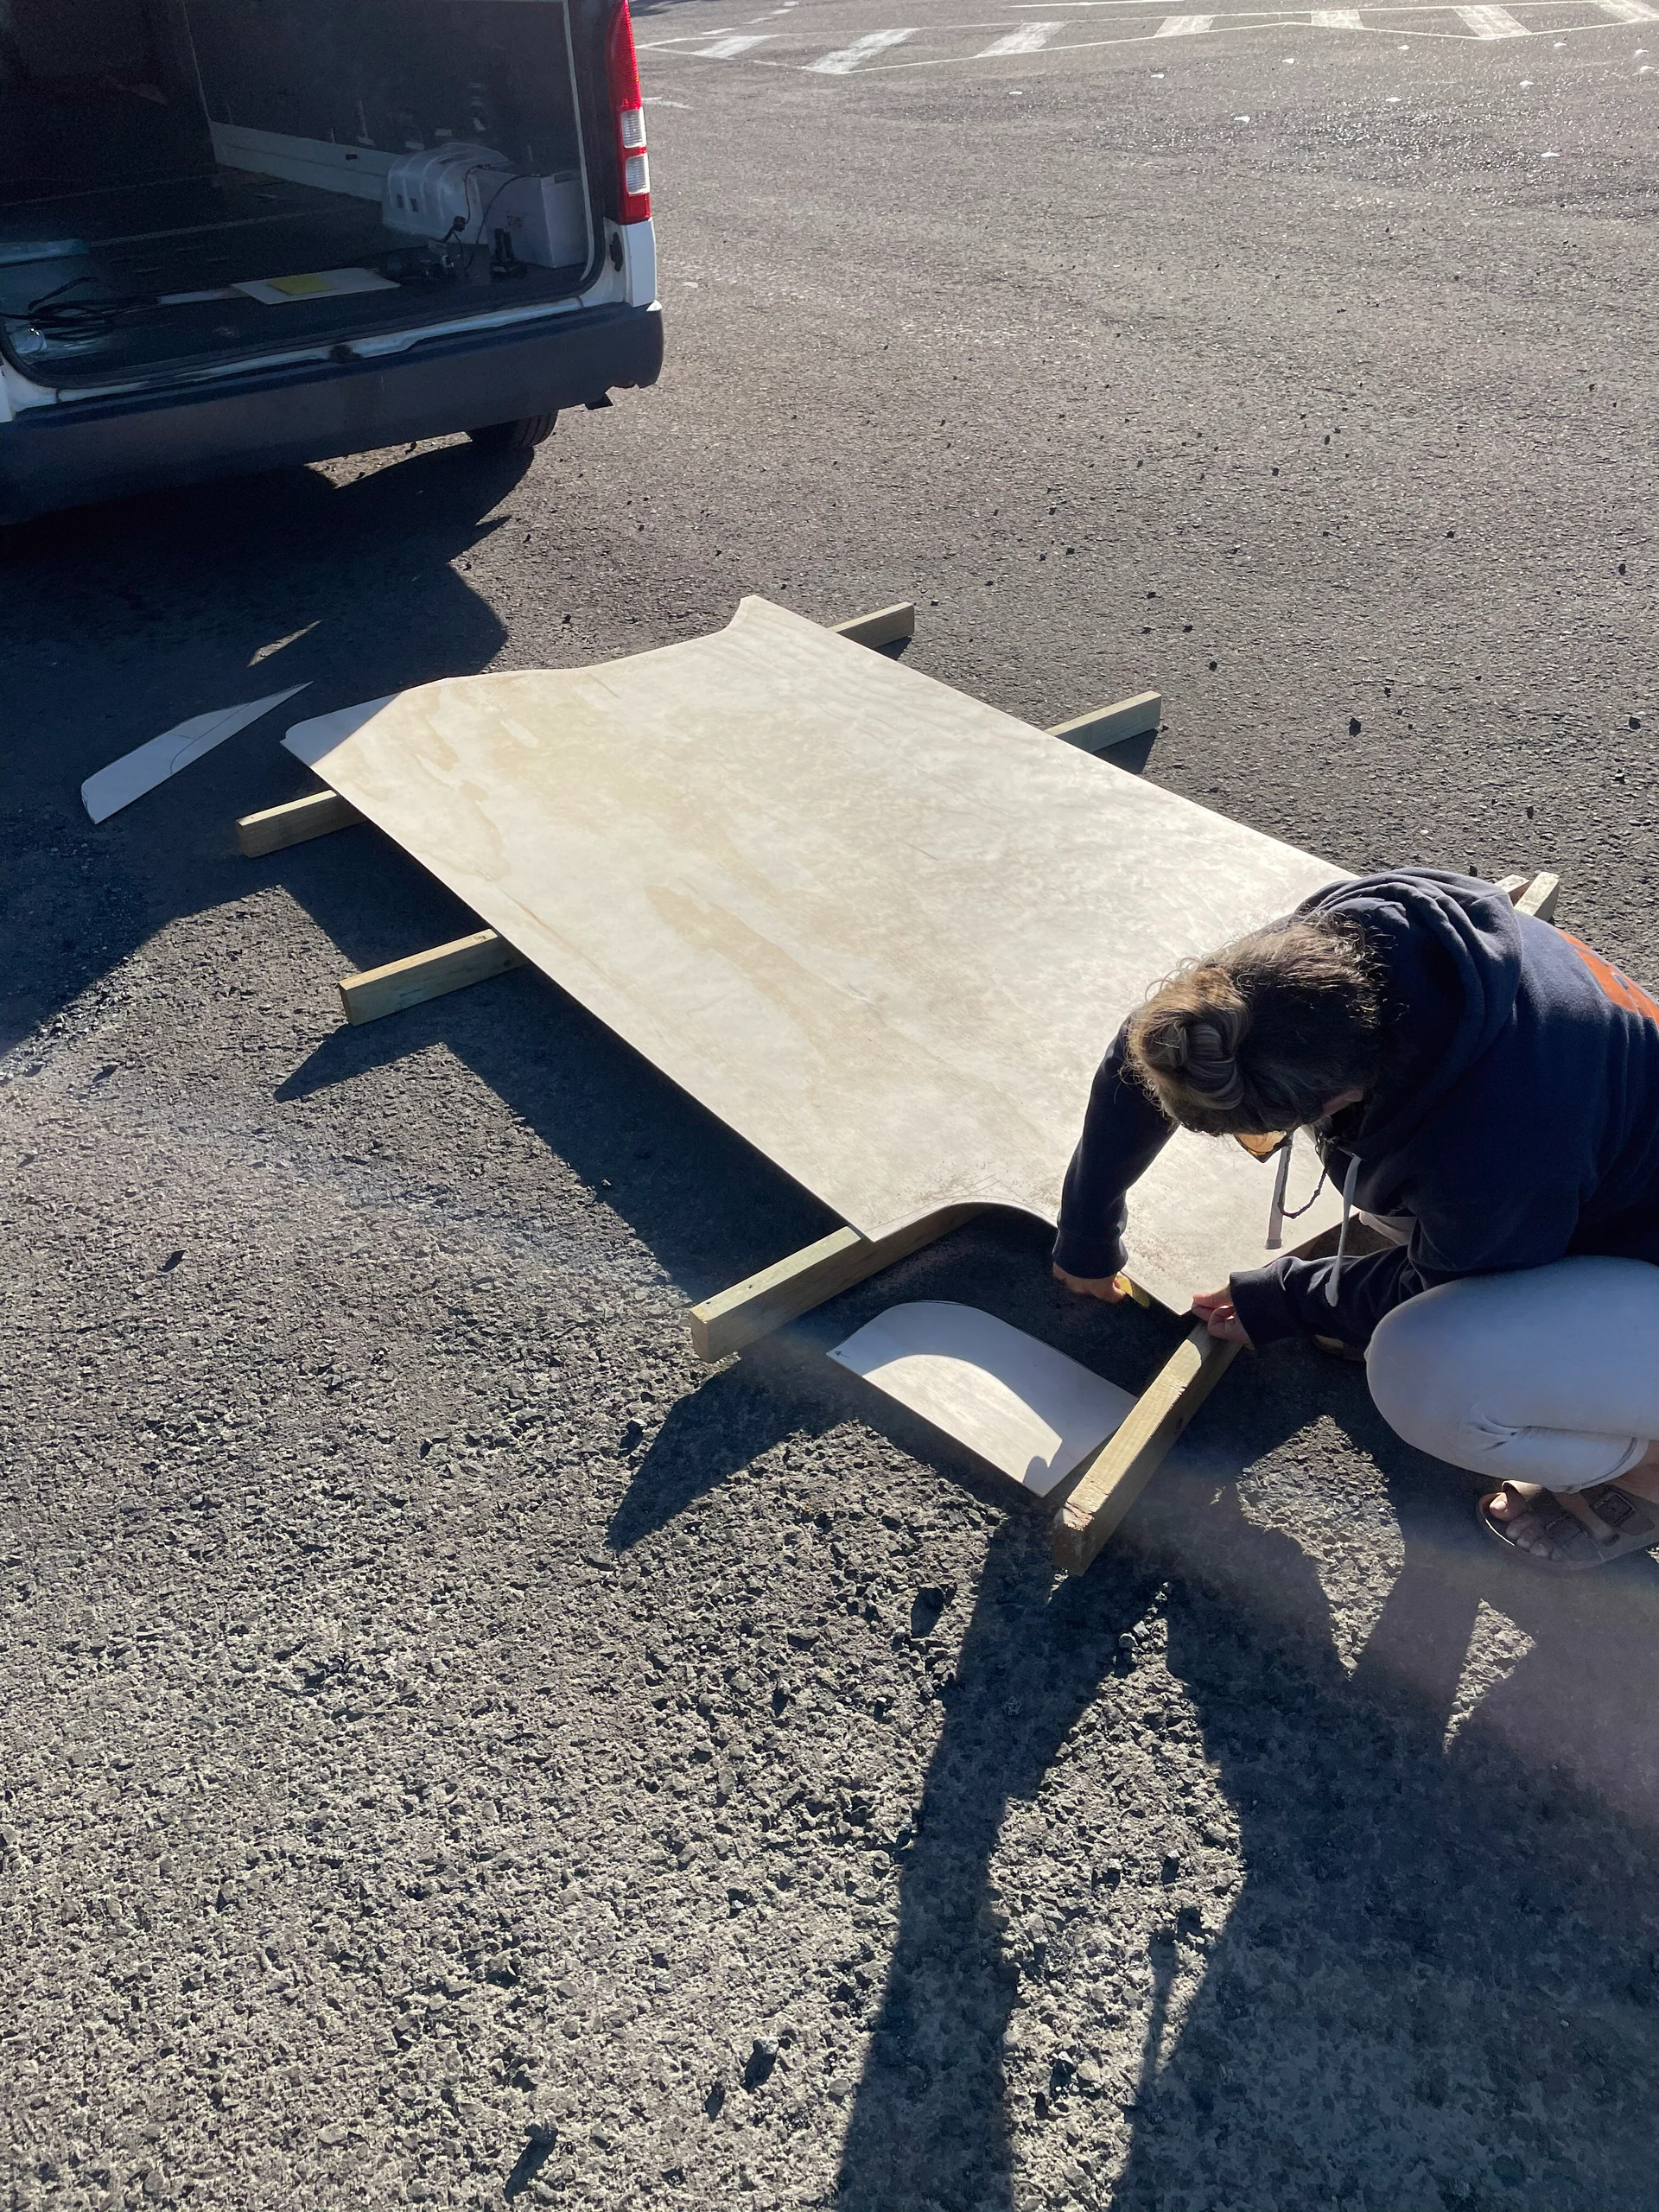
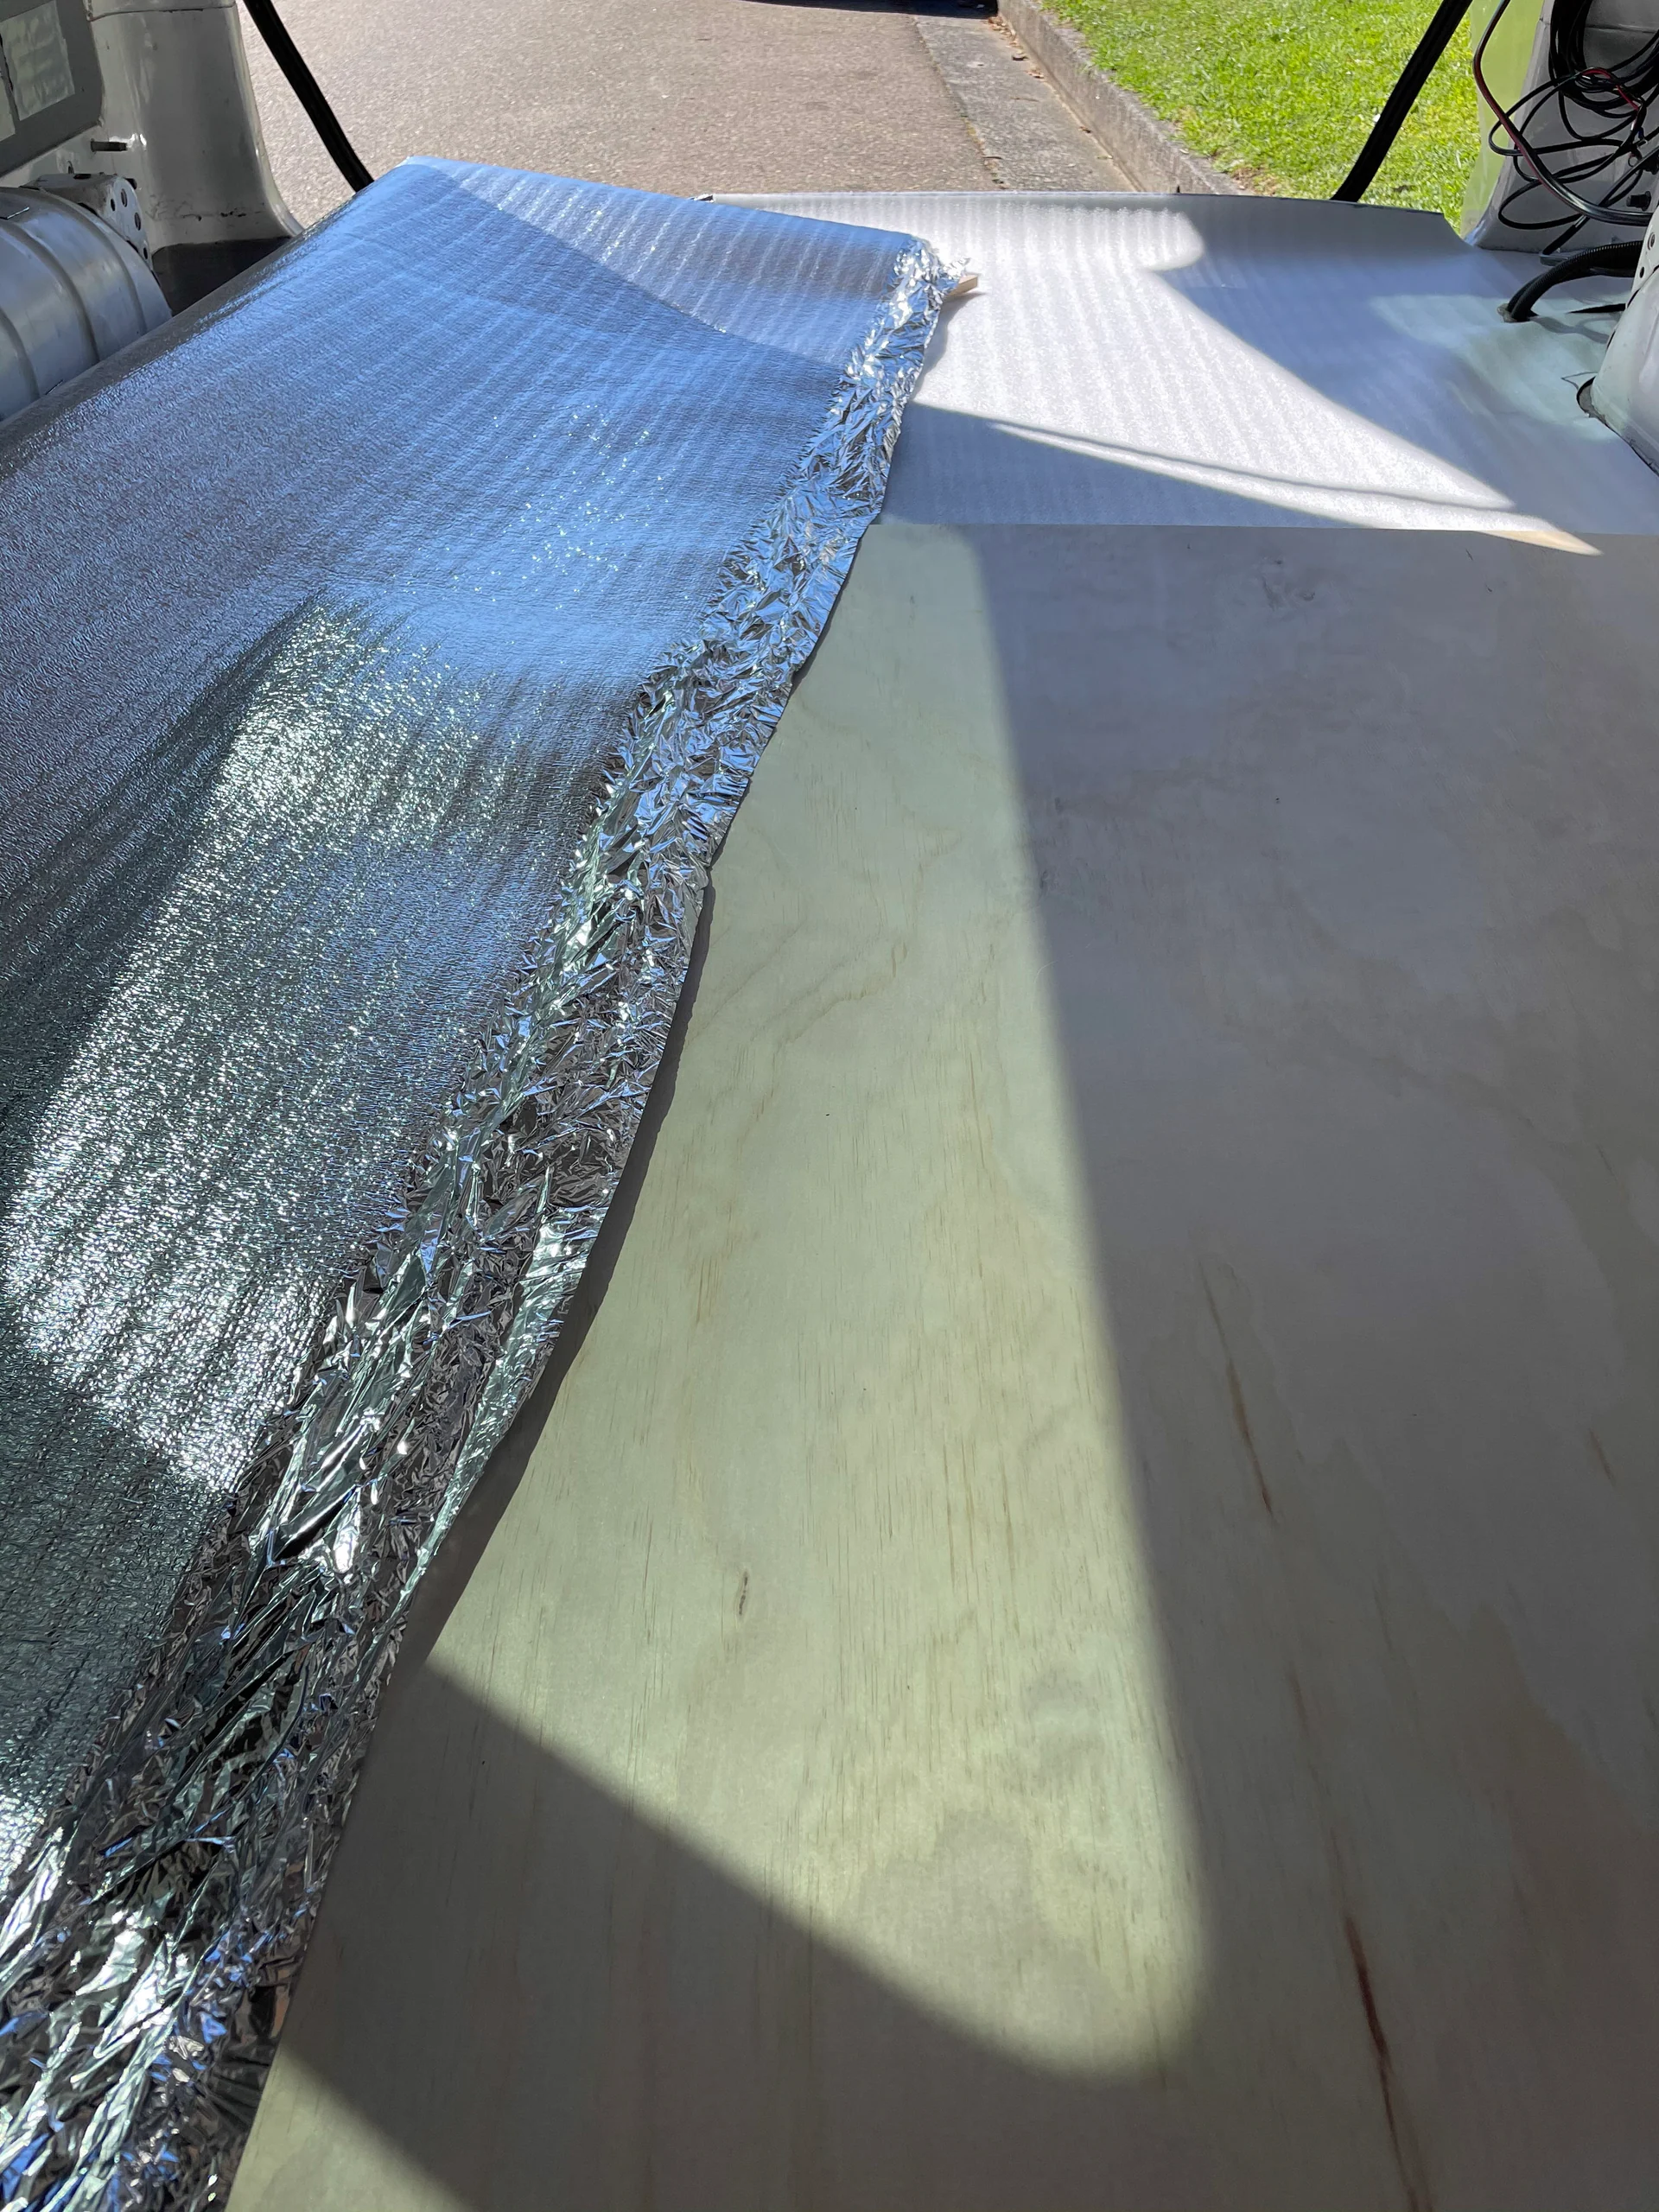
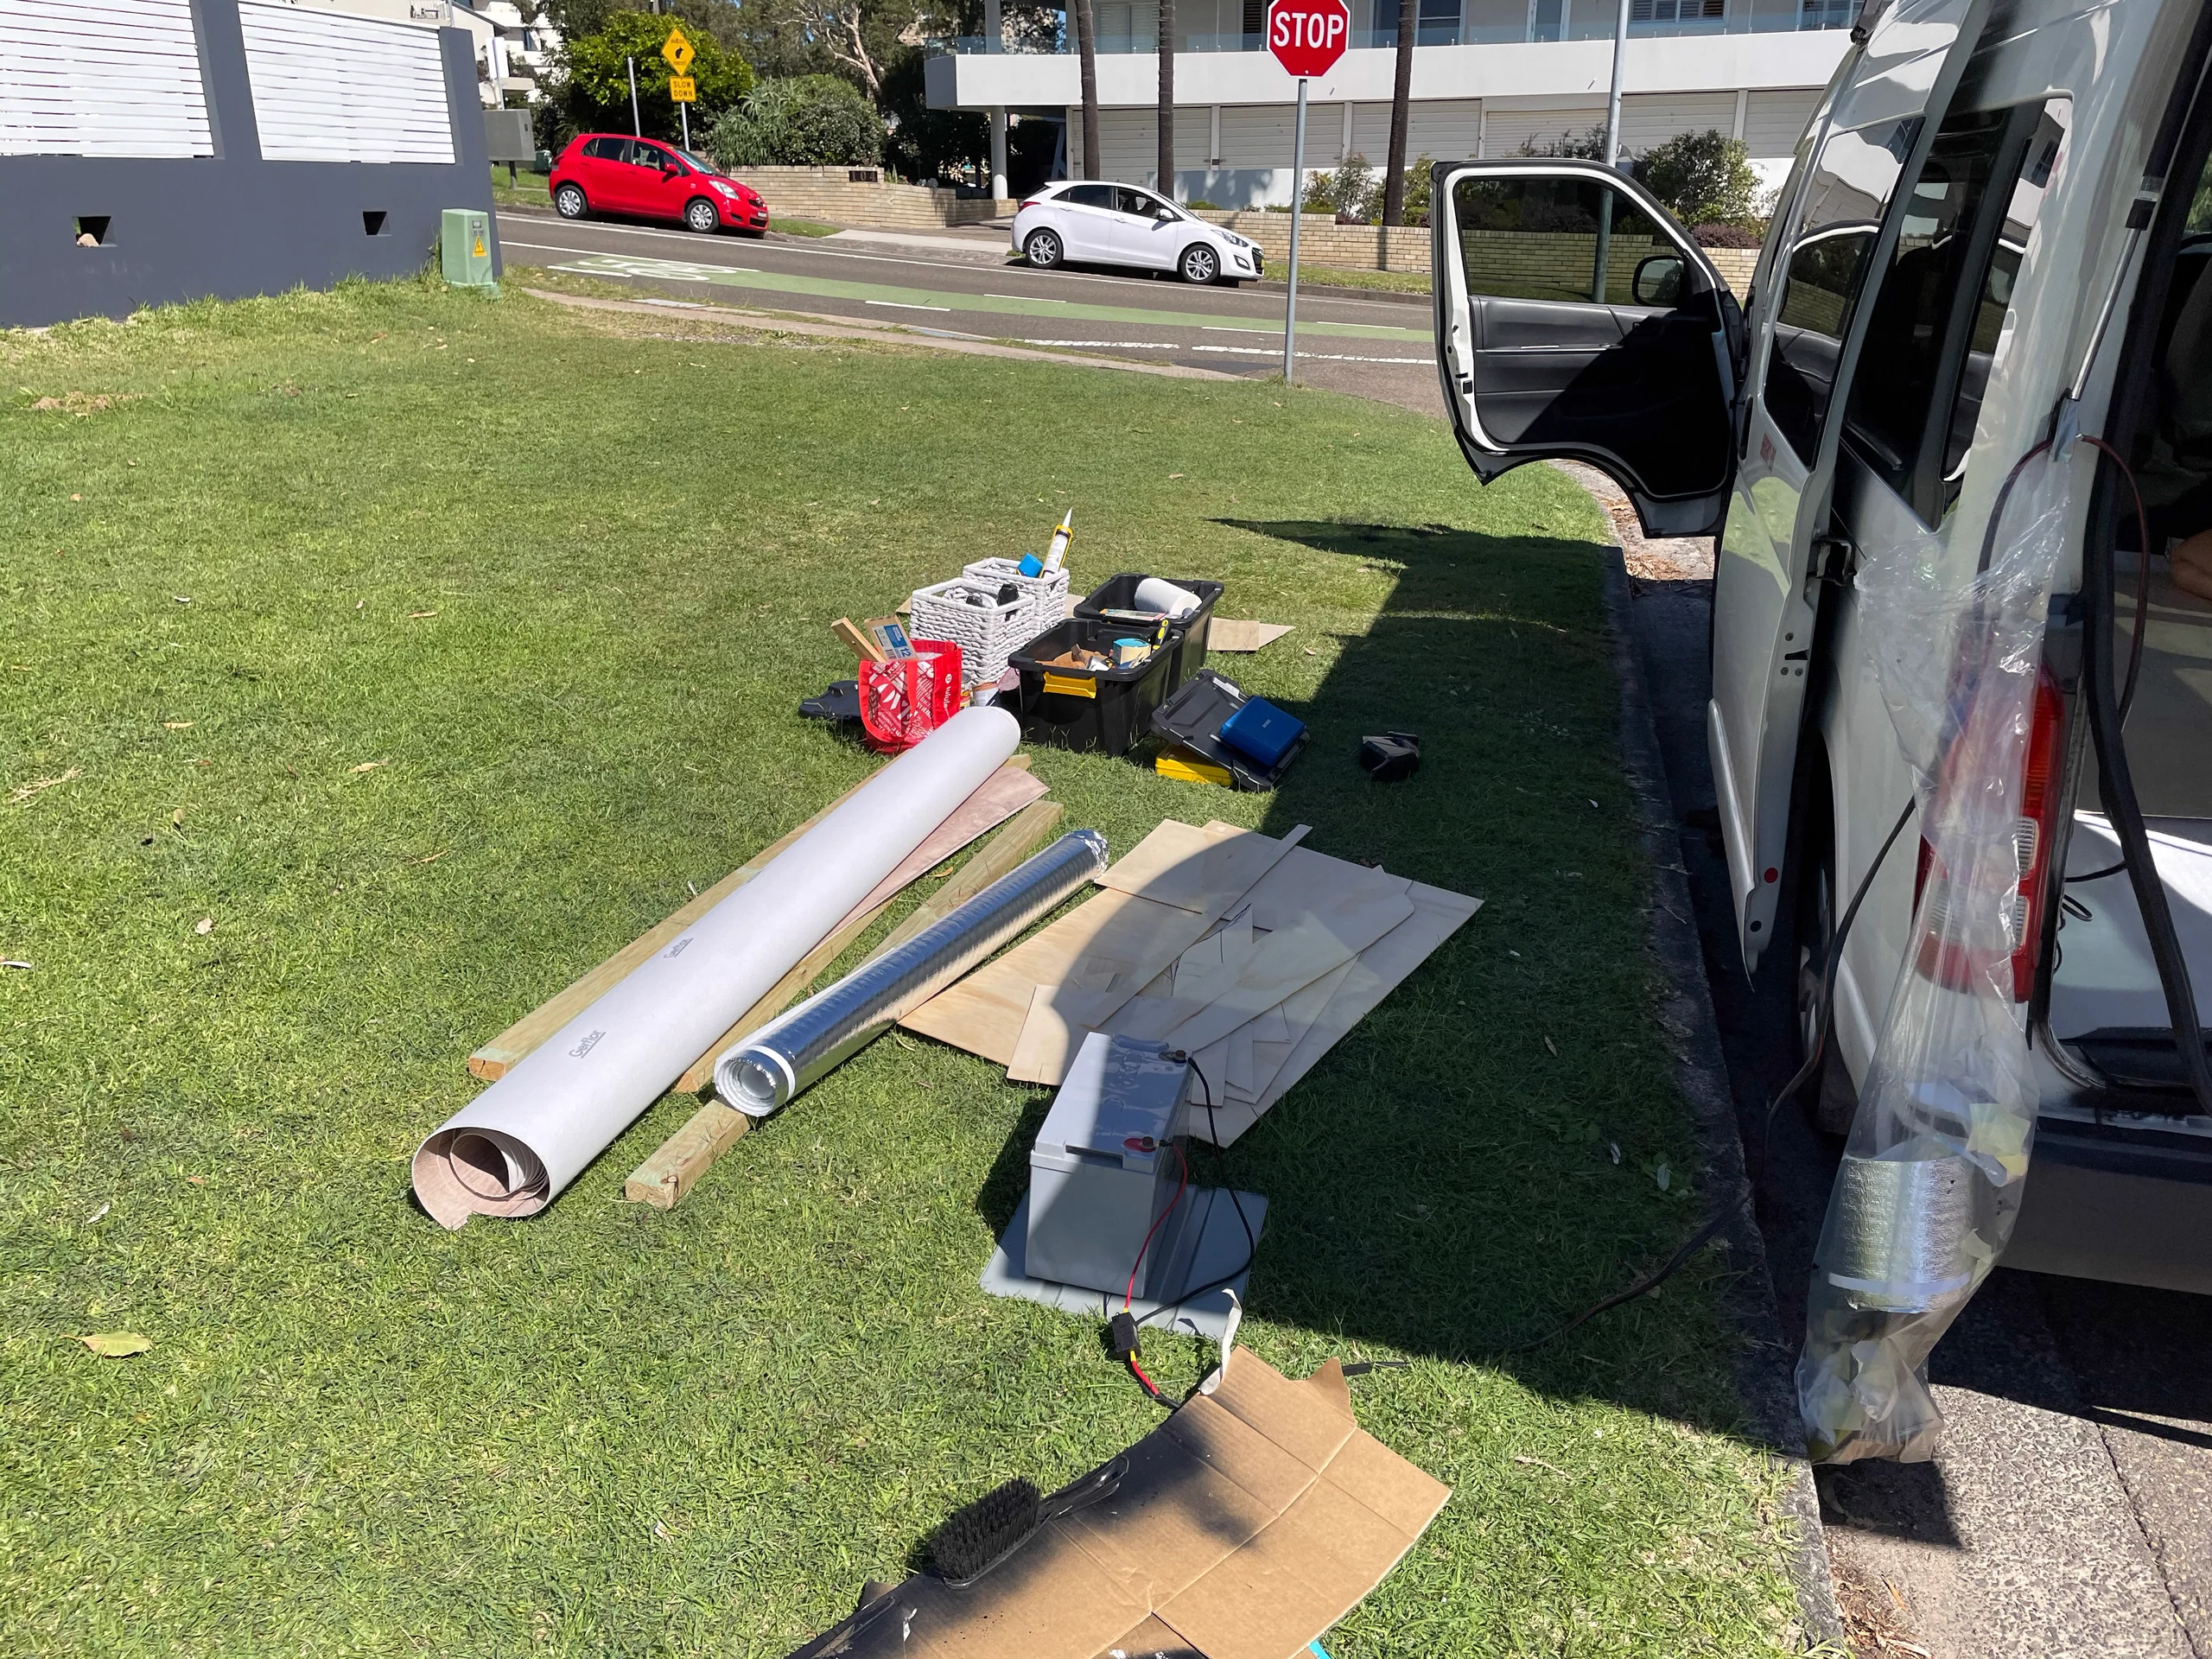
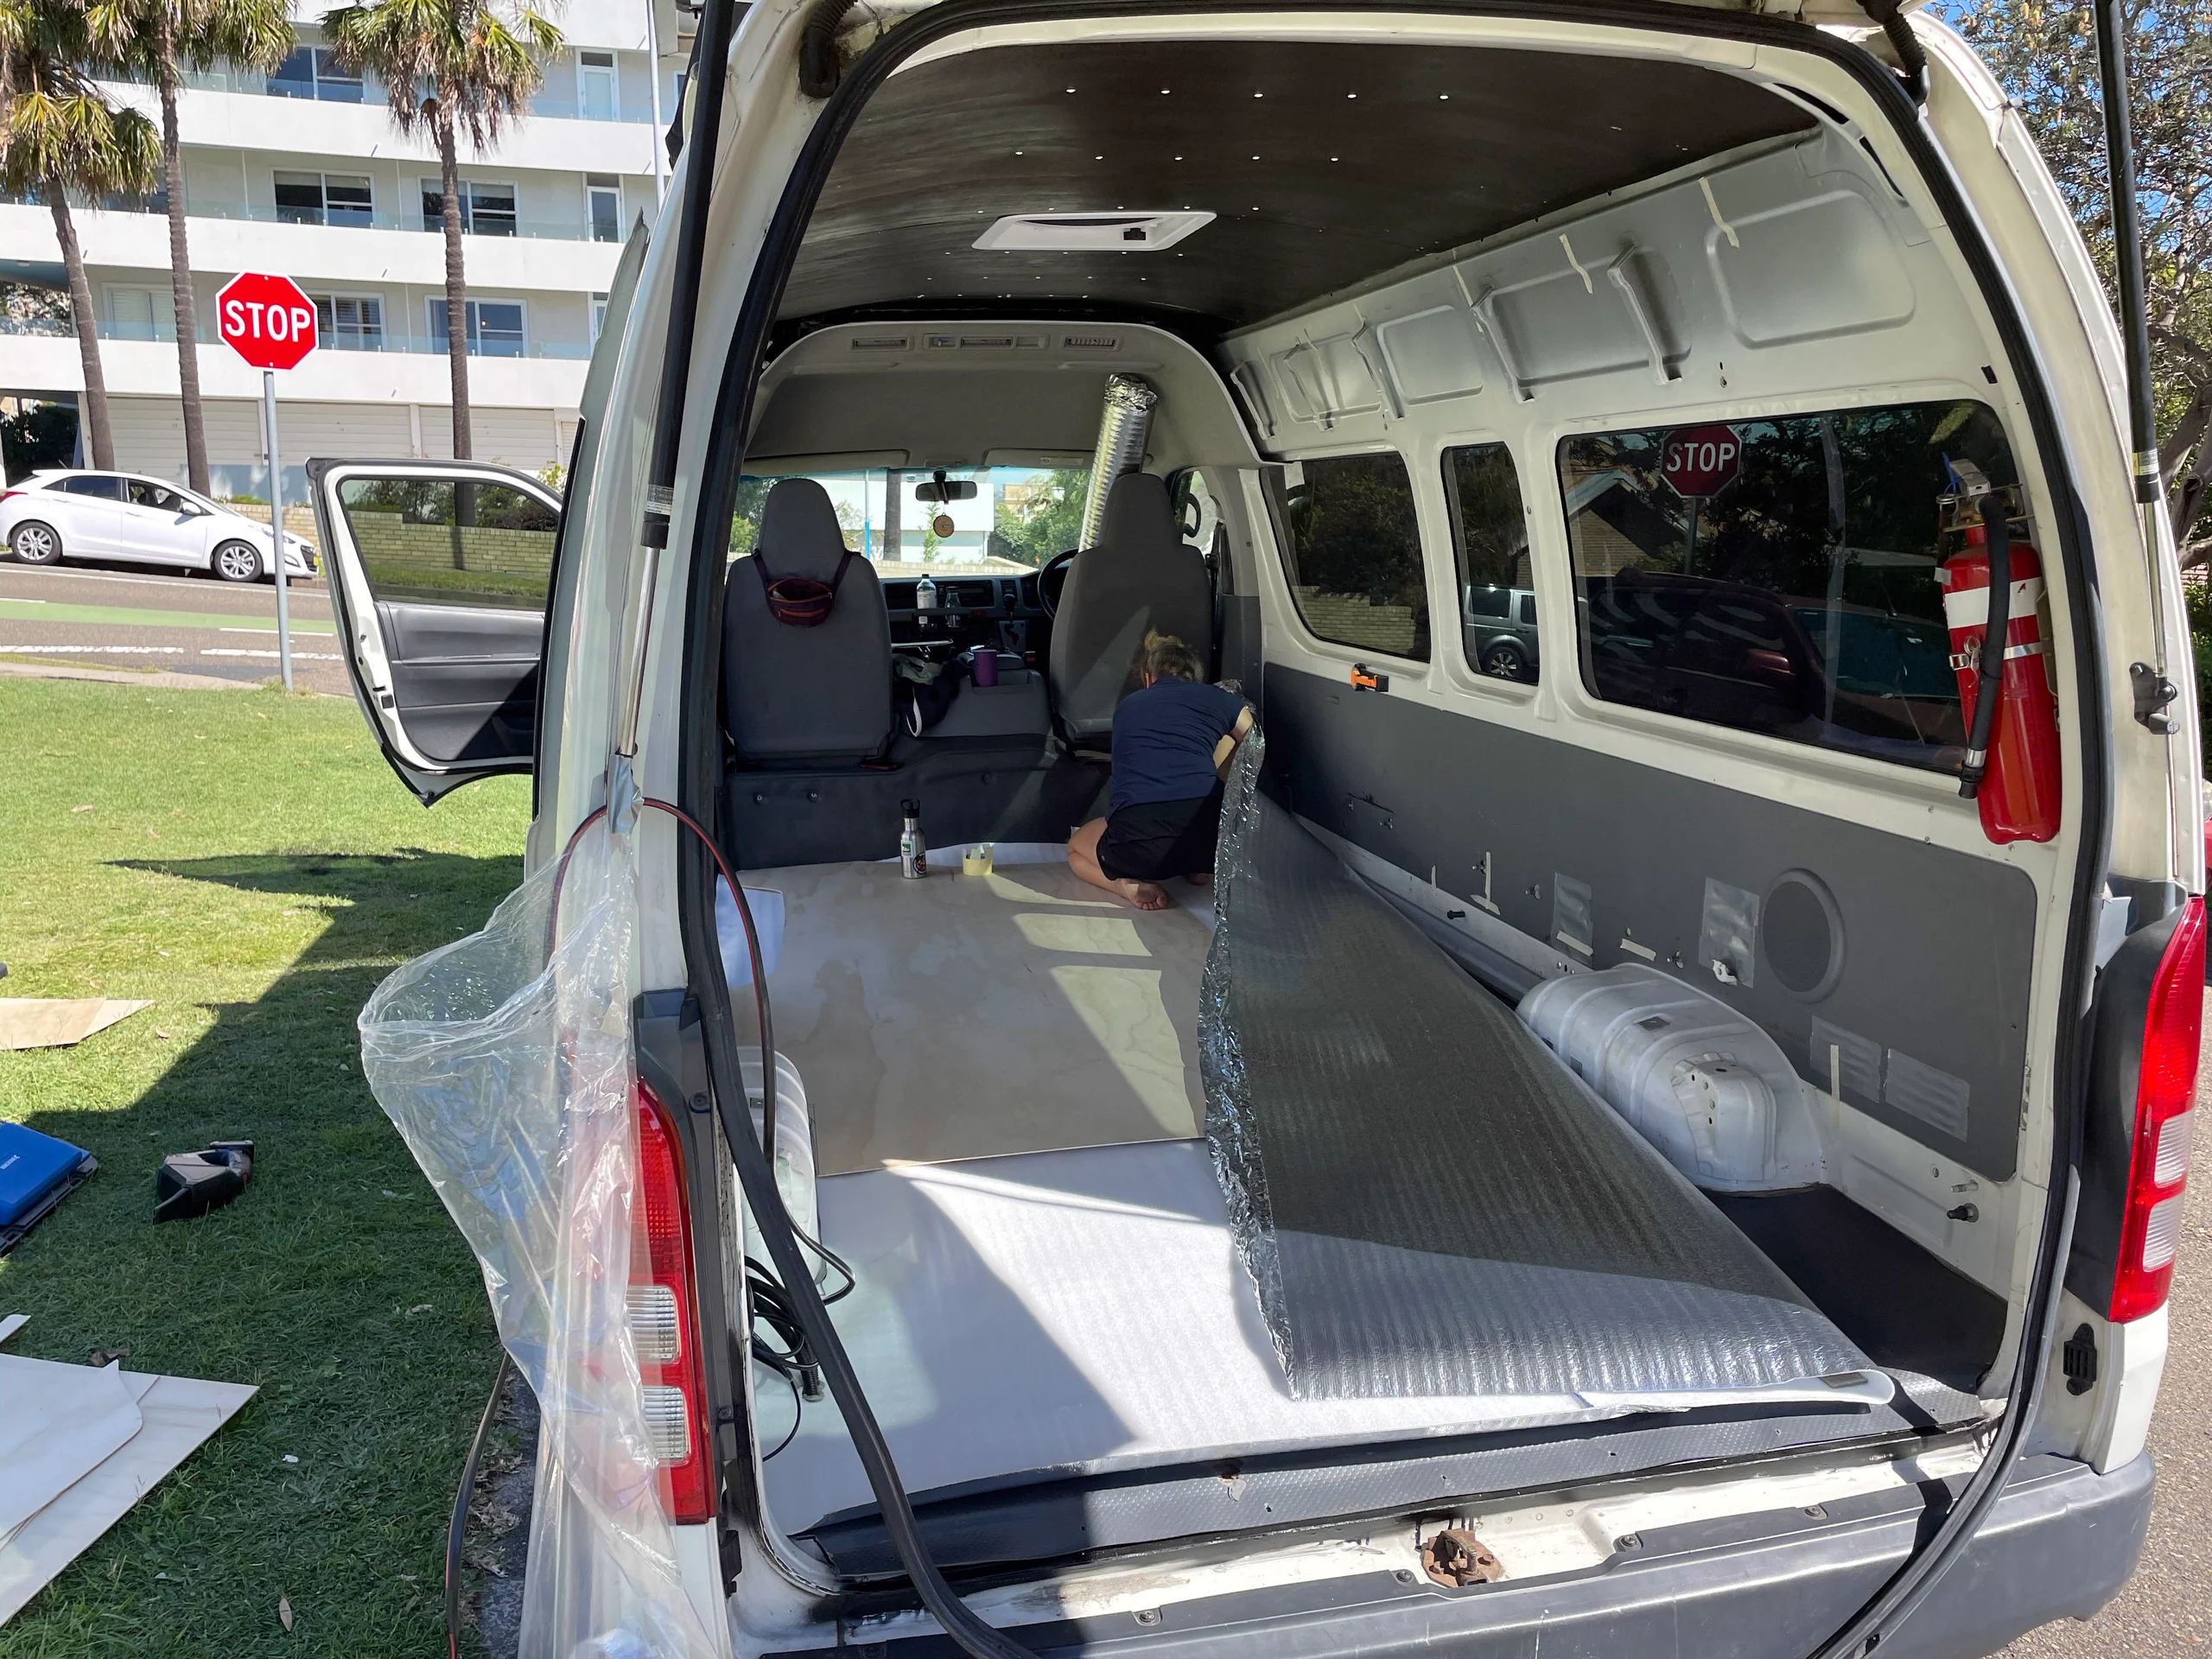
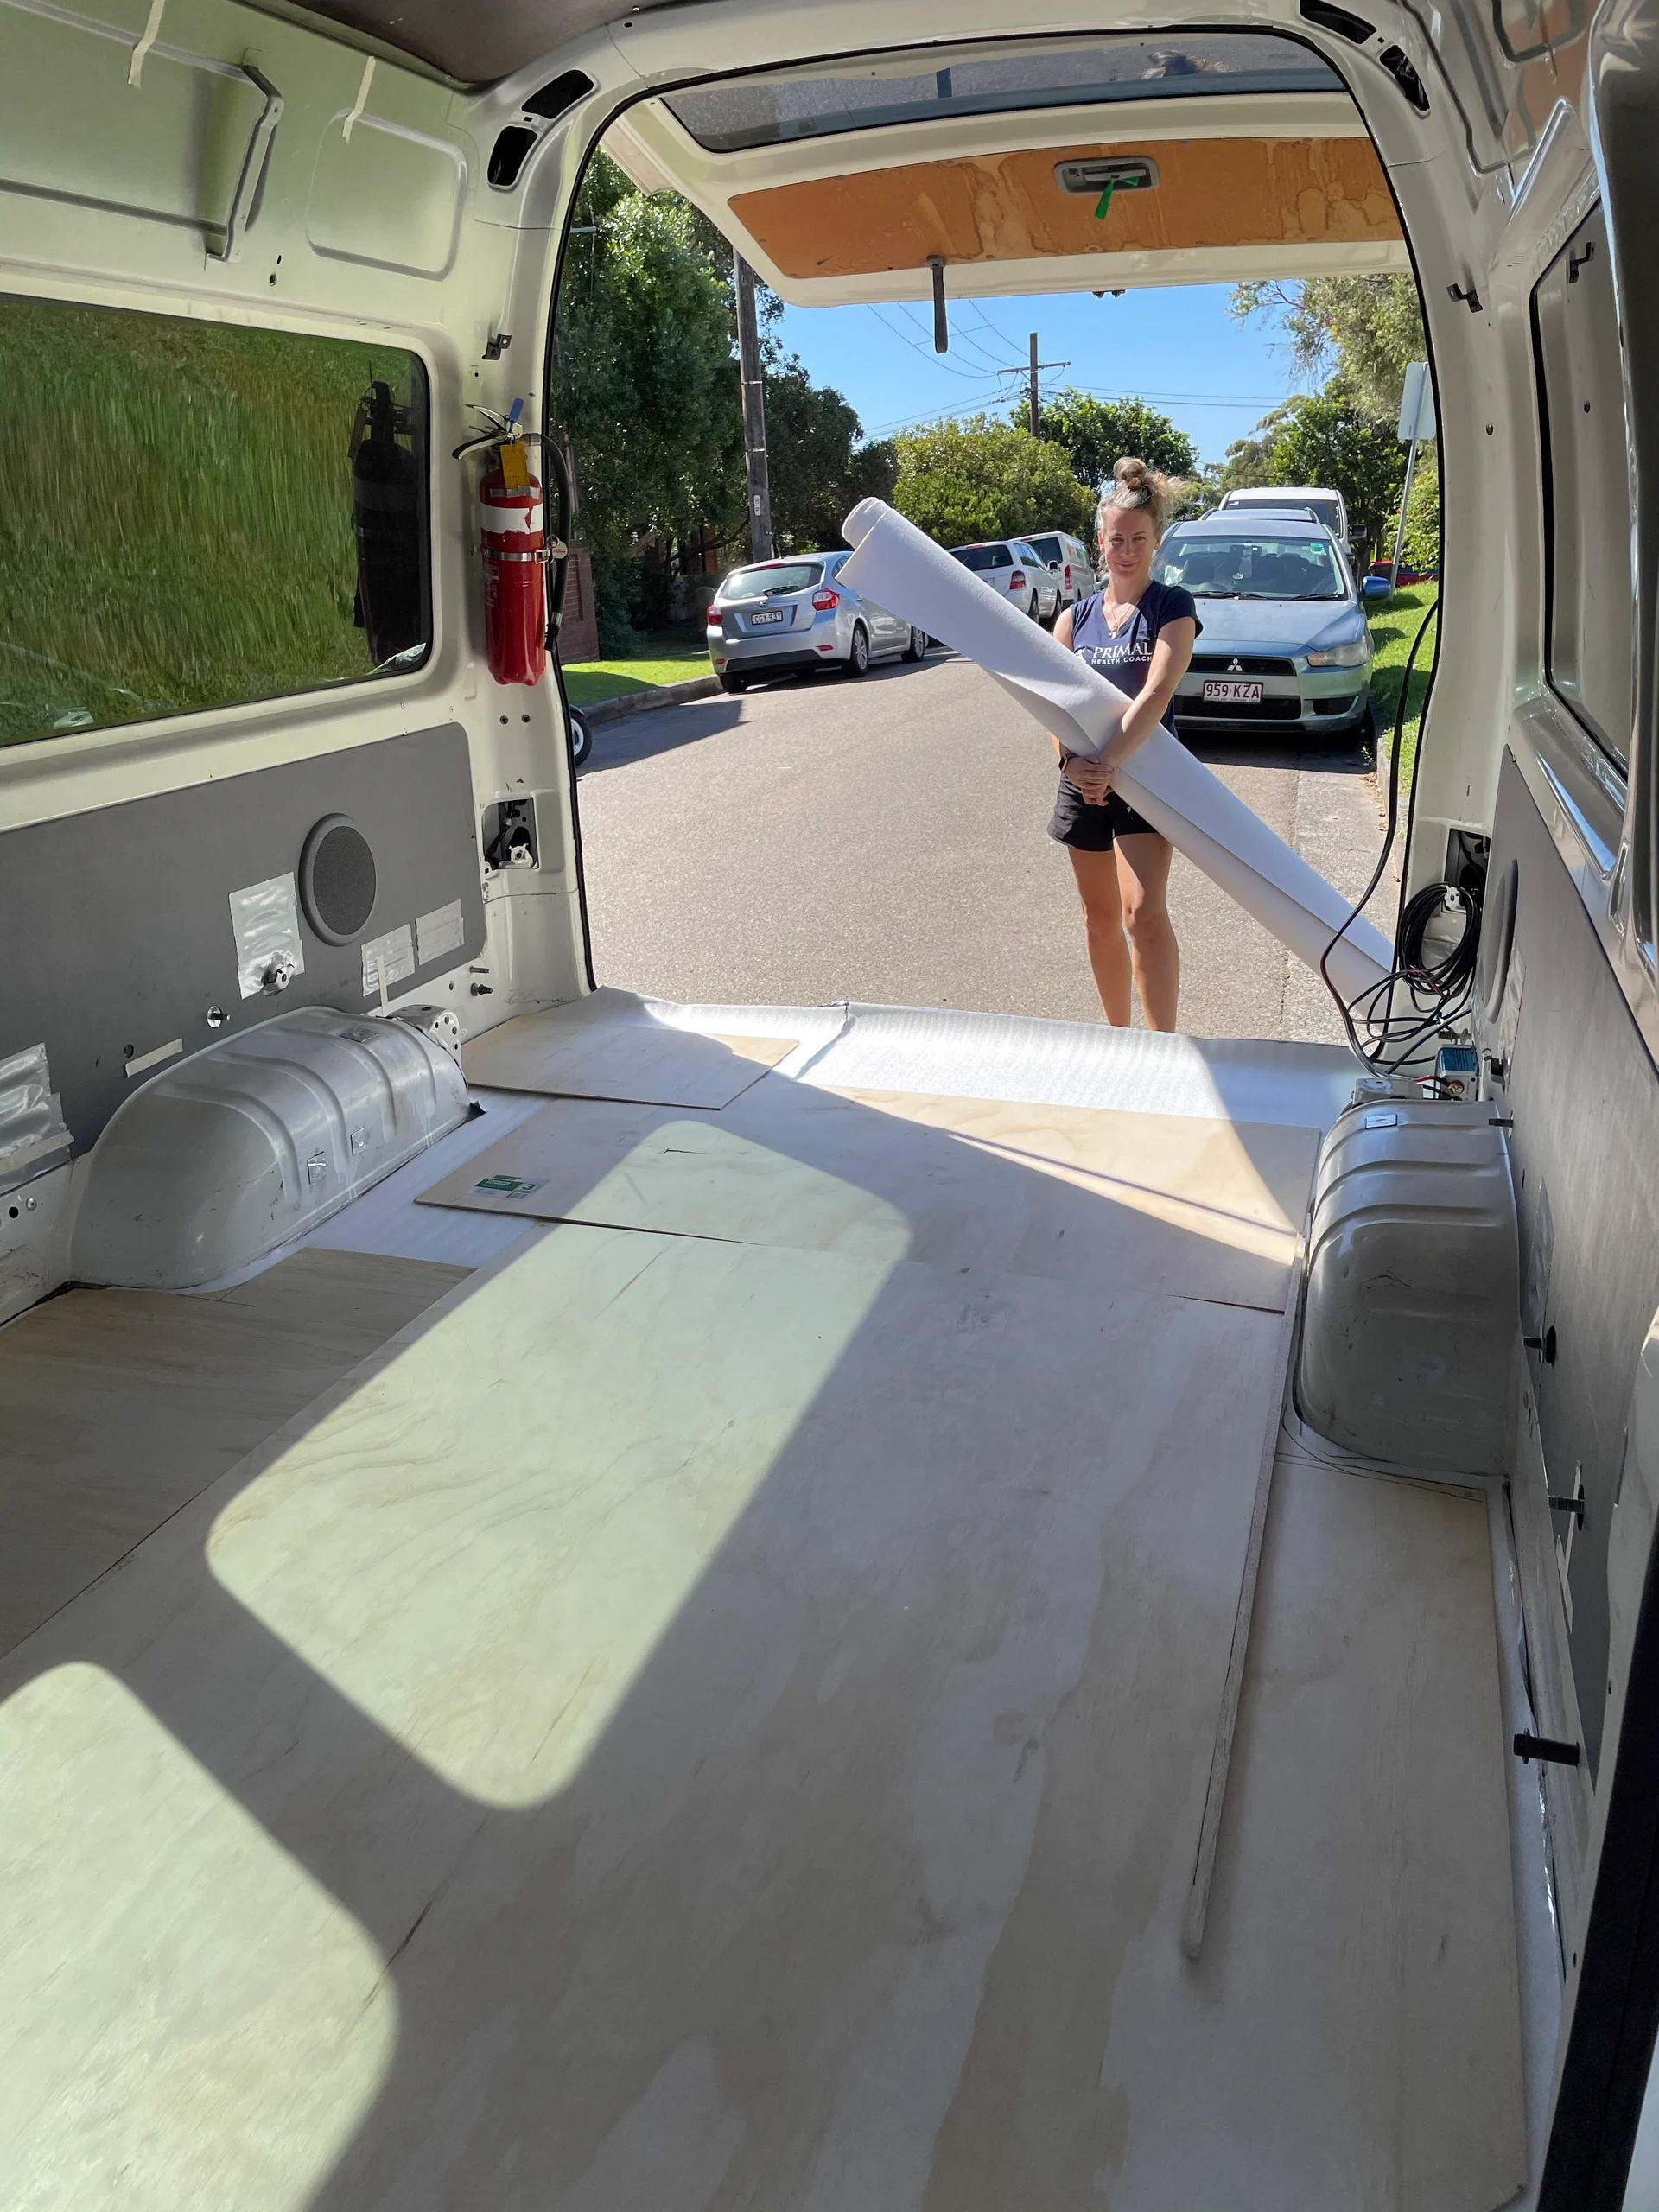
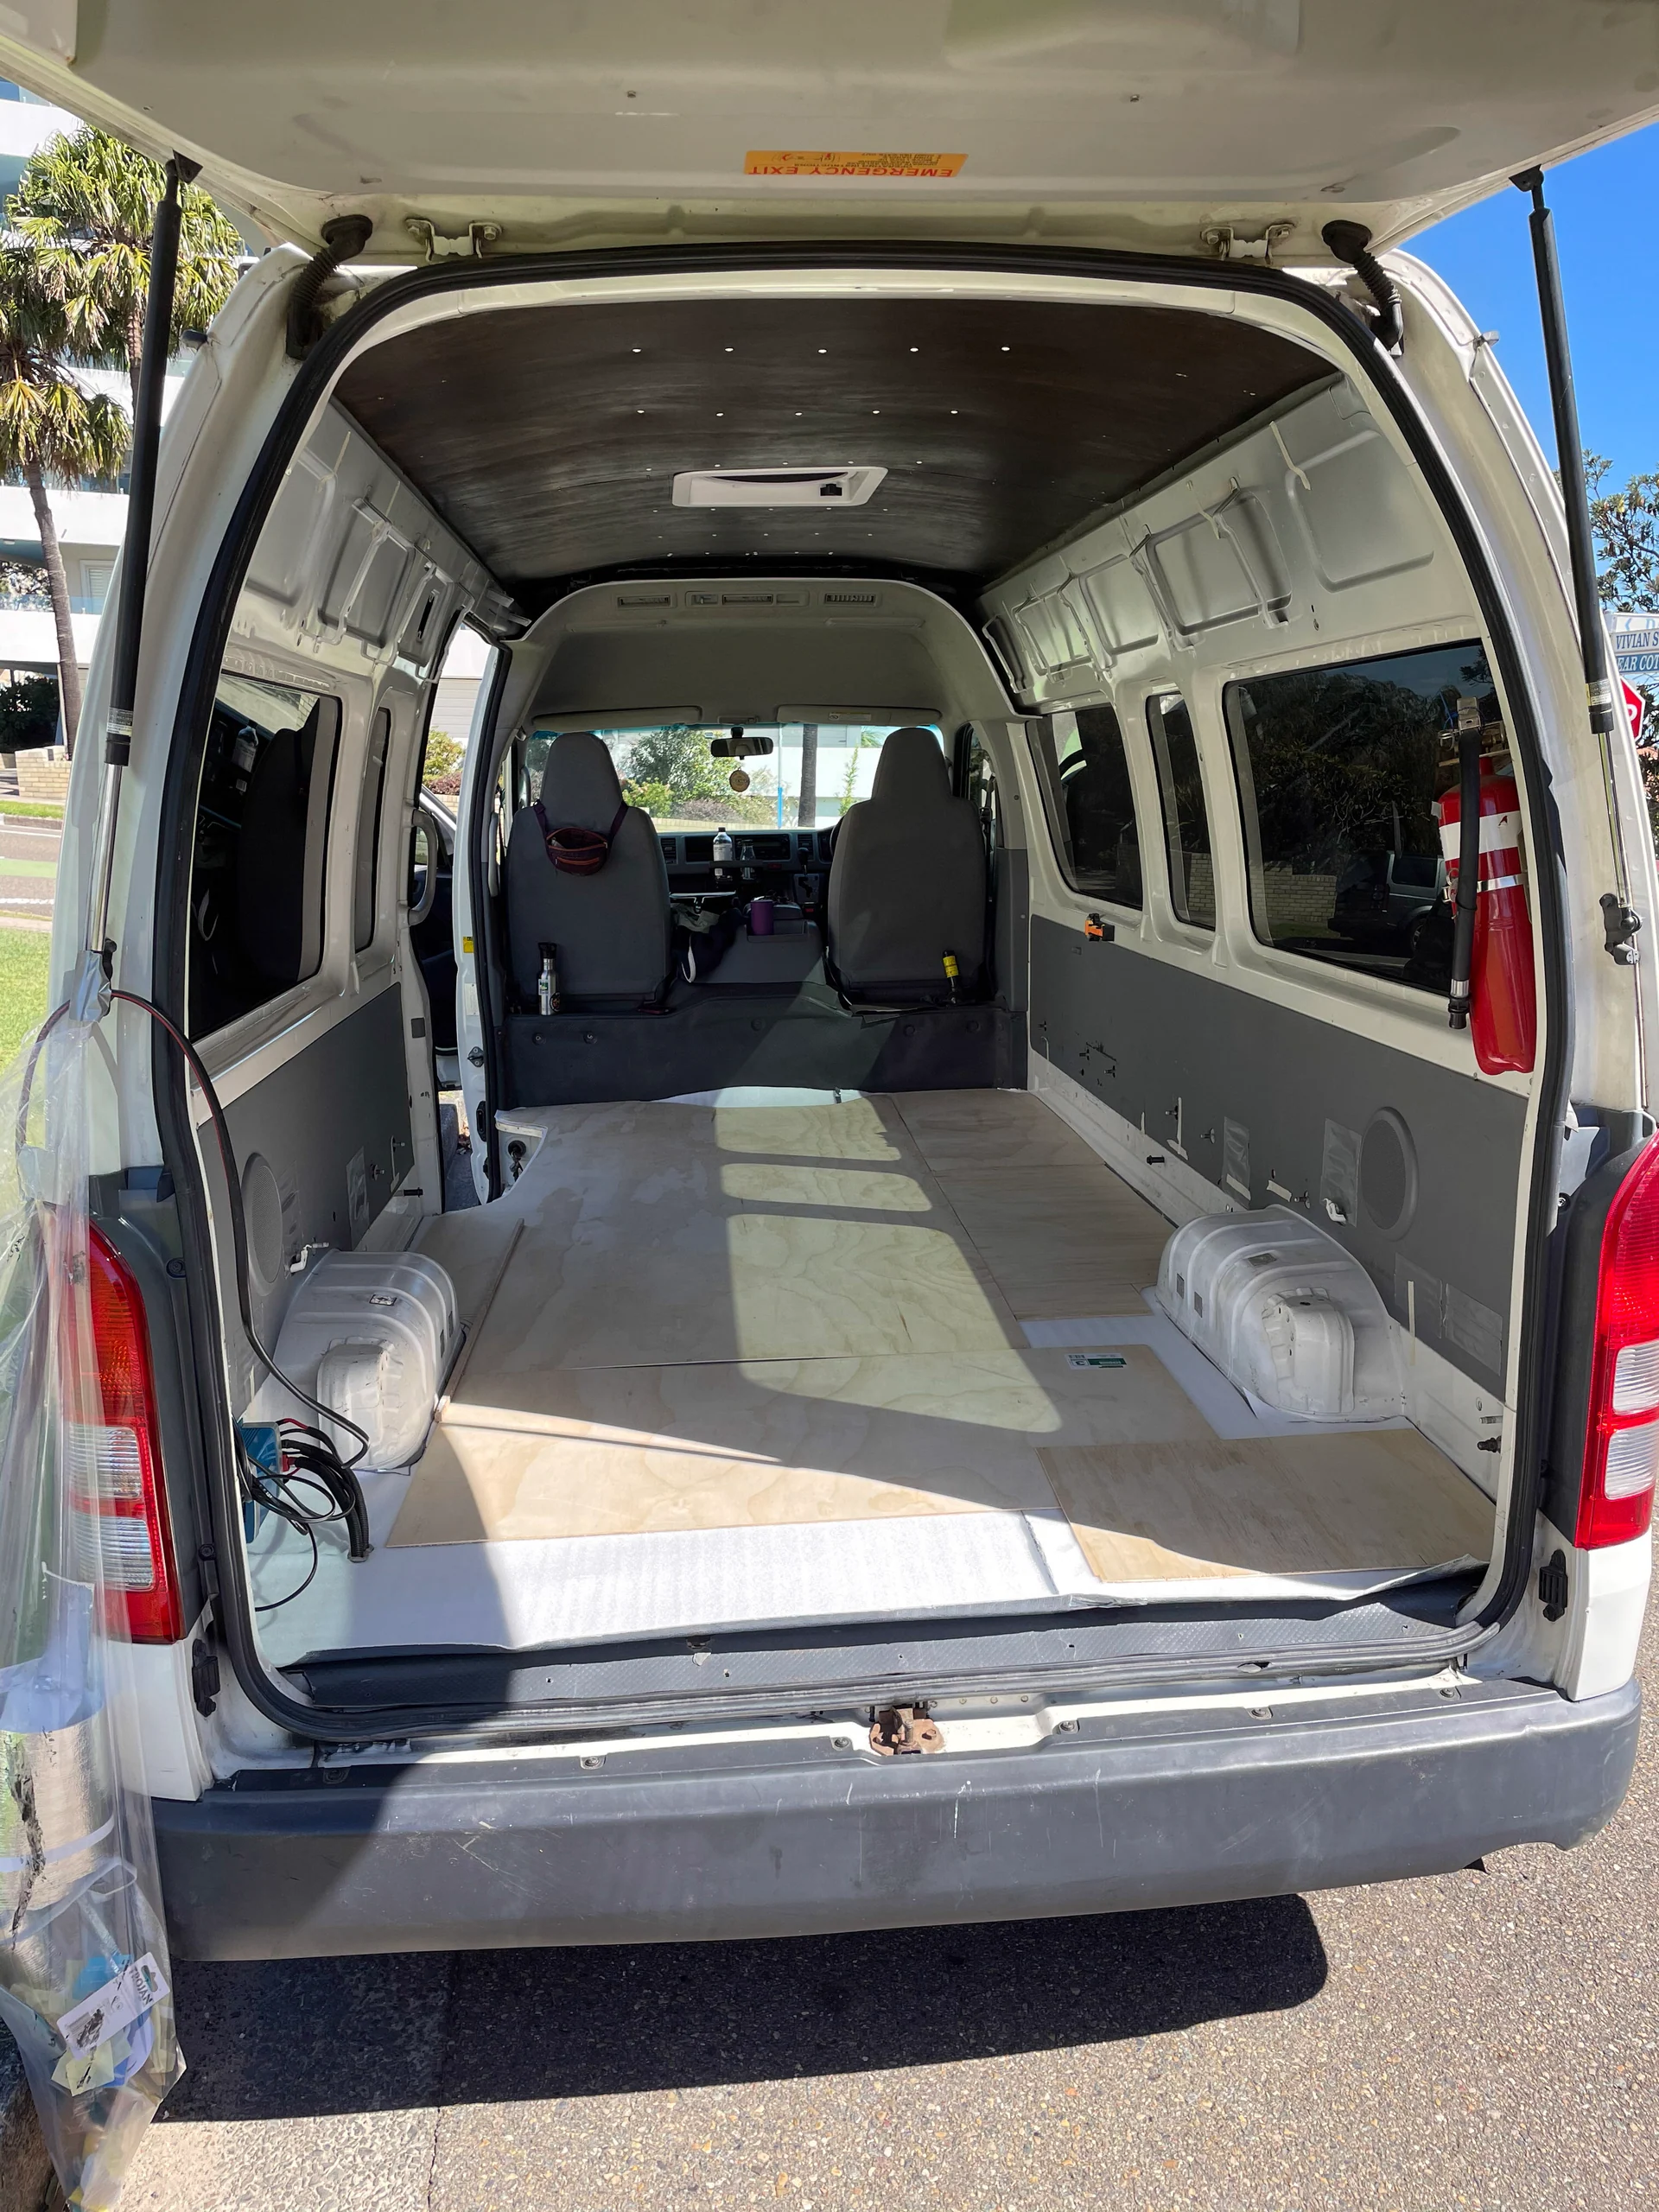
We didn't get the floor done on the weekend. But we put in some hours before work and got everything done. Surprising how productive a day can feel when you make some visible progress early in the morning!
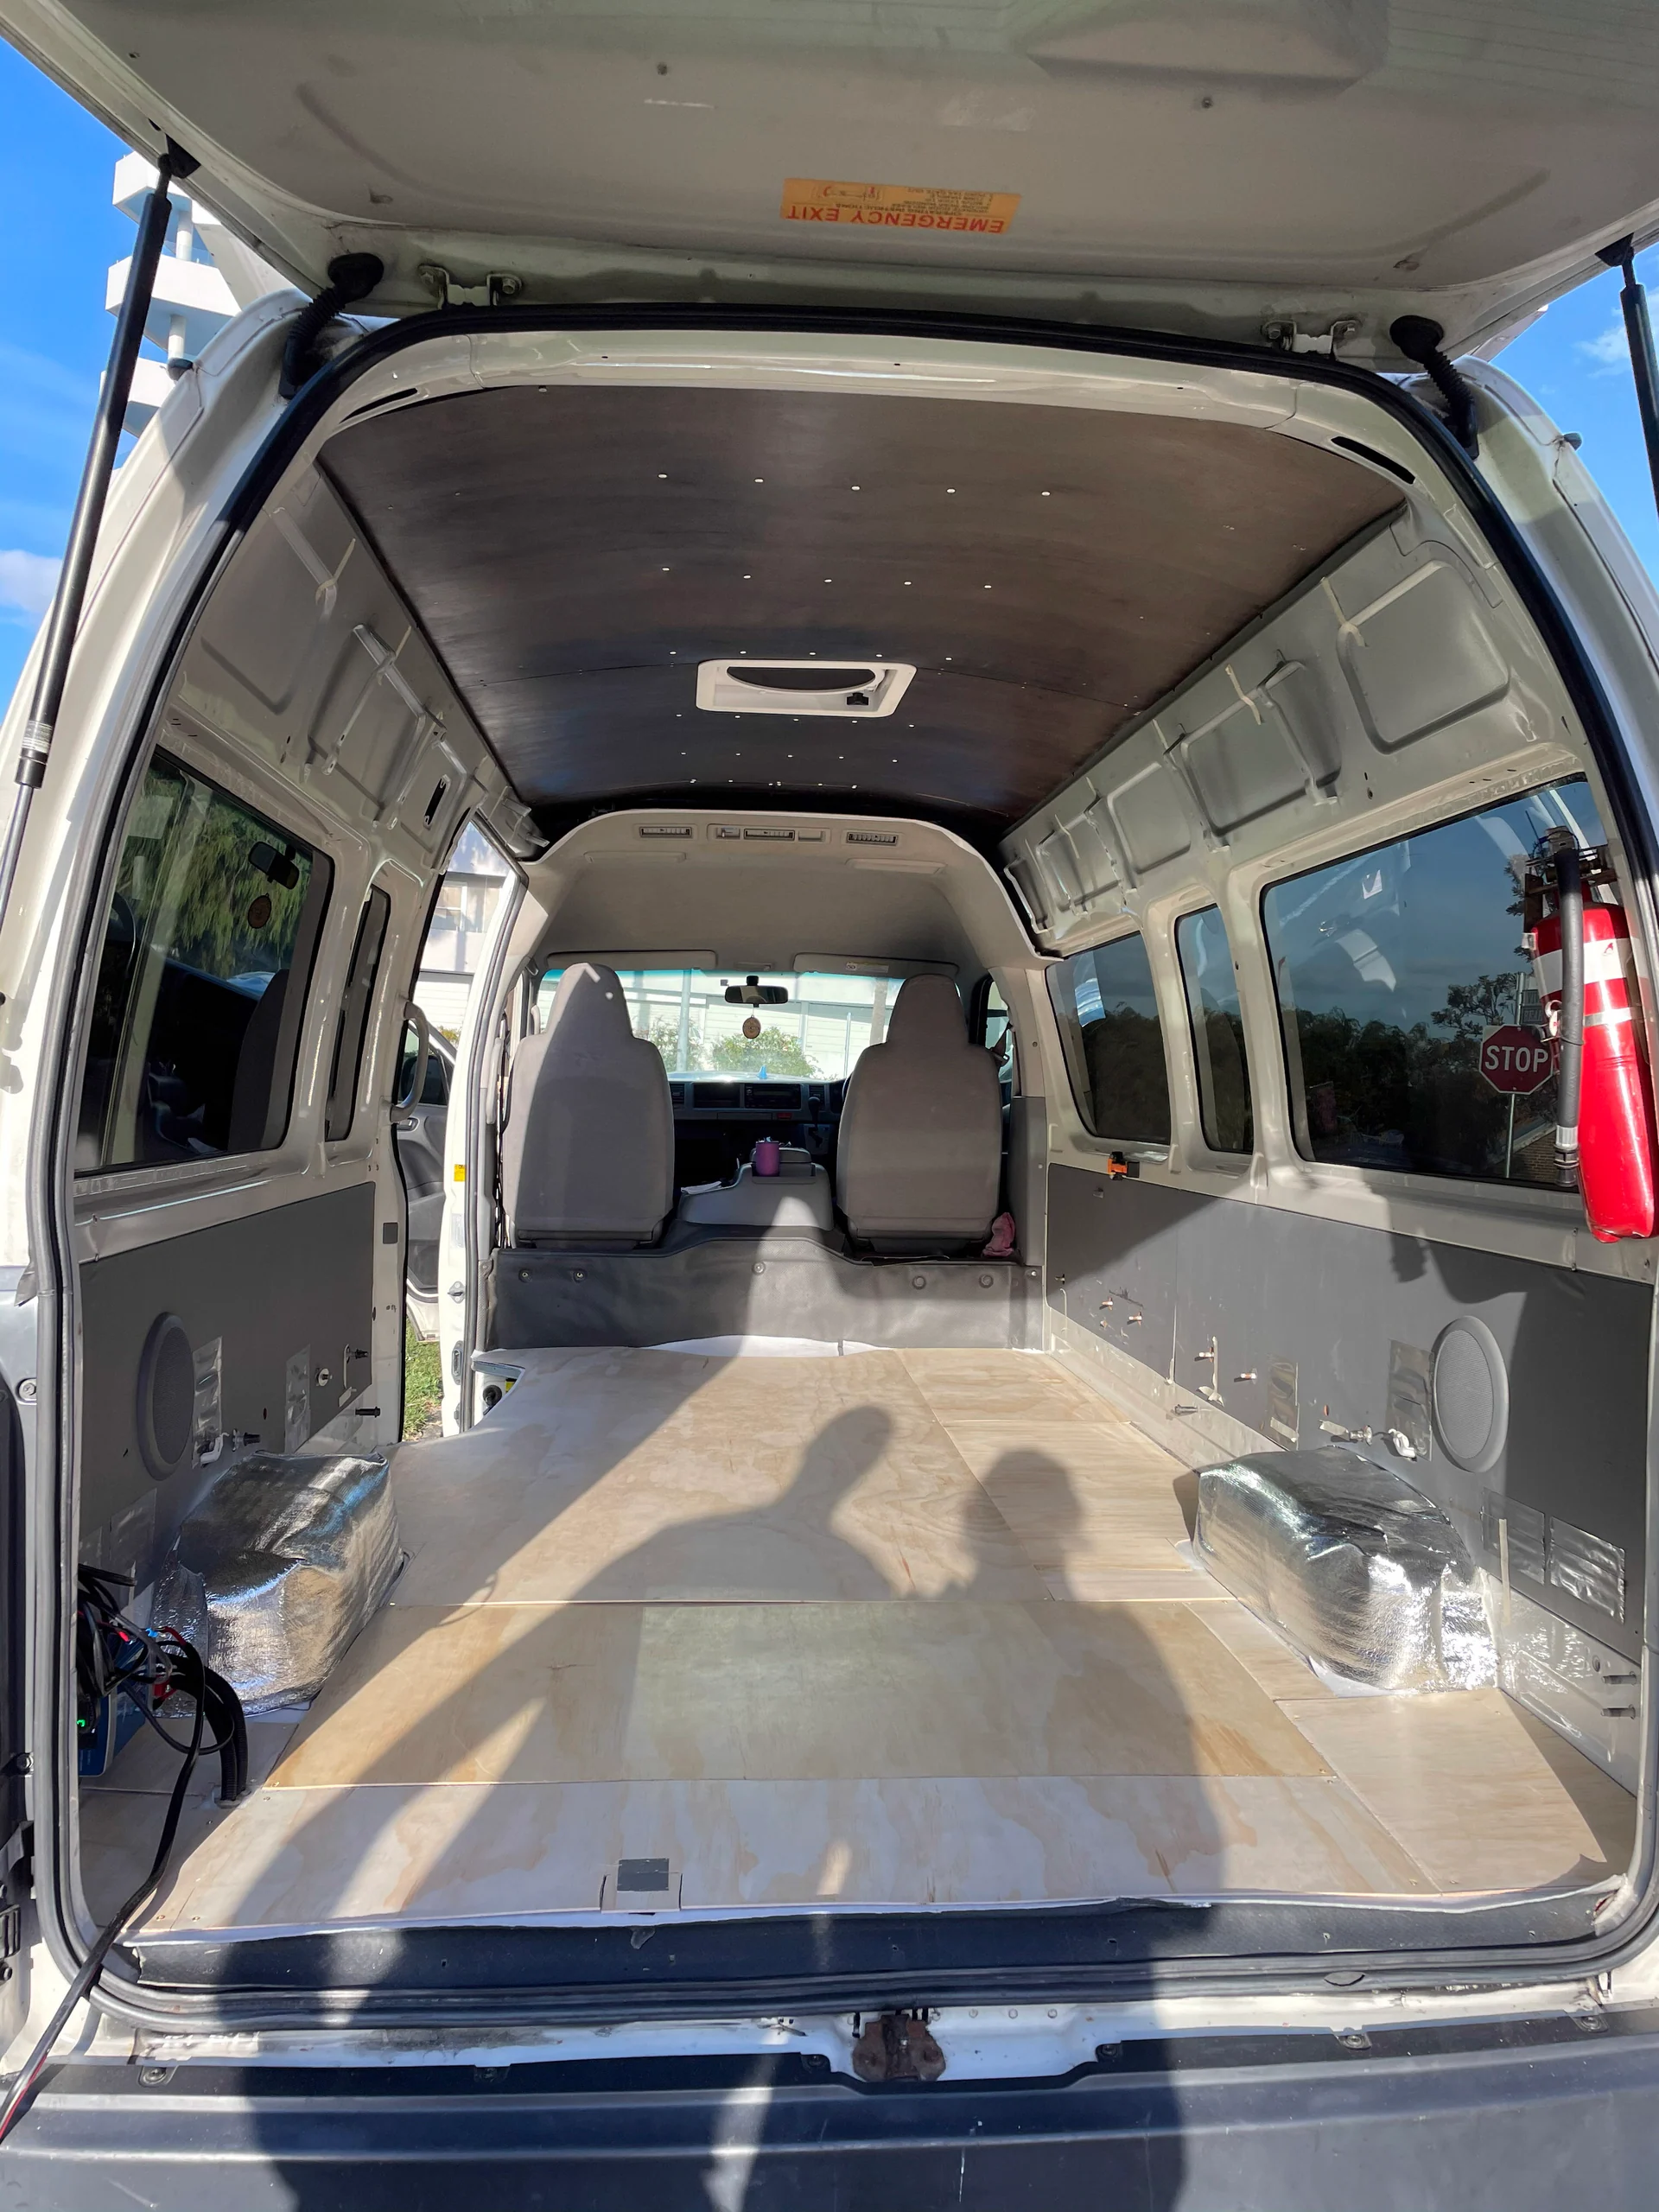
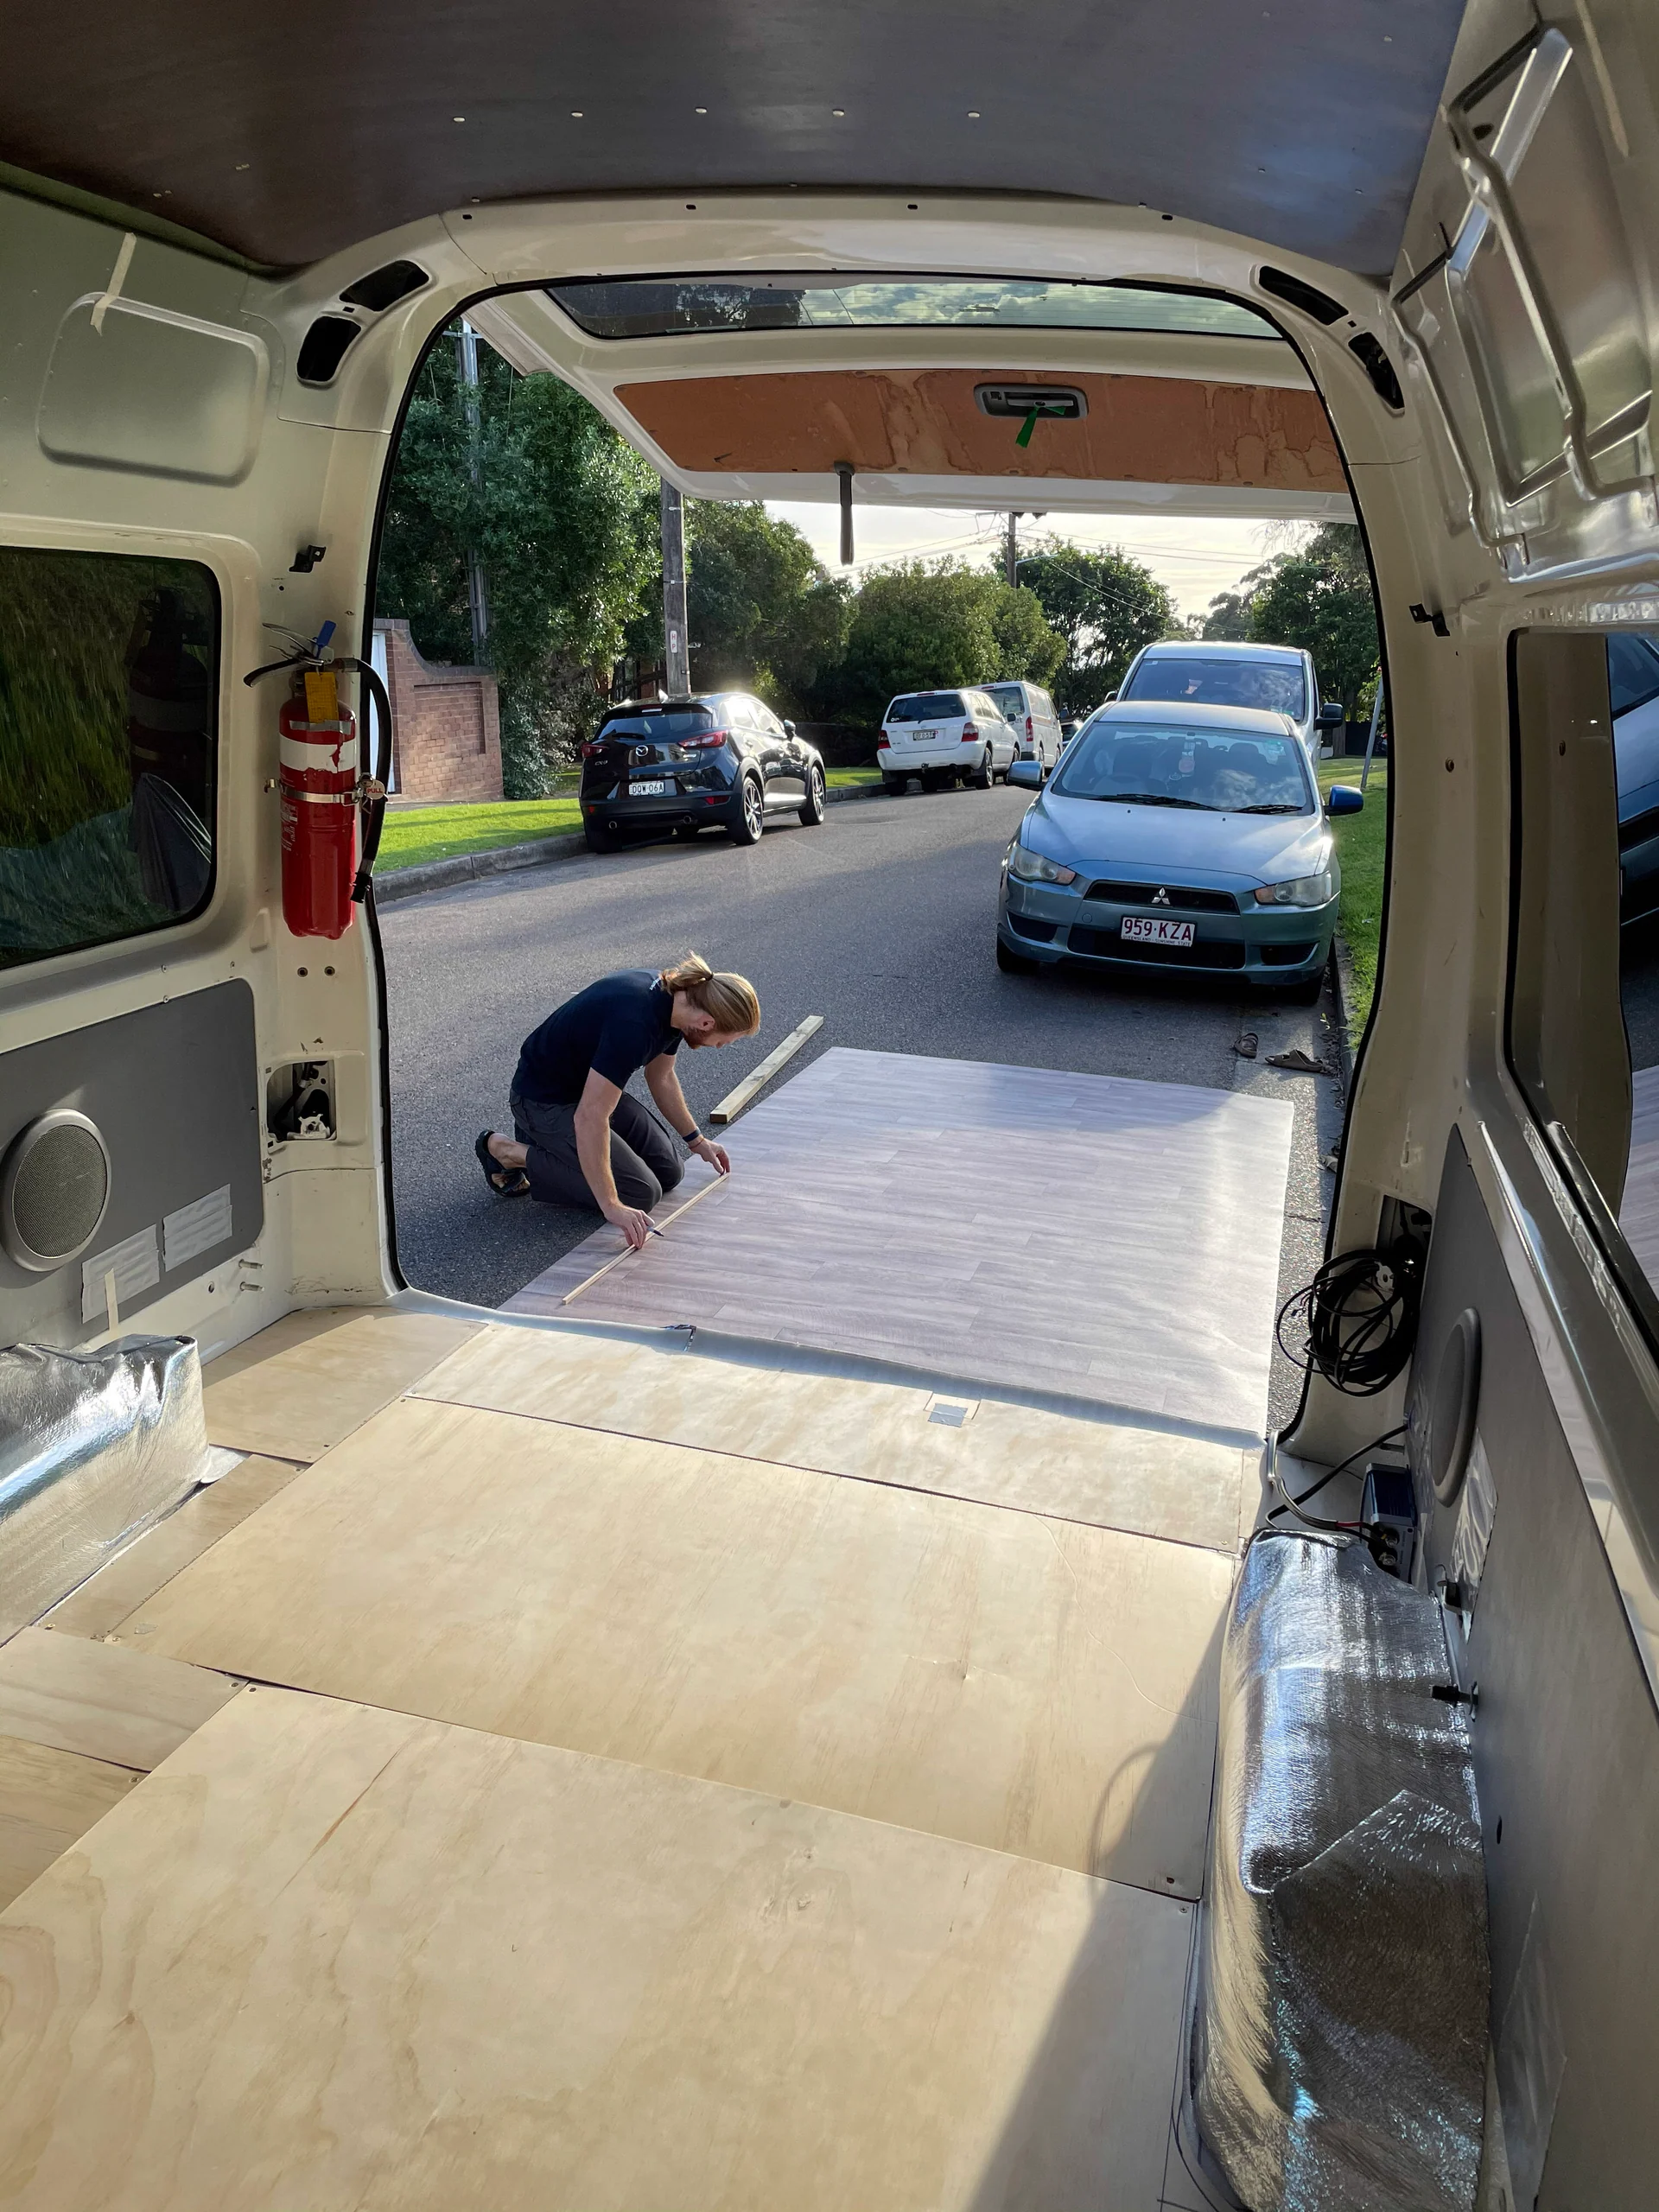
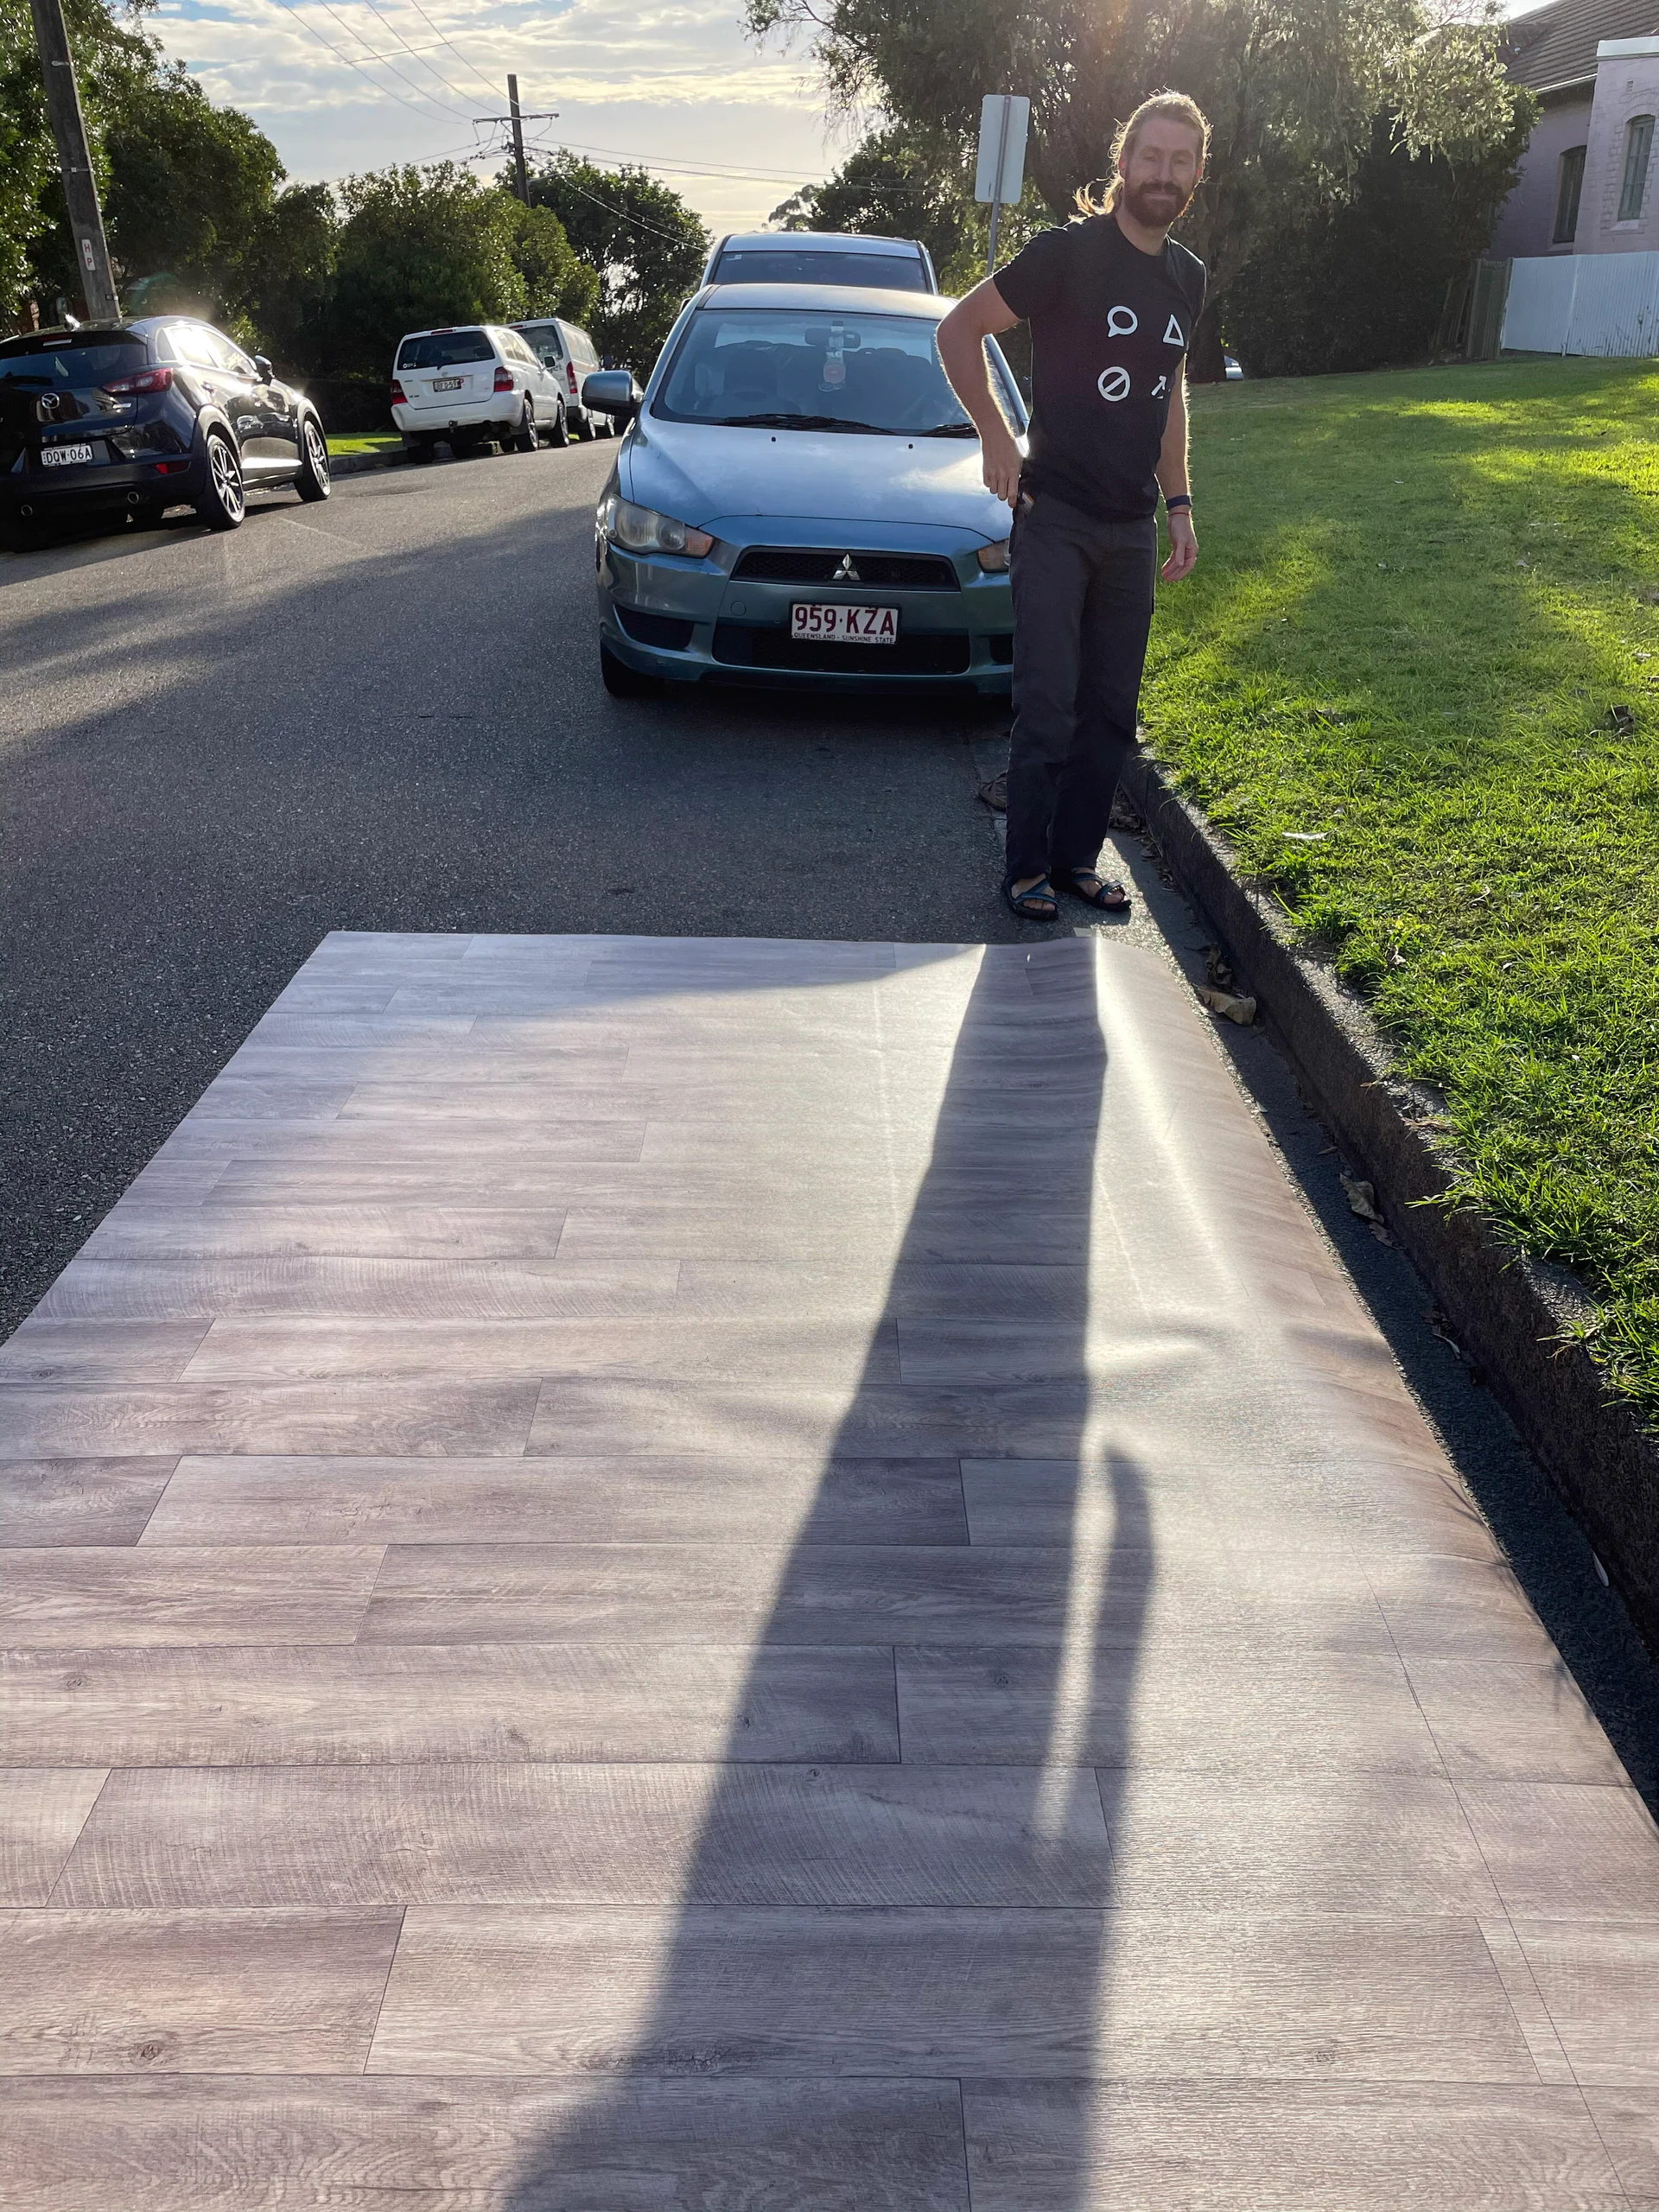
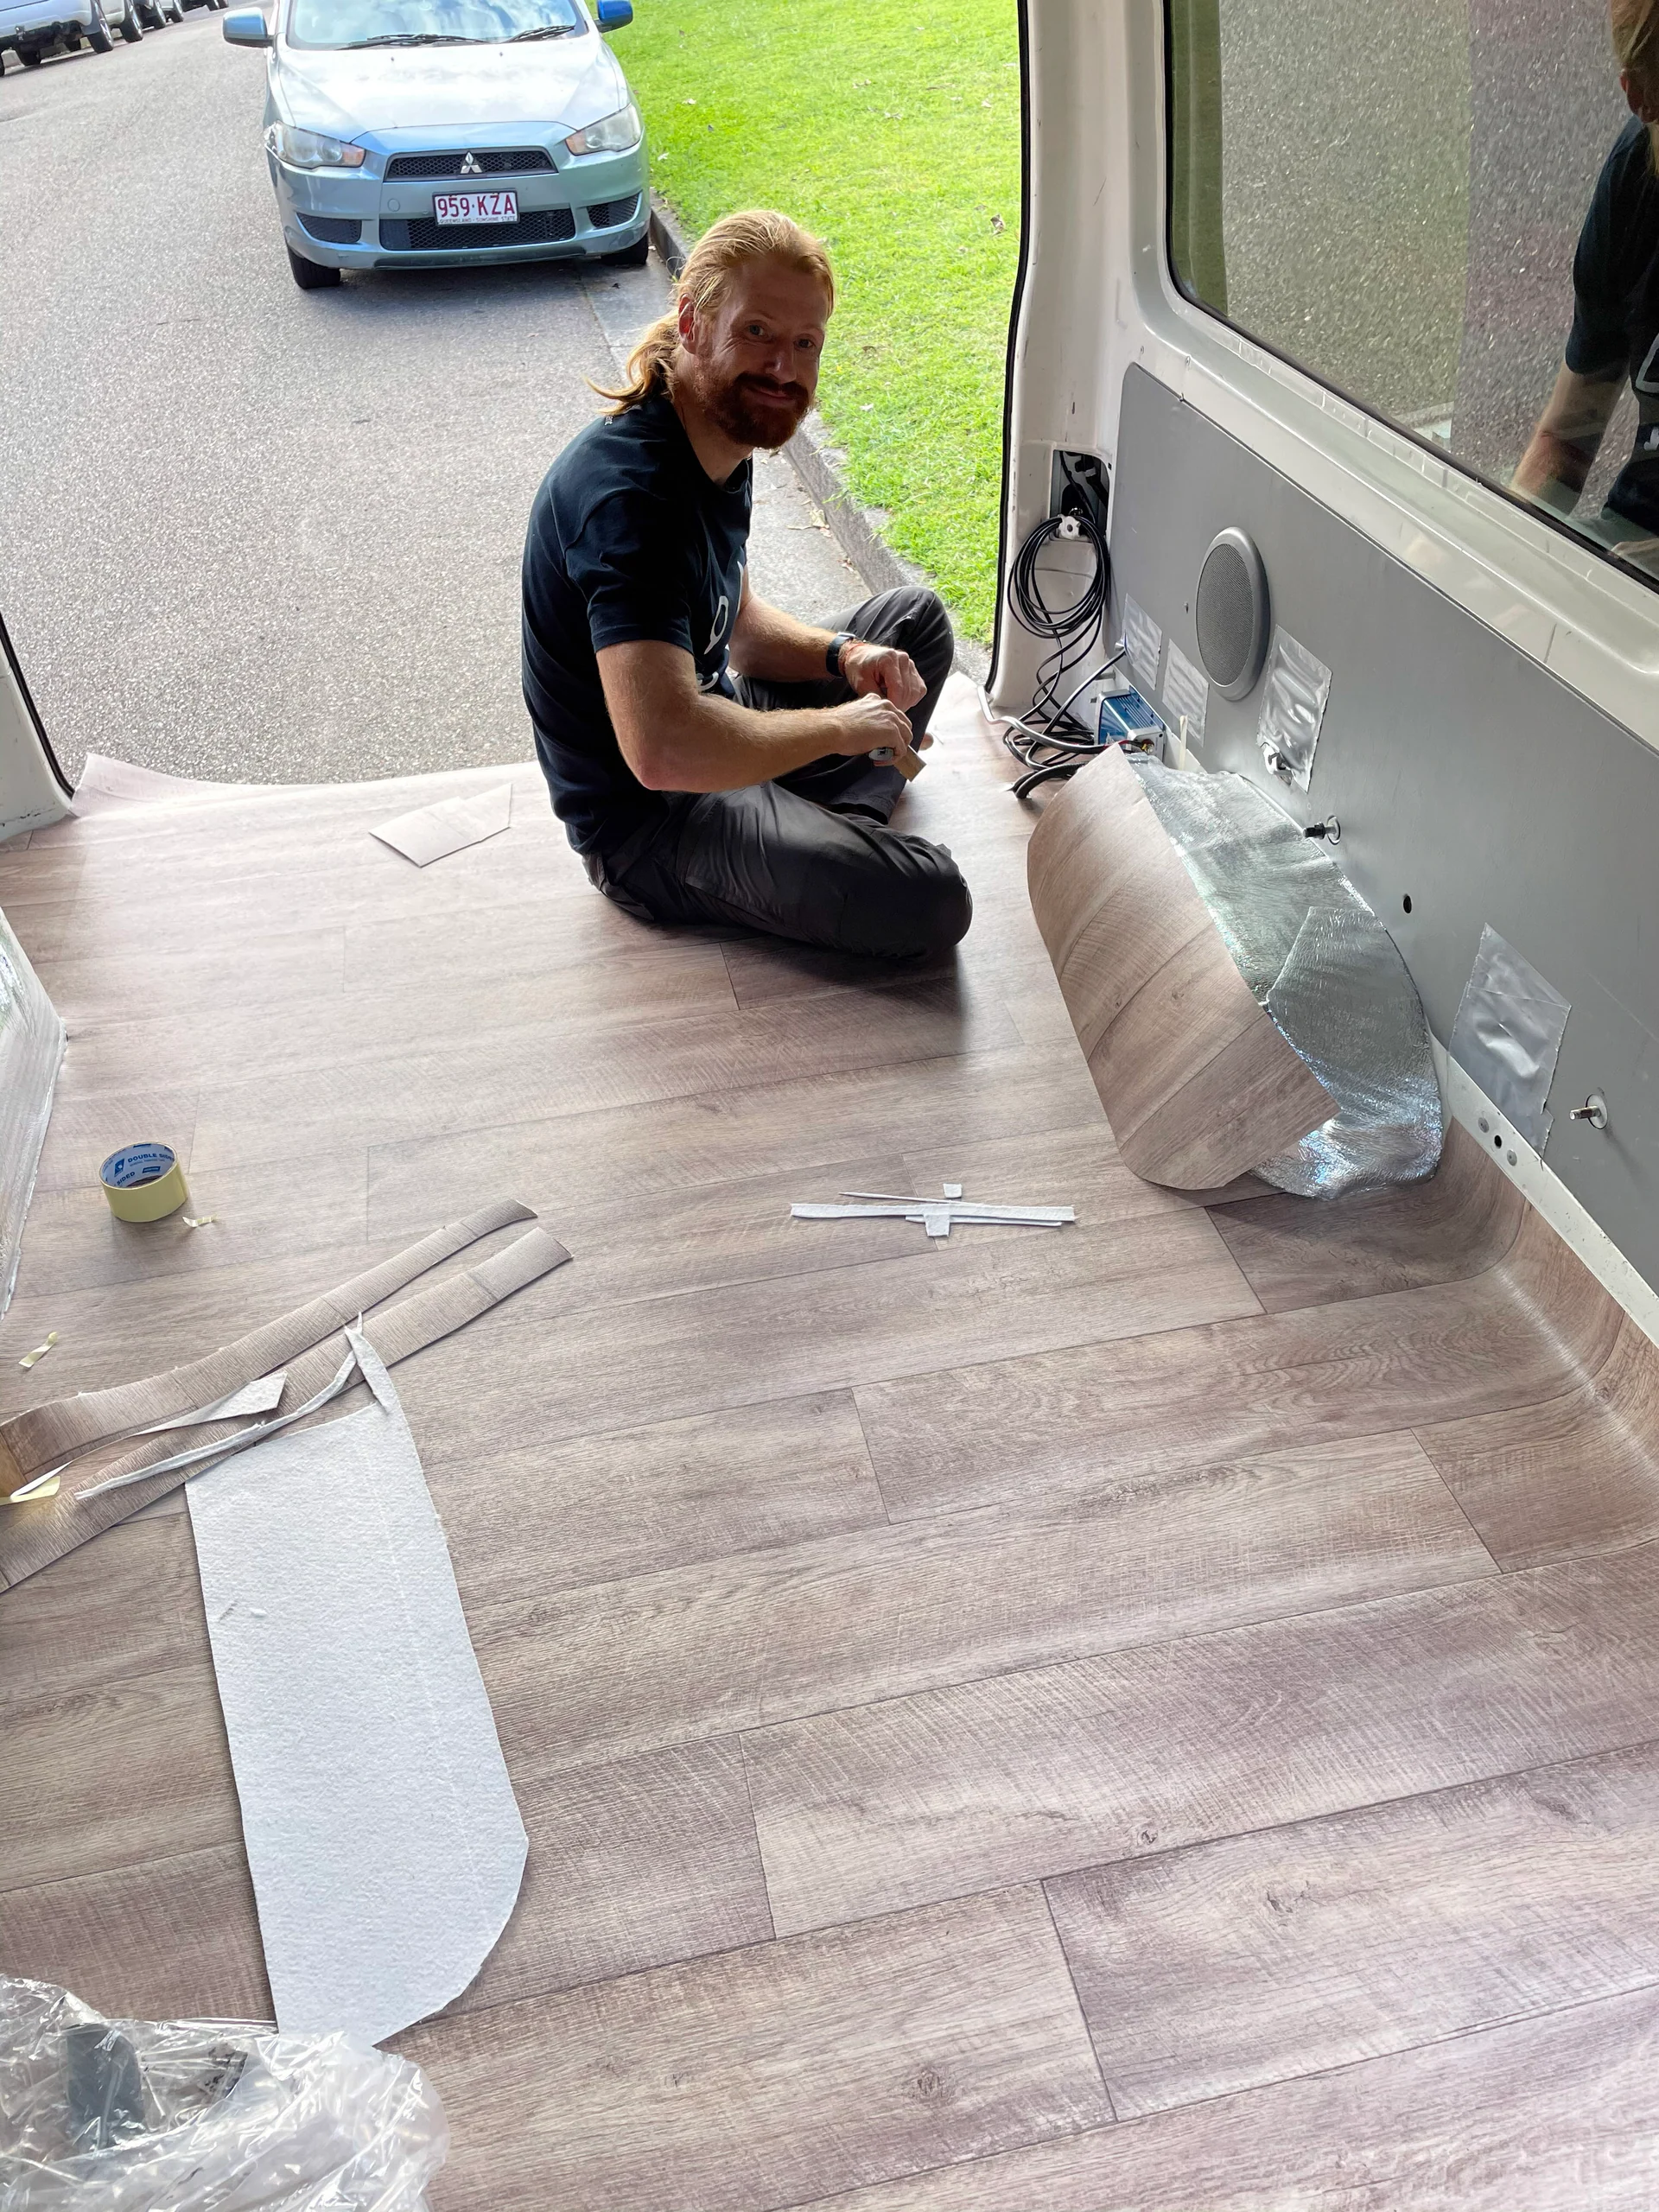
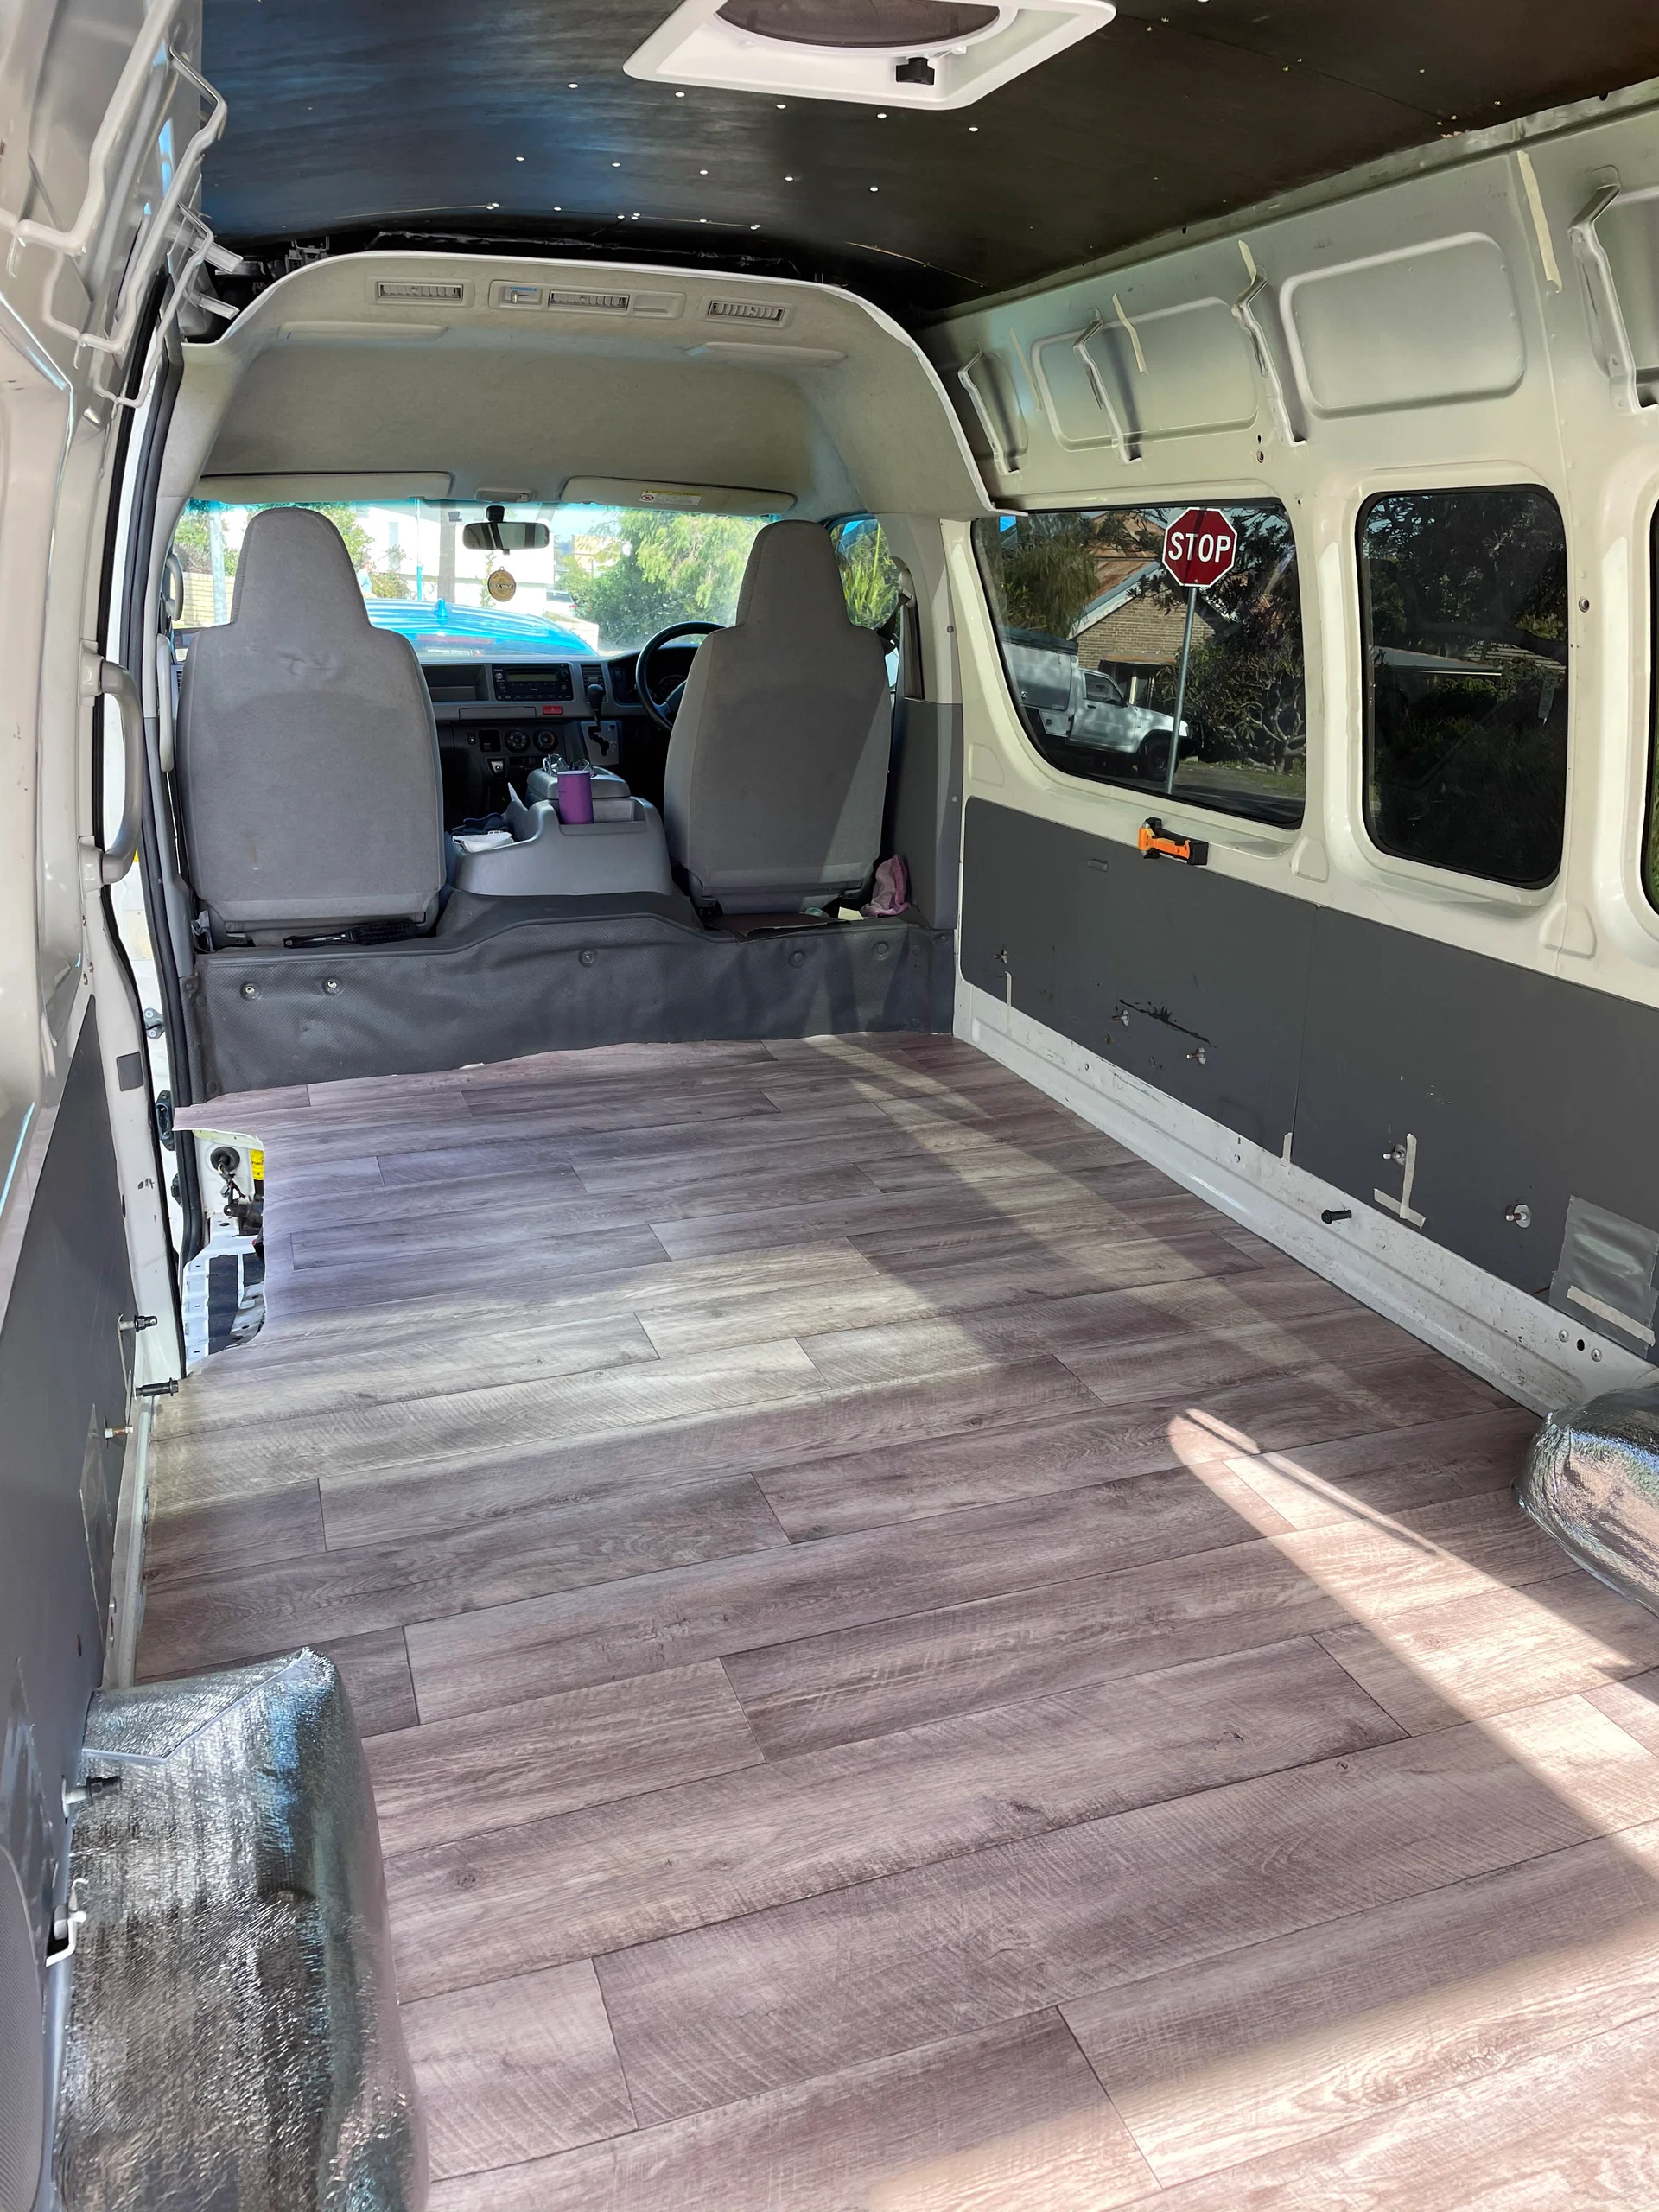
We were hoping to finish the ceiling but we were still waiting for our timber order. So we got started on the bed frame instead. Off to Bunnings (again) and let's buy some more wood.
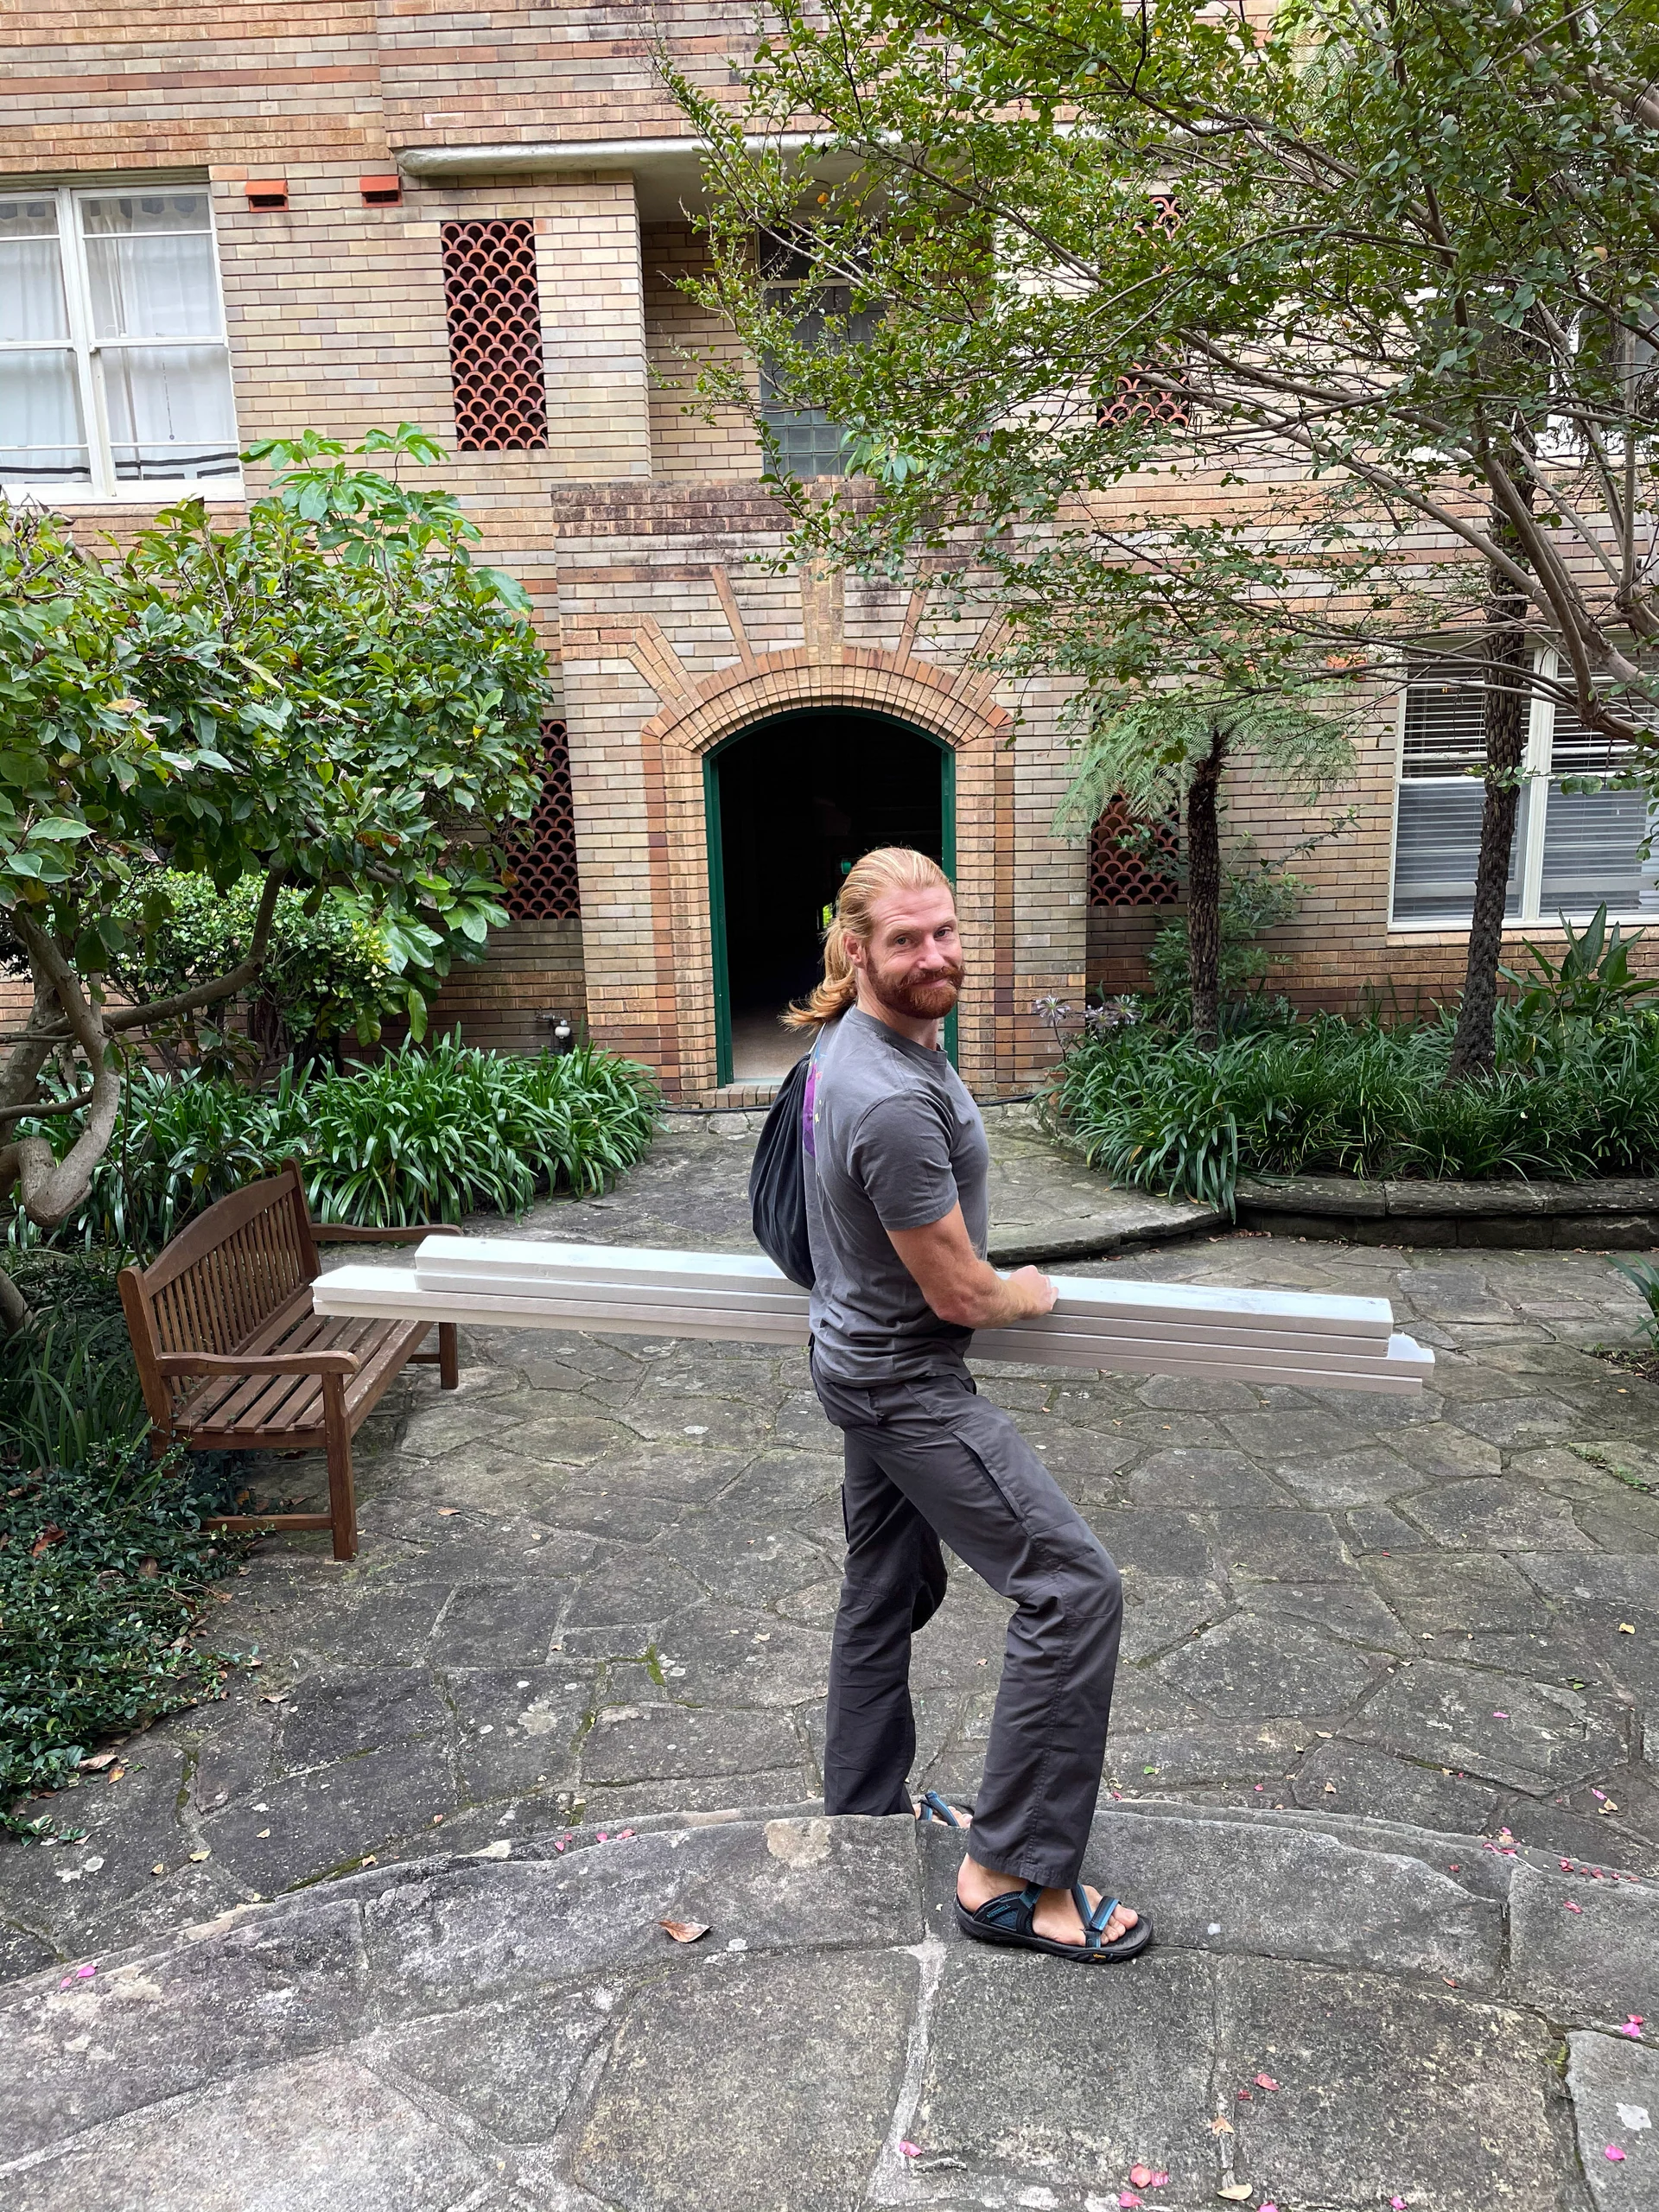
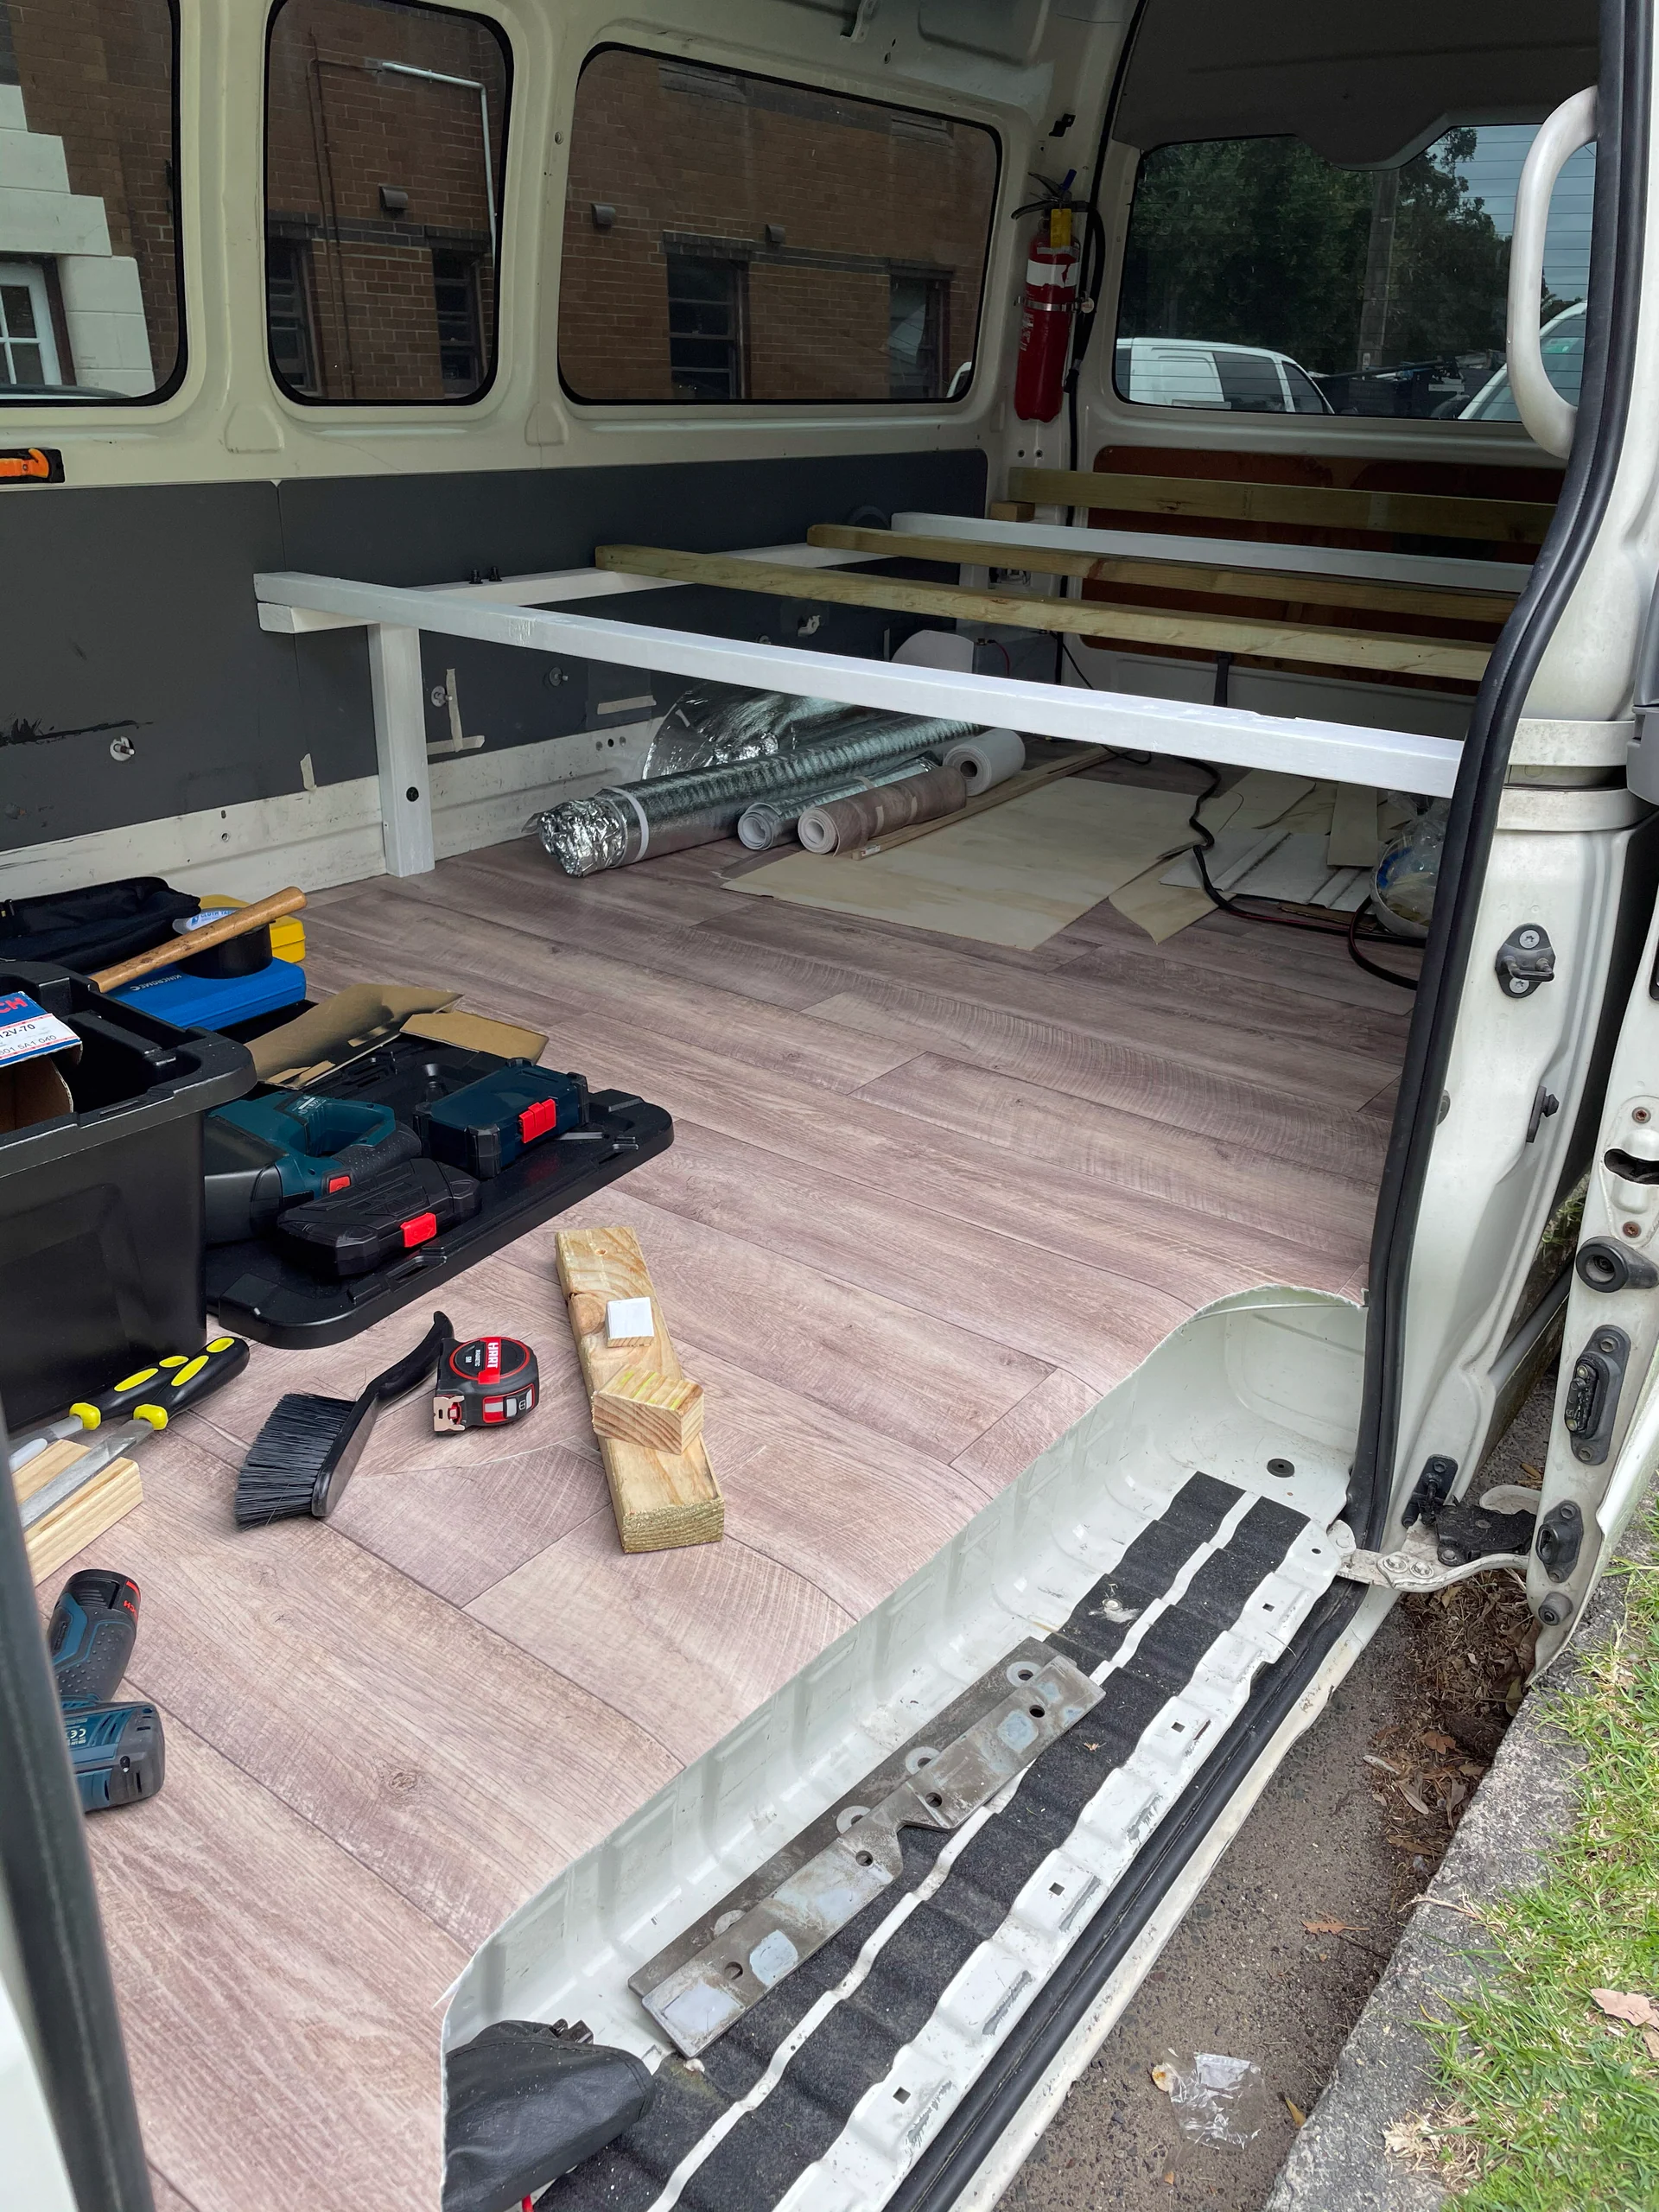
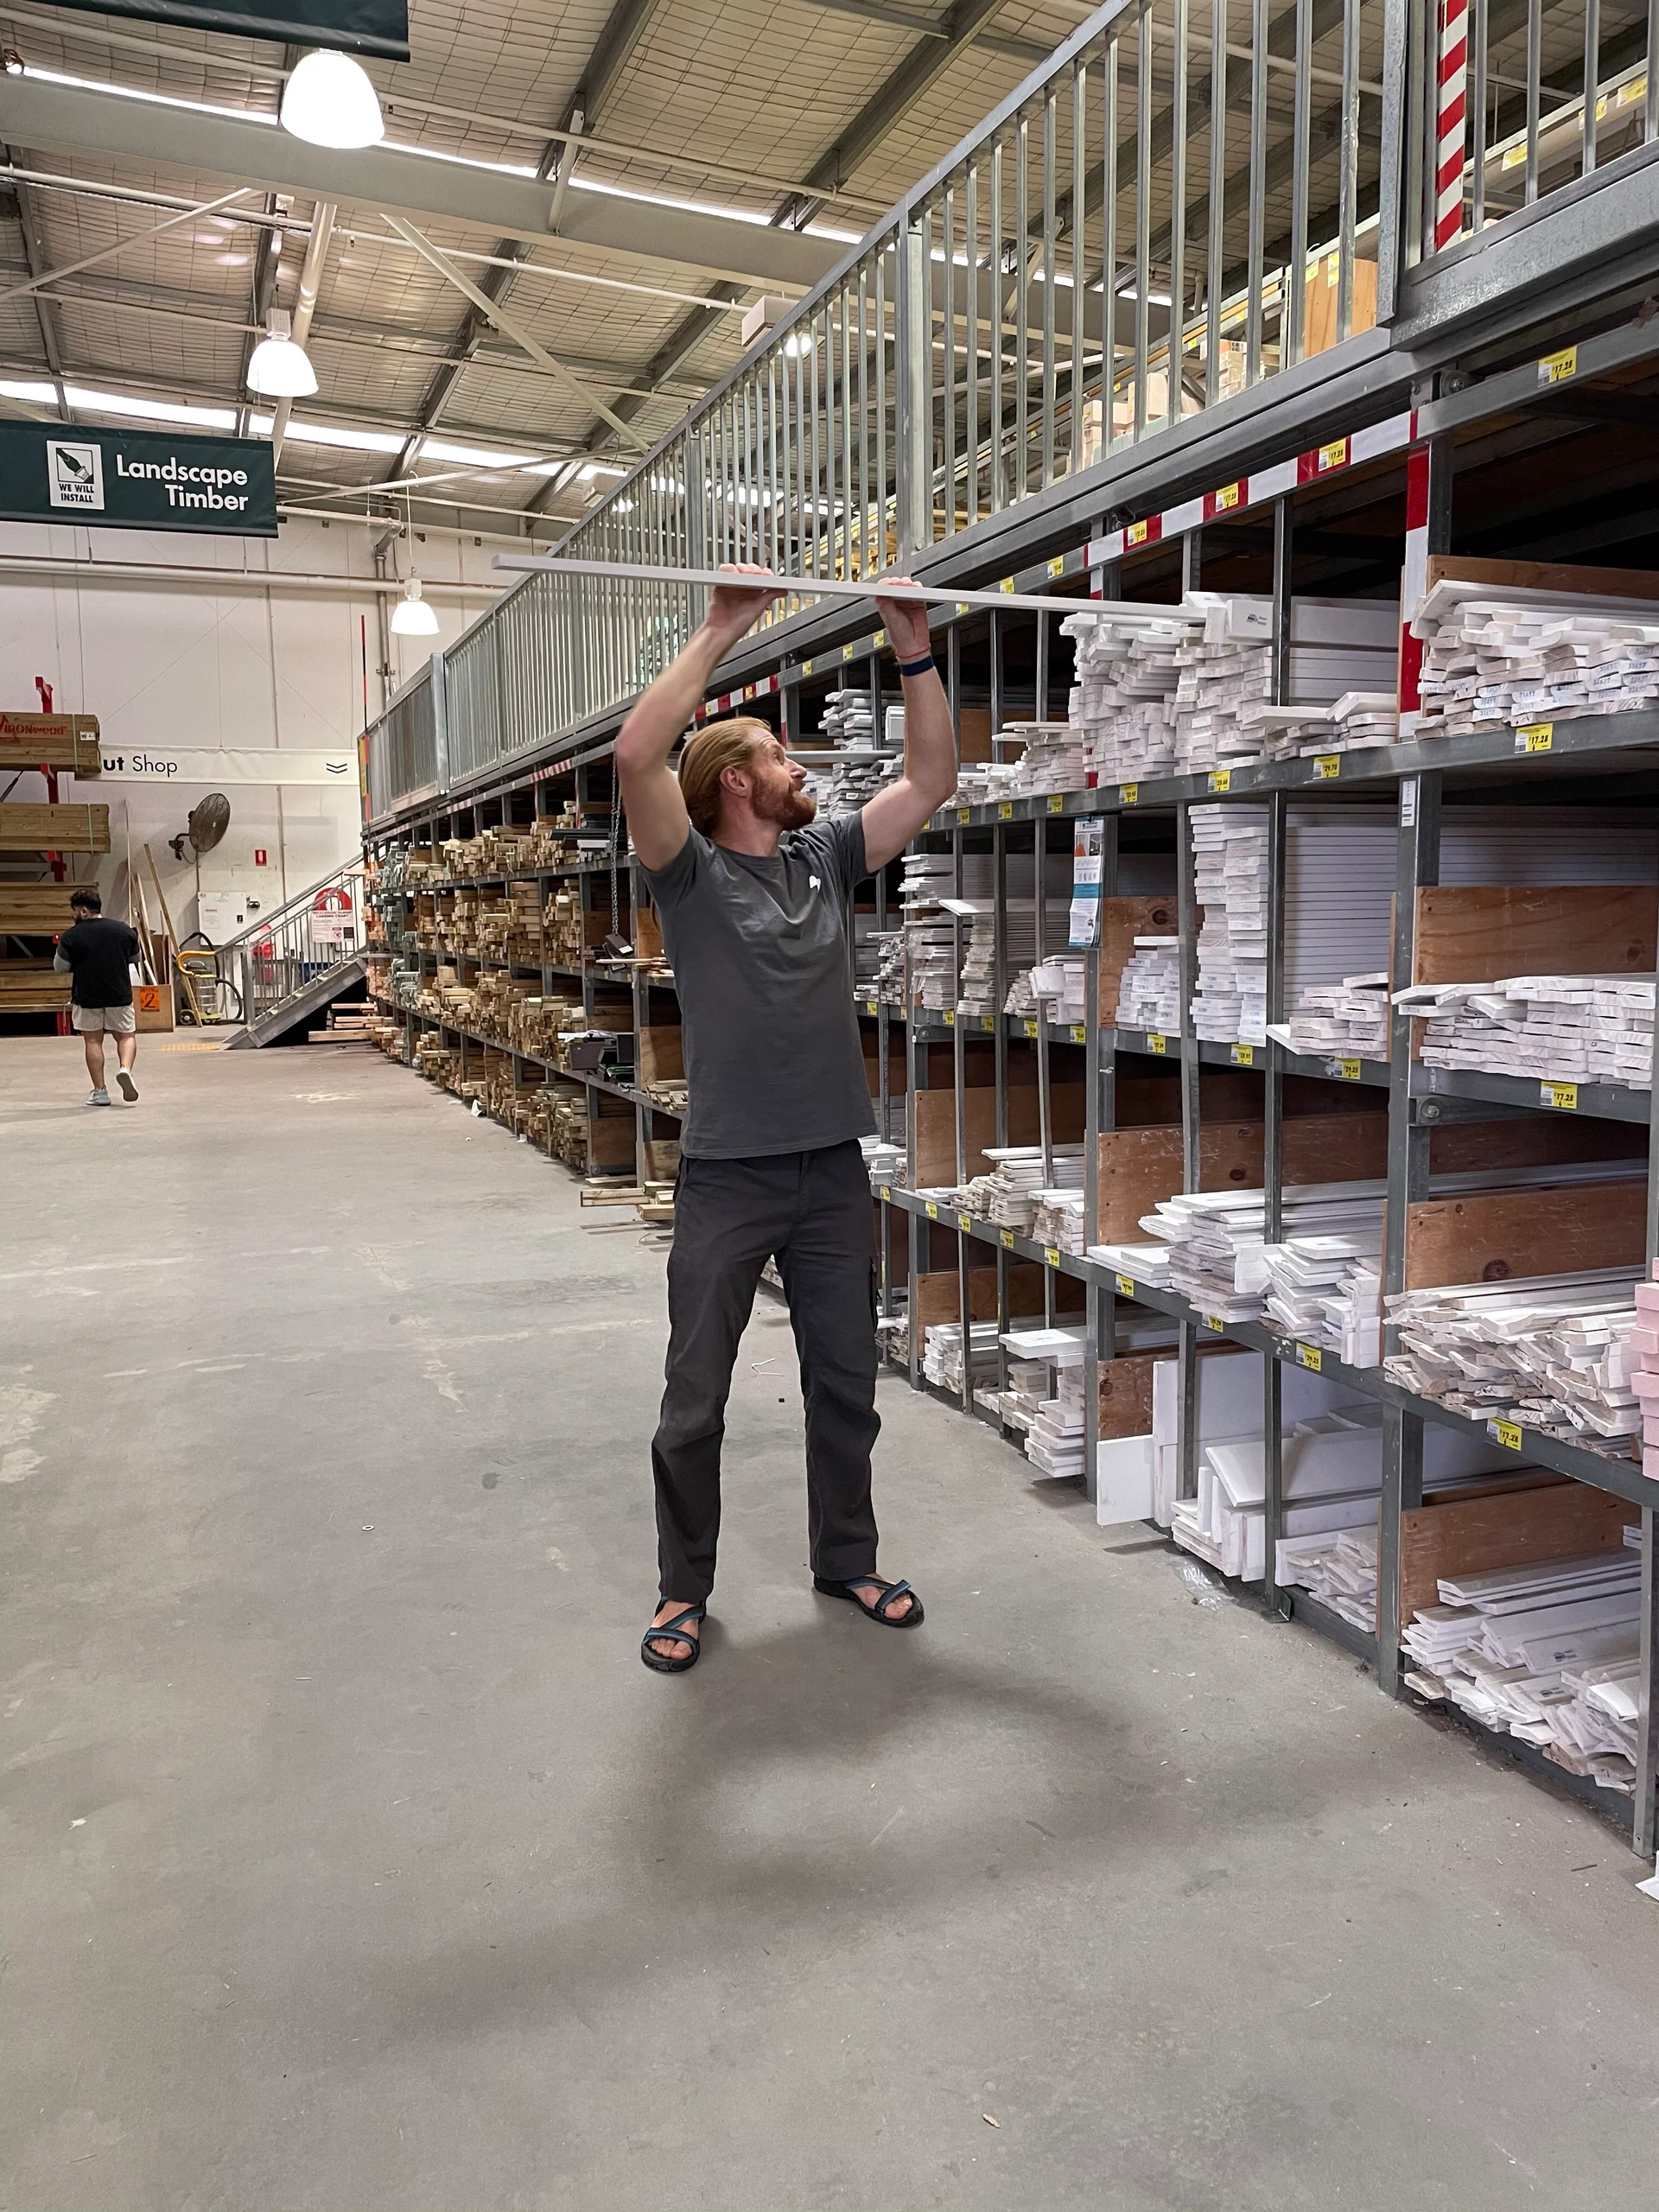
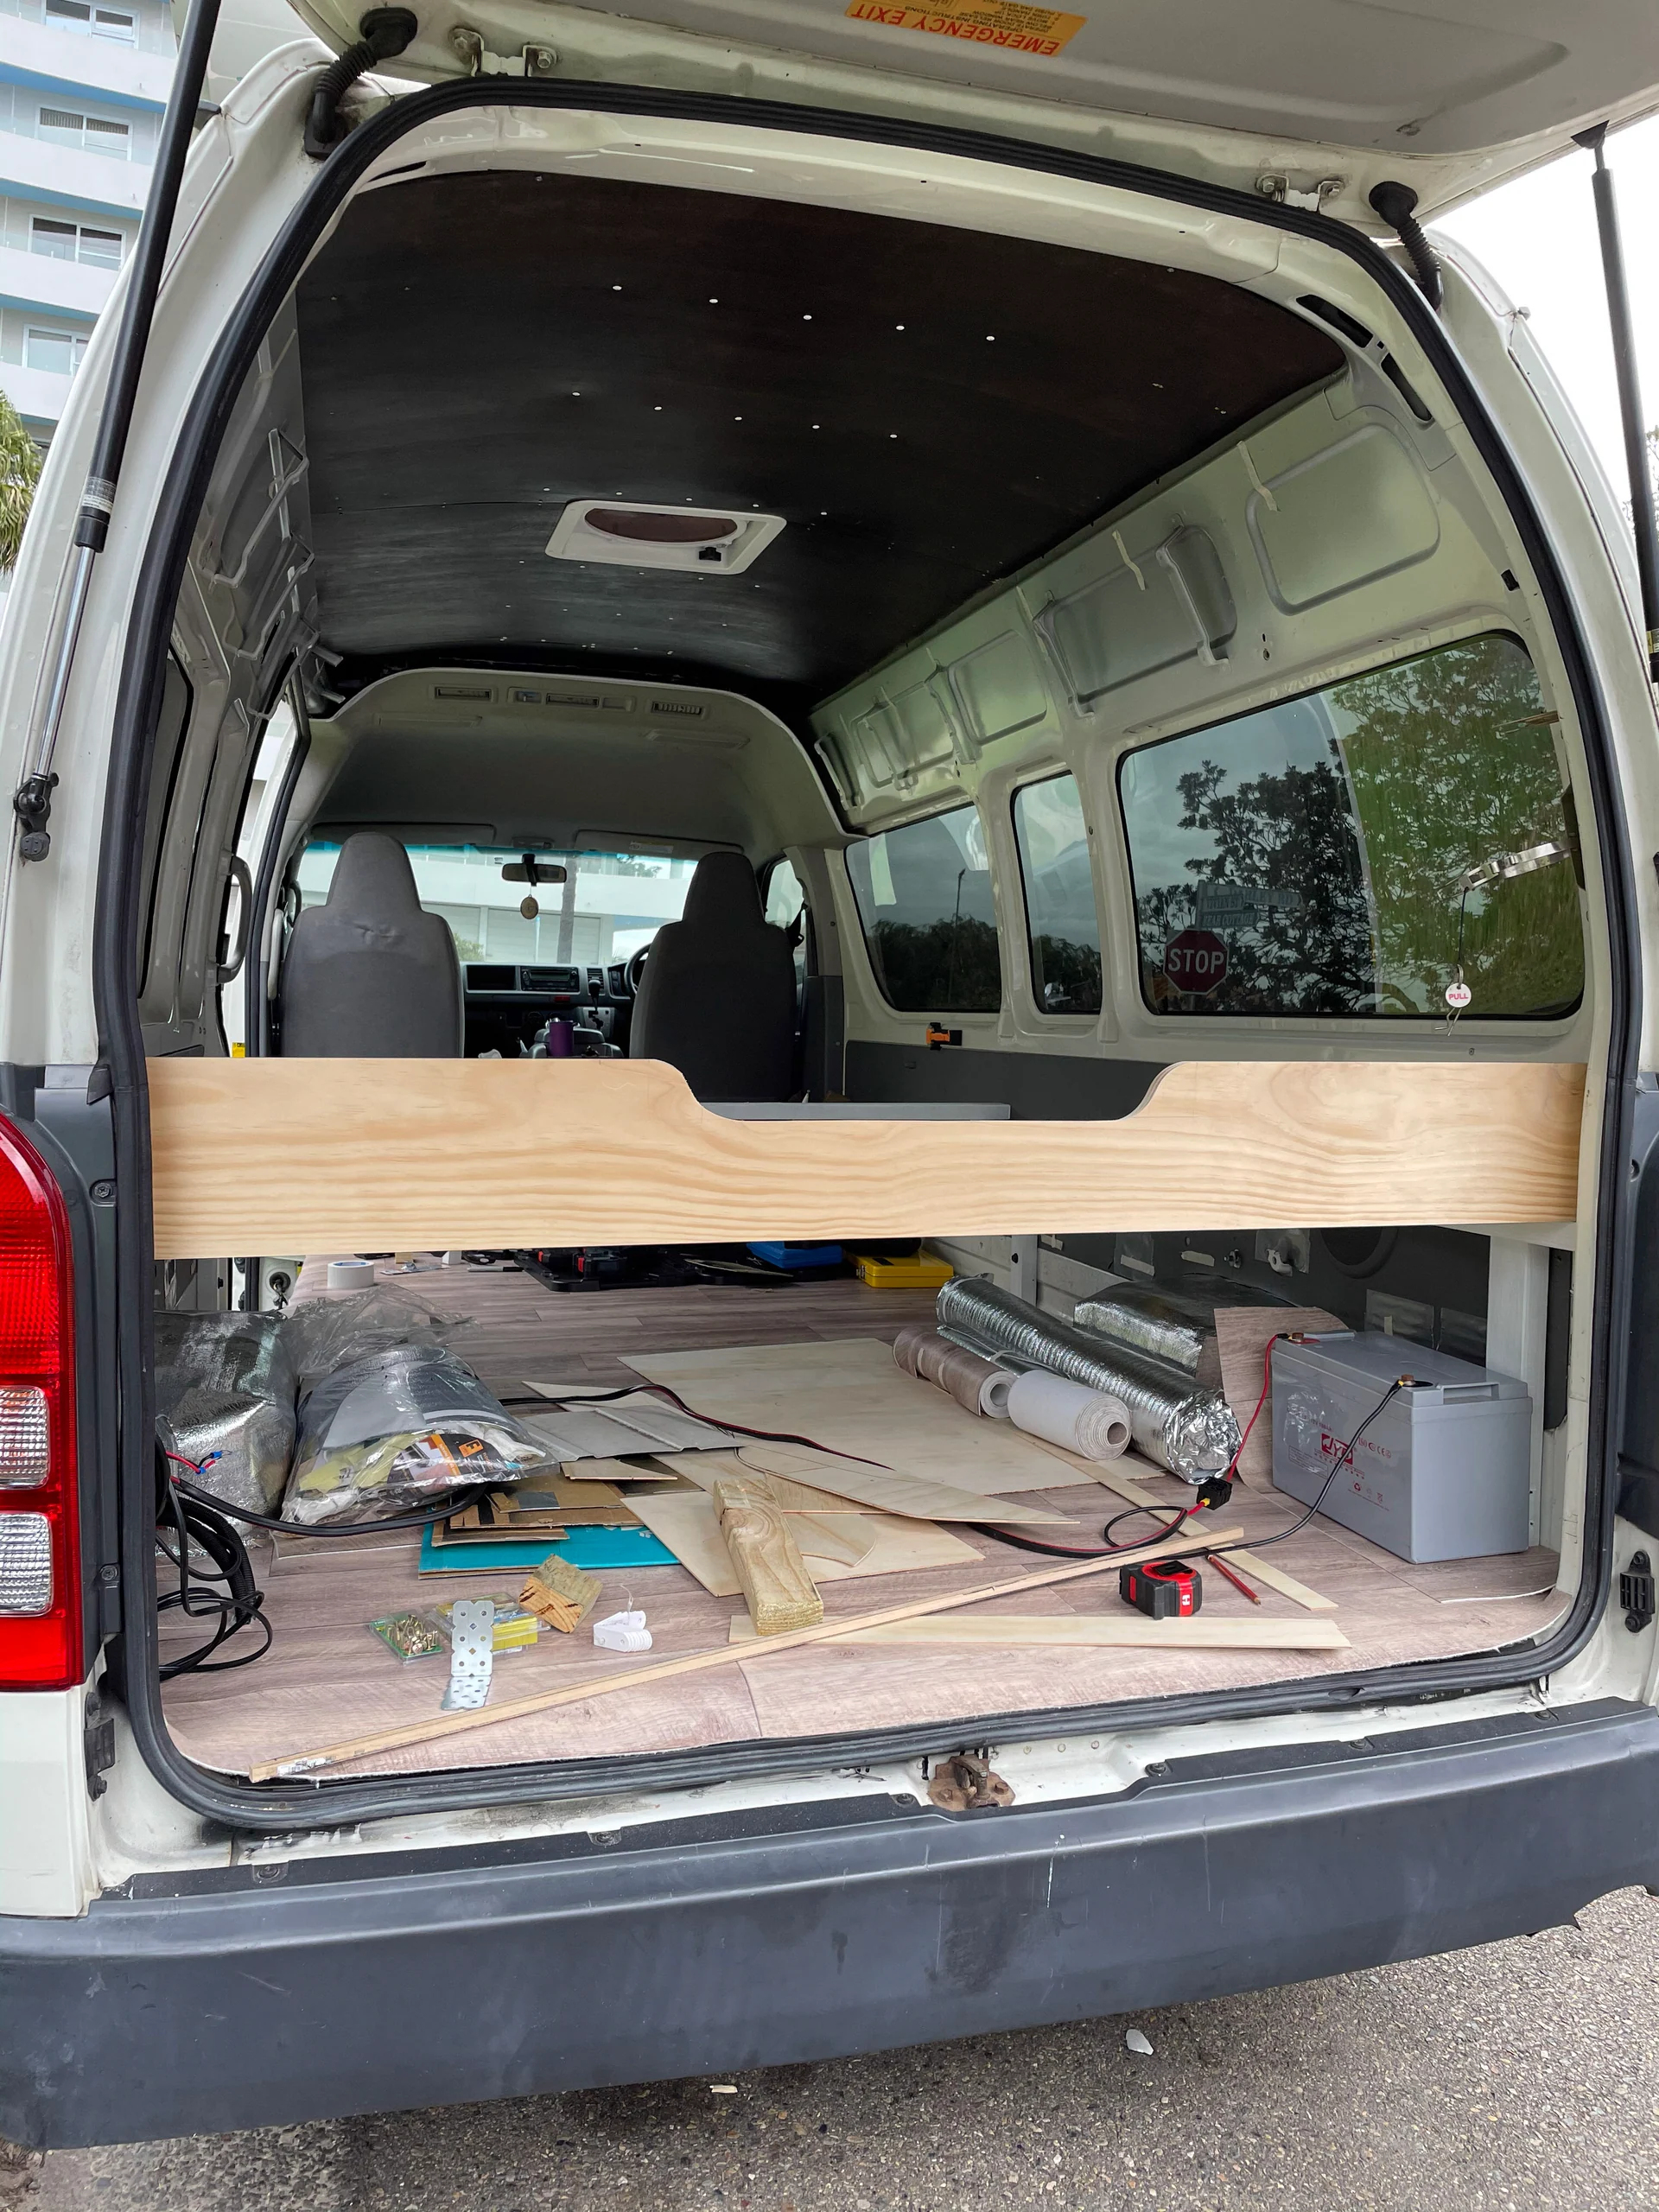
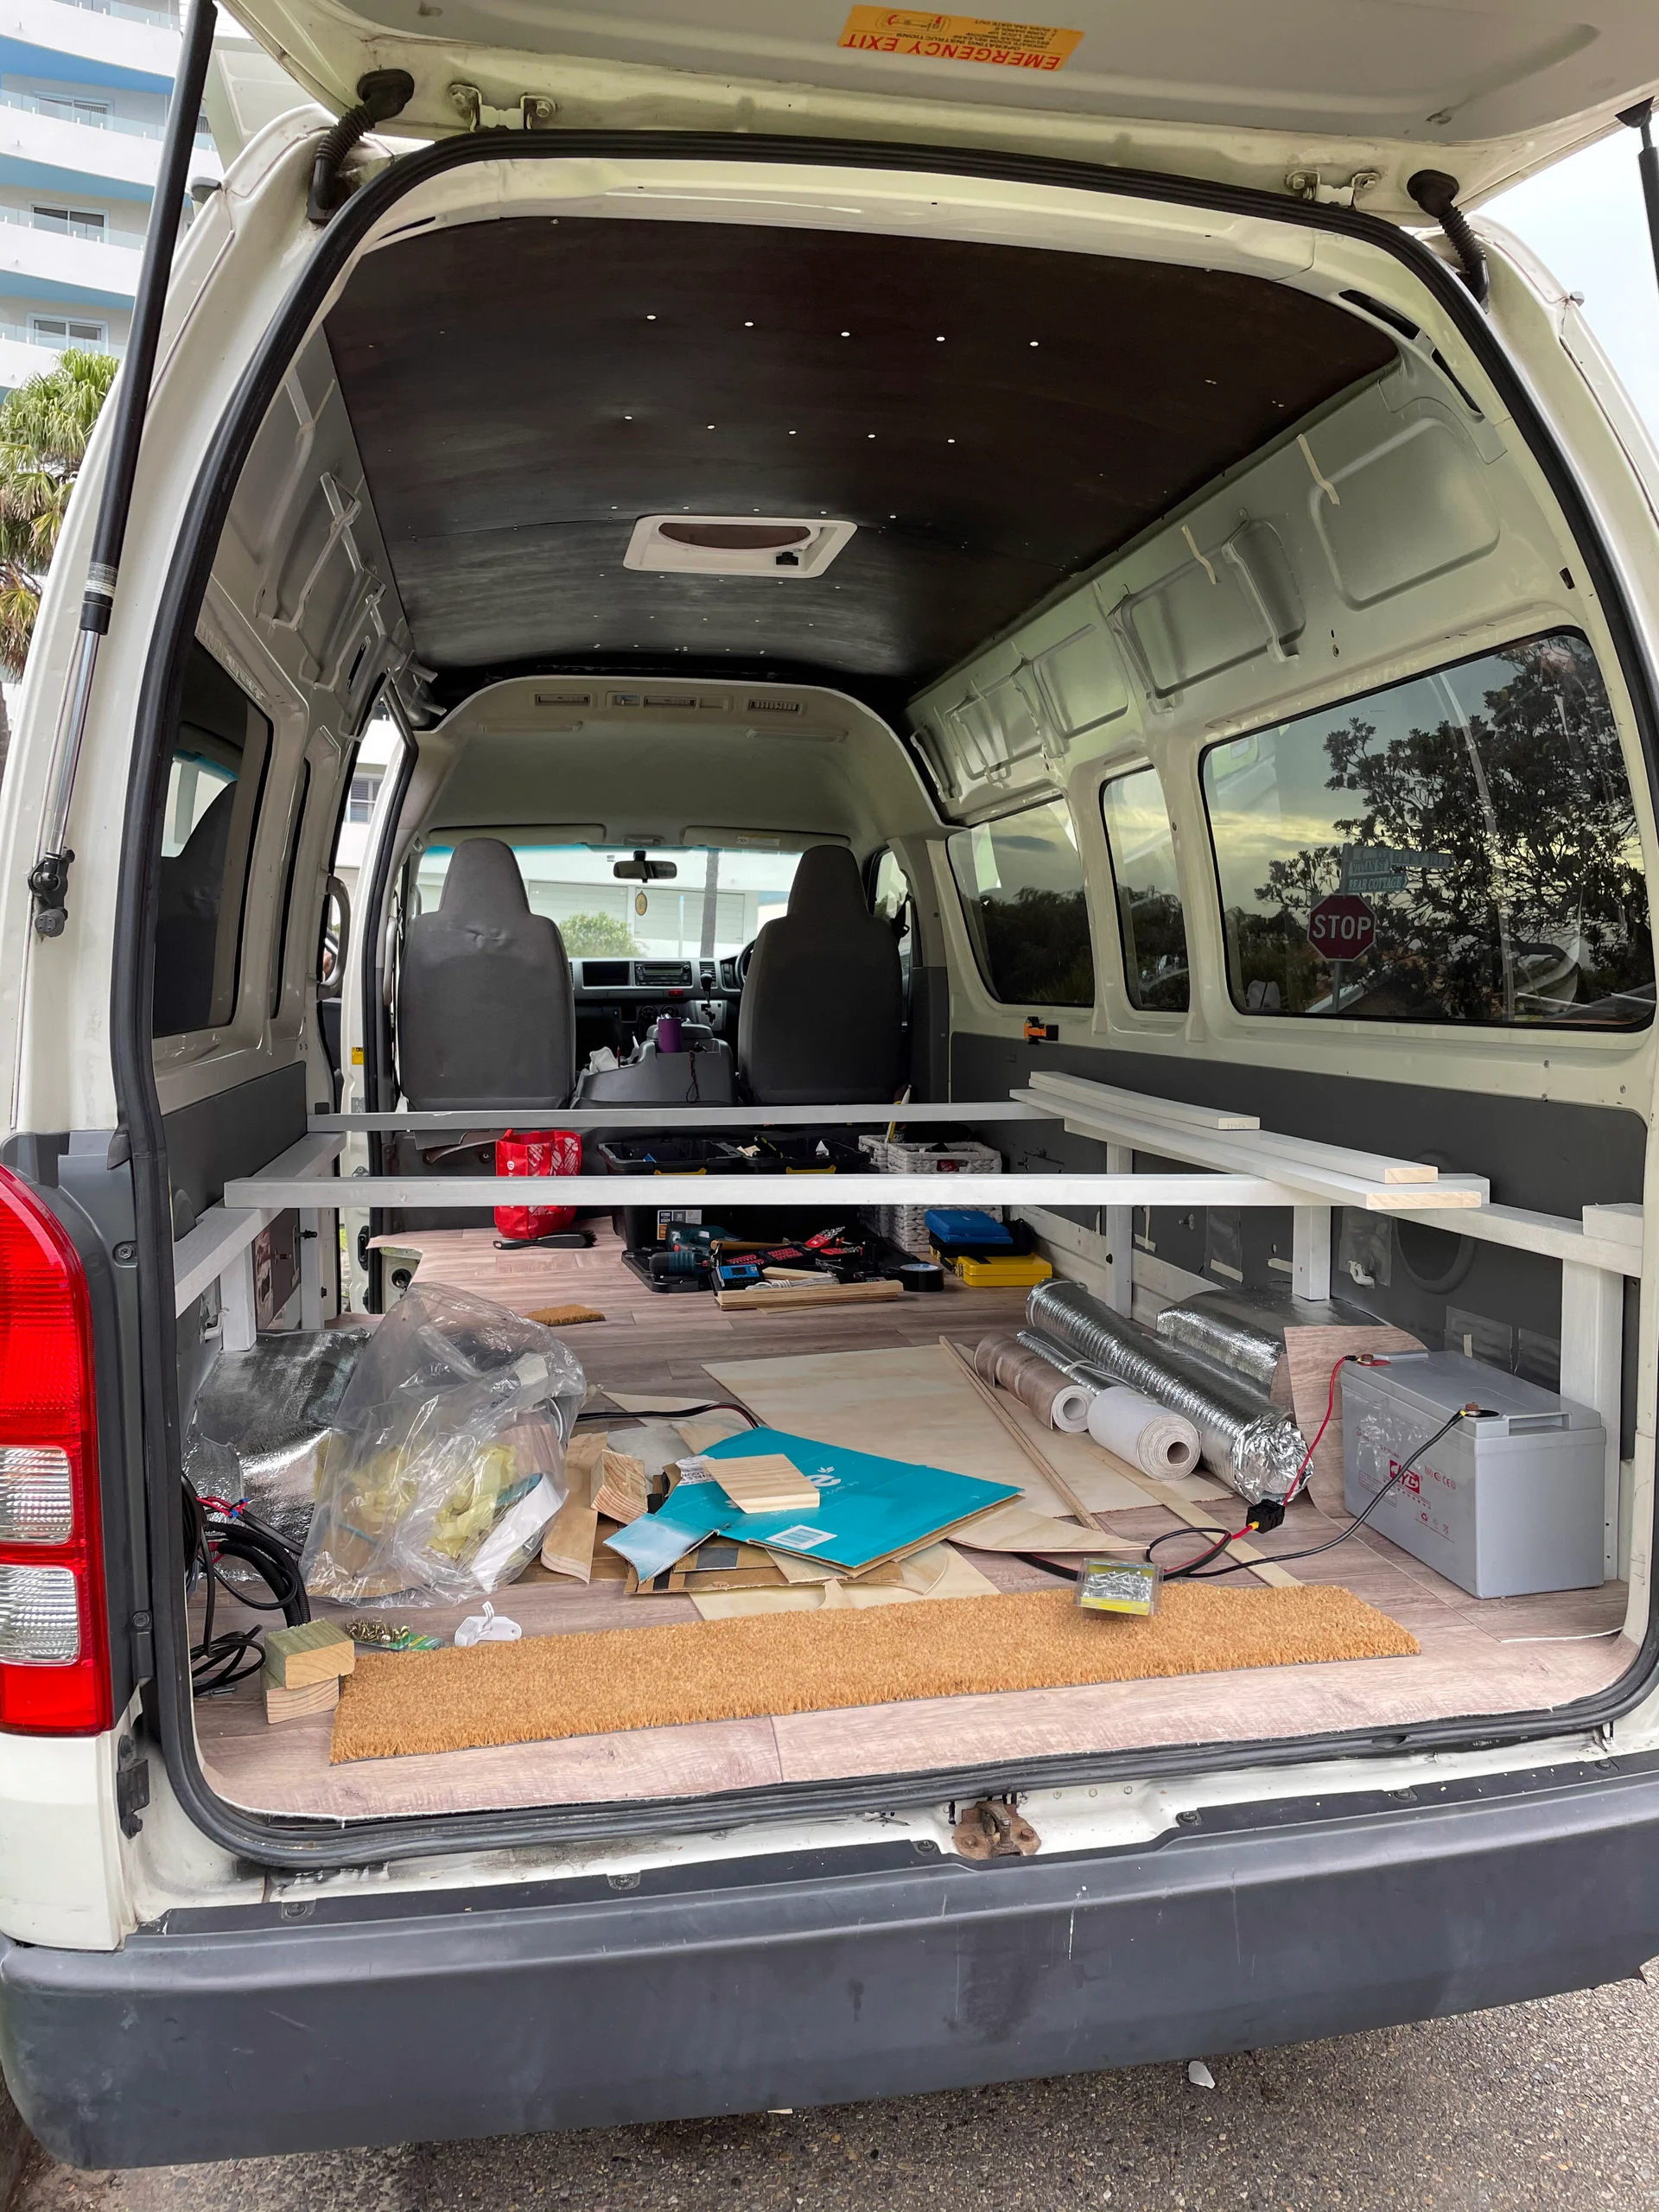
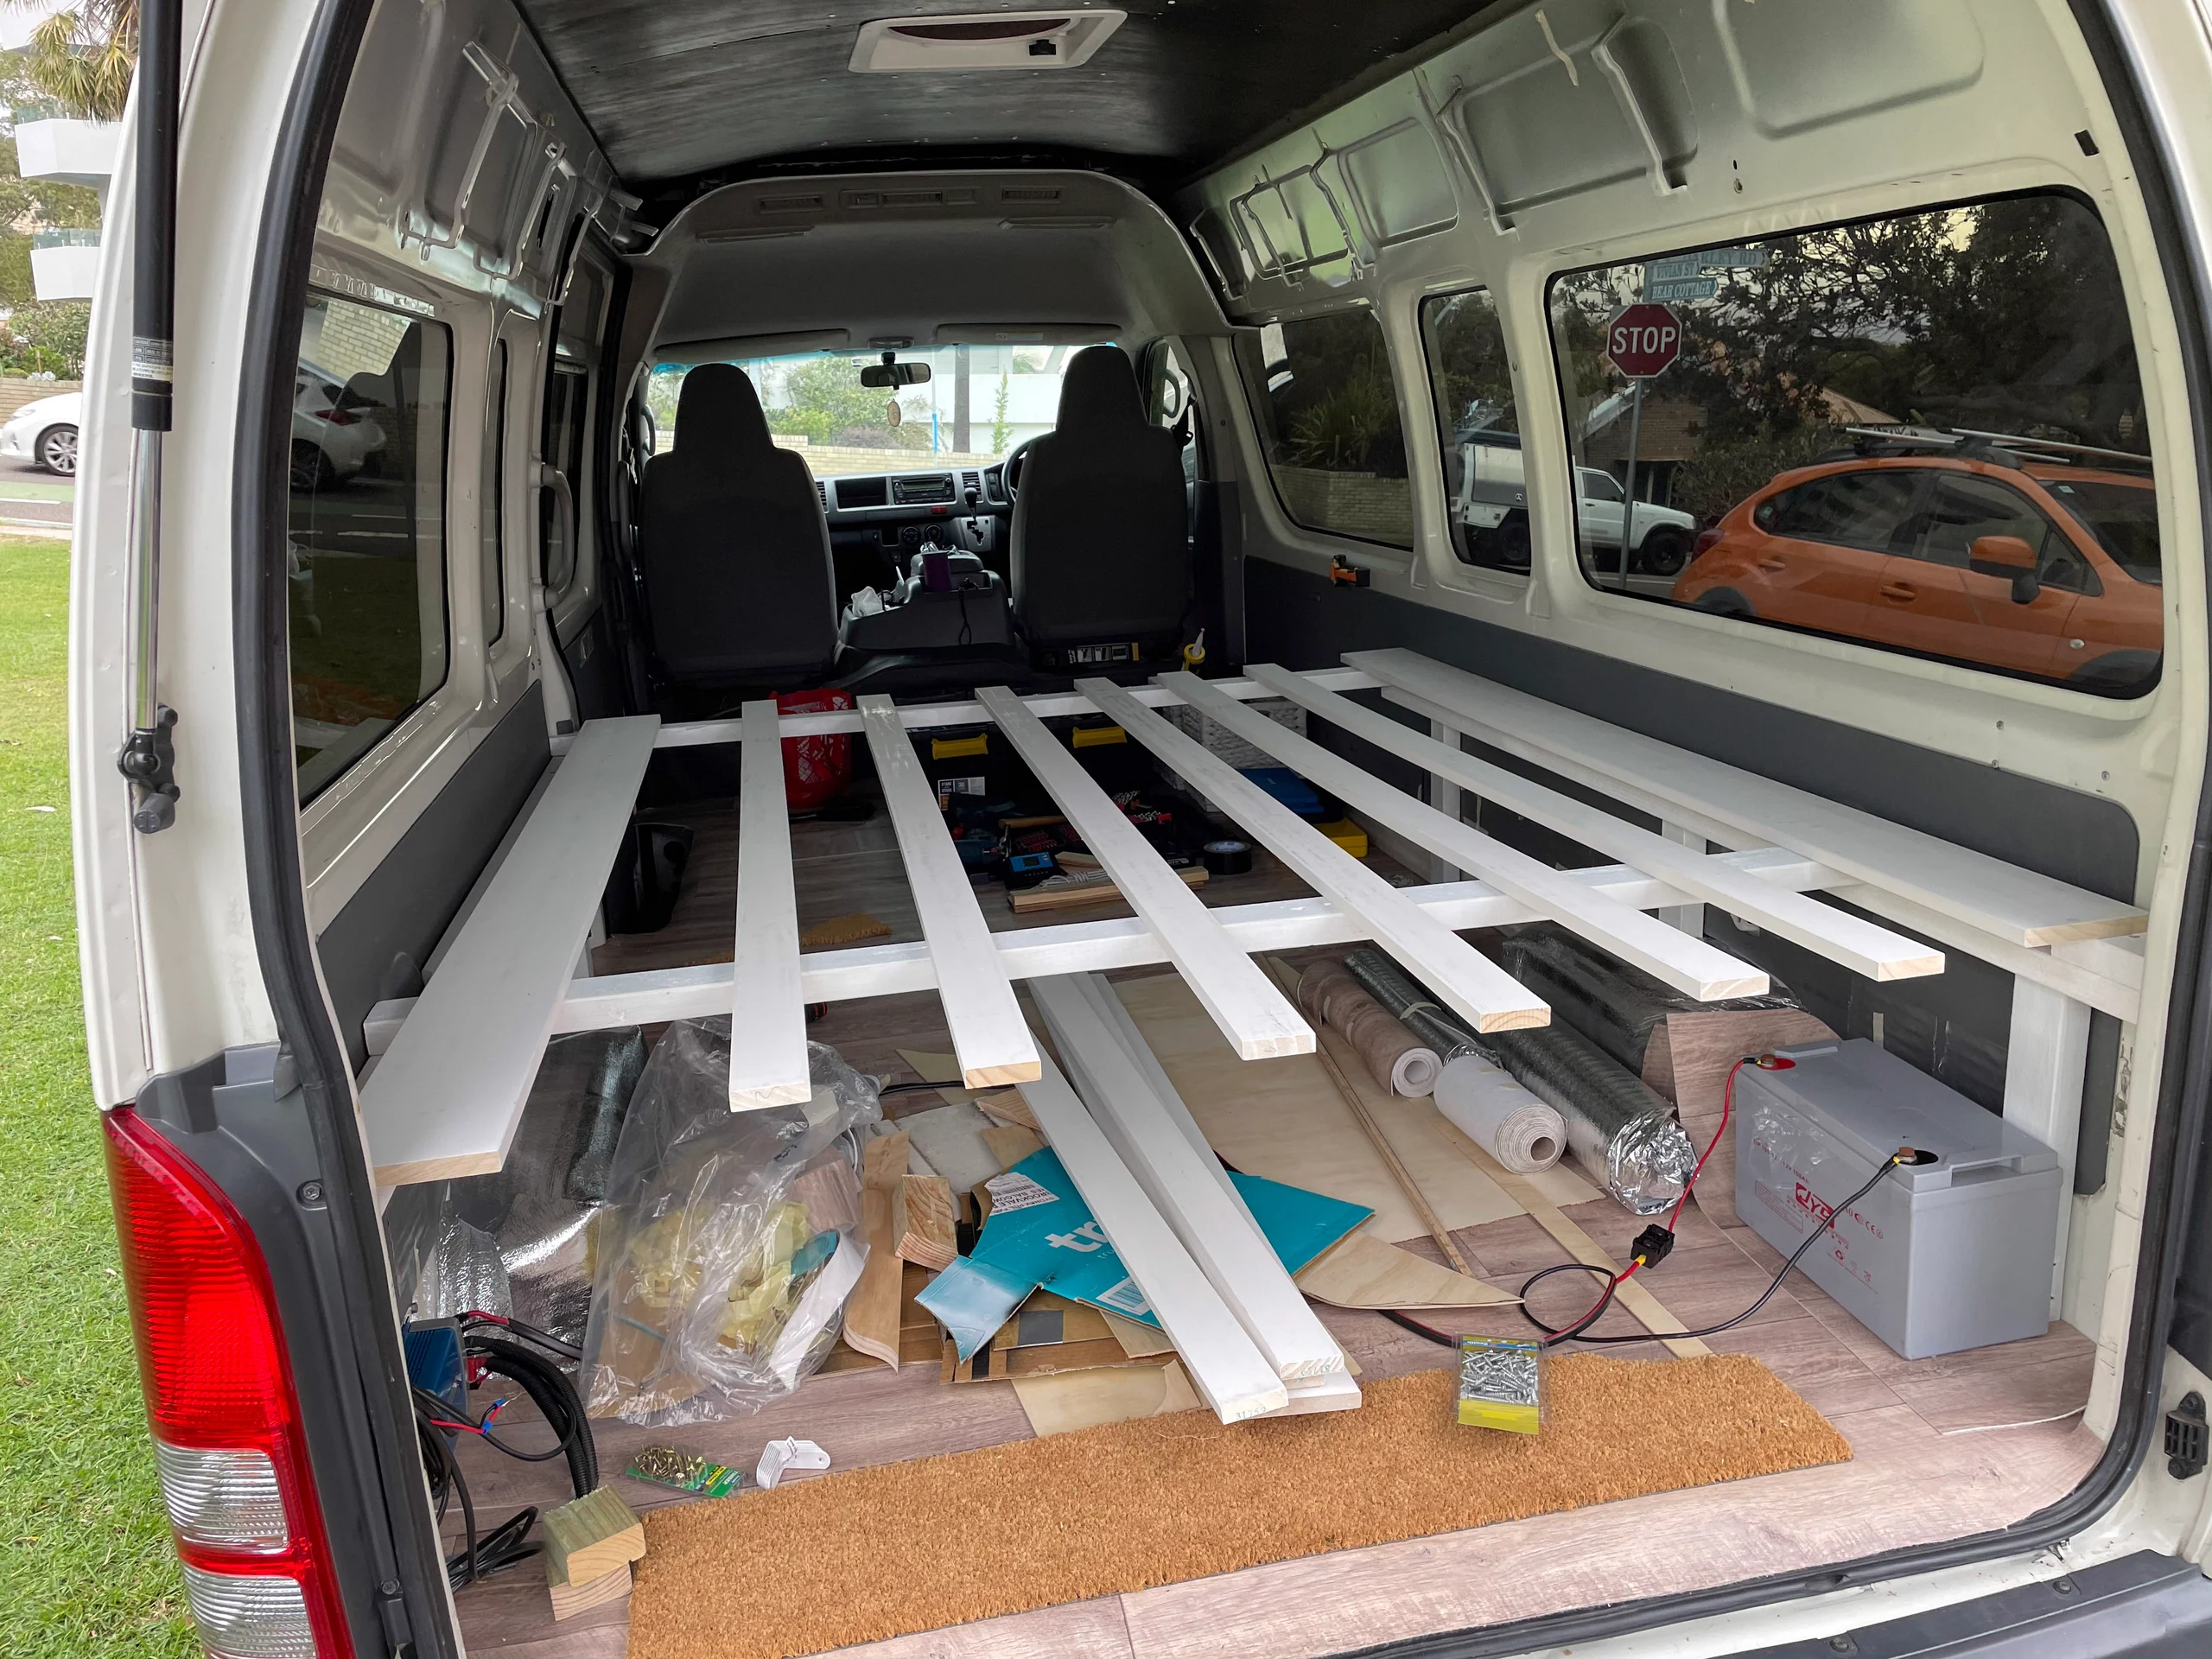
Right when we started to make some serious progress, we got the message from Bunnings that our timber order is ready for collection. Let's go there yet again... Luckily we still have another car and could just leave the van in a bit of chaos.
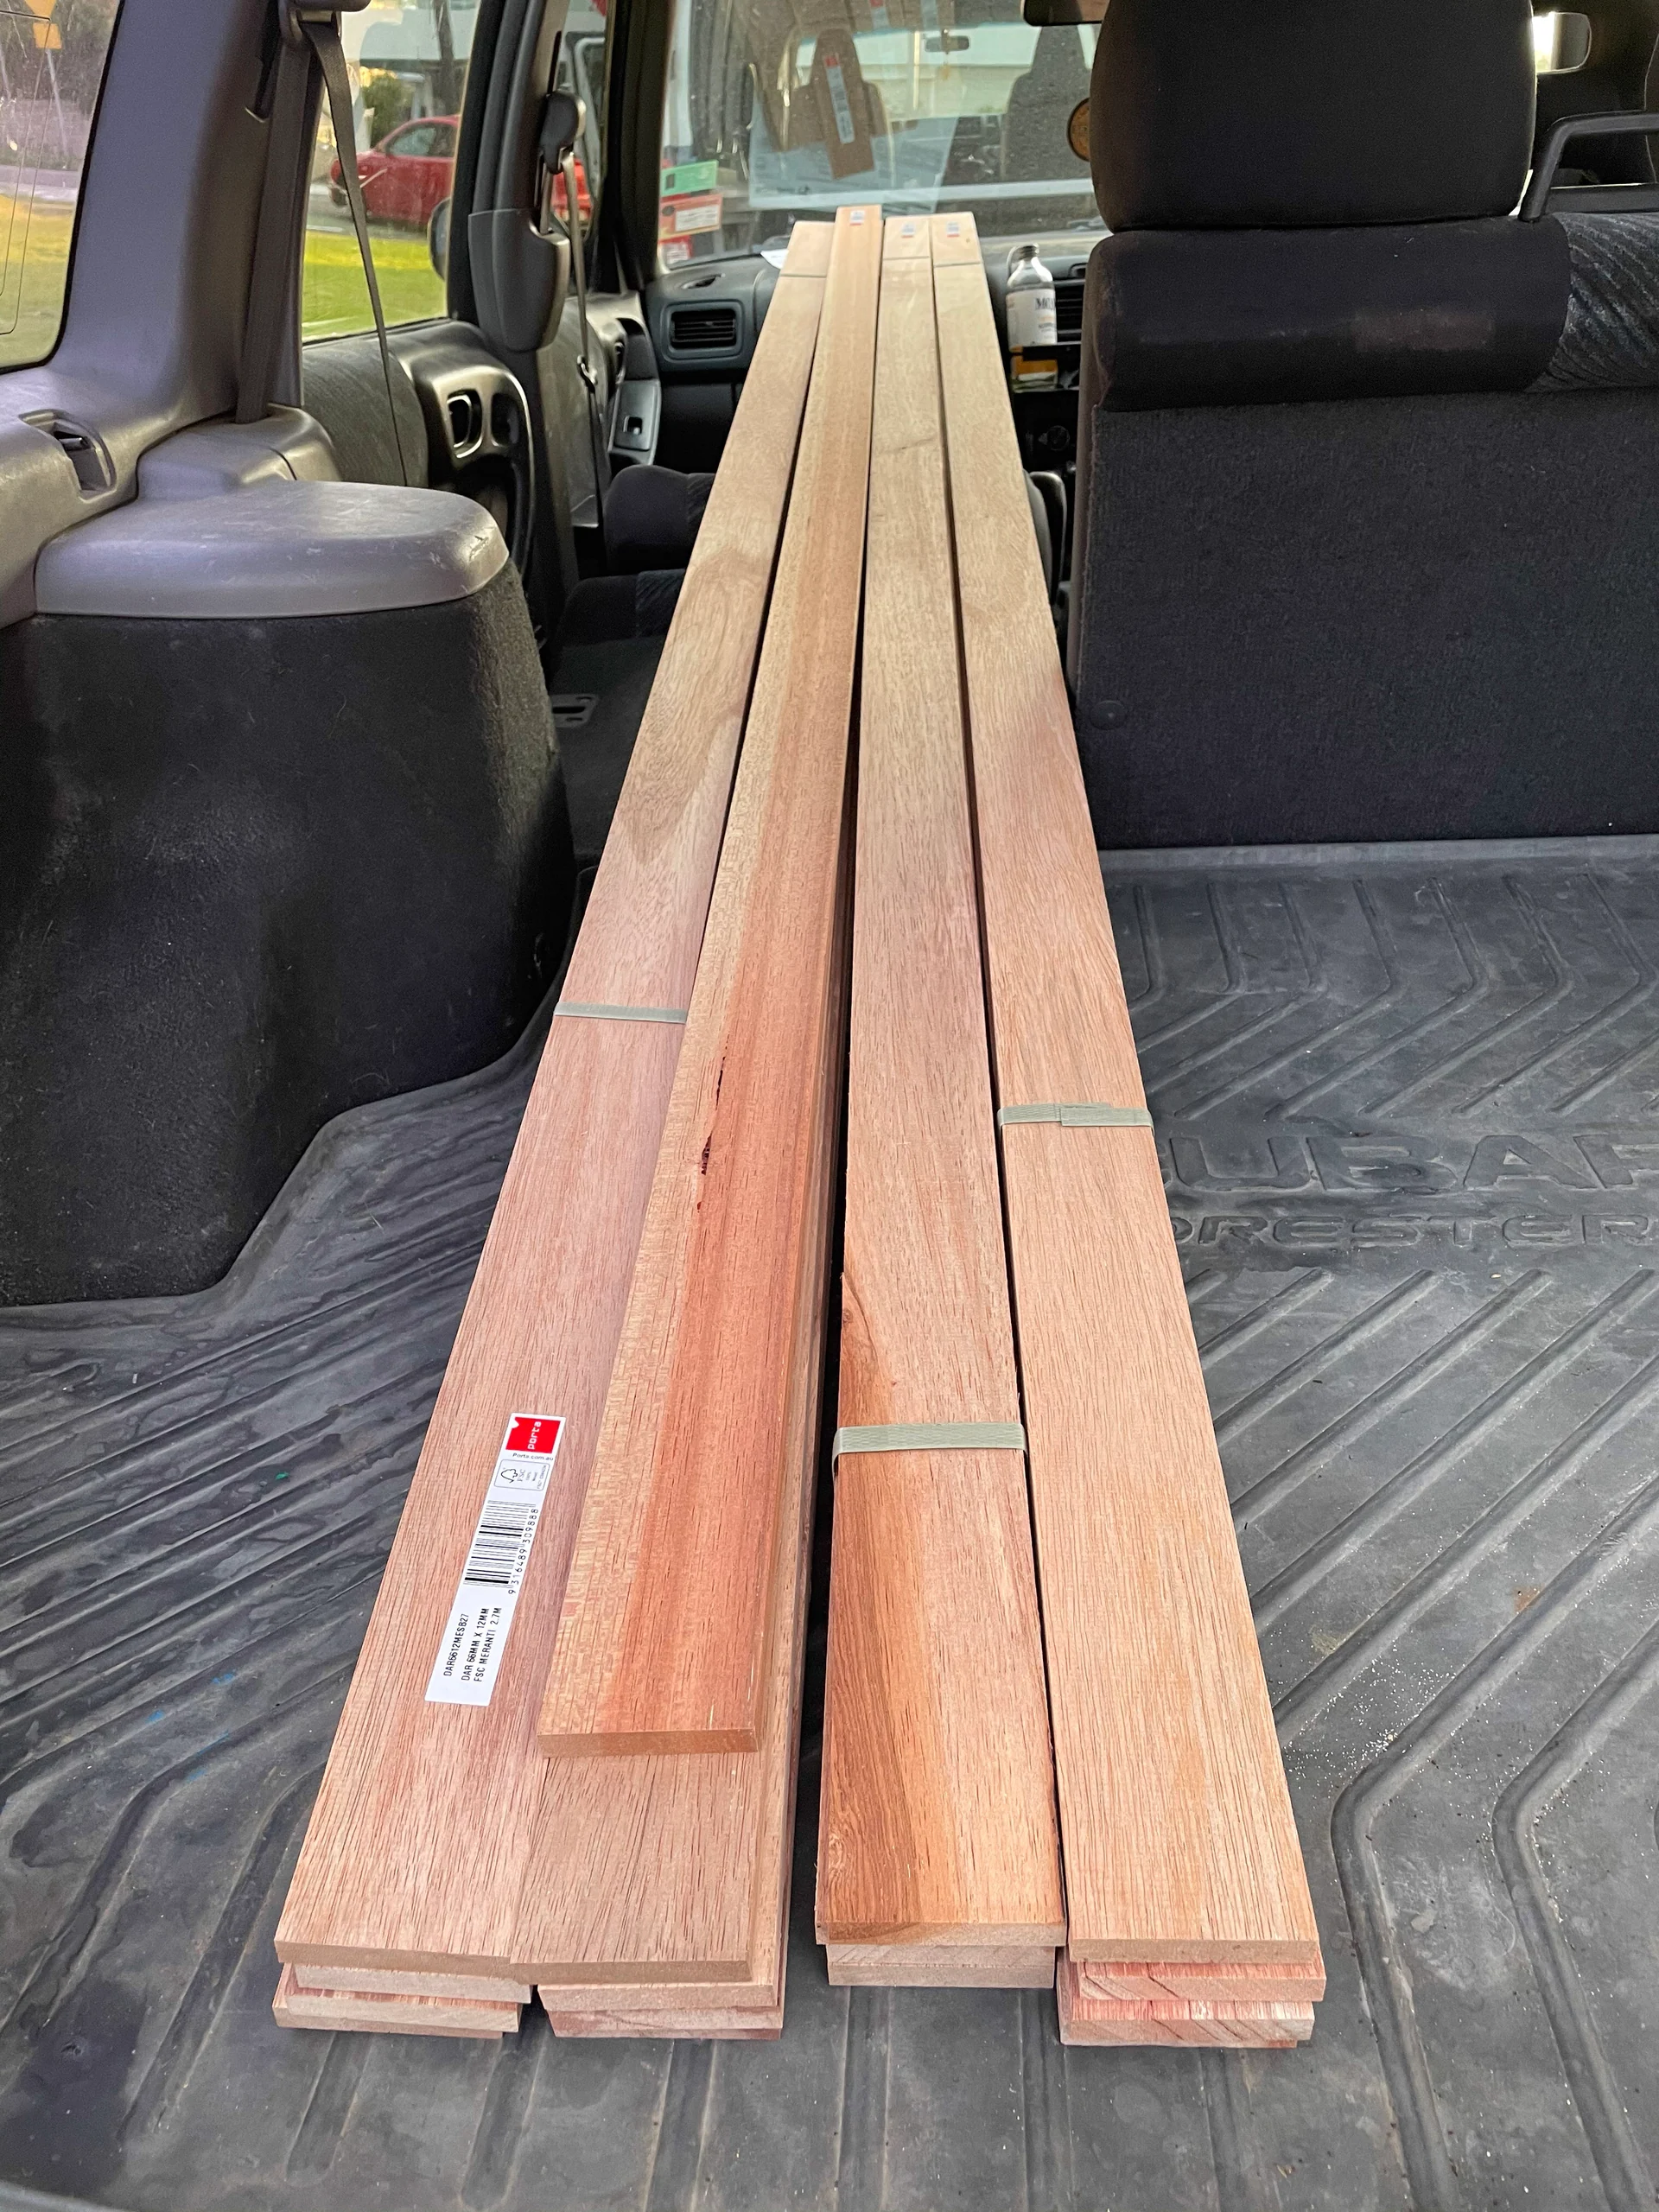
After a quick early shop at Bunnings (again), we finally had the right wood treatment for our ceiling timber. Katja started to paint the wood and I replaced the leaking rocker cover seal in the engine.
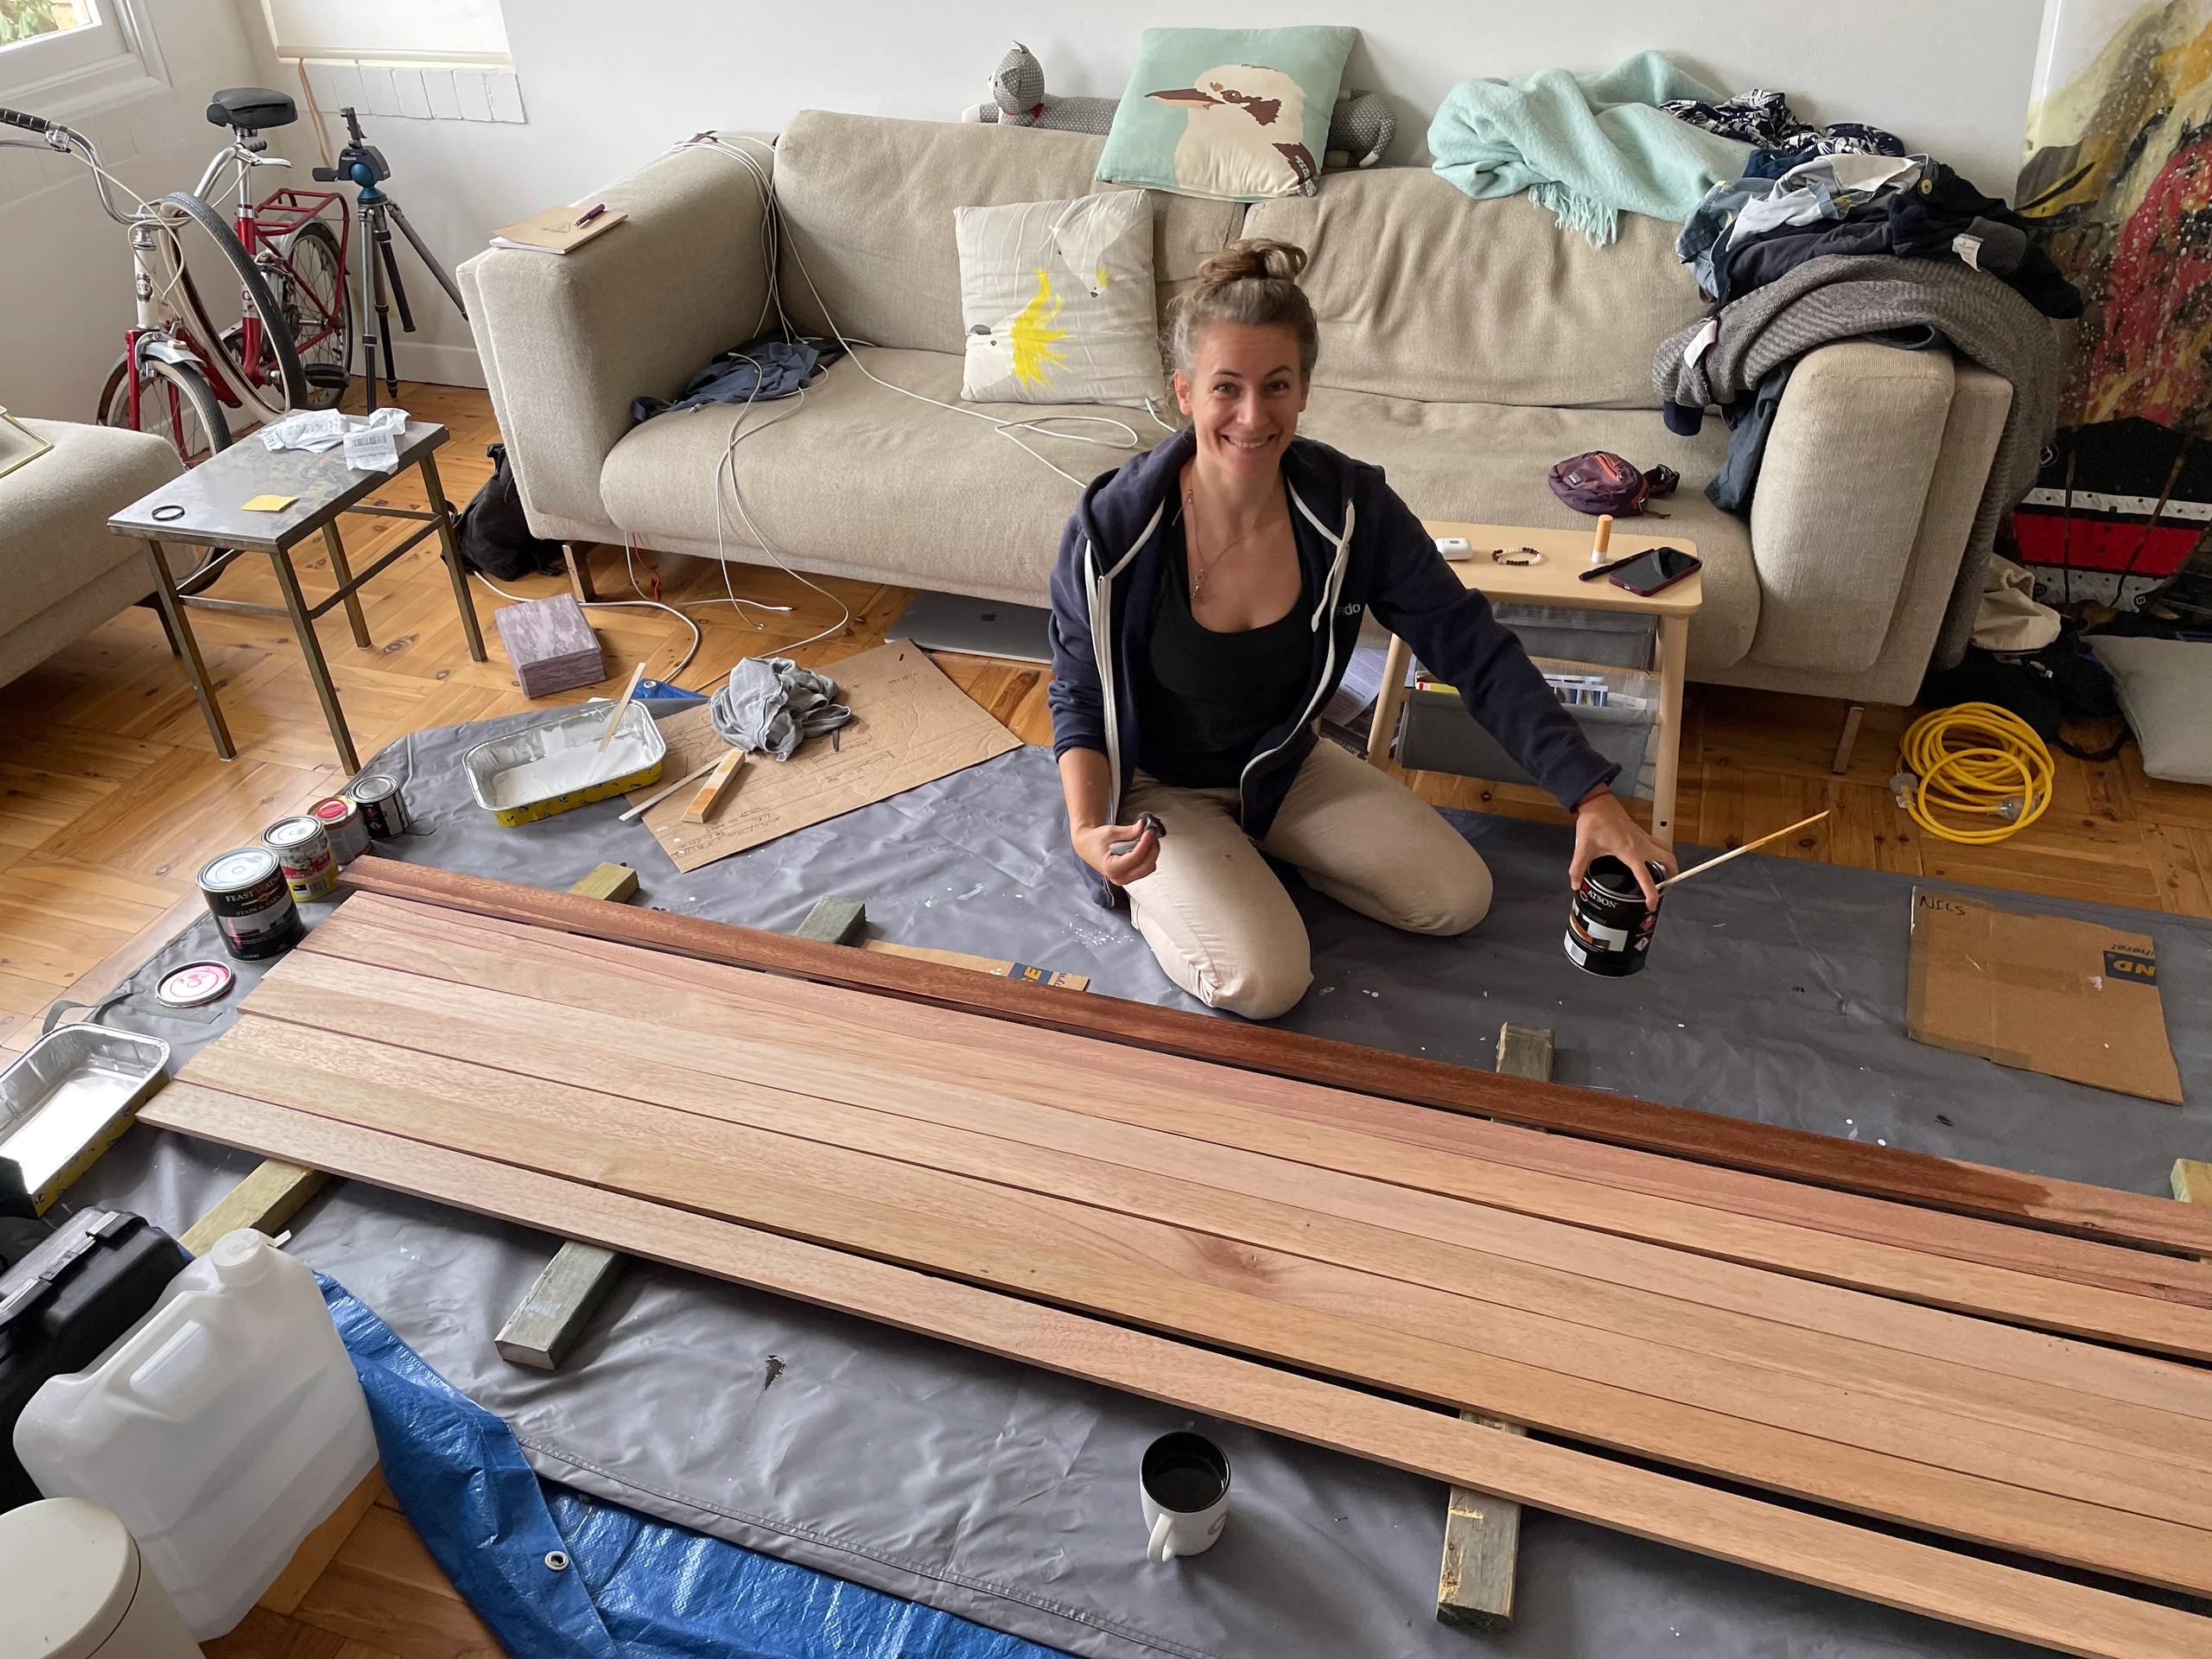
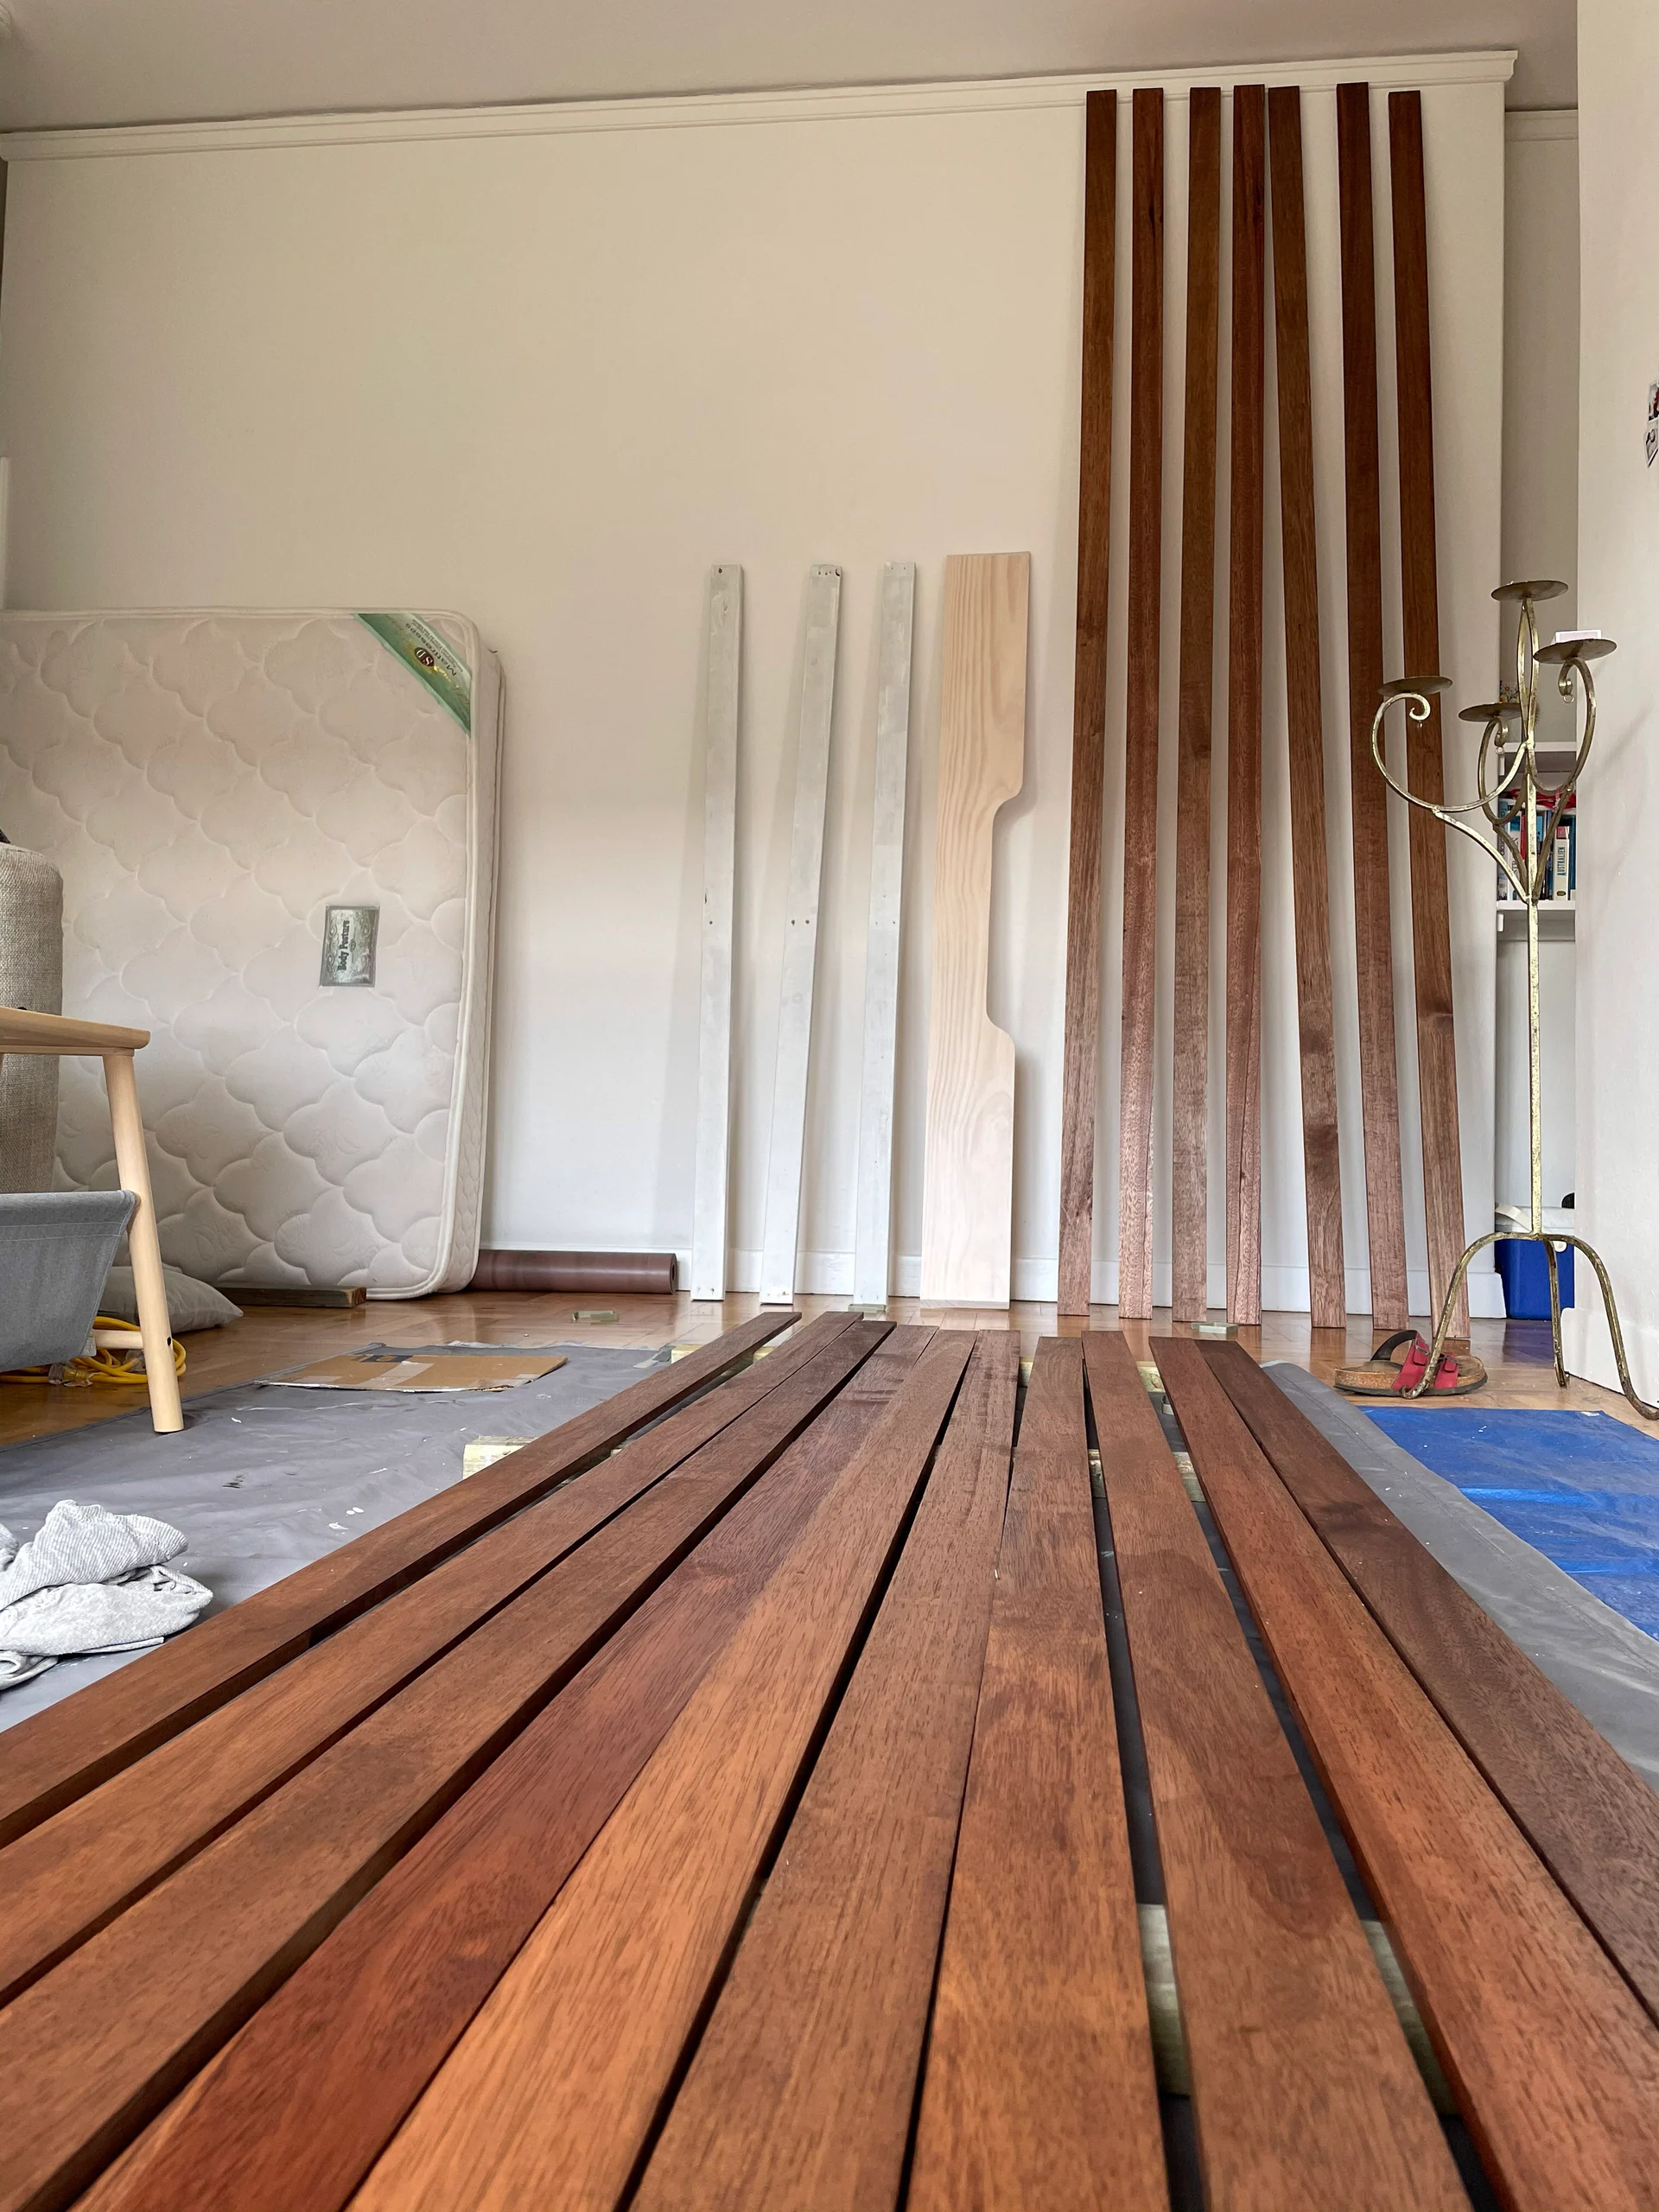
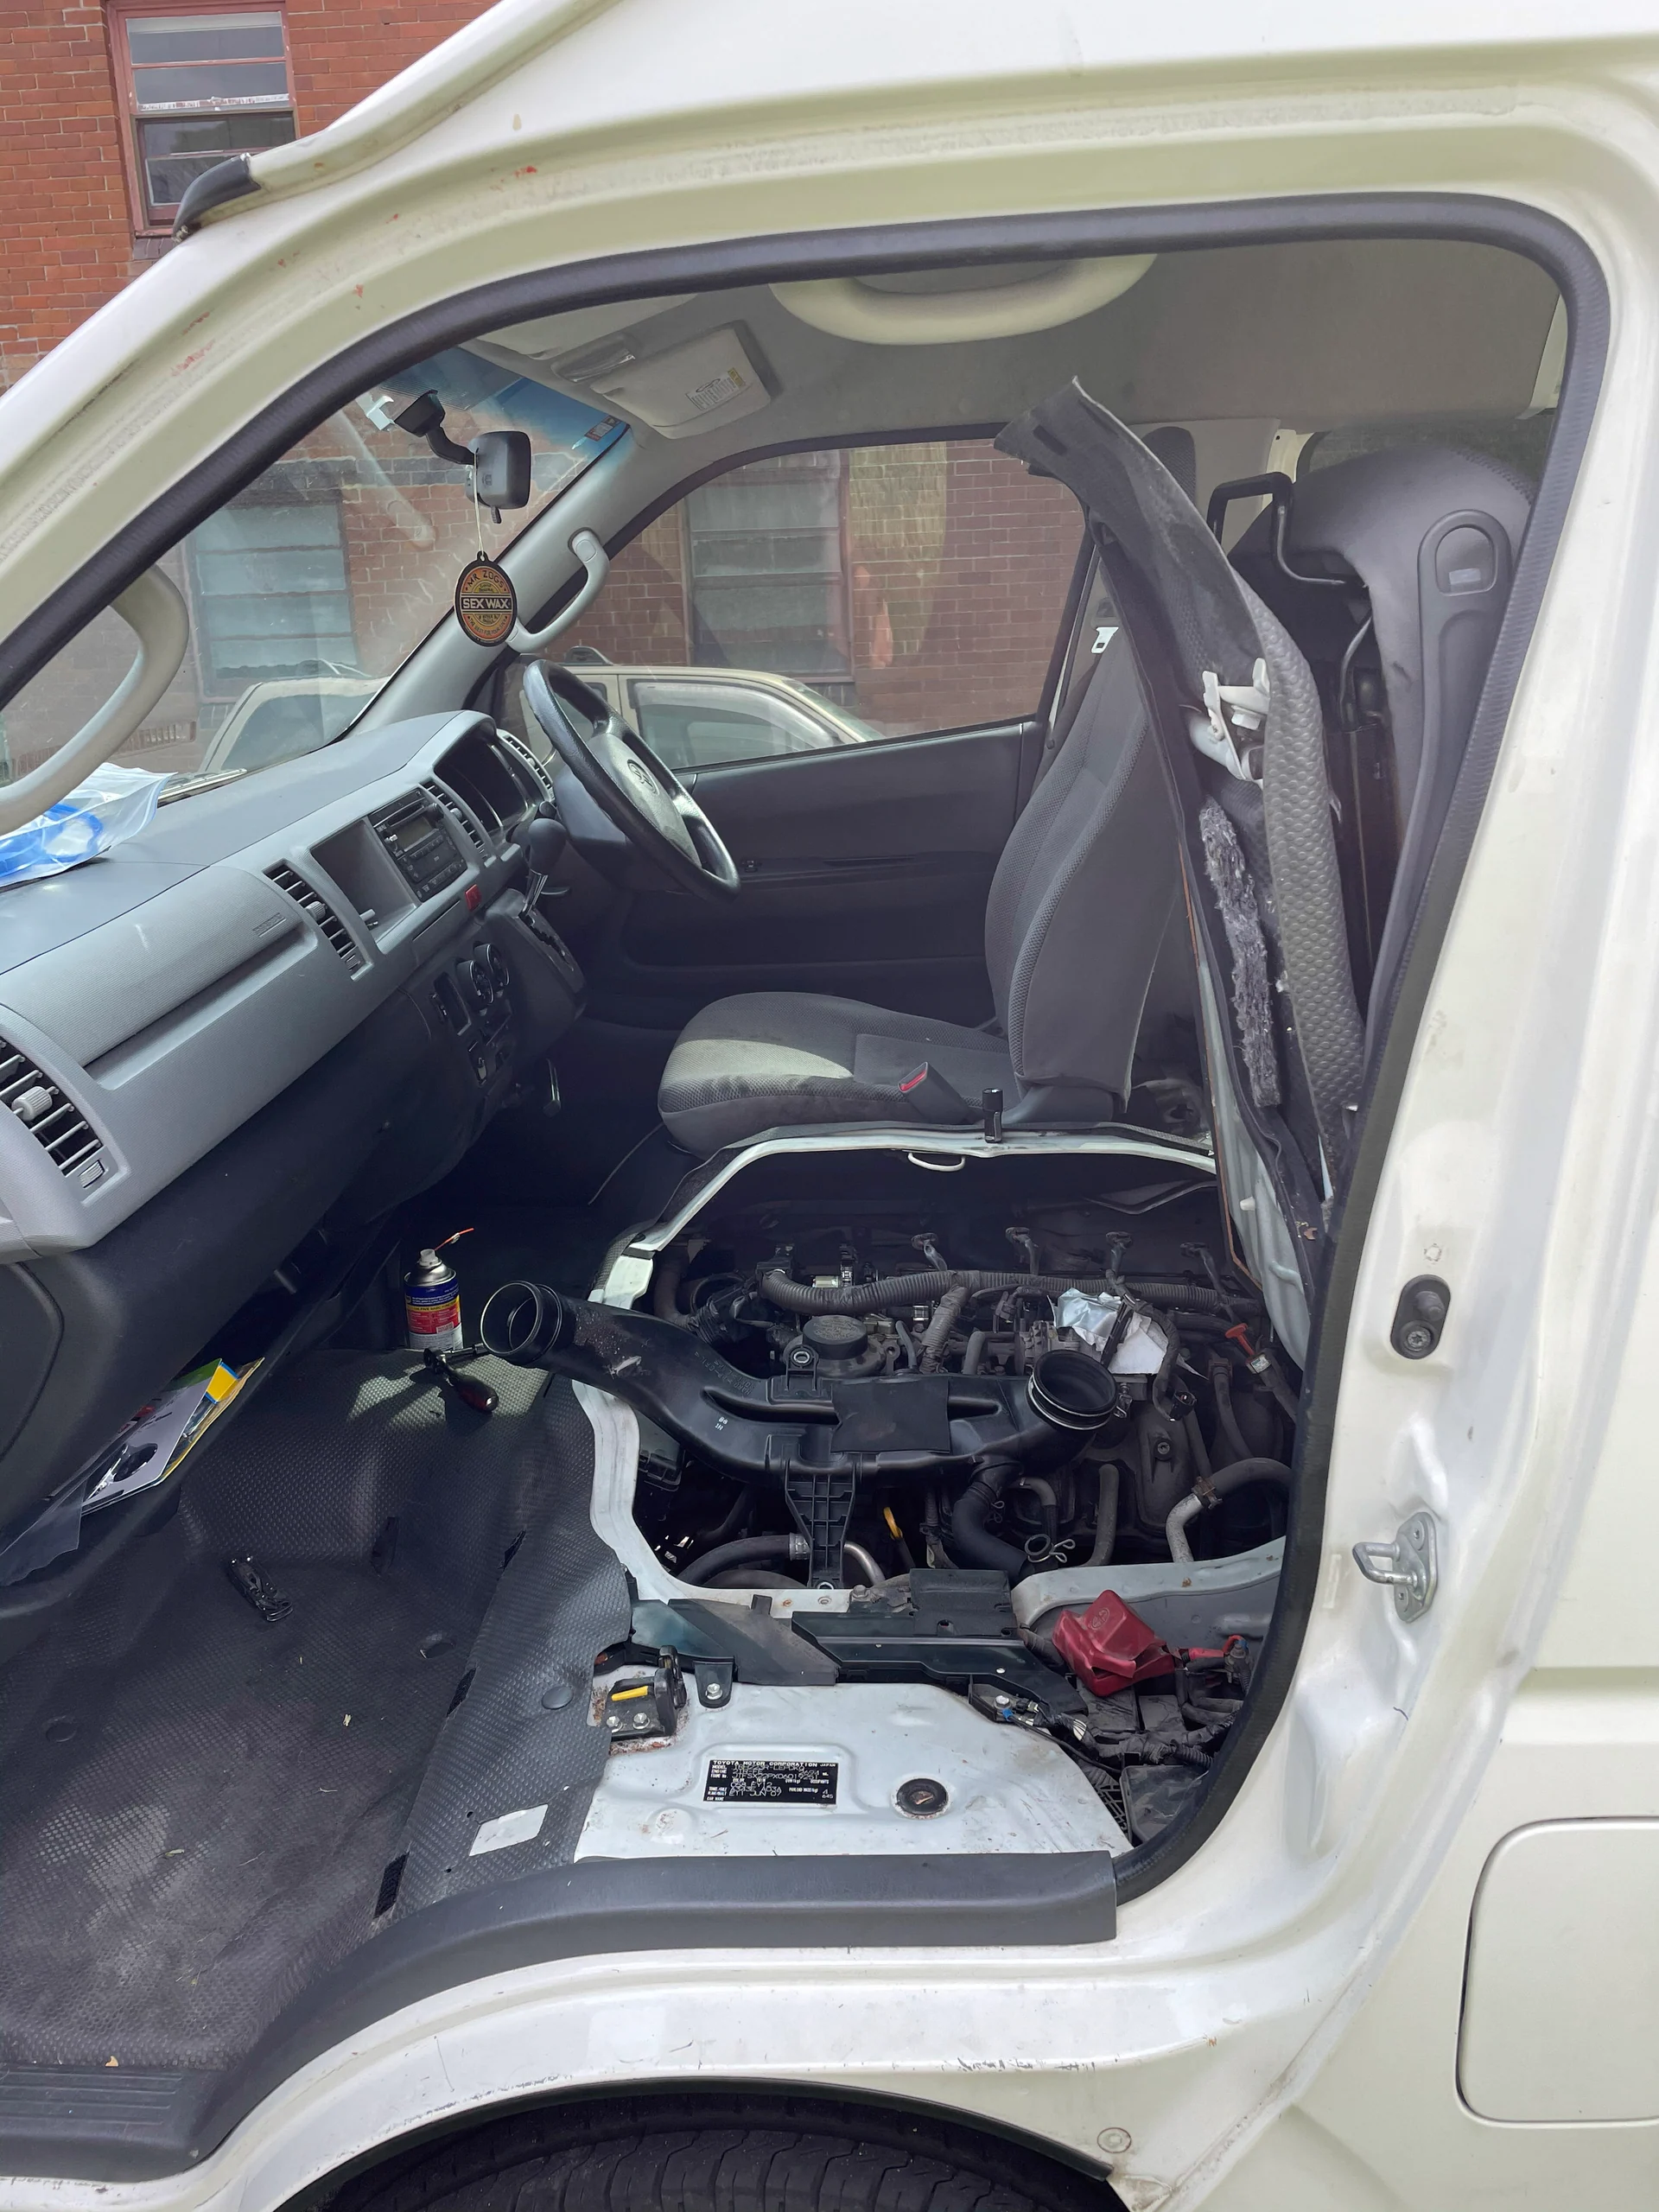
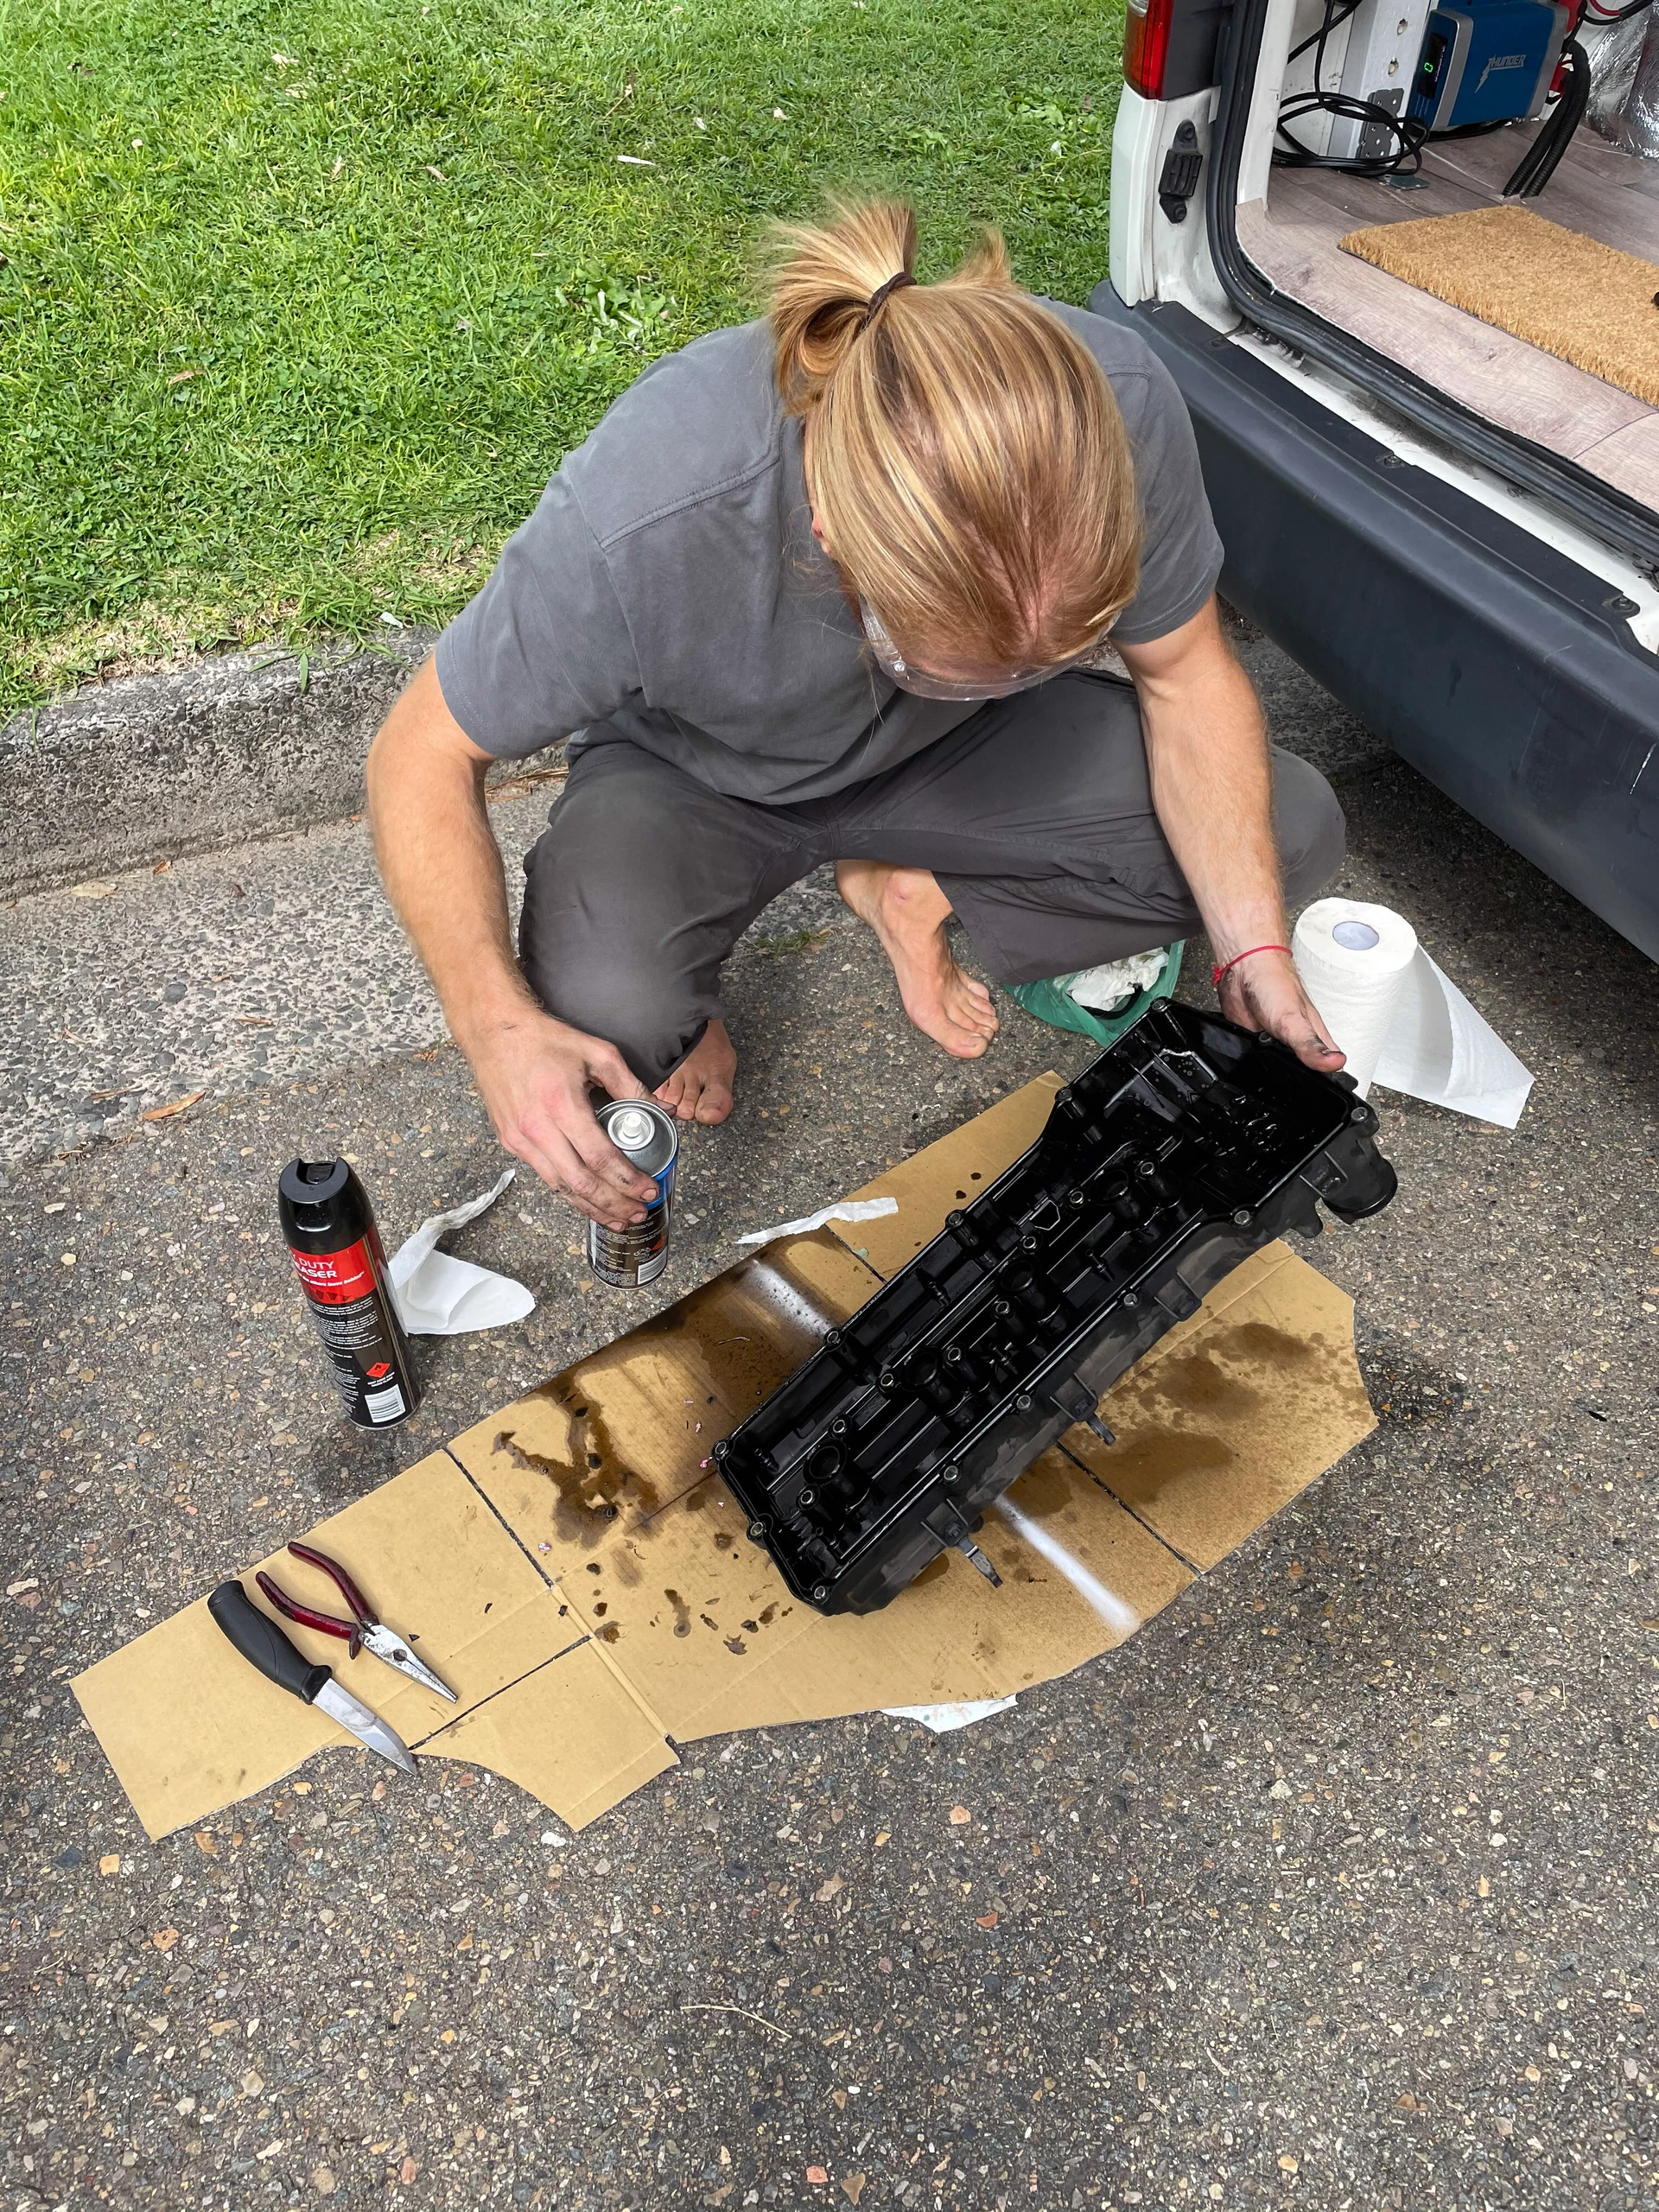
With the engine done and the timber ready for install, we went into overdrive. With just a single beam, it looks a bit lonely...
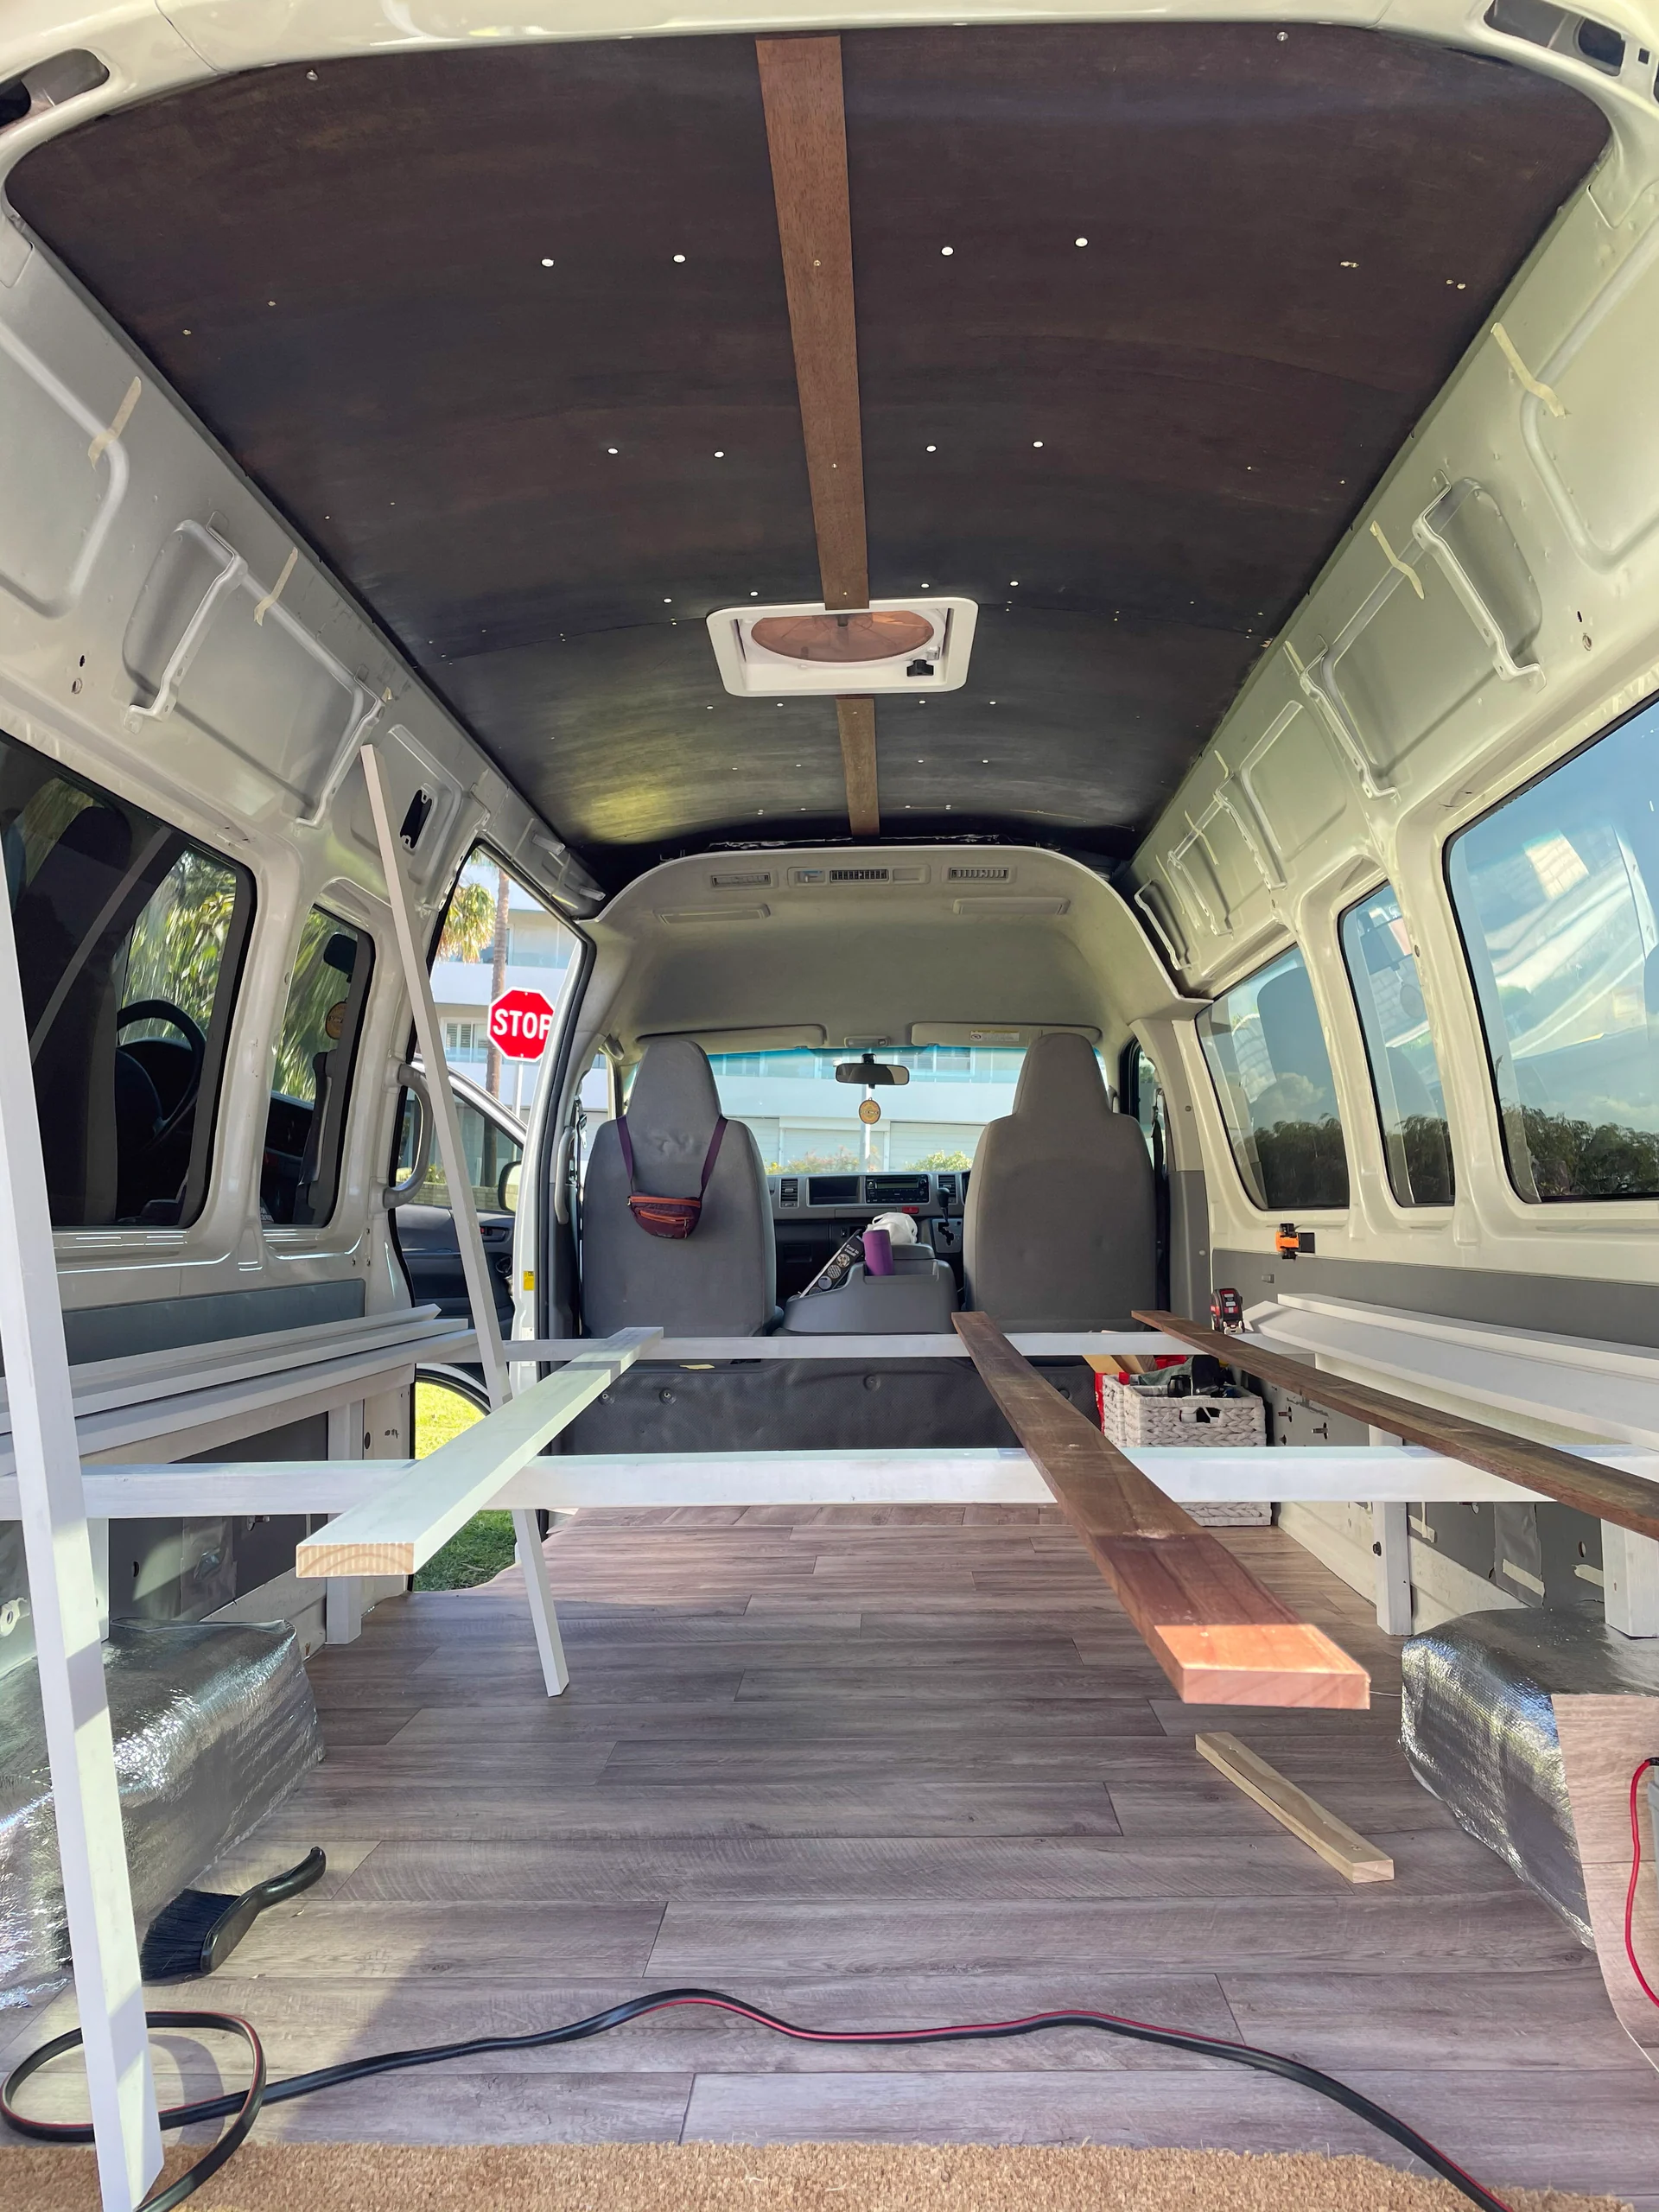
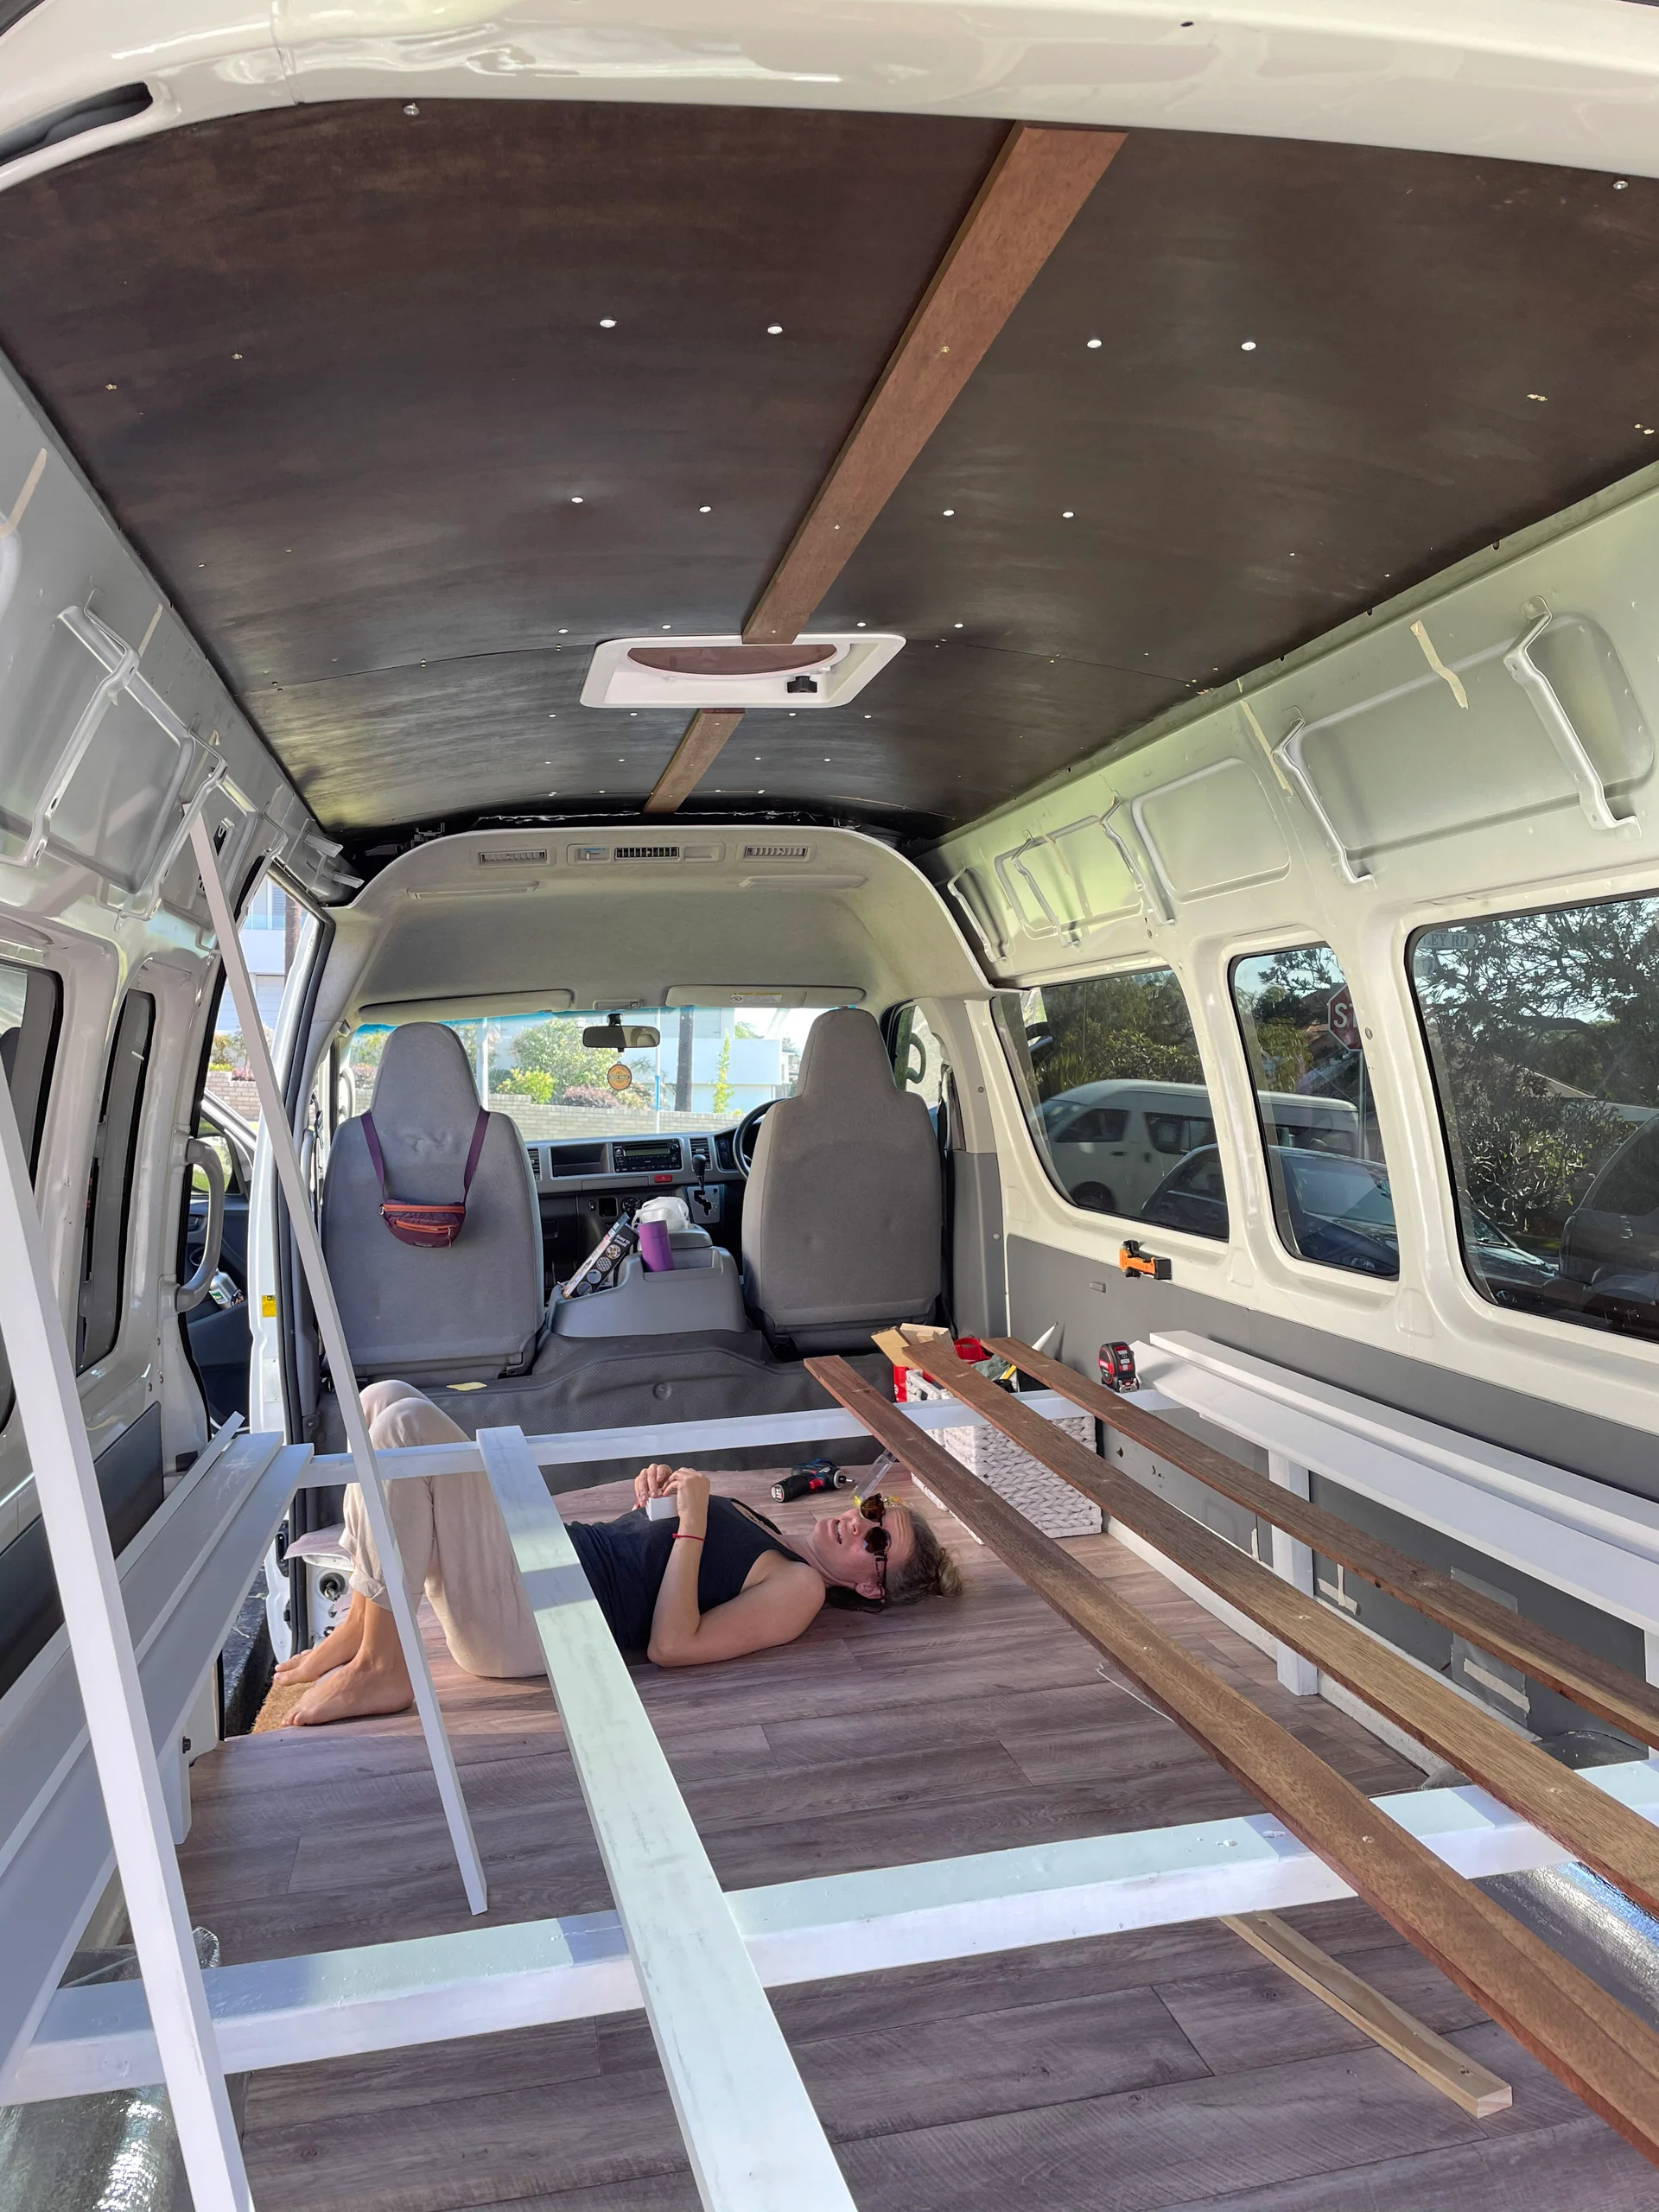
...but with every new piece of wood, it all started to take shape and come together.
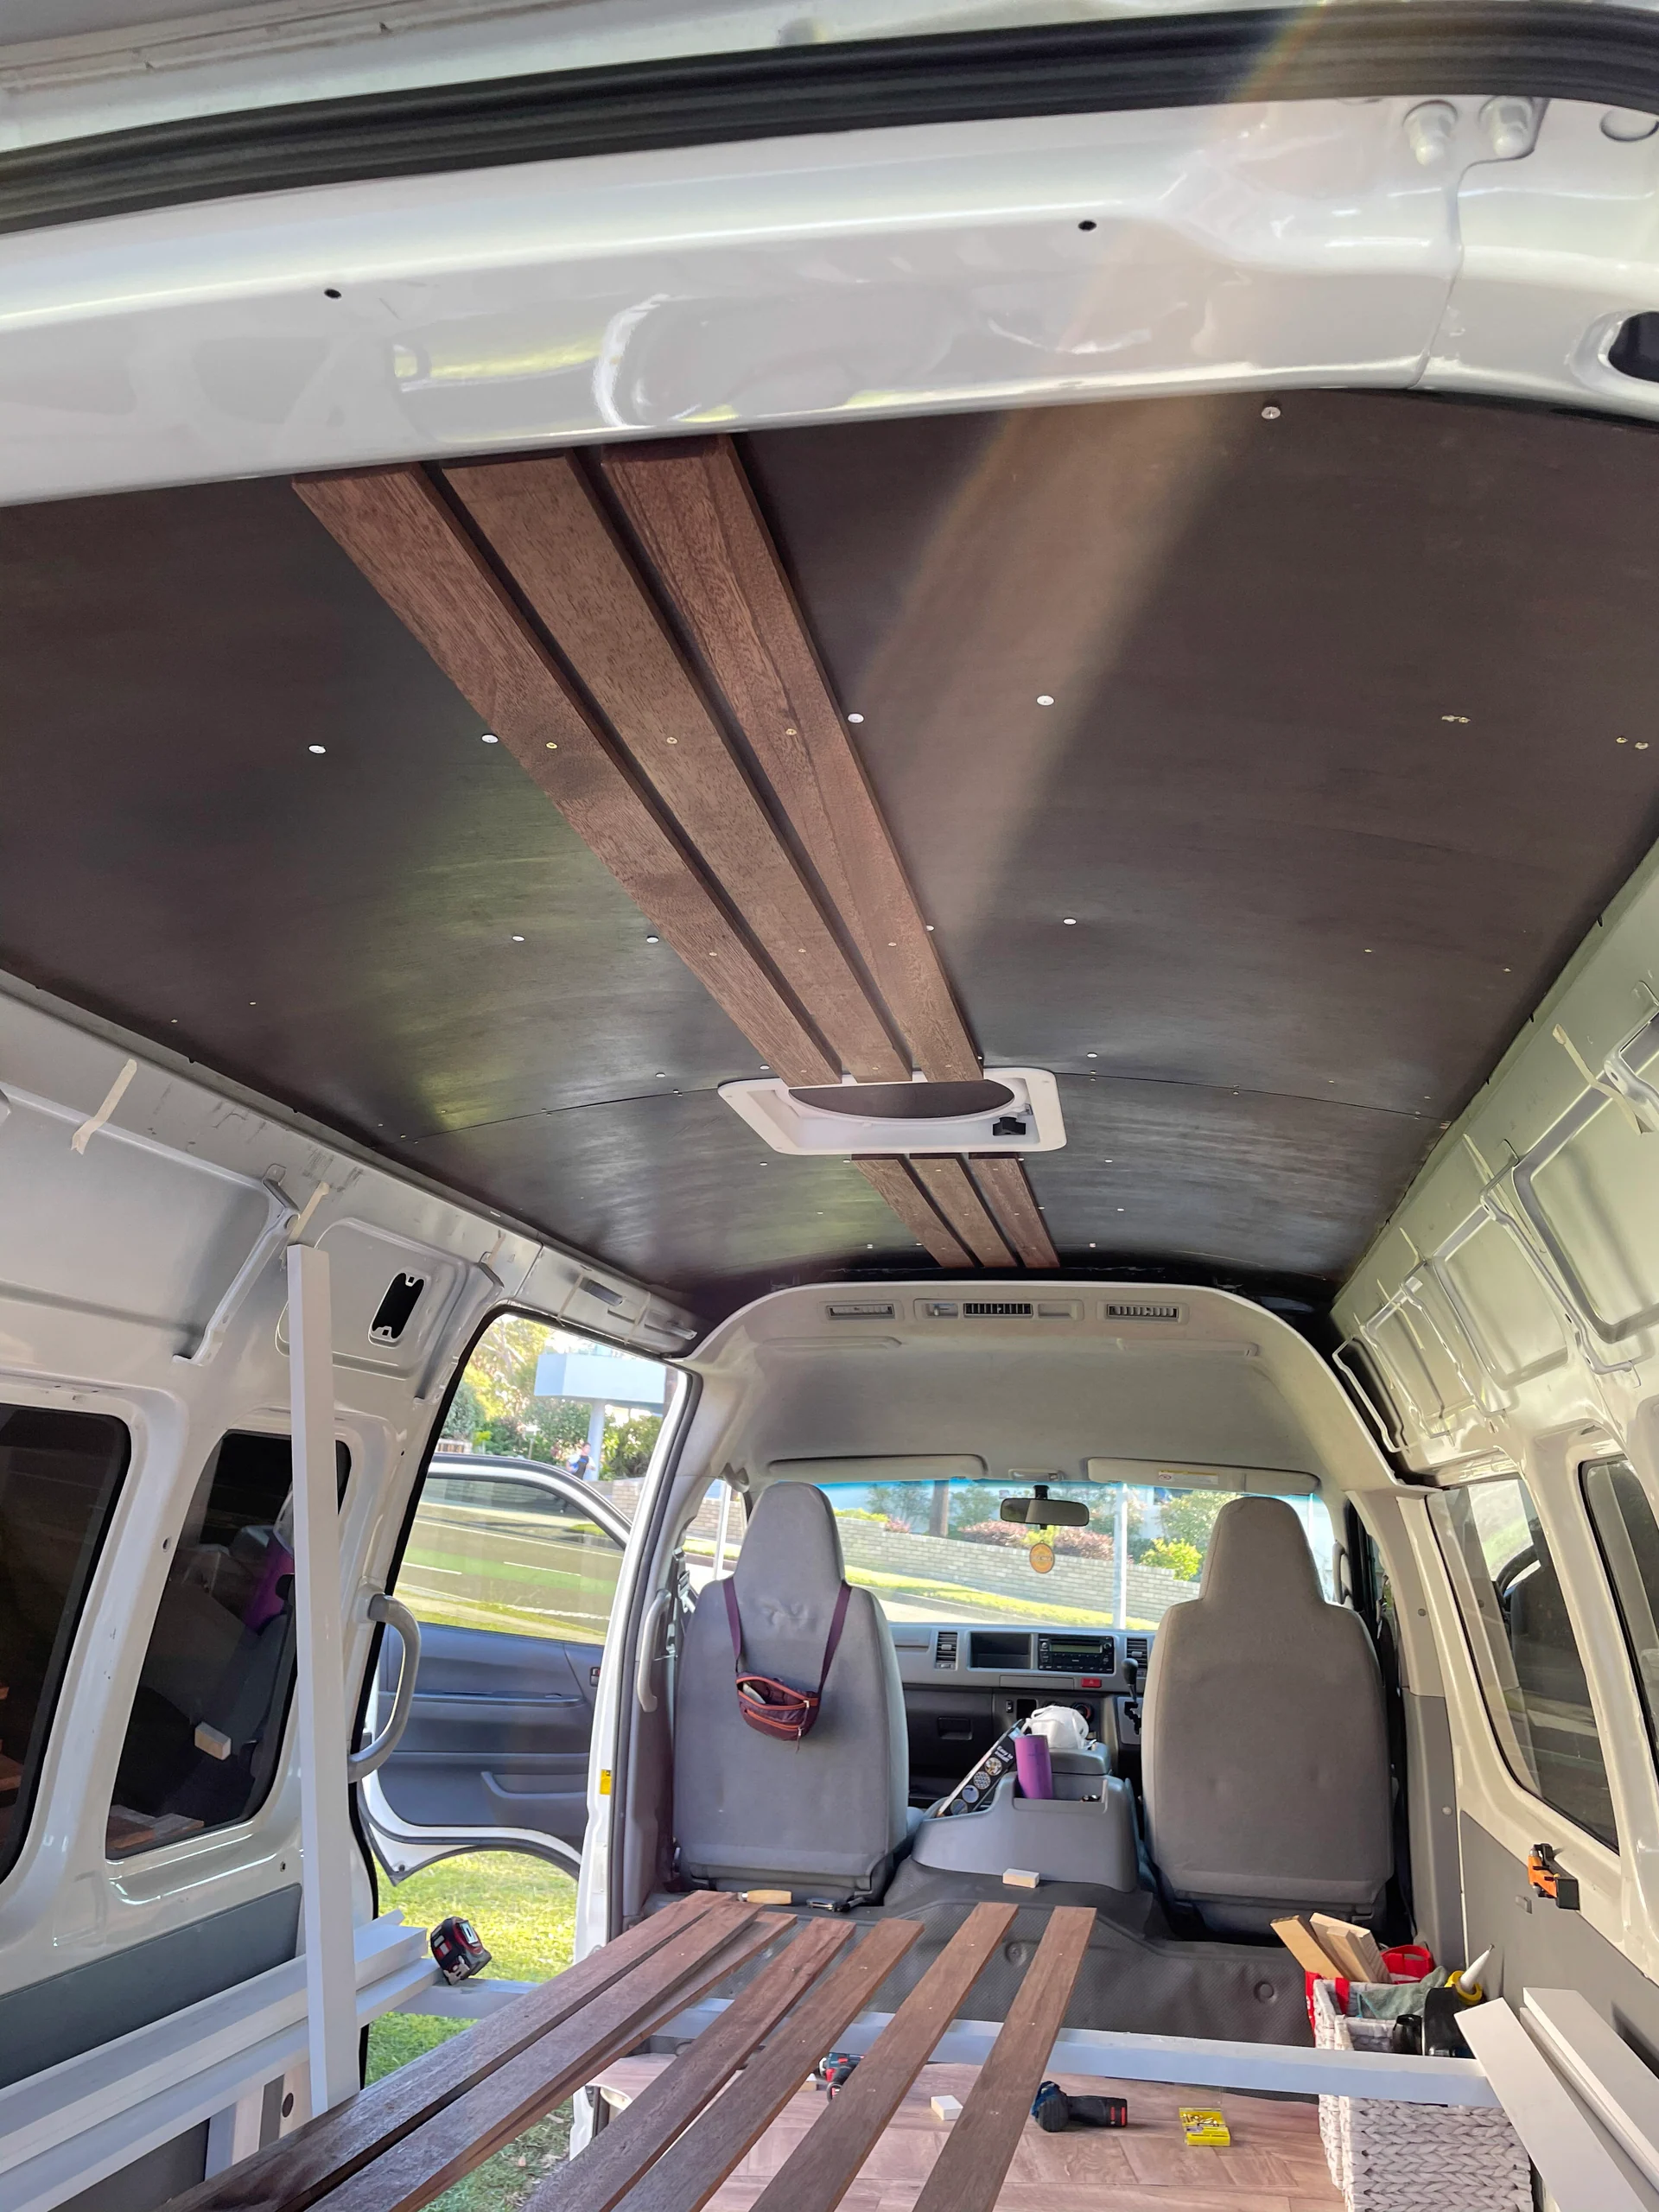
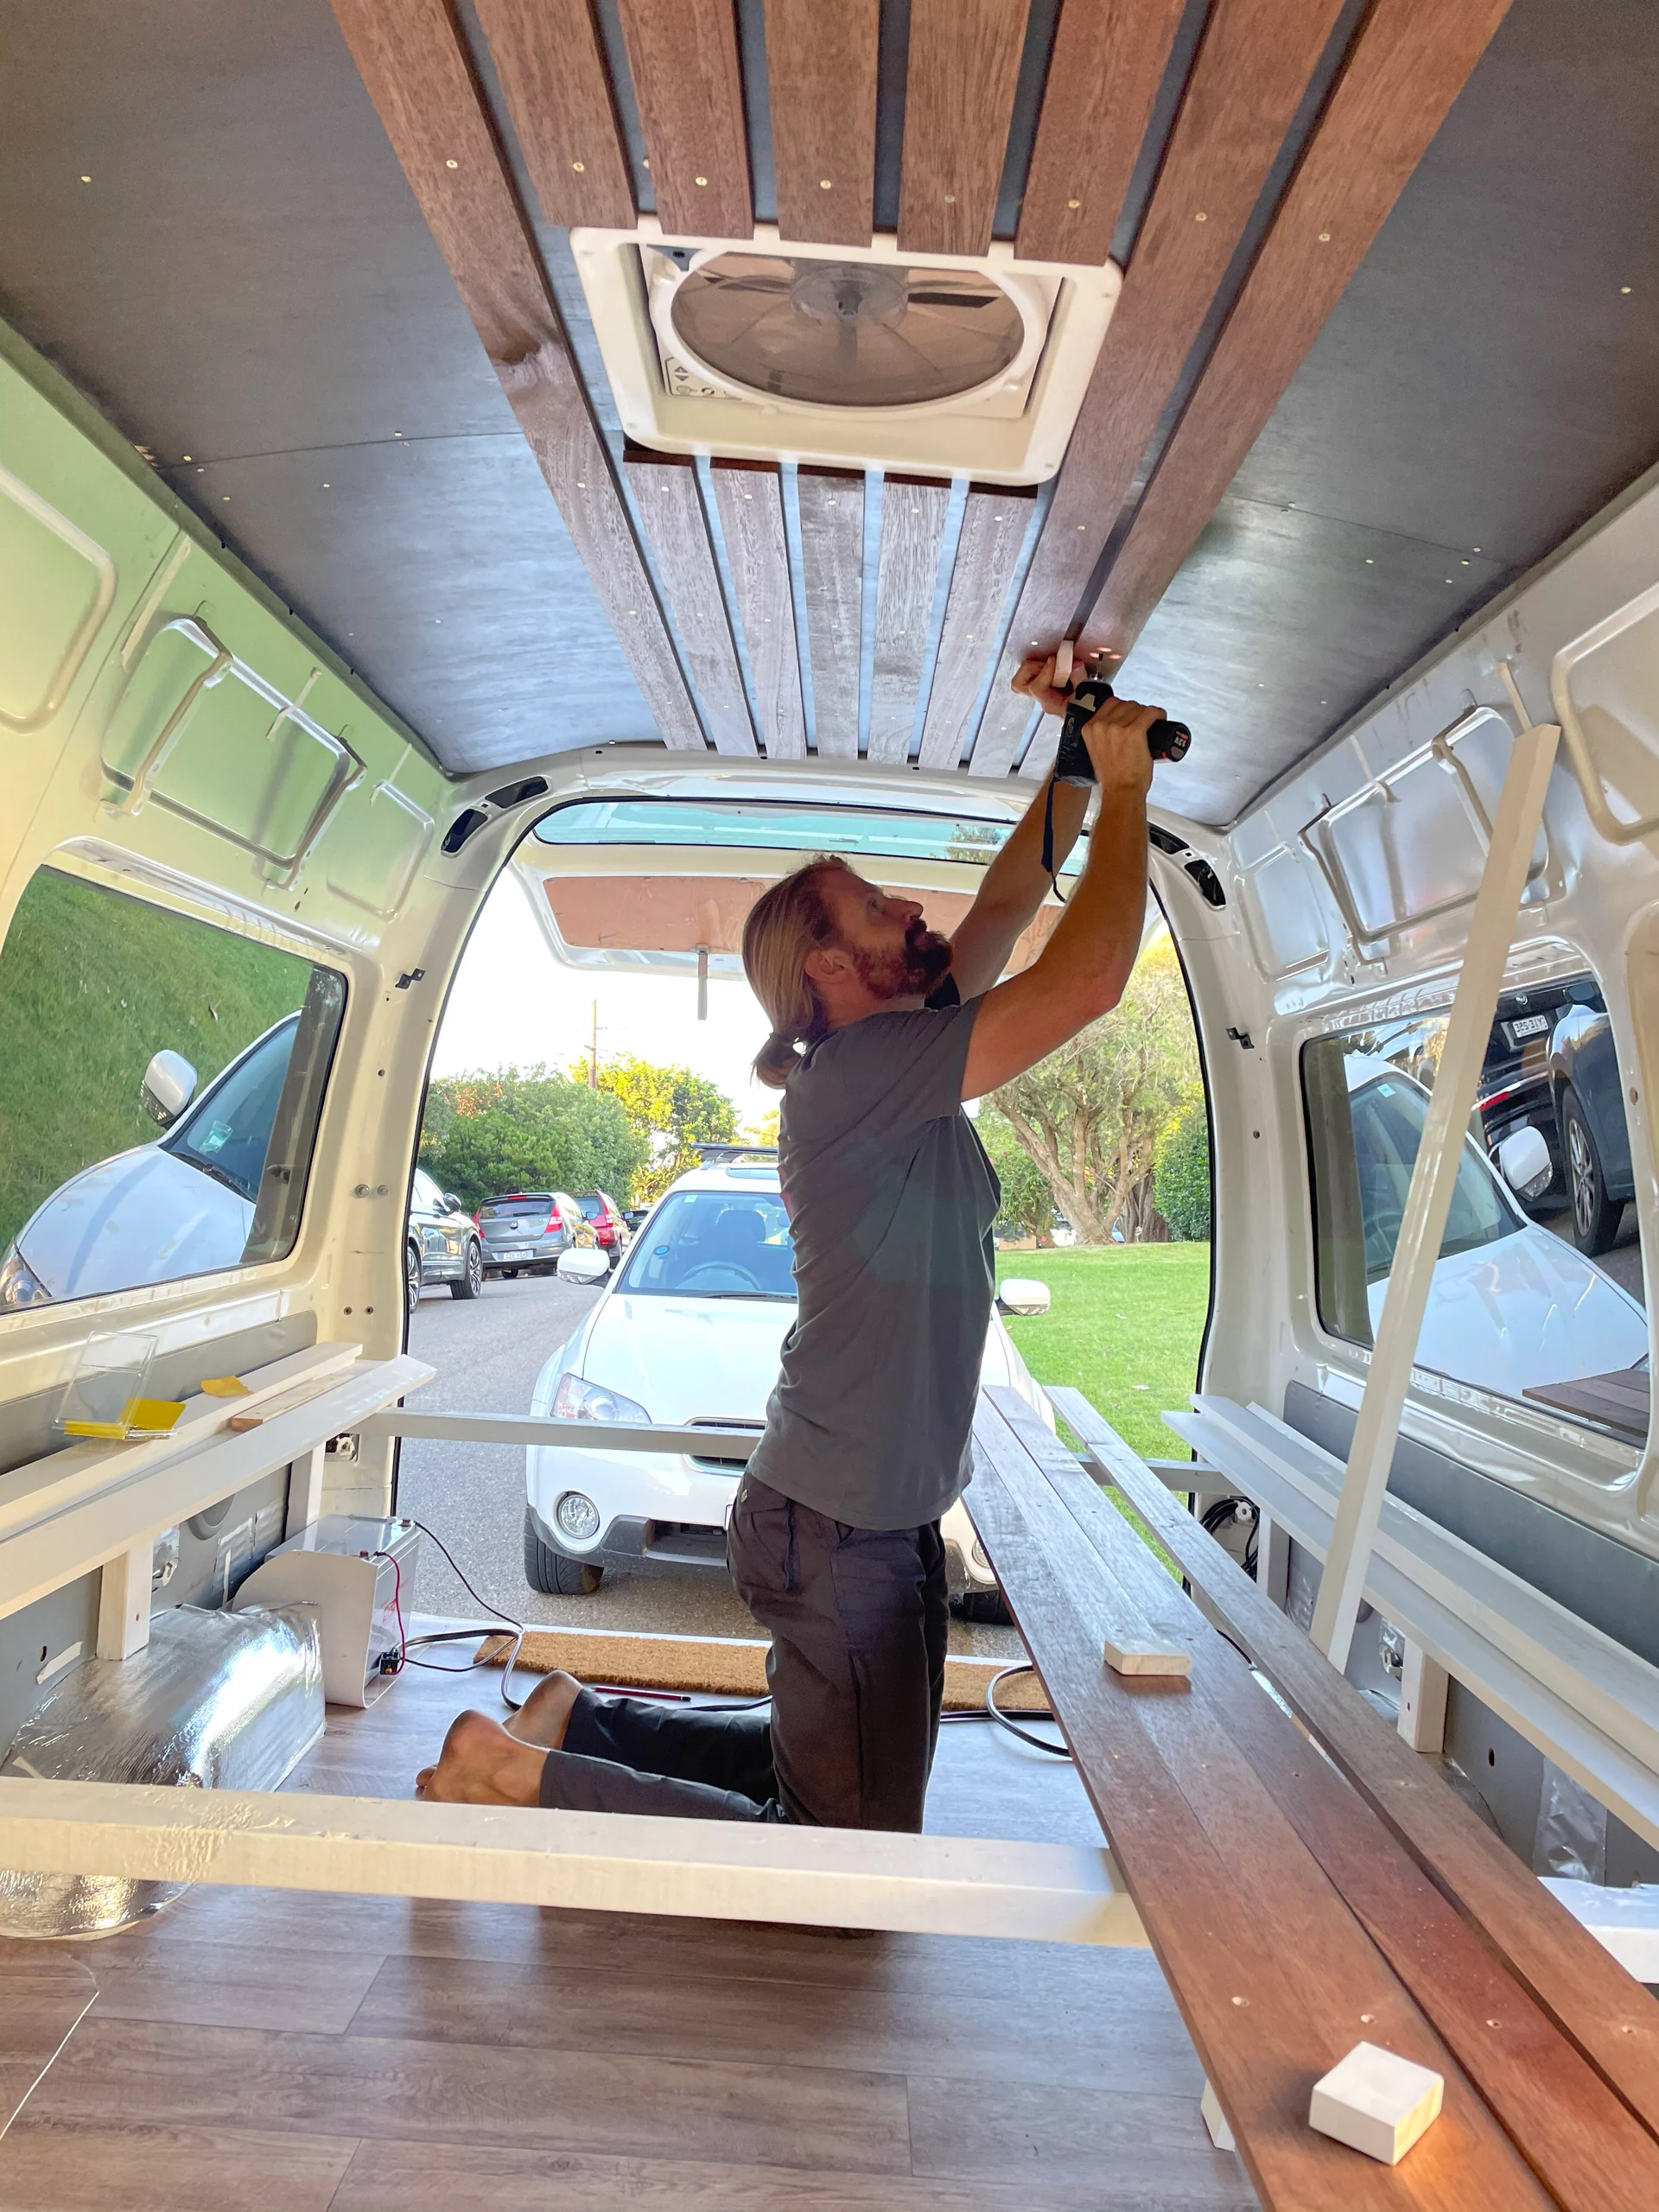
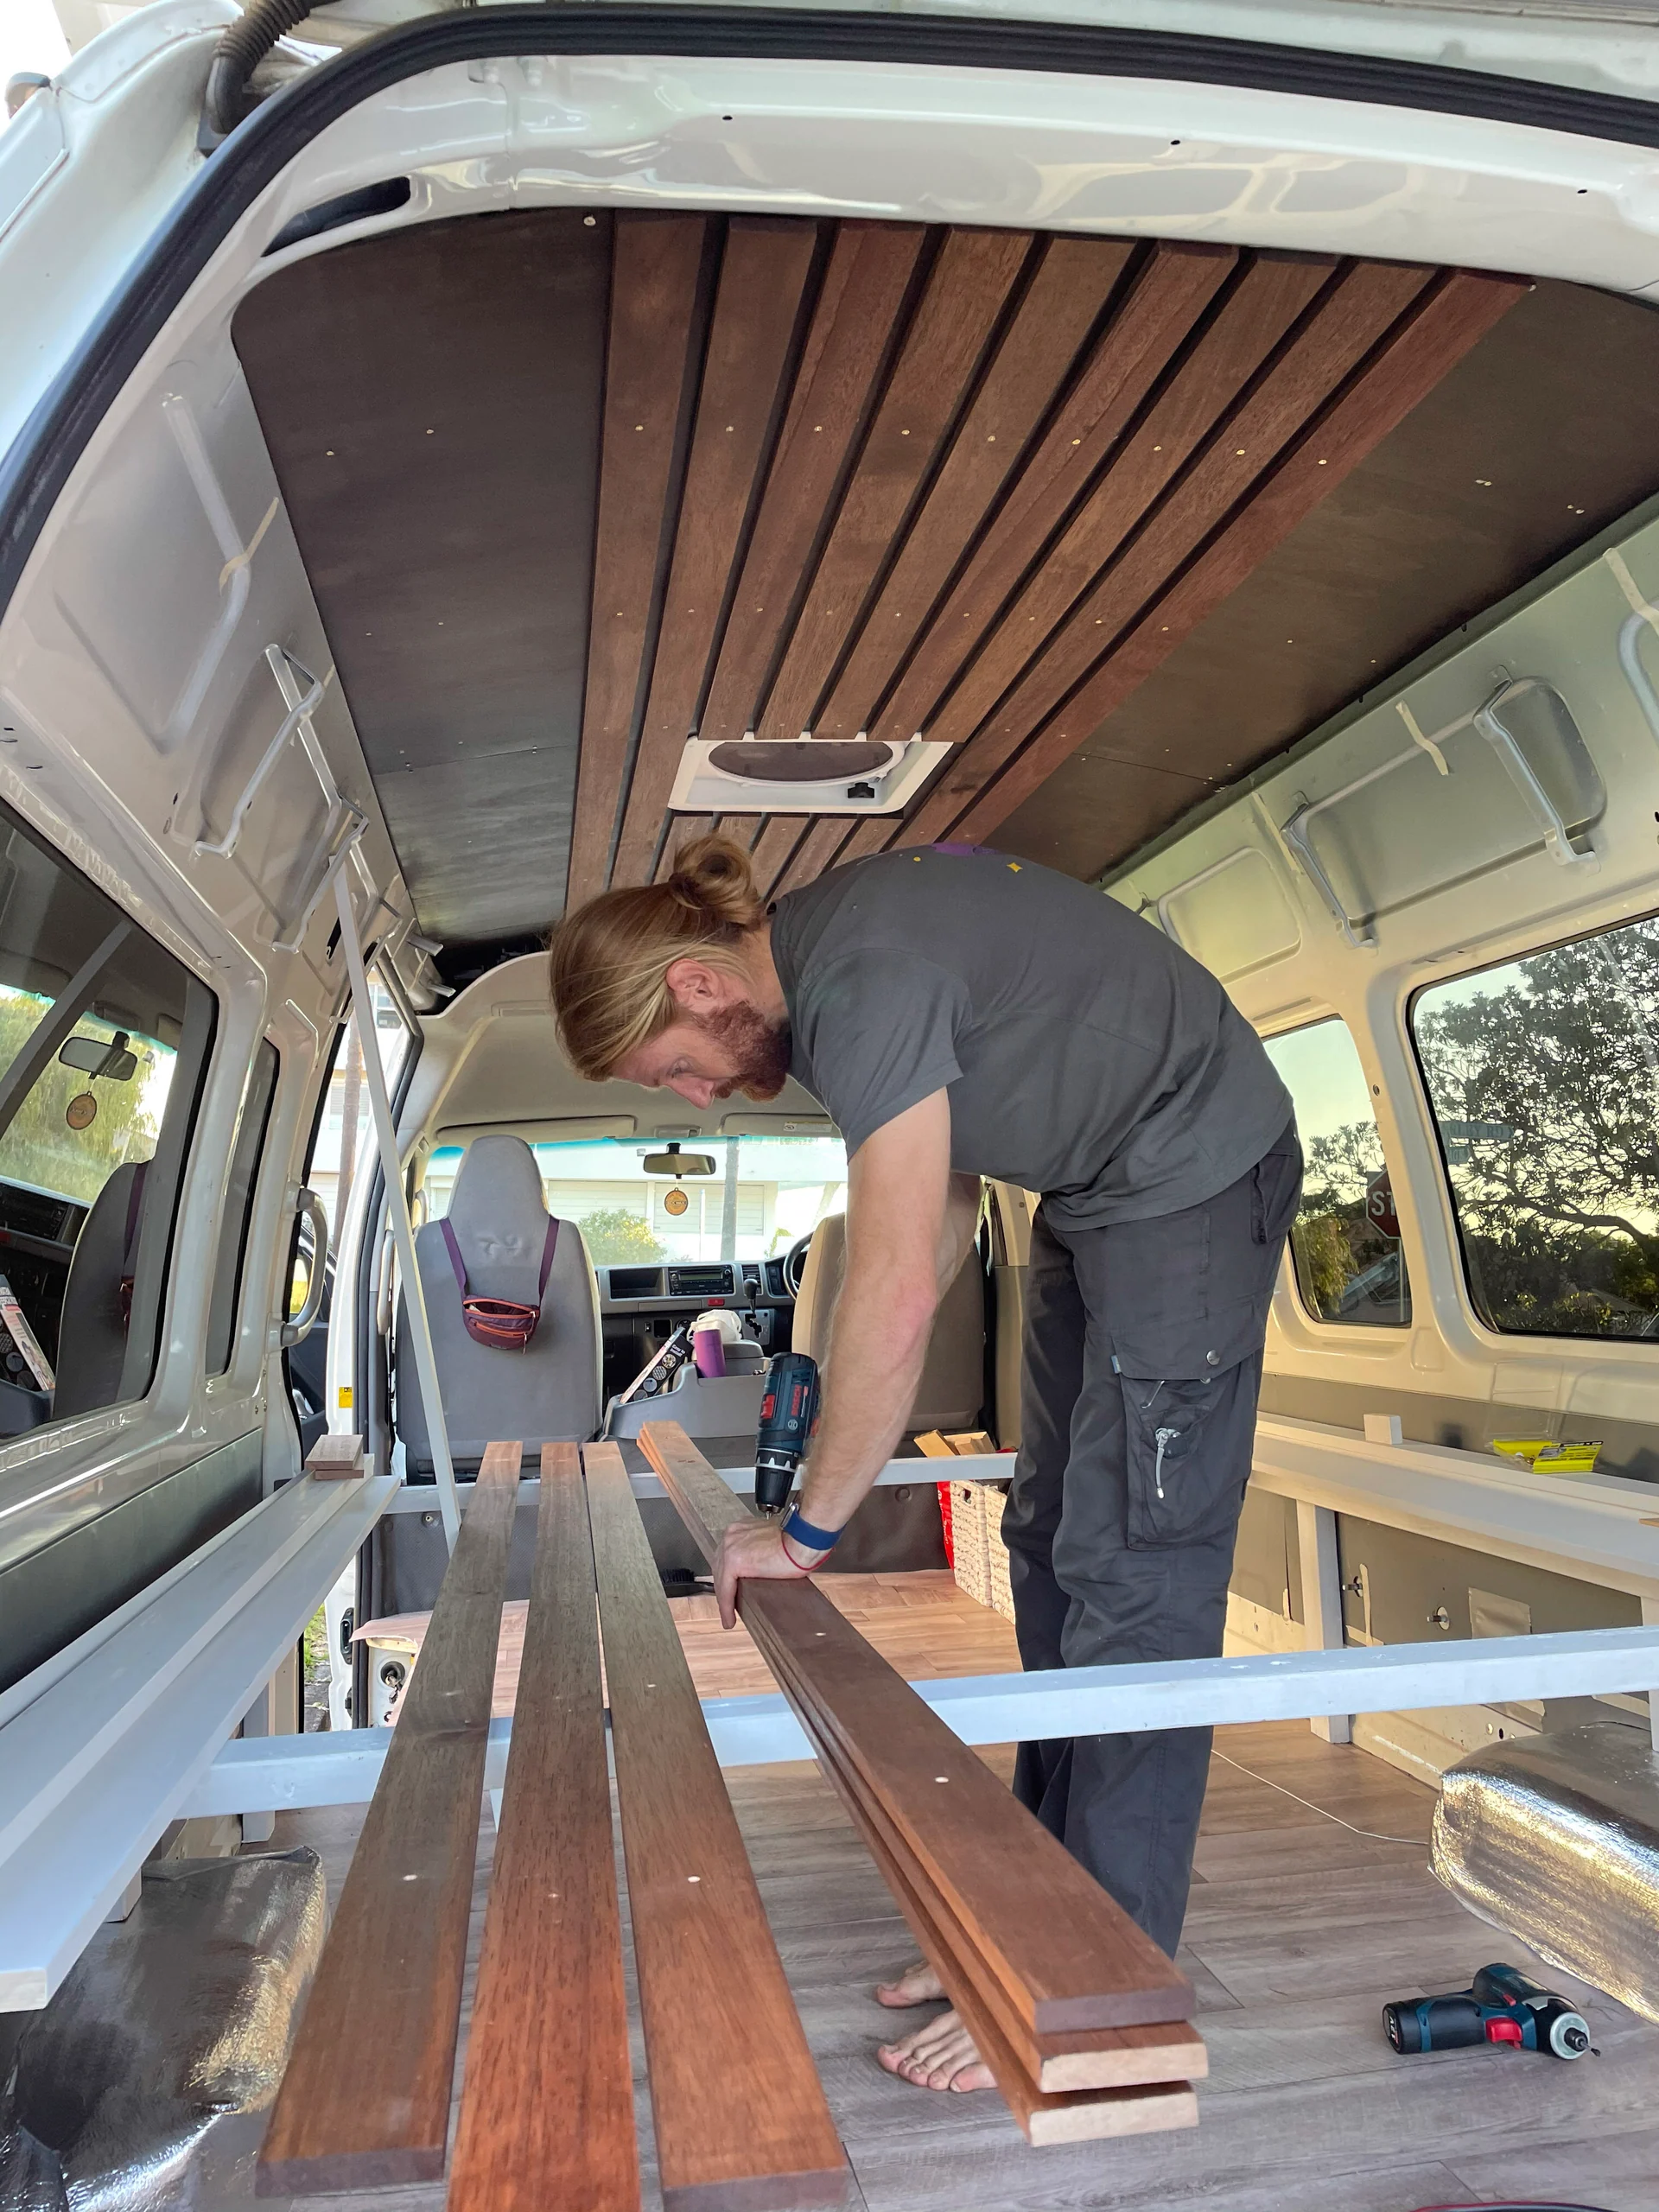
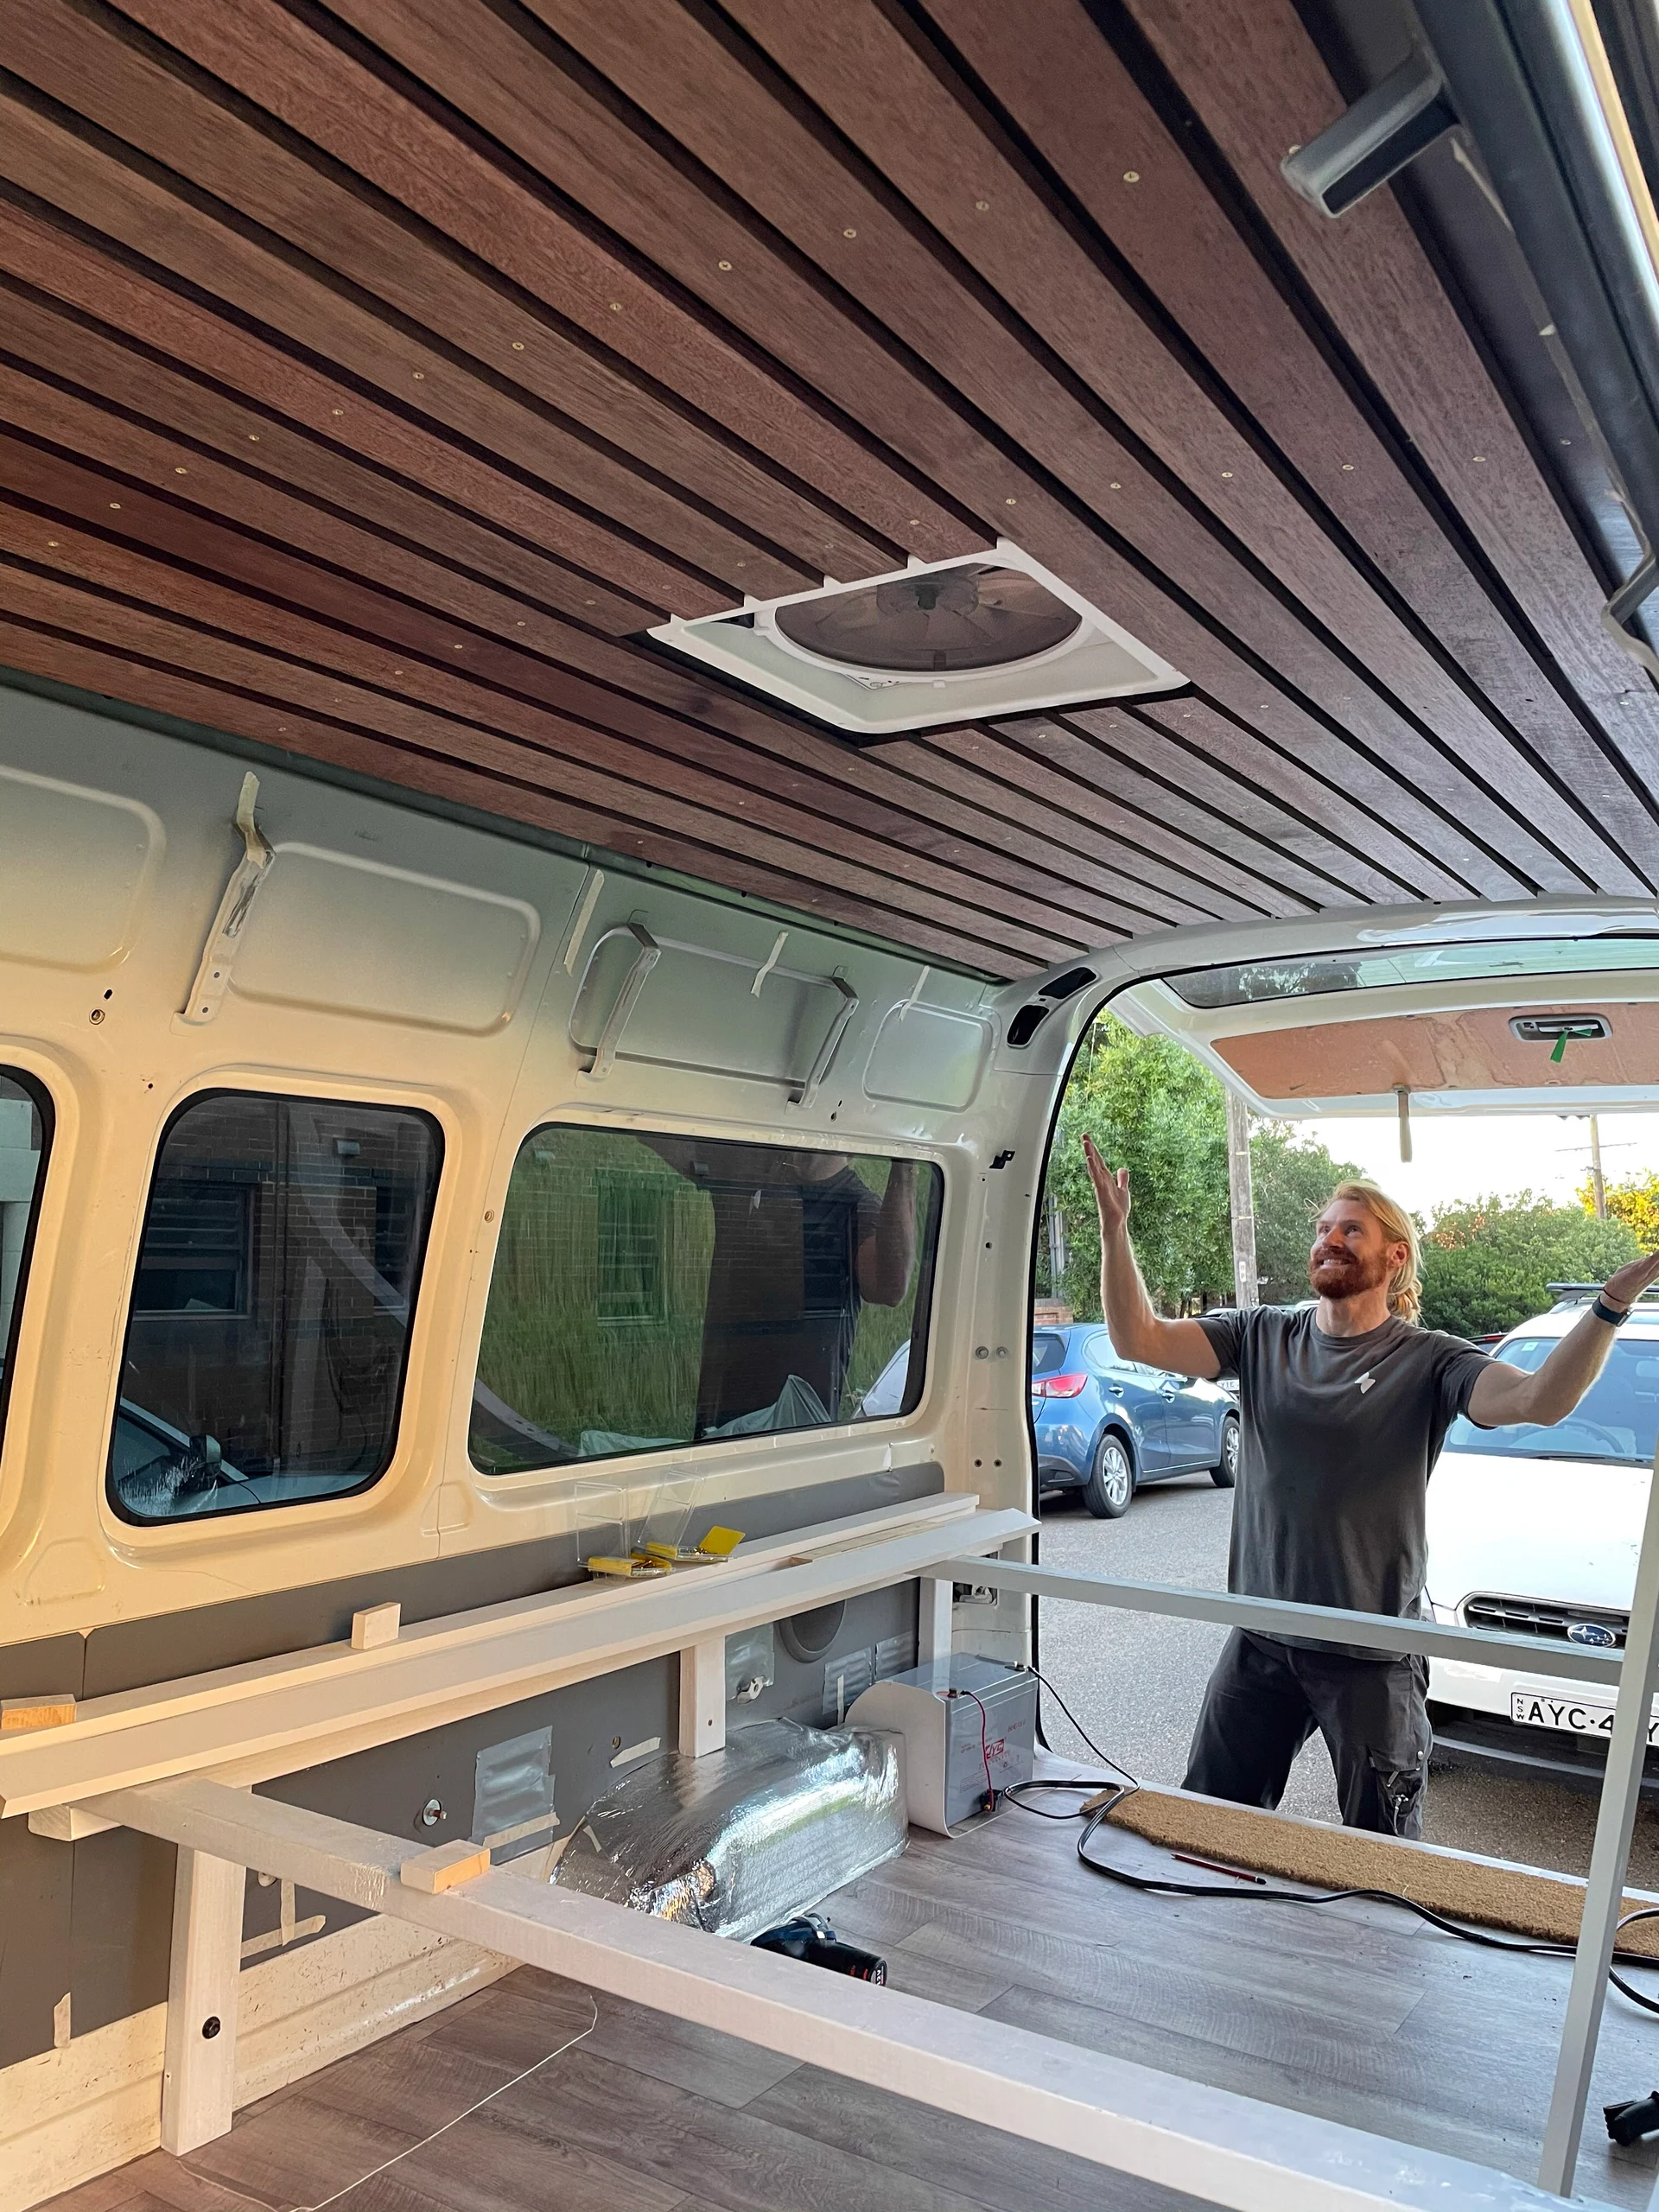
The result looks amazing. But we had so much momentum that we didn't pause and used the laste few minutes of sunlight to build most of the bed frame as well.
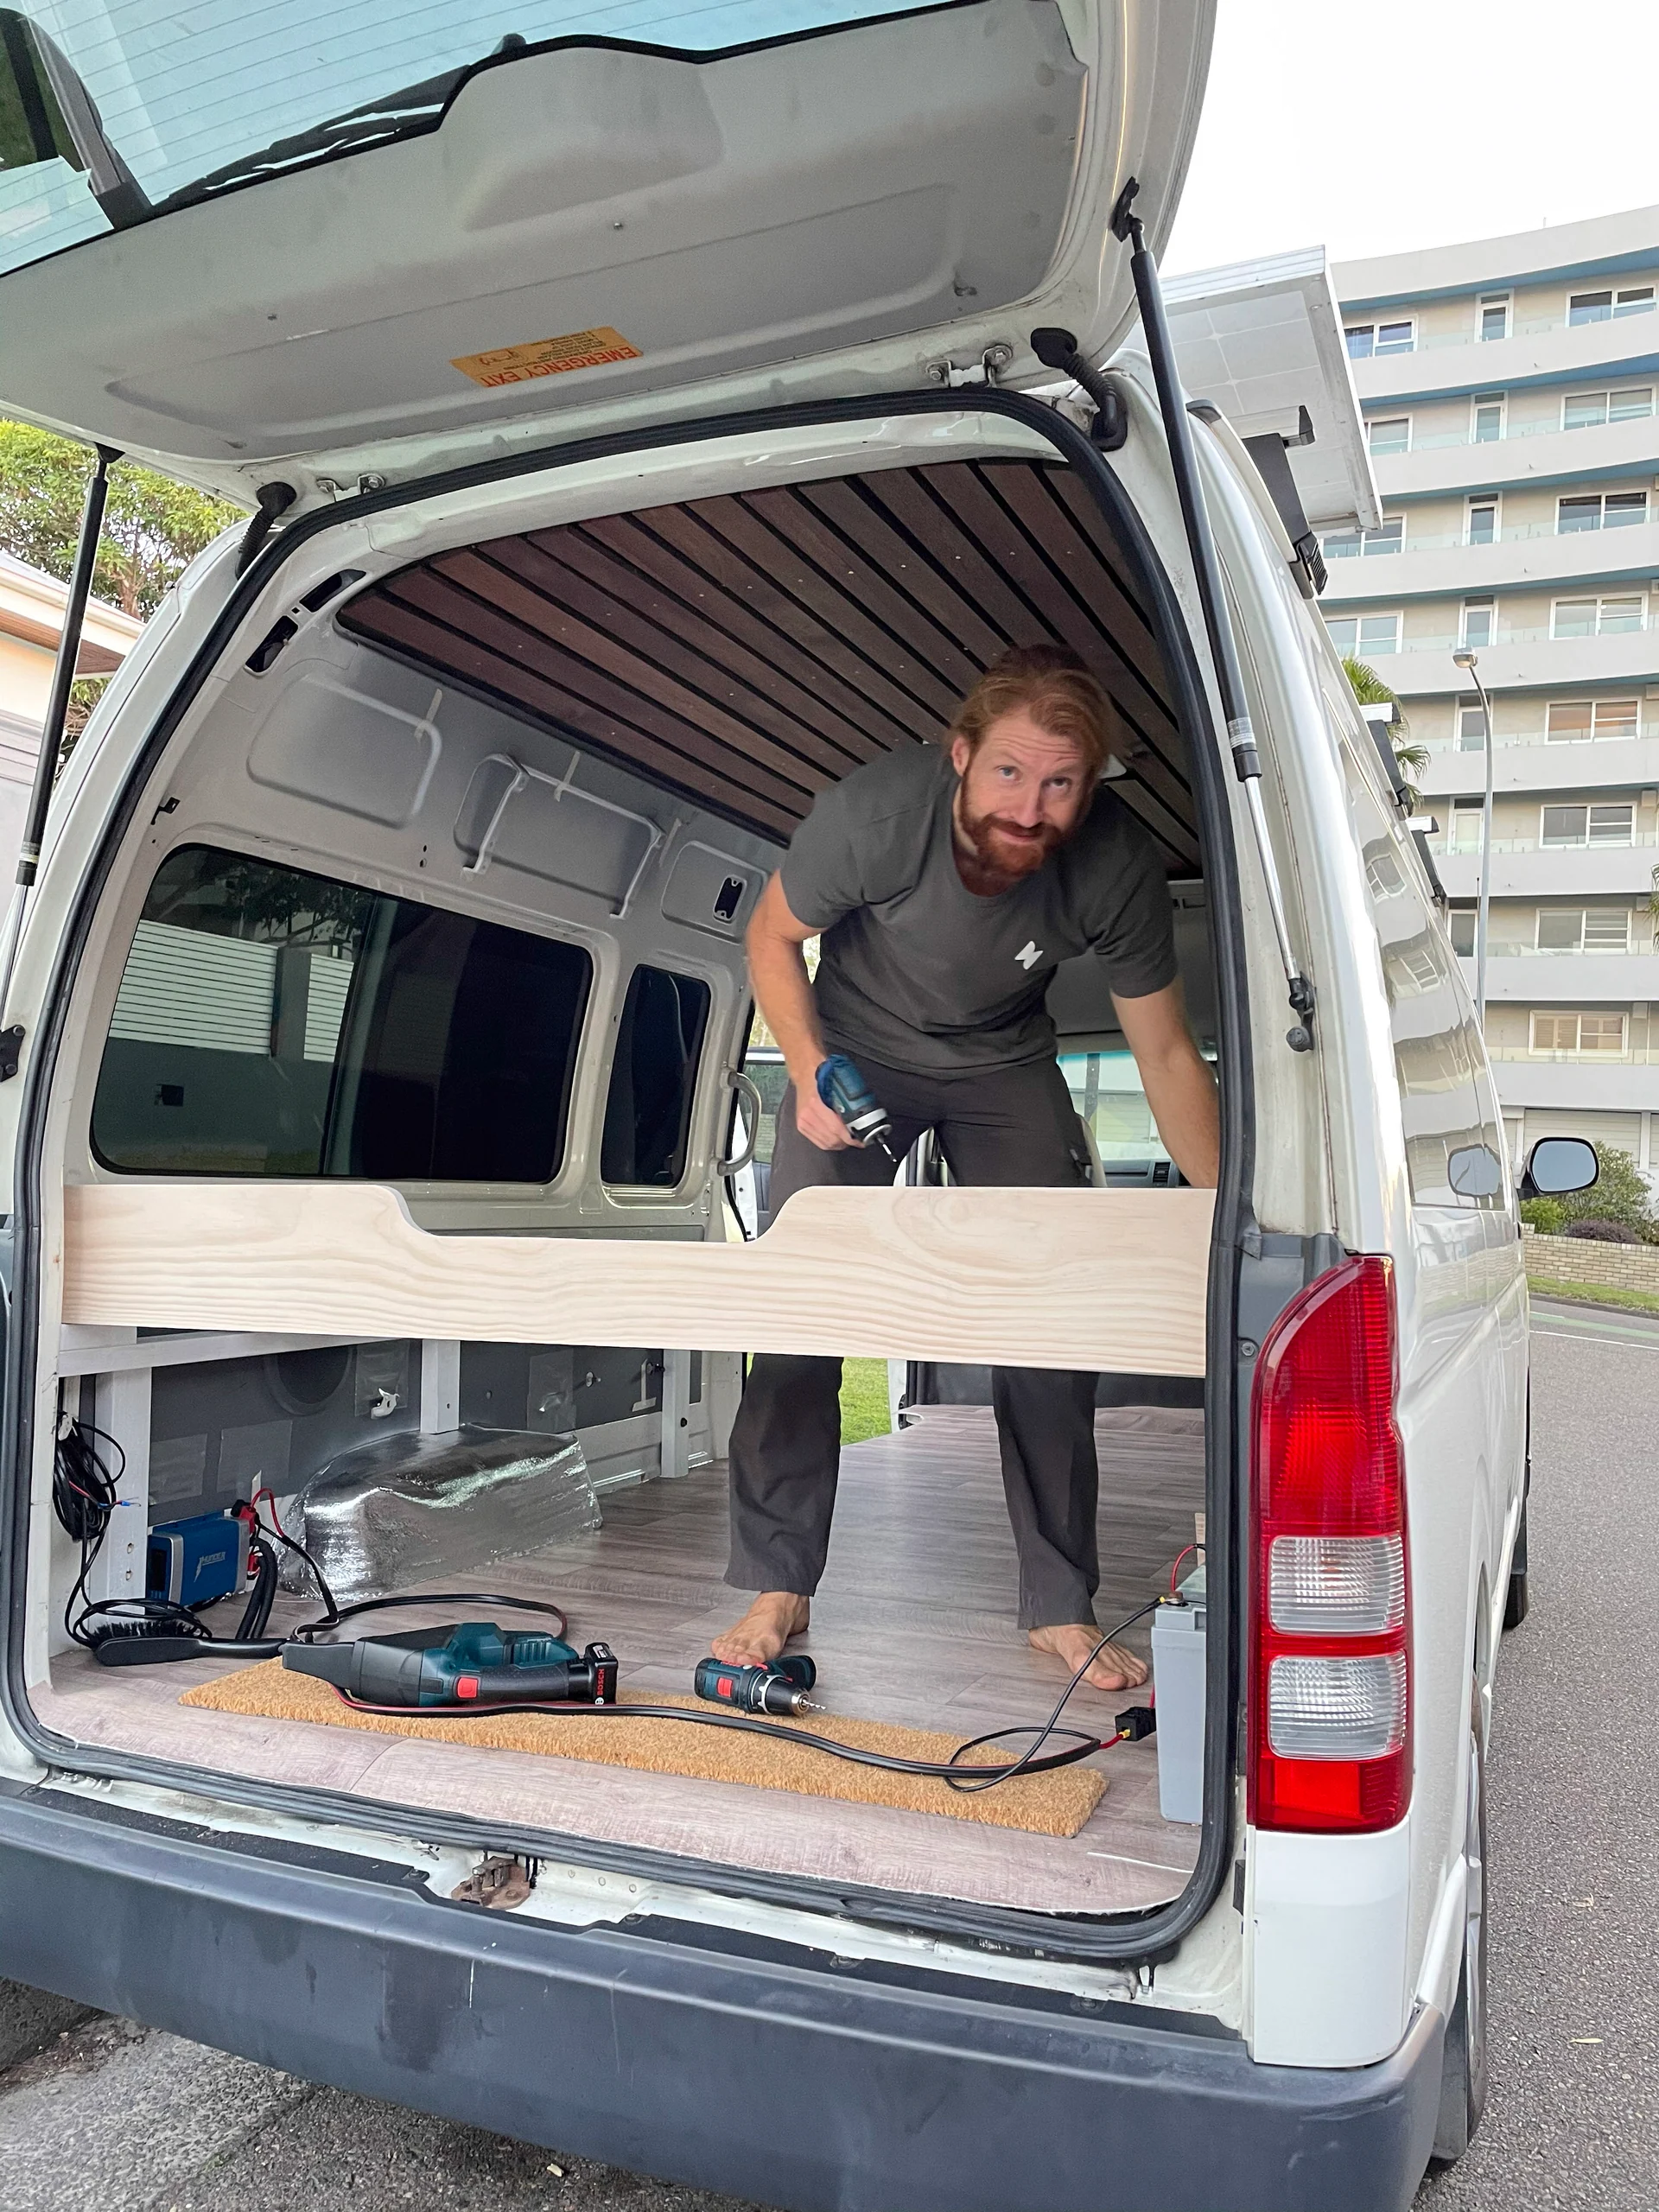
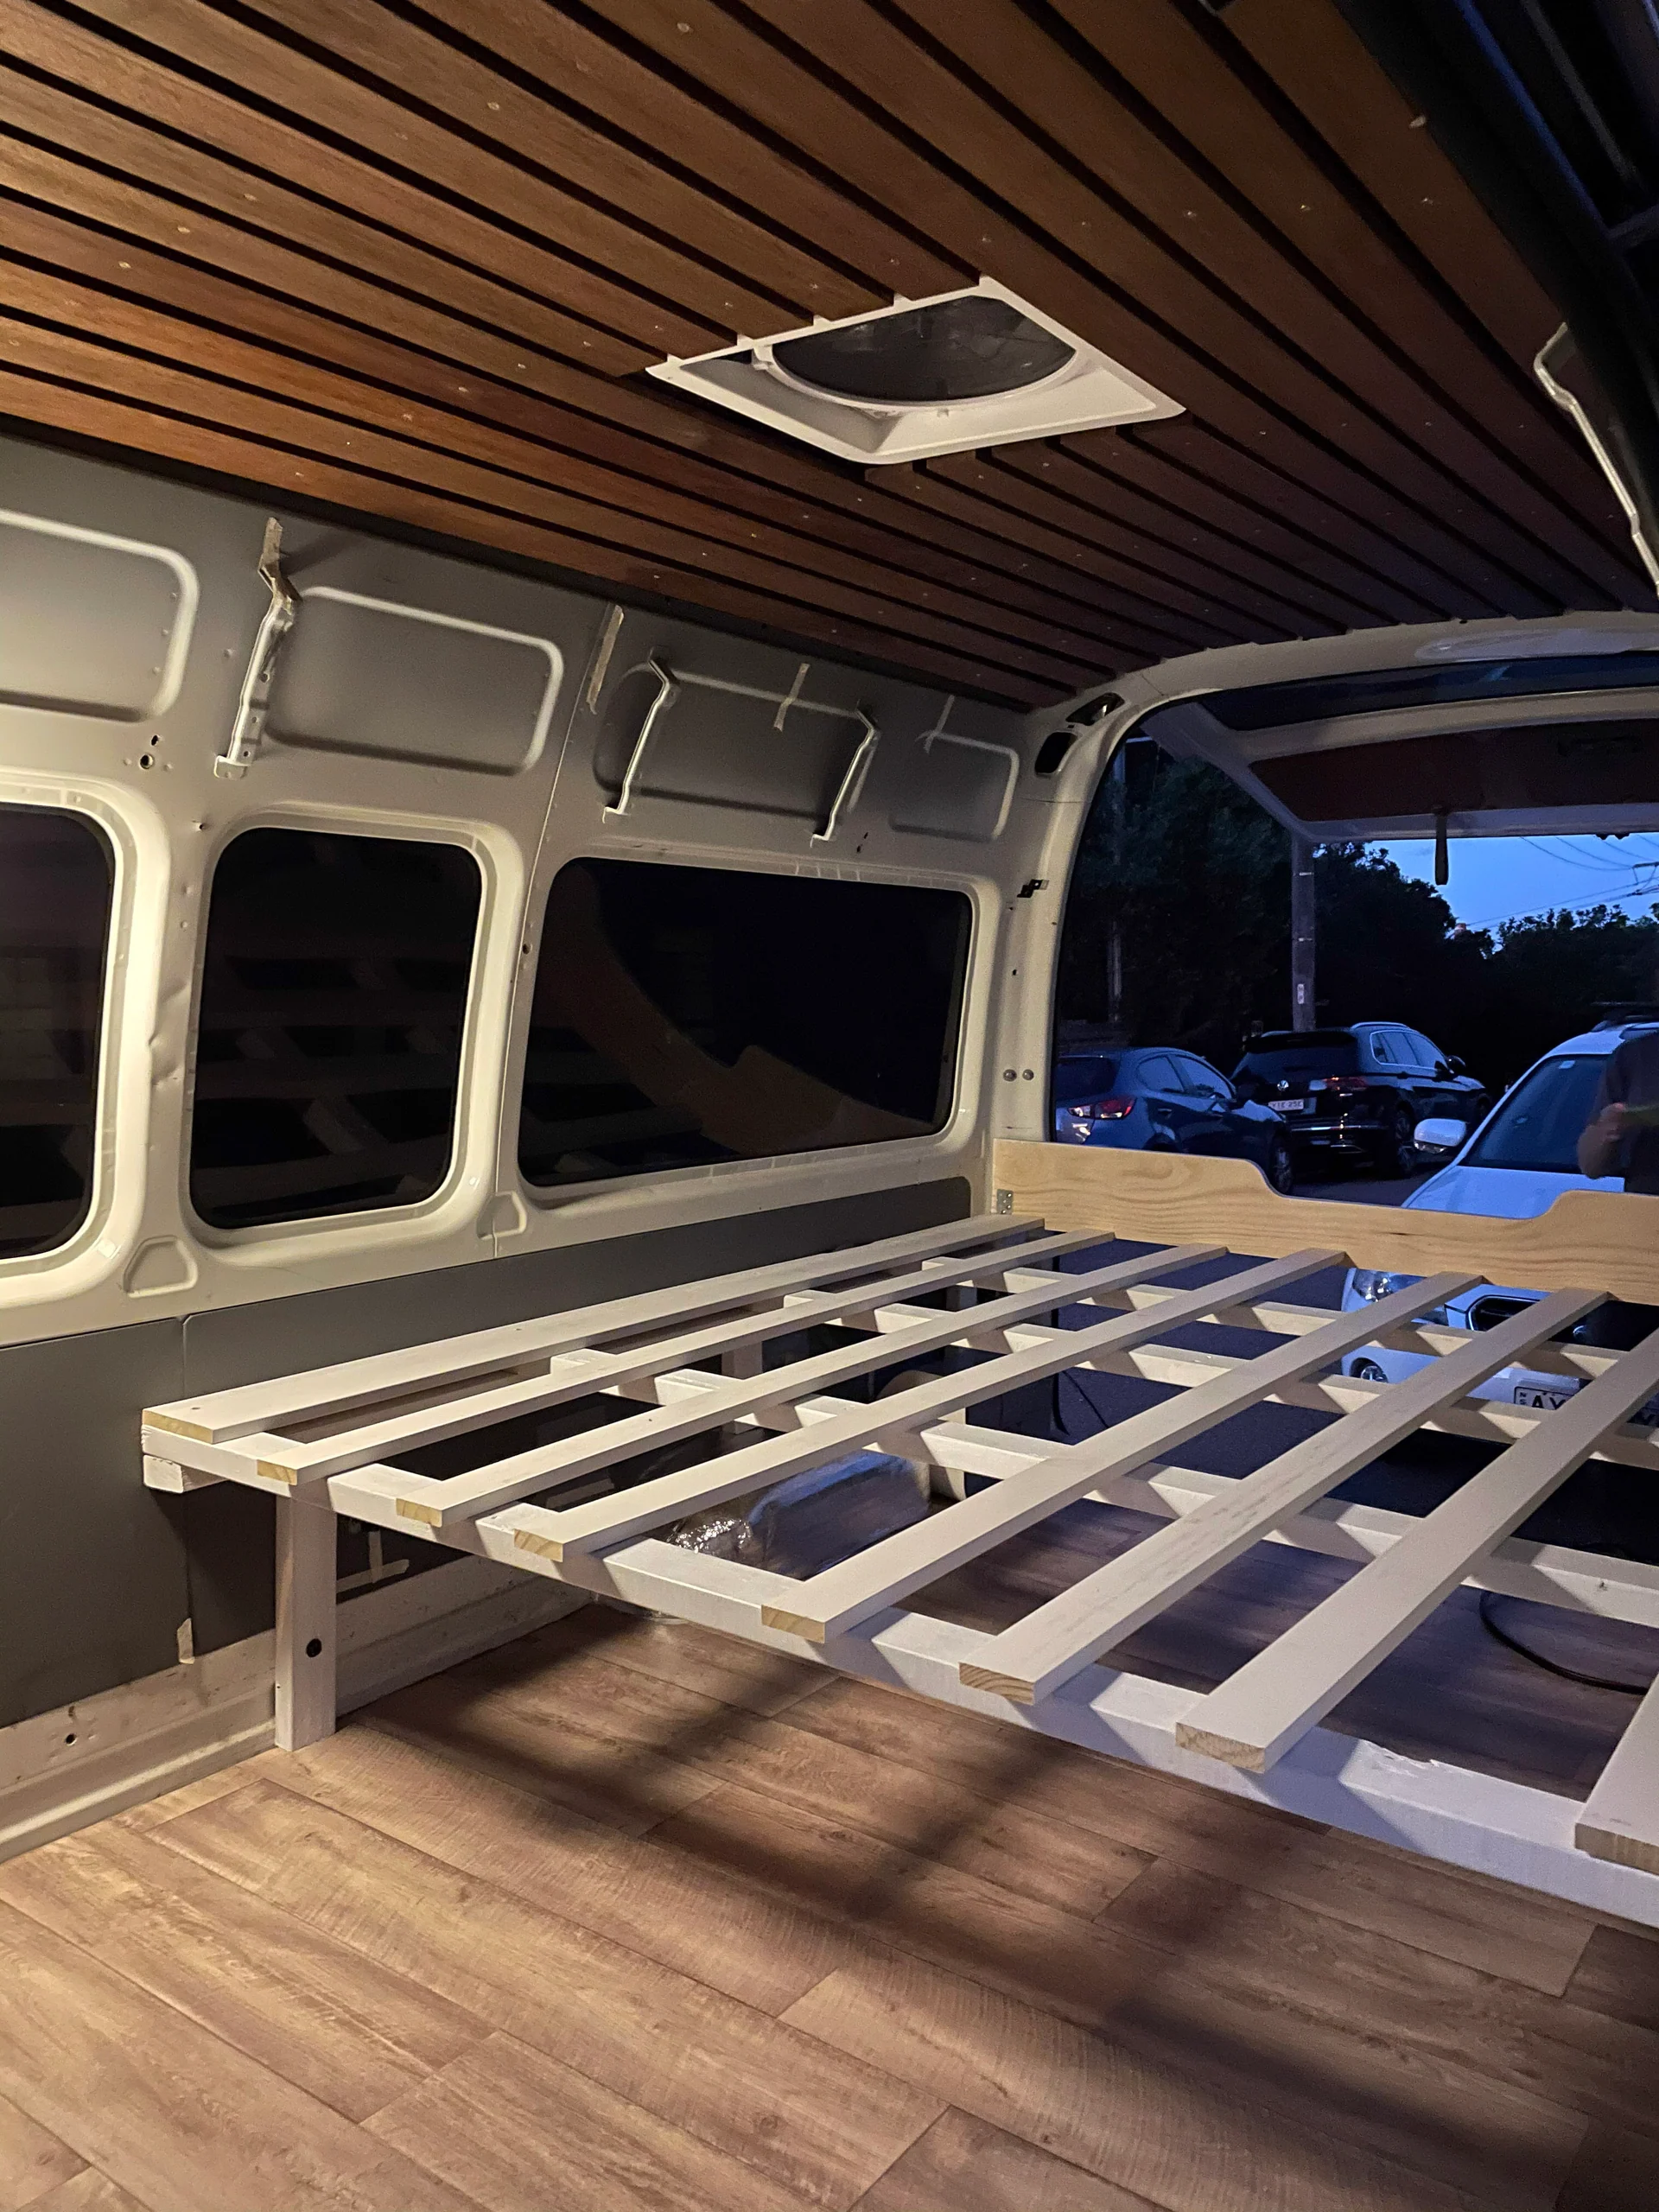
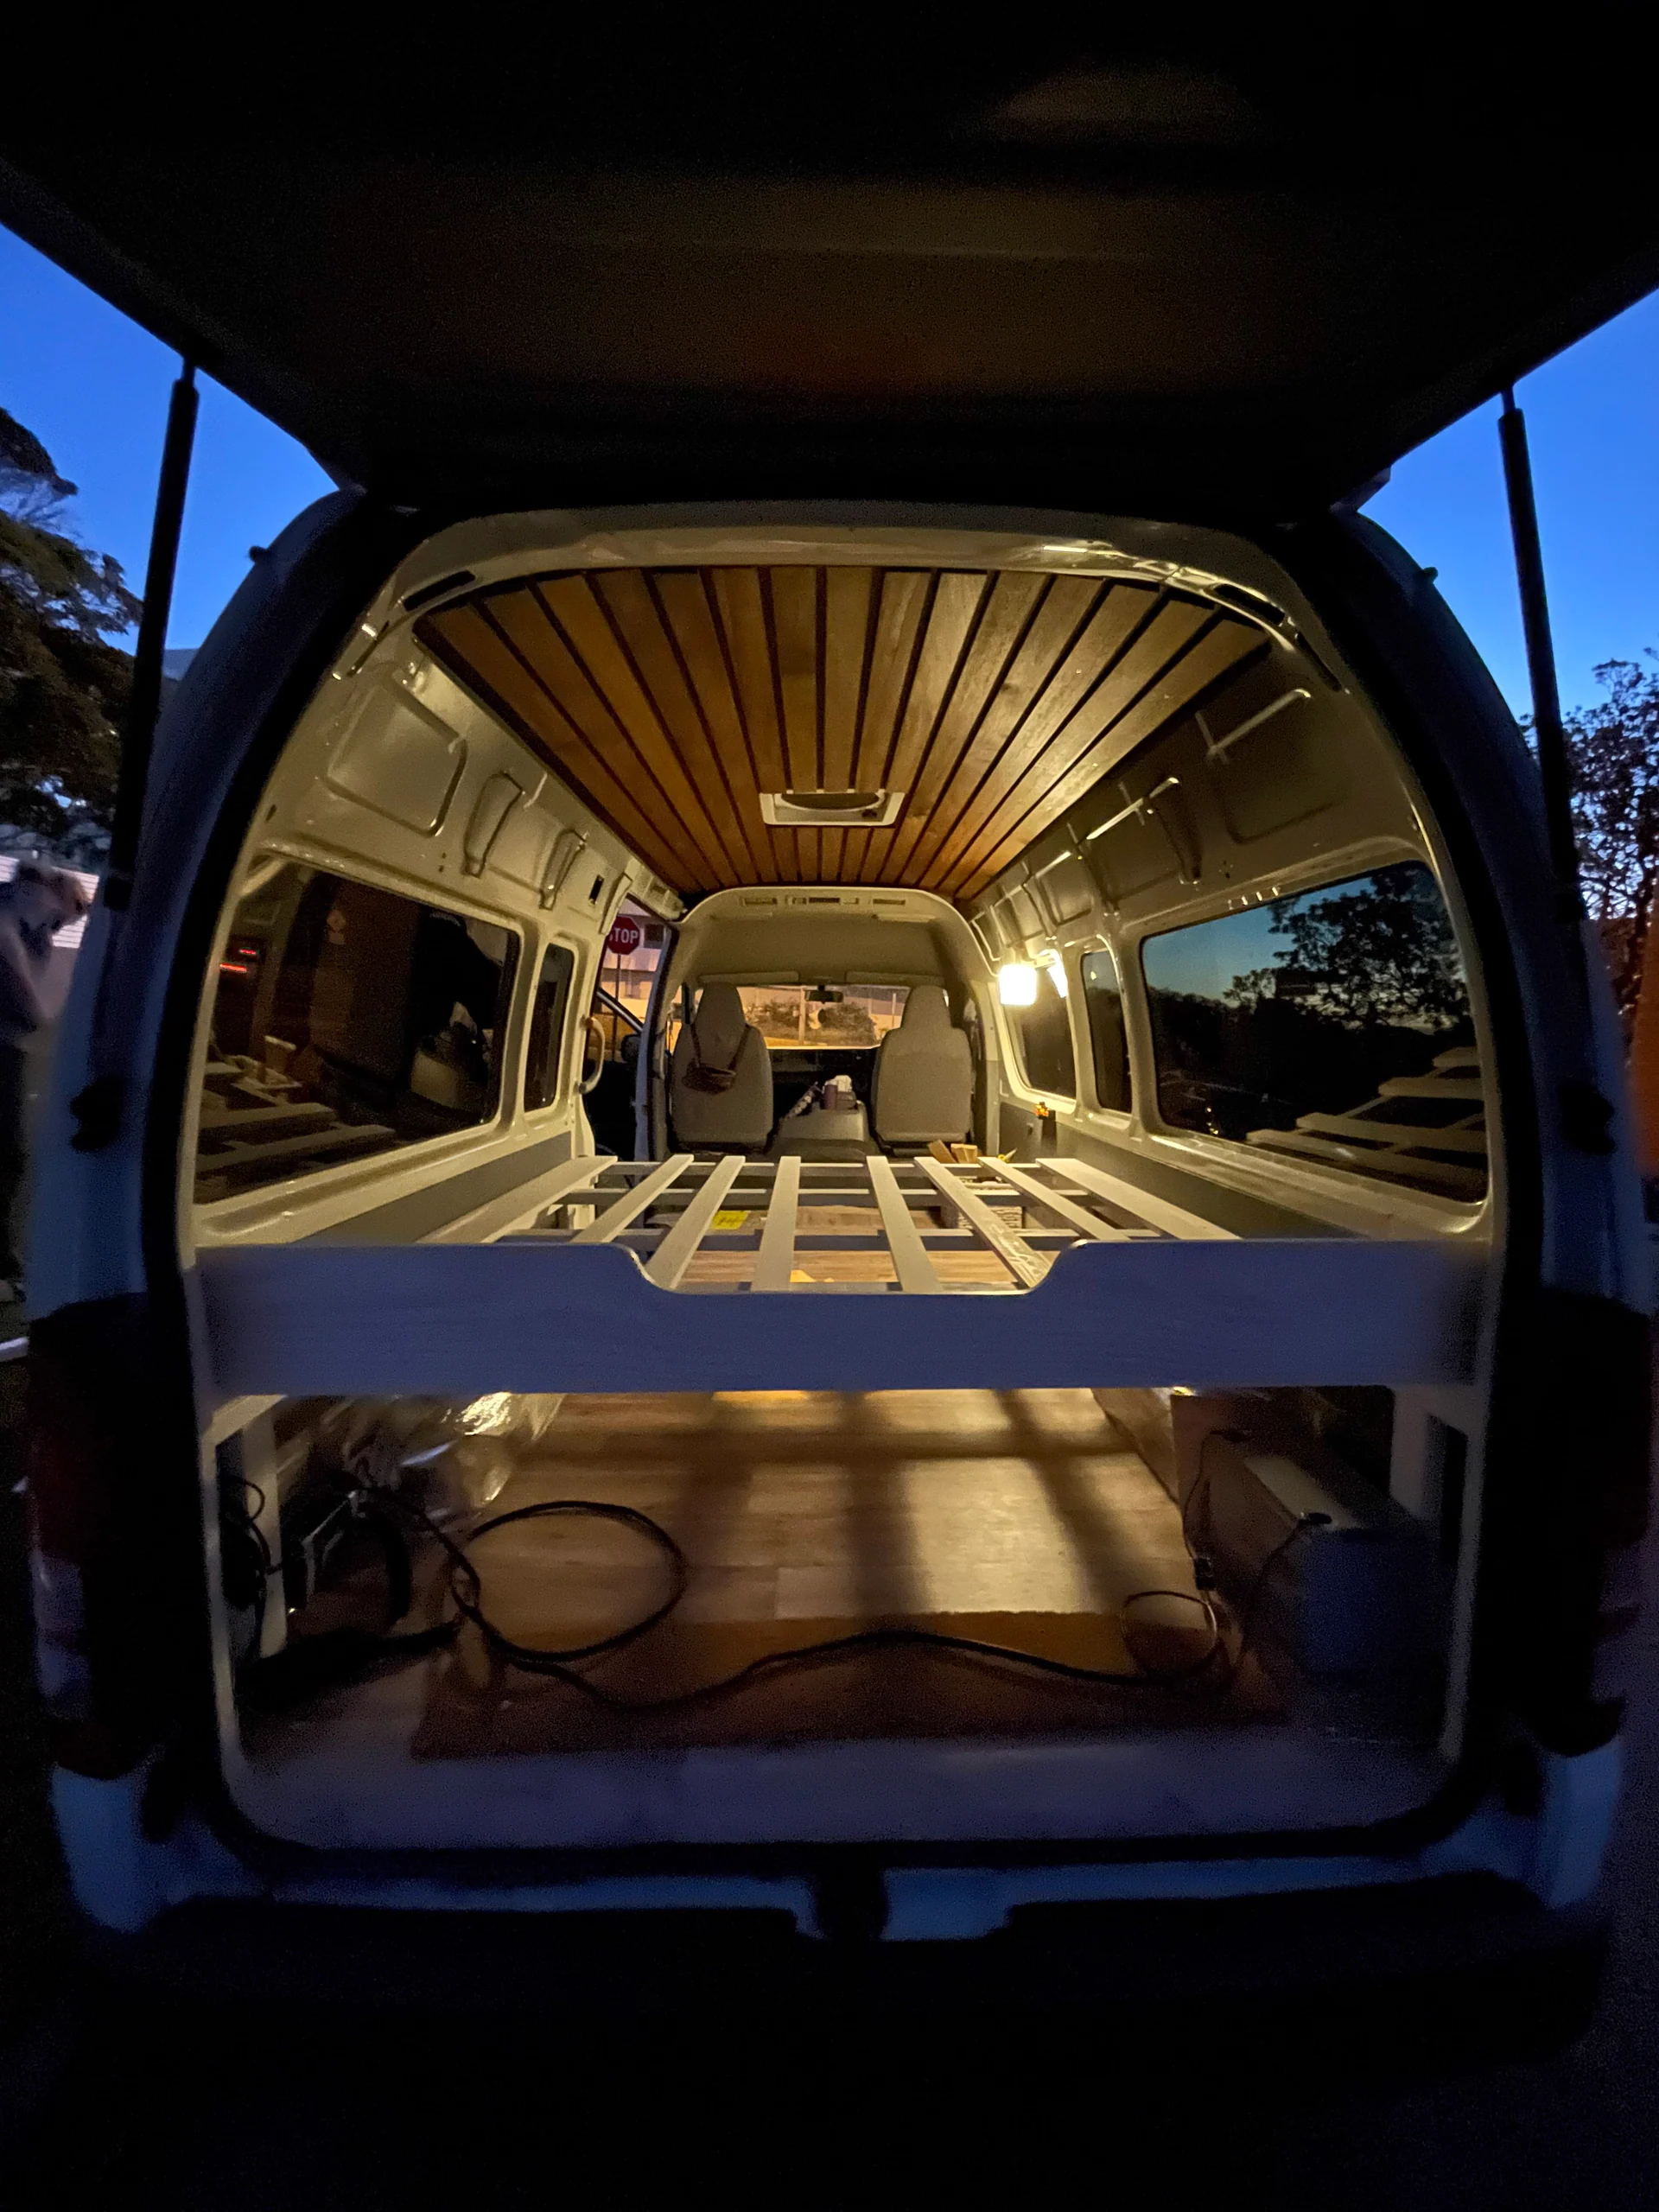
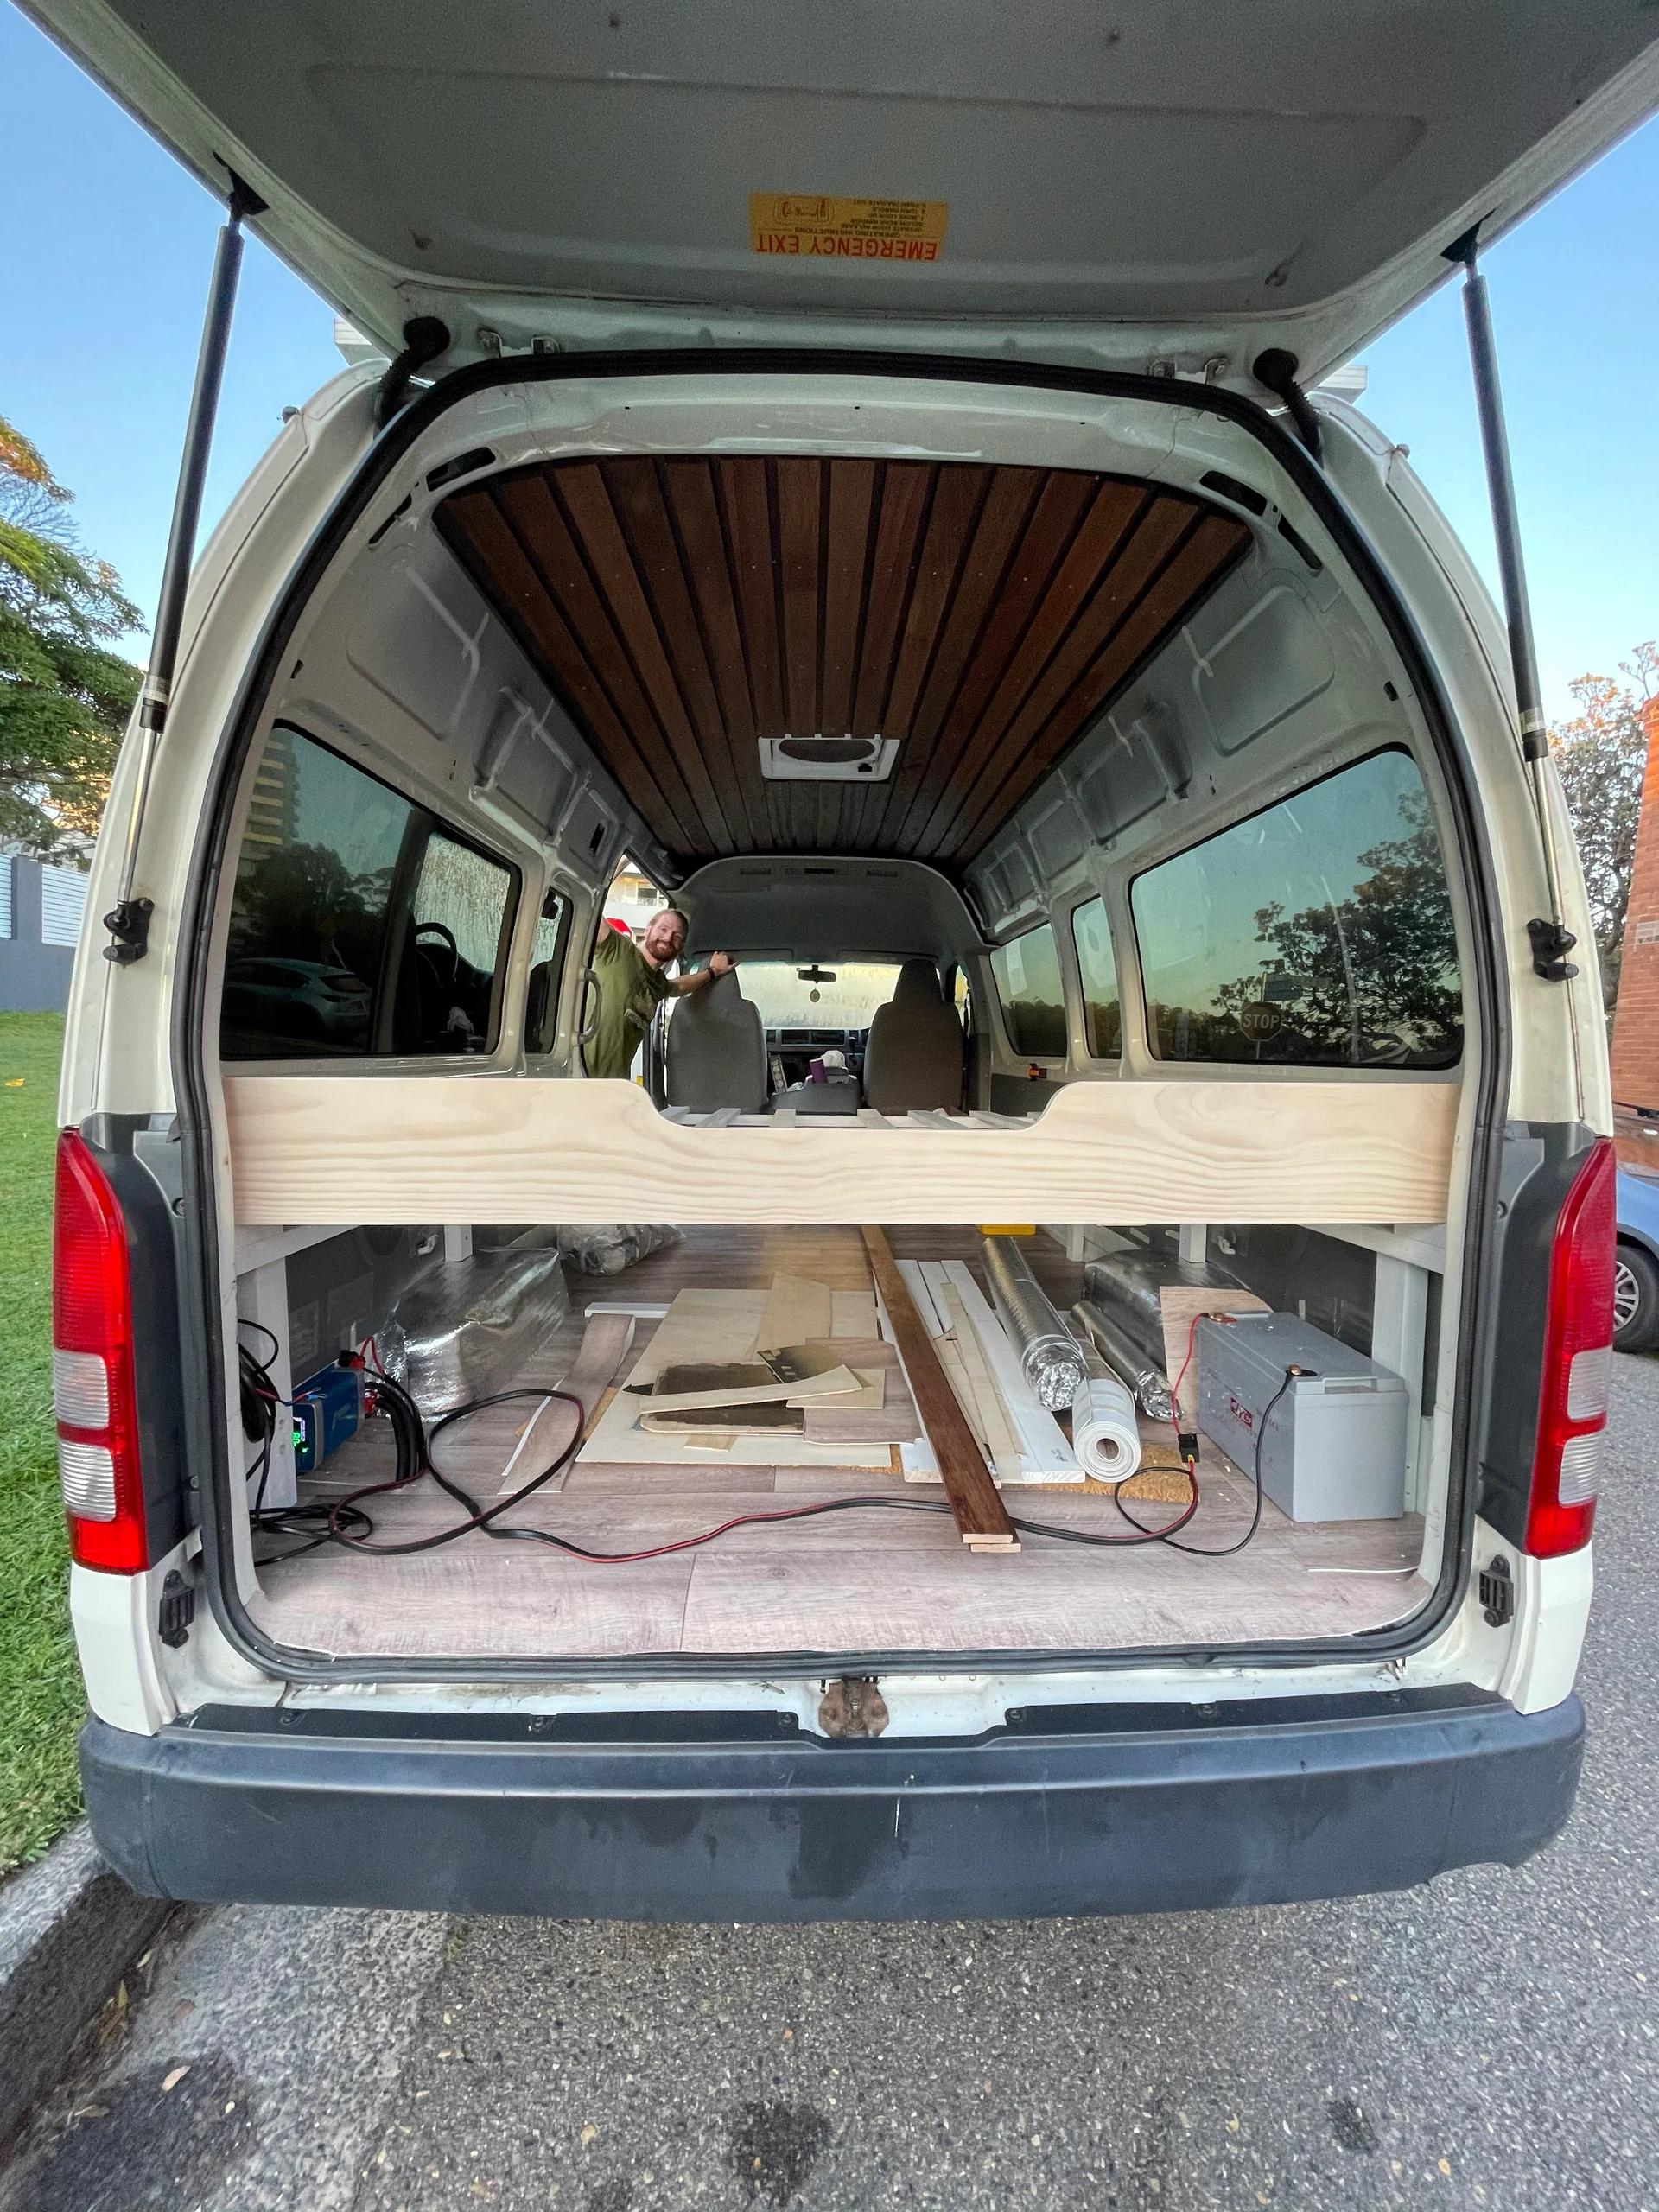
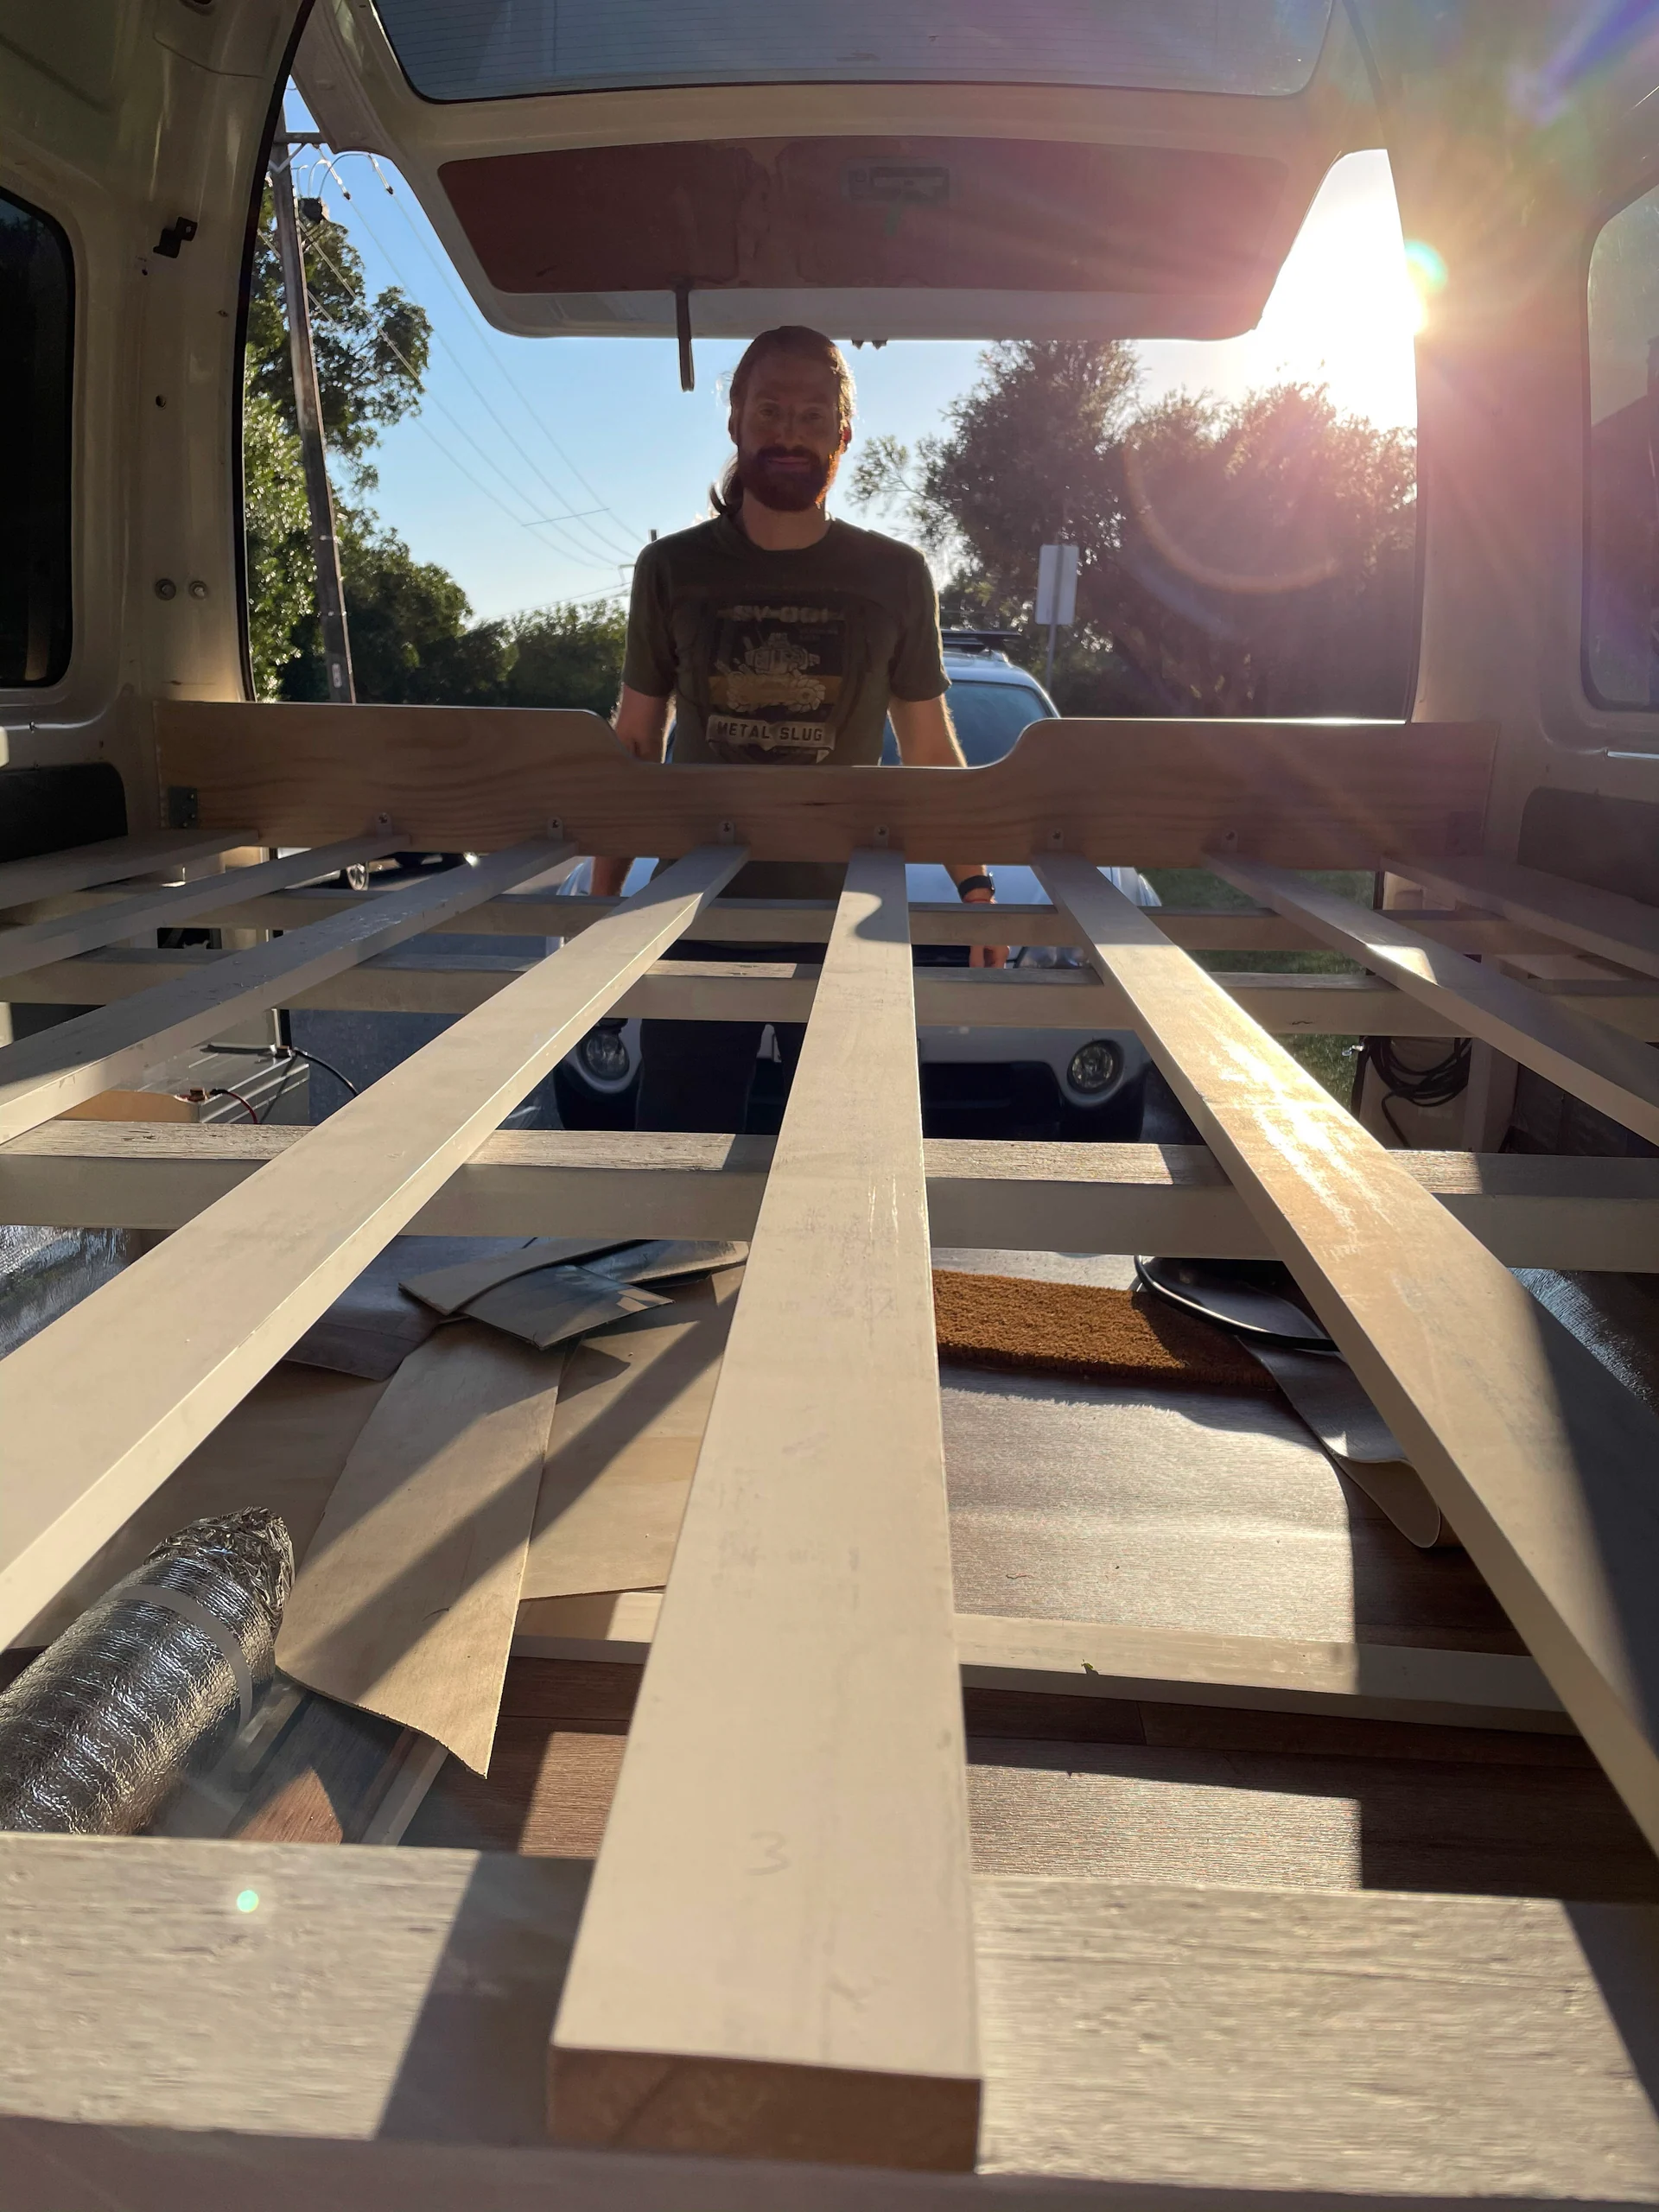
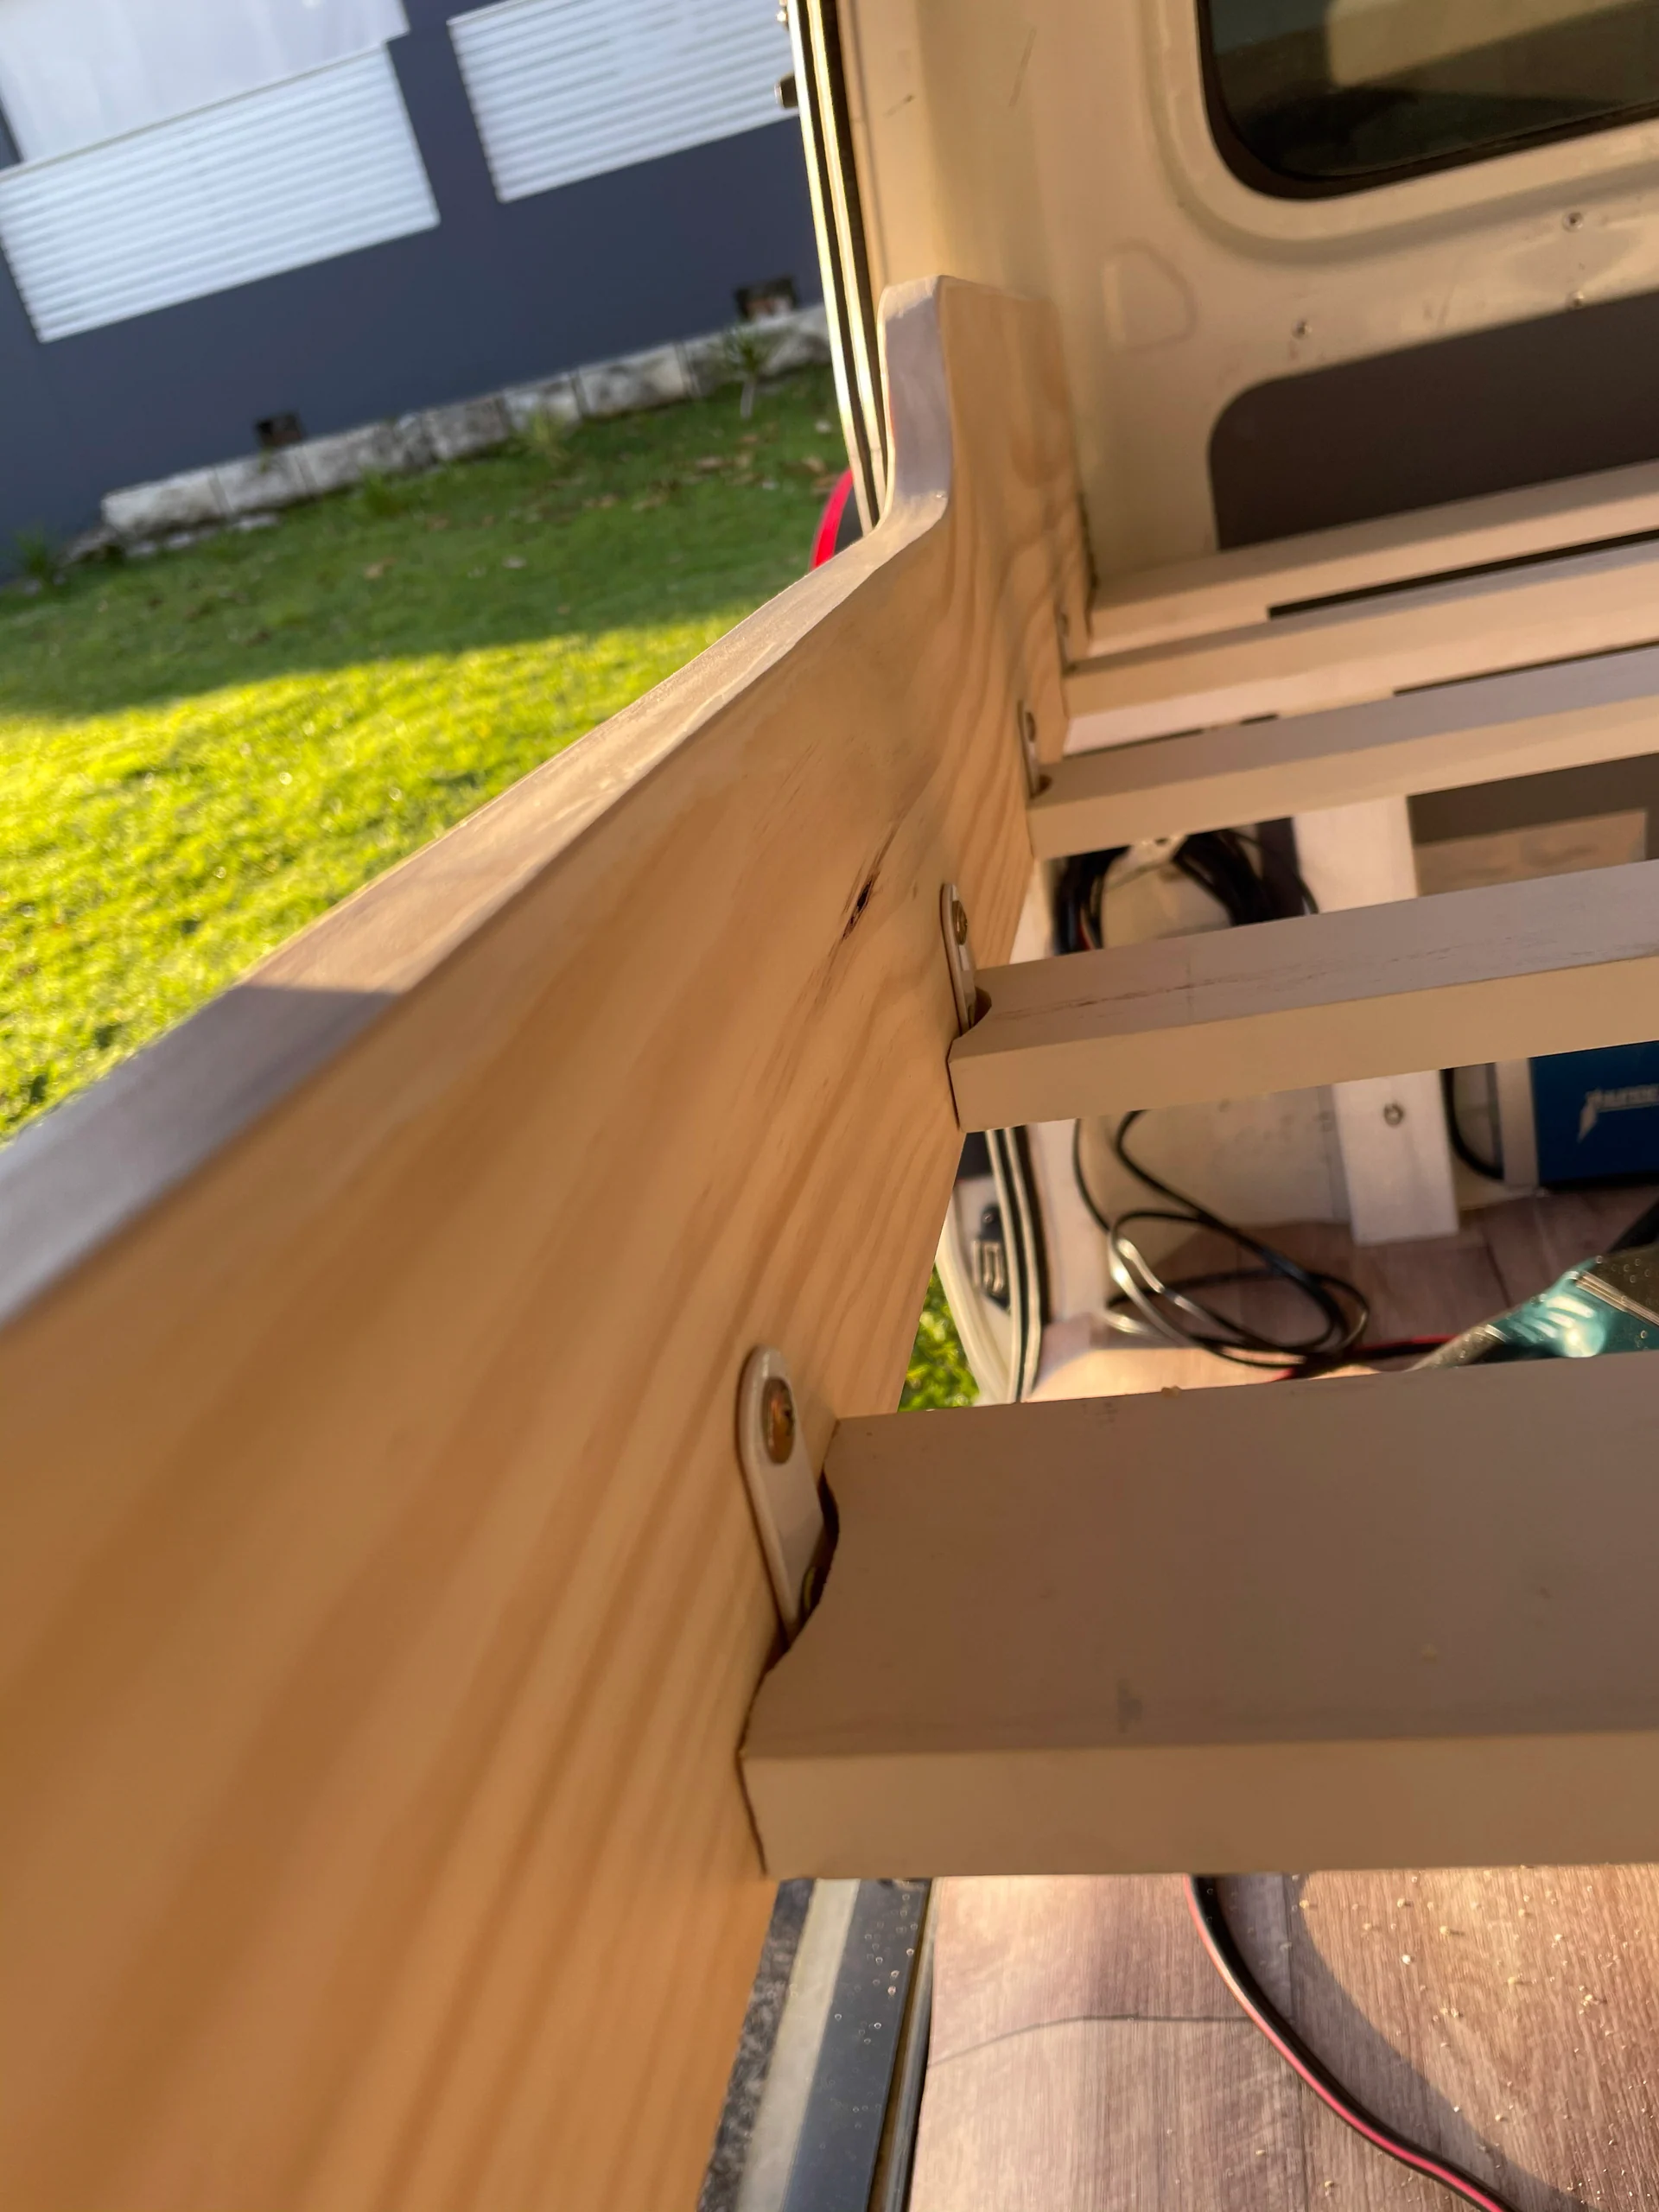
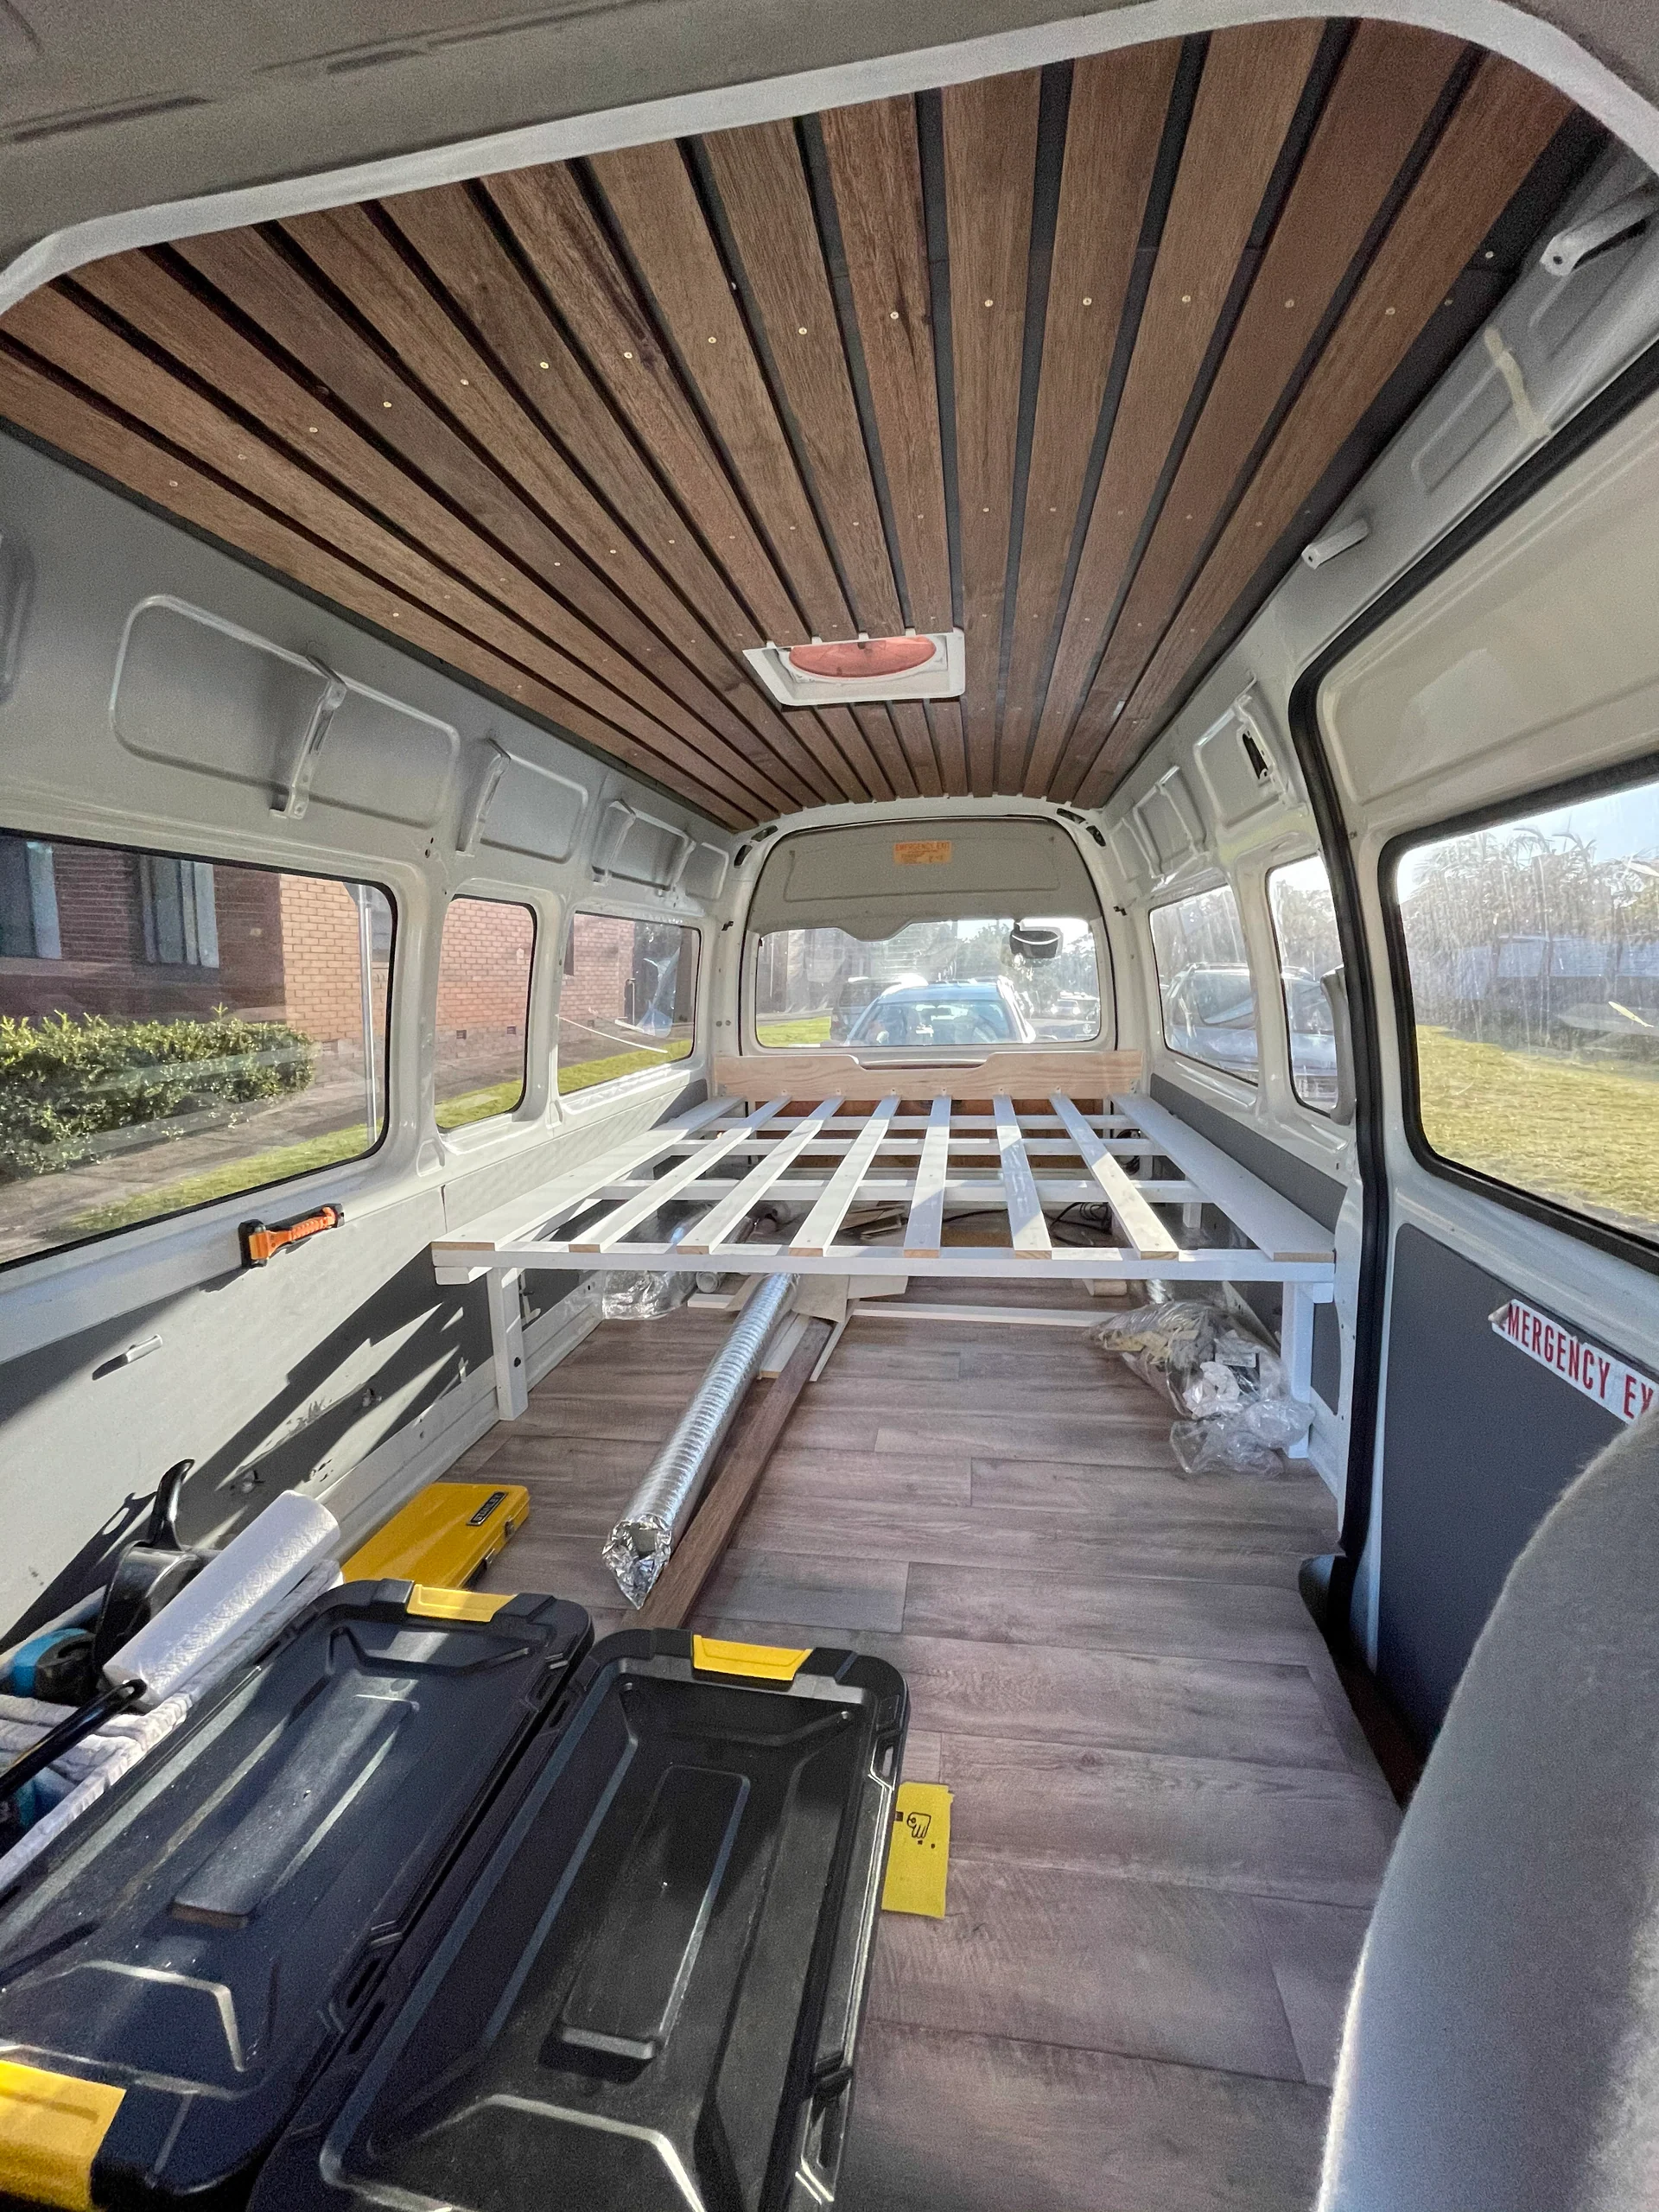
Nearly one month after we first started working on the van, we are ready to try it out. We spend the first night in the Kangaroo Valley and really enjoyed our rolling home! We still have a lot of plans for improvements and little projects... So there is more to come soon!
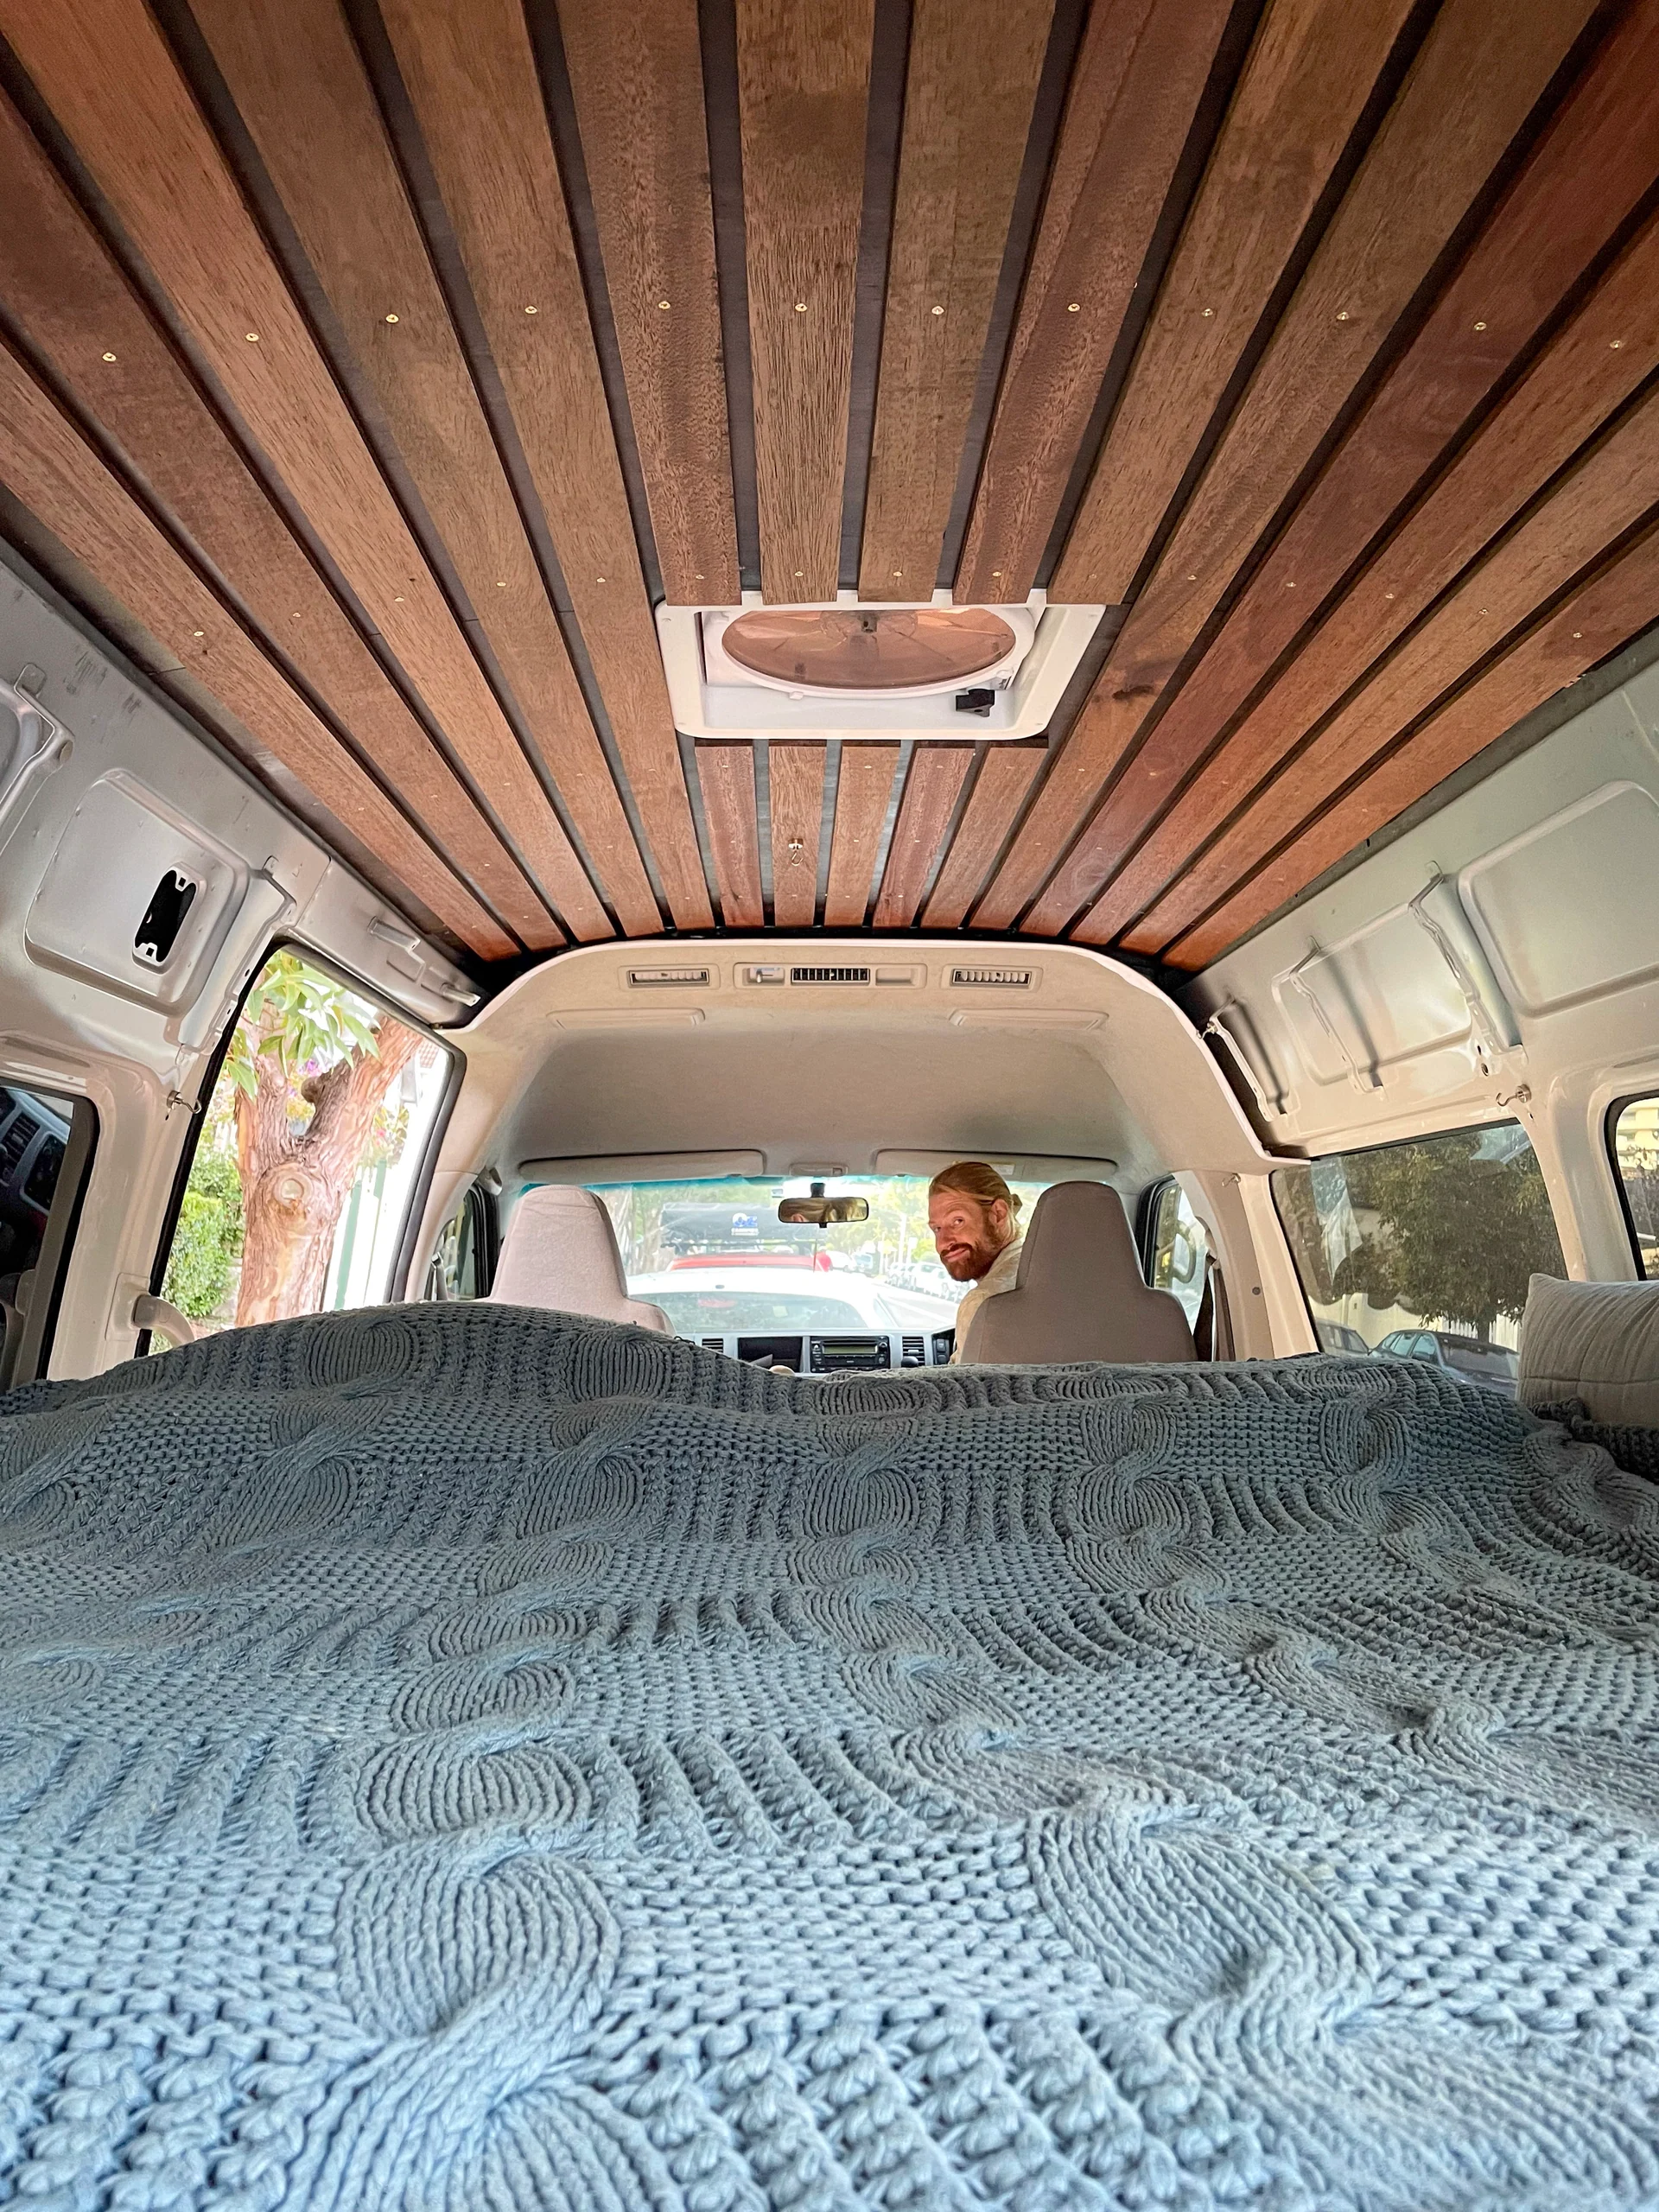
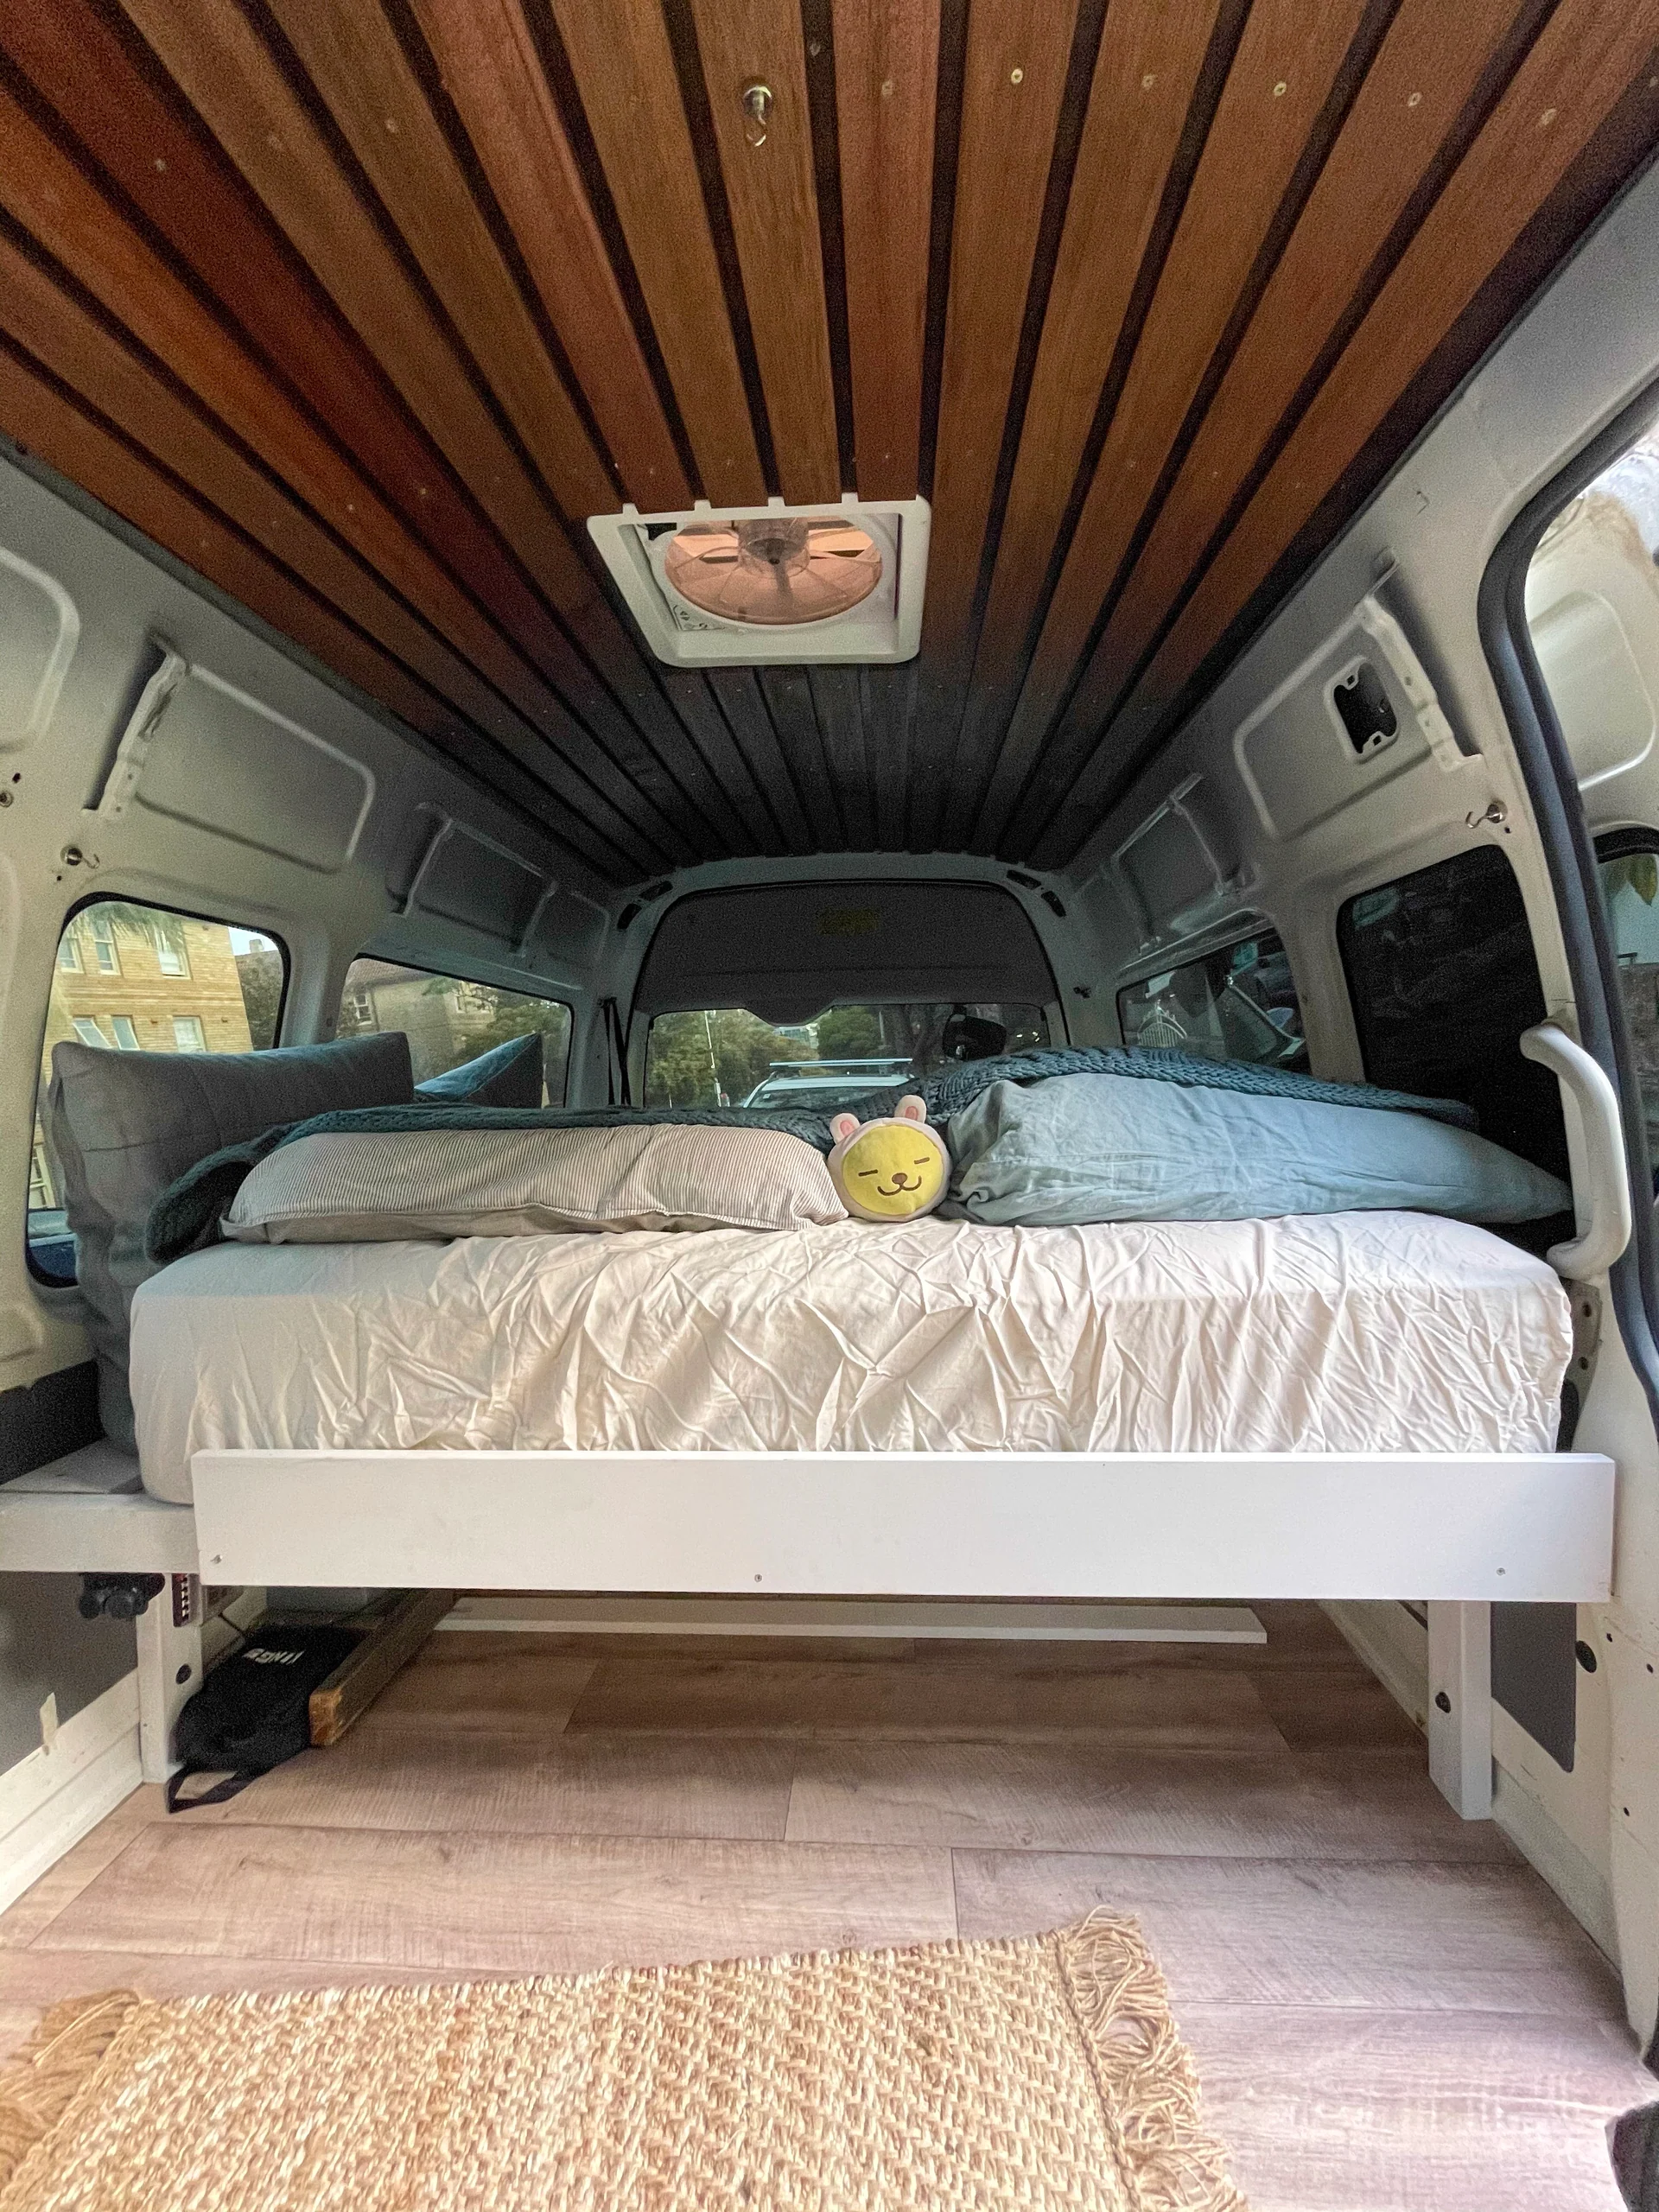
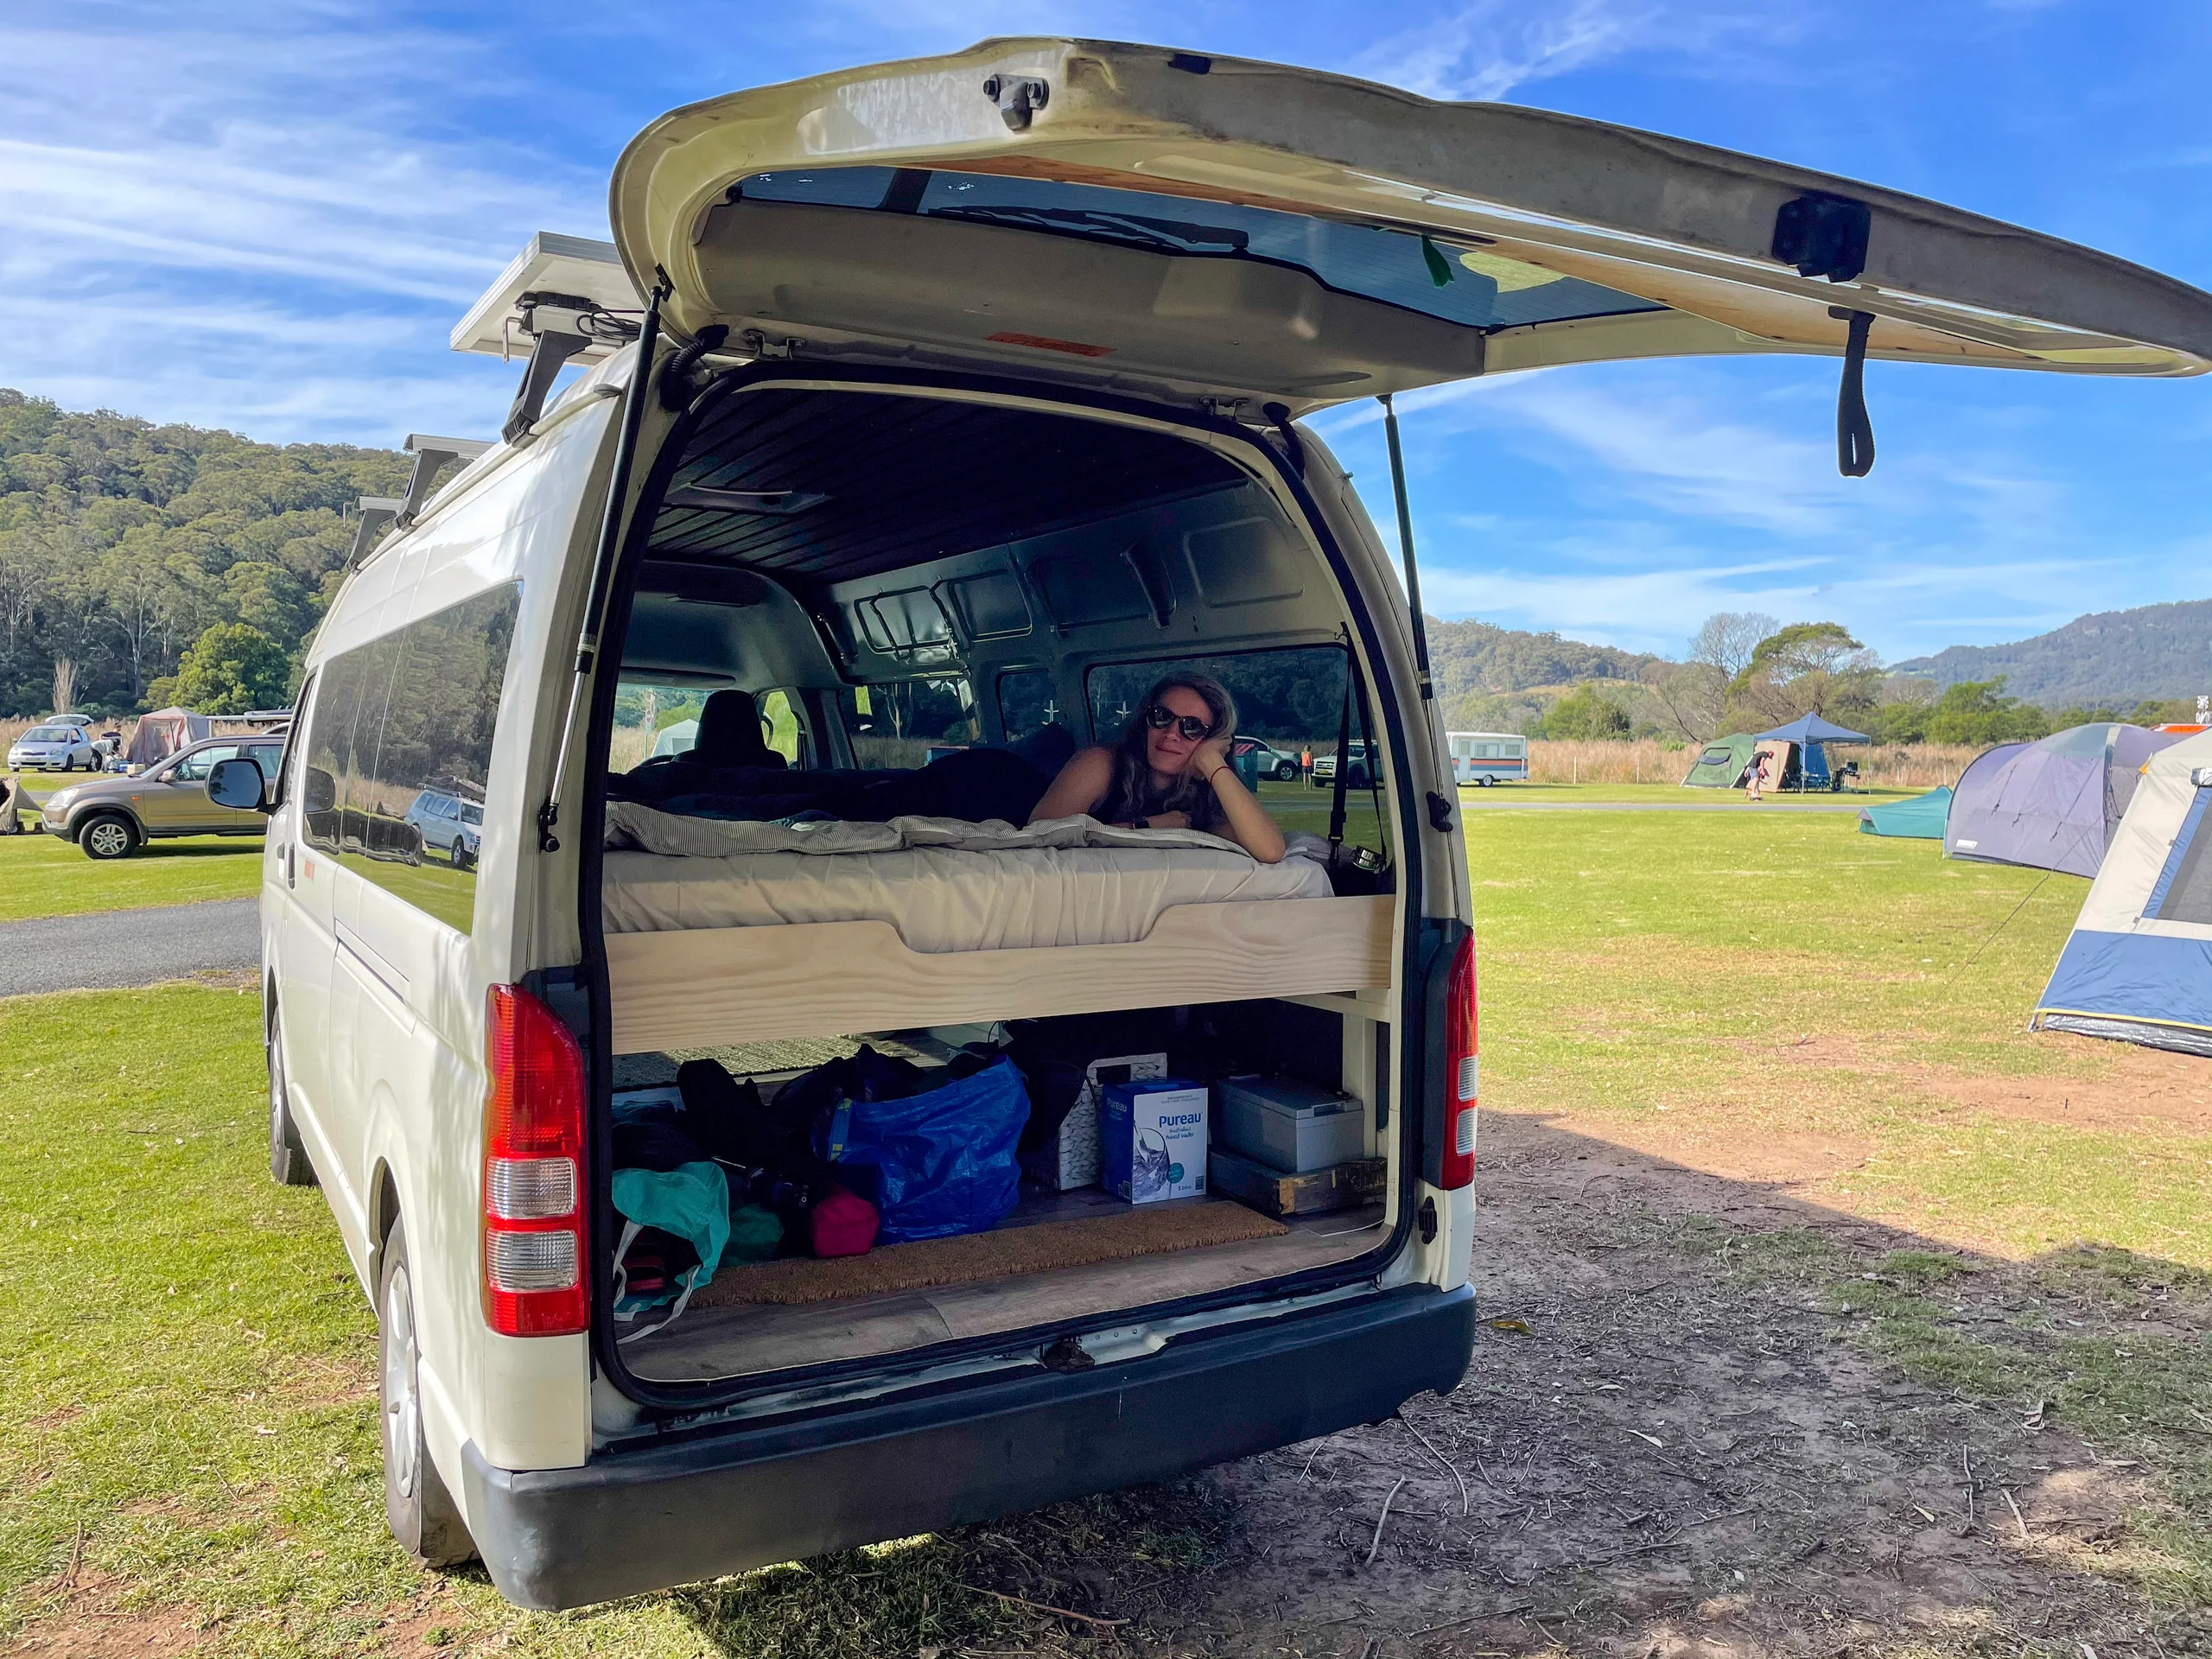
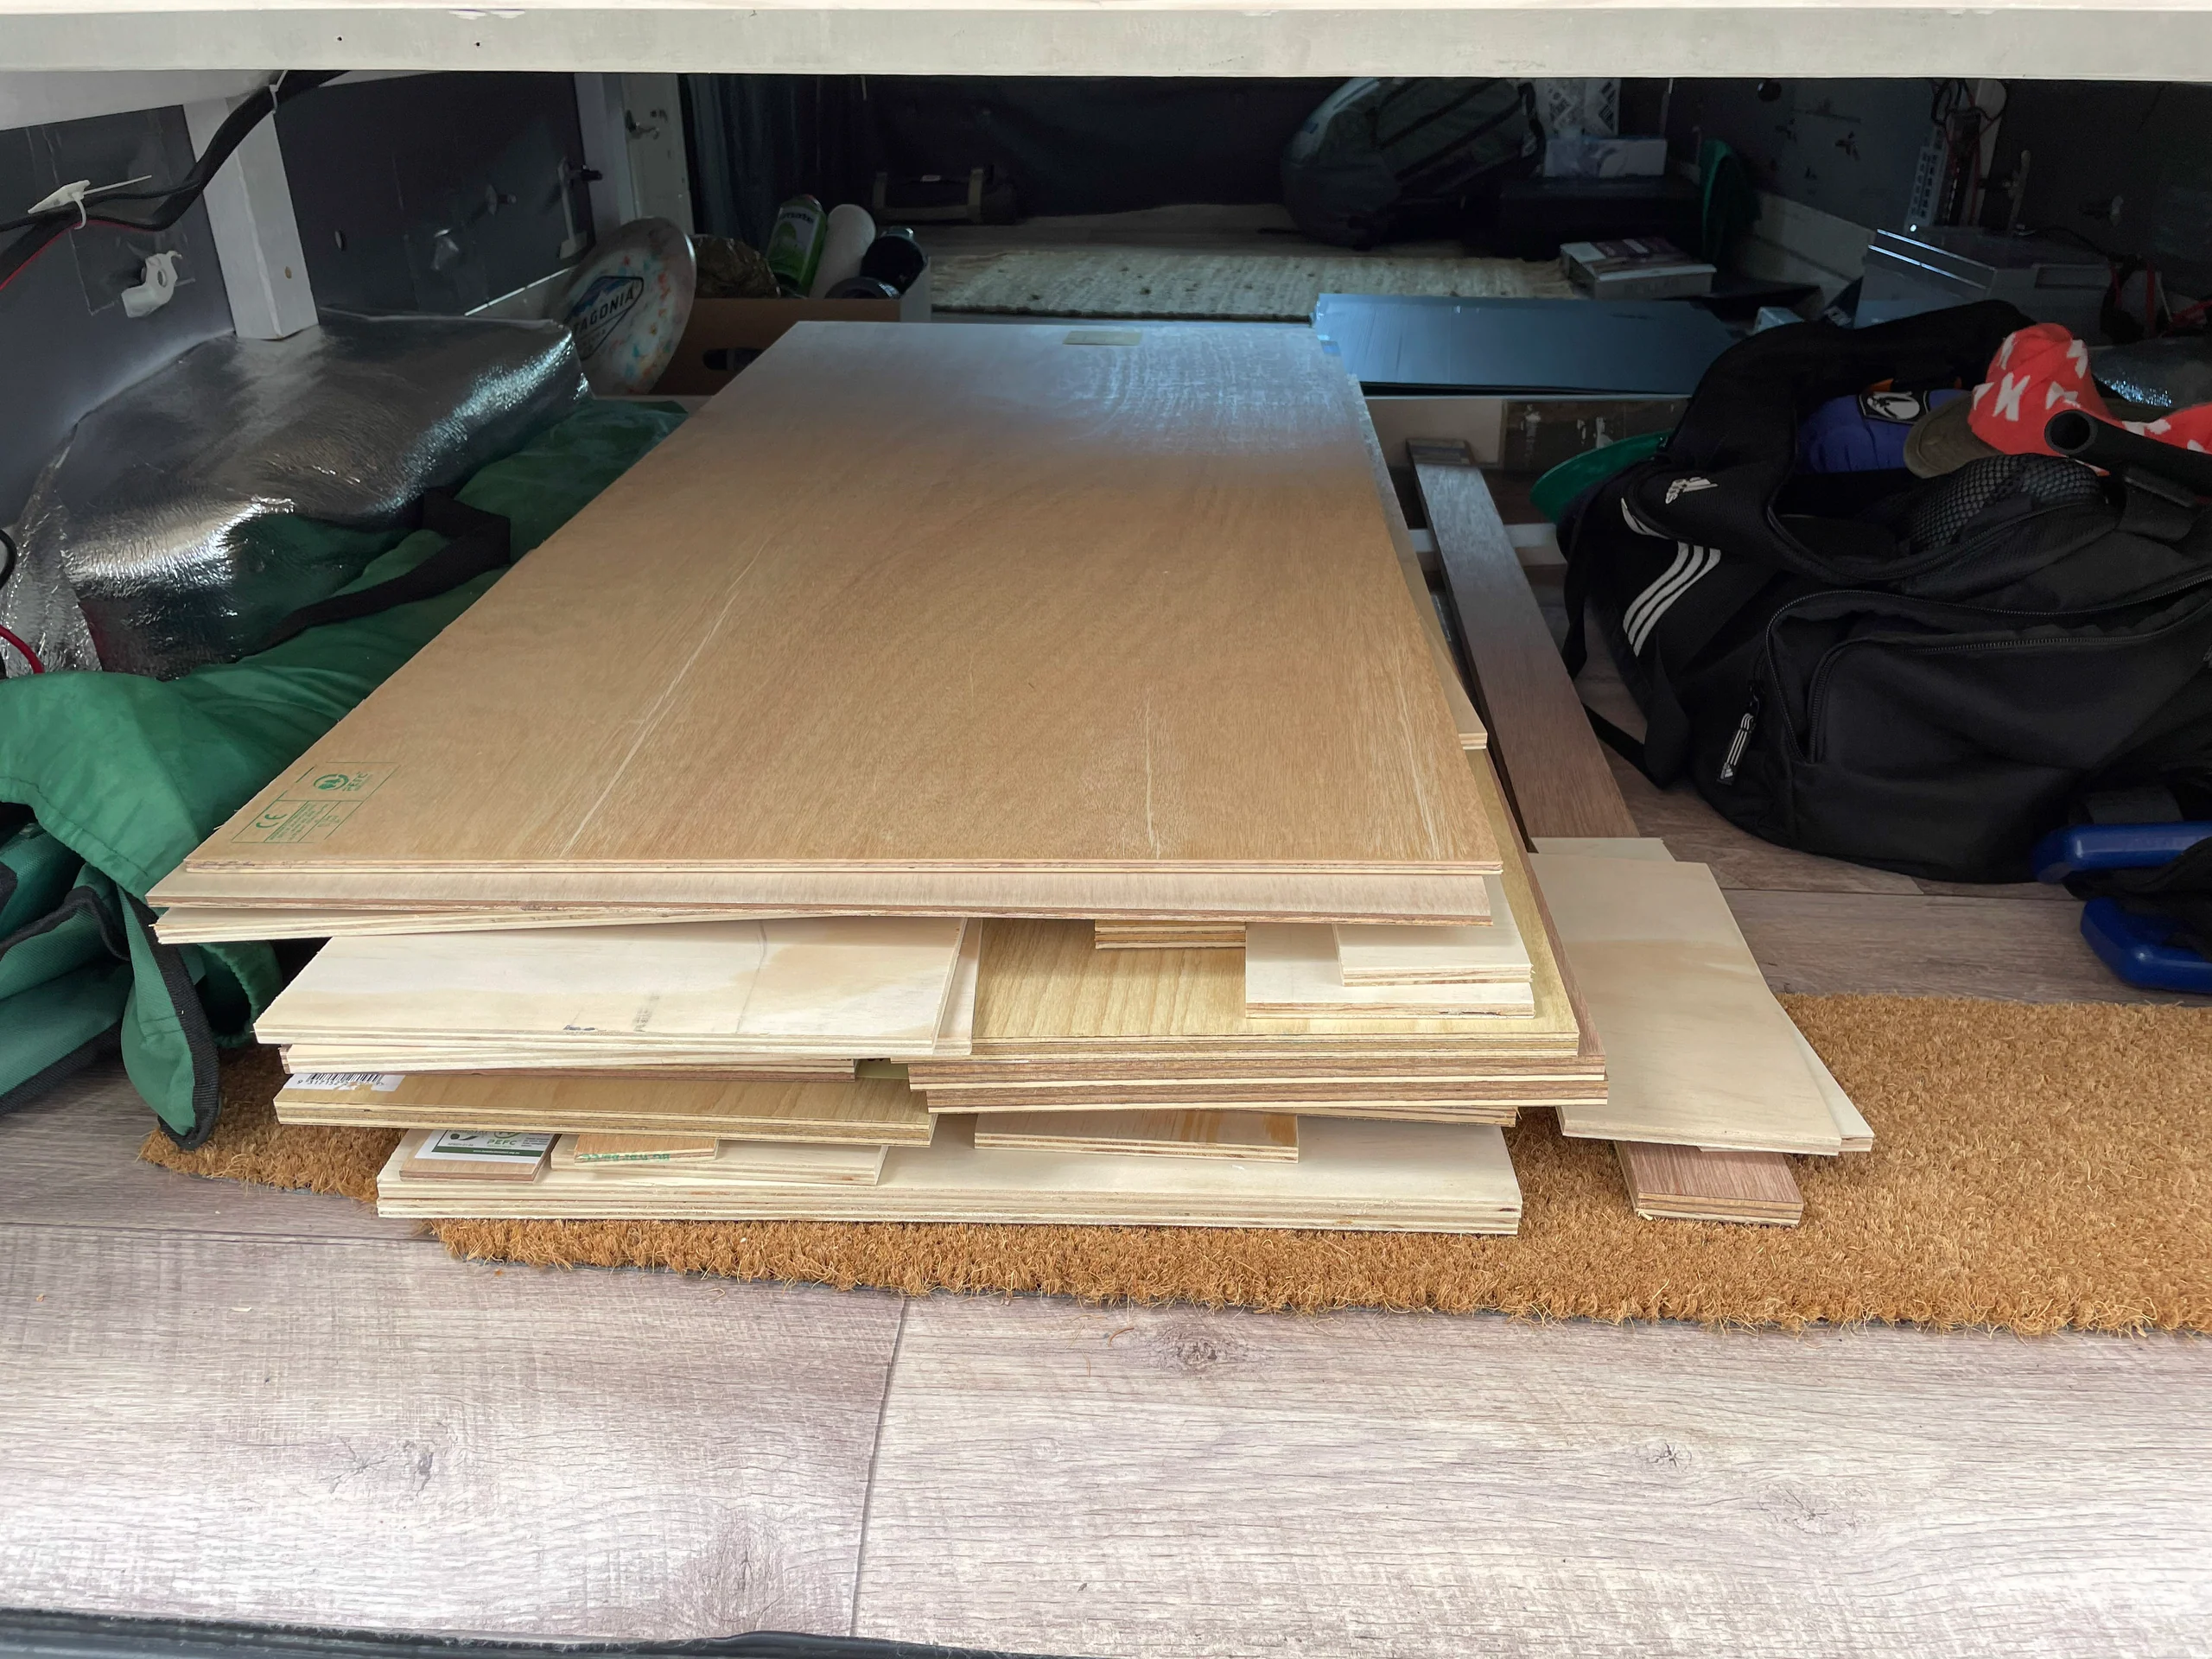
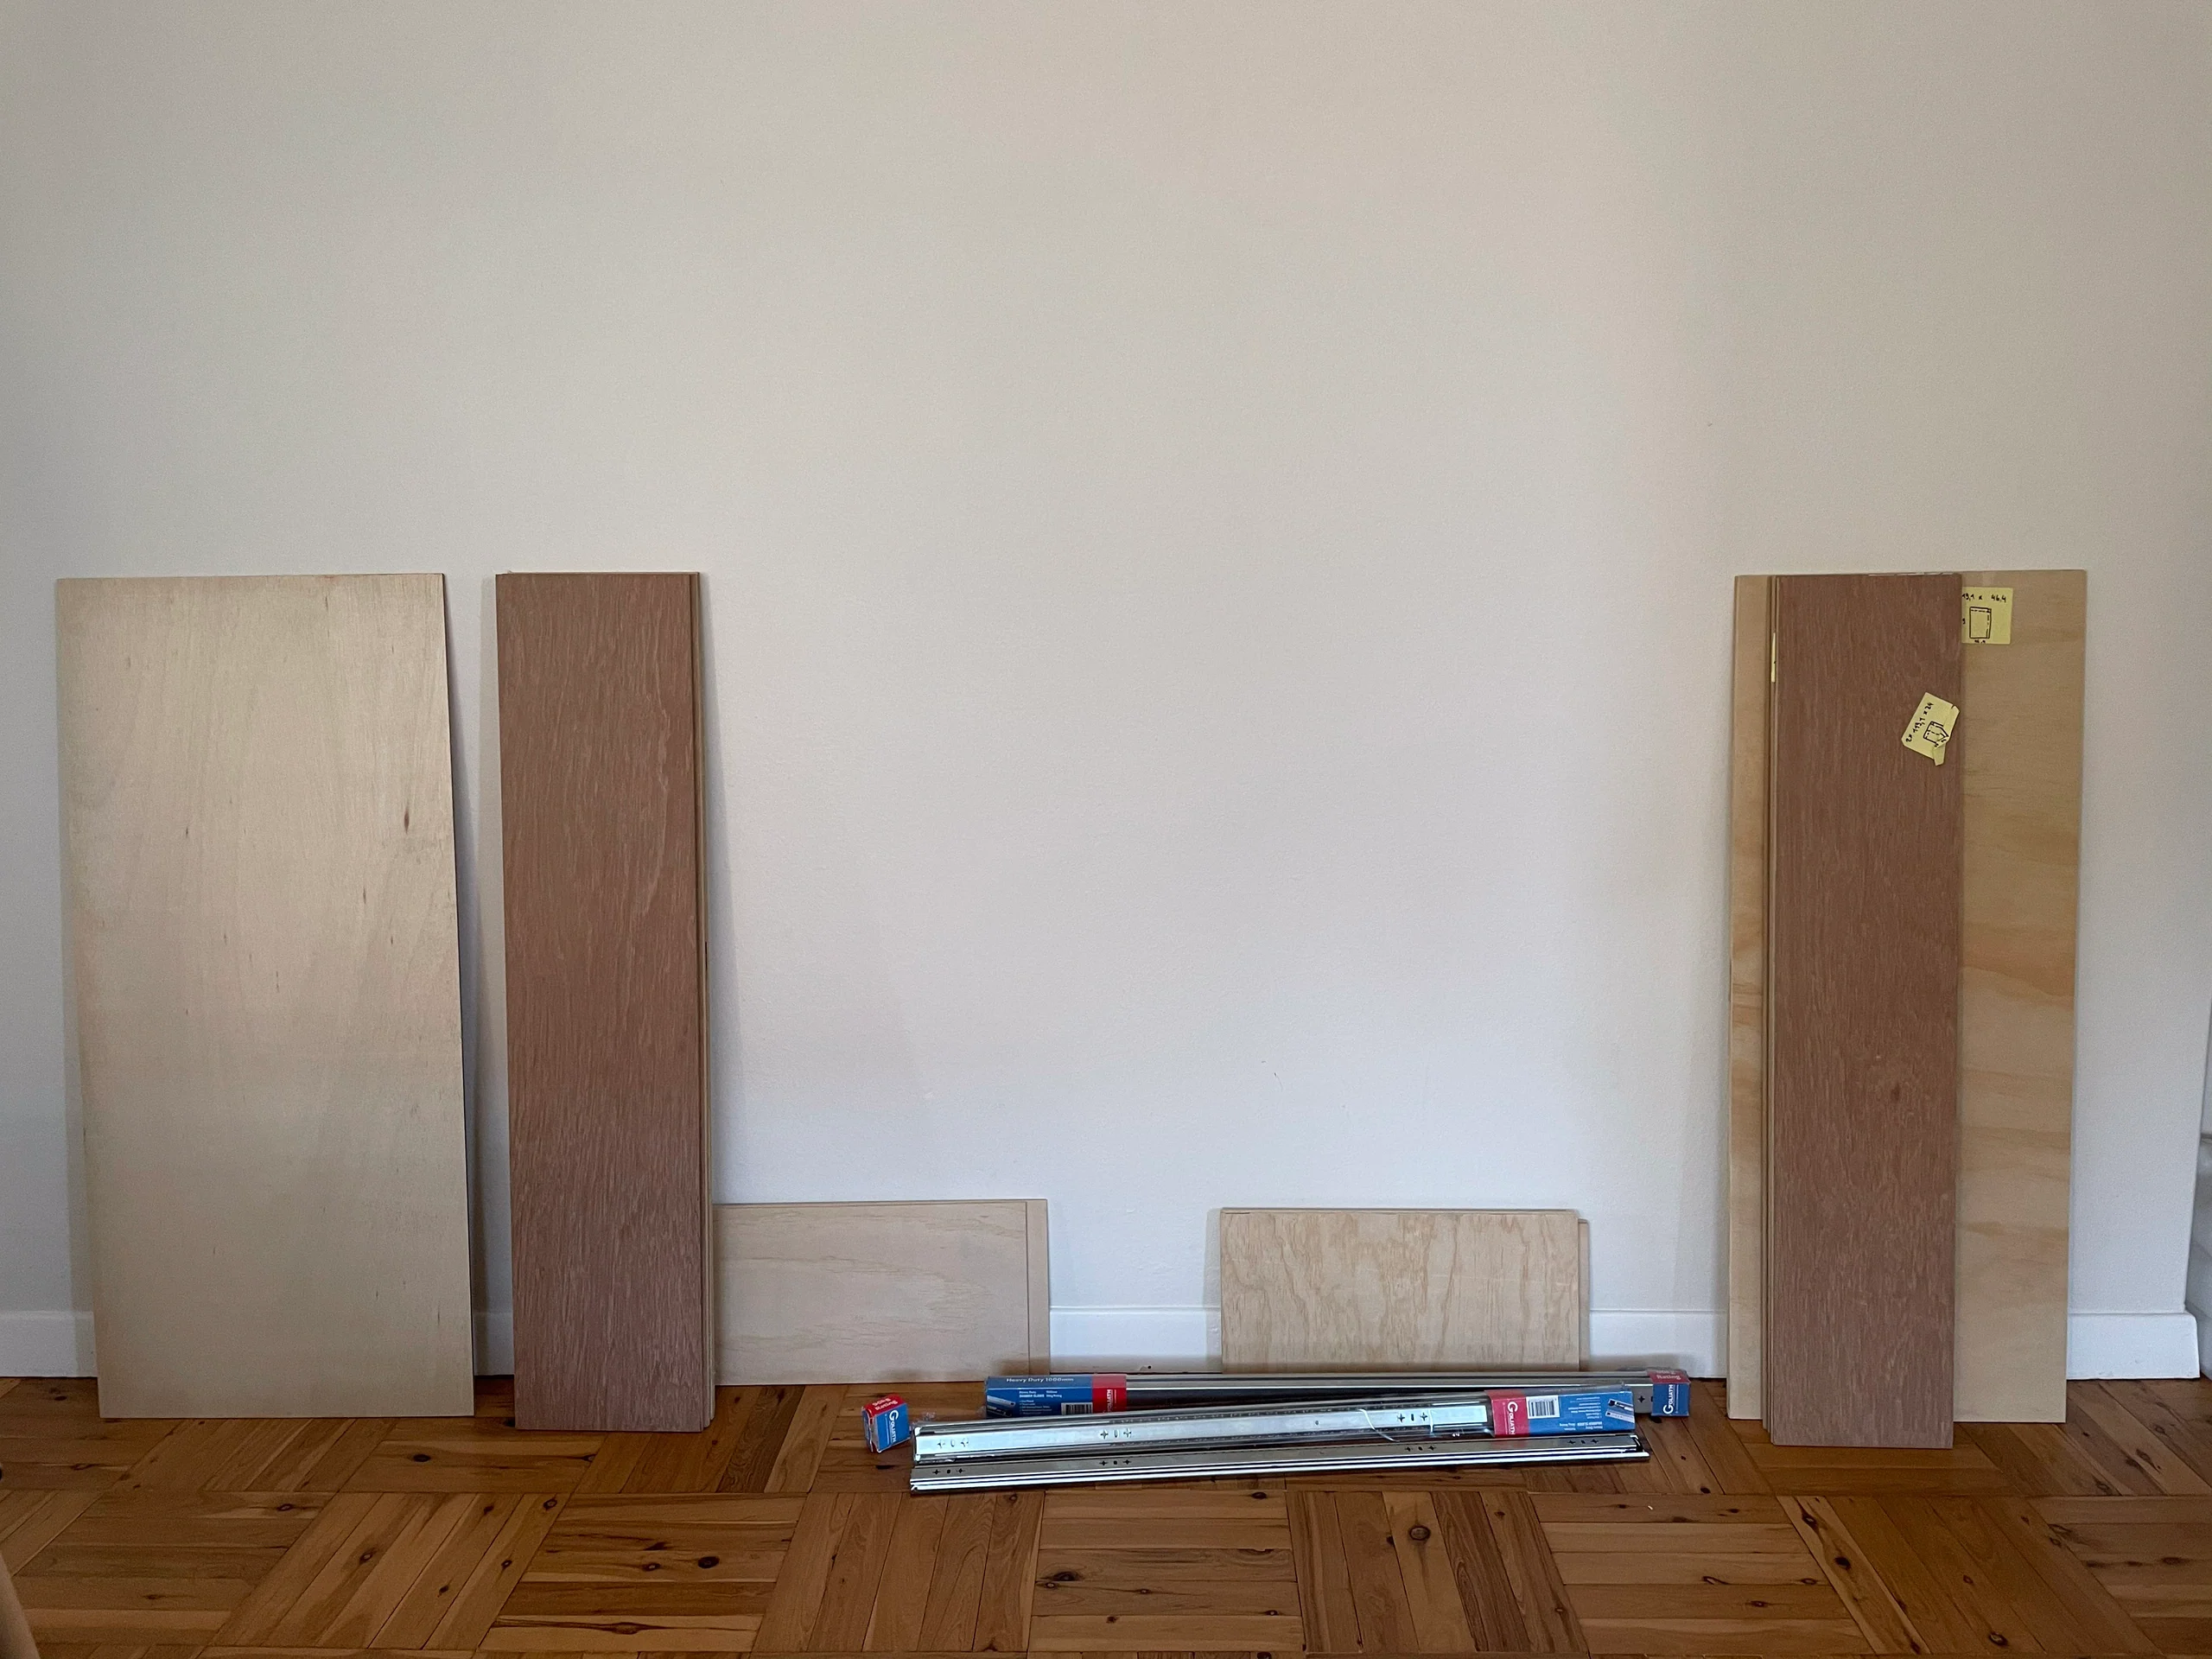
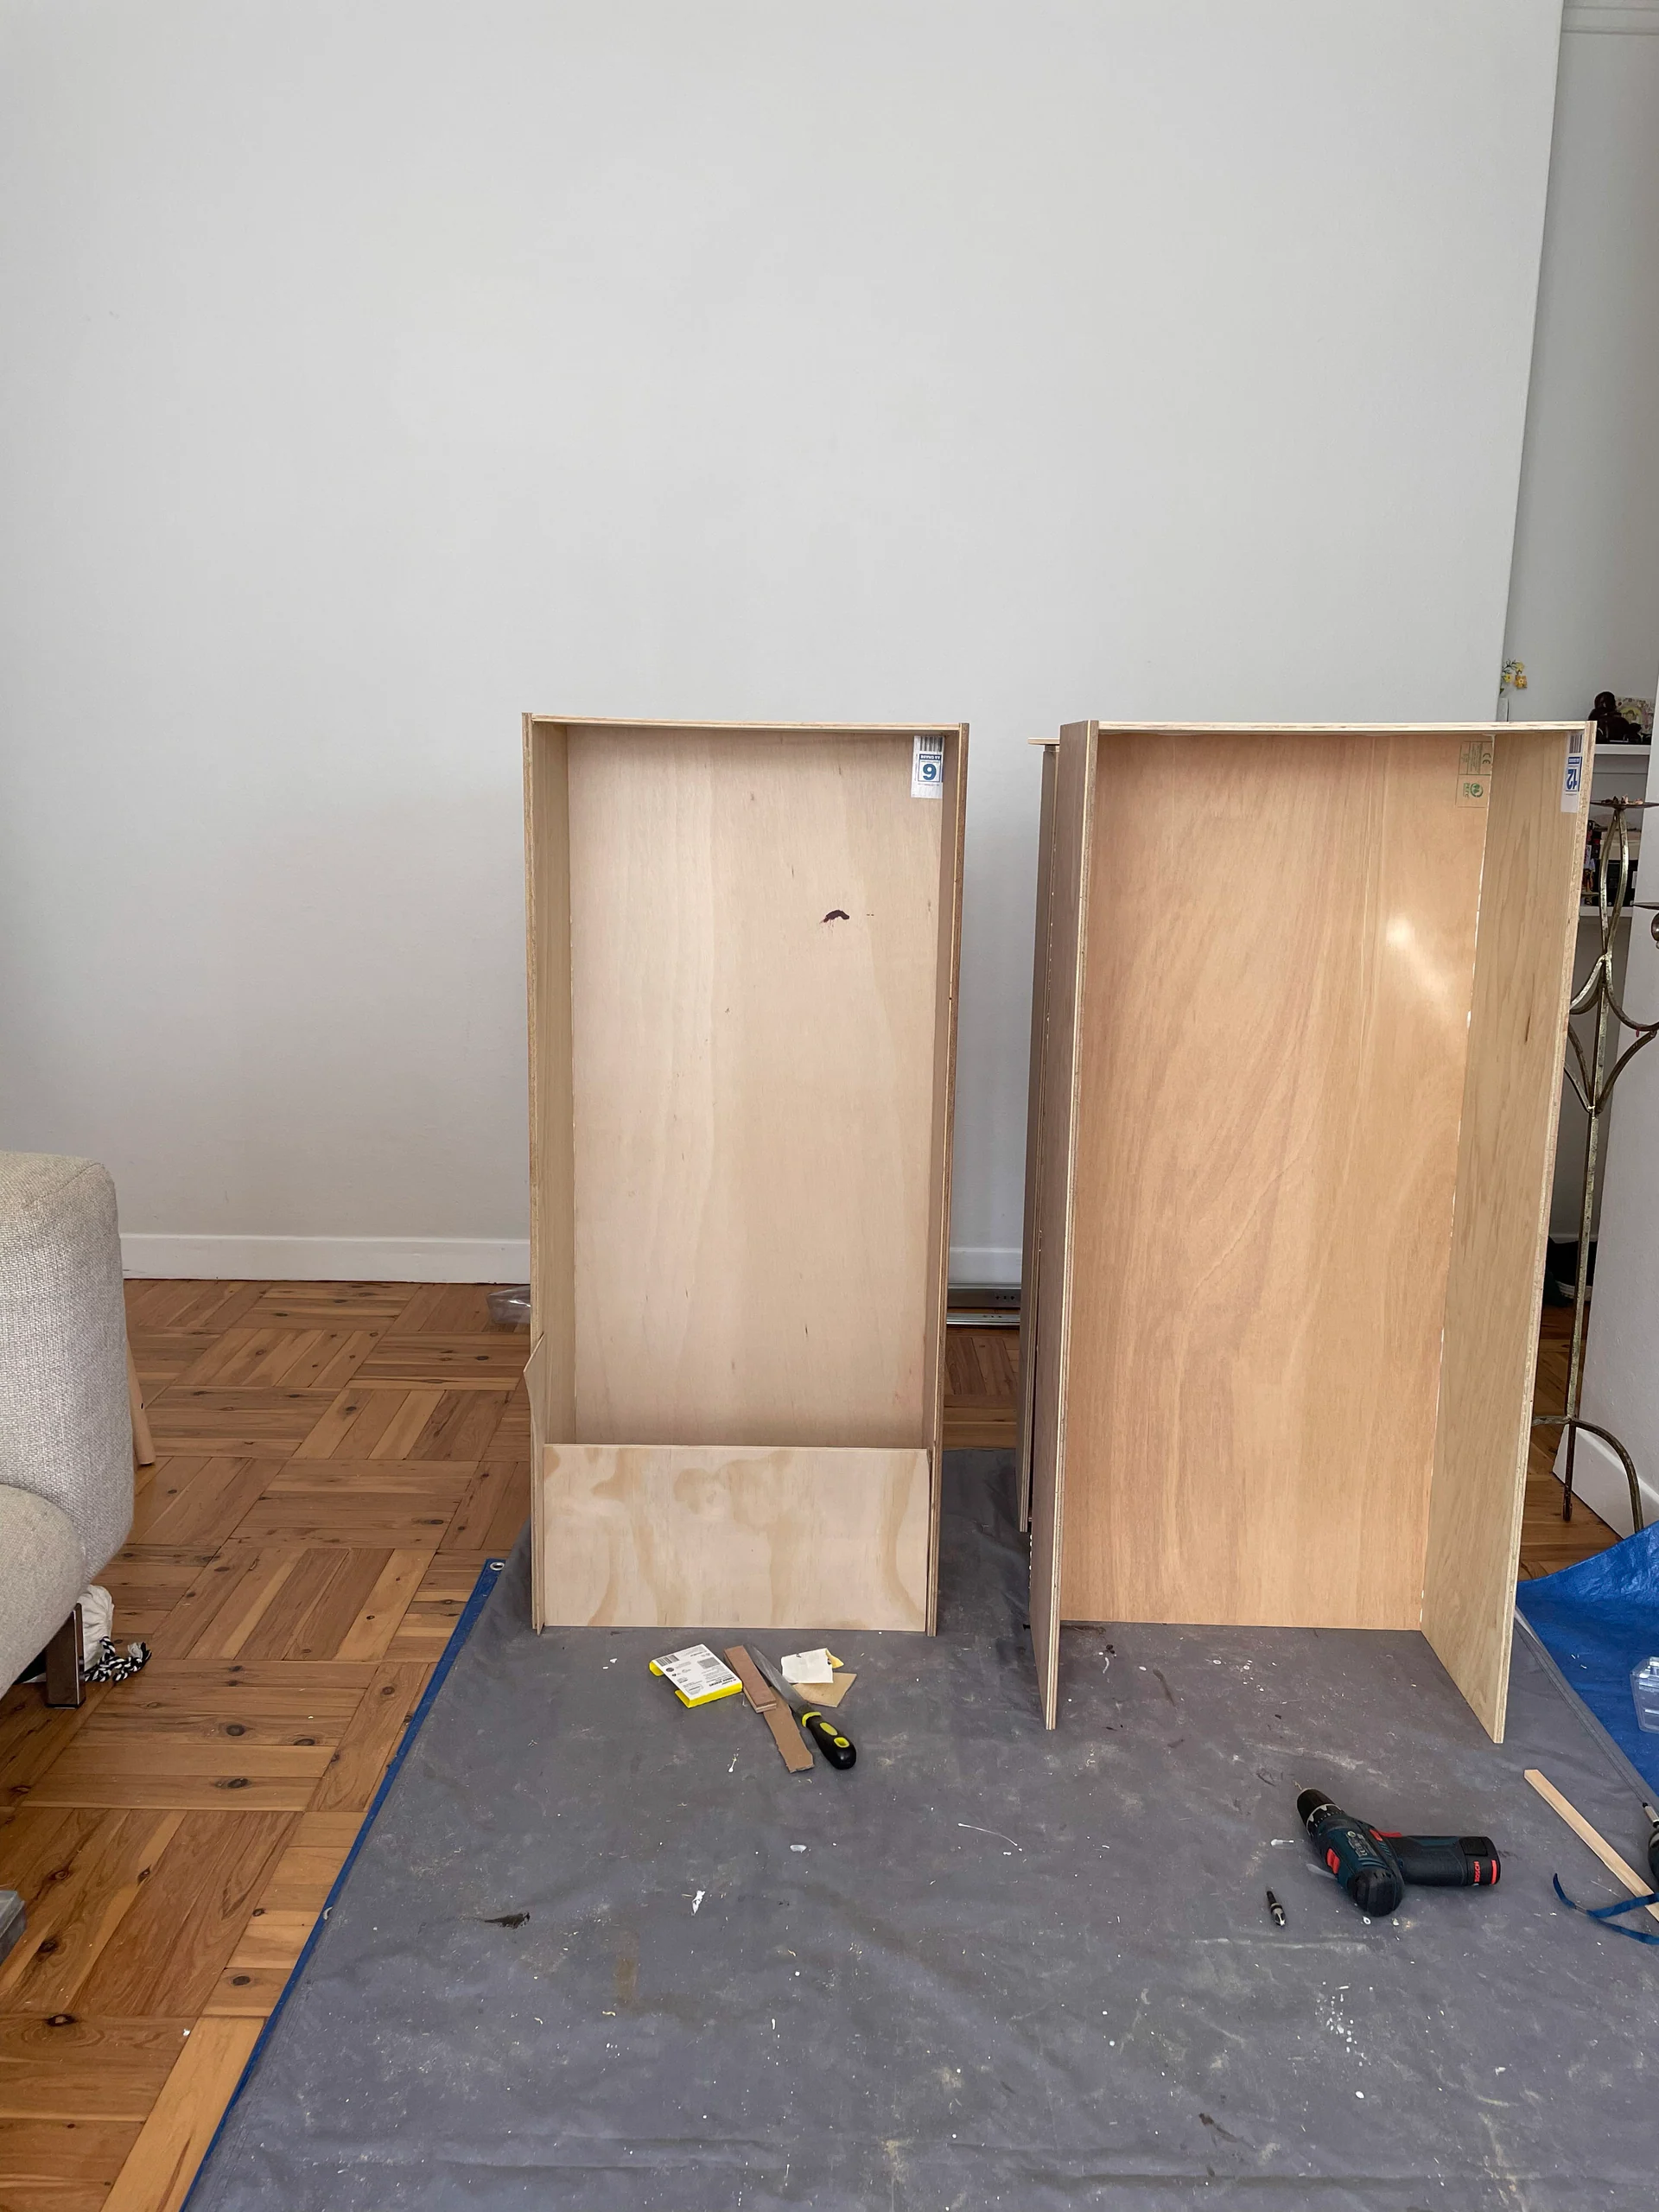
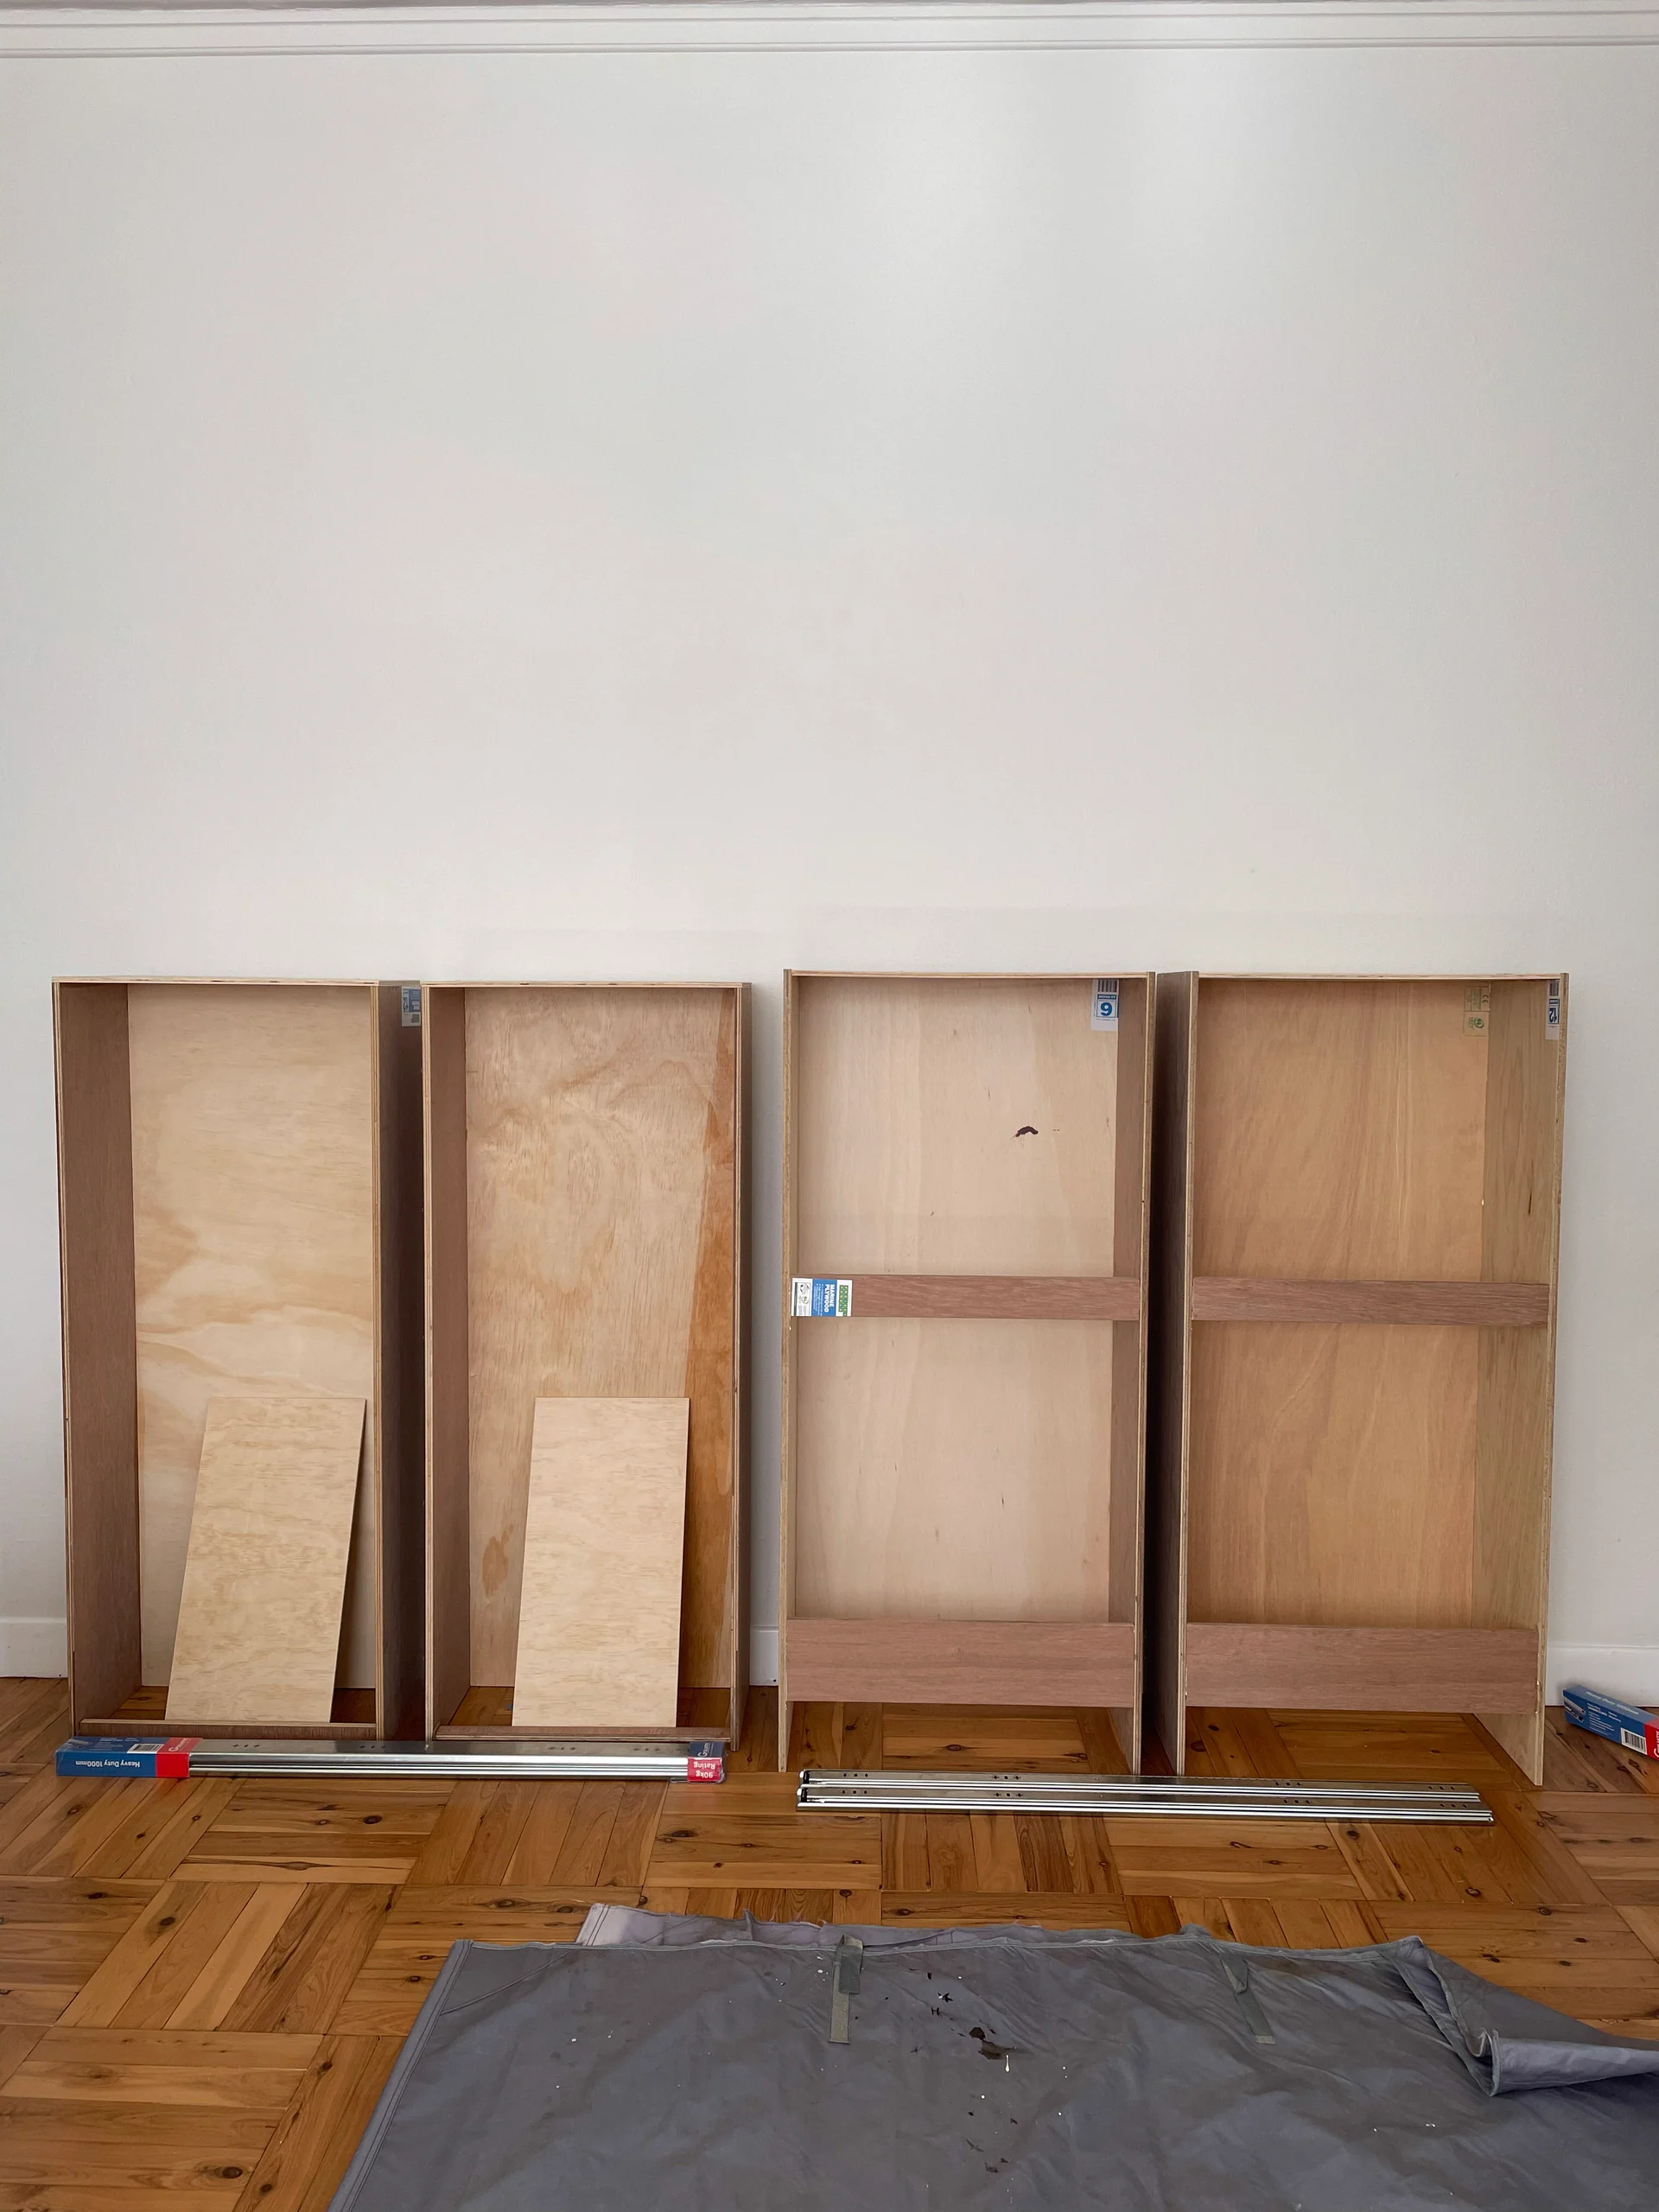
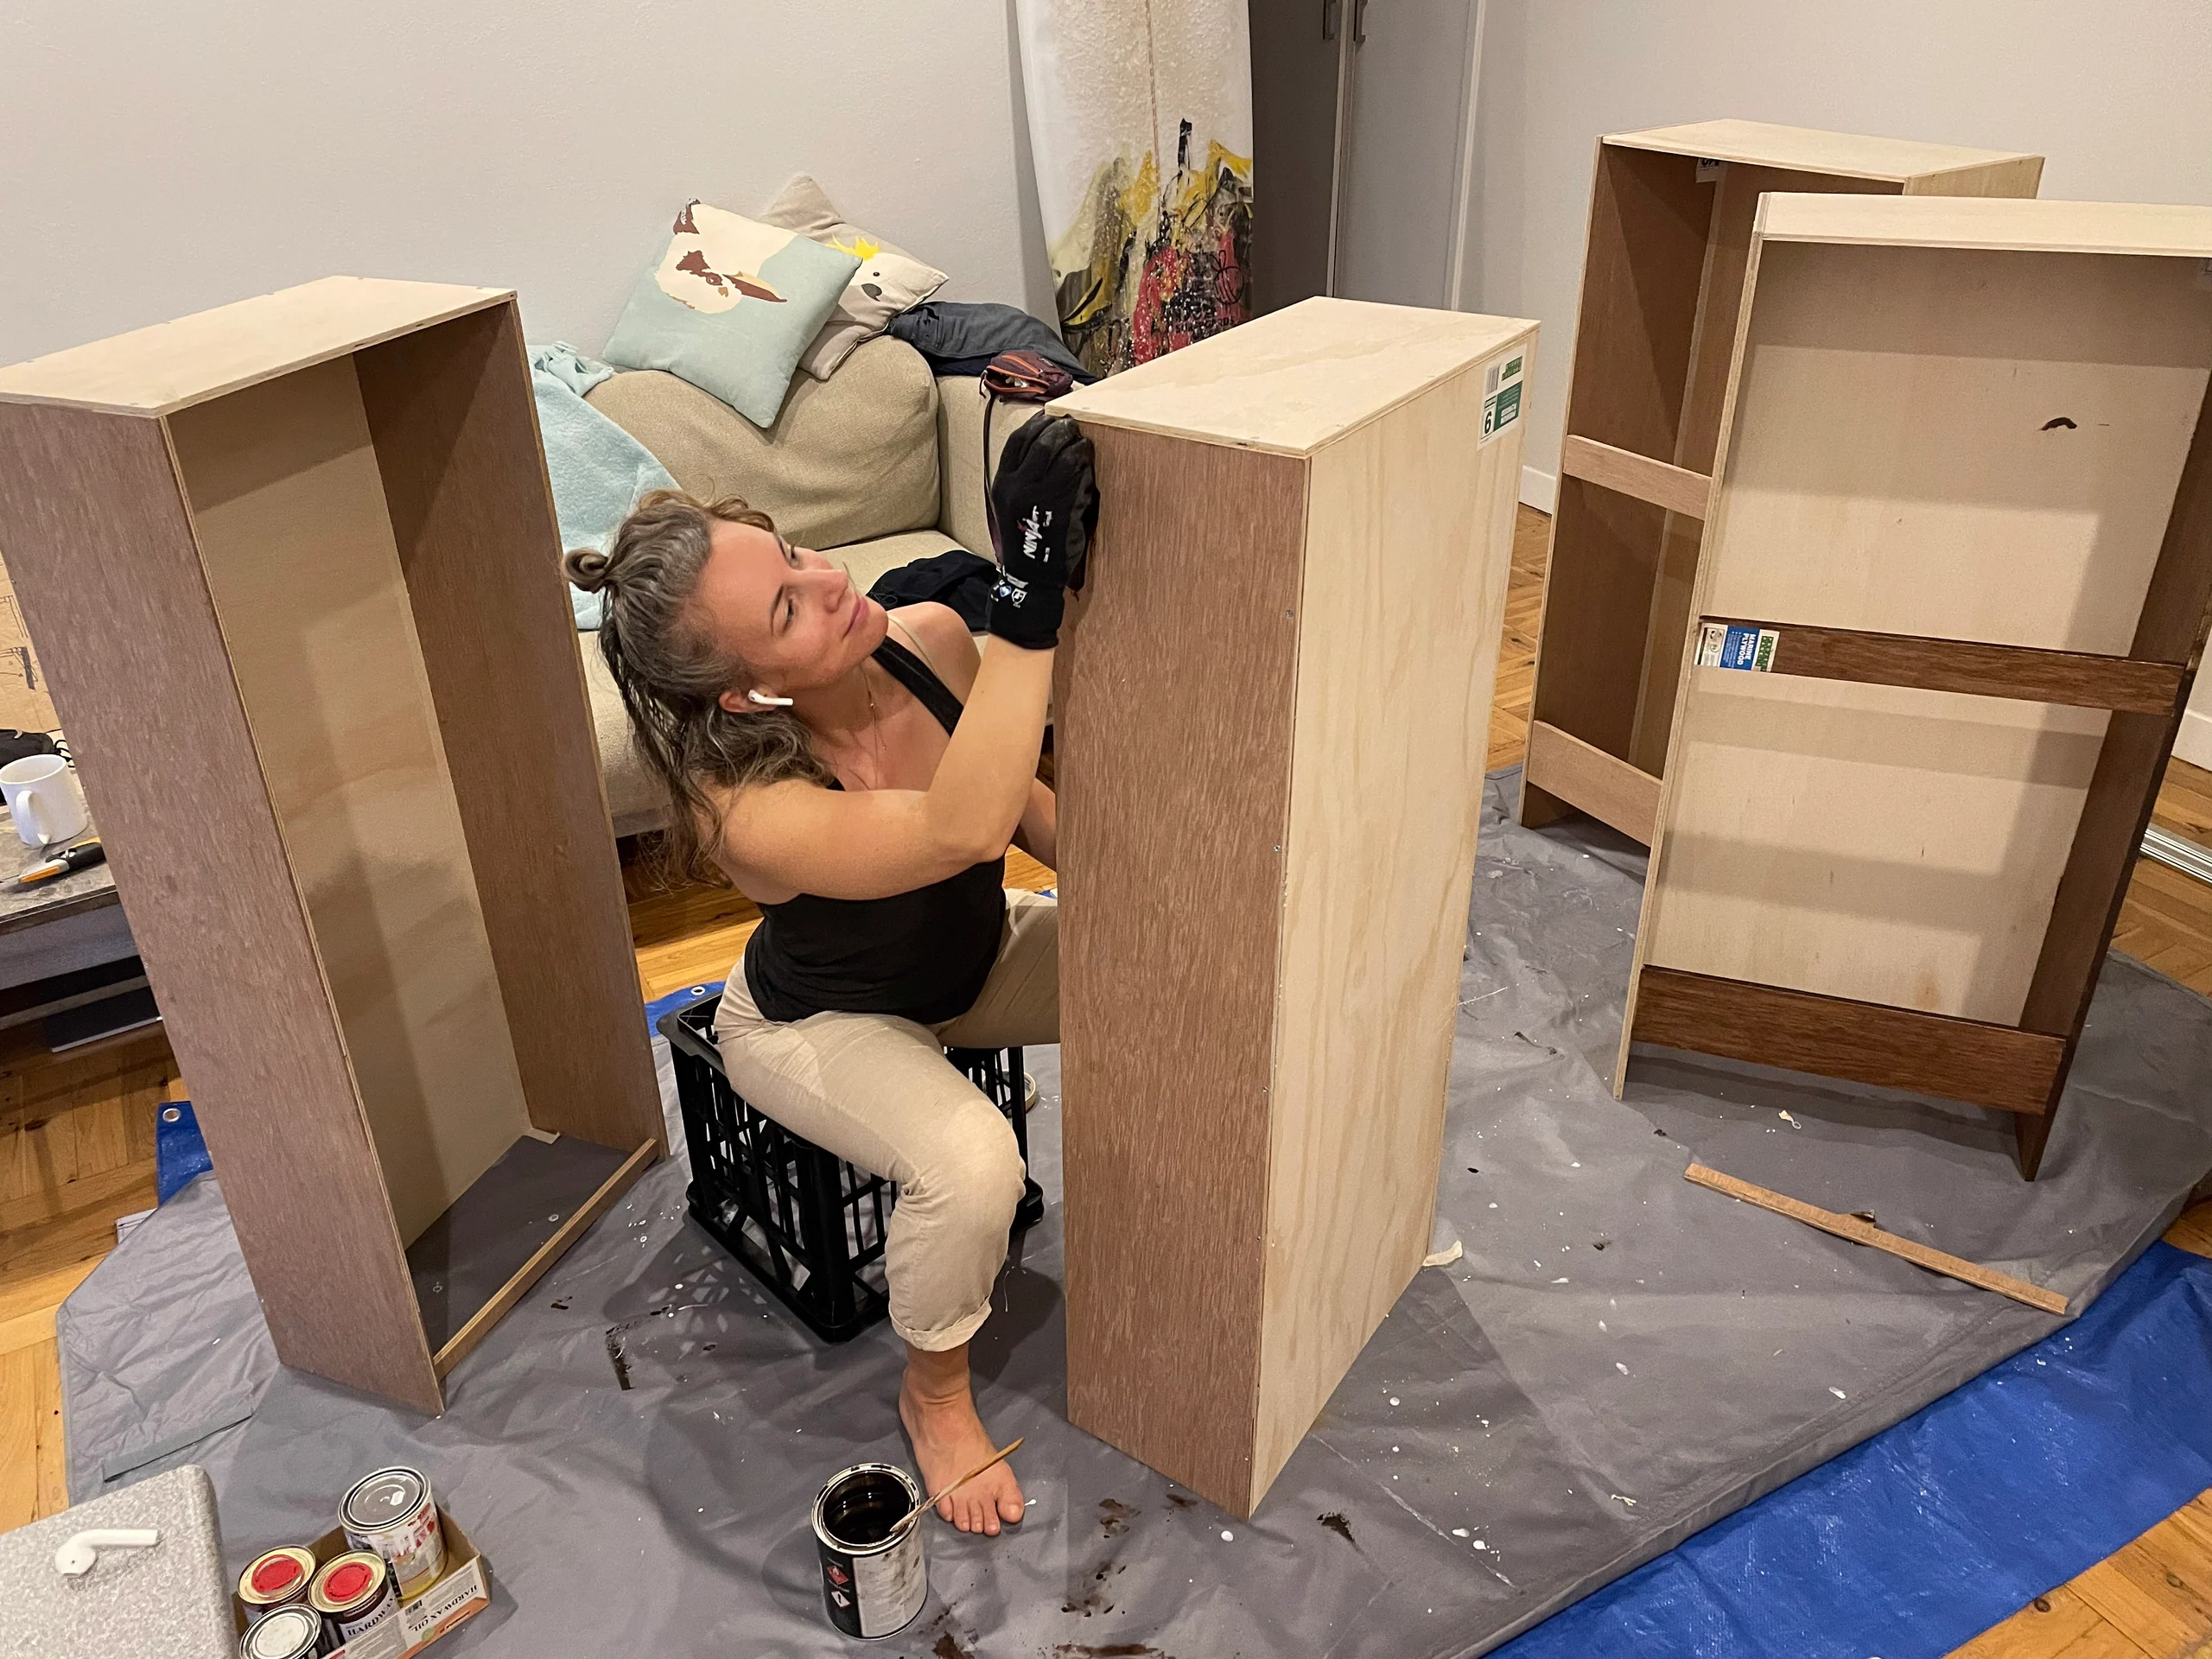
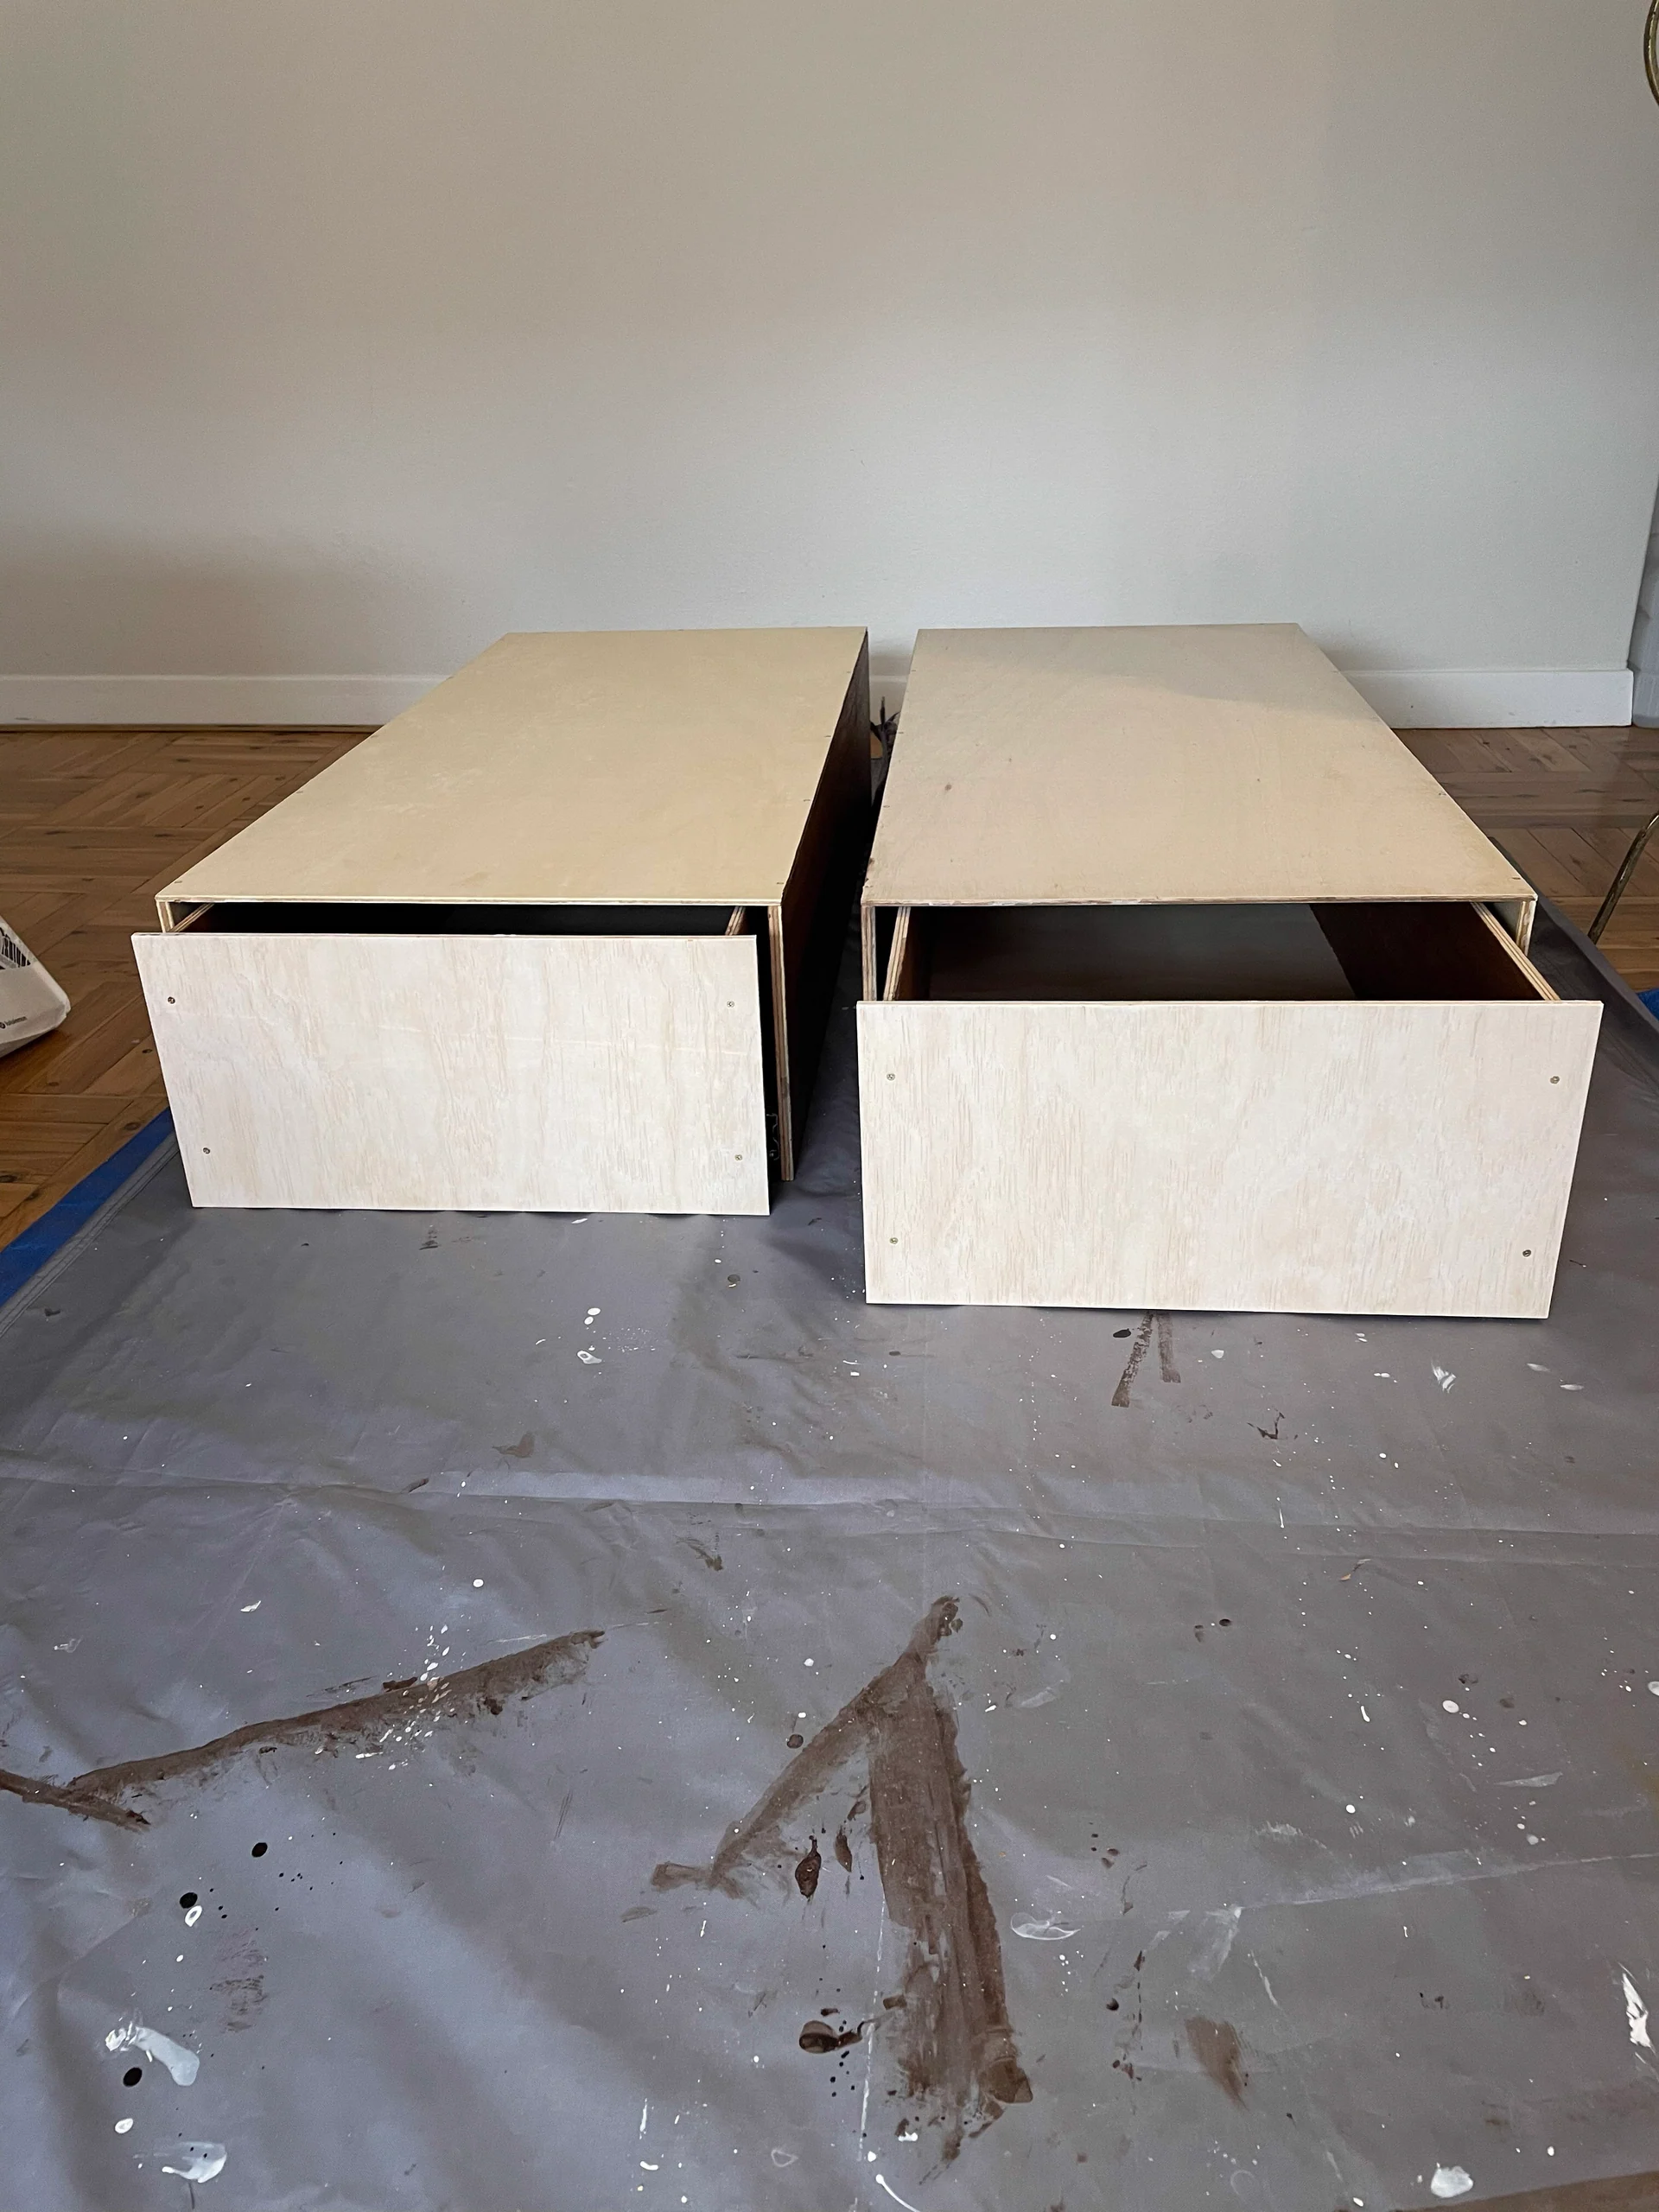
After a few first trips, it was clear that we need some storage system. Otherwise the van would immediately fall into chaos. So we got a big pile of plywood, had it cut and started building some big drawers for the back. With some paint and a few problems during assembly it took us a good weekend to finish the drawers. But we are very happy with the result.
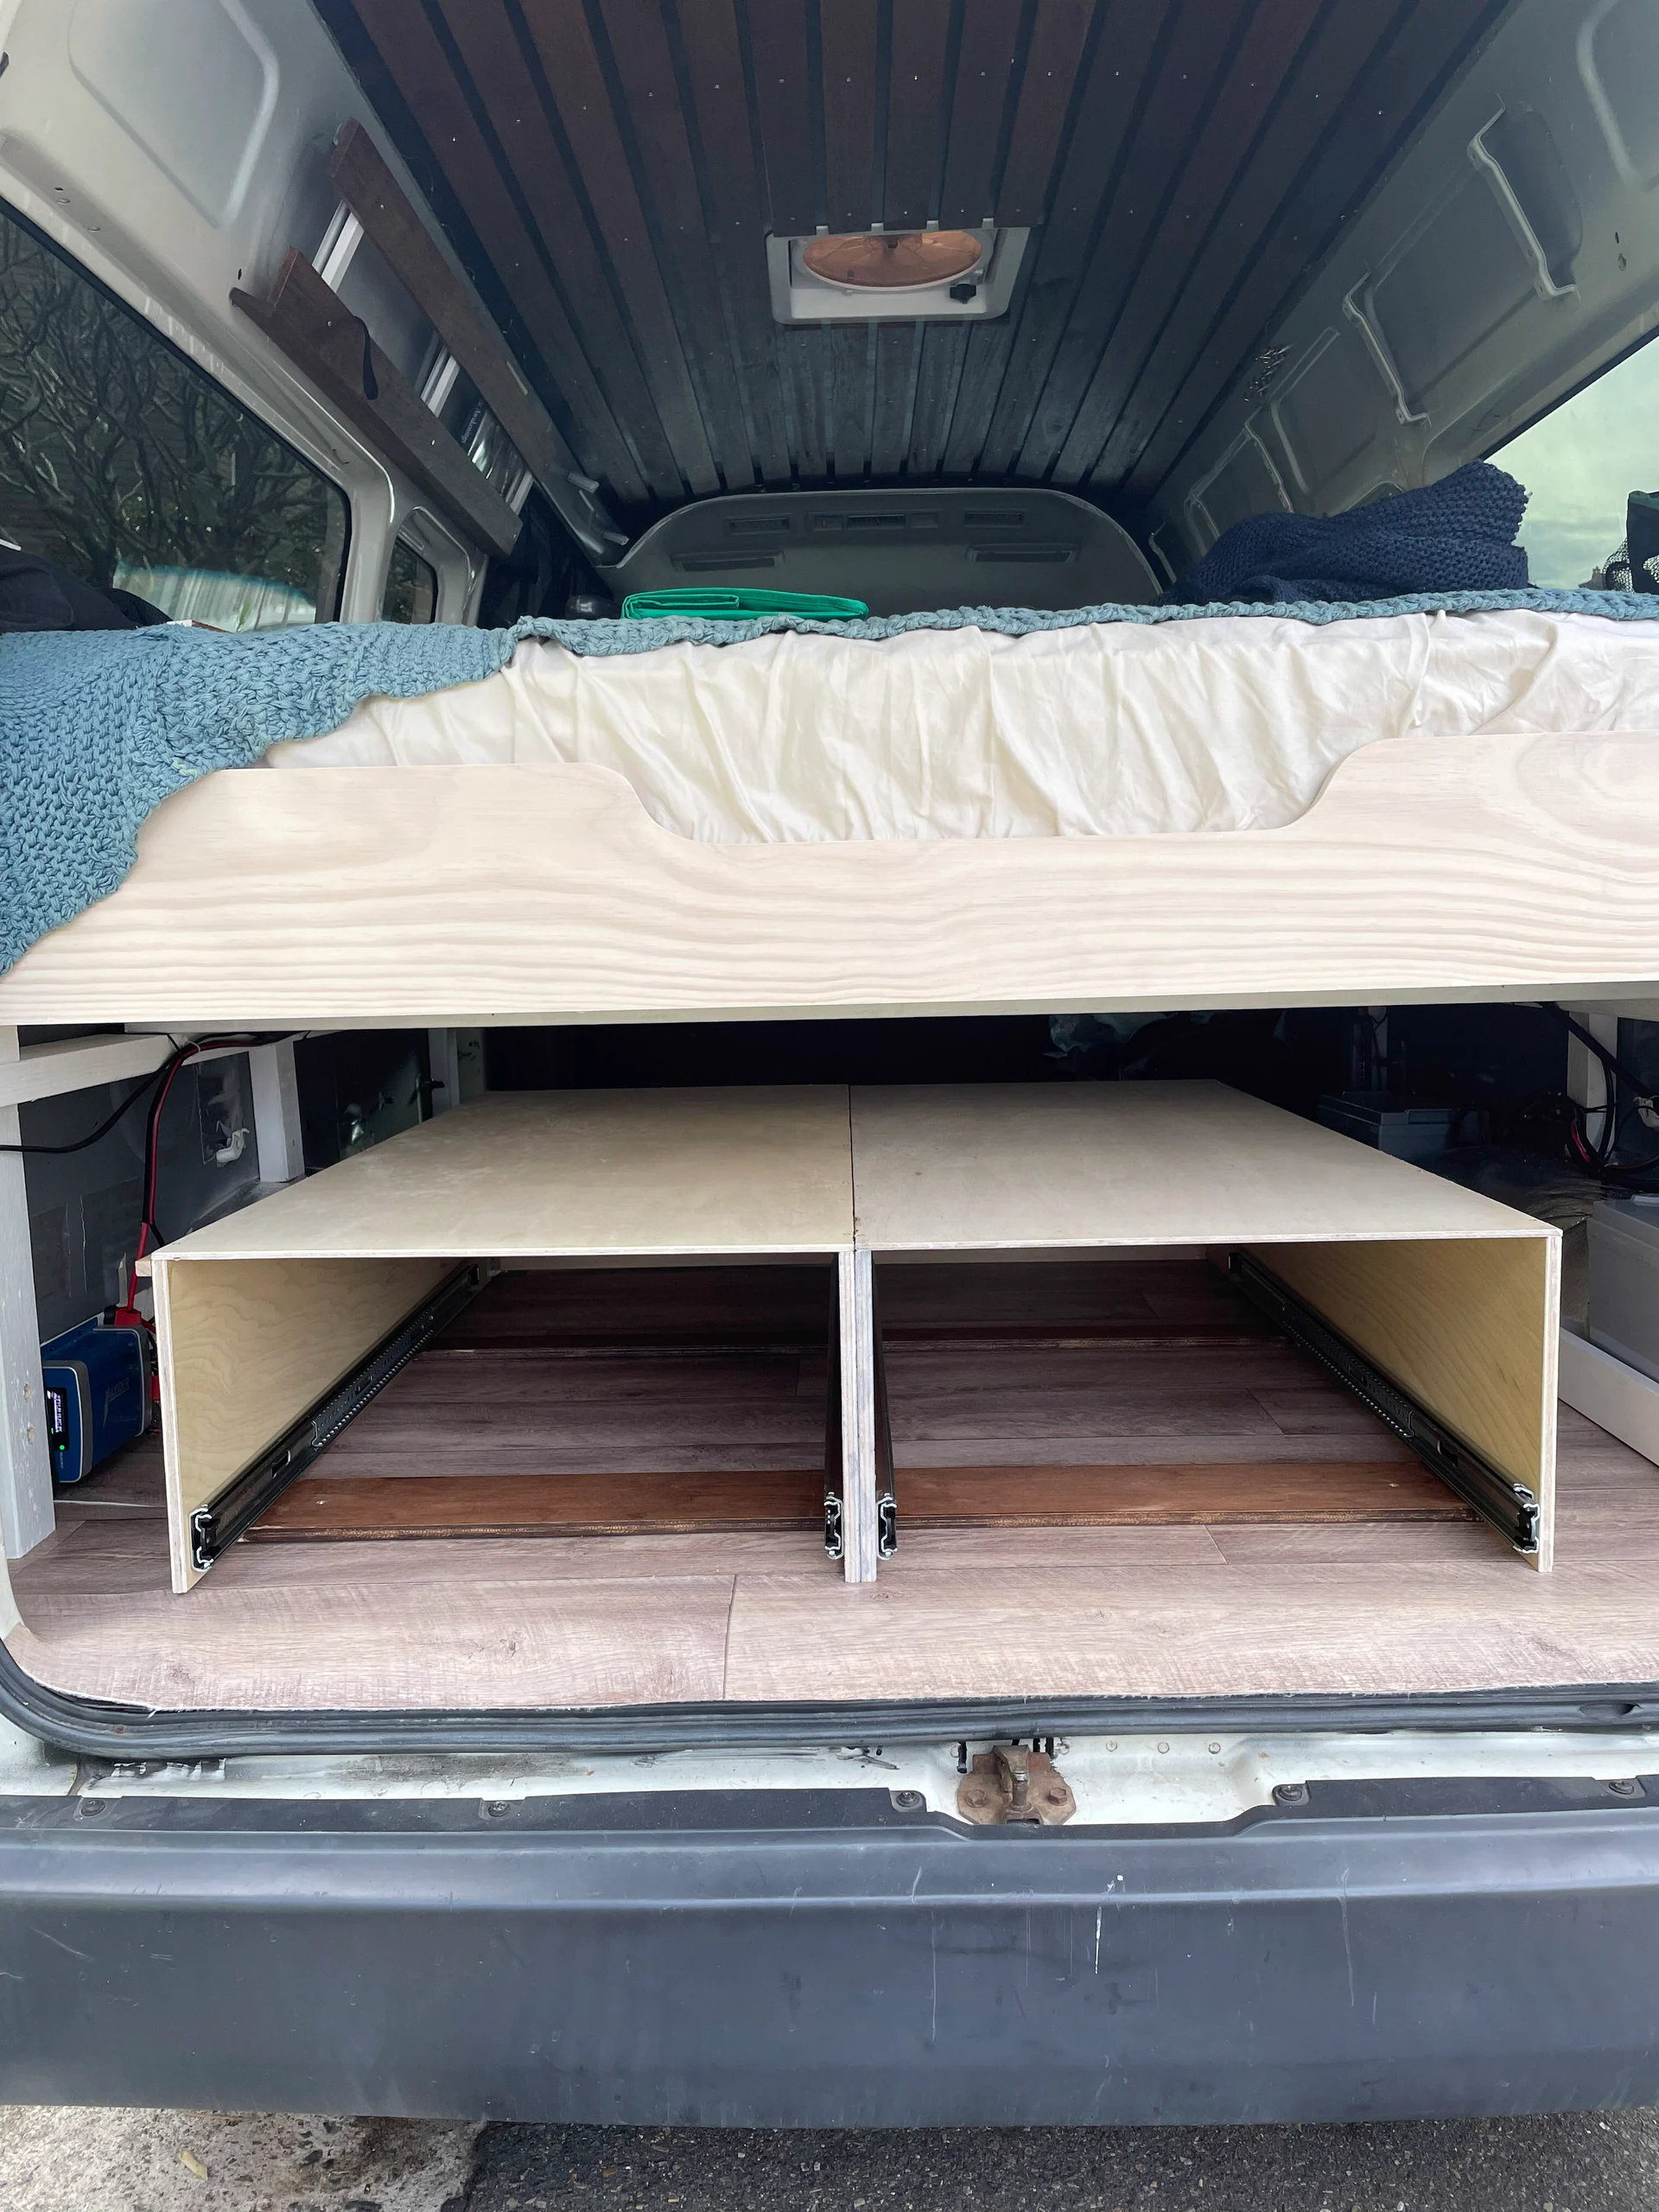
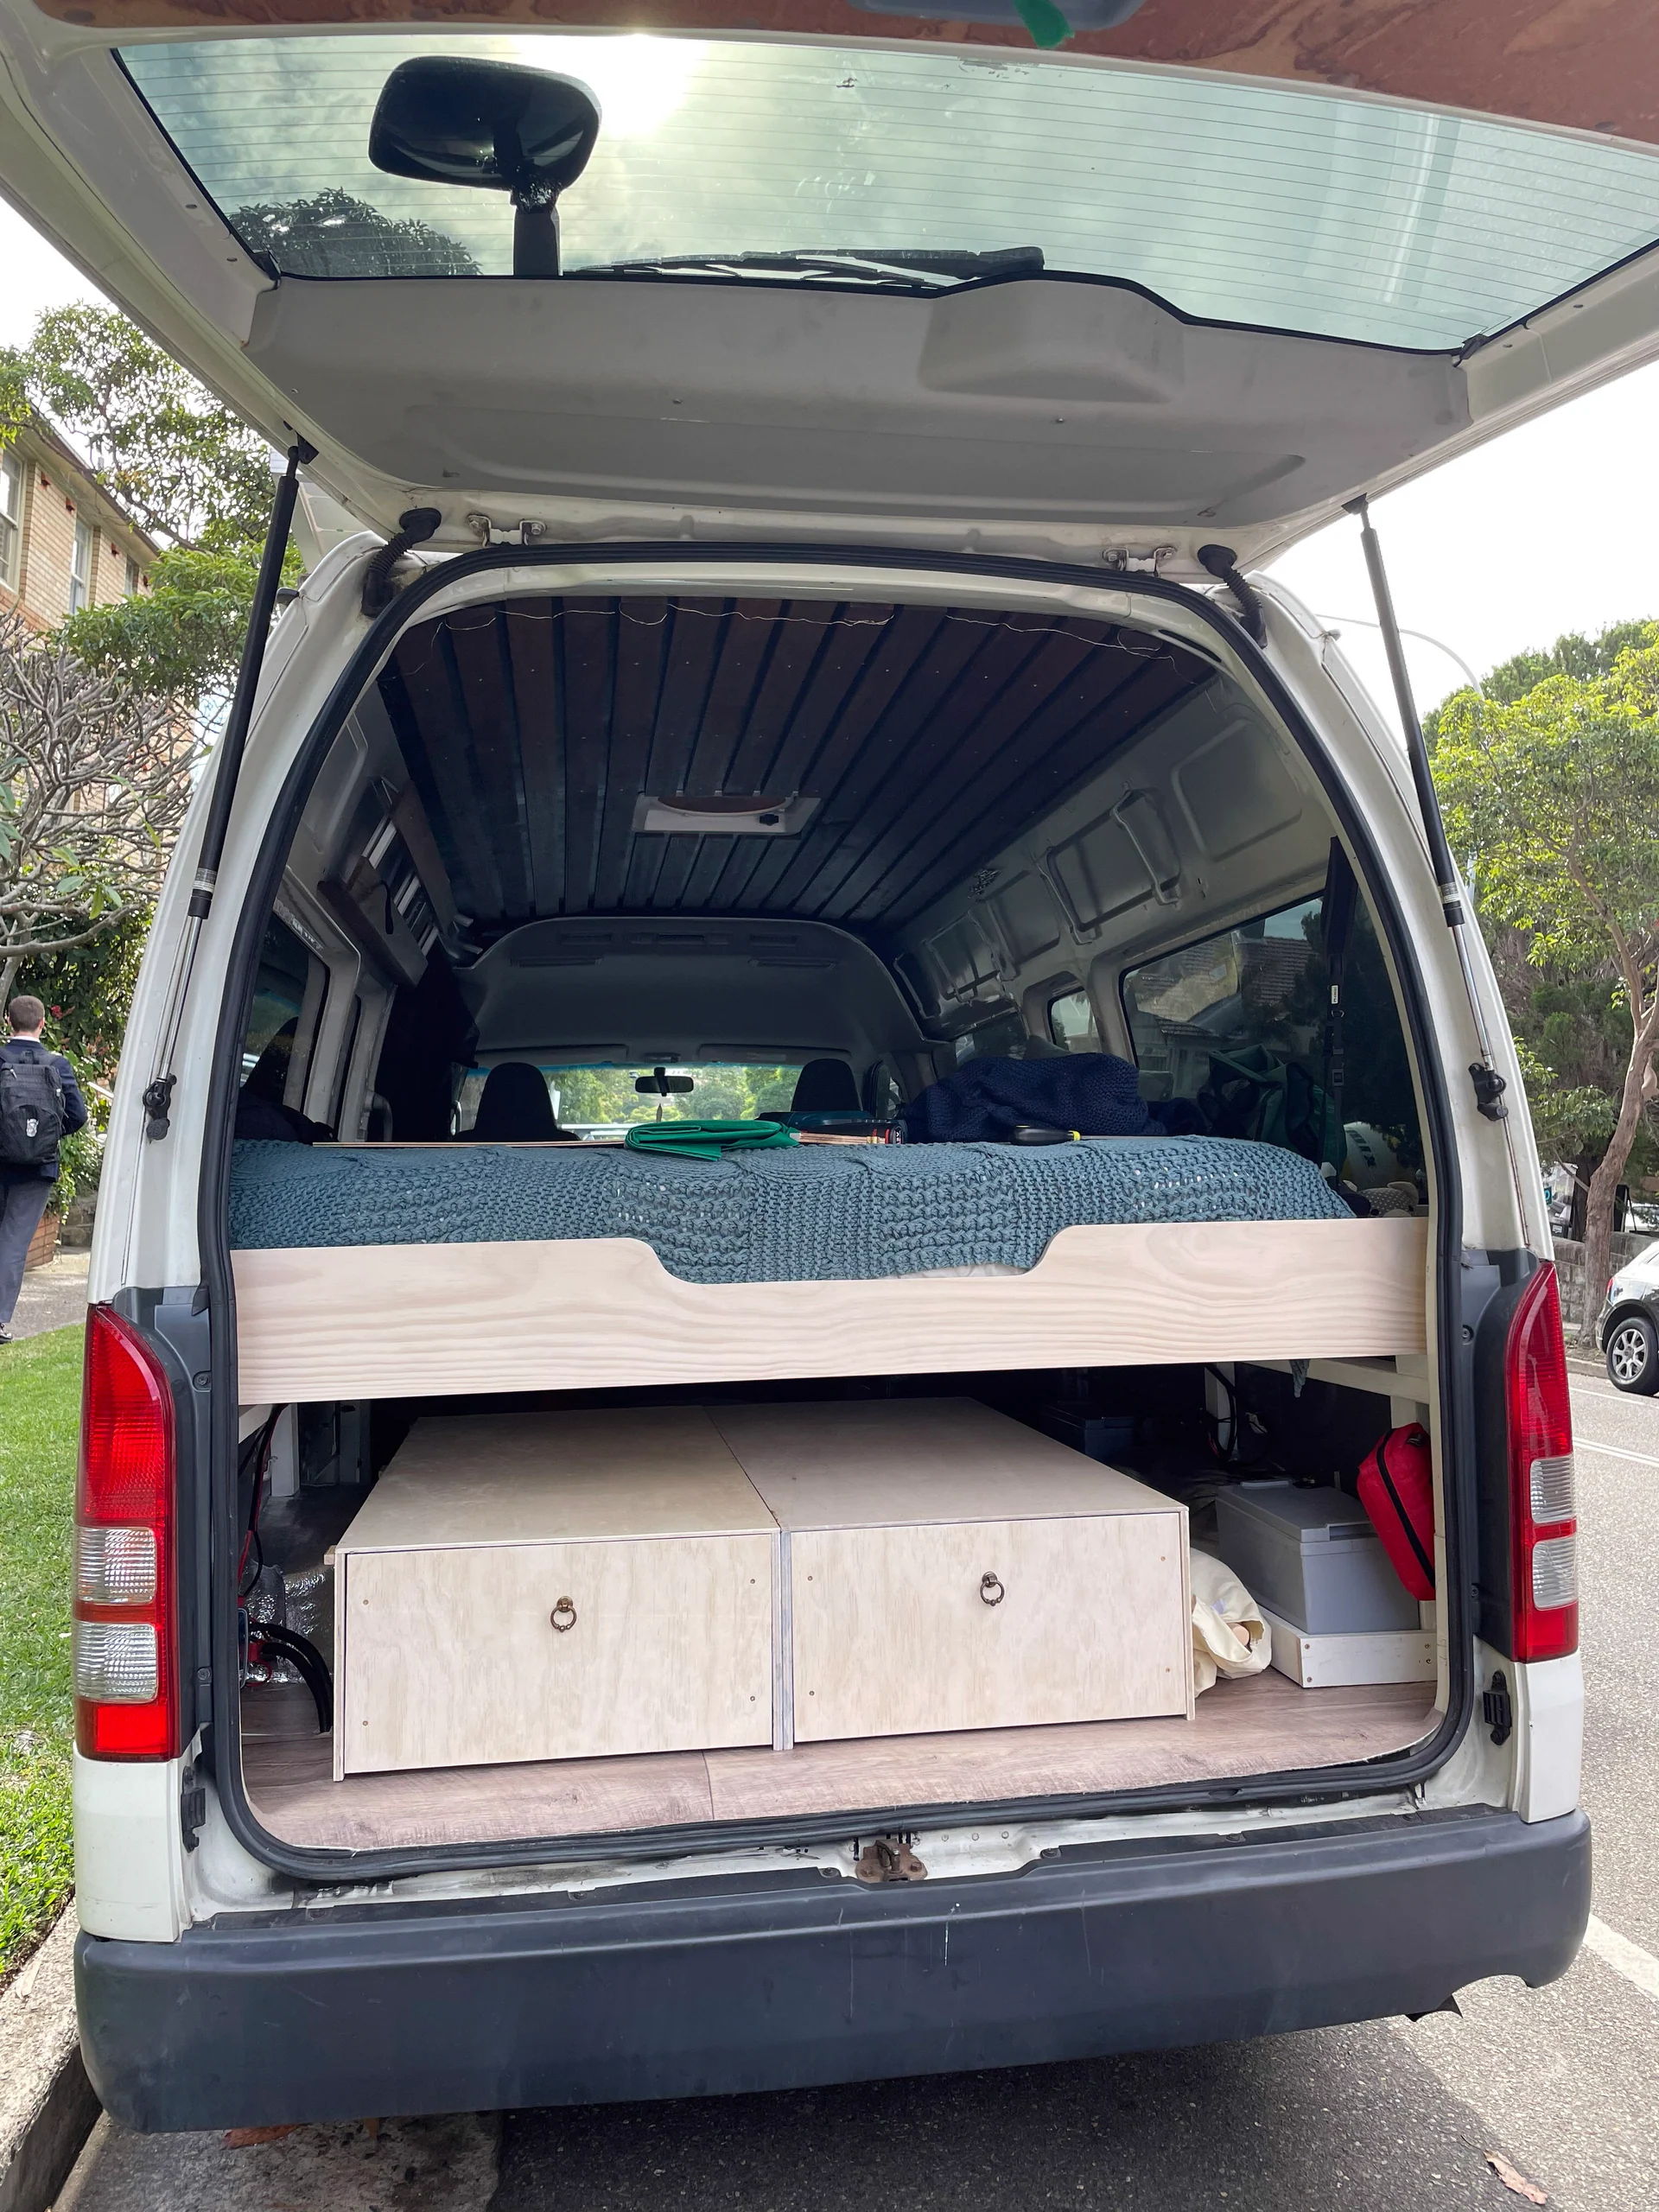
We also added a little guard rail for the solar batteries and some overhead storage
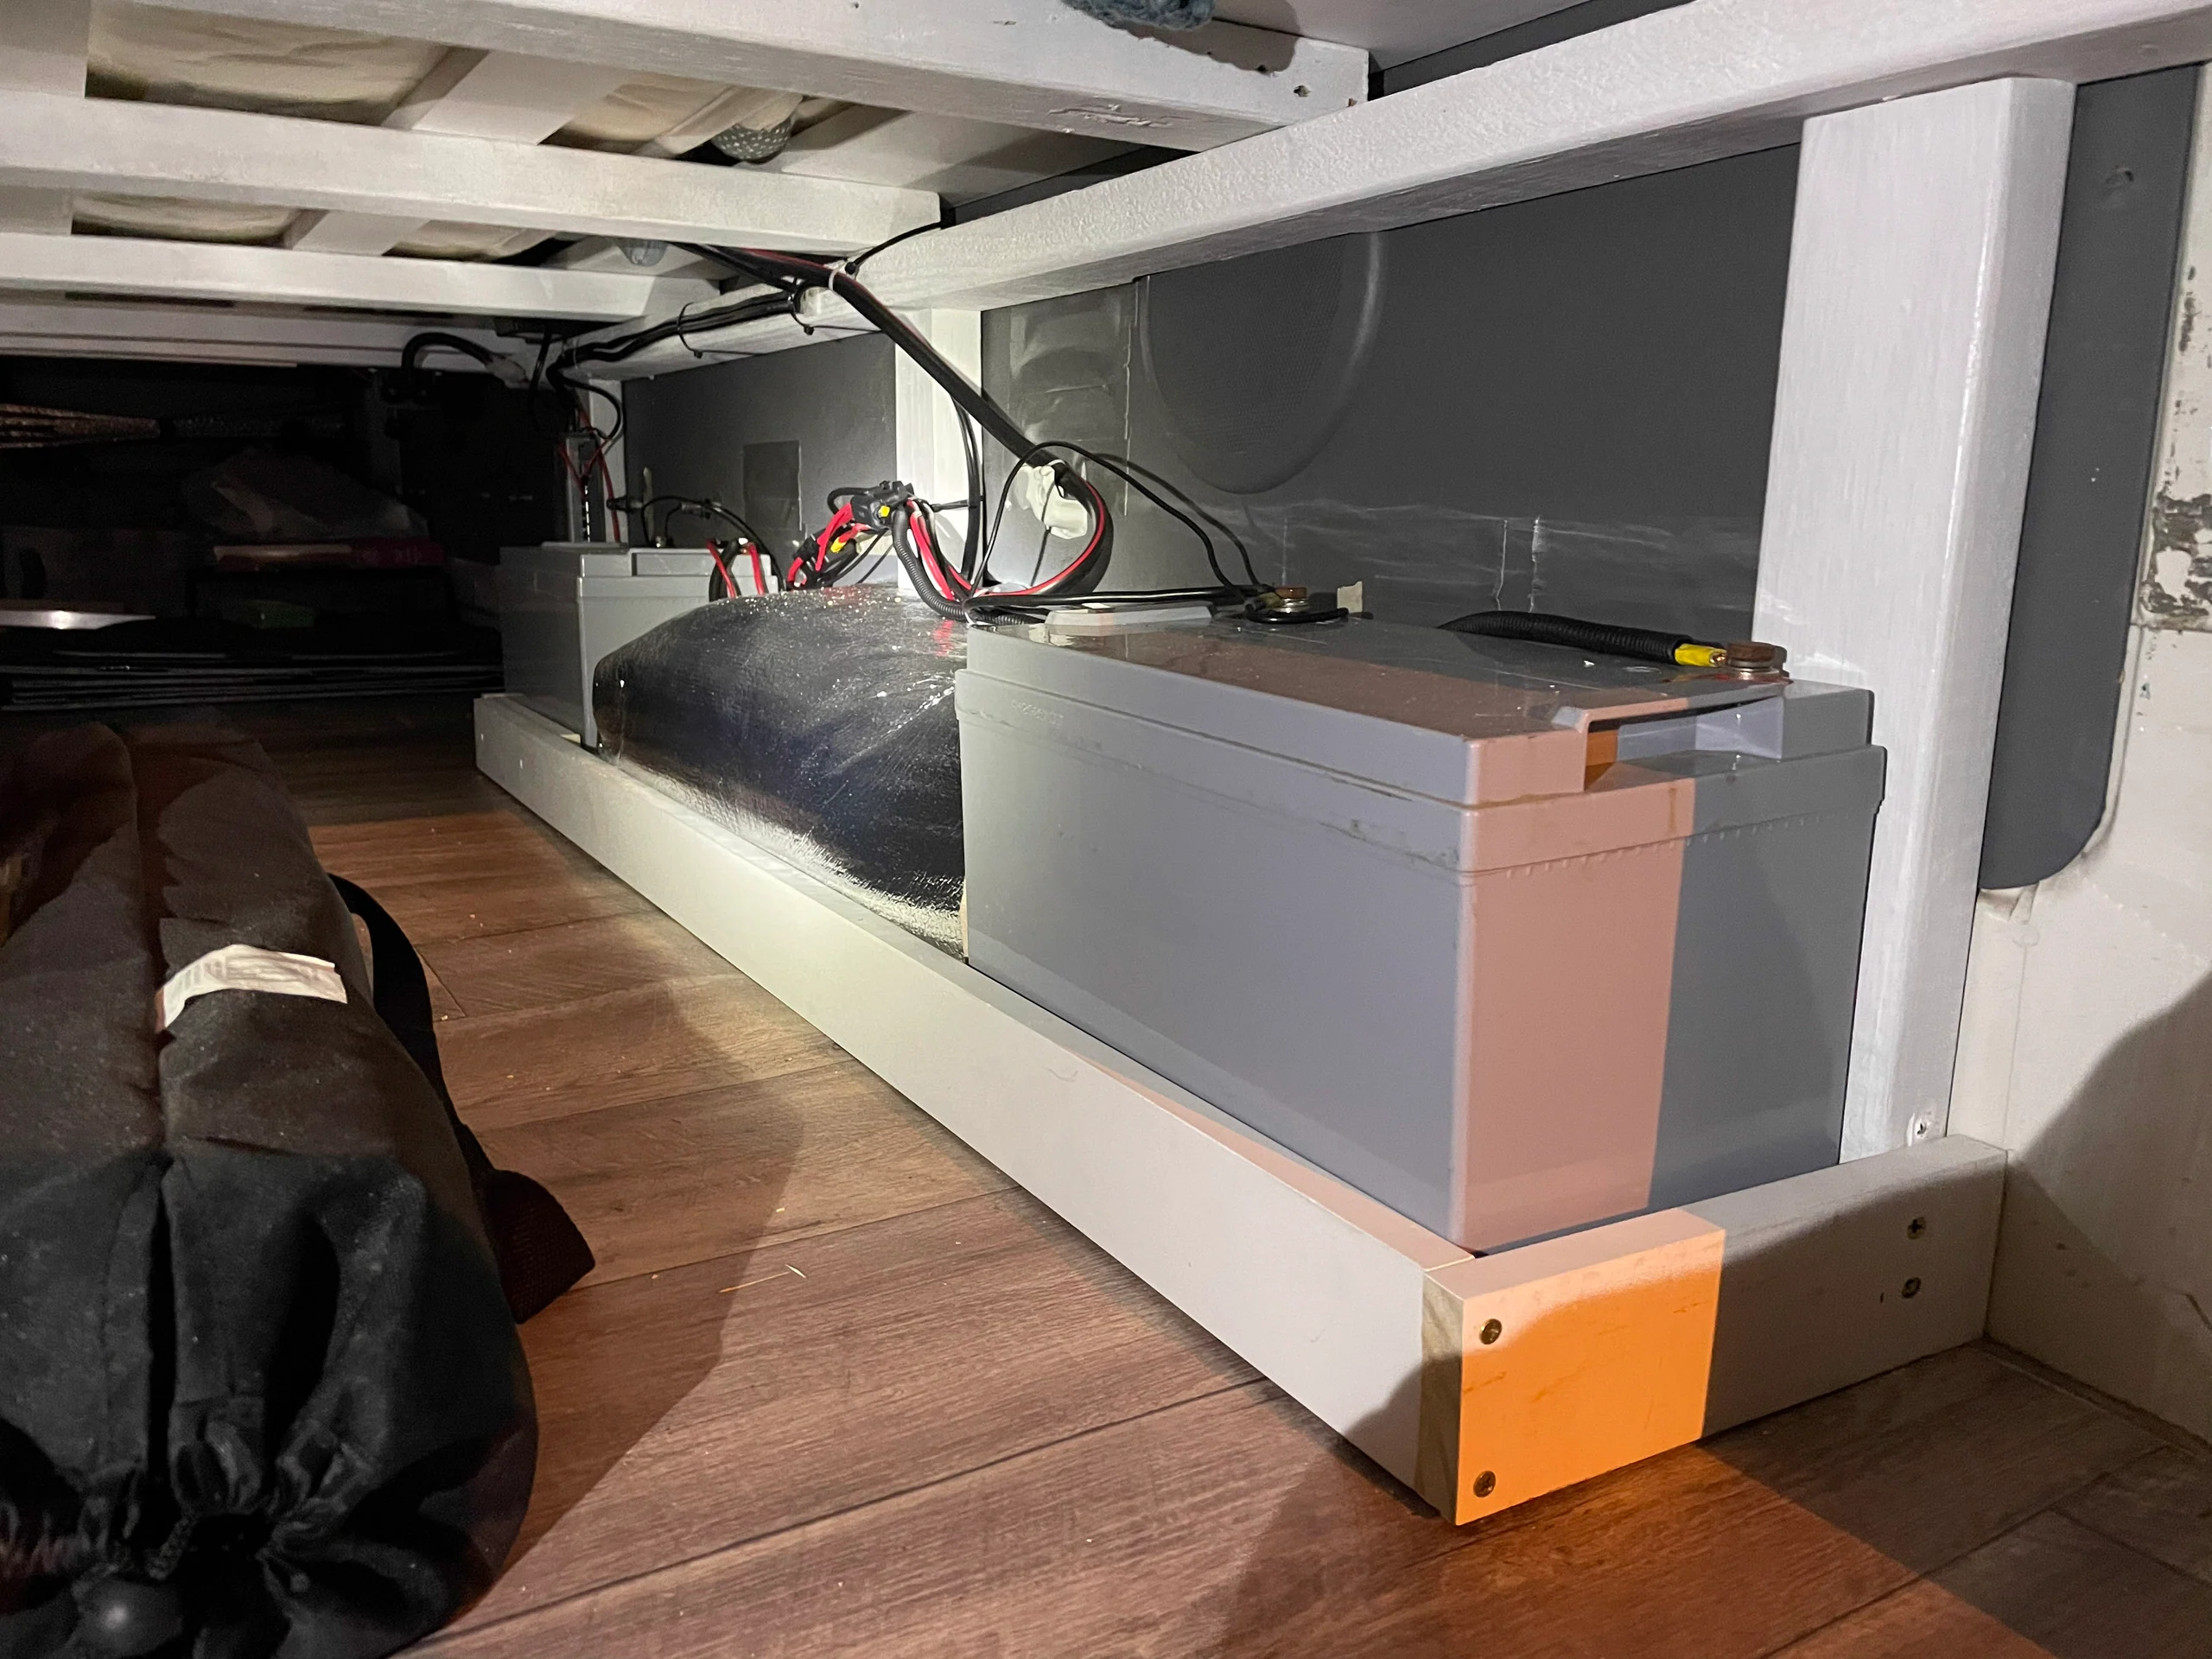
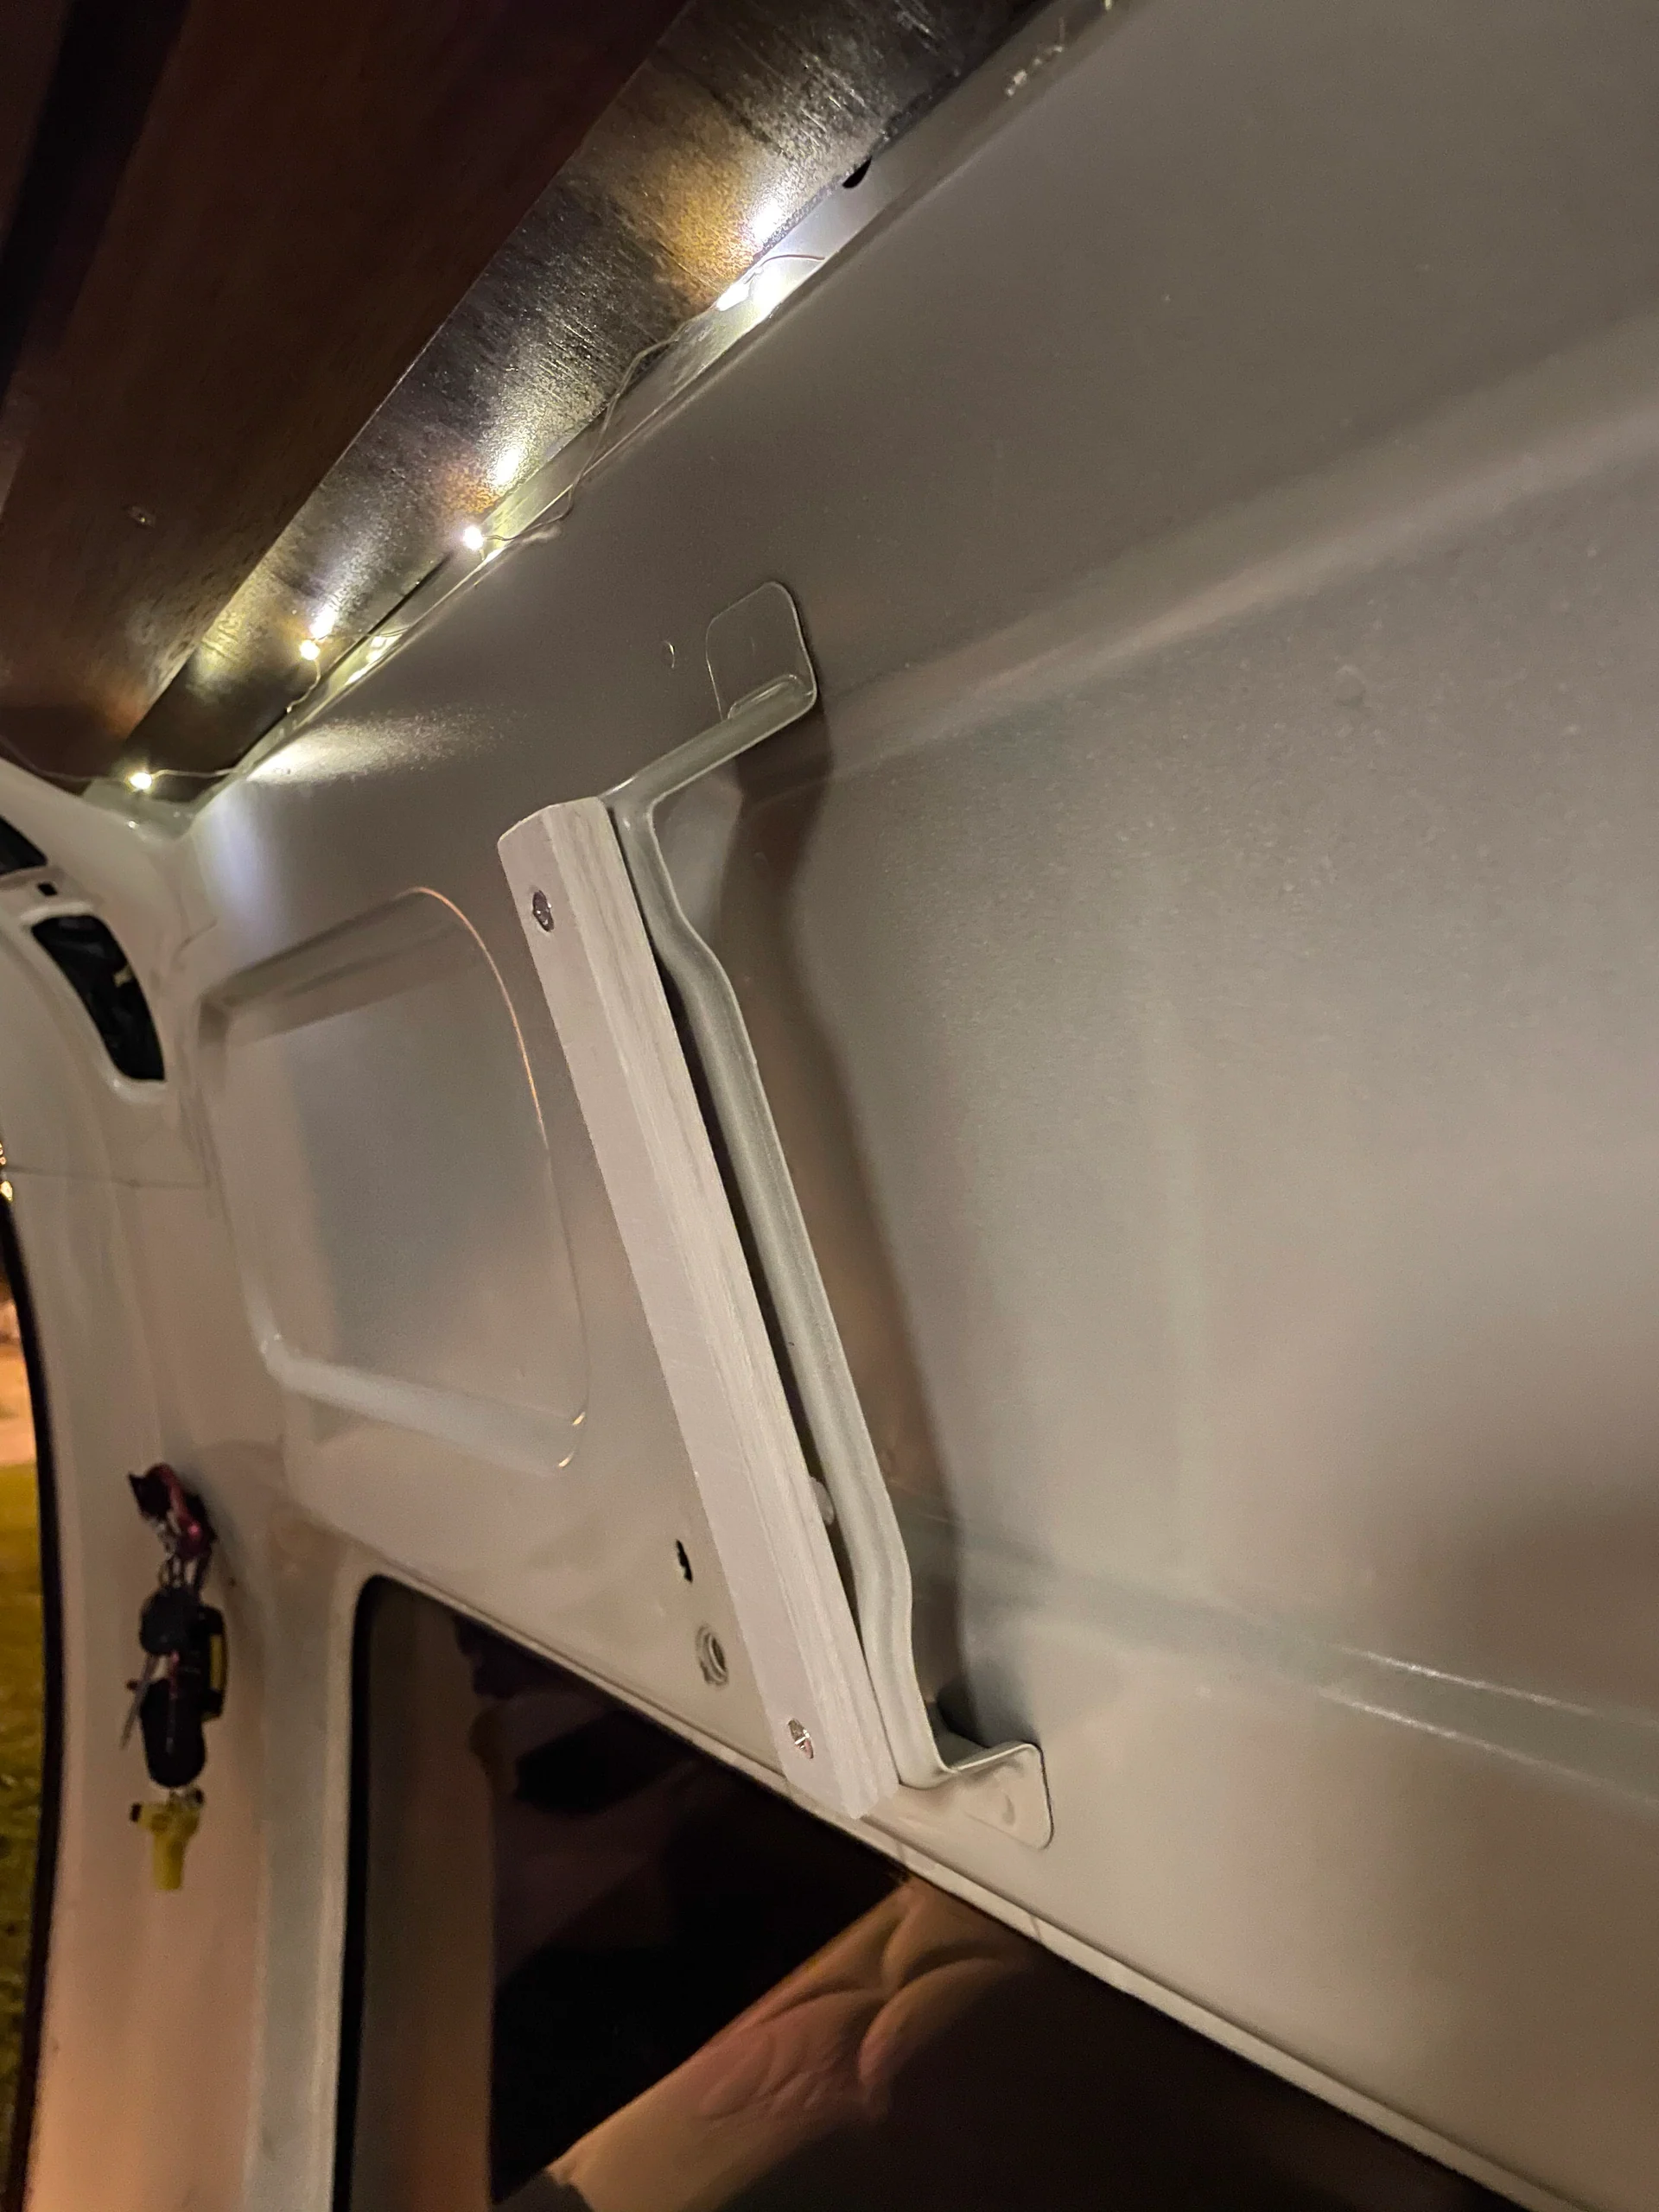
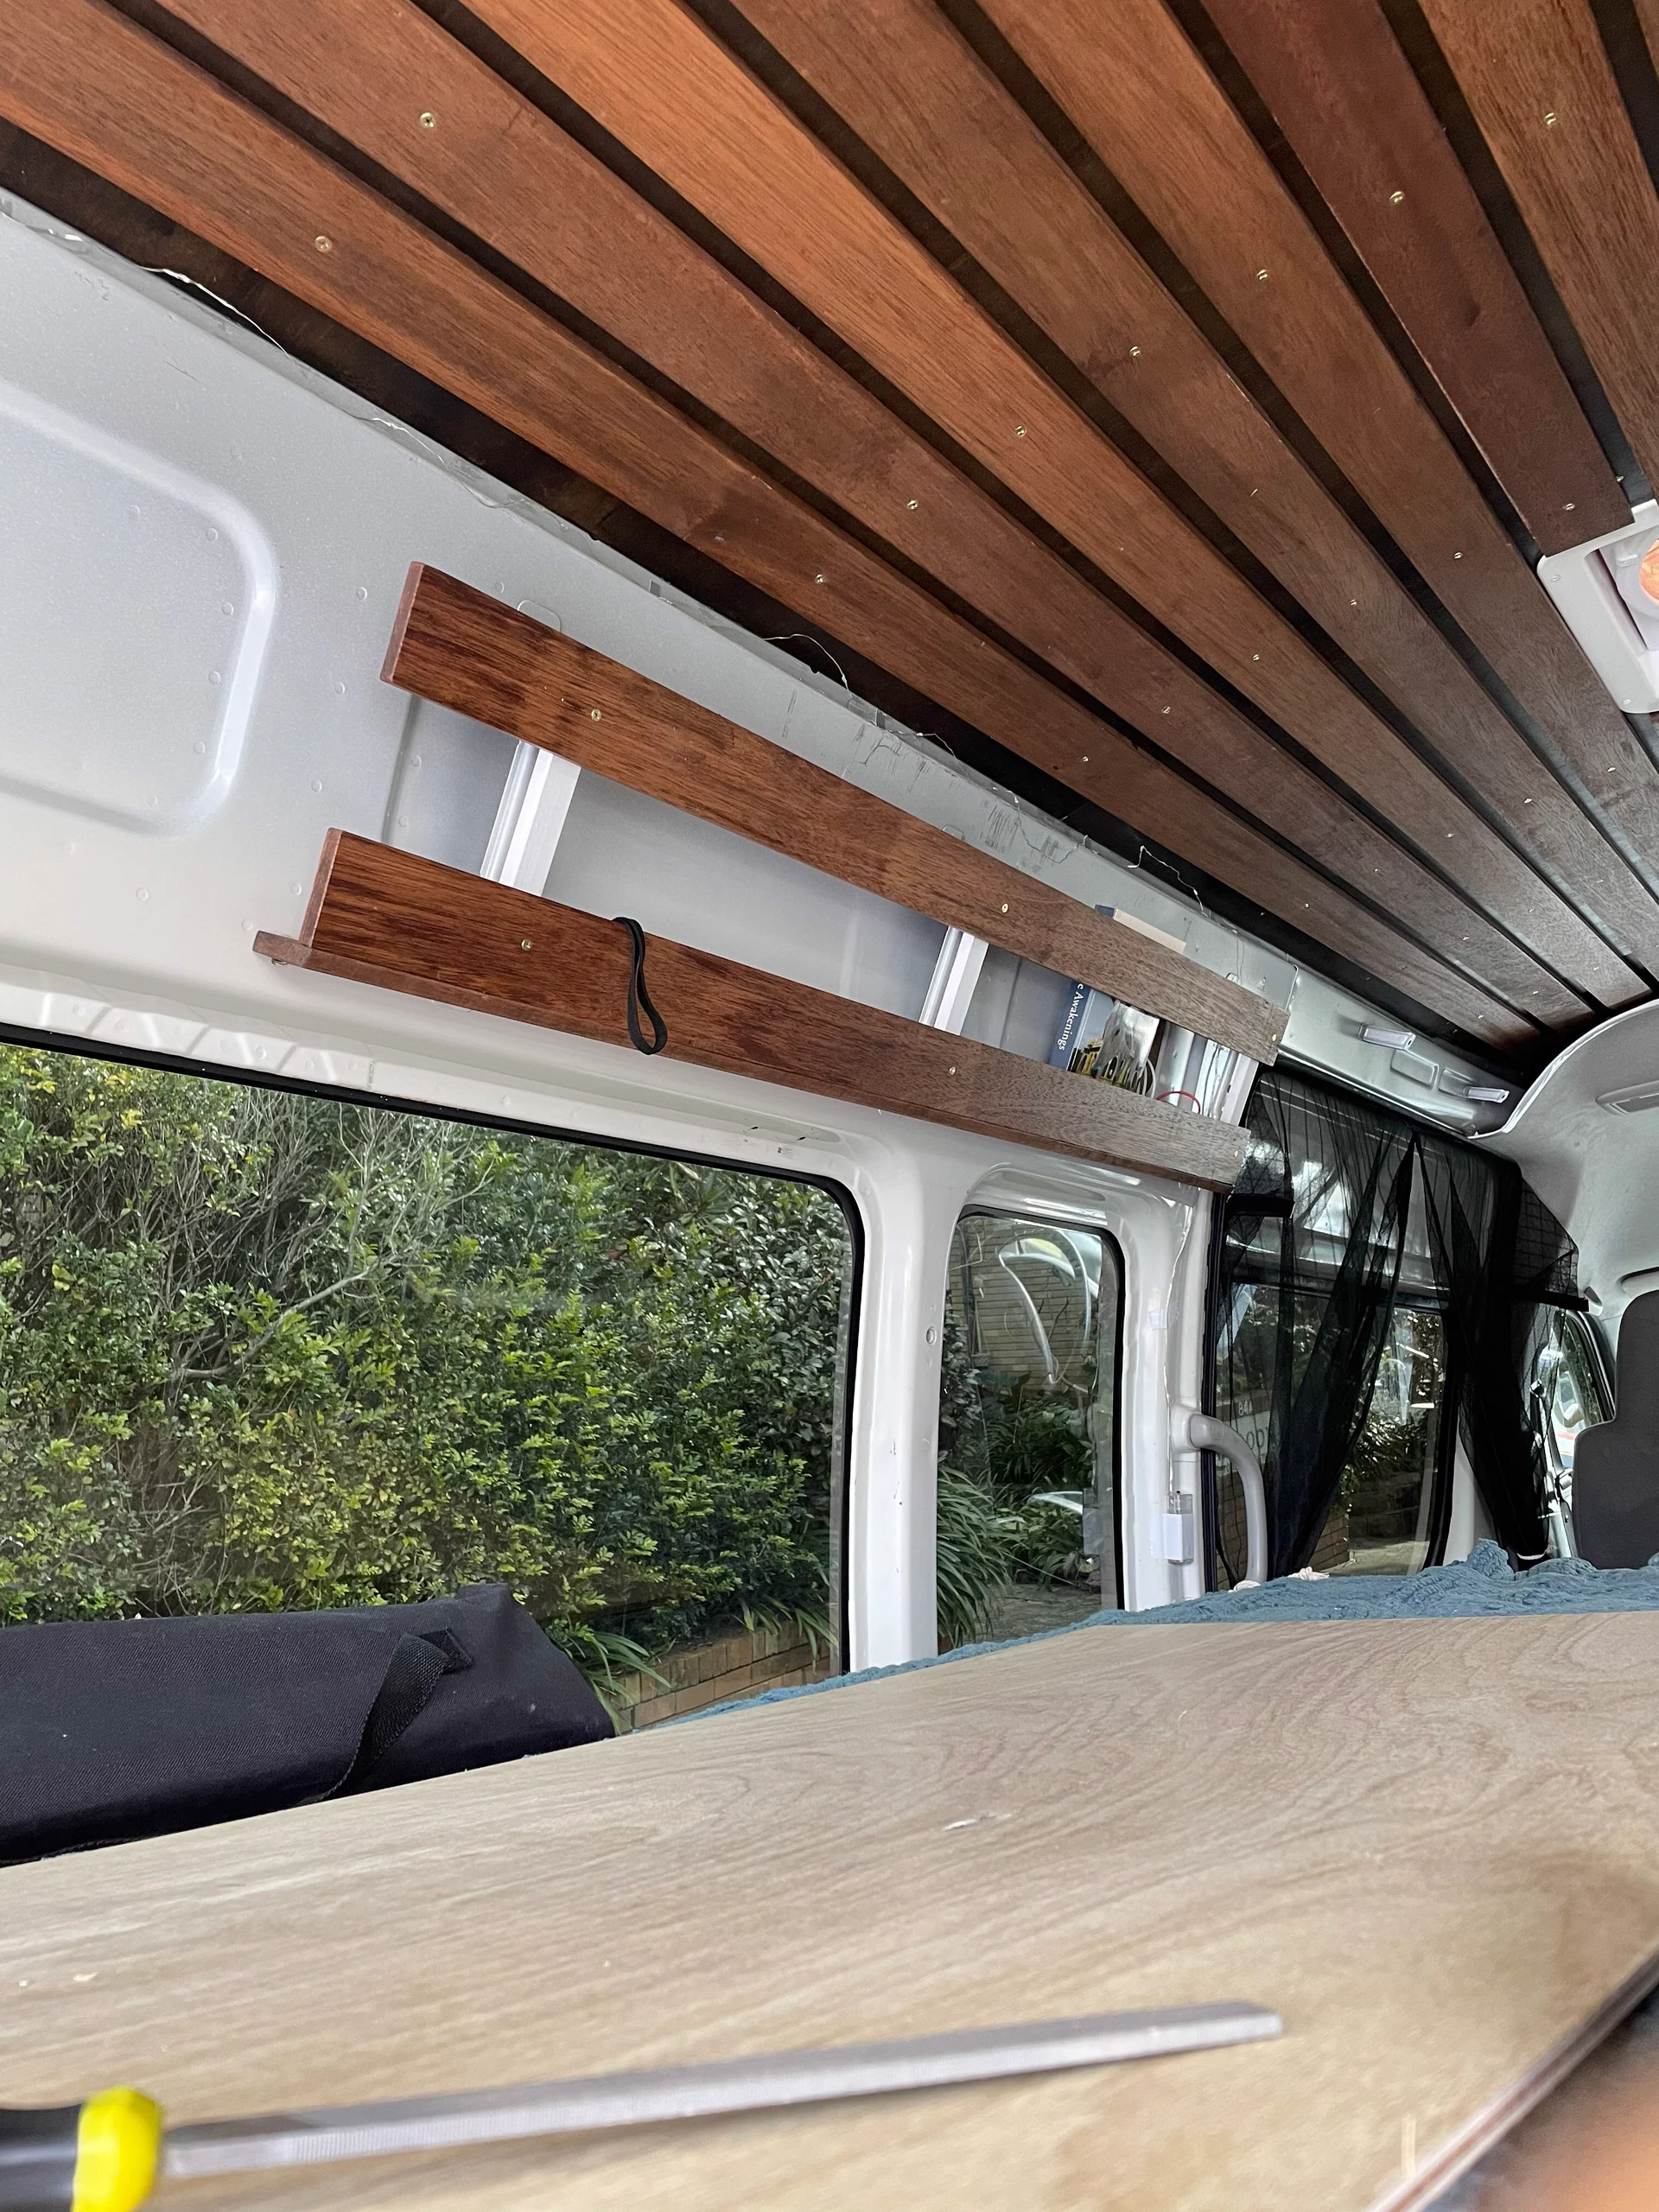
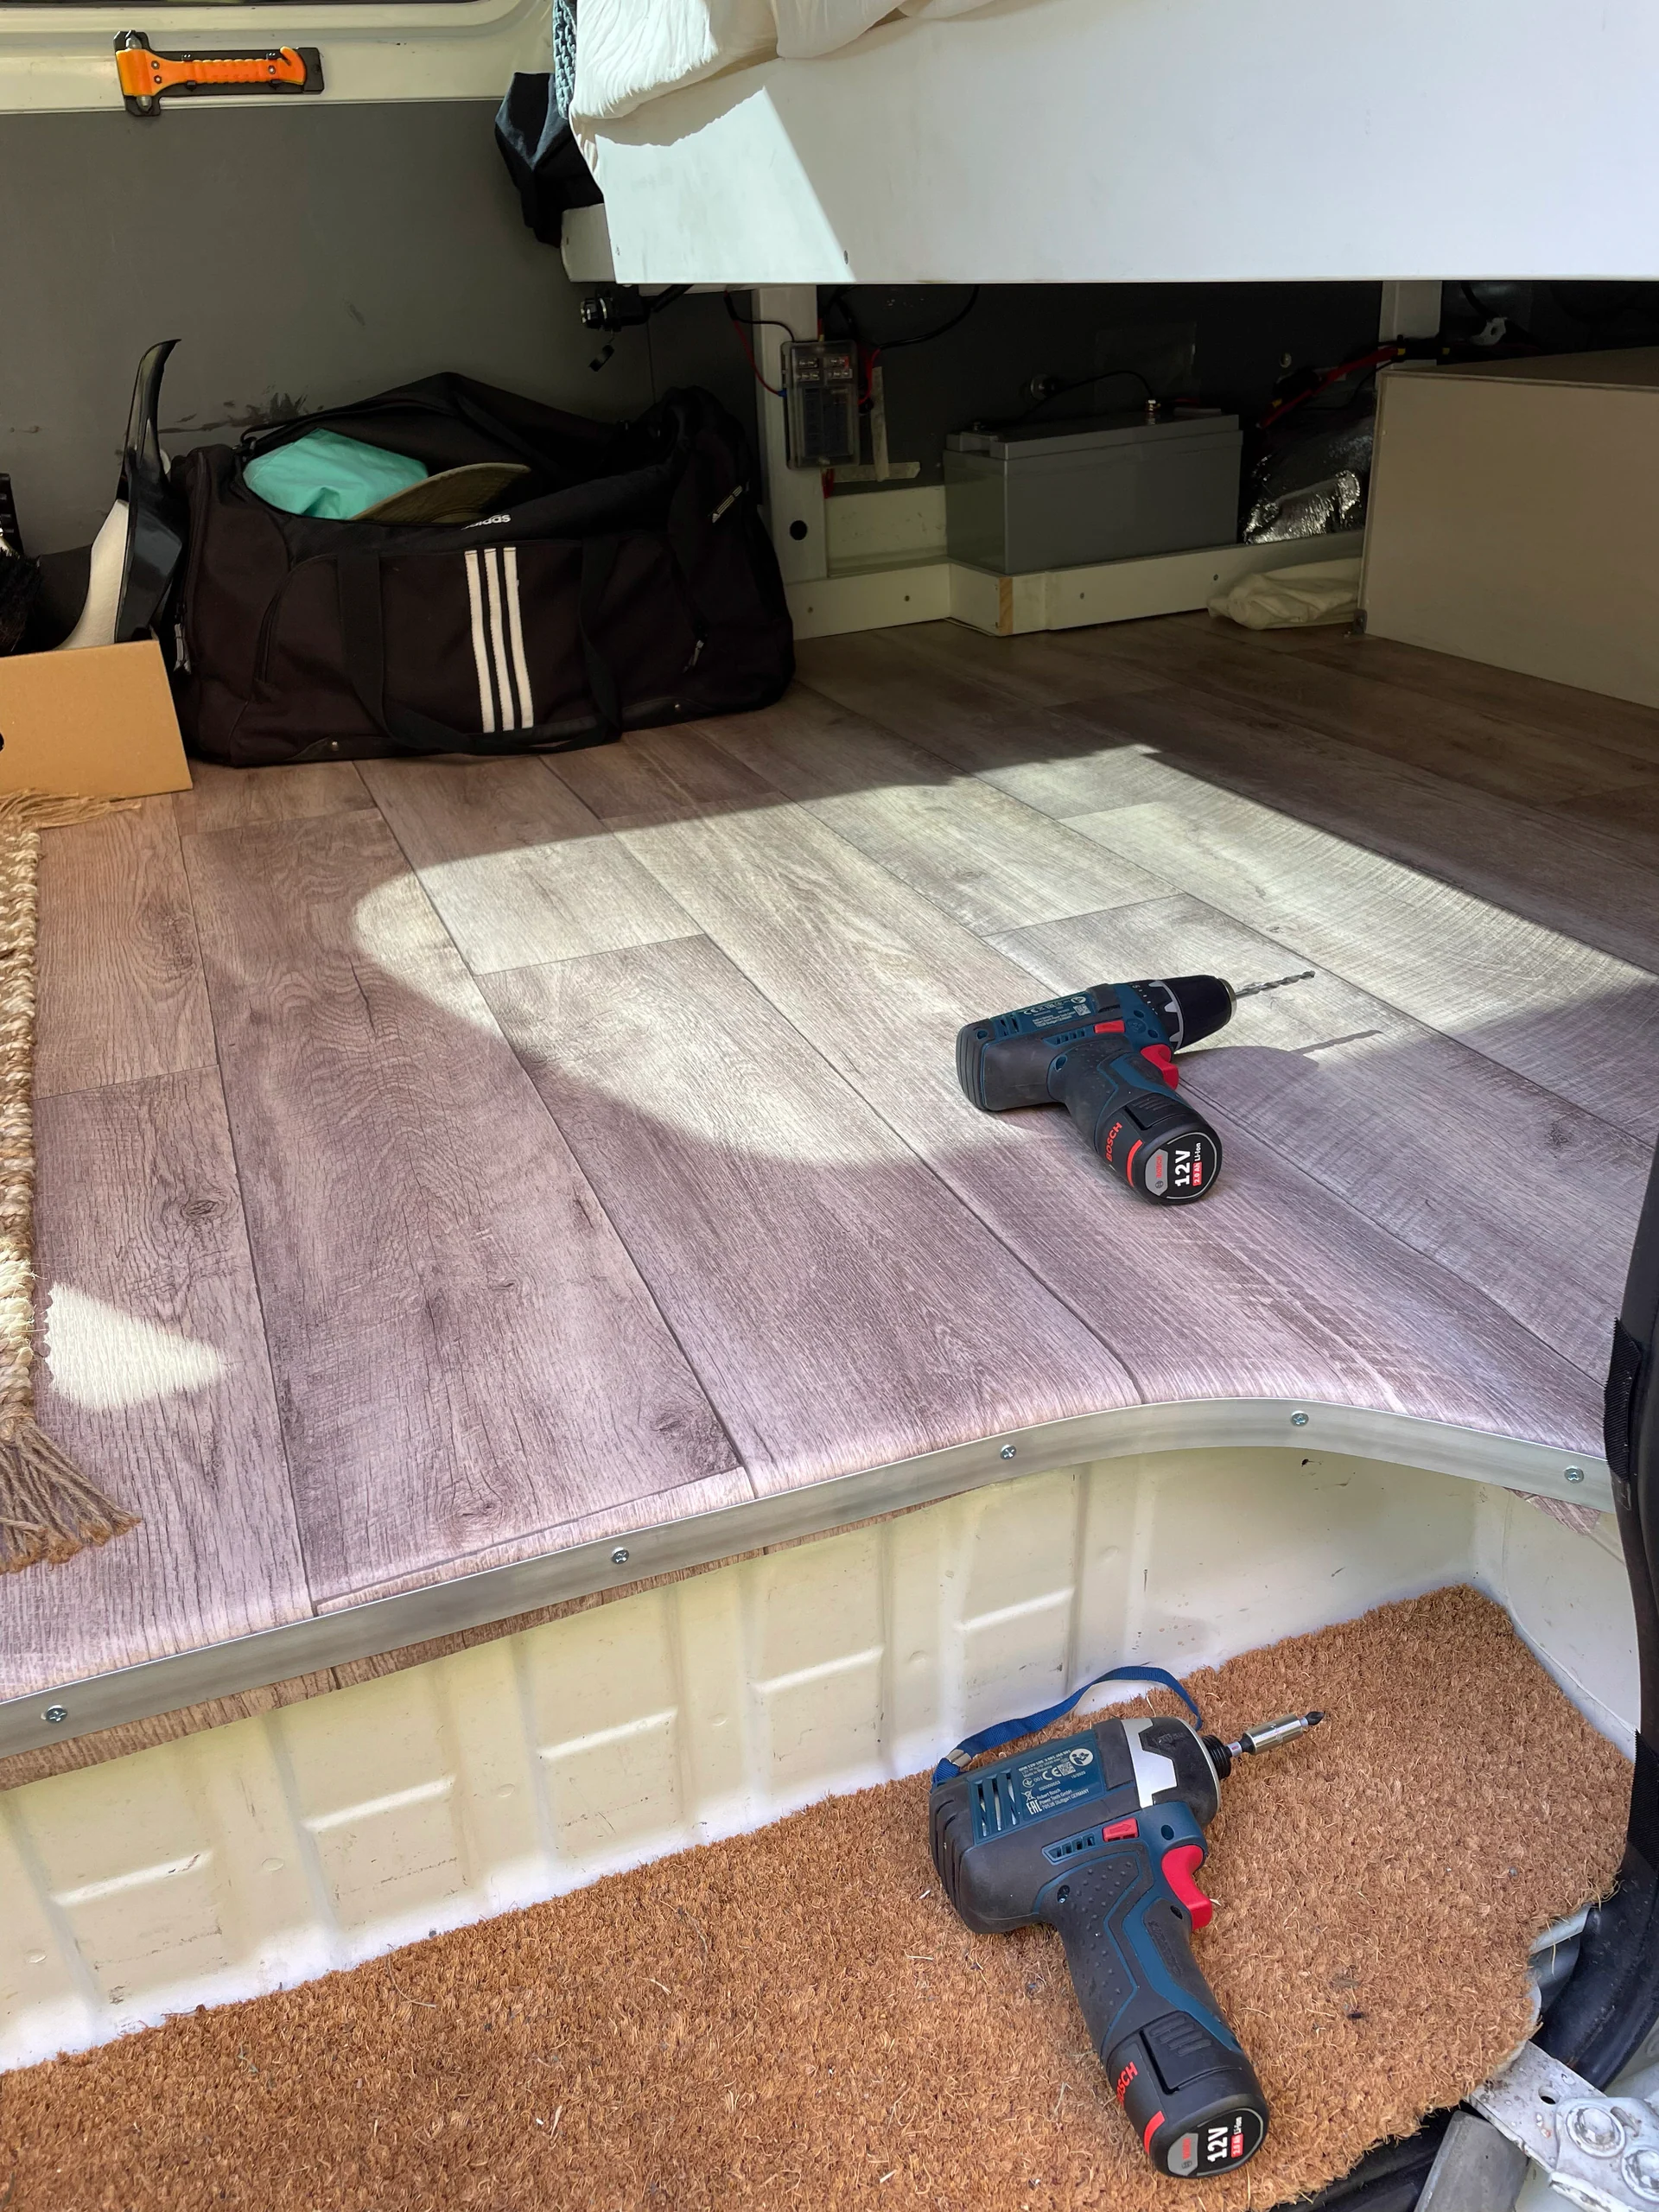
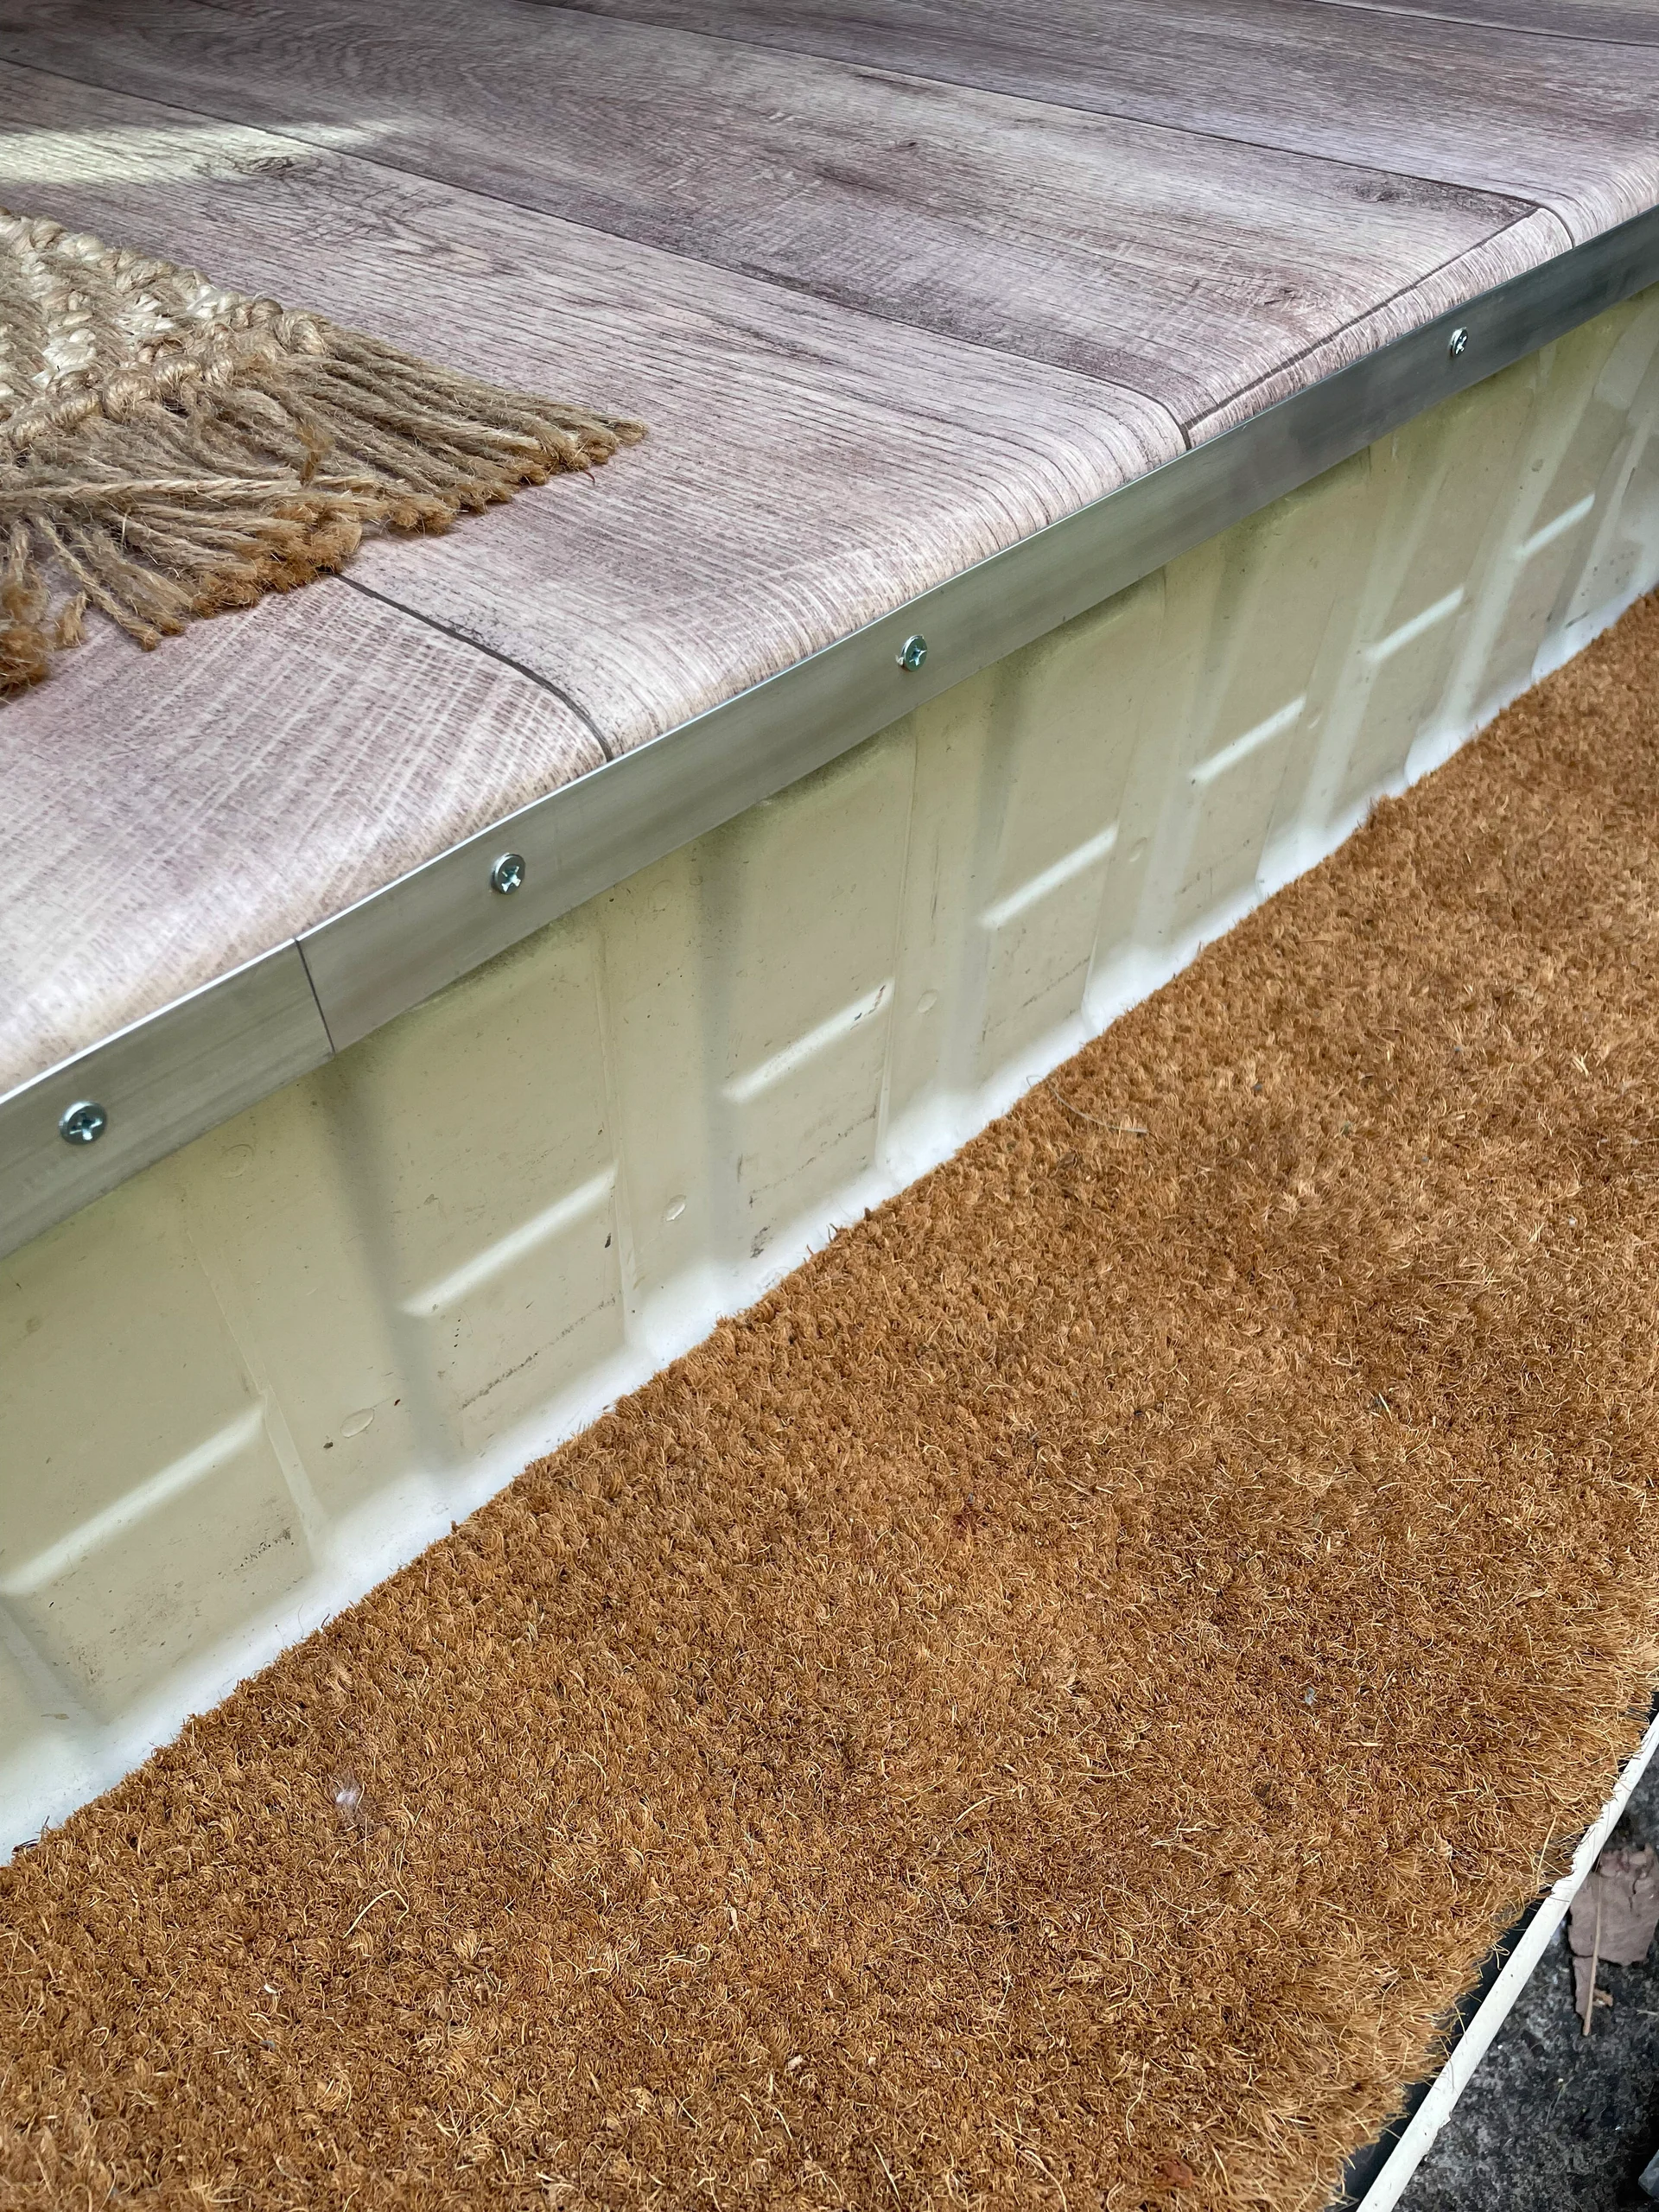
...and put a nice little bezel to the floor.
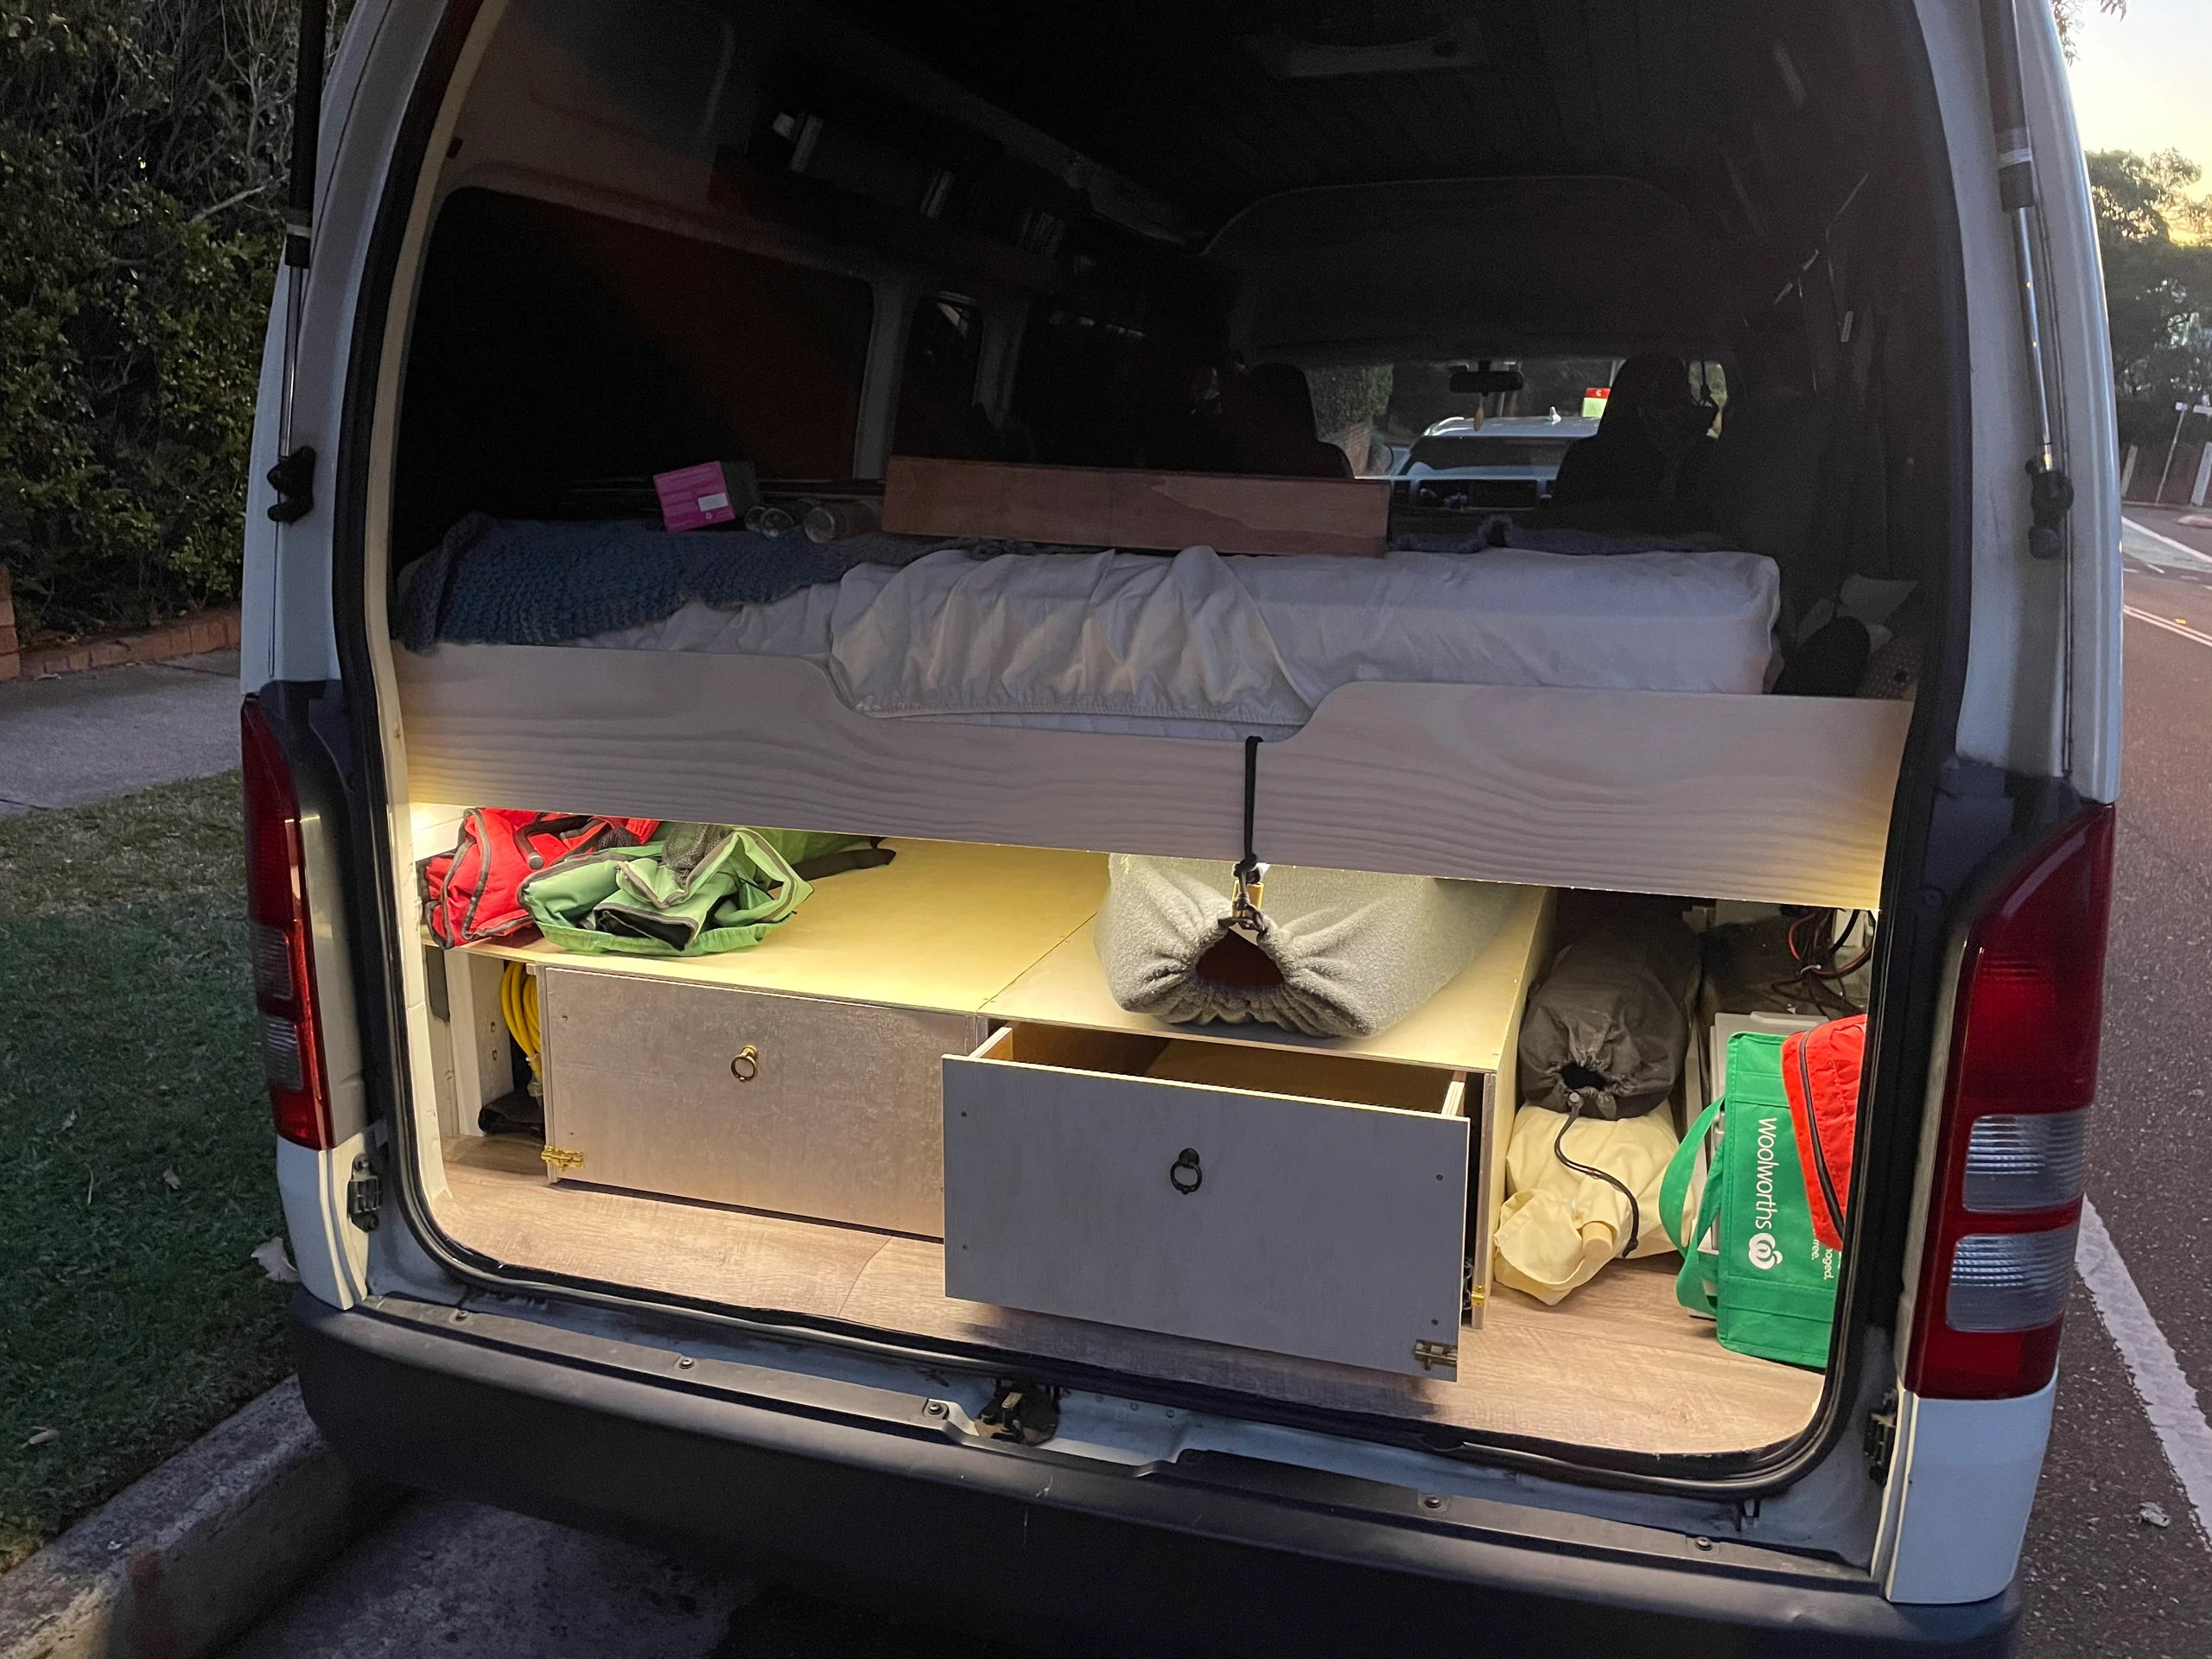
With all the progress, it was time for another little road trip to enjoy the fruits of our labour. We headed south for a few days to enjoy Sydneys South Coast and get a feel for how life and work in the van would be.
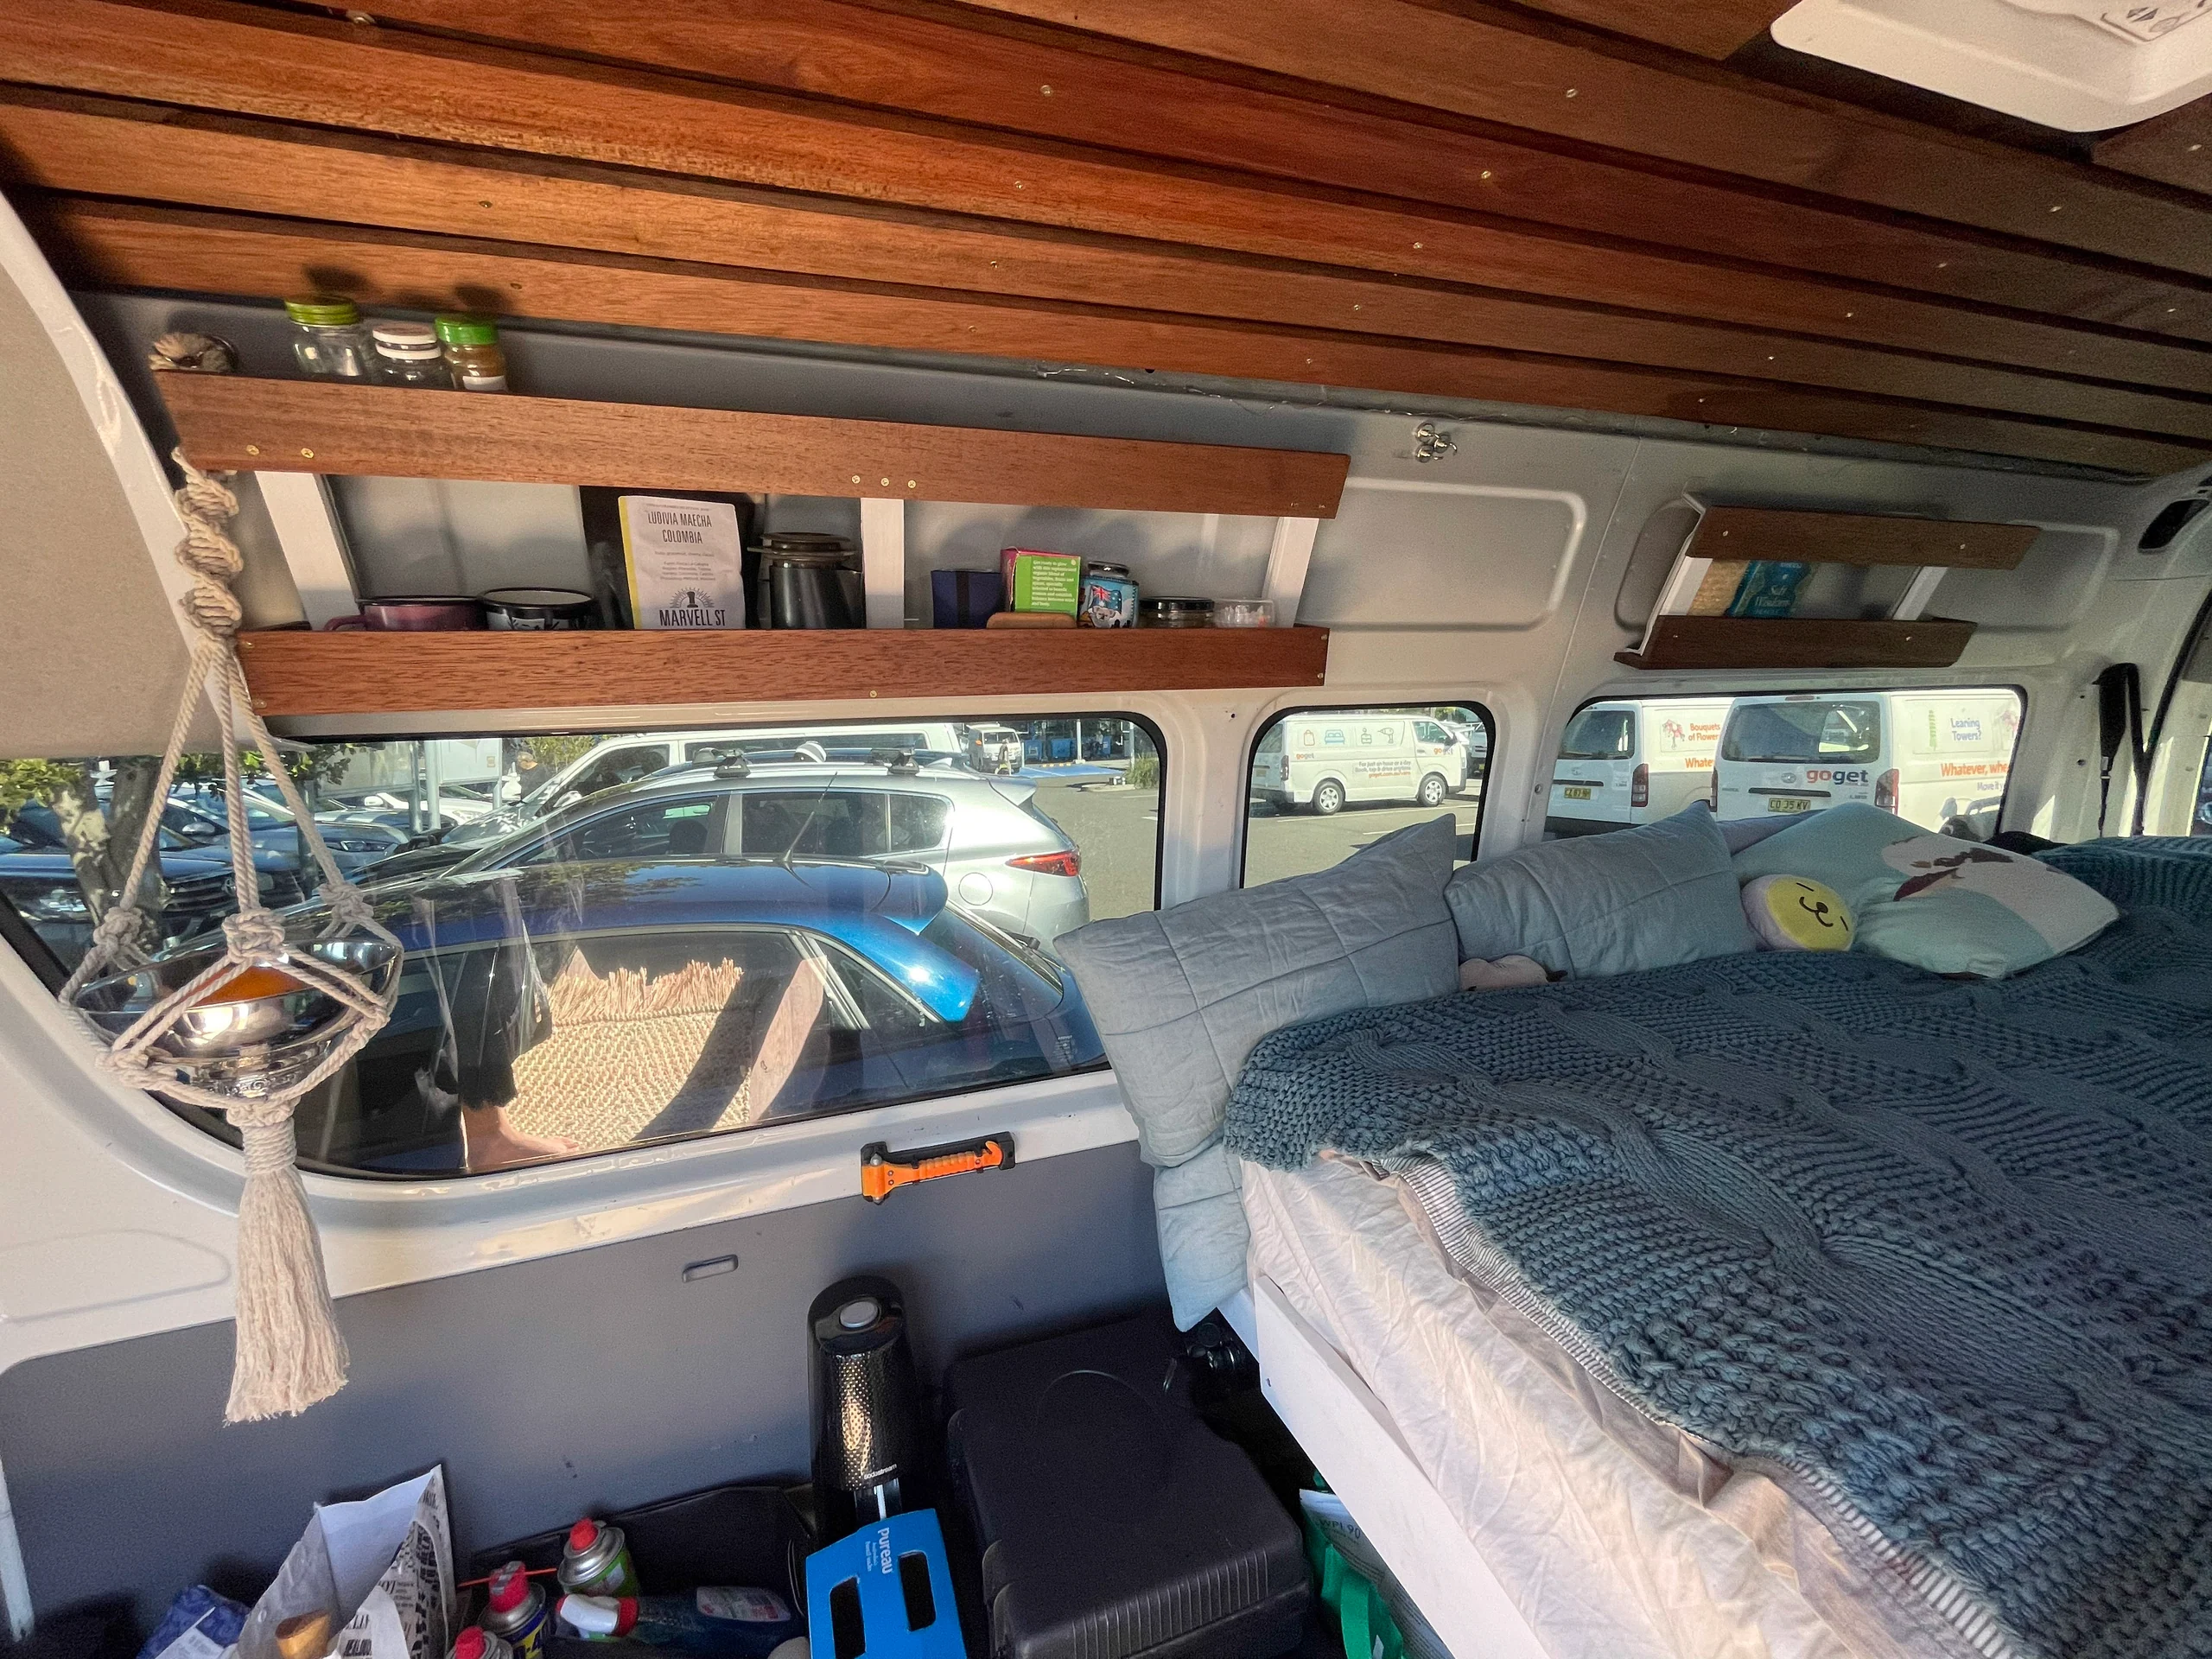
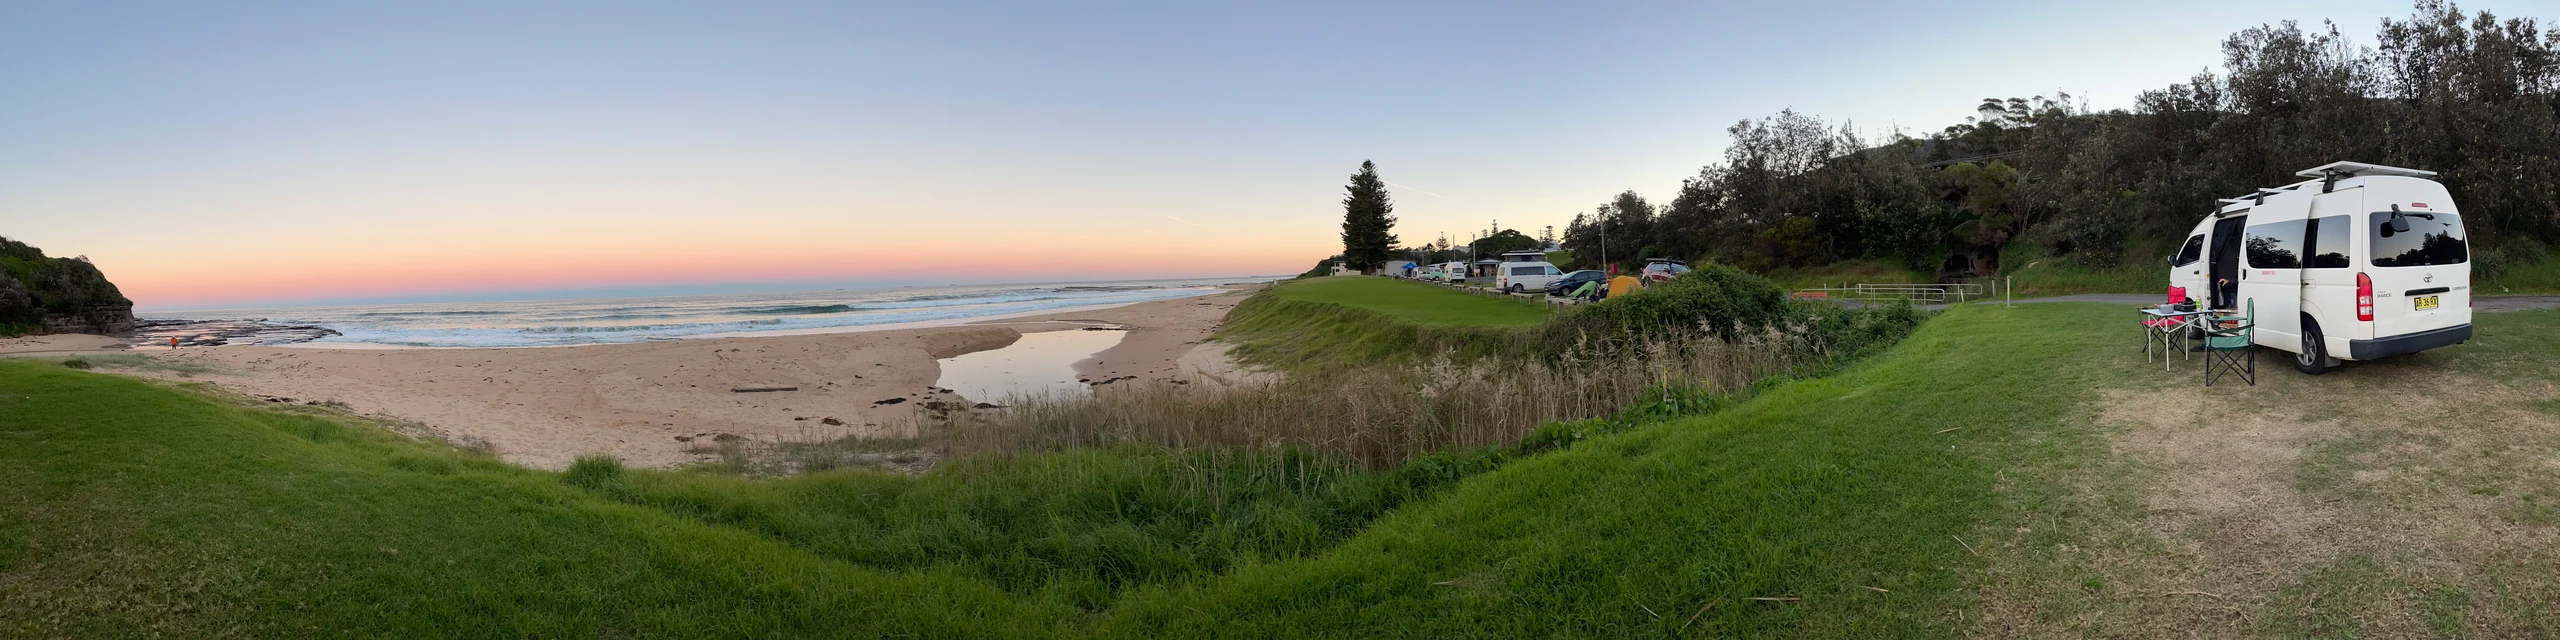
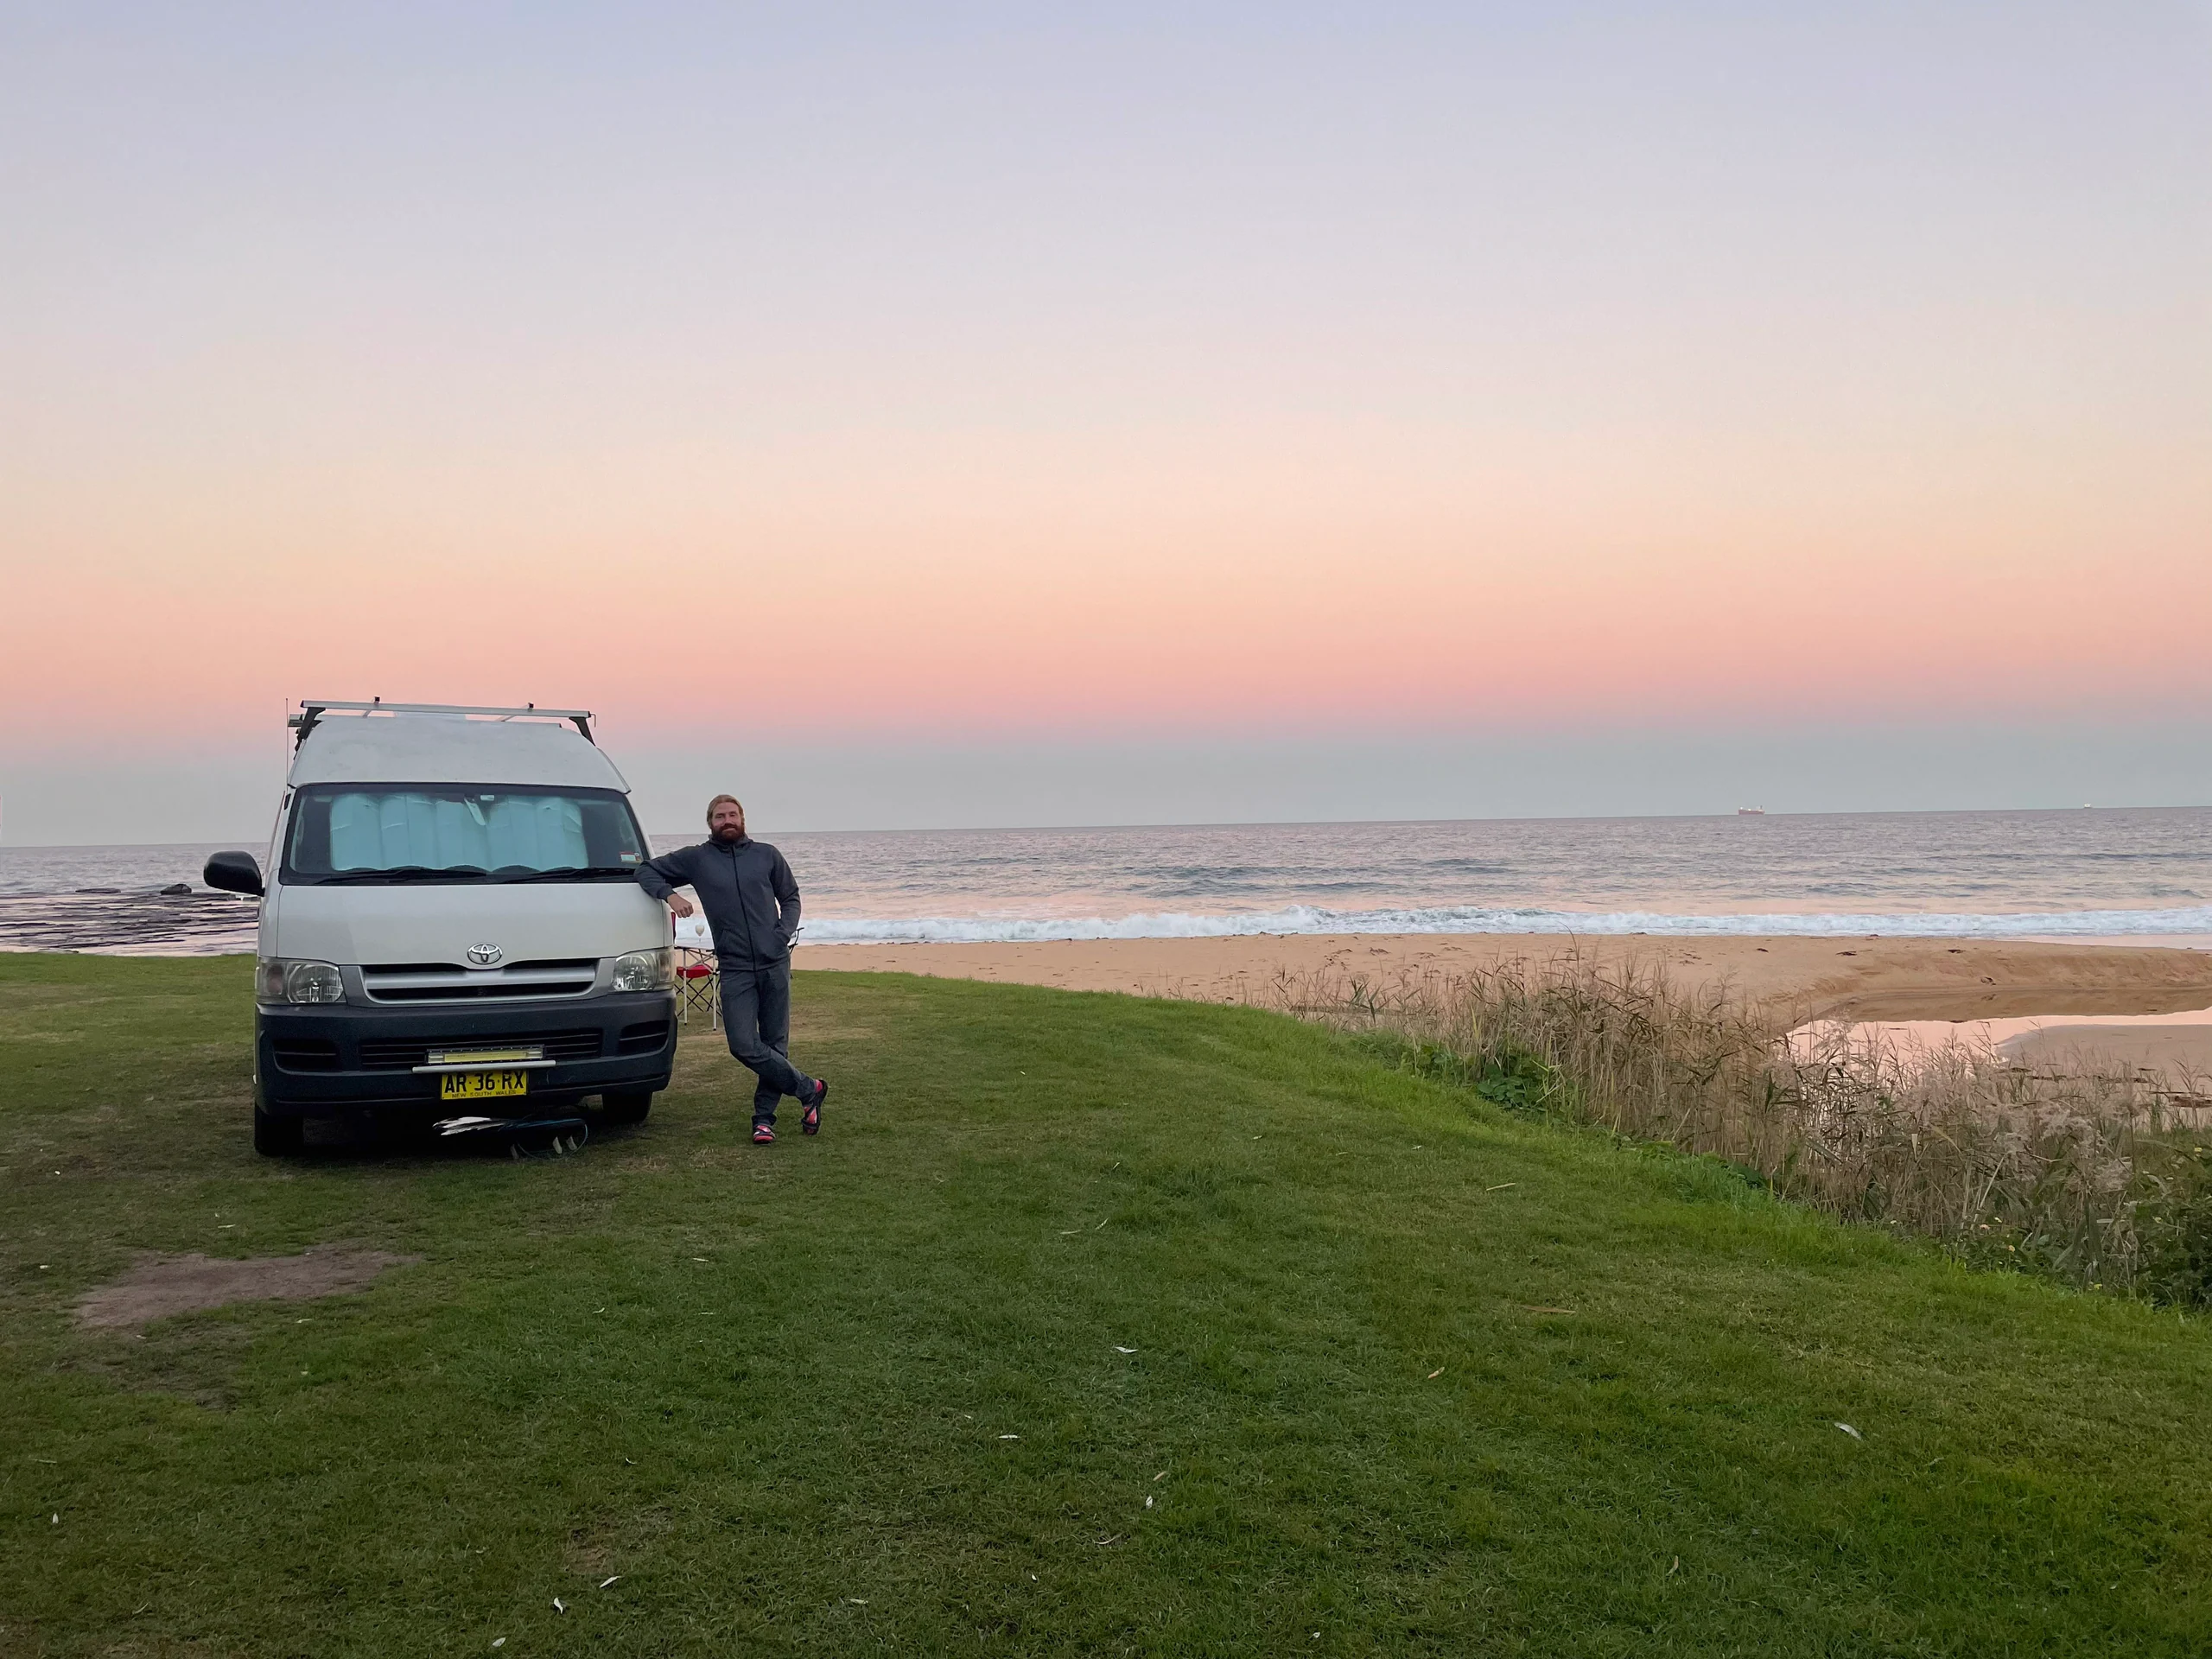
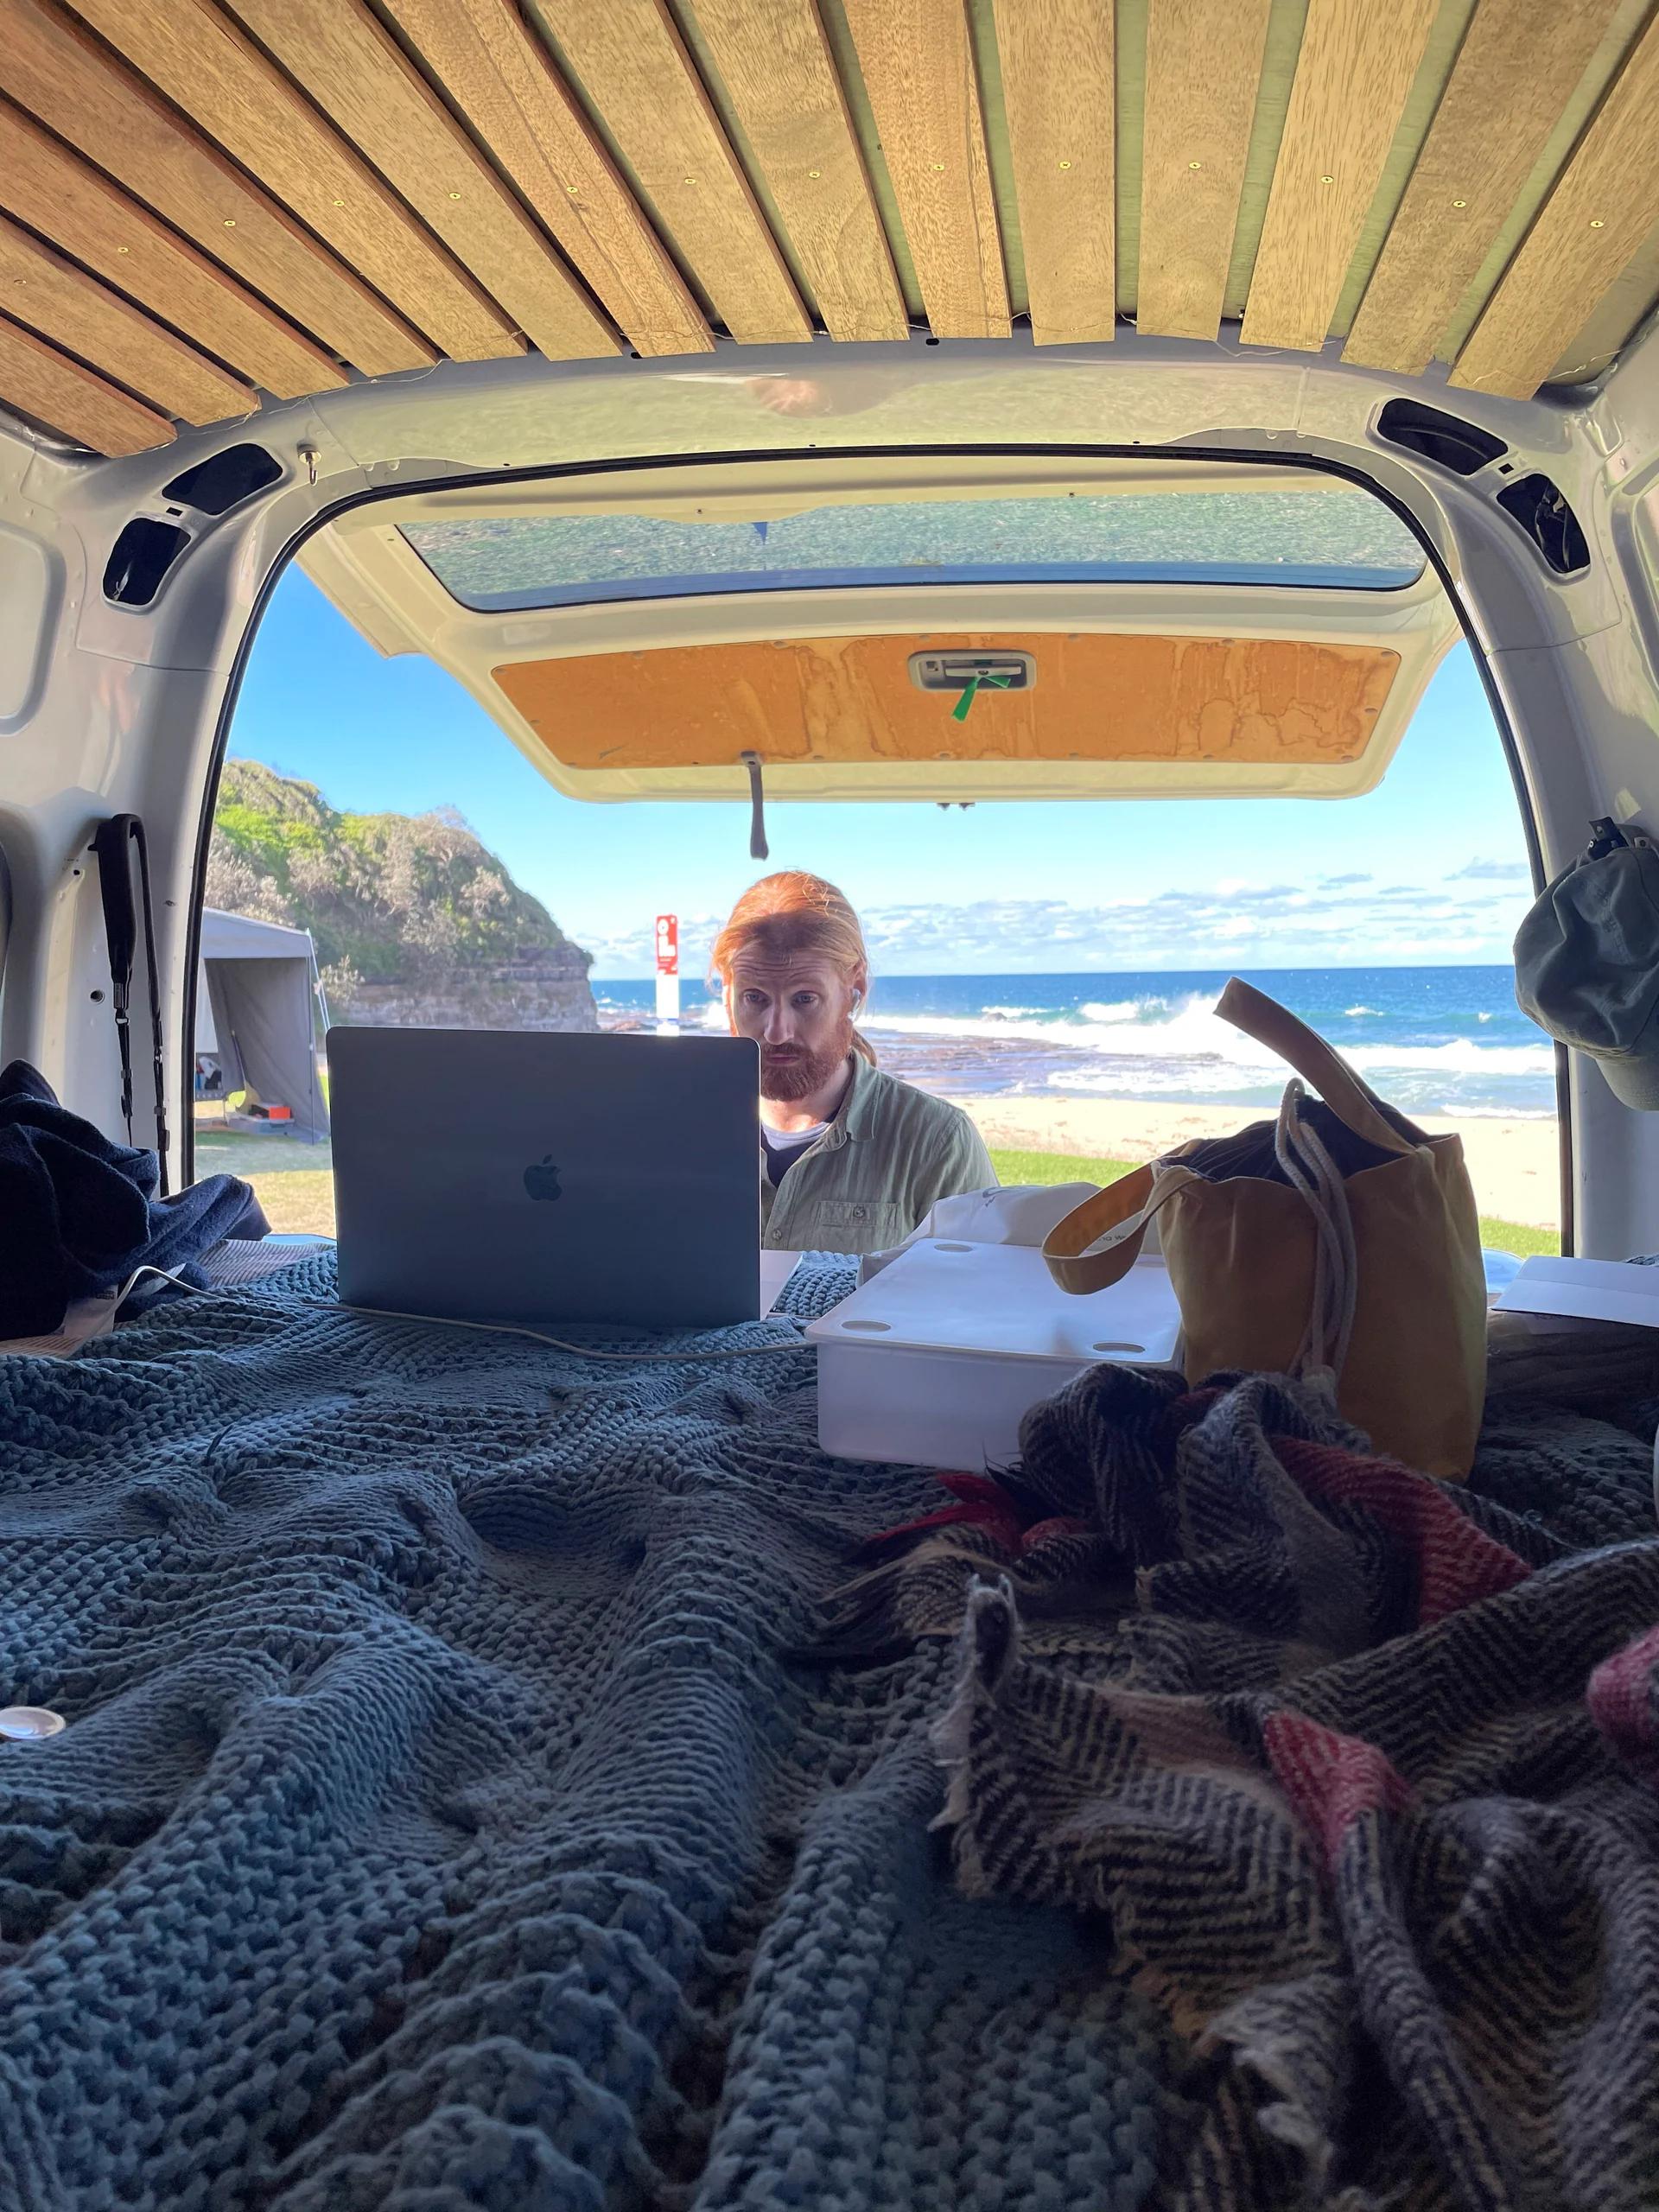
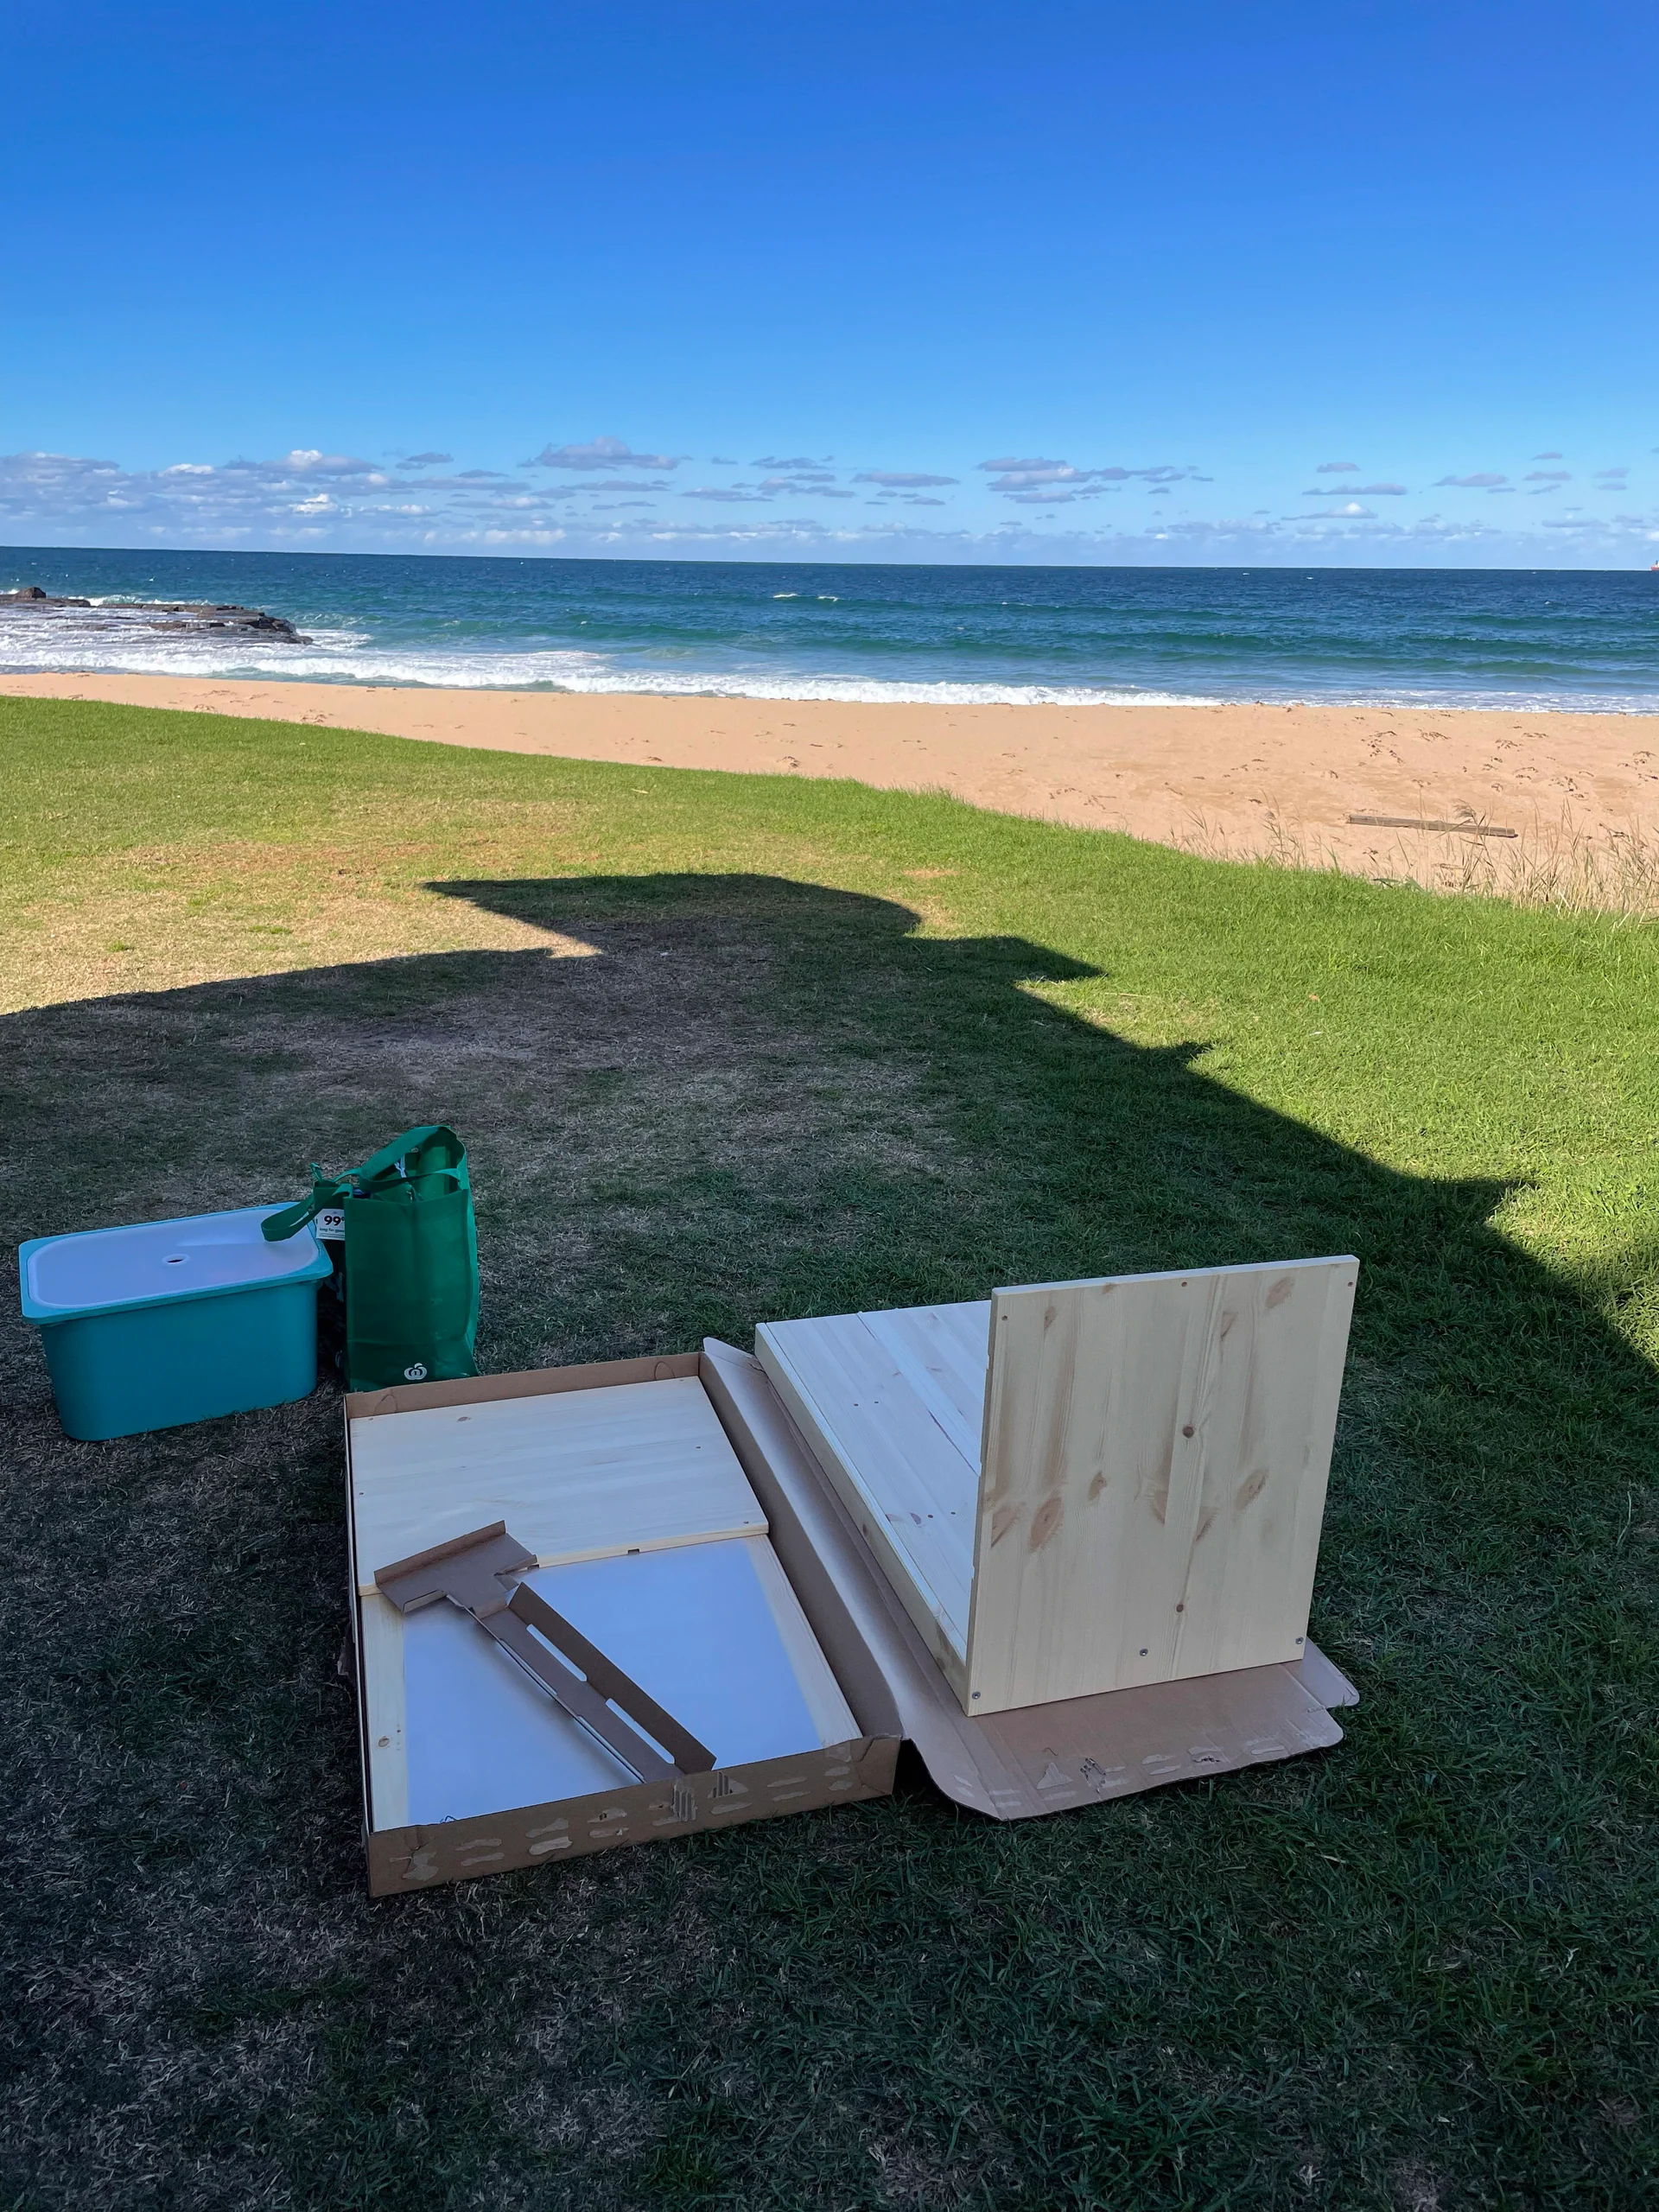
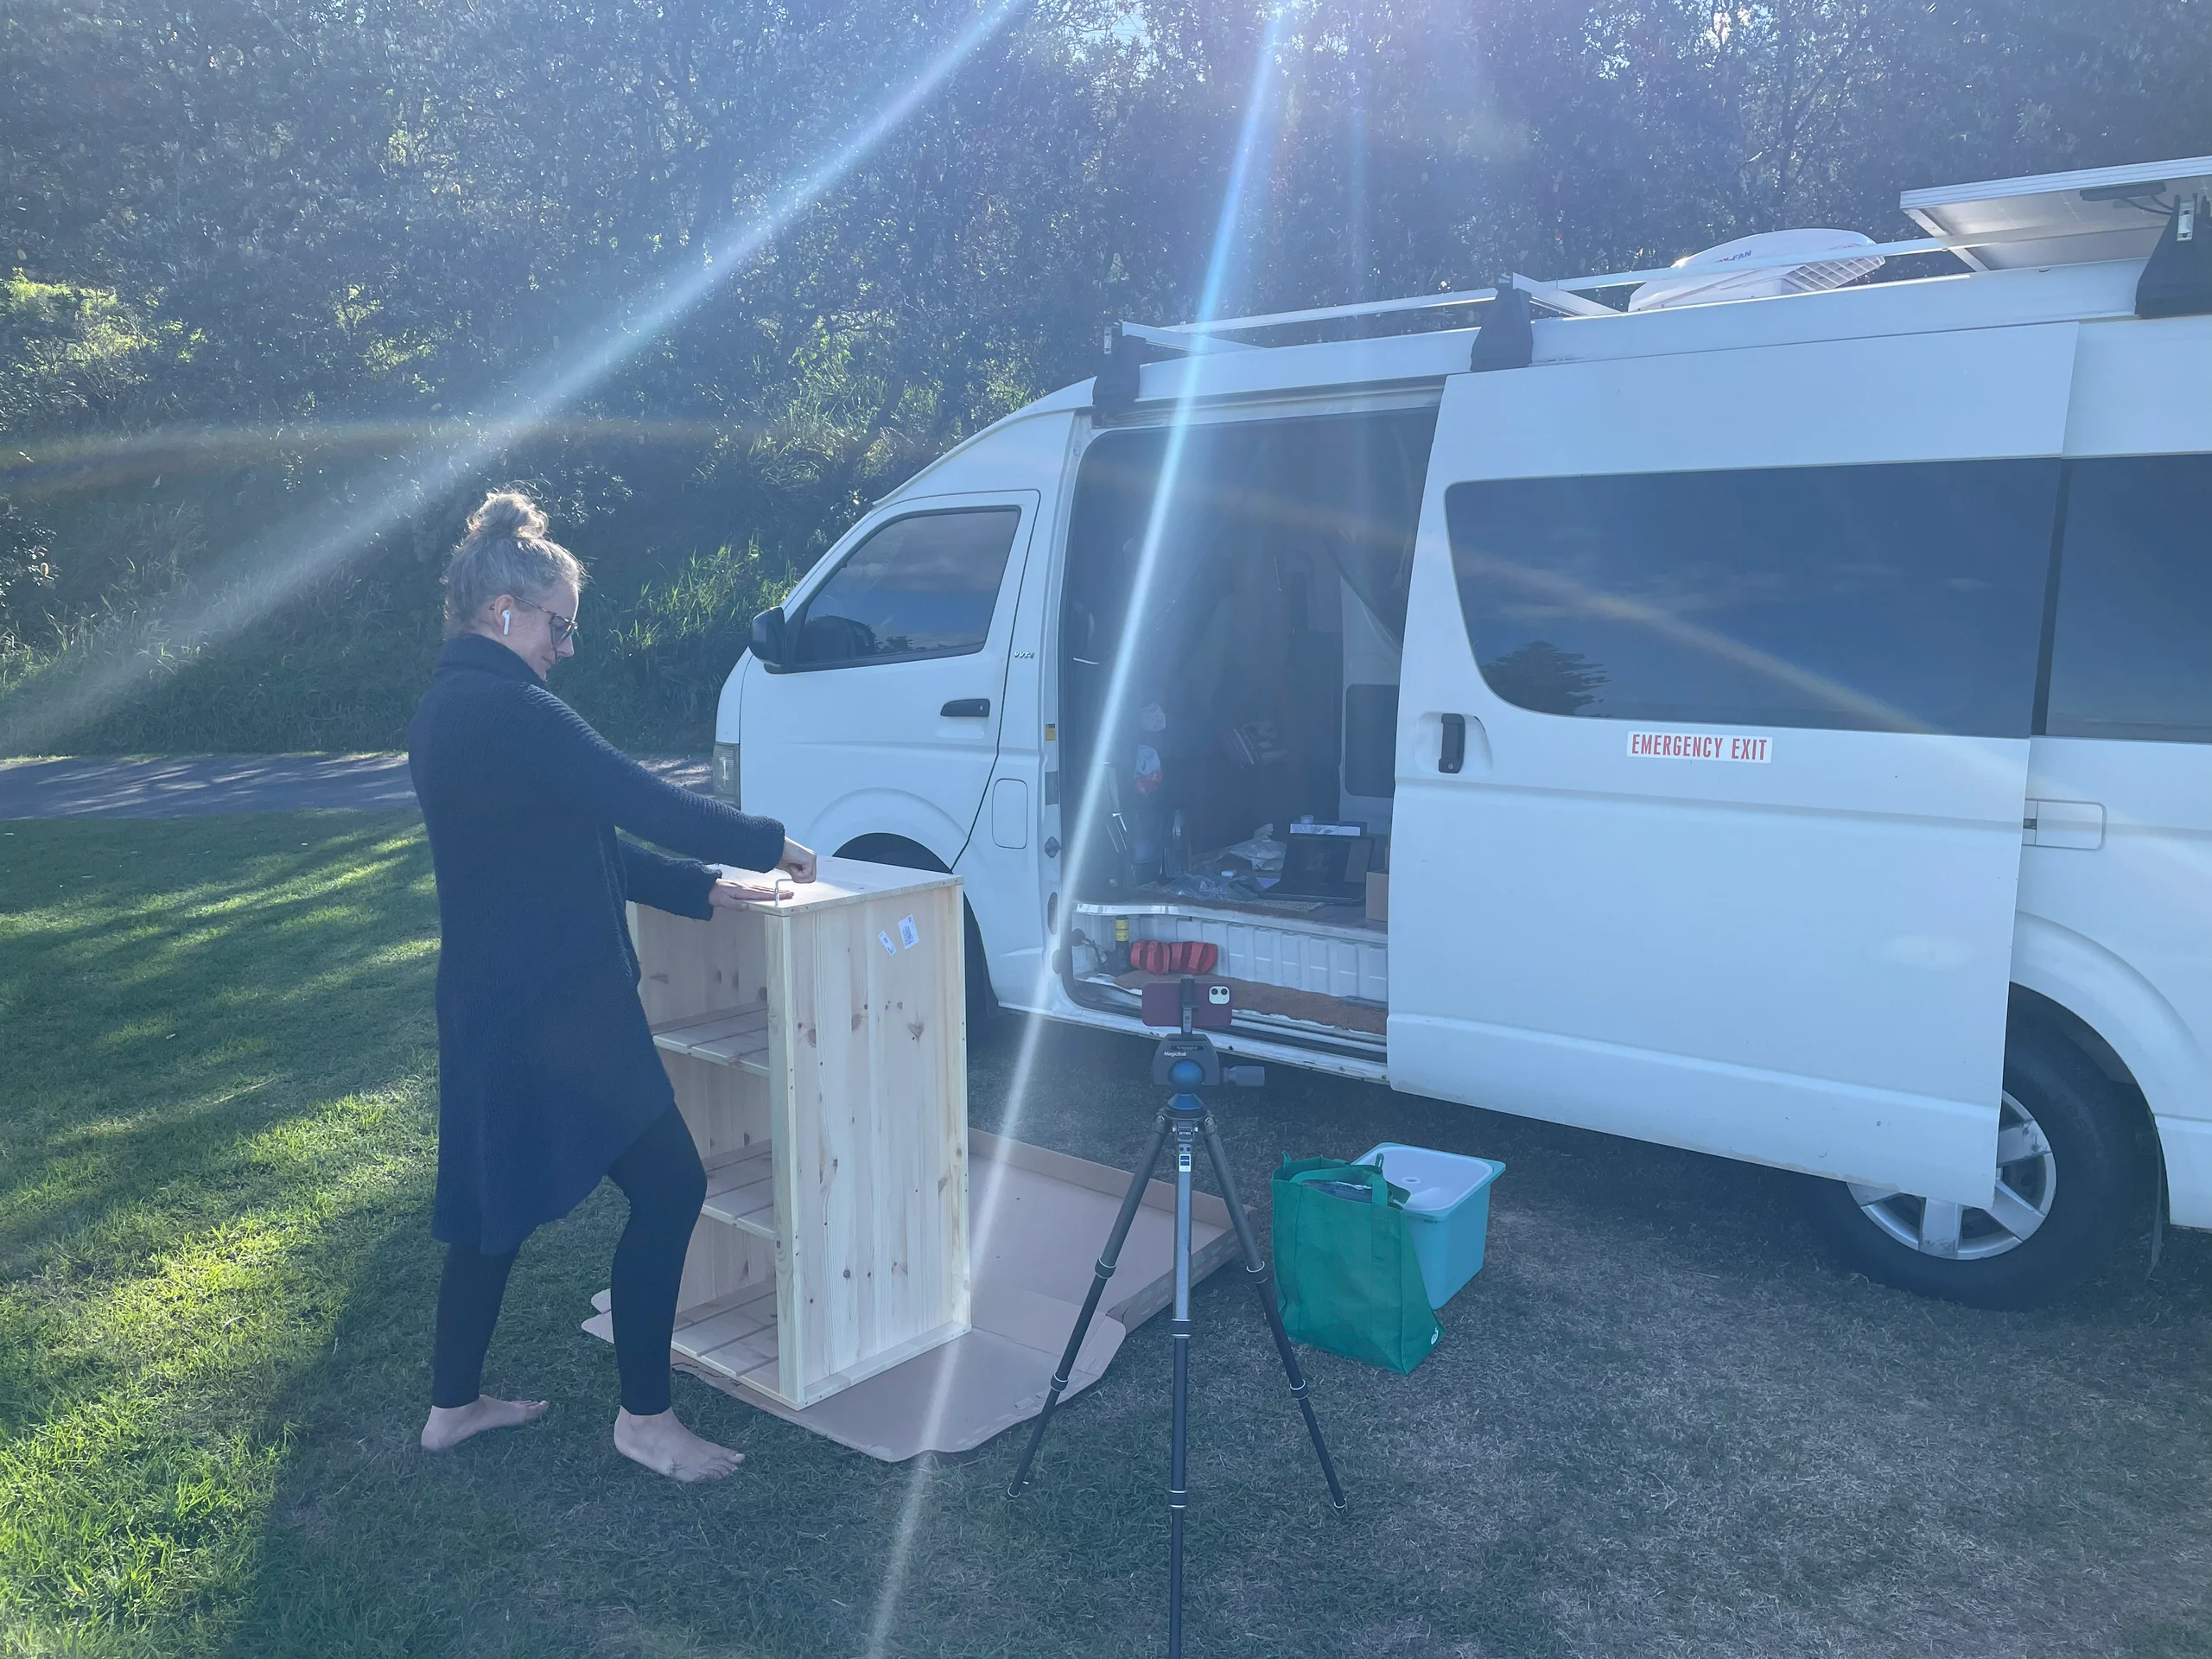
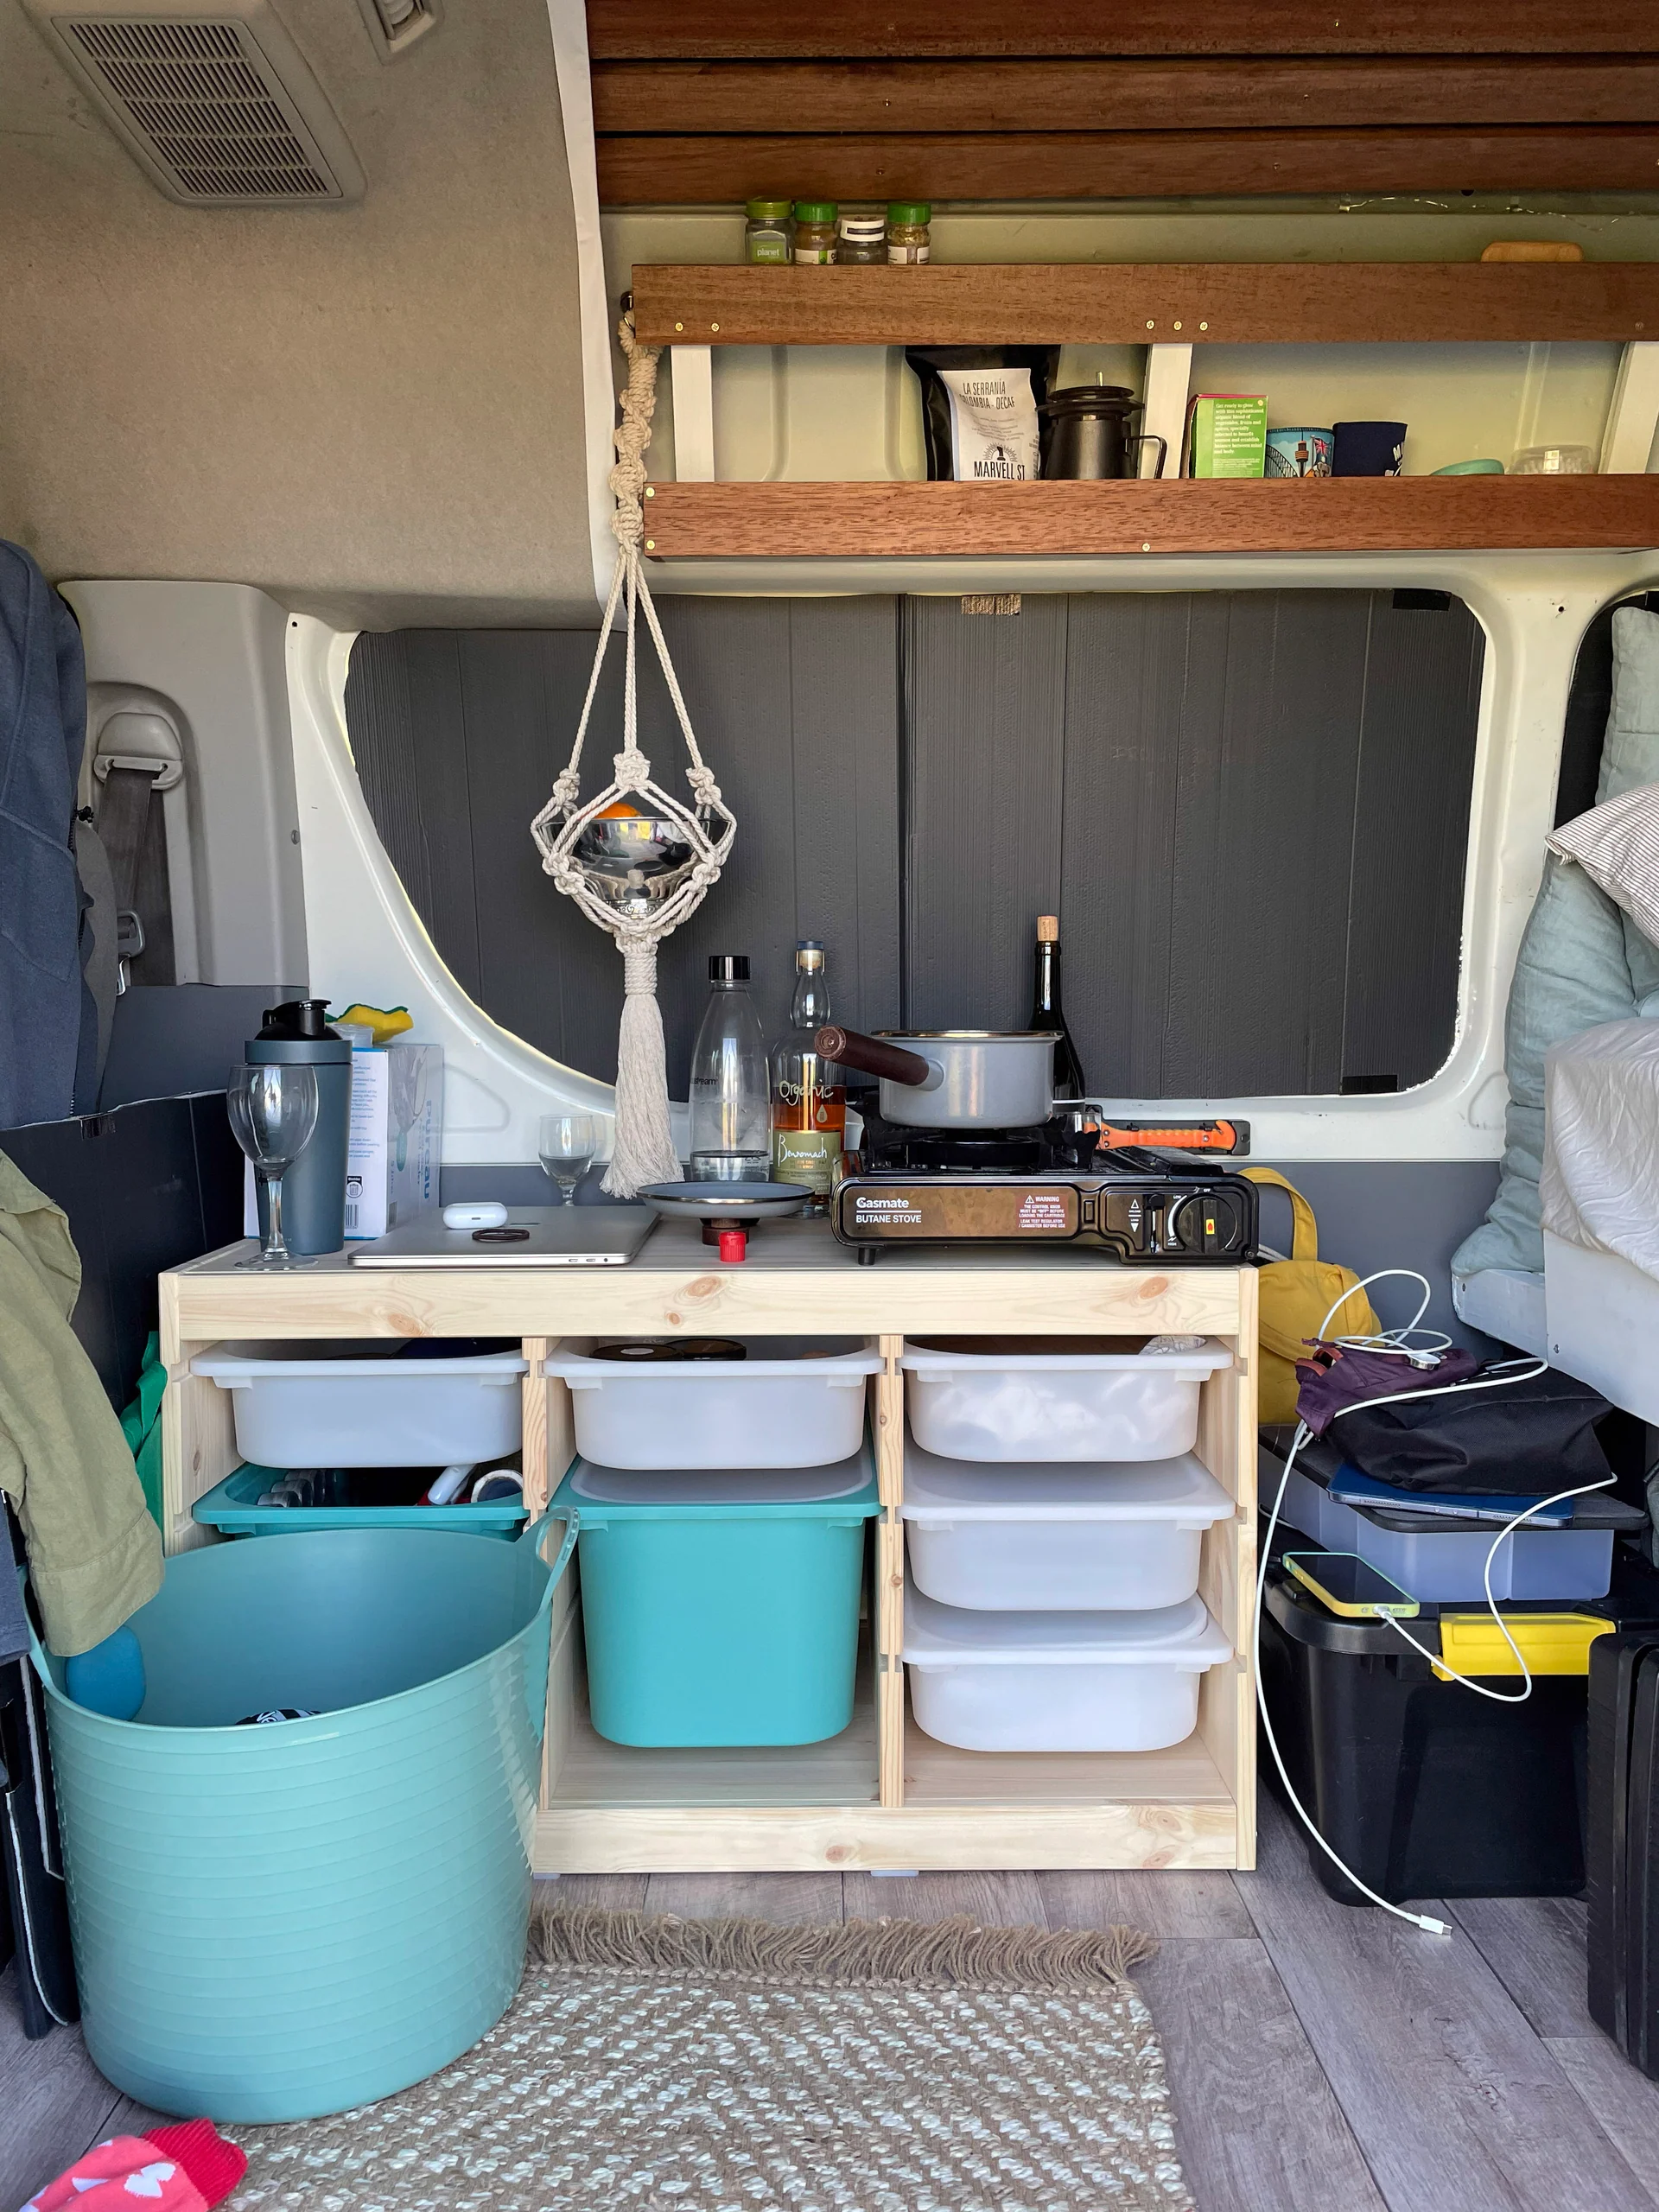
On the way south, we made a quick stop at Ikea. In the context of converting your van, is this cheating? Don't know... Don't care... But we do know that this is one of the most beautiful places to assemble some Ikea furniture.
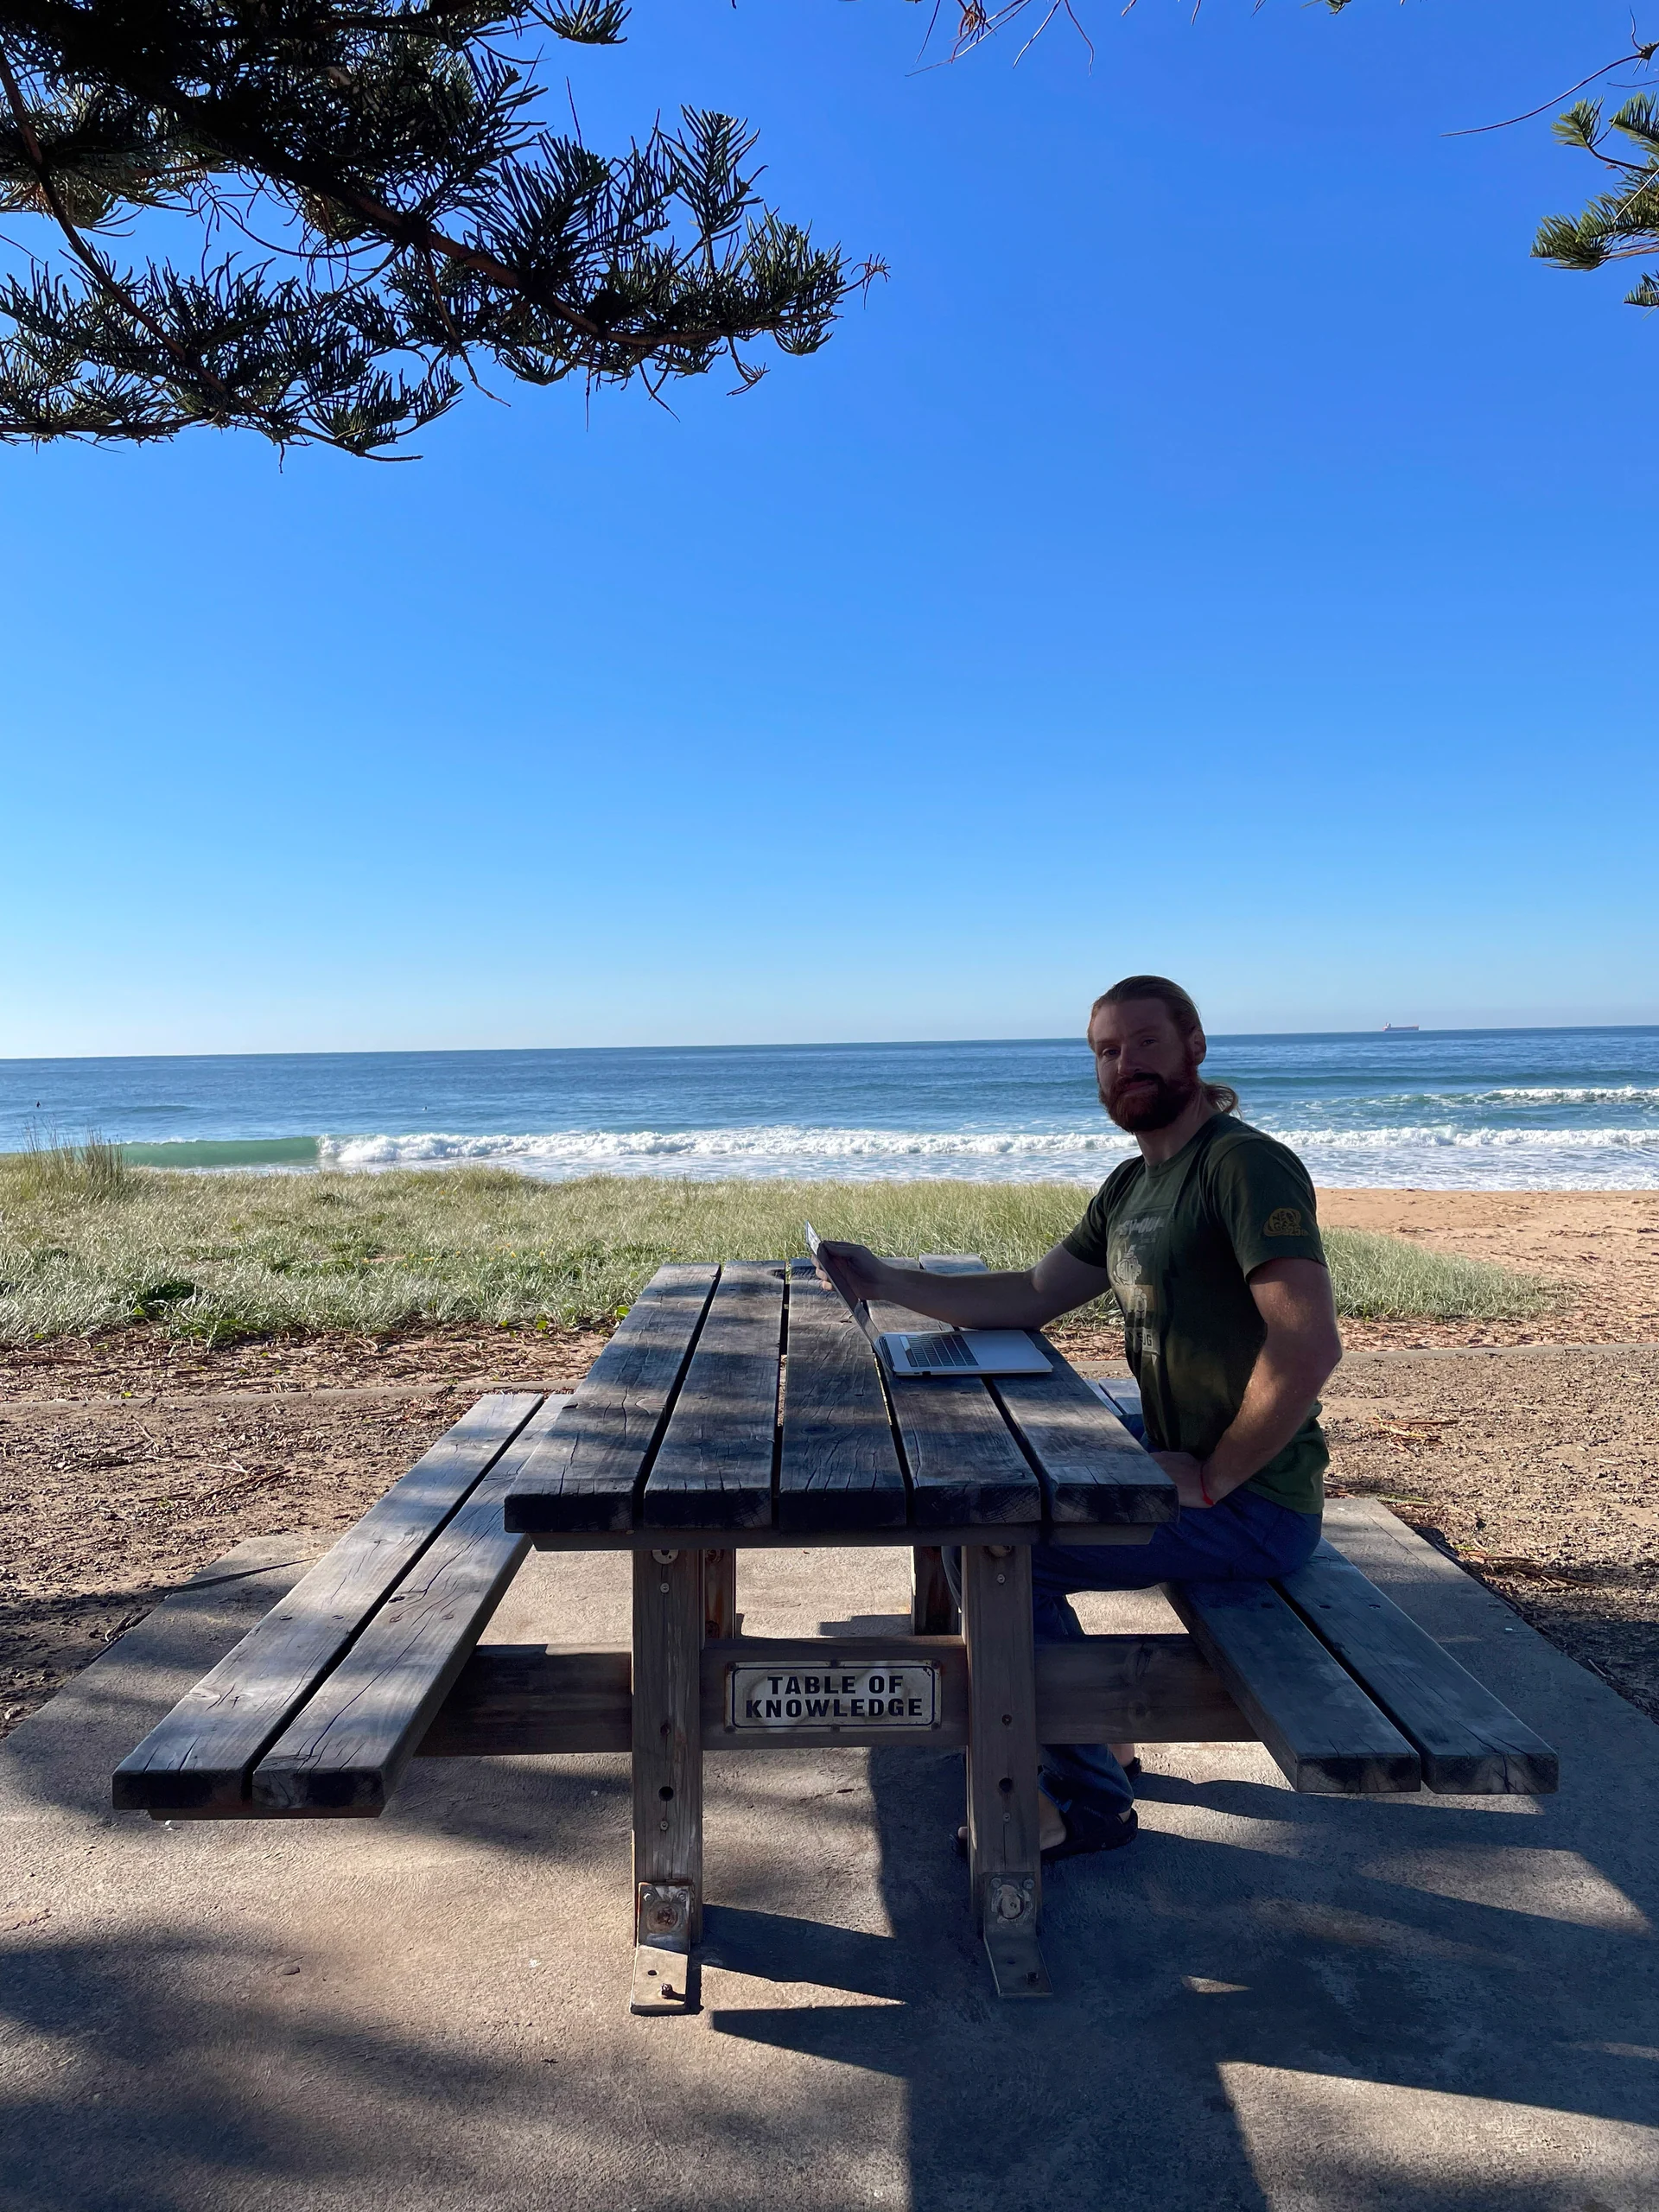
Before heading back home, we had breakfast on the "Table of Knowledge" and came up with a plan on how to finish the interior.
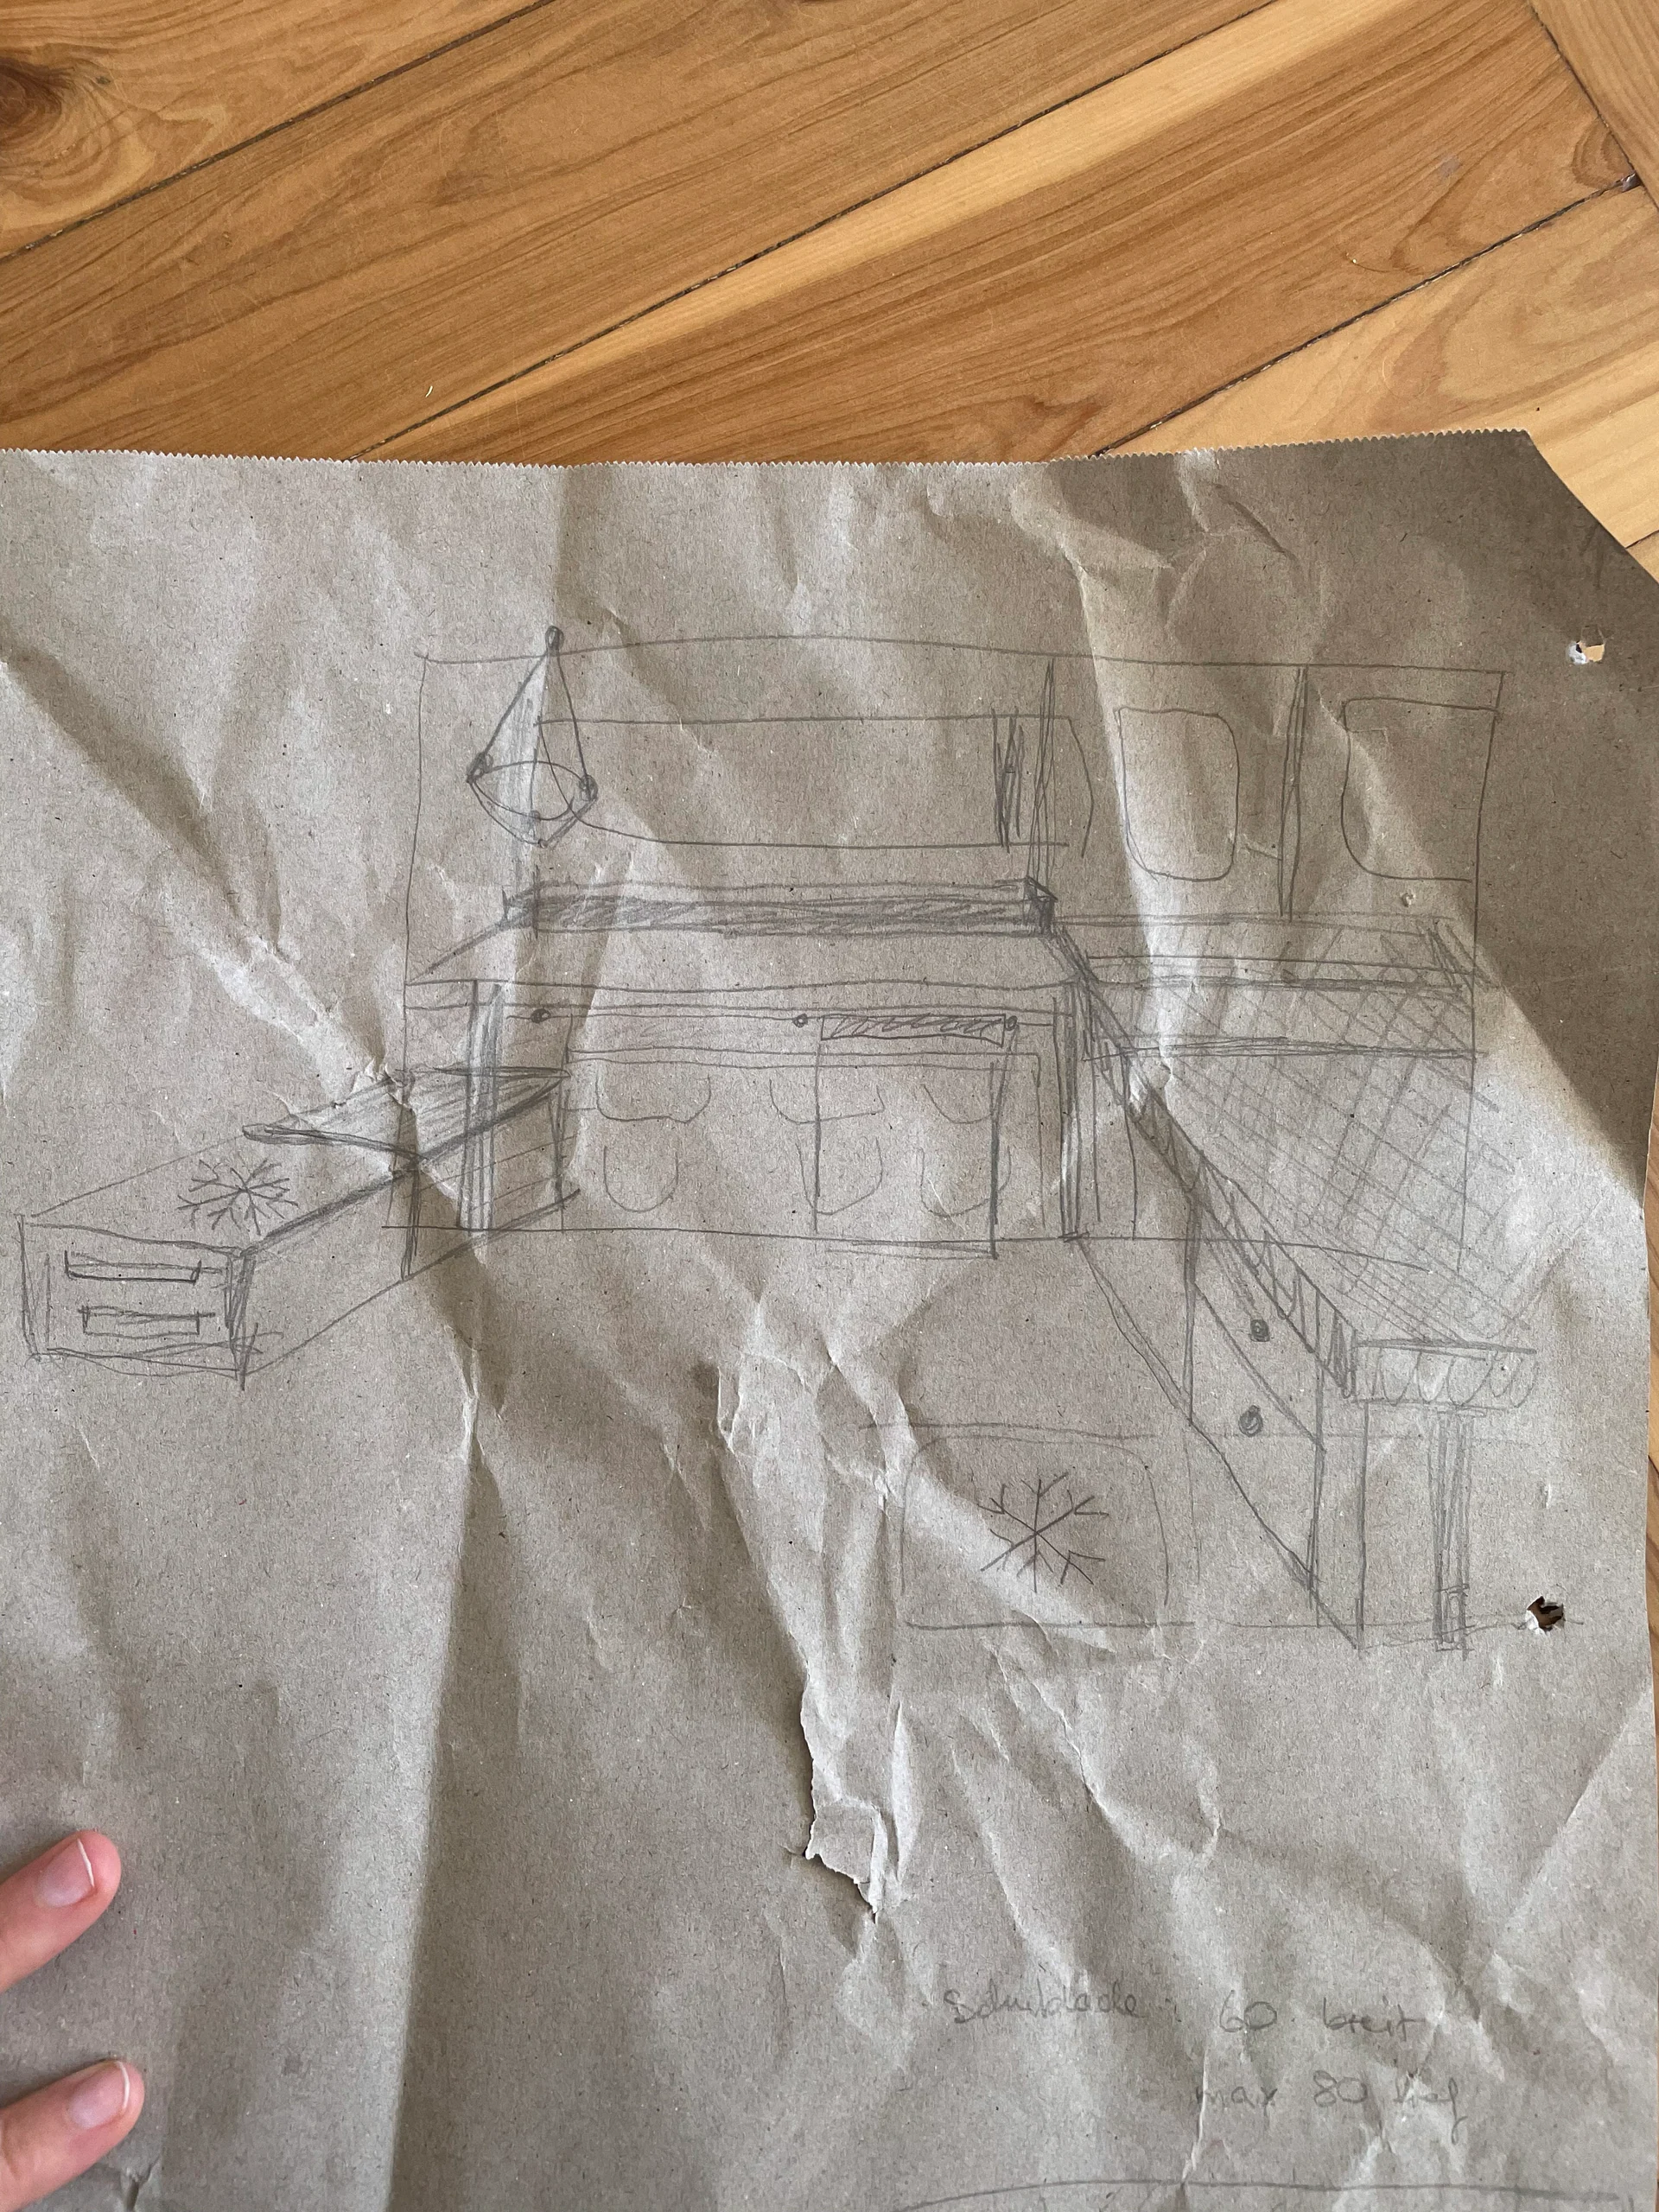
The table of knowledge was wrong. We modified our plan once more and then got going on the interior storage and living area. This also included modifying the Ikea bench to actually fit over the slight engine/transmission bump behind the seats. And of course, yet another trip to Bunnings to get more ply wood.
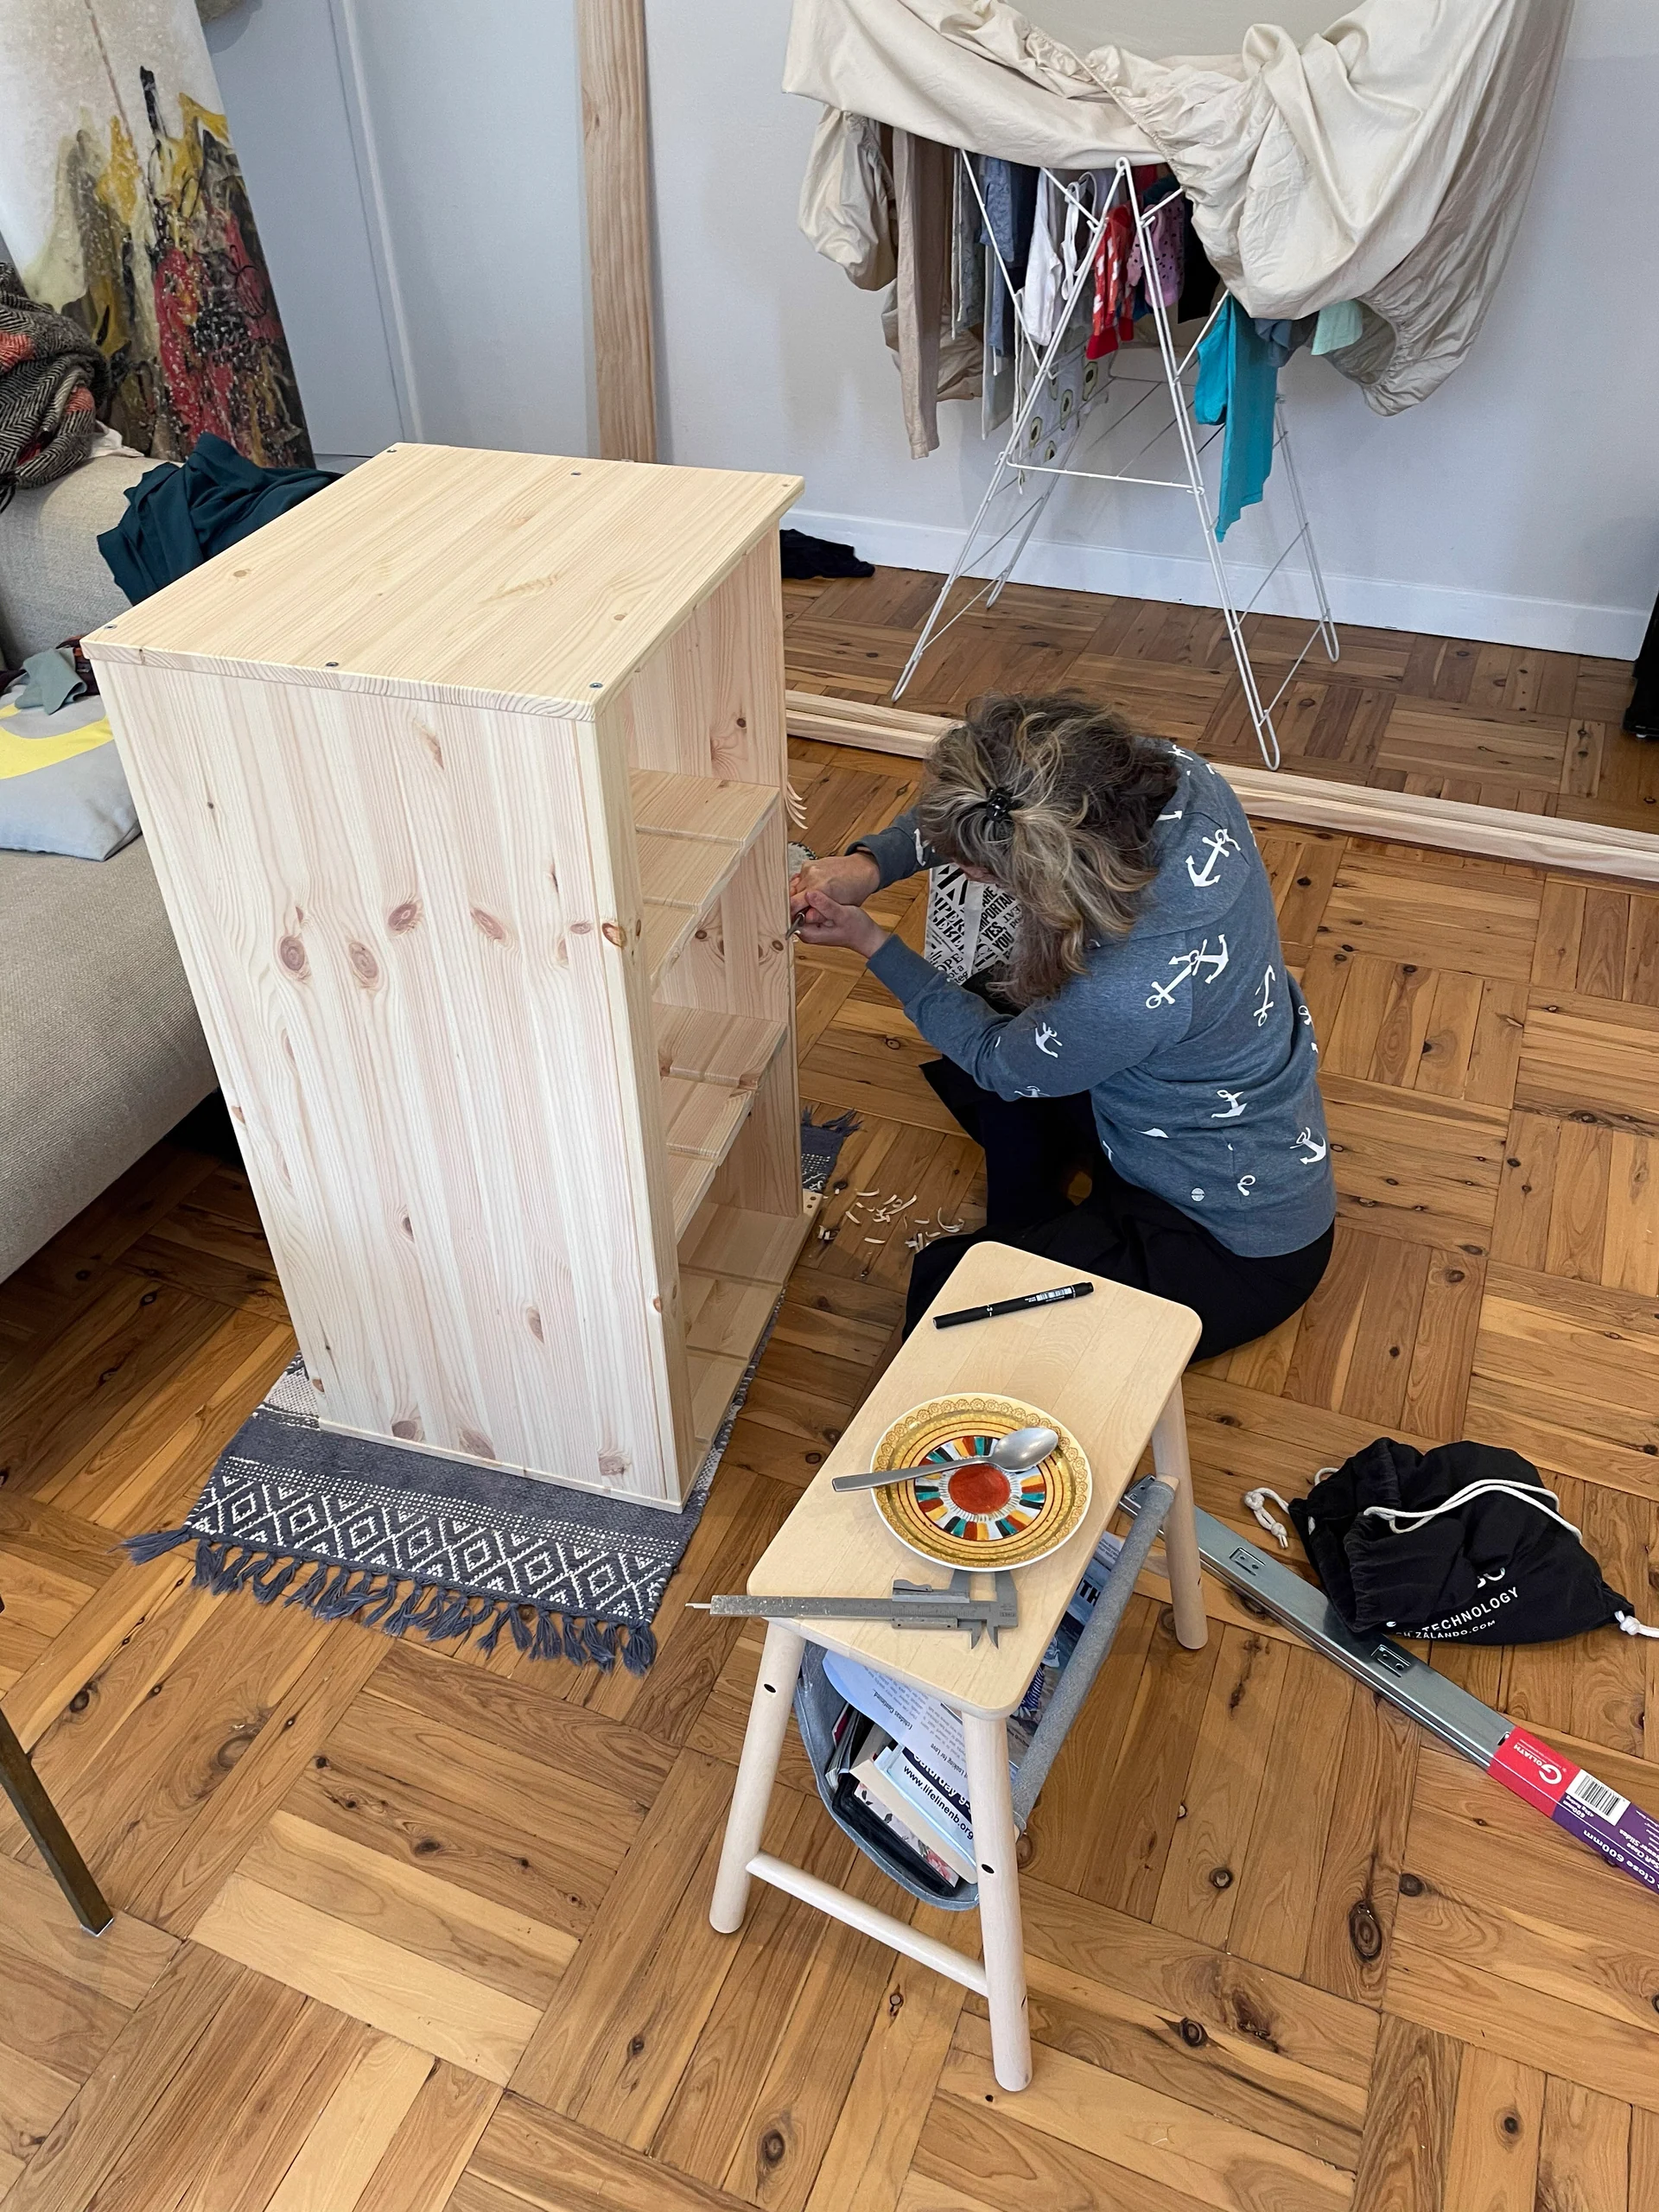
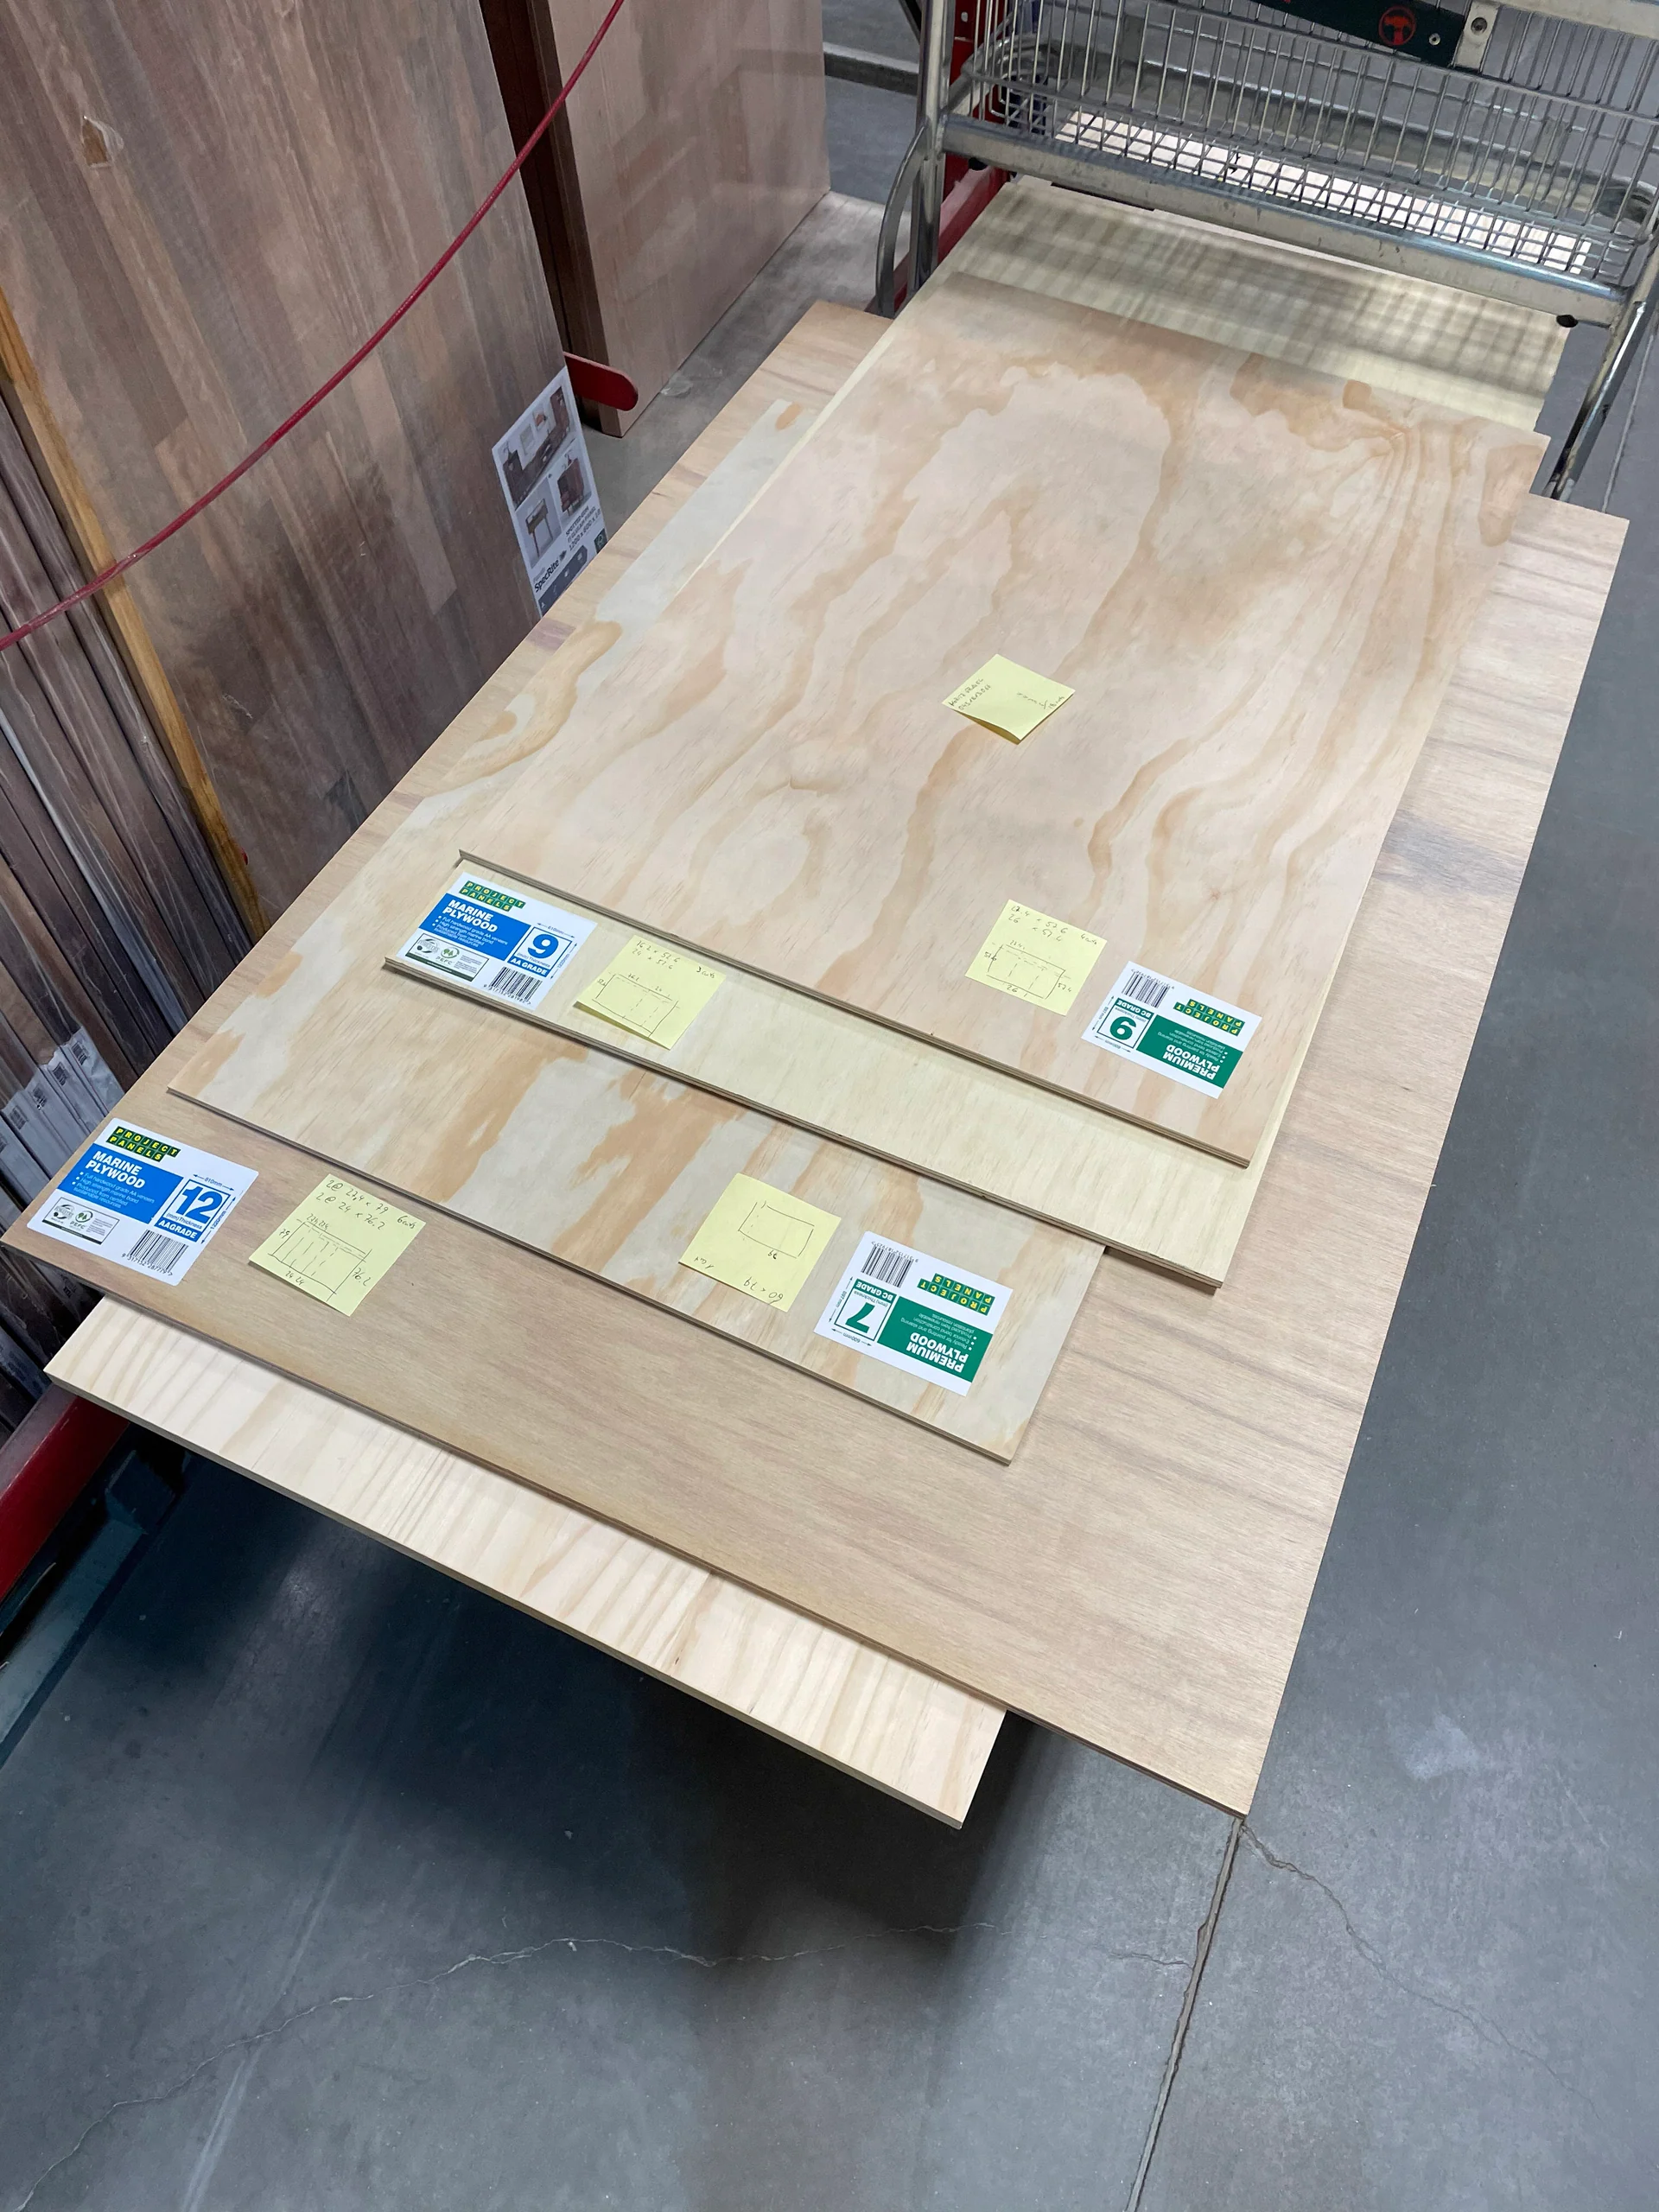
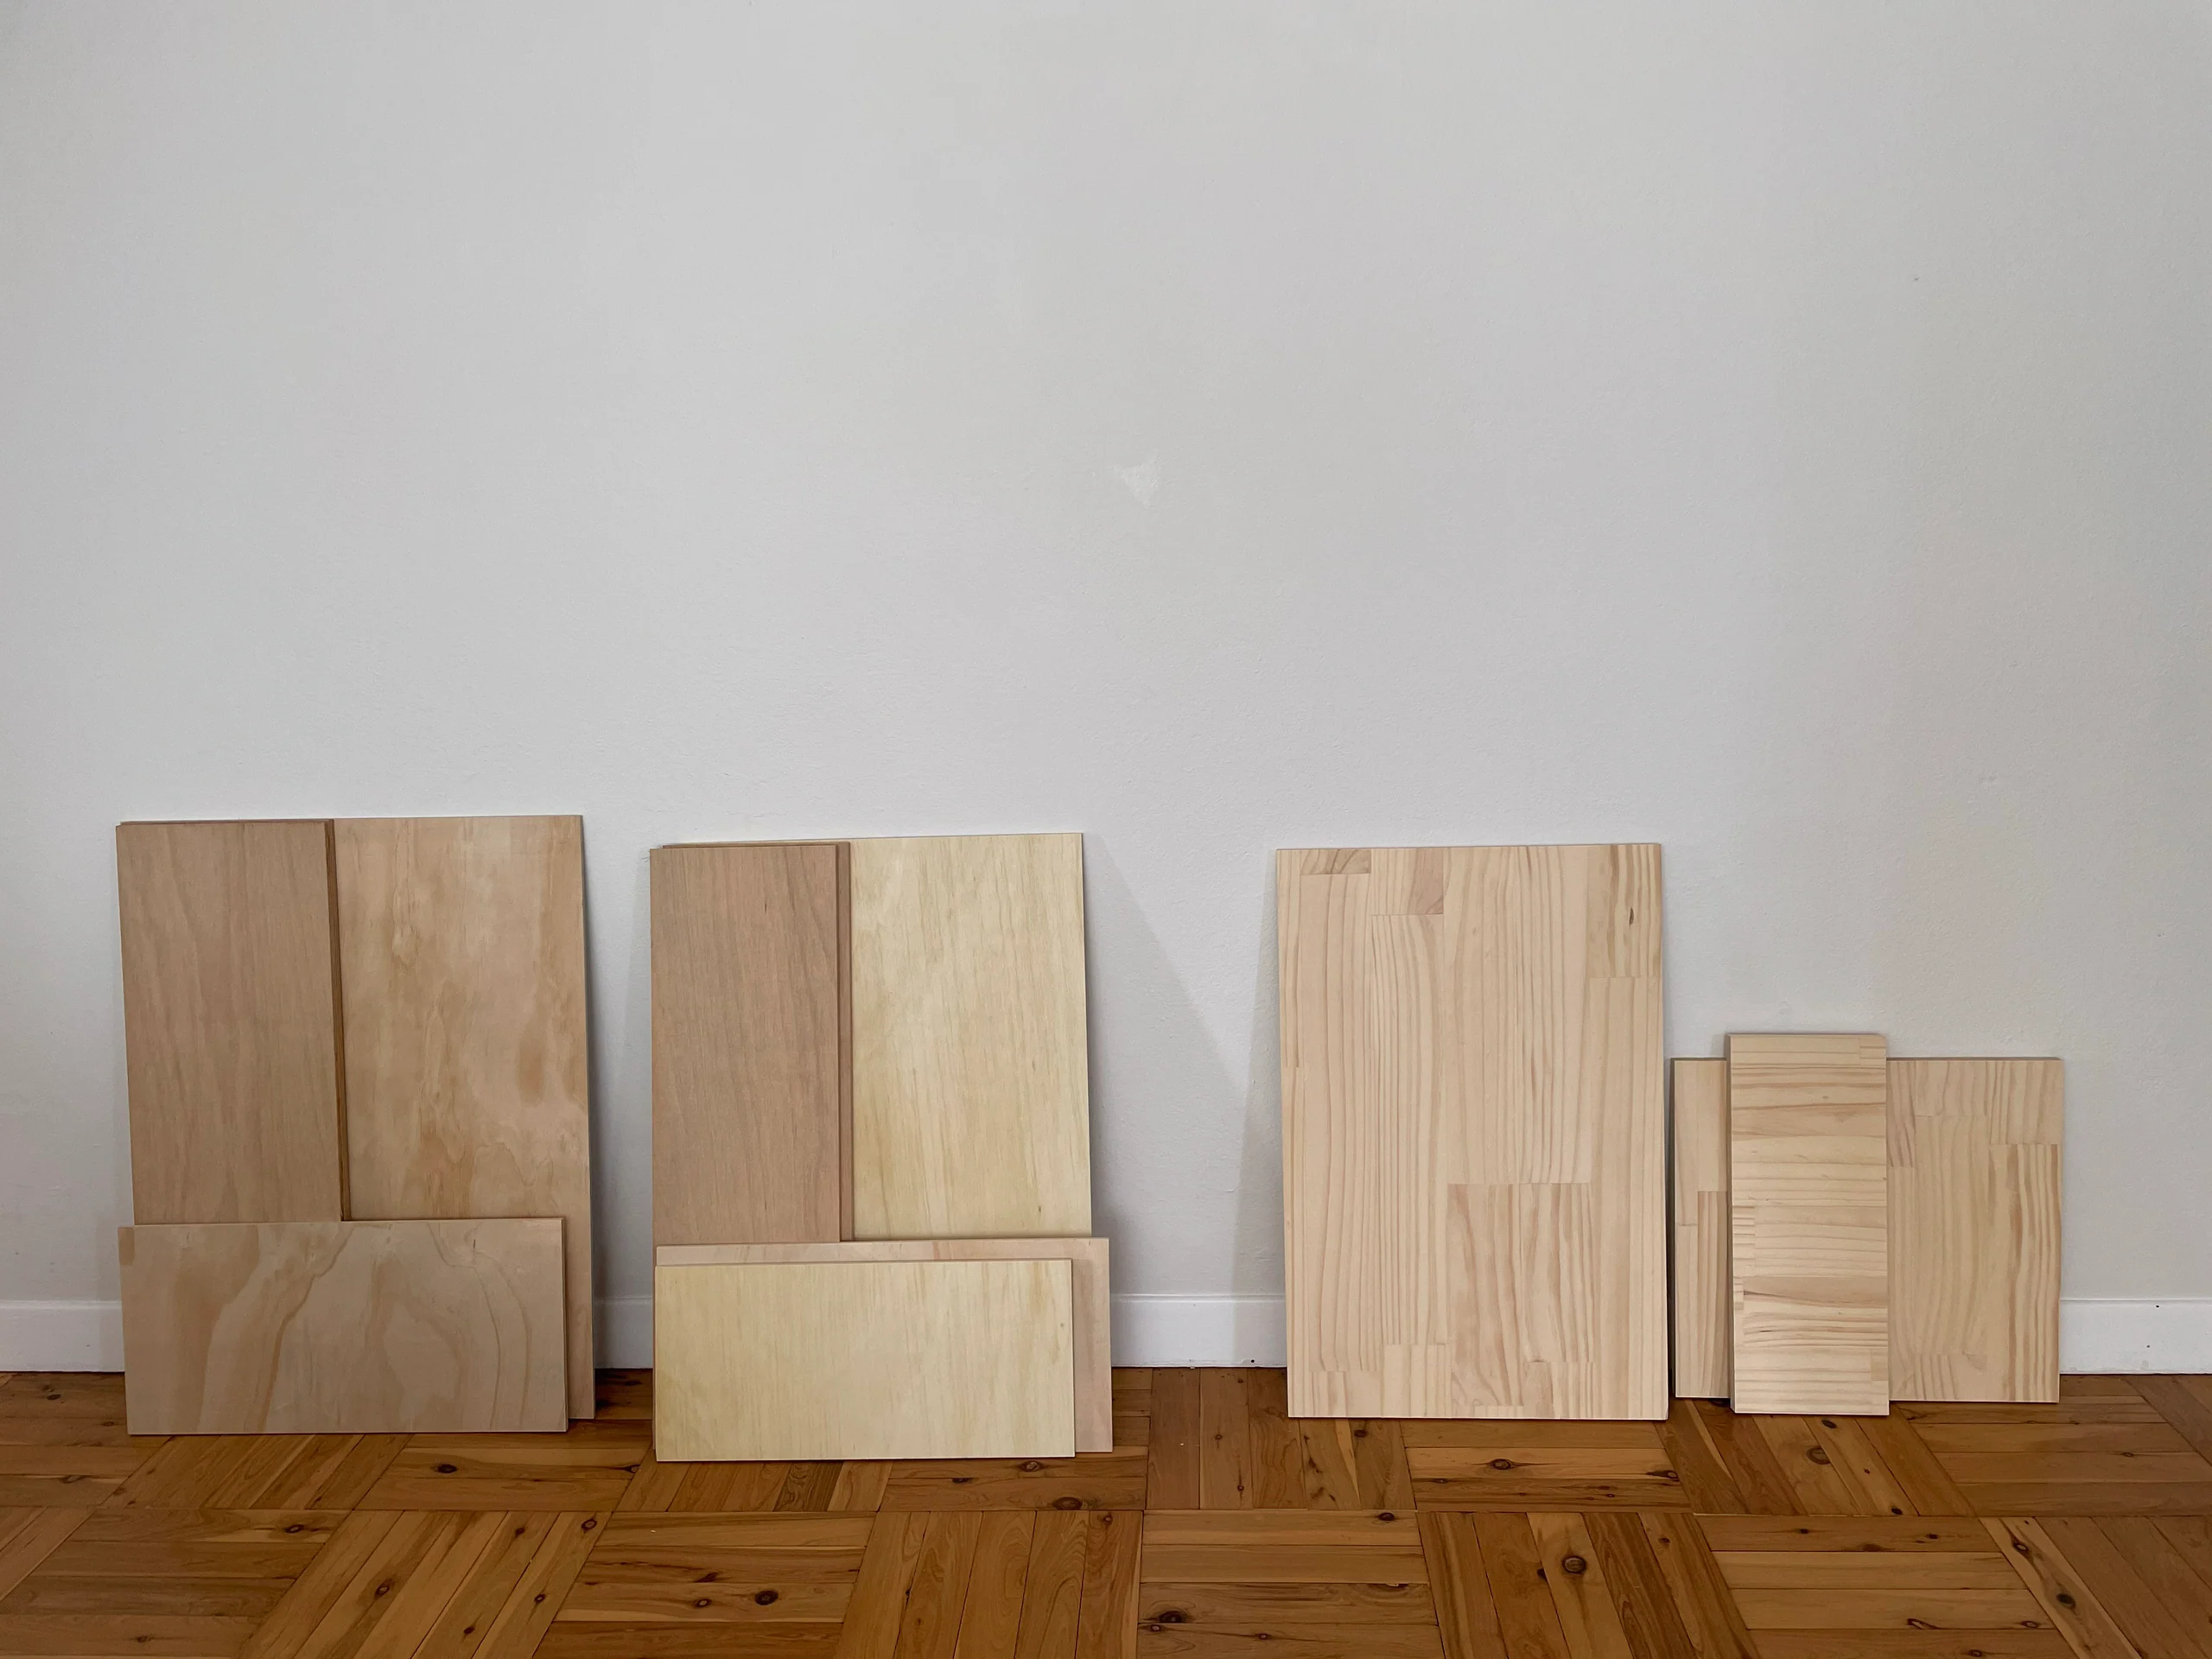
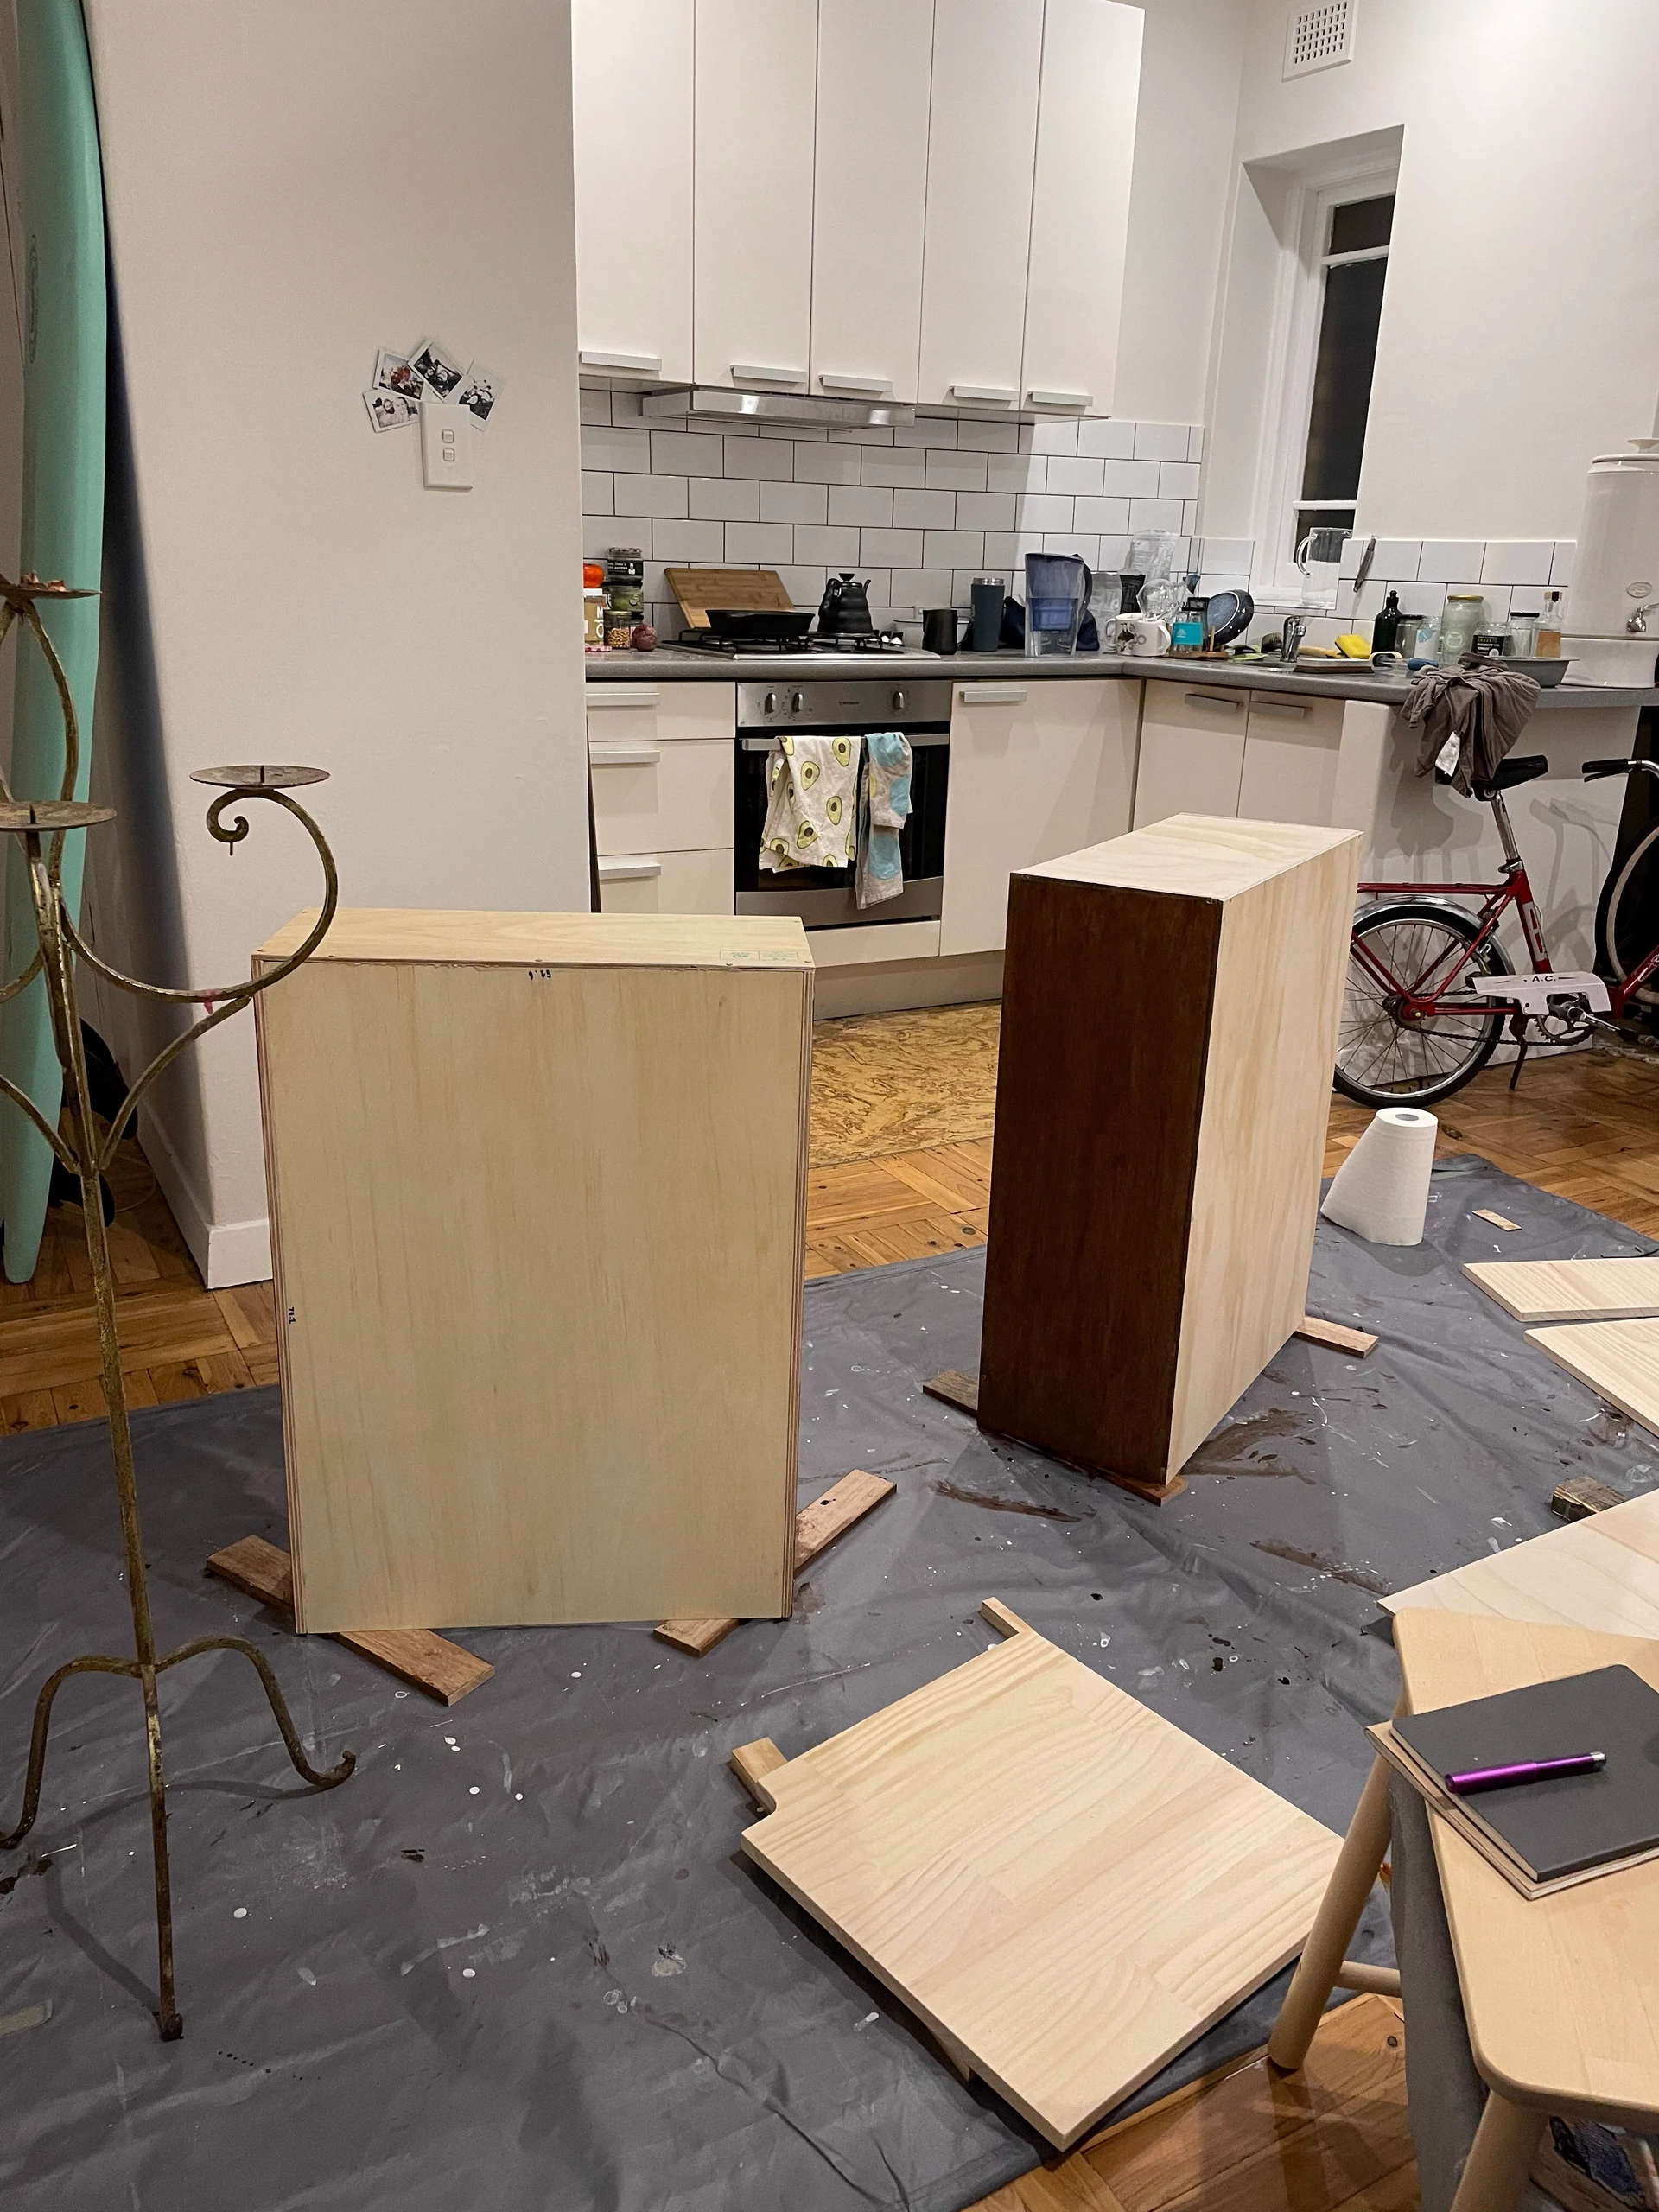
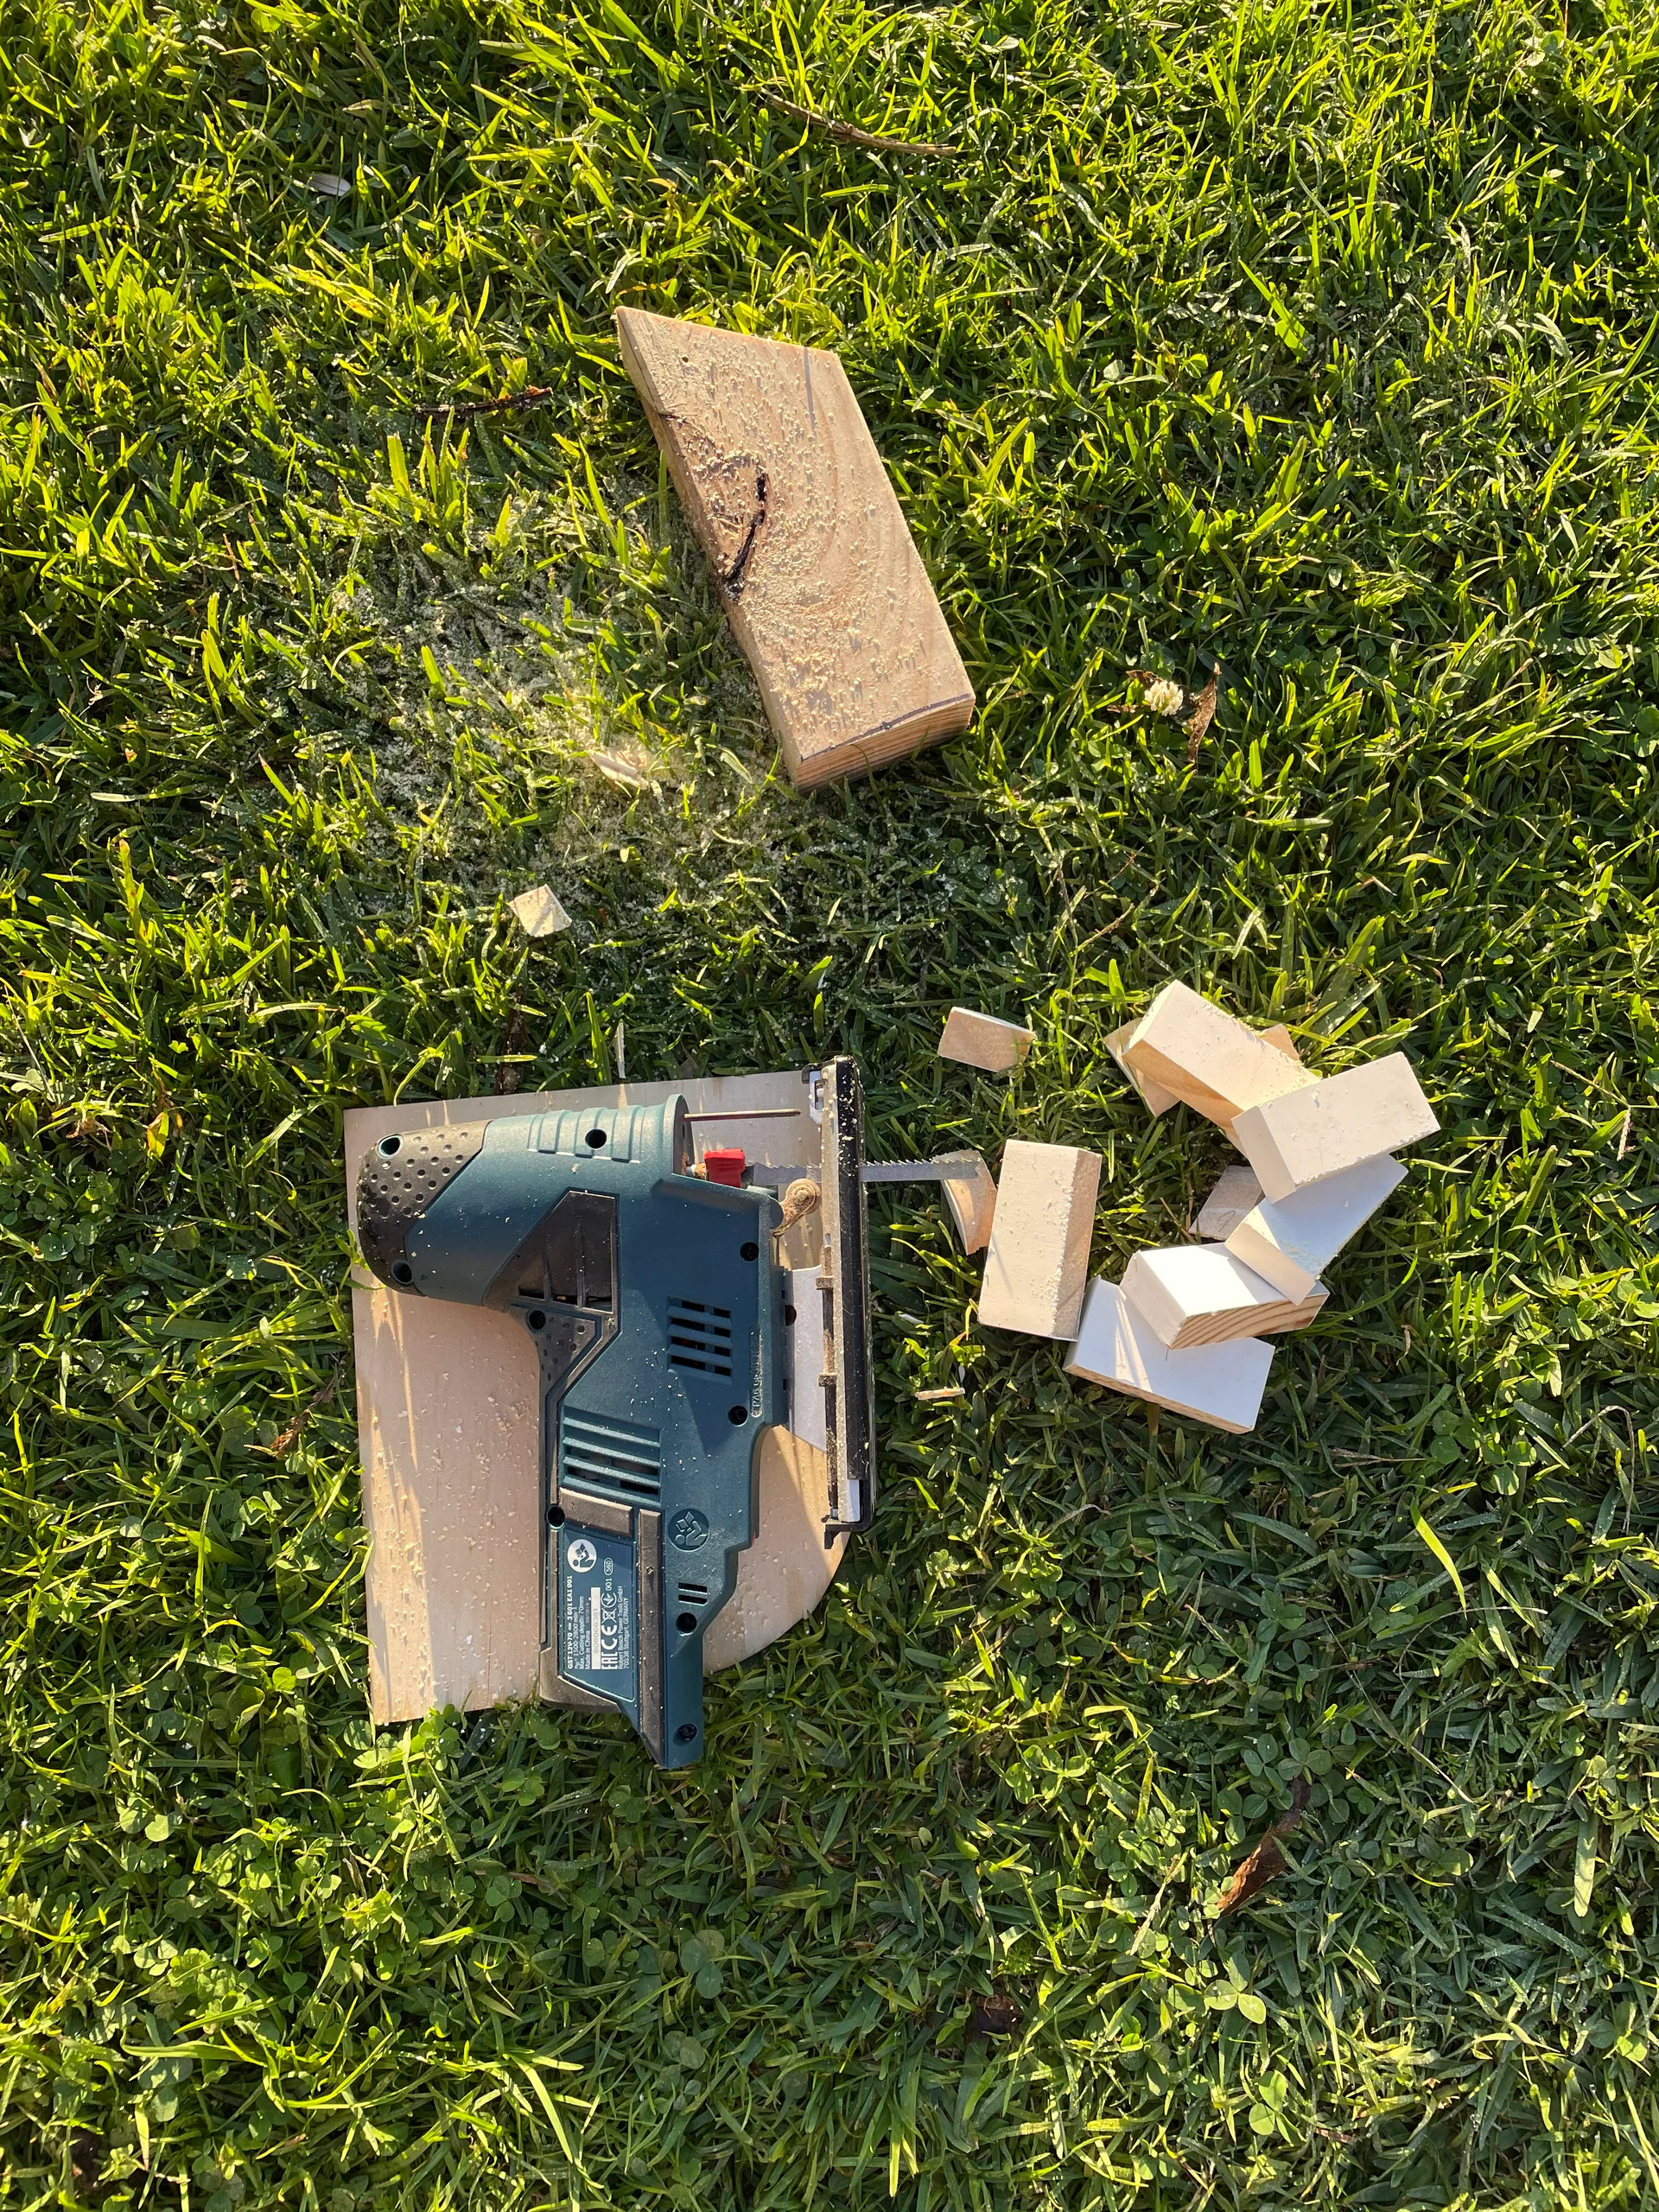
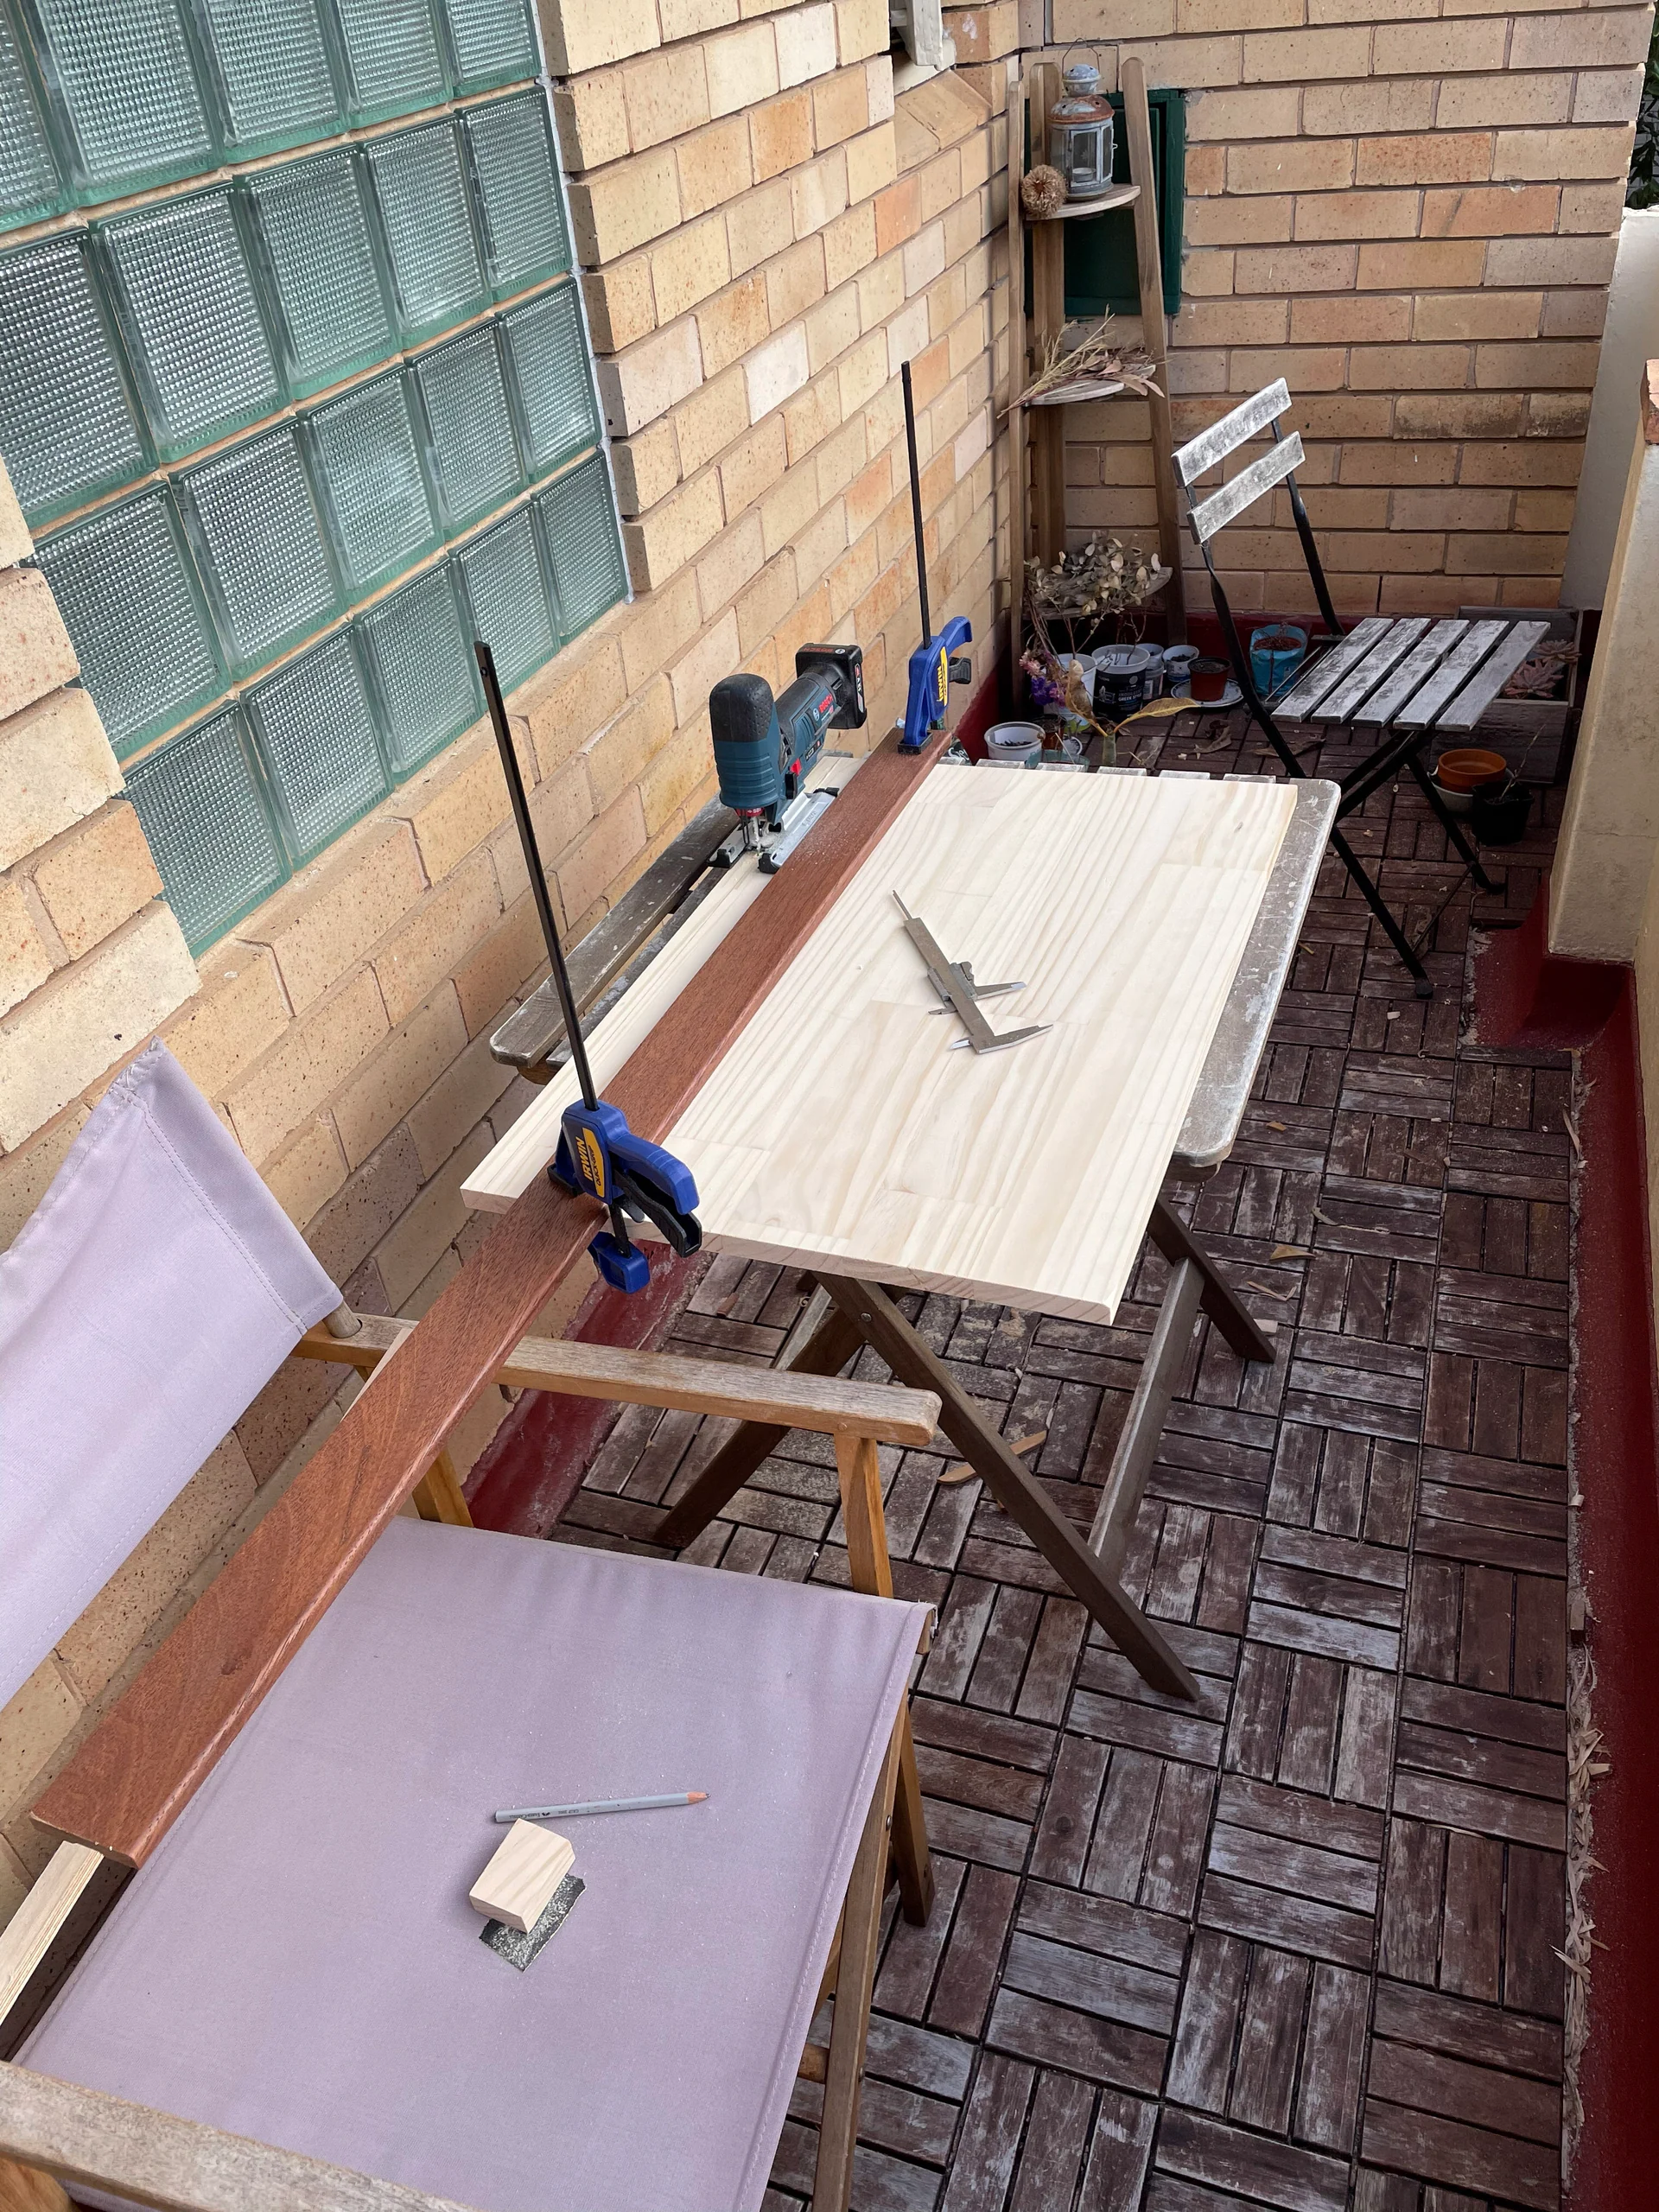
How to make a straight cut at home with only a handheld jig saw. Bonus points for not cutting through the balcony table (I did not collect these bonus points).
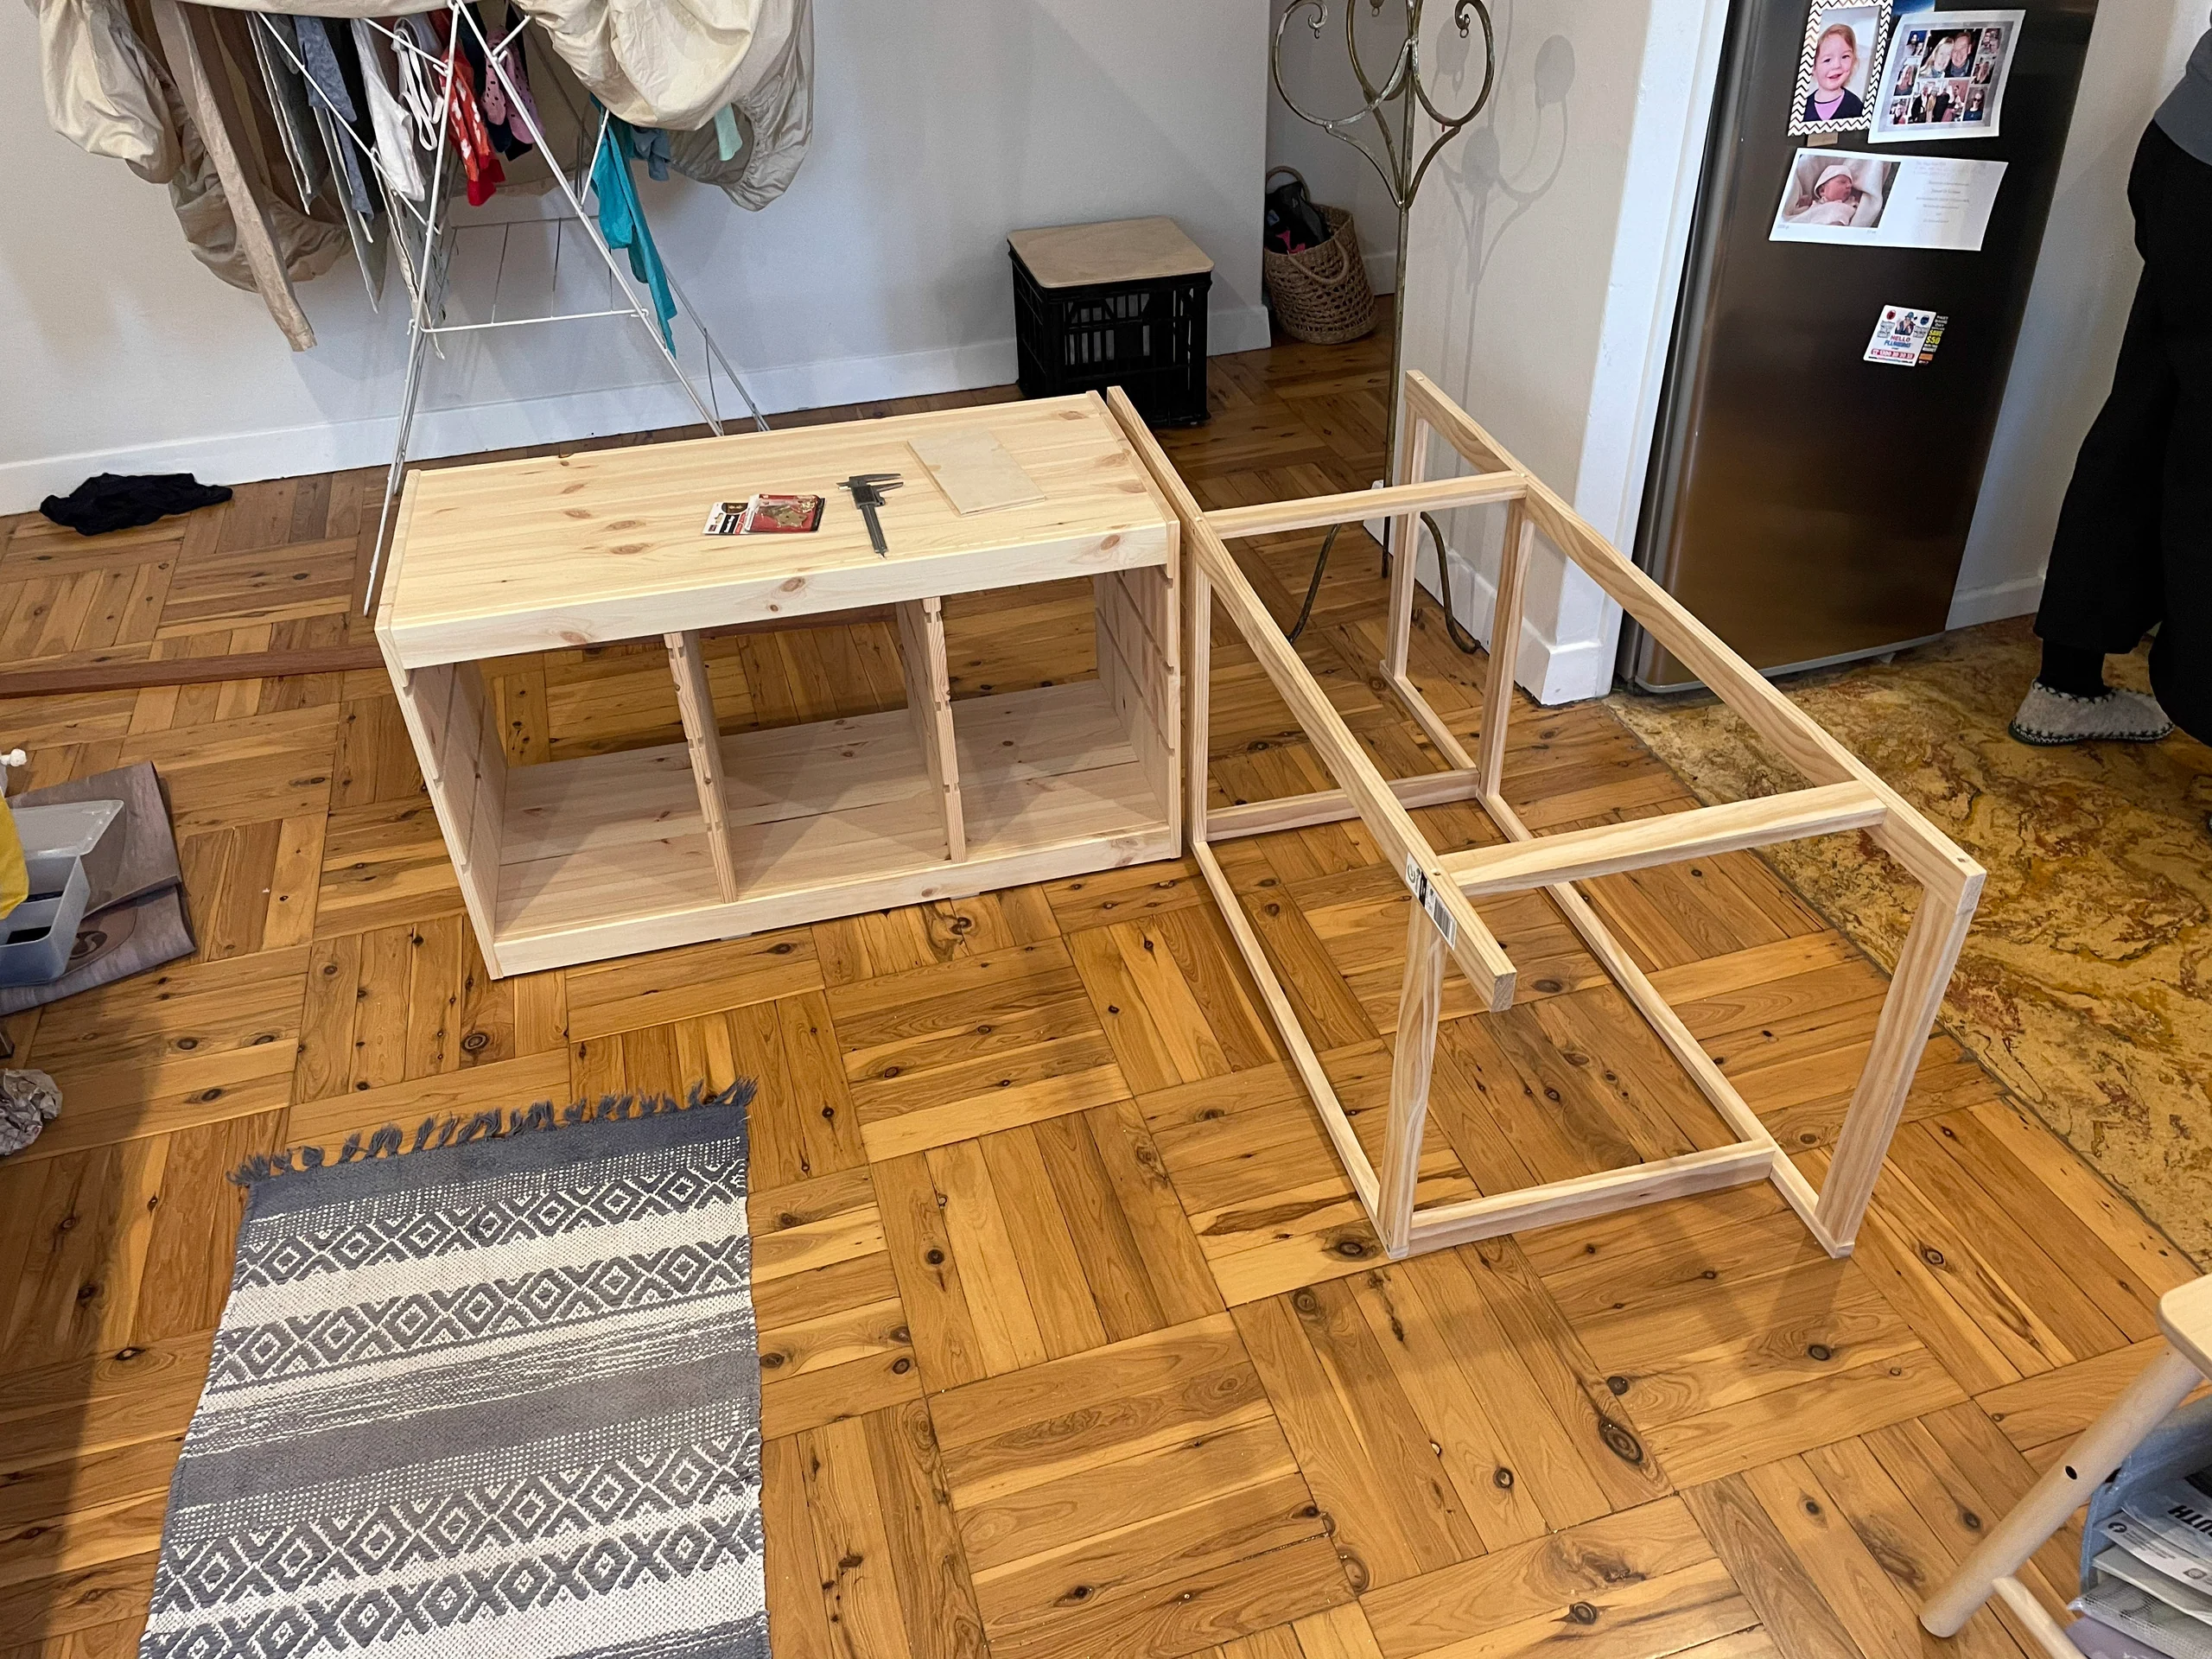
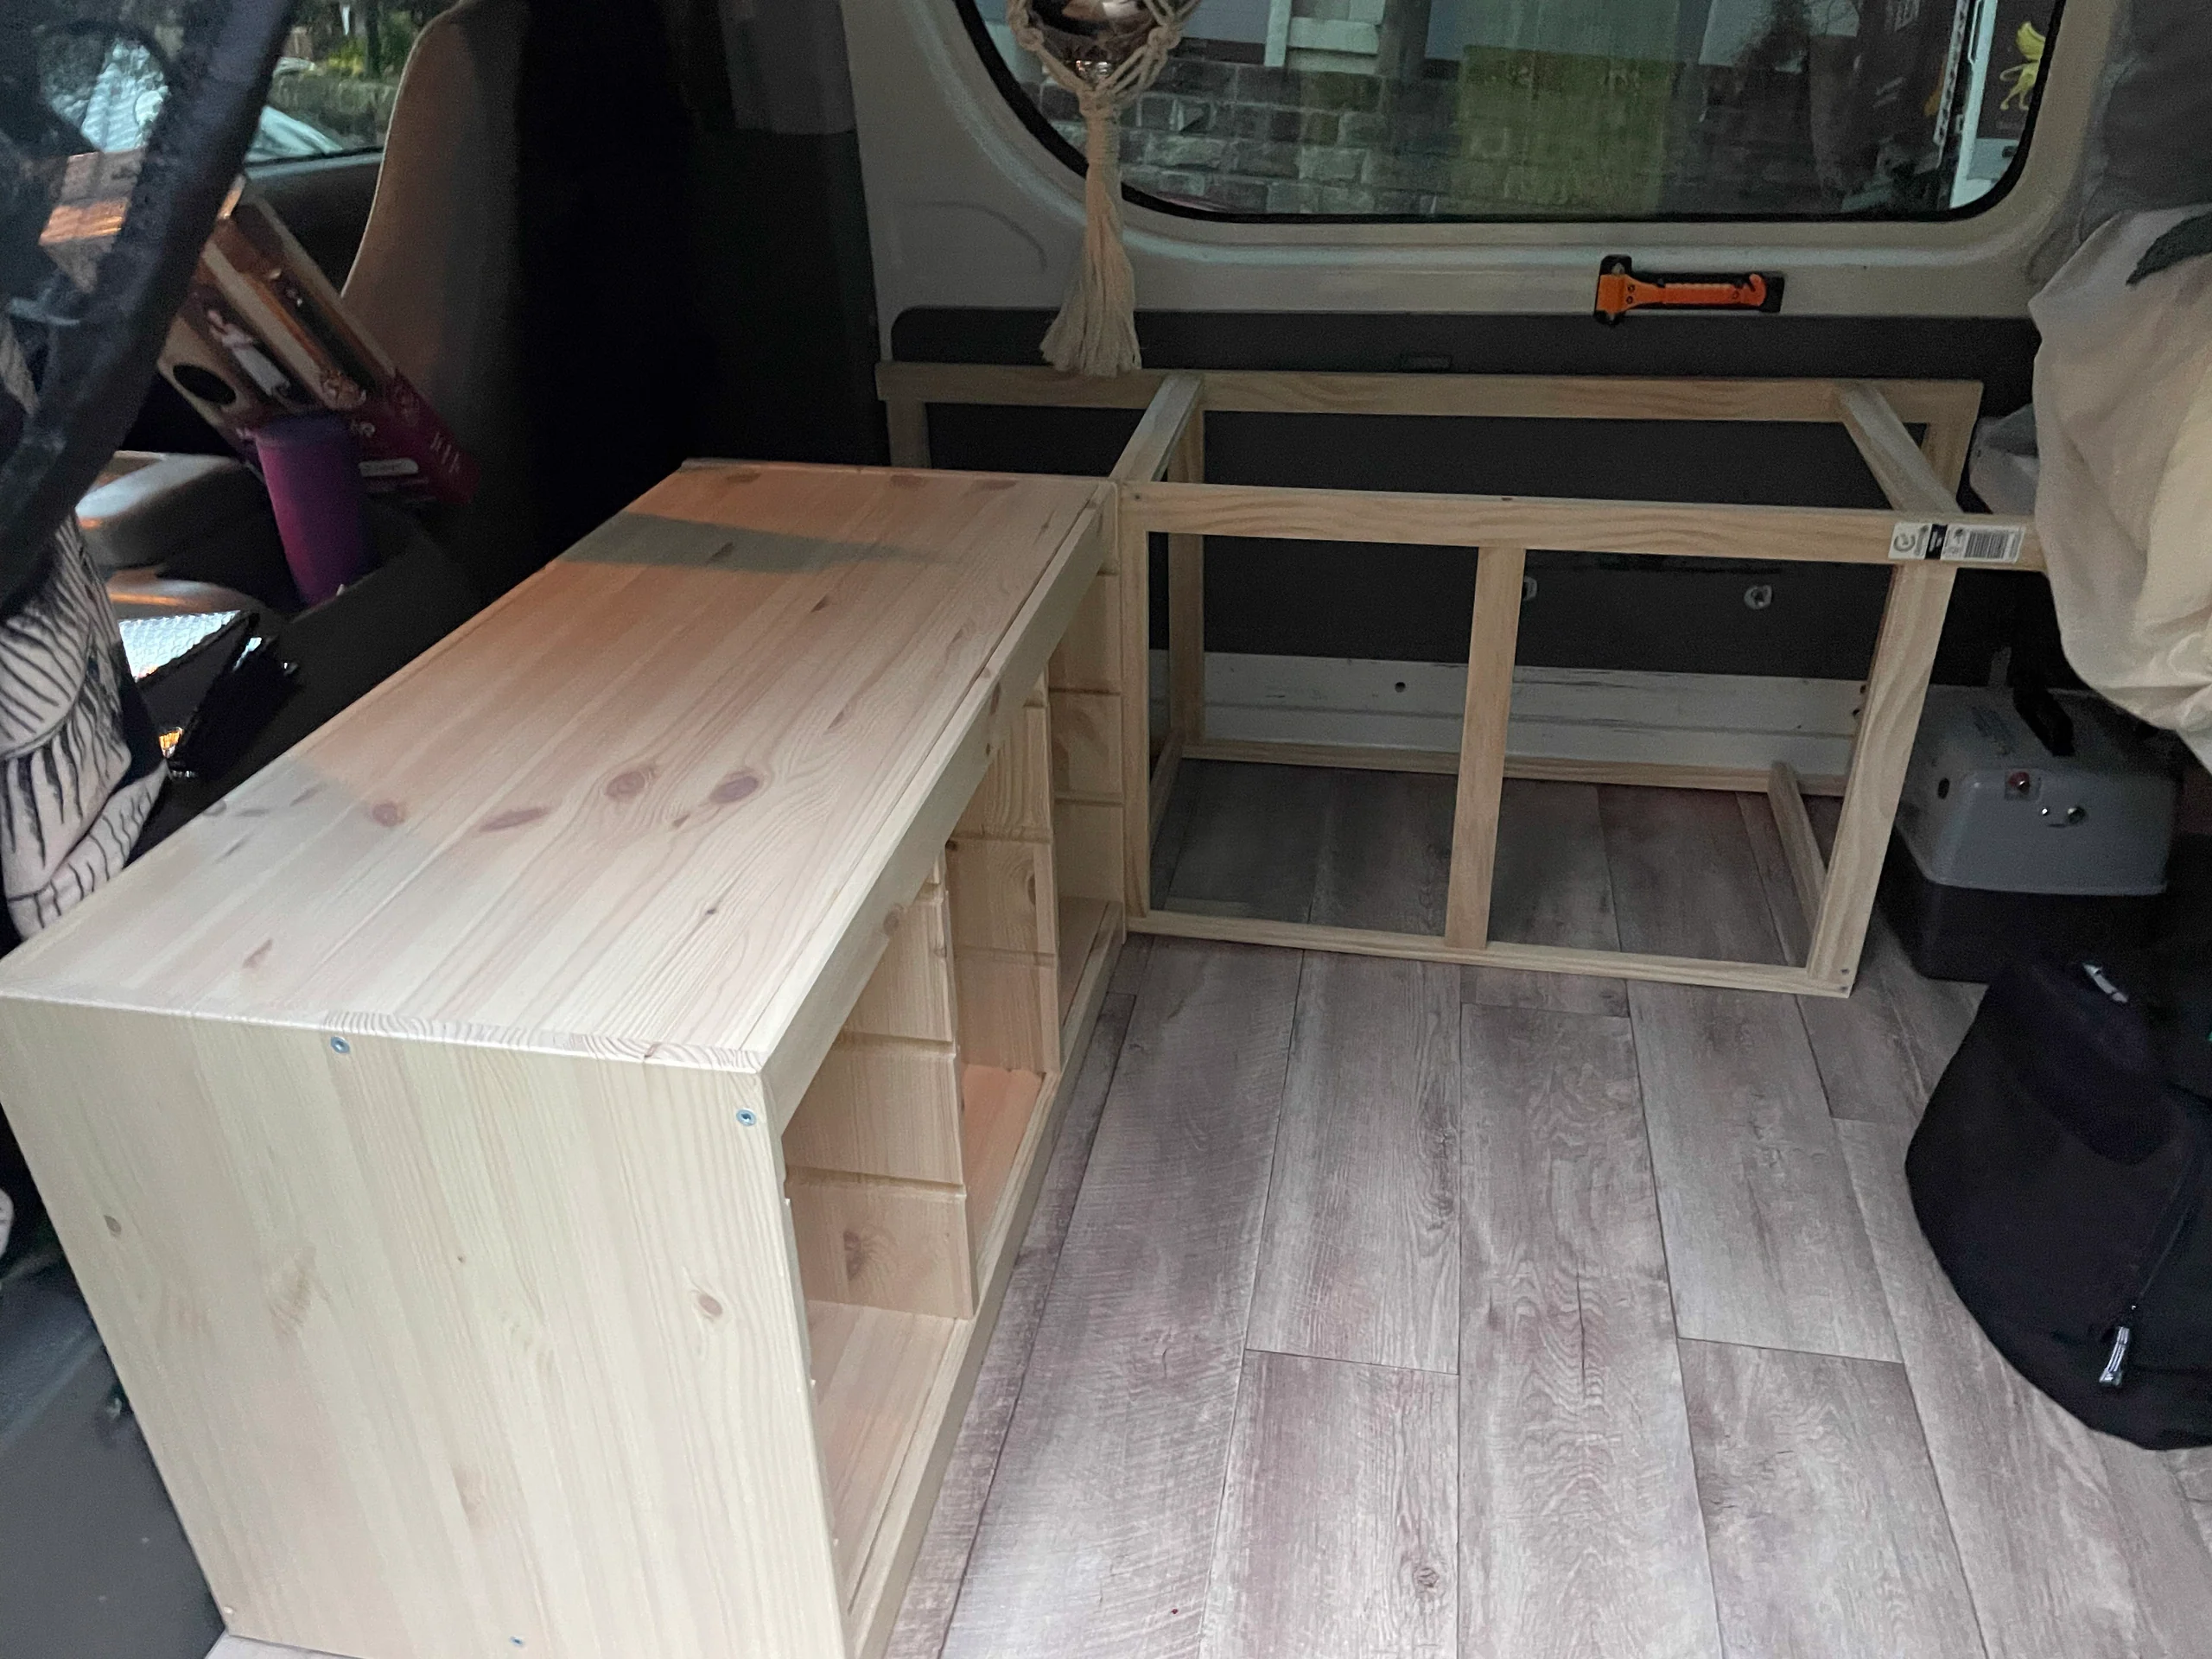
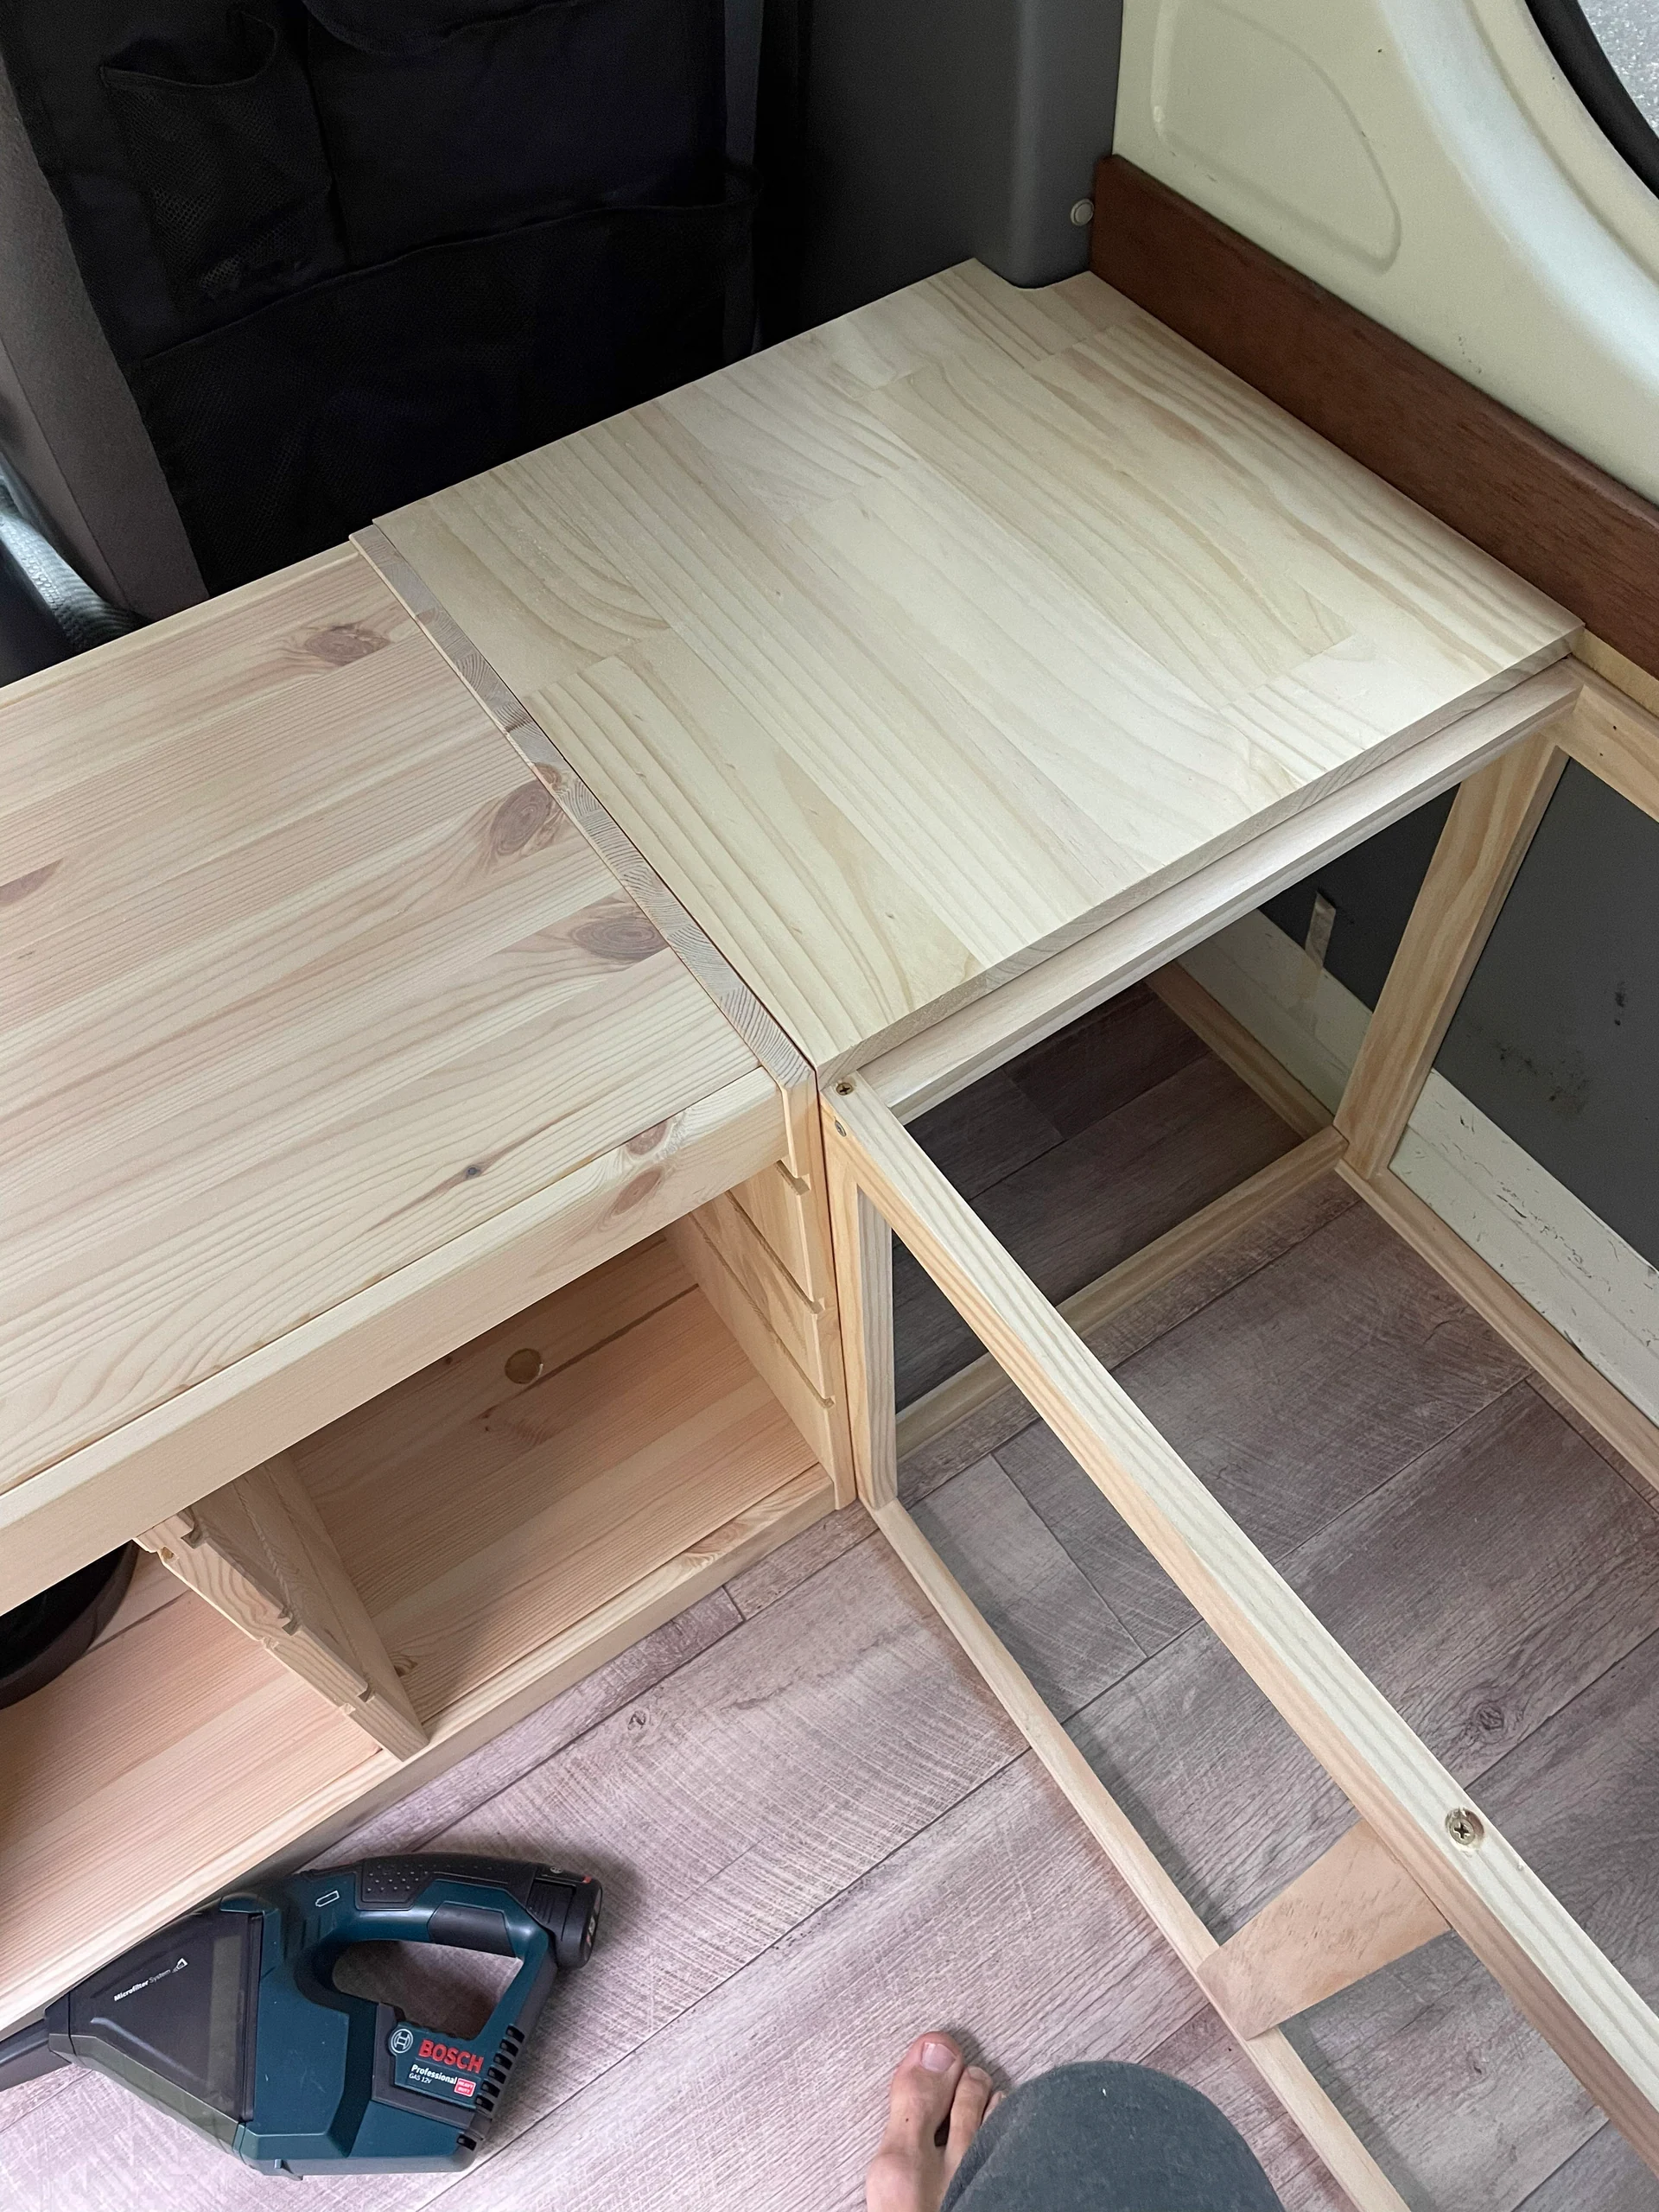
This chest is where the camping fridge will live in.
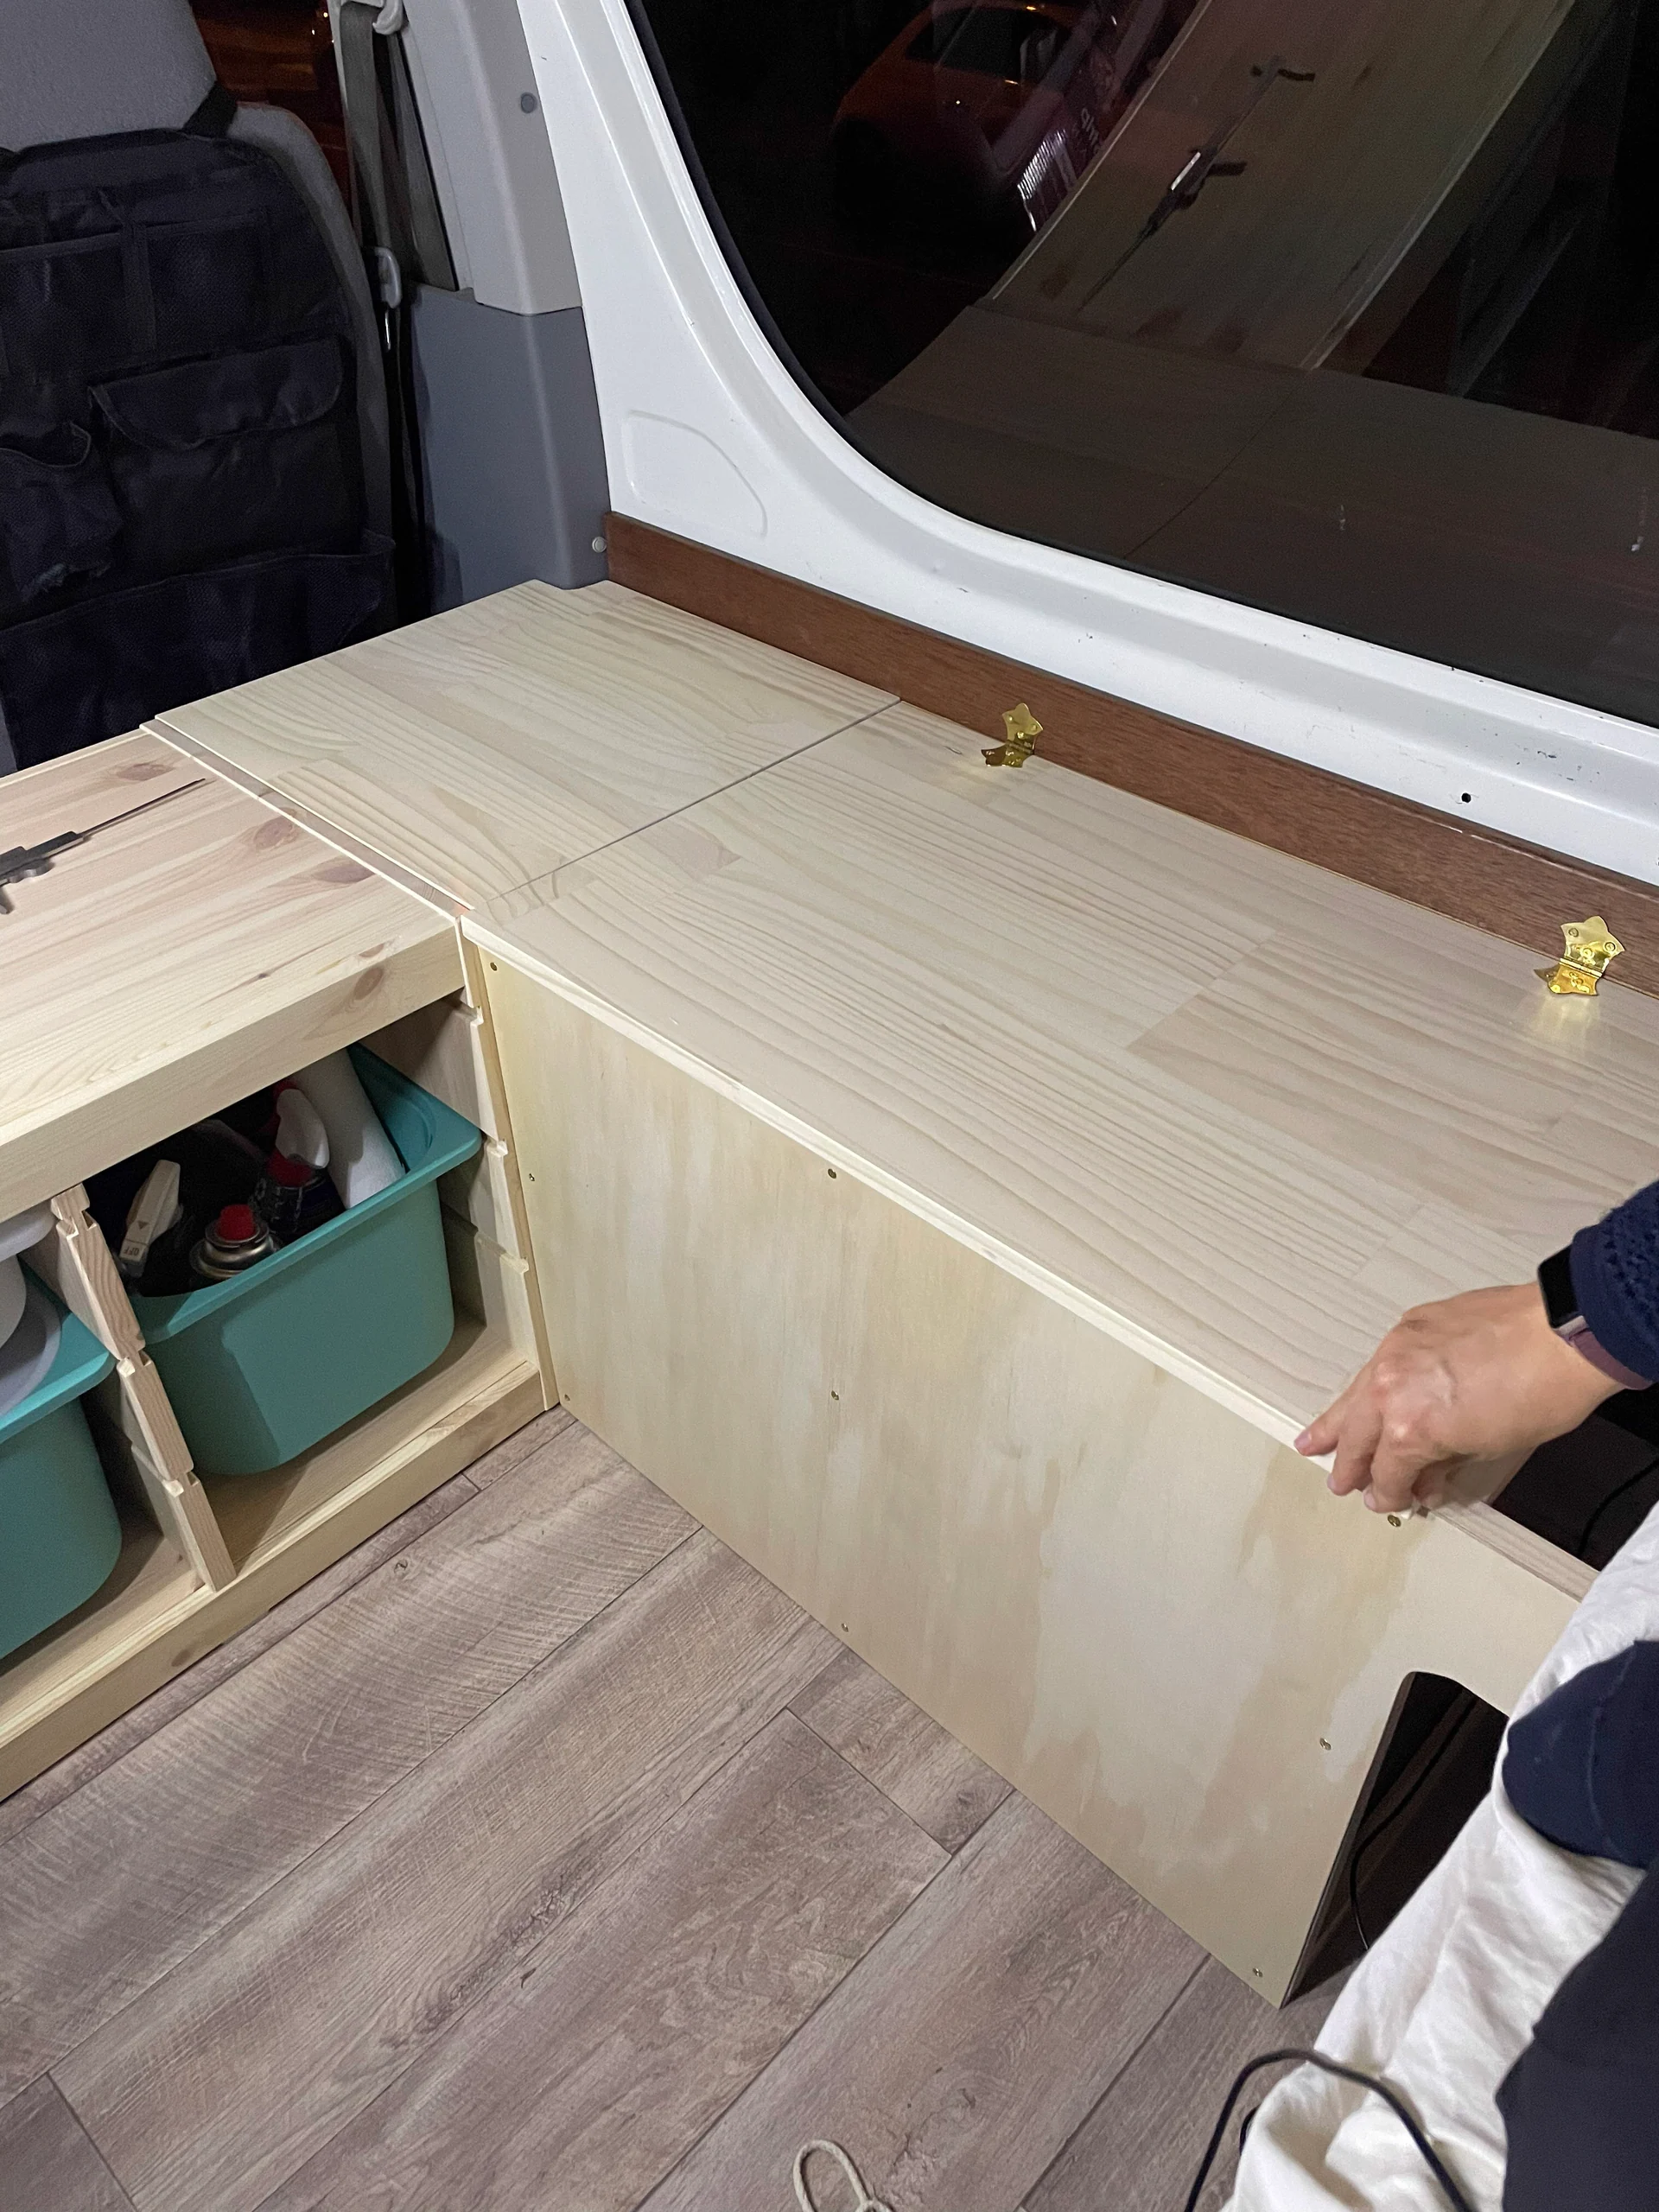
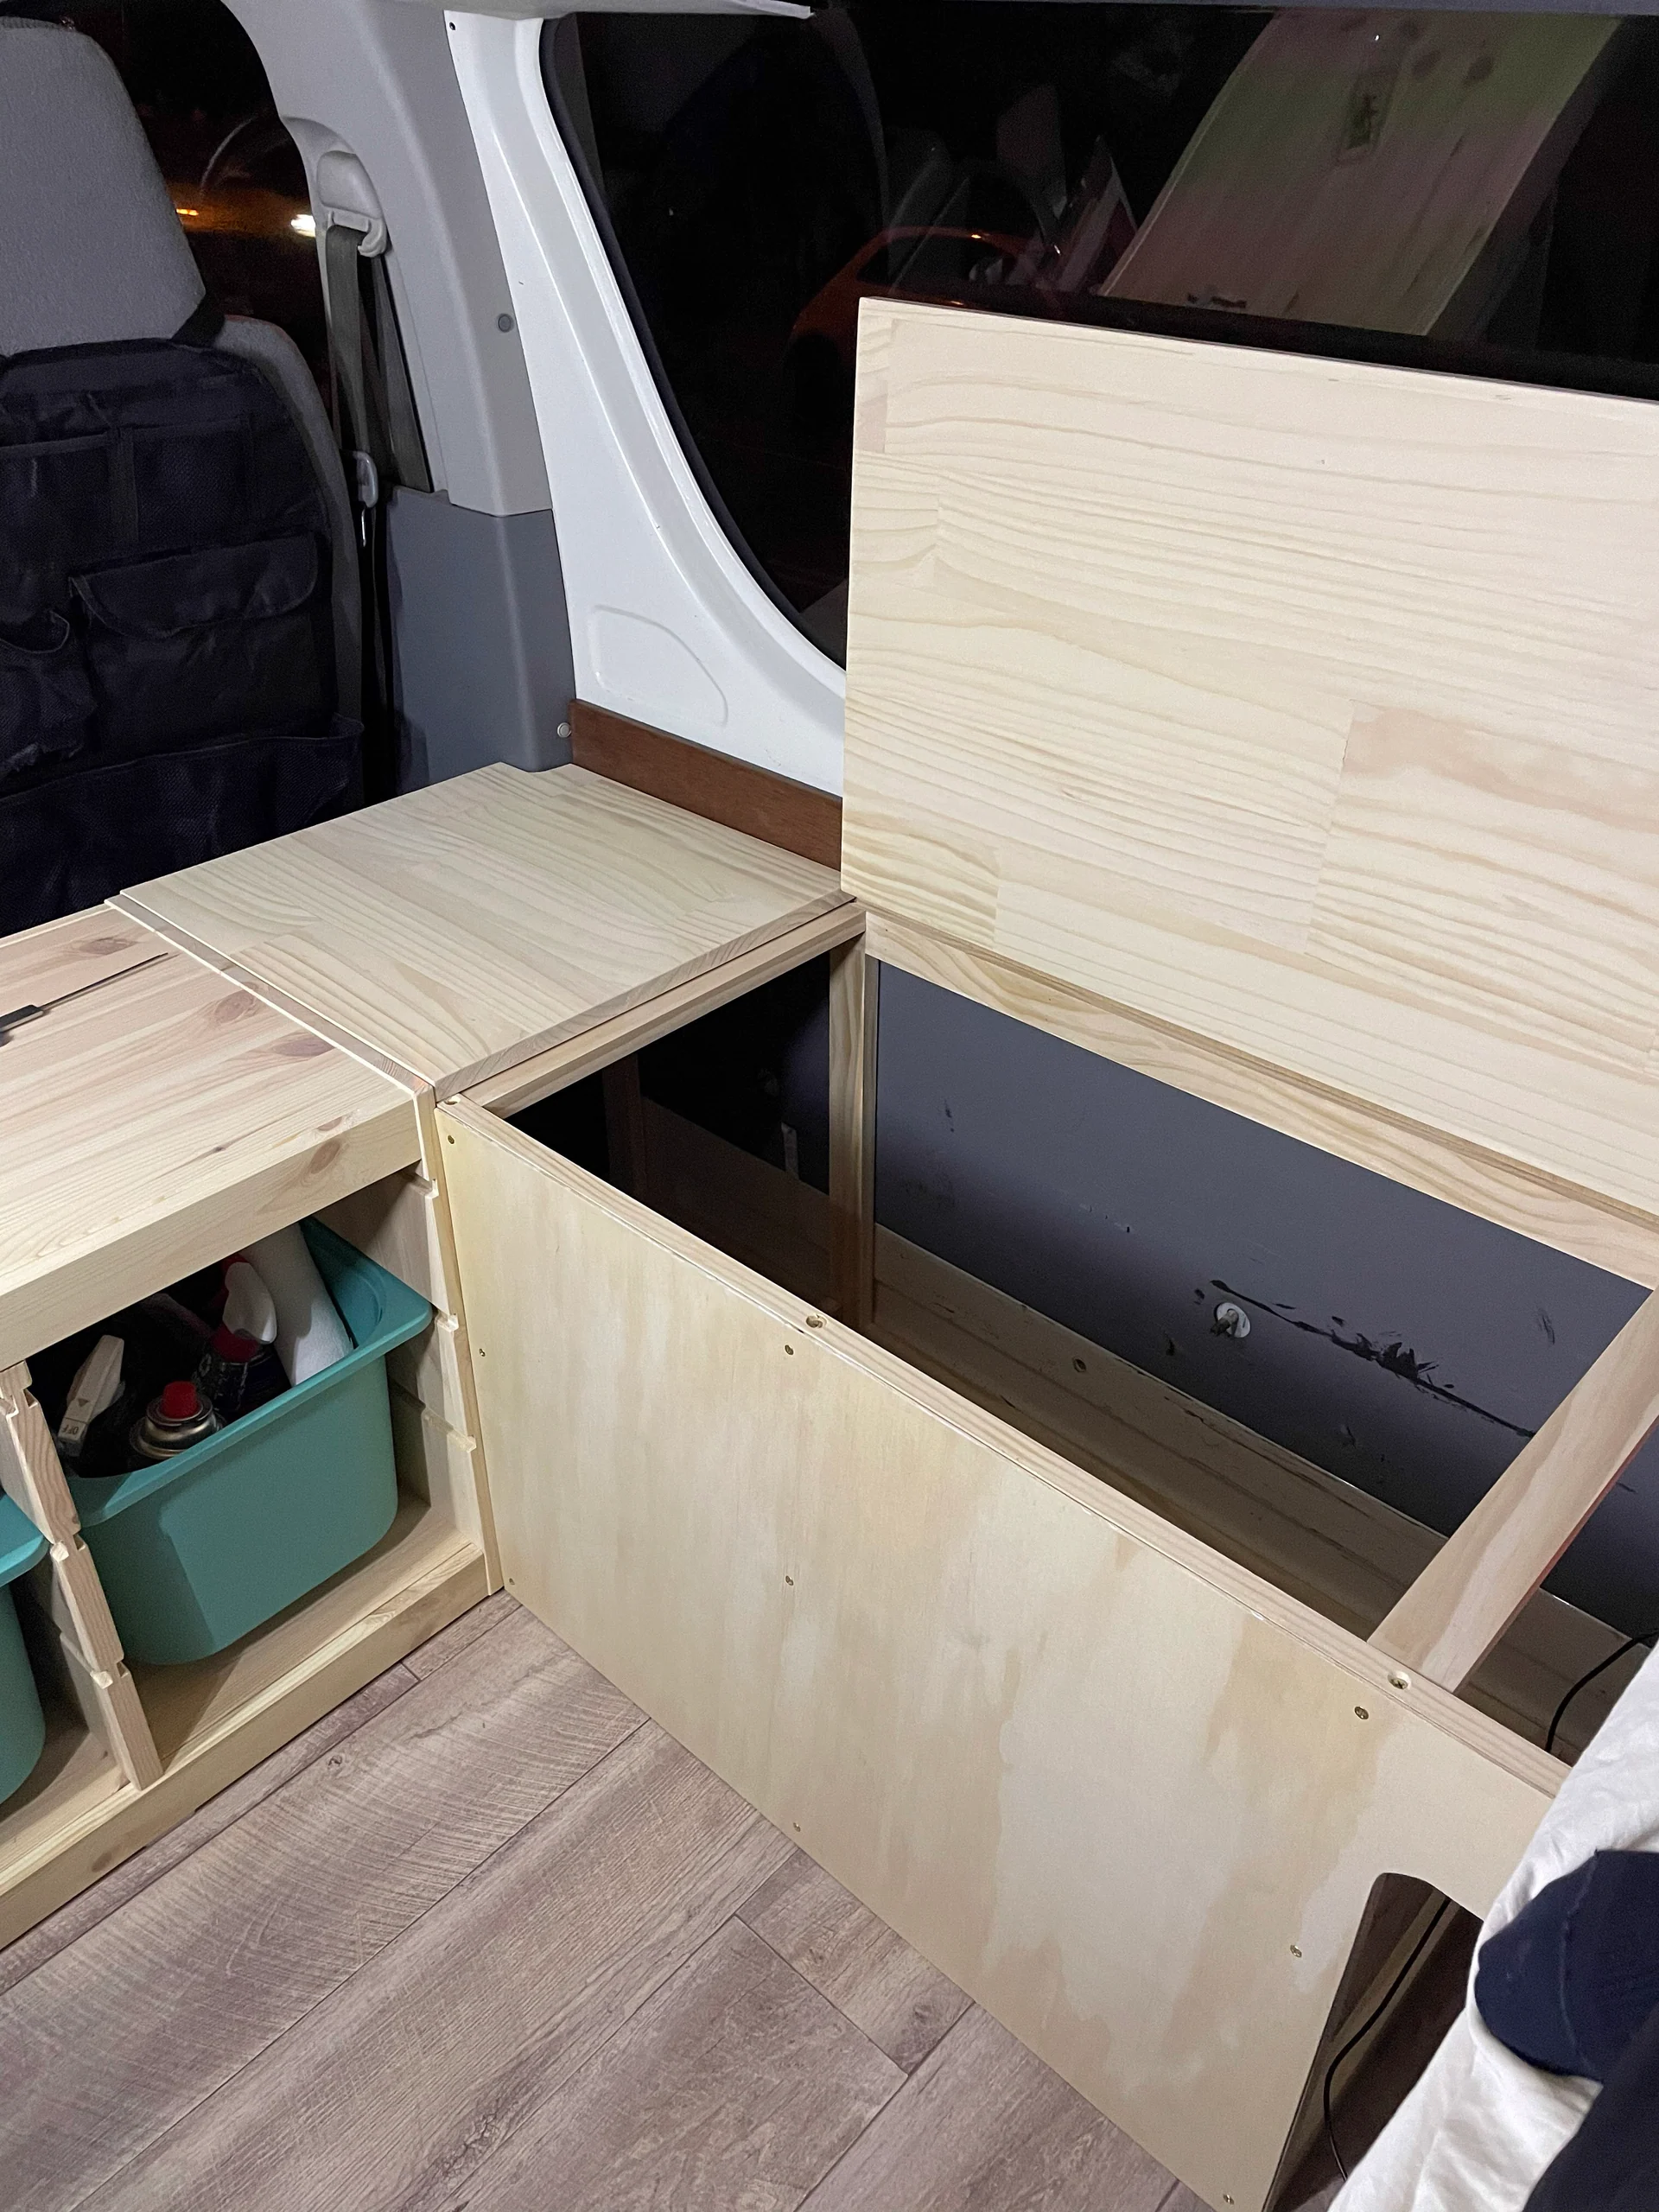
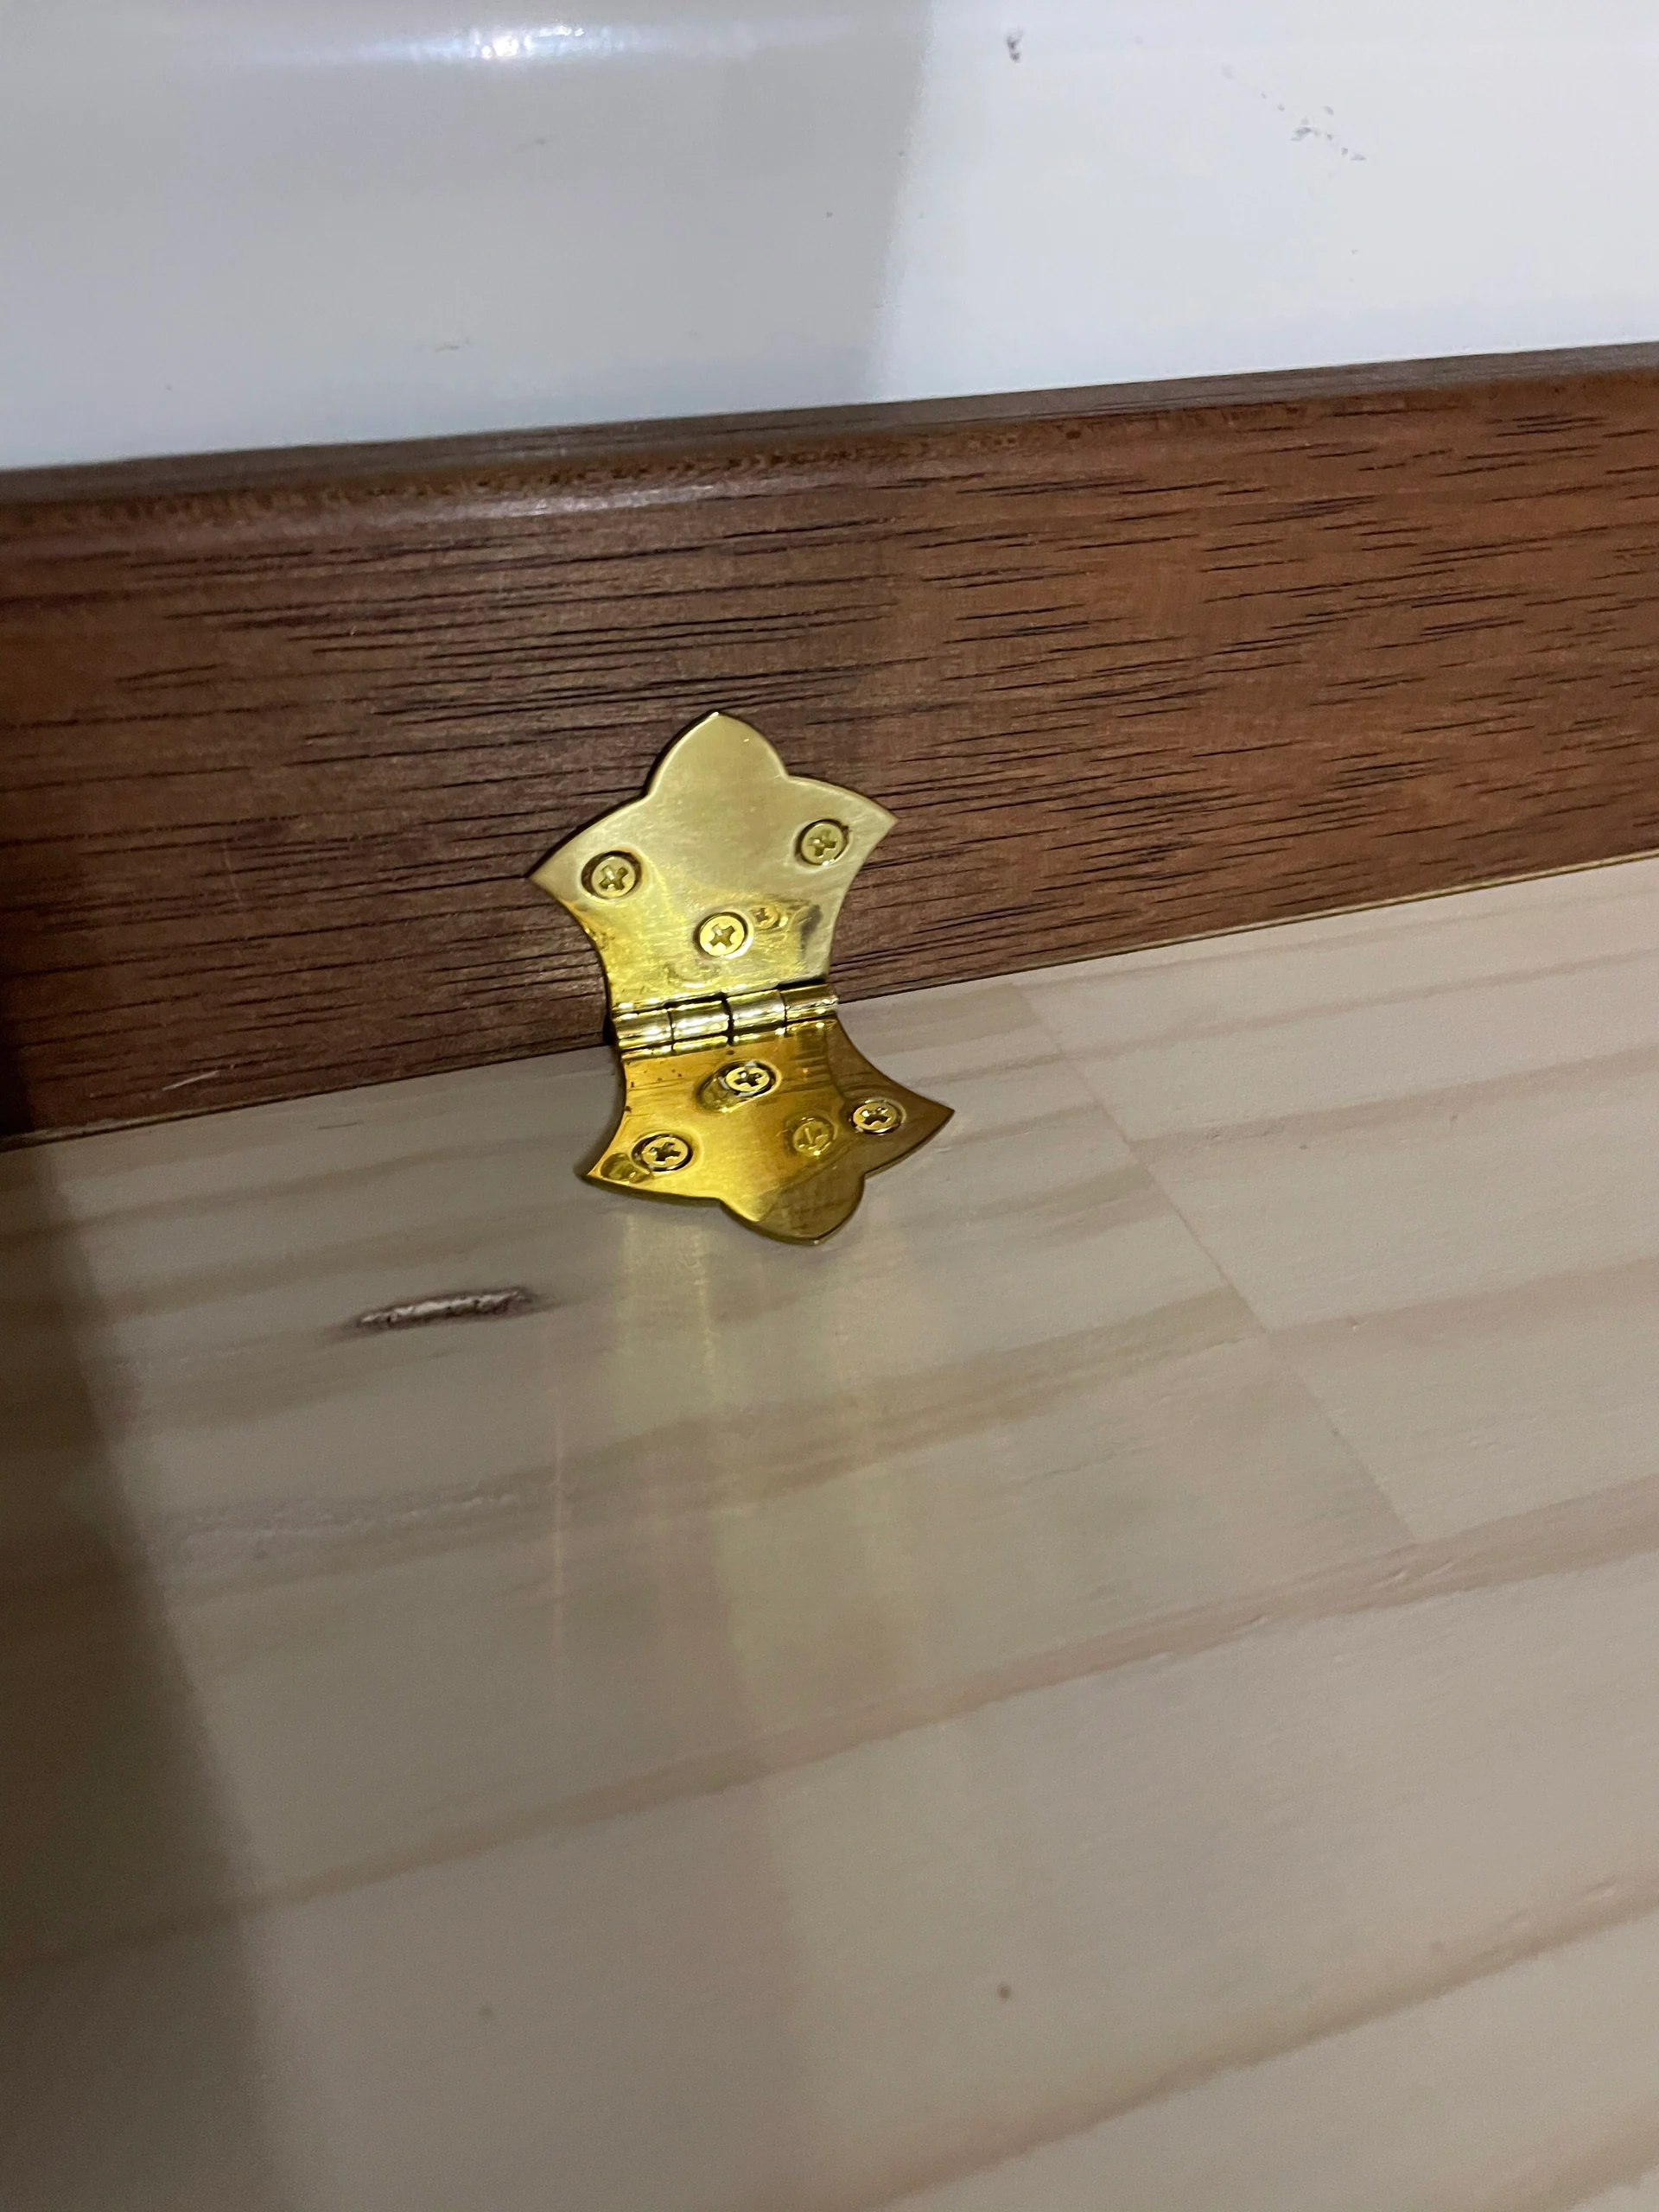
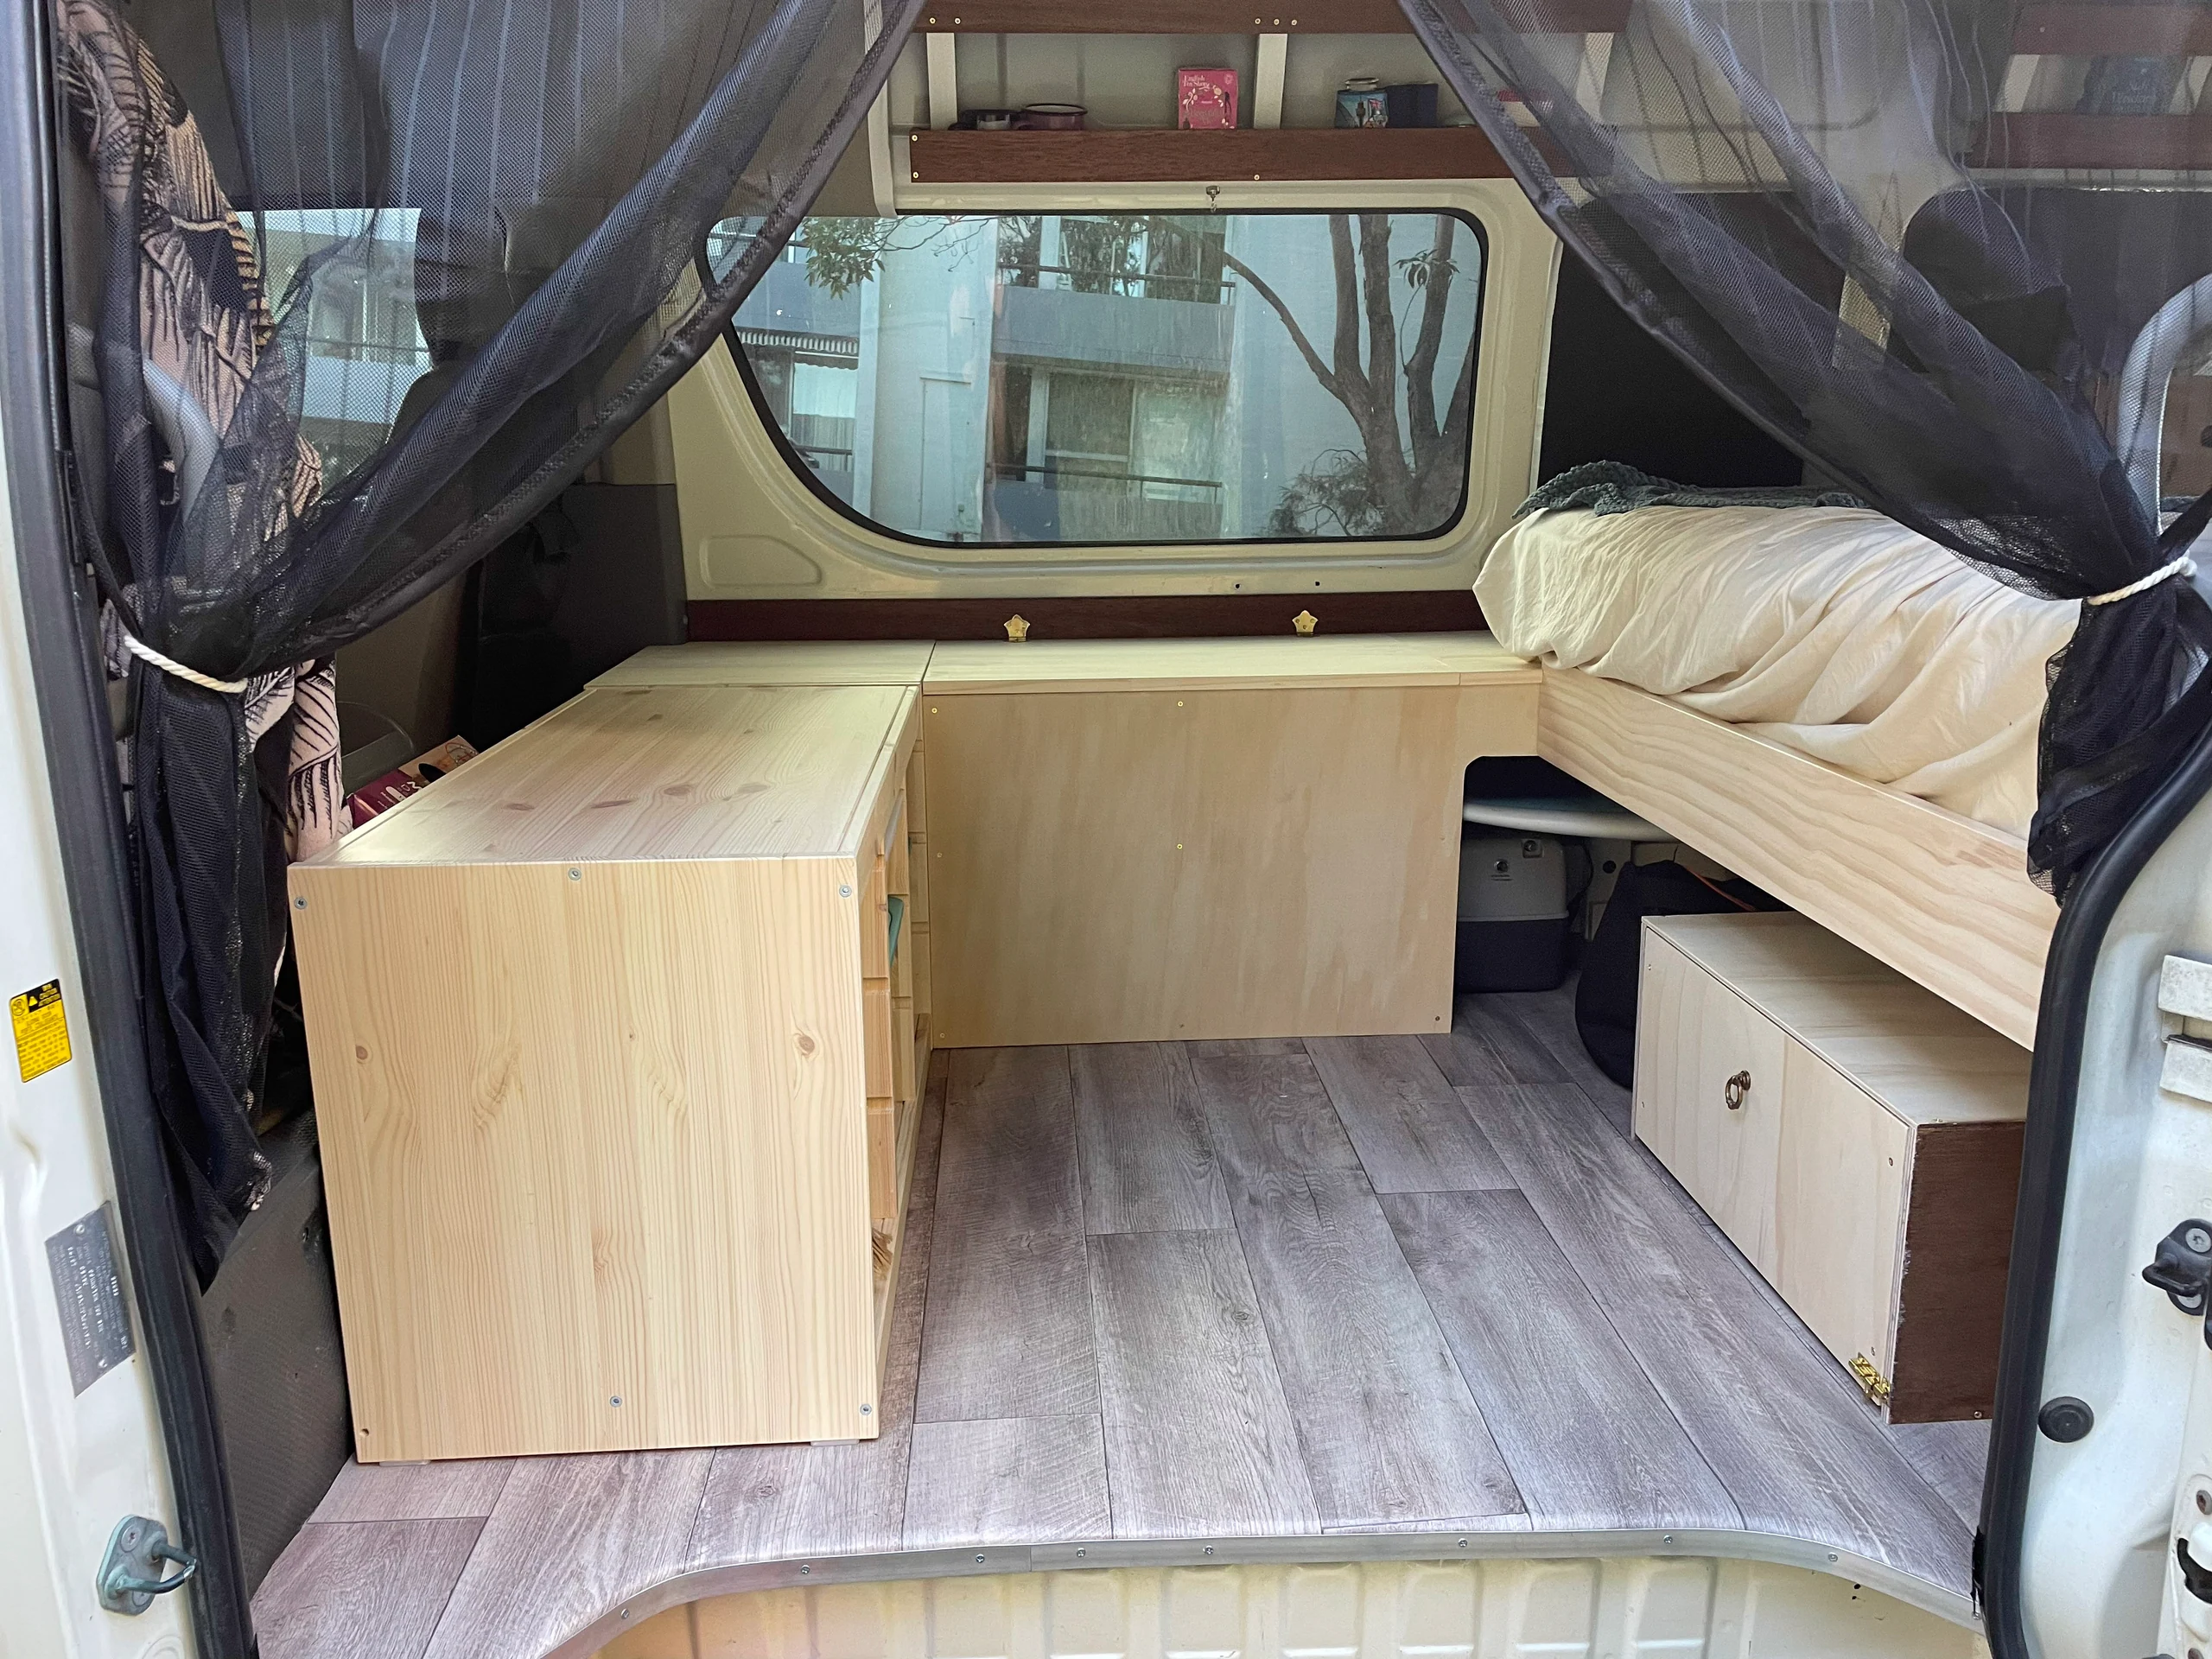
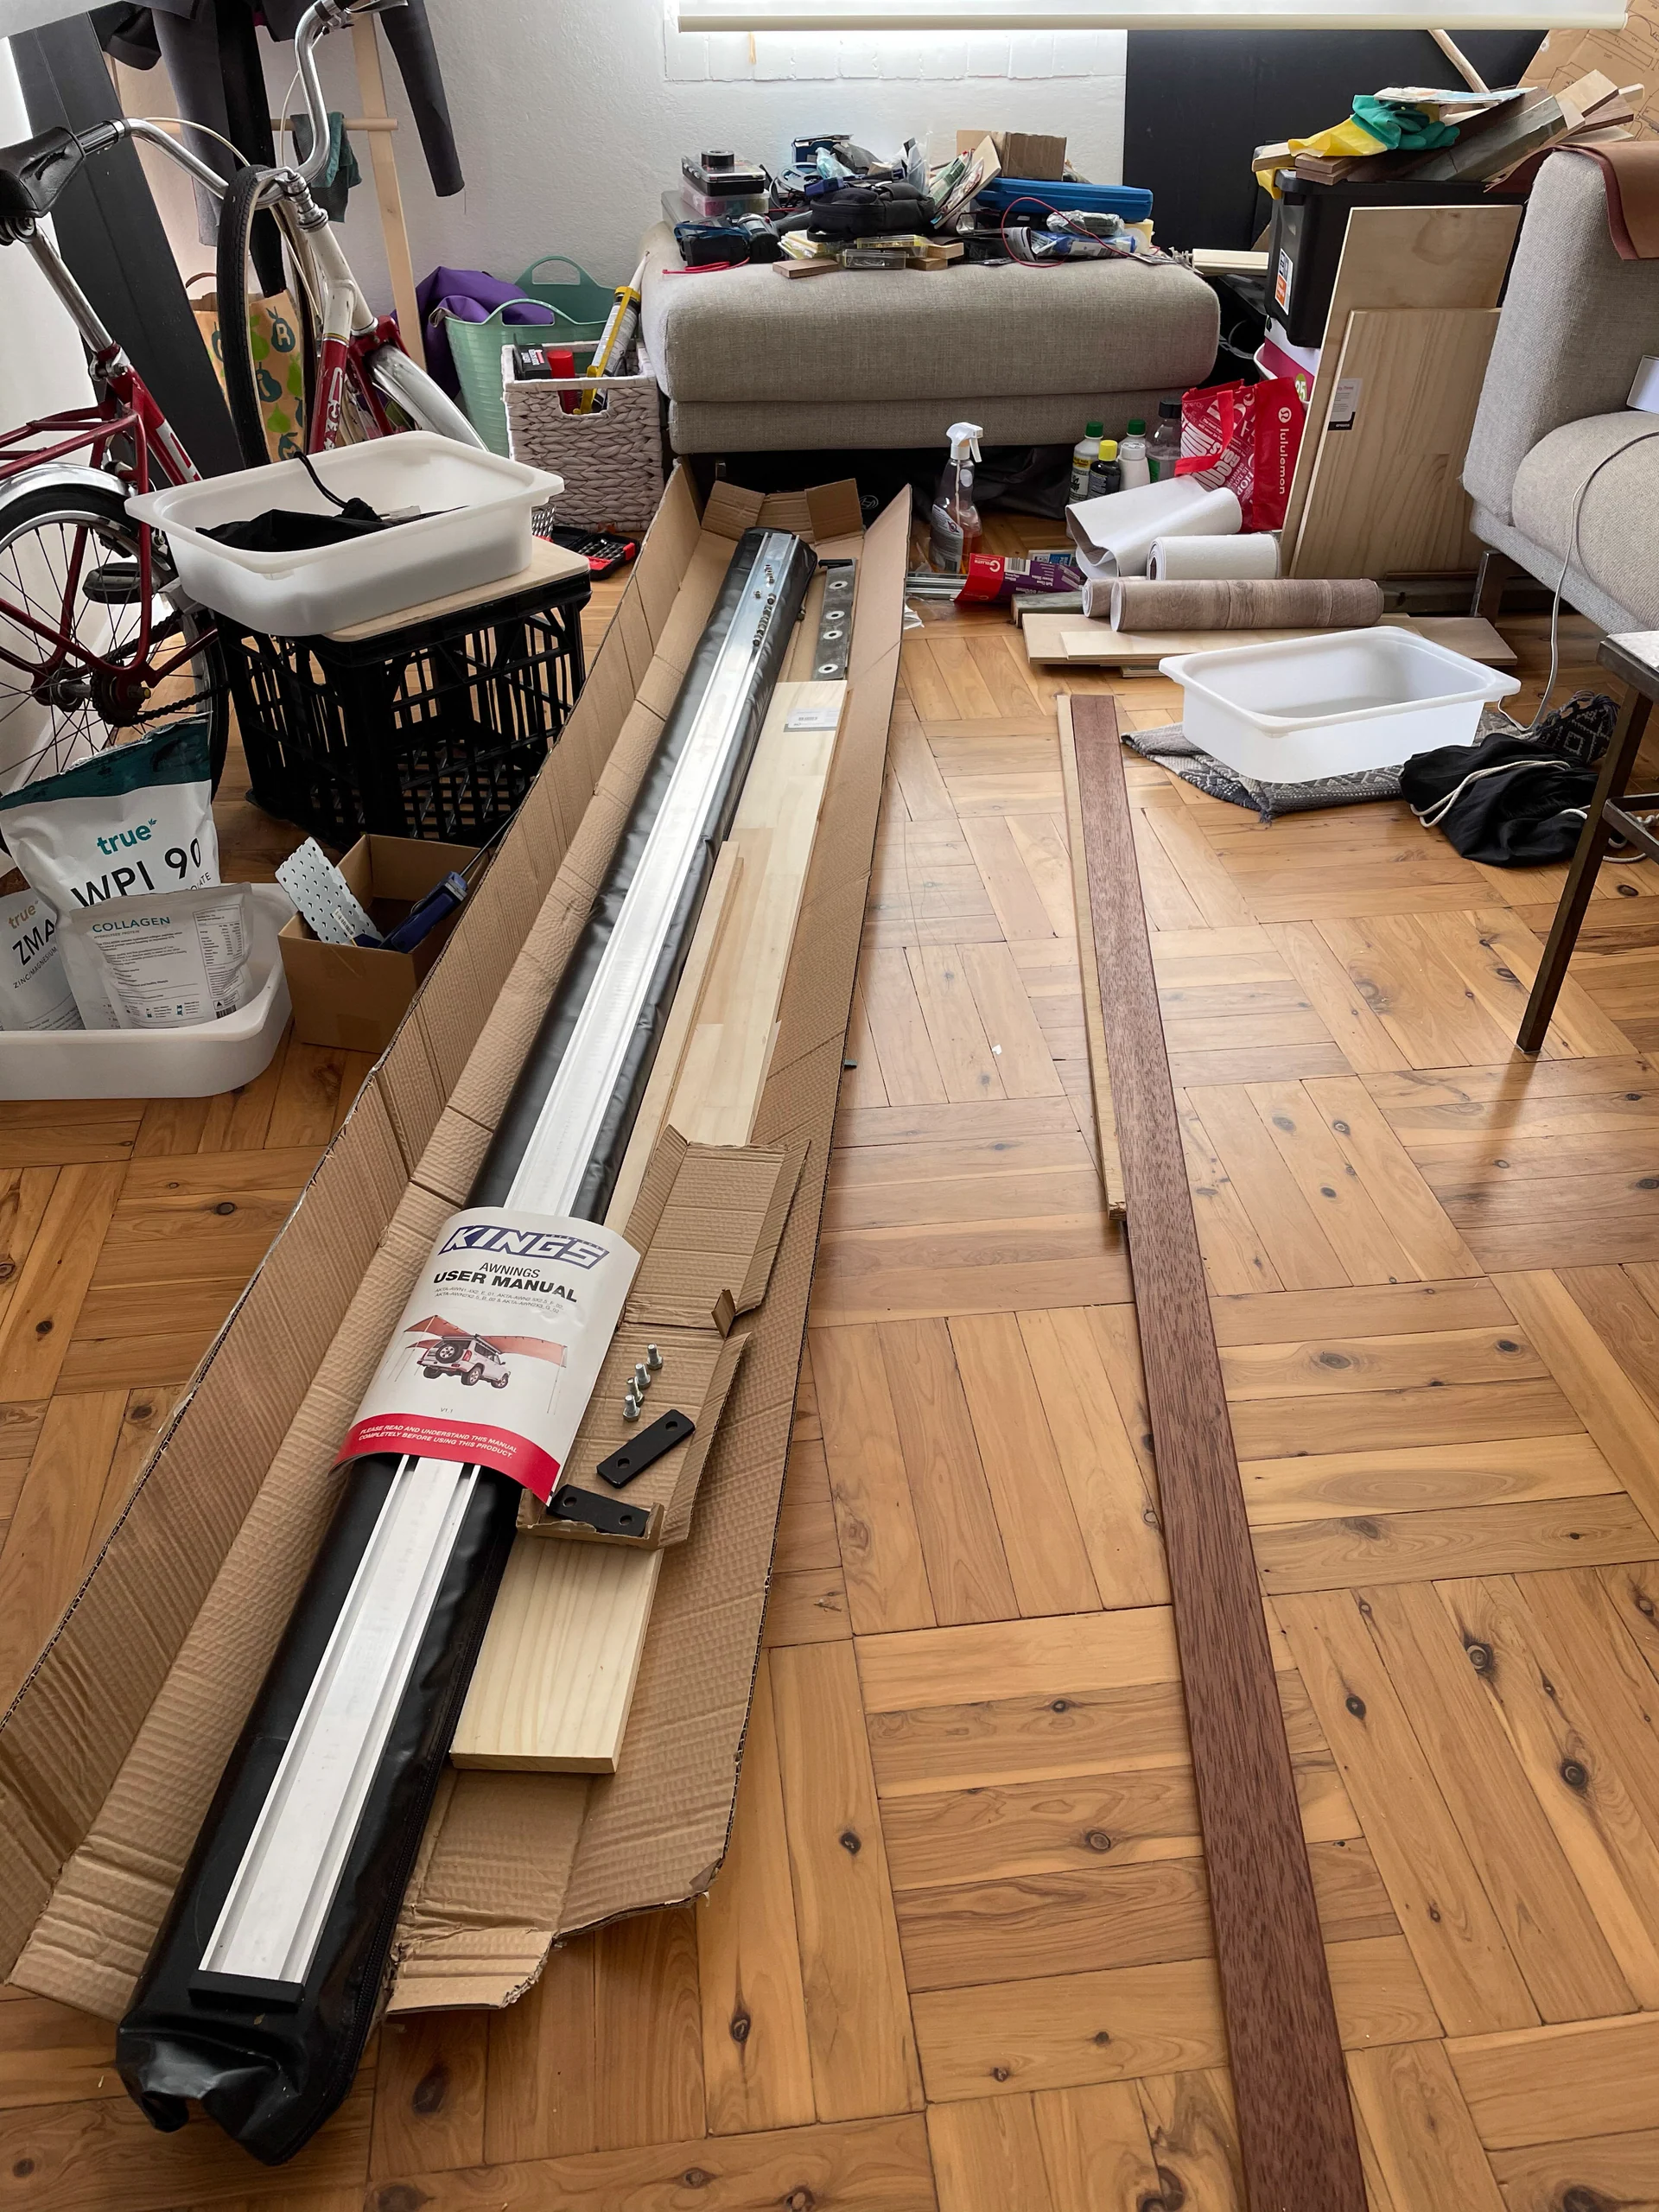
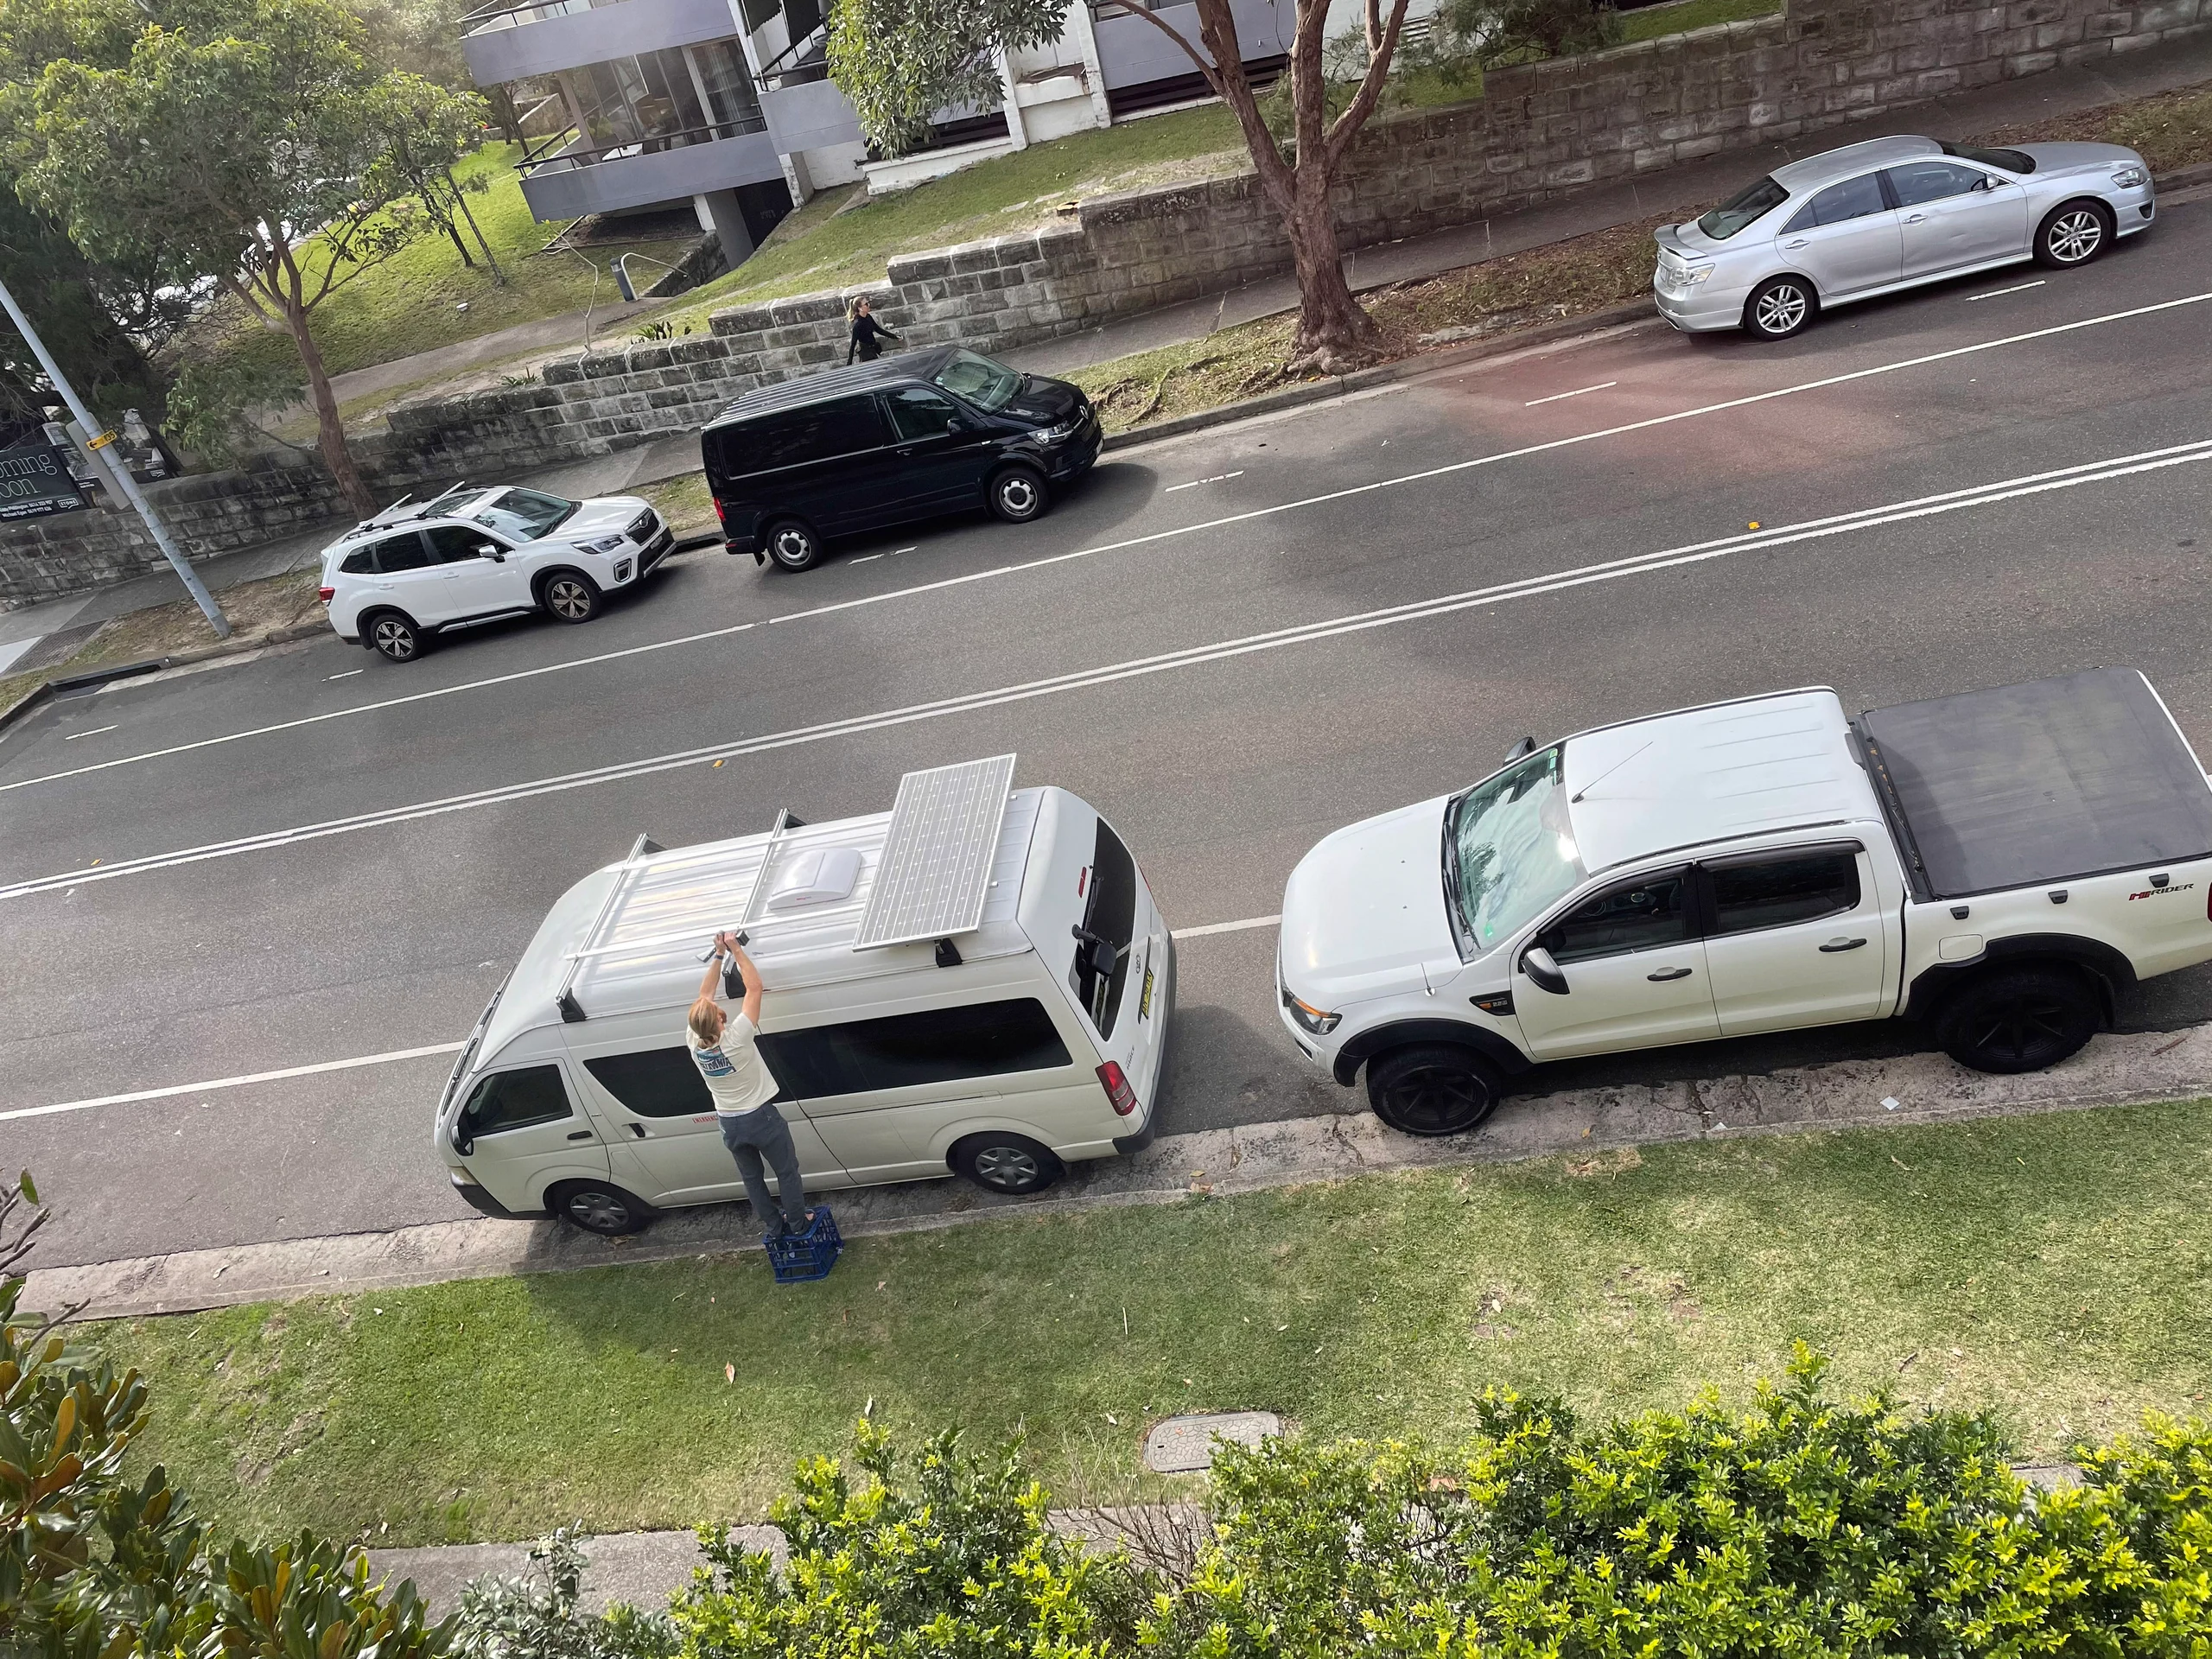
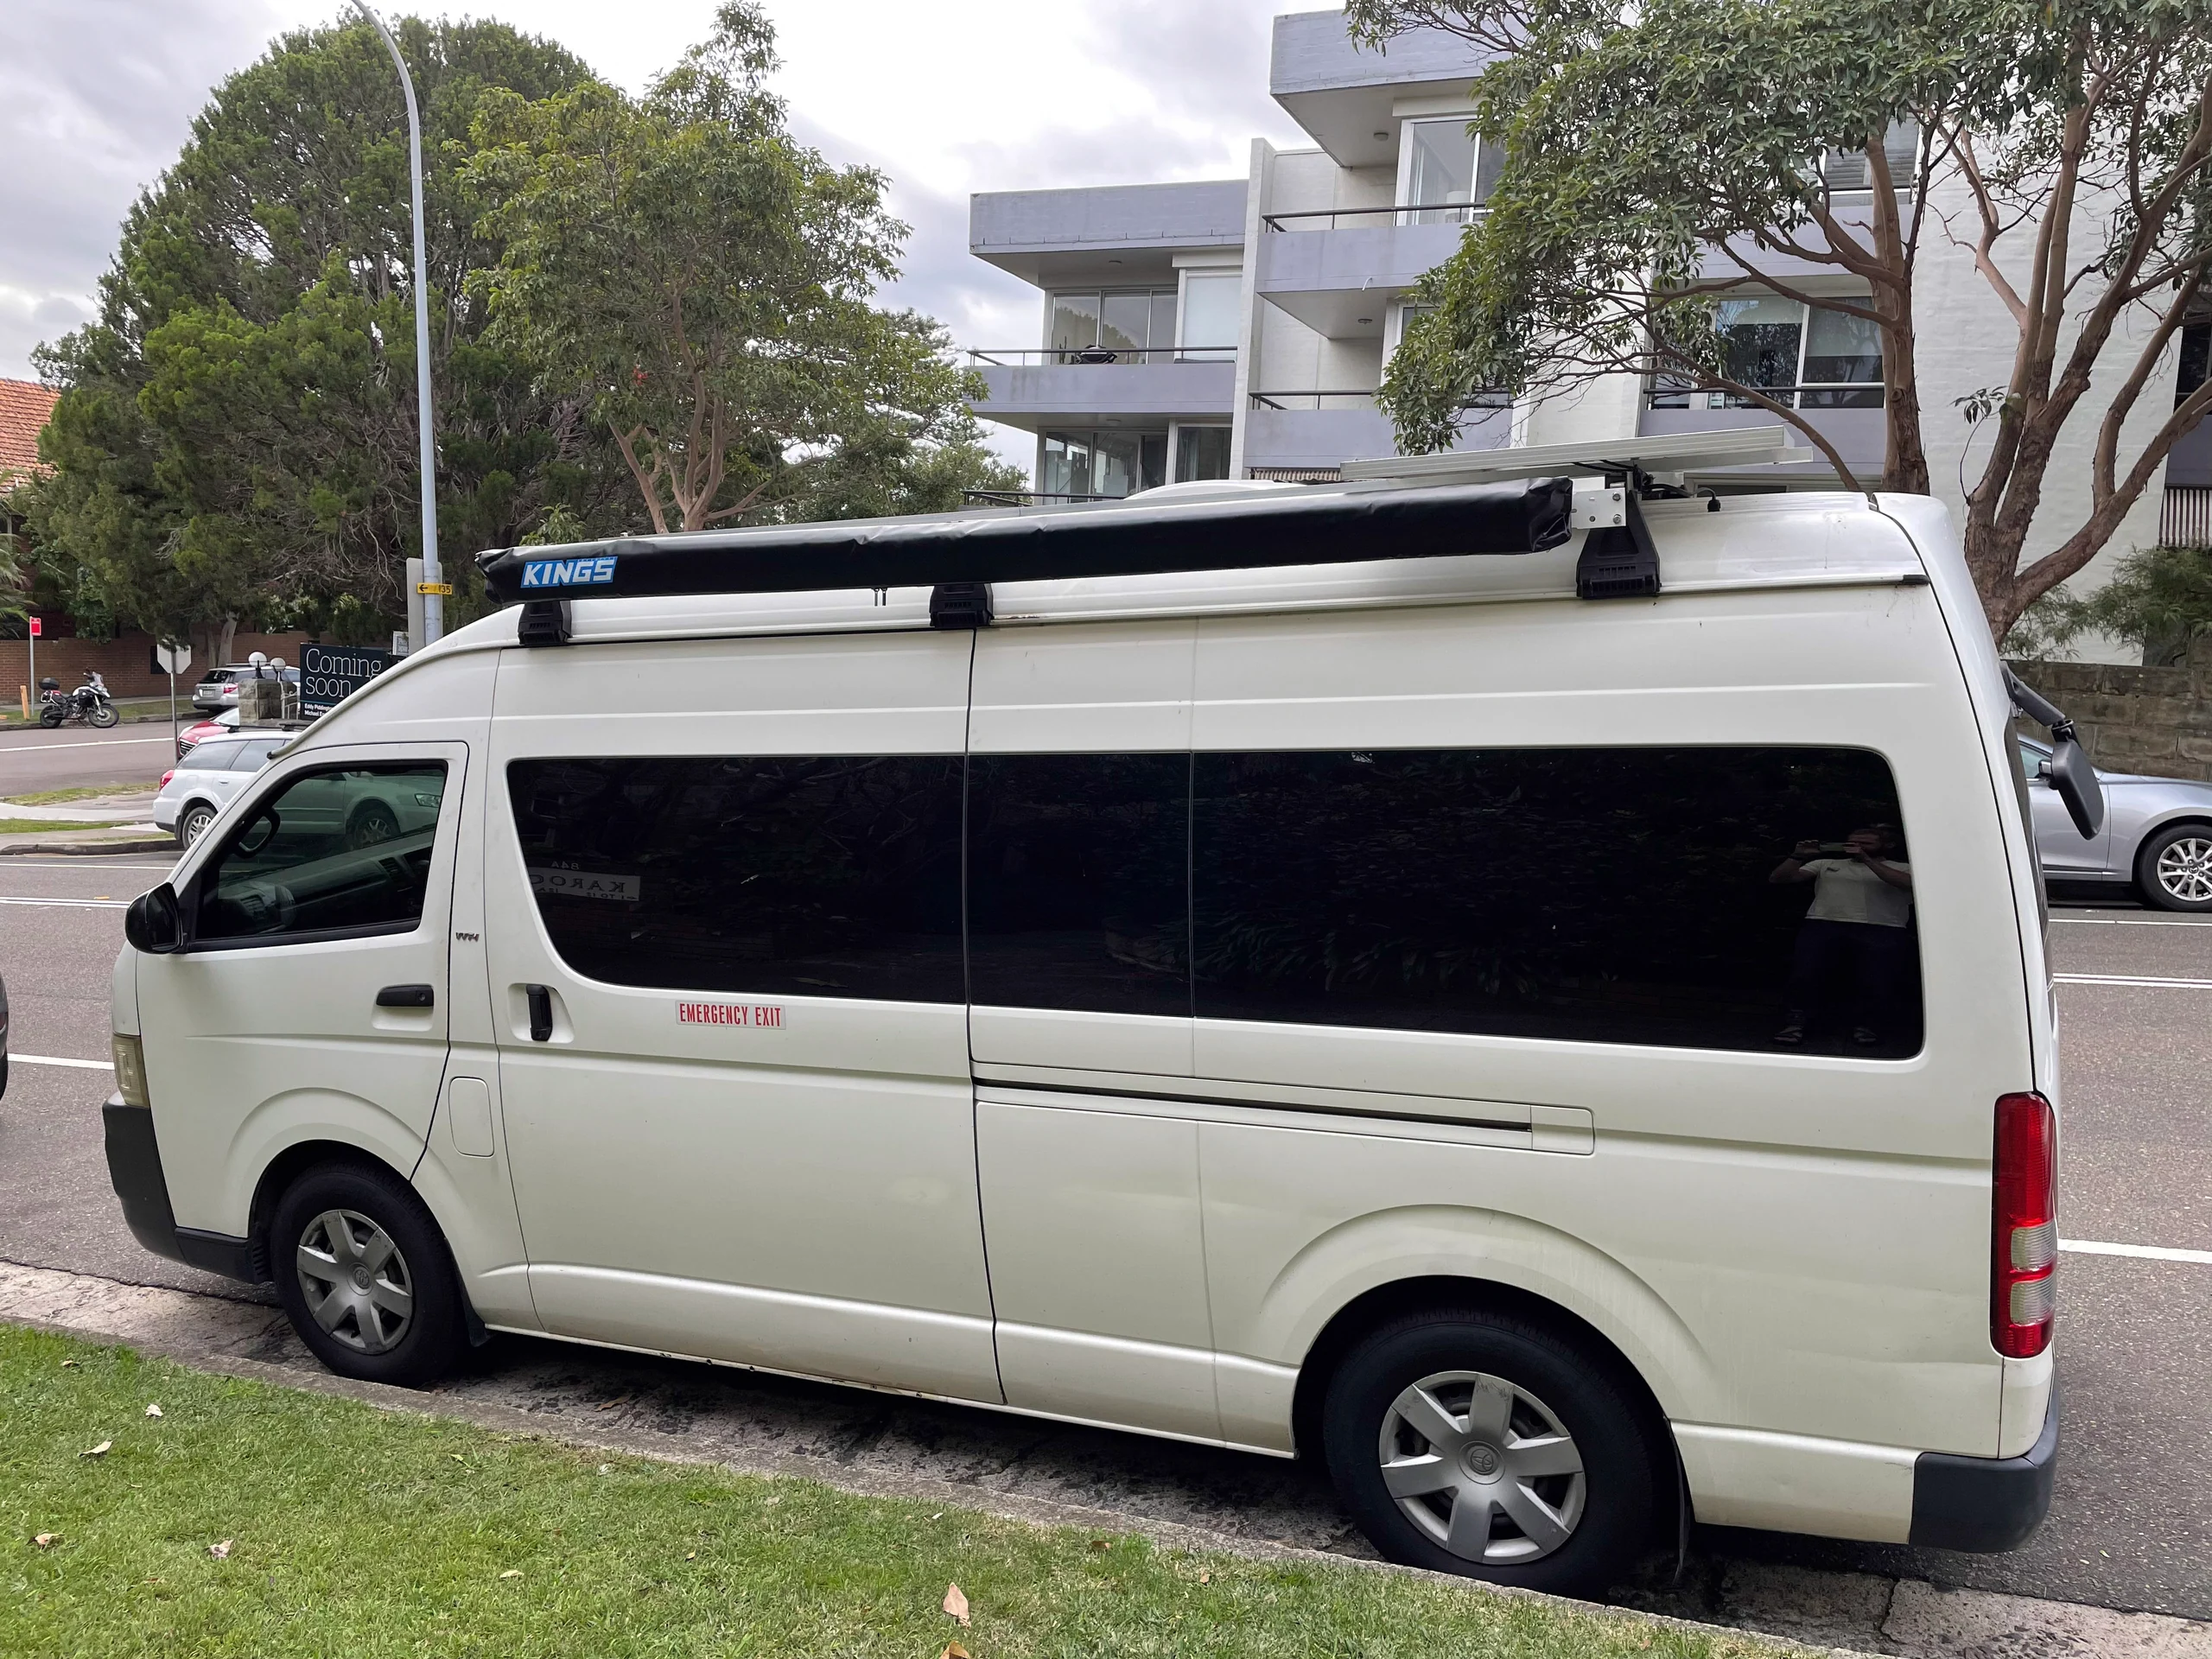
We finally purchased a new awning to provide much needed protection against the Australian death ray from above. Only problem, we had no ladder anymore. But nothing a high curb and the legendary milk crate can't fix.
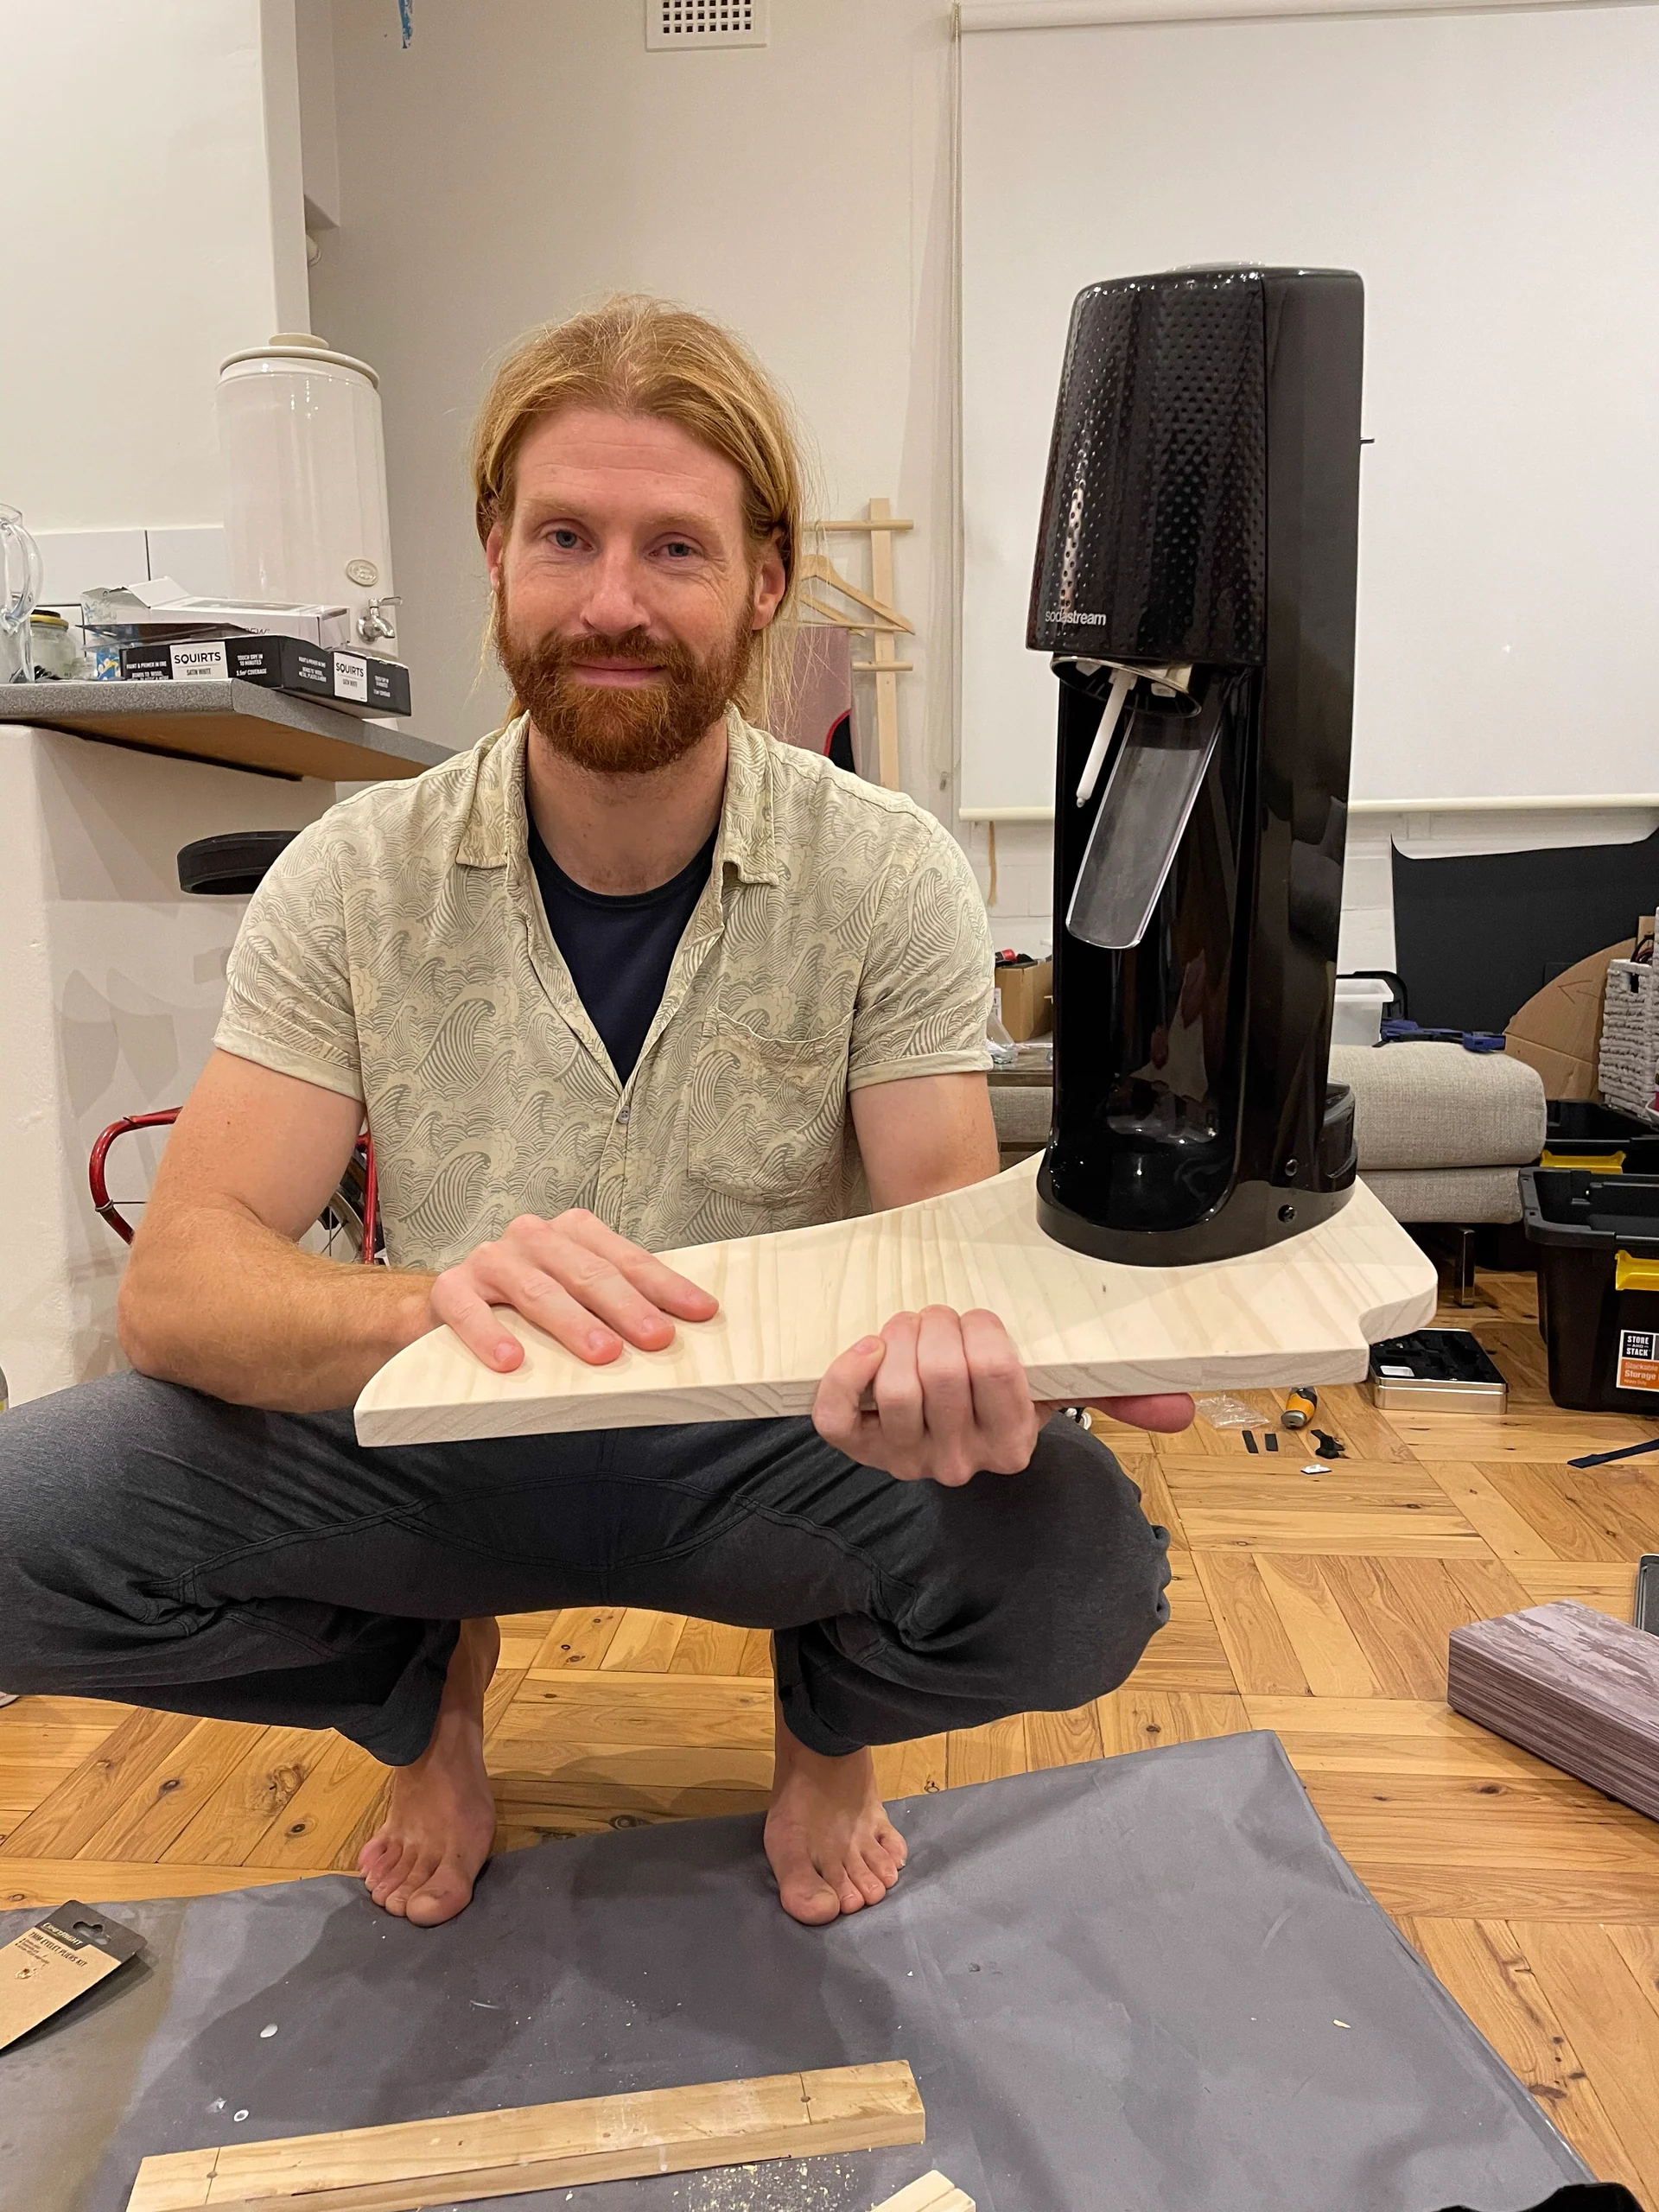
We nee dour fizzy water. So we came up with a way to mount our soda stream. And also installed some more lights in the van.
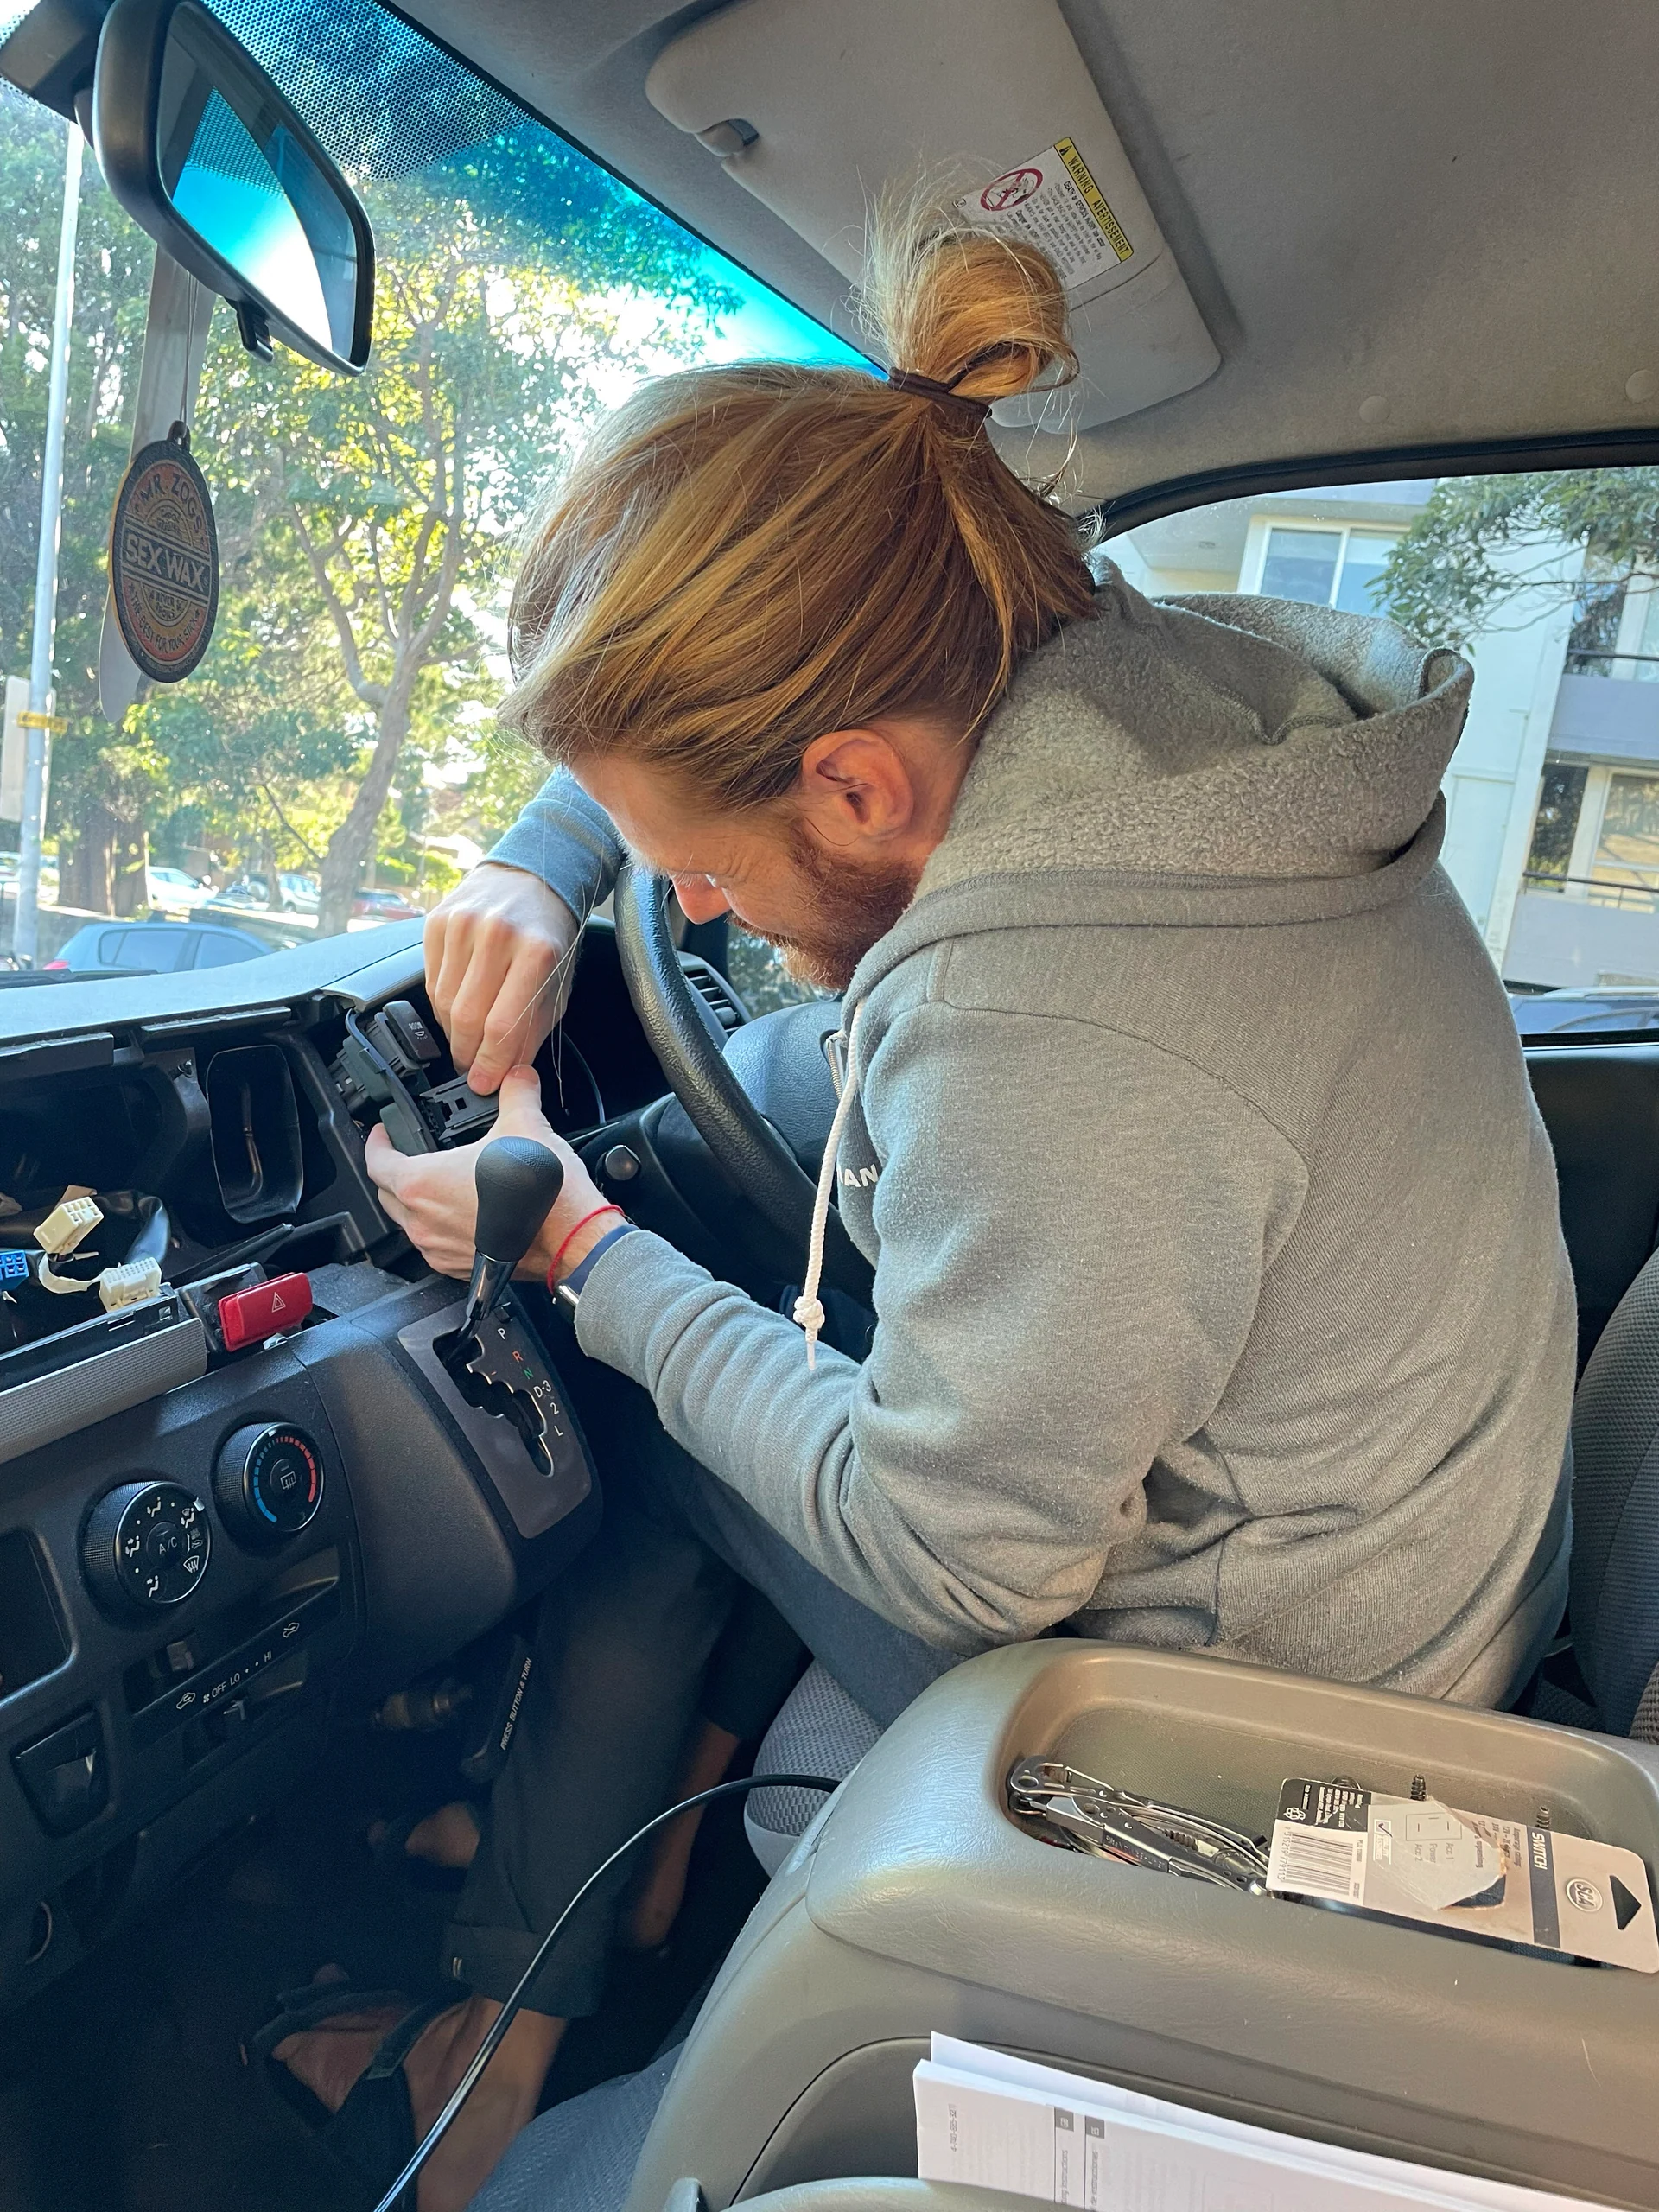
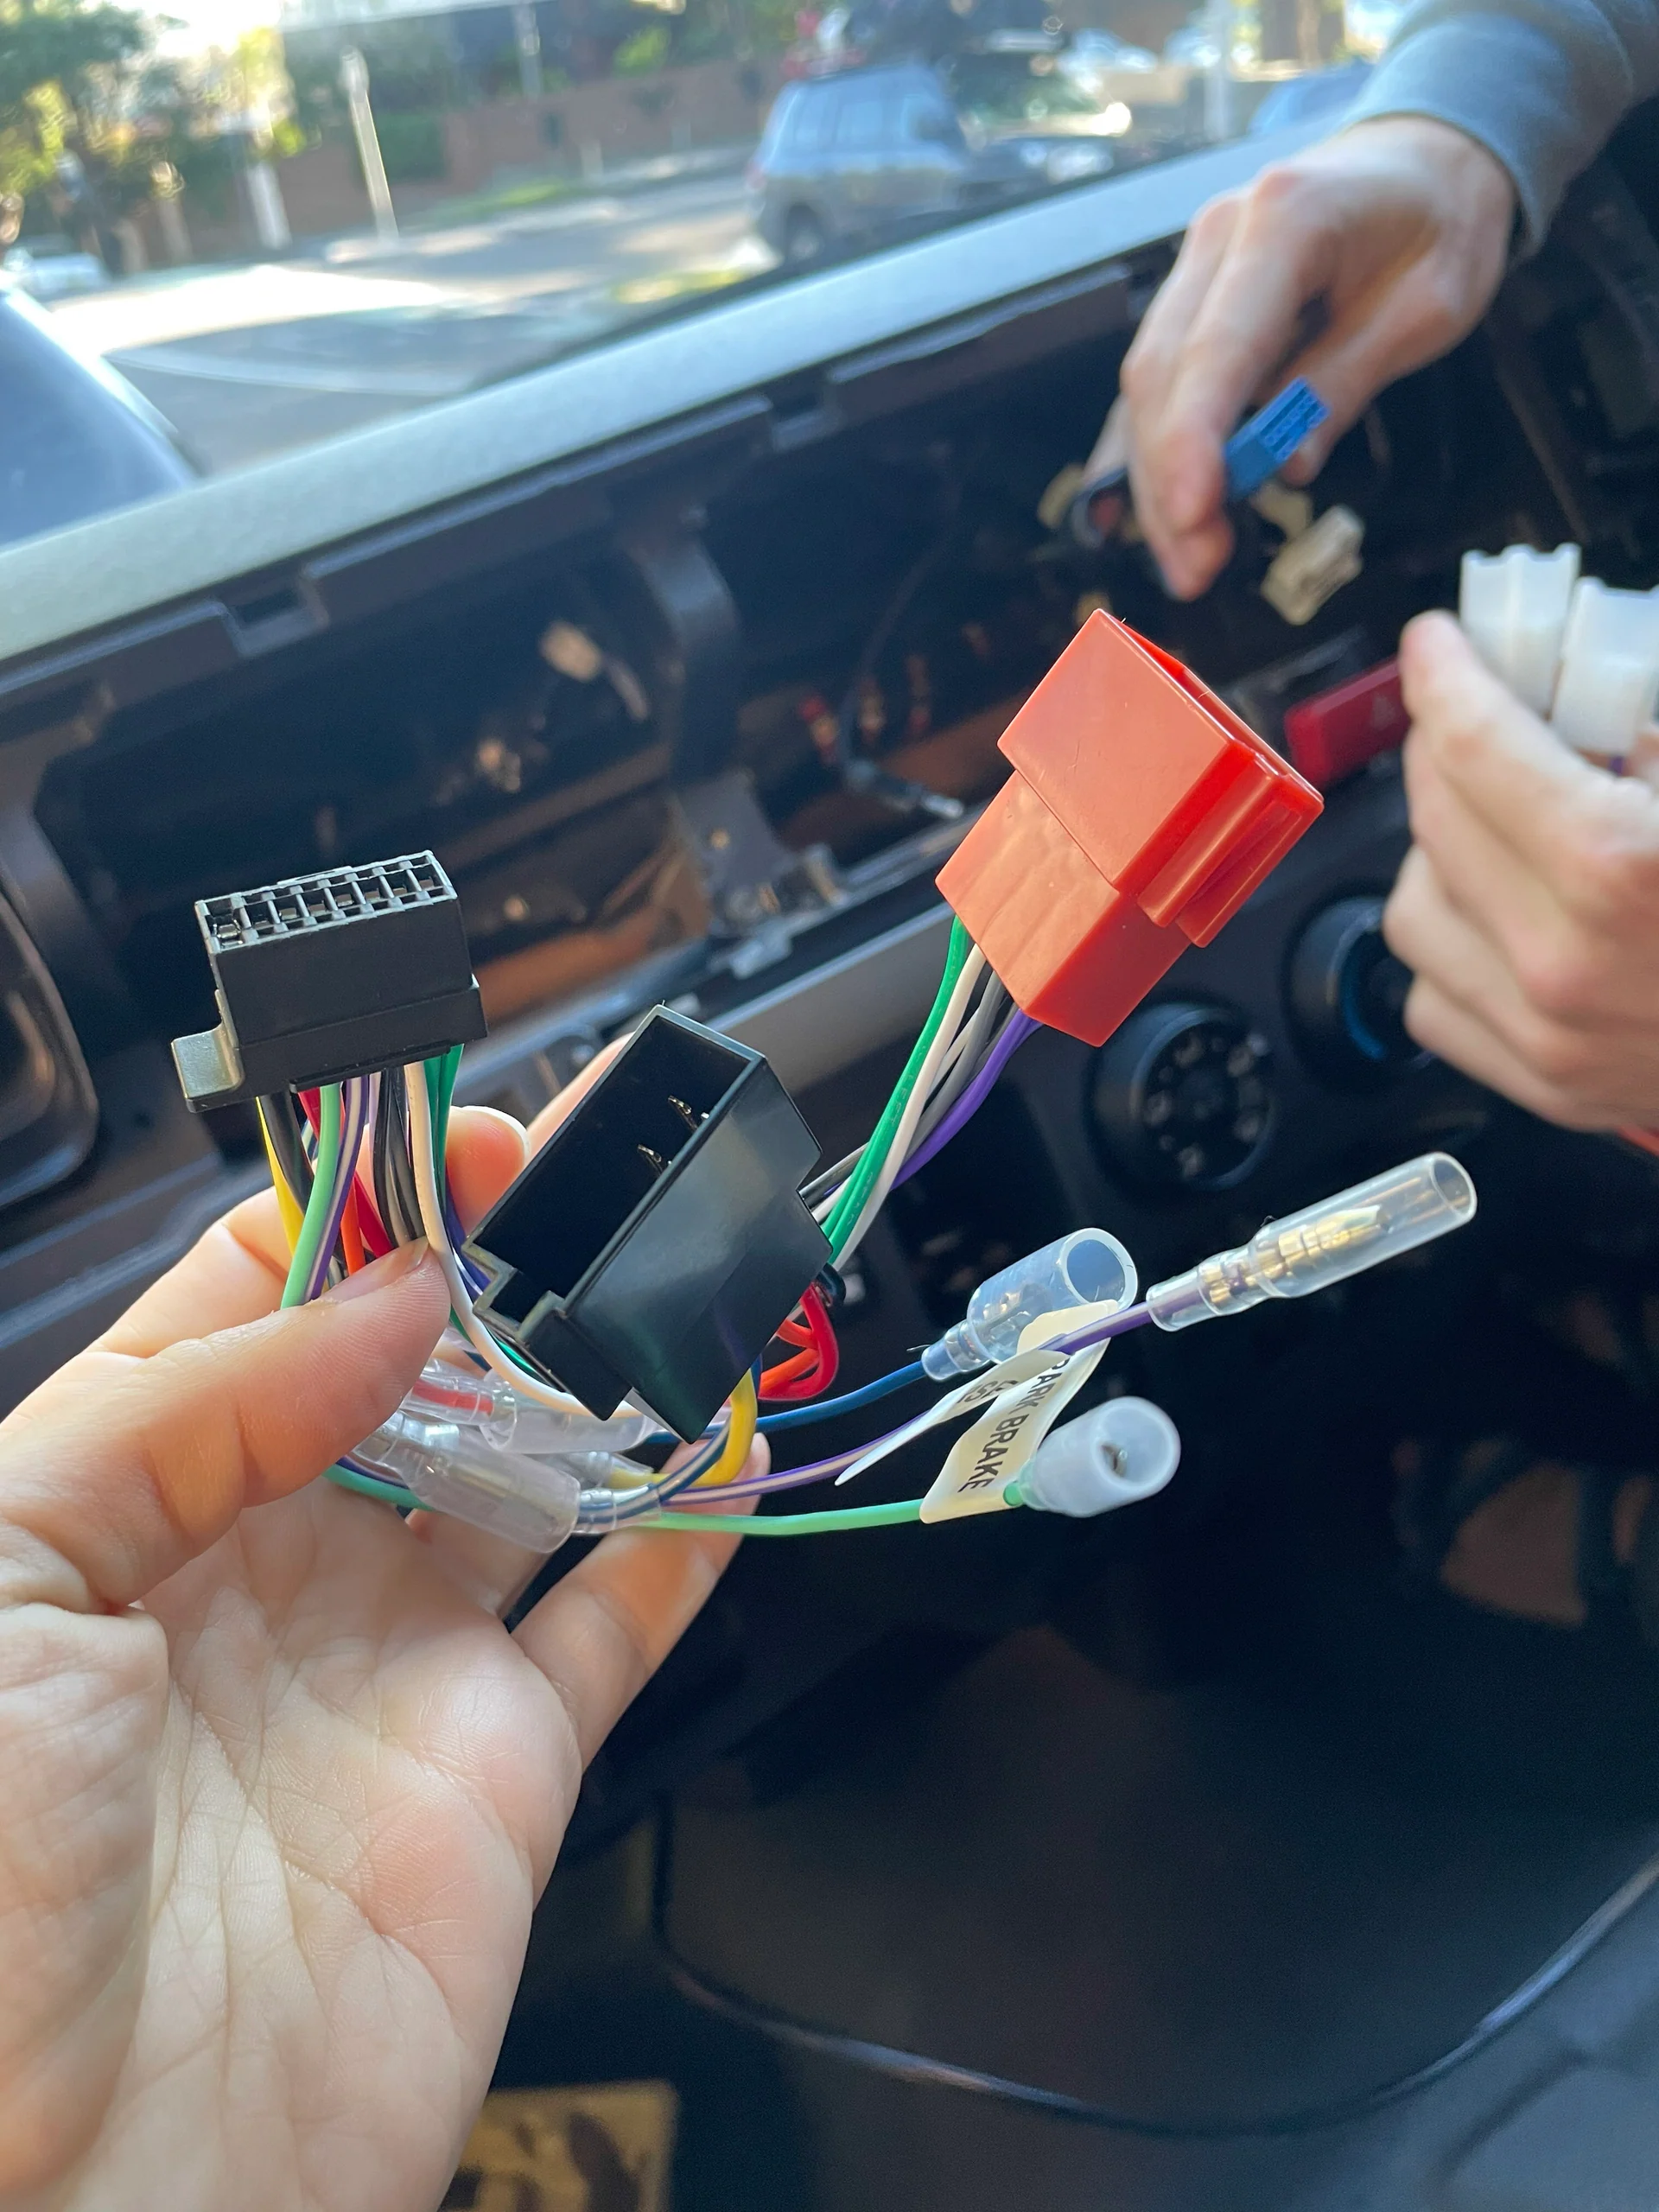
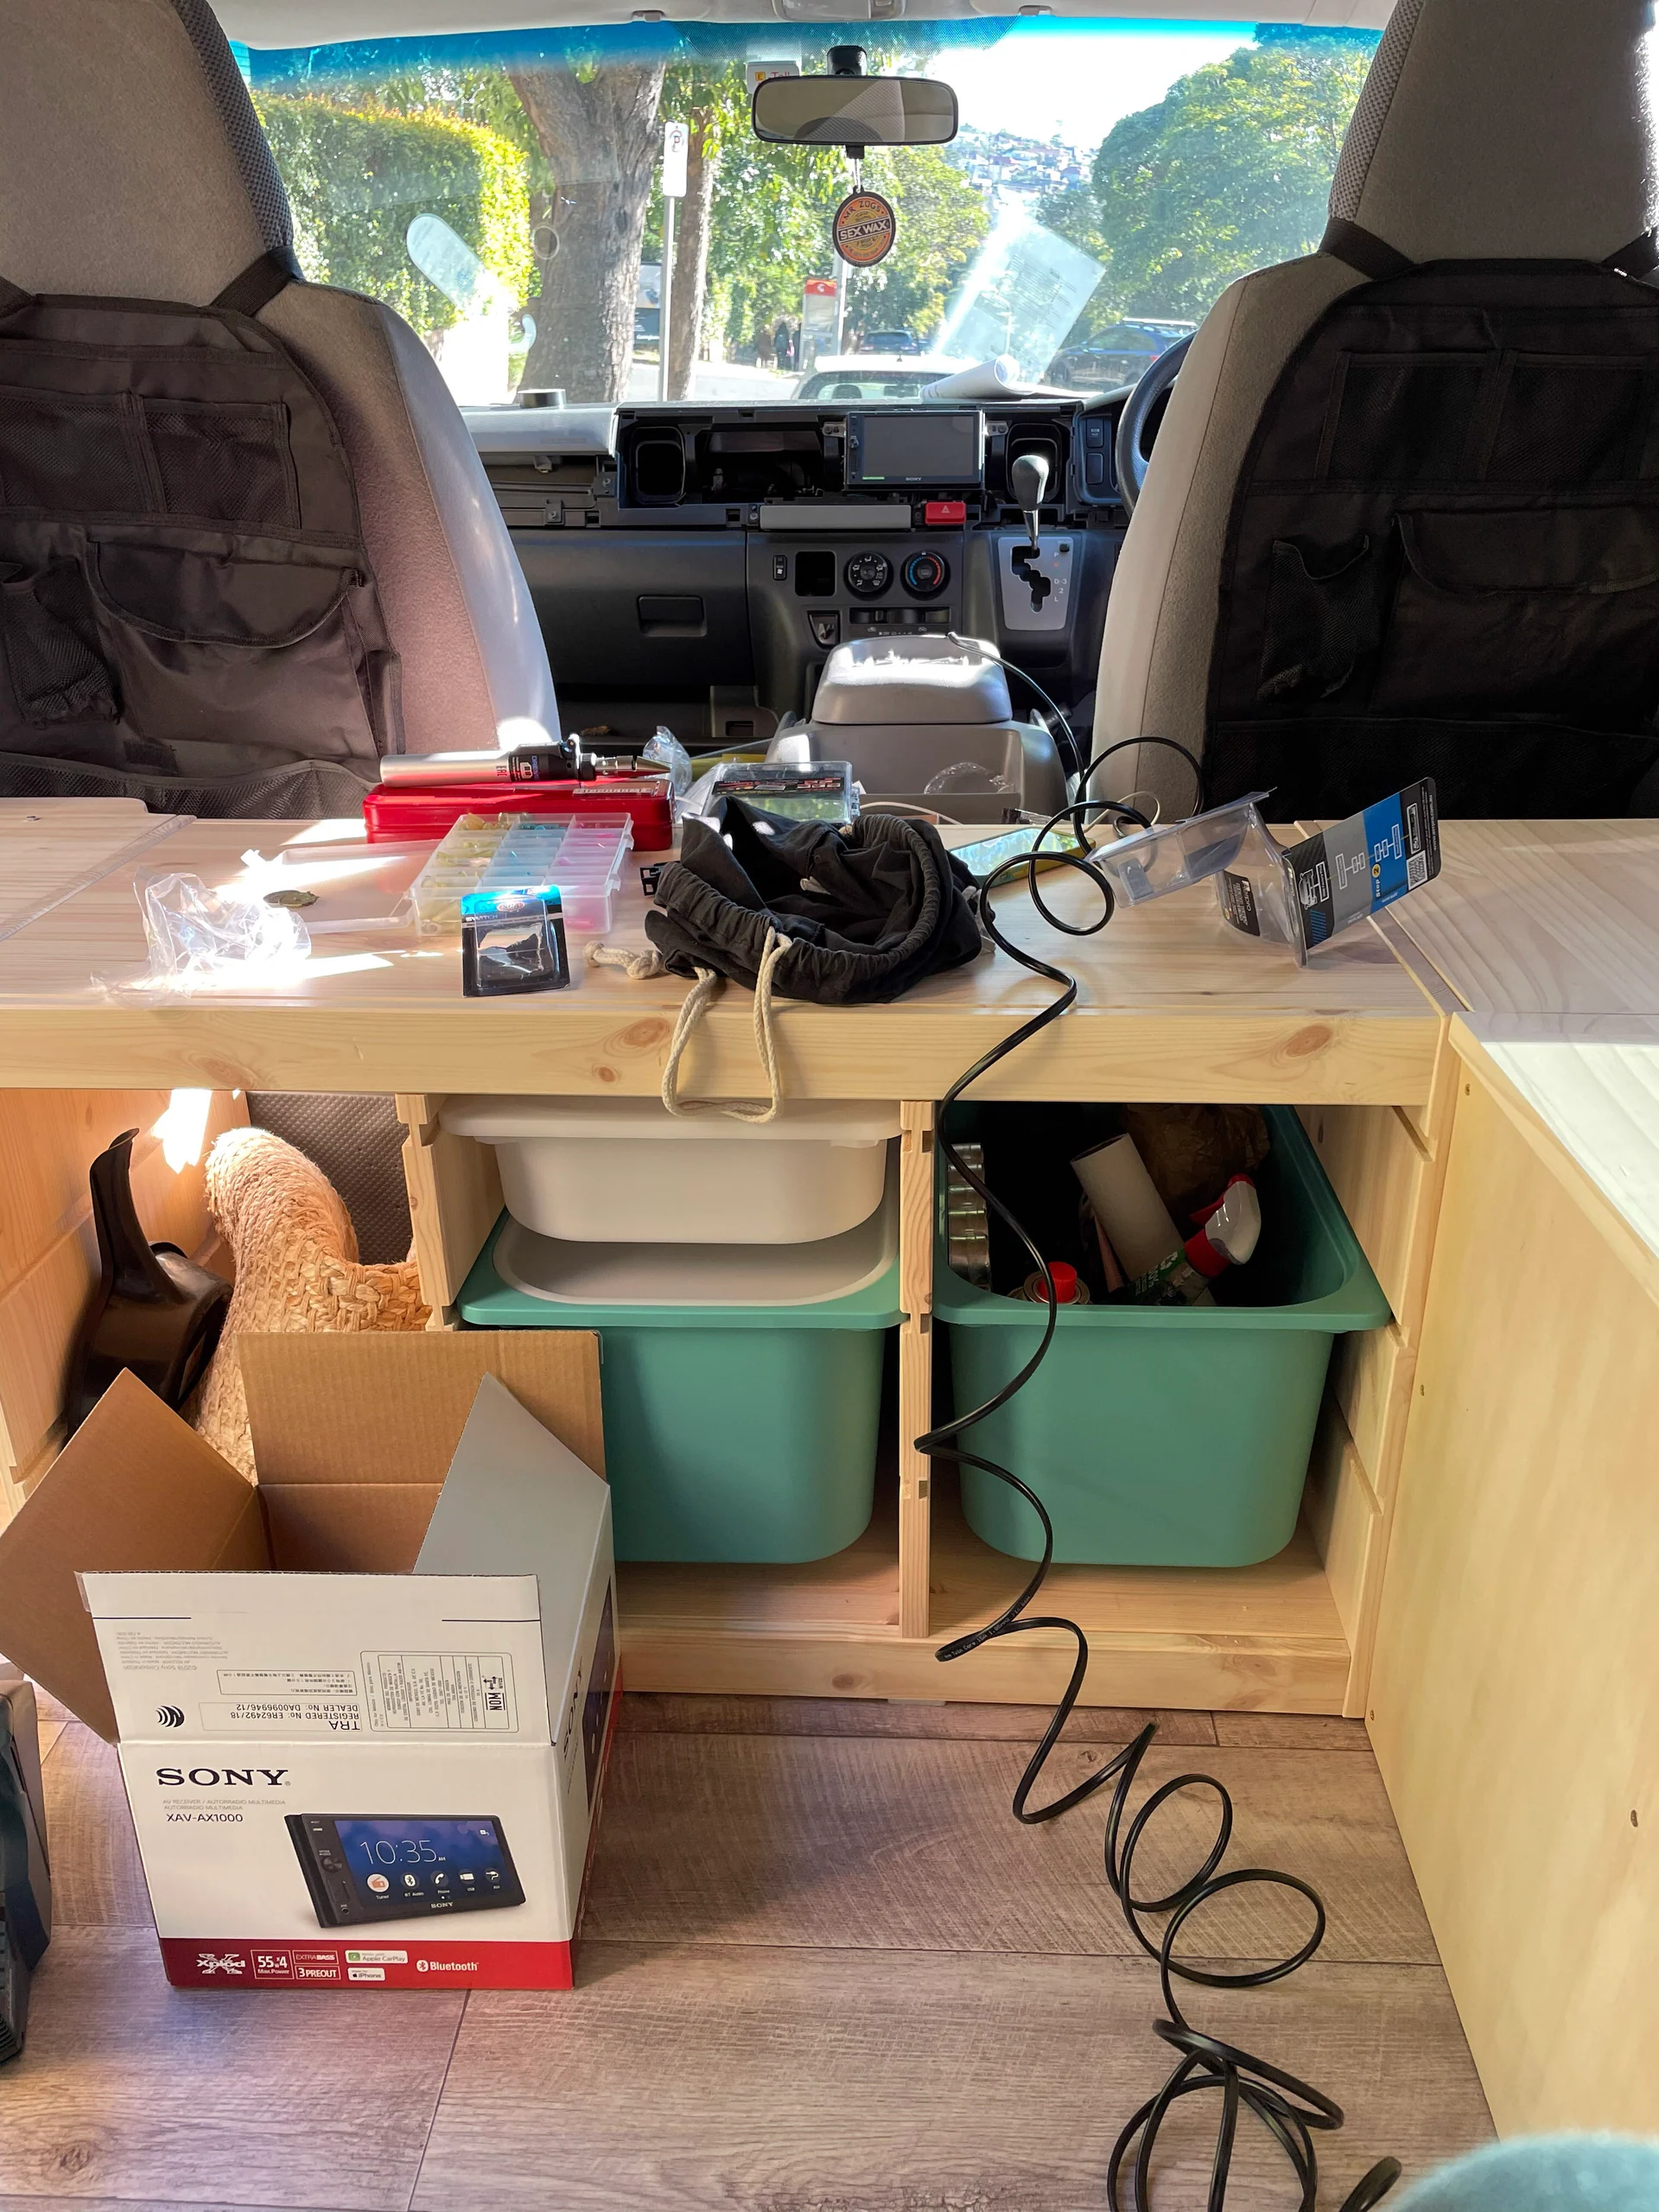
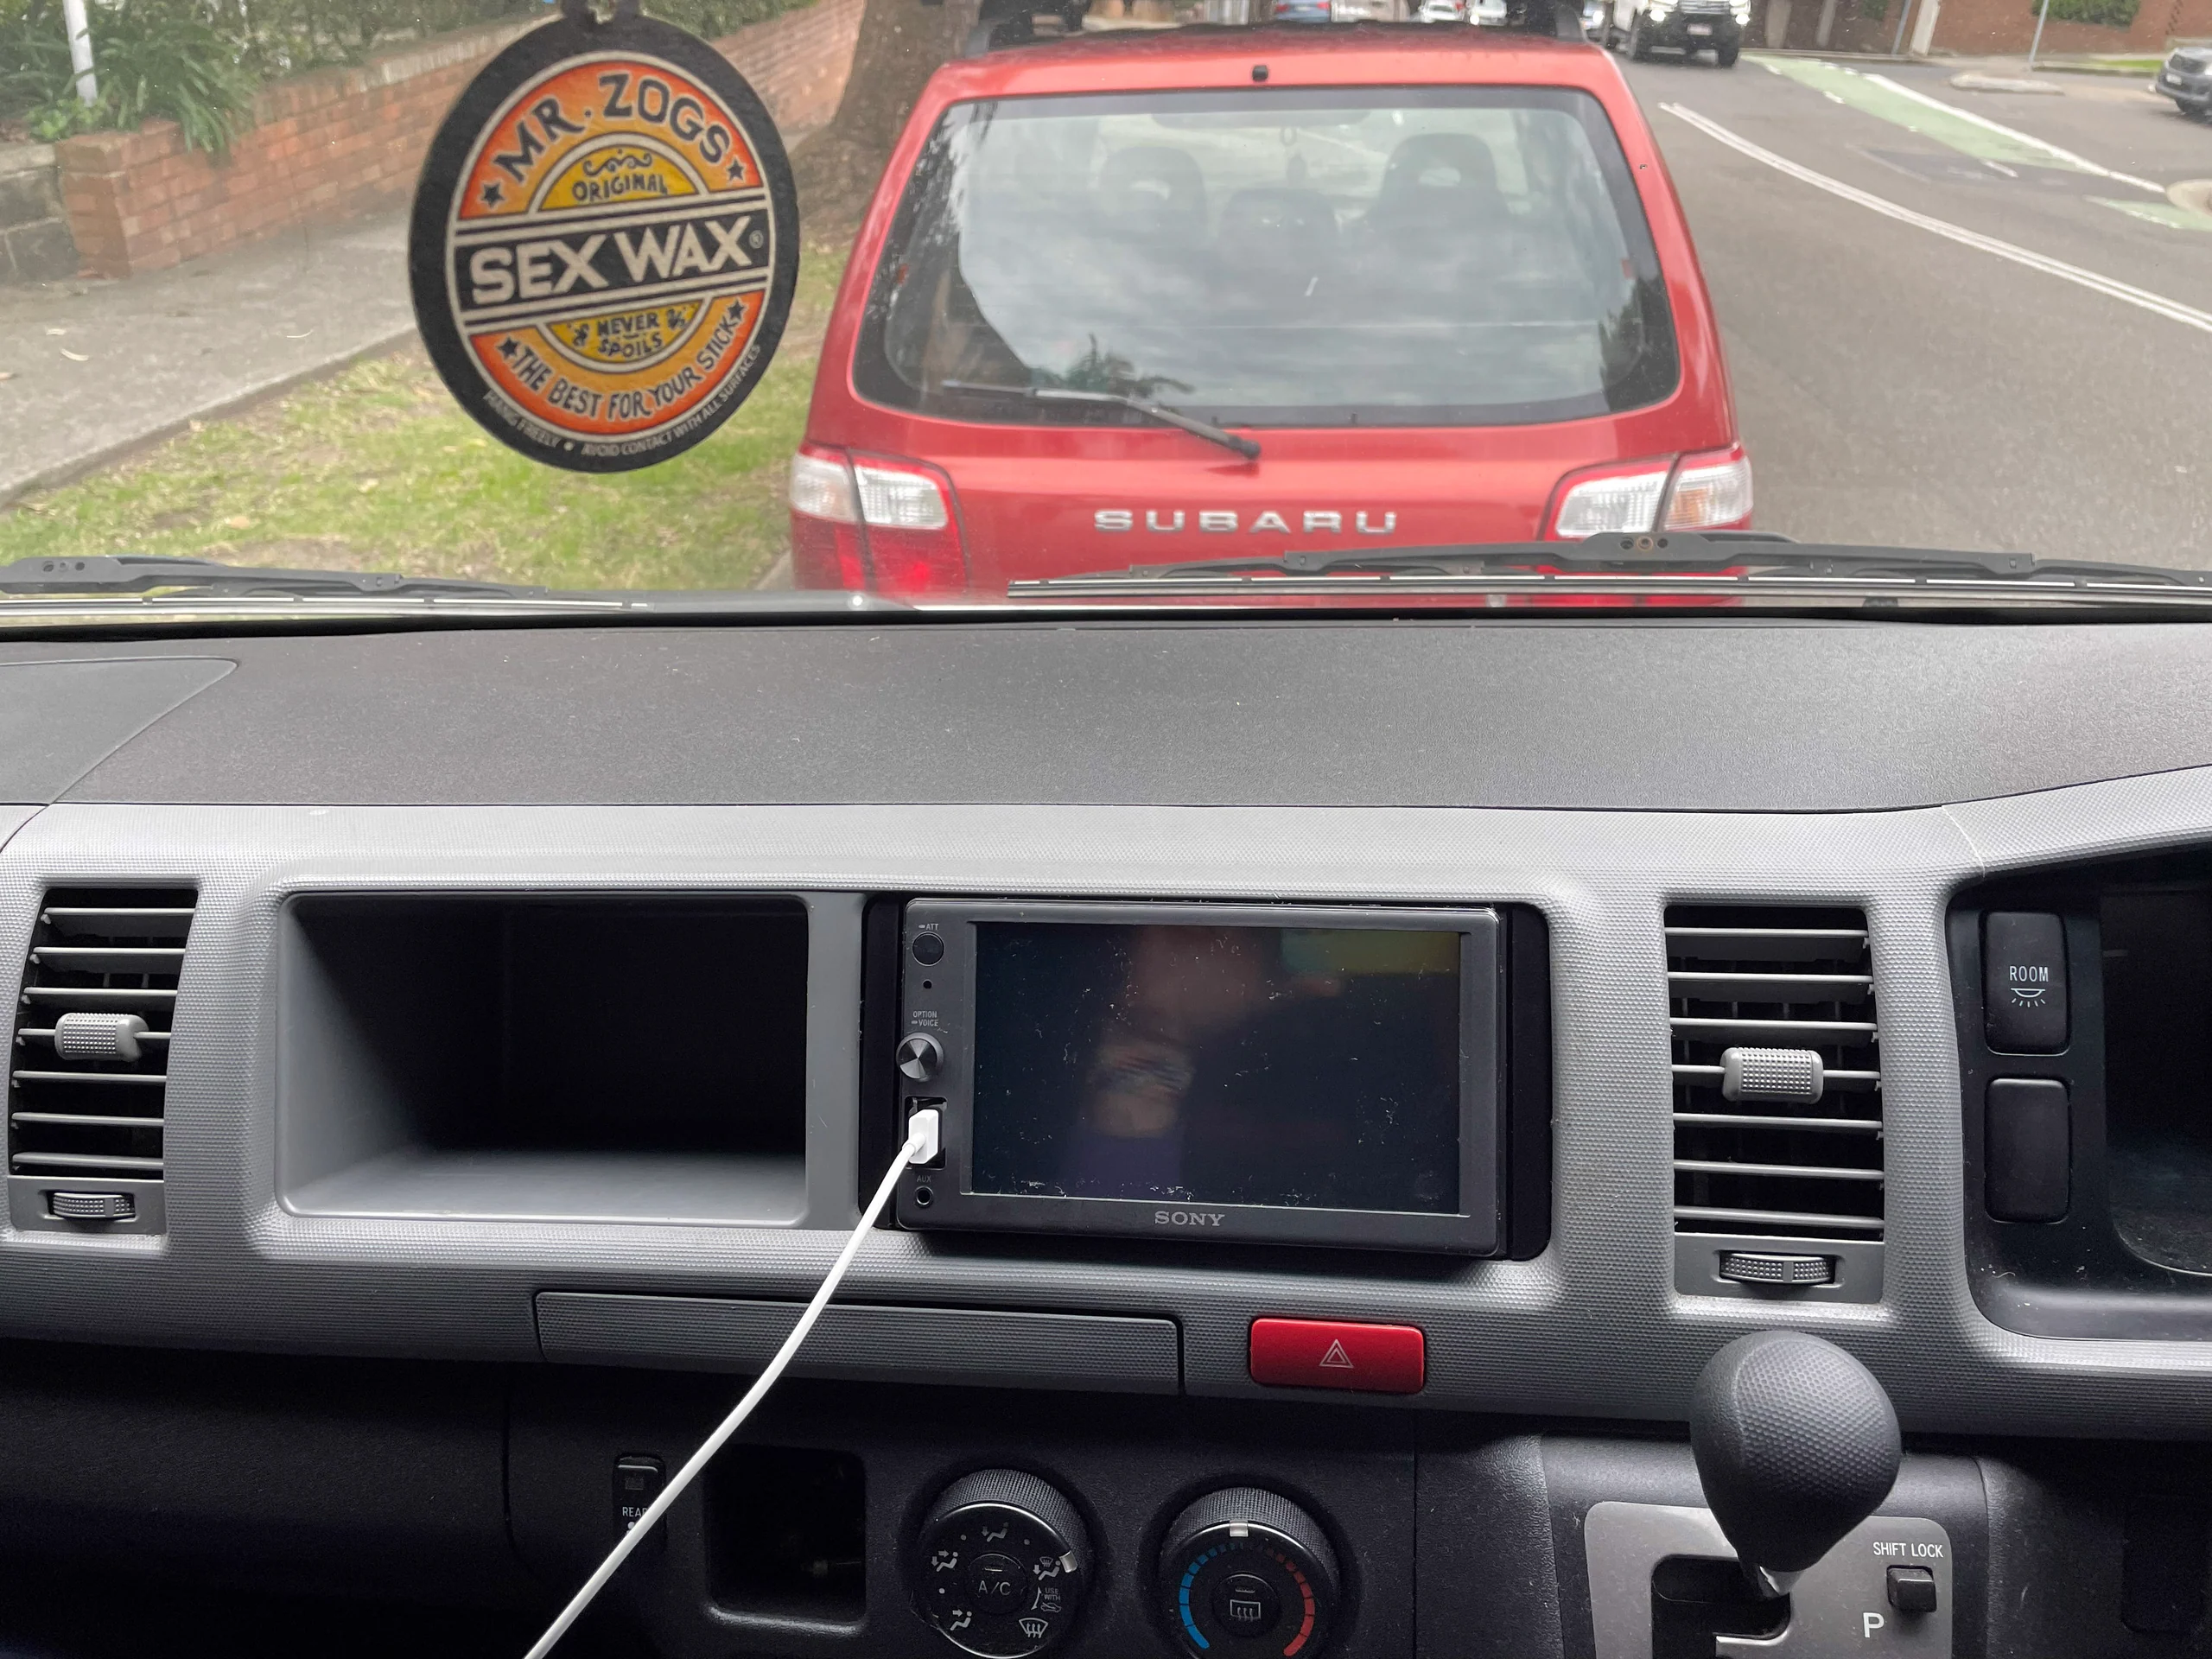
The van came with a CD radio. Do you even still remember what these were? We installed a new stereo that plays nicely with our iPhones. And we went the extra mile and wired it up to the solar batteries in the back. That way, we can even listen to some nice tunes while we are on the camp ground and the car is off. This is hopefully the last time in a long while that we saw those cables.
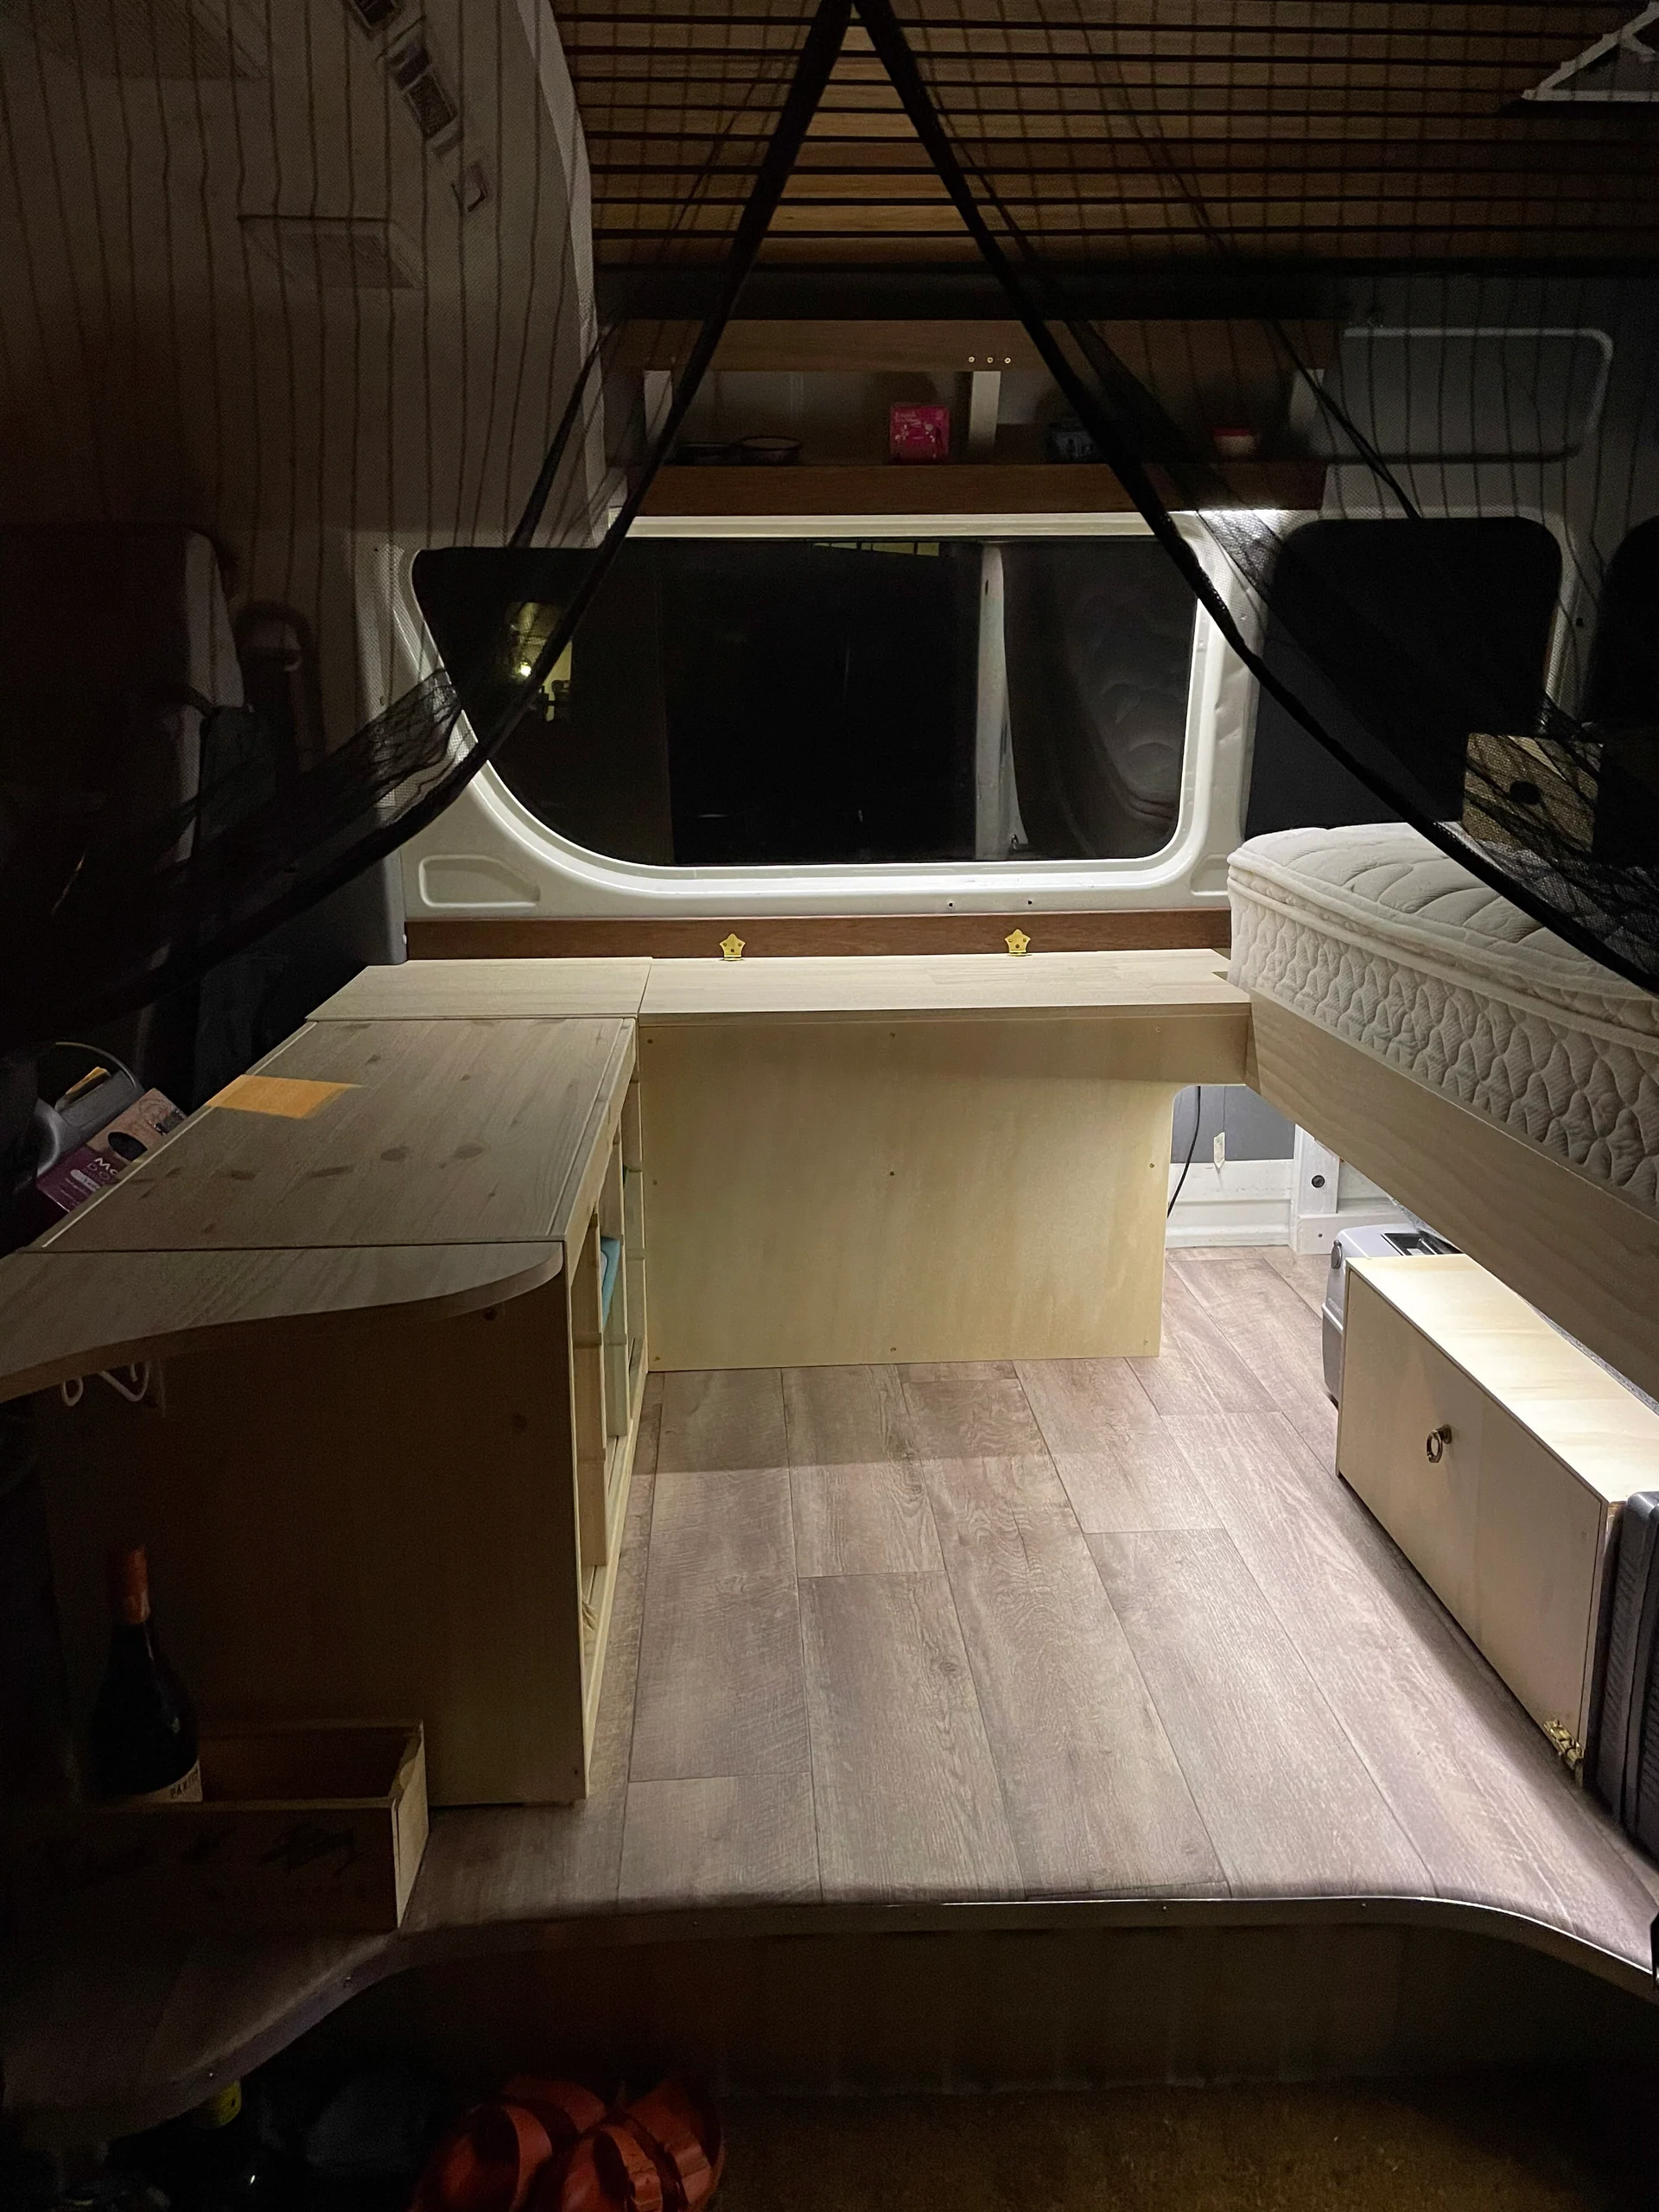
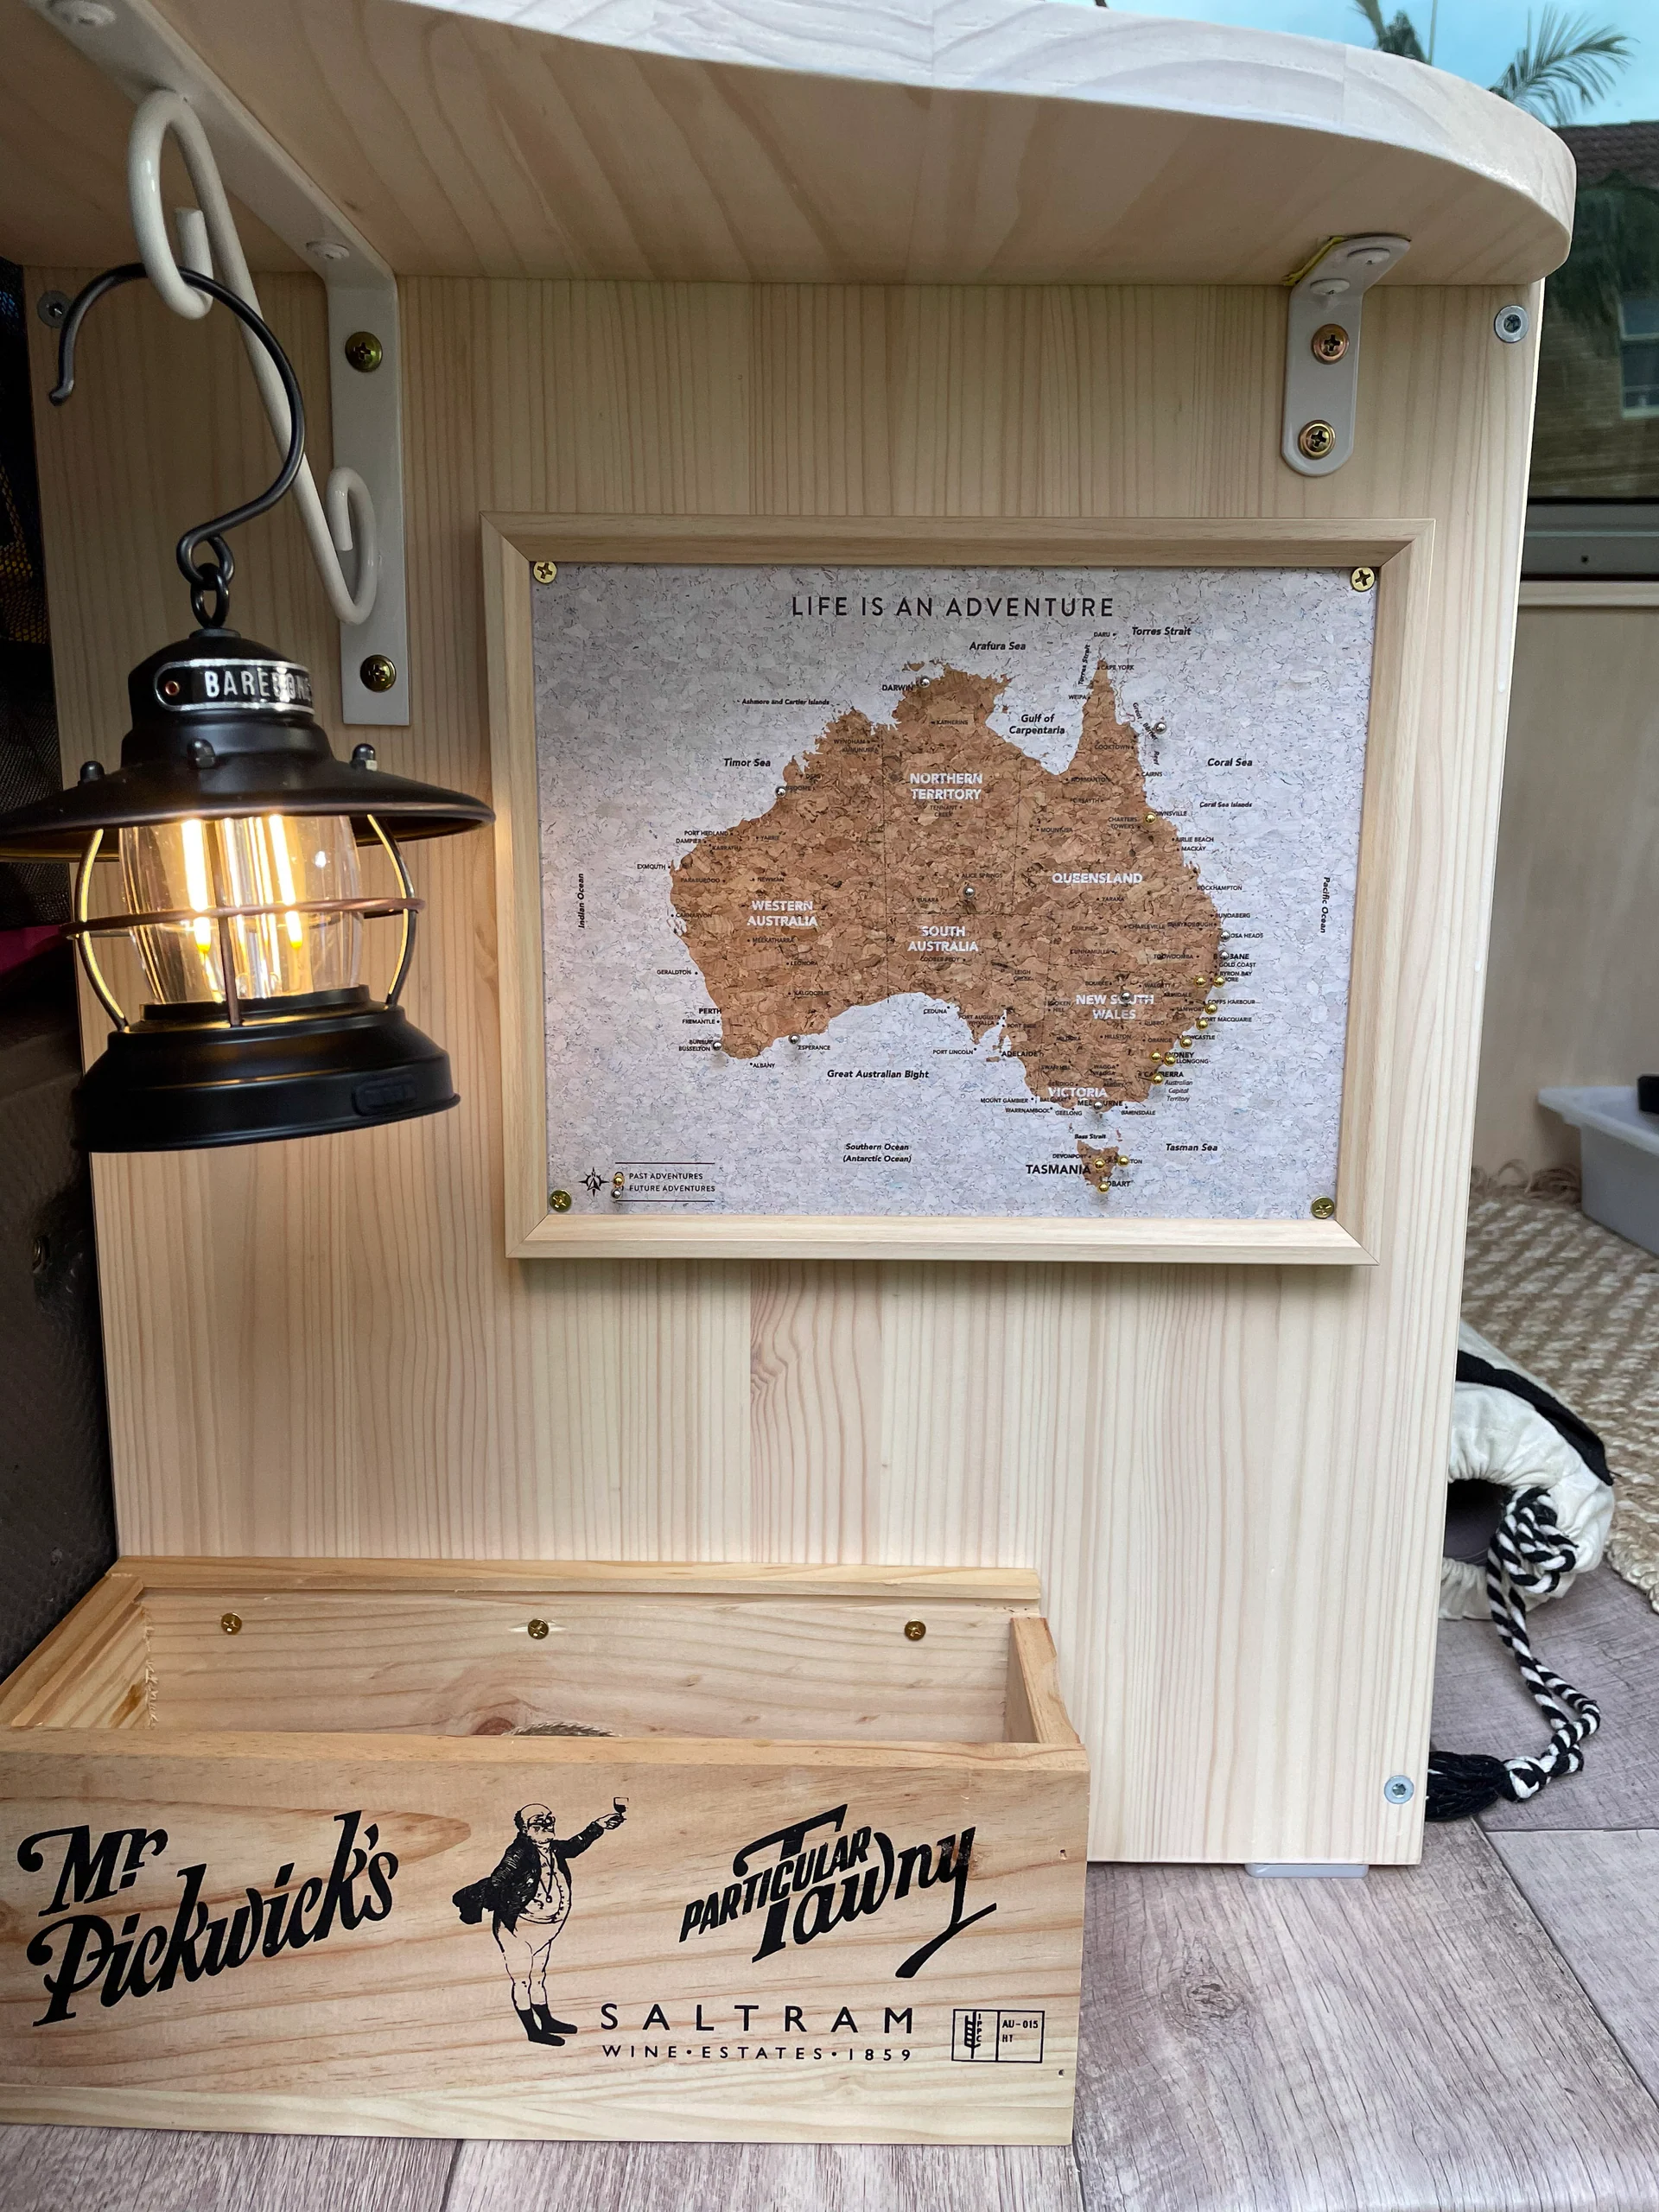
We also decided to go forward with only under-bed surfboard storage. Three boards fit comfortably and this leaves us more room on the inside. To protect the drawers from scratches, wax and saltwater, we got some marine carpet from Bunnings to cover them up. And we installed a little mini-bar – big enough to hold three bottles
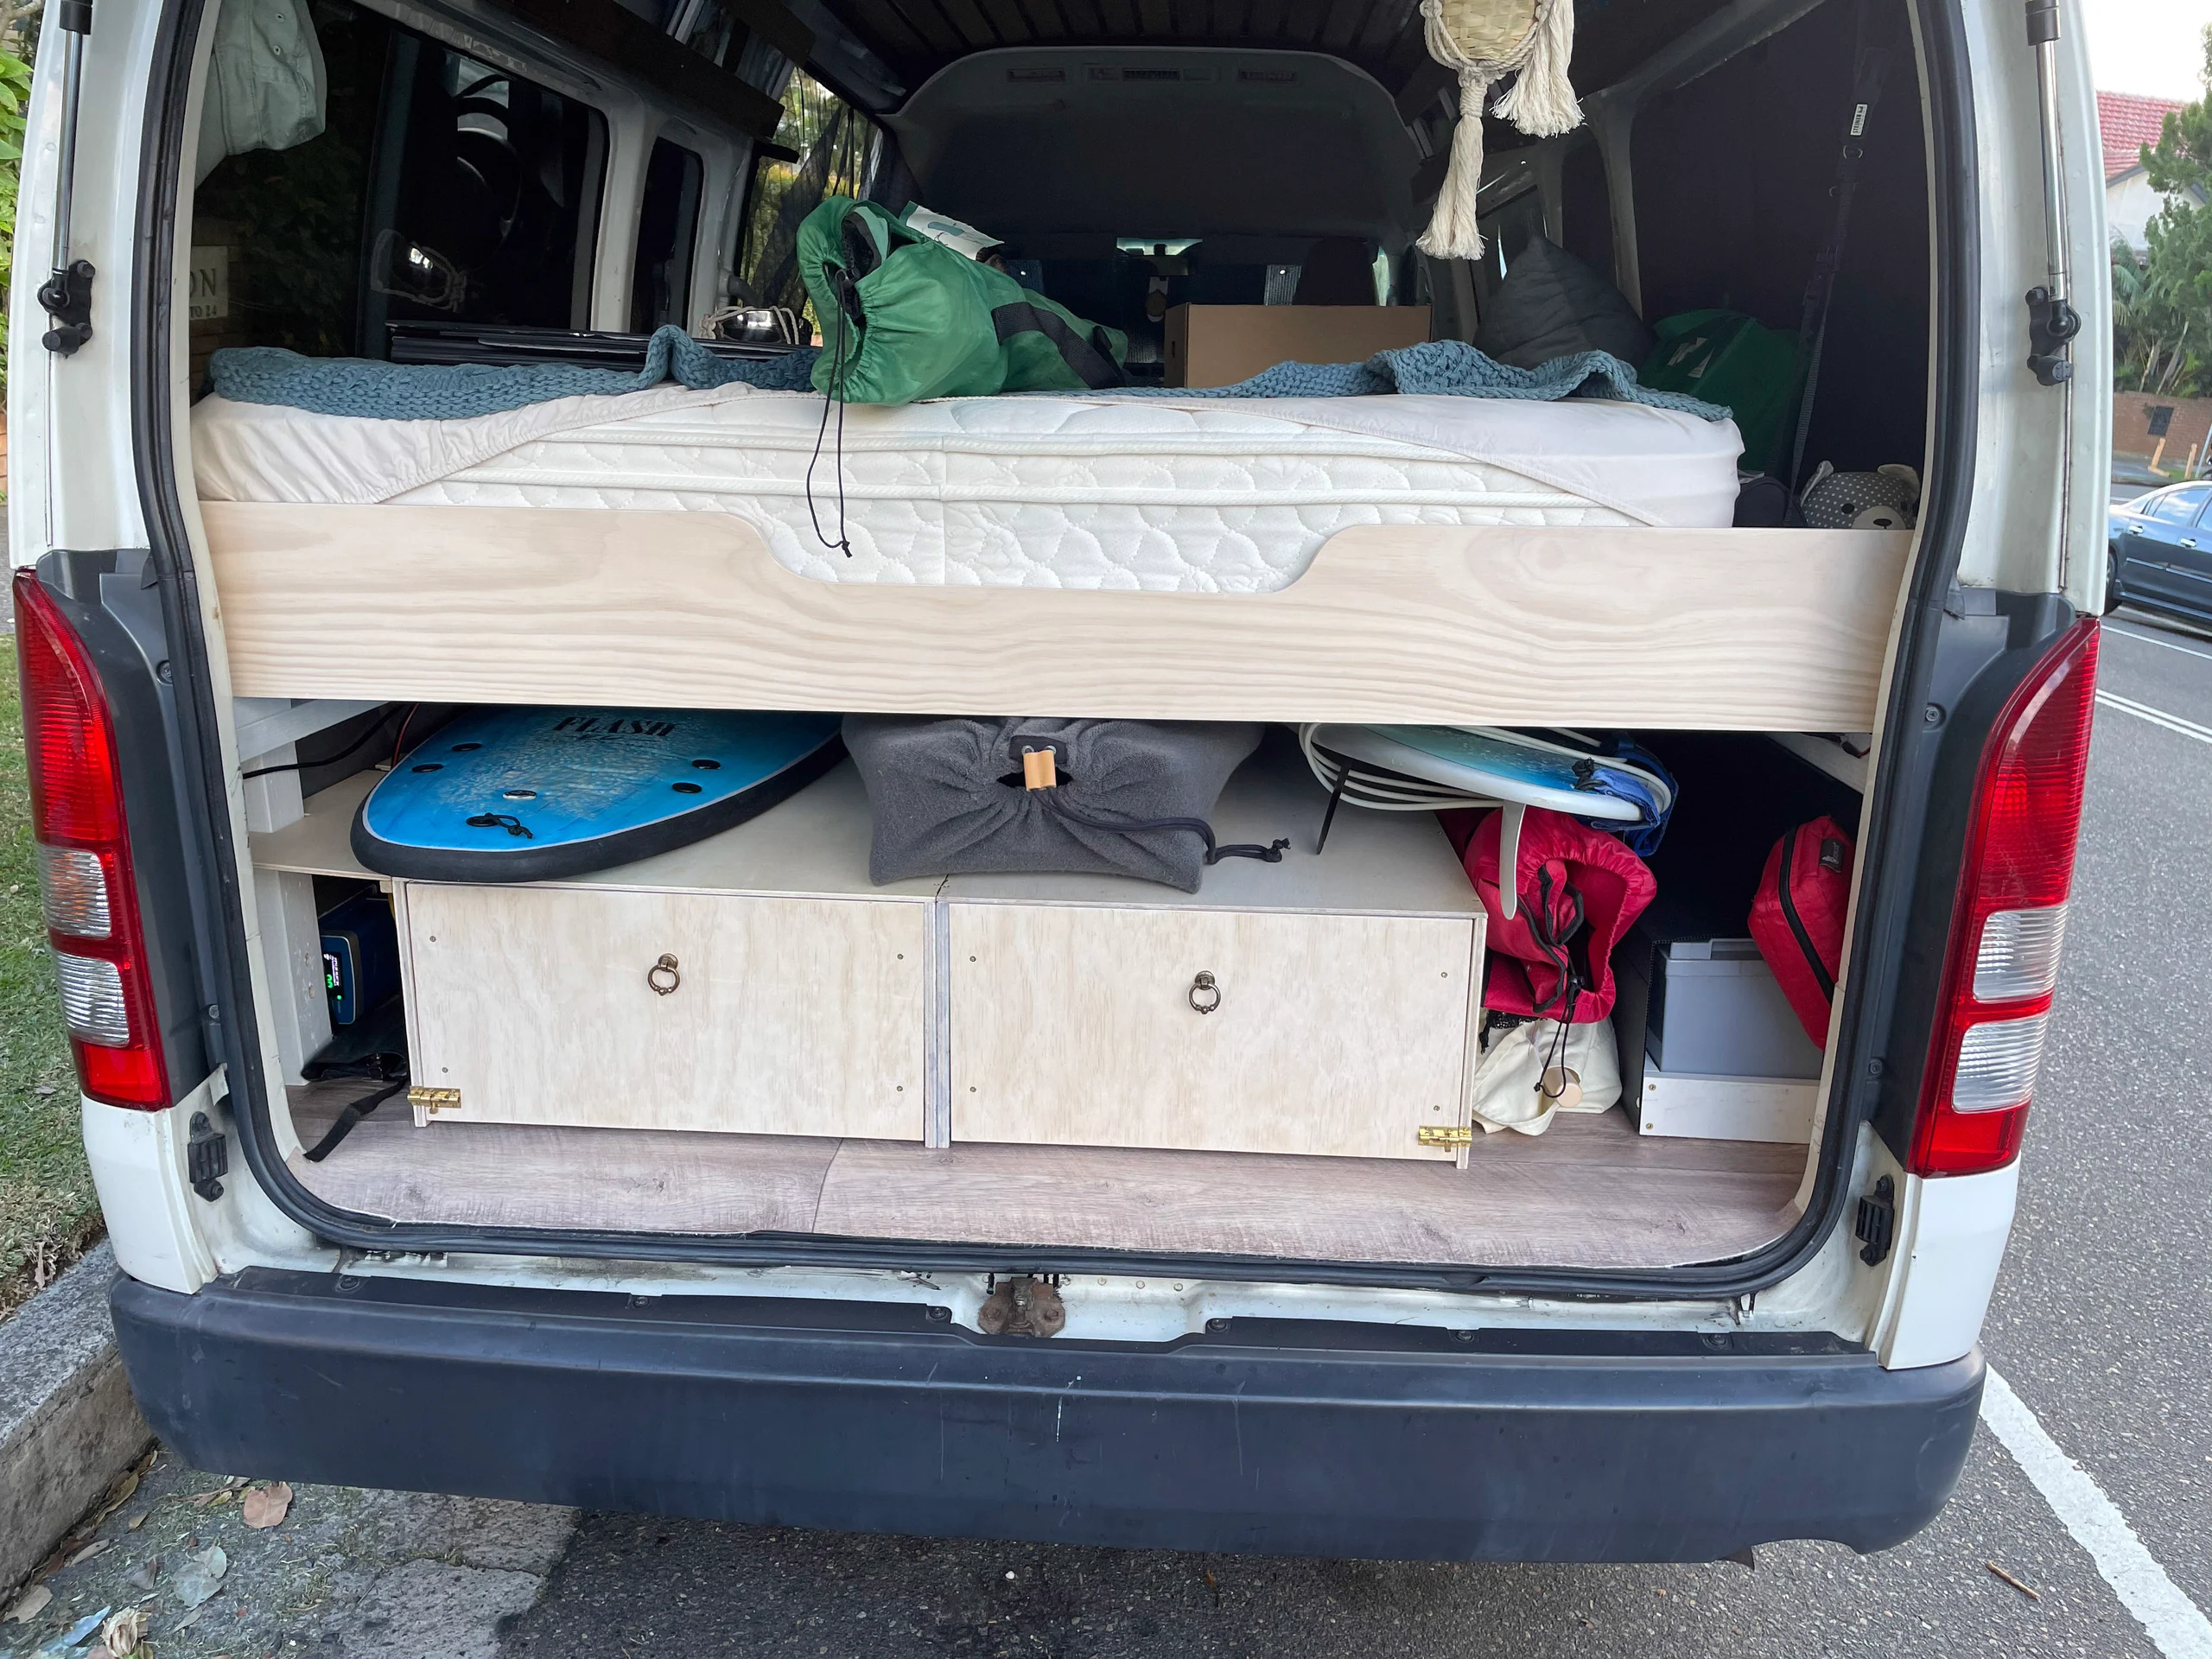
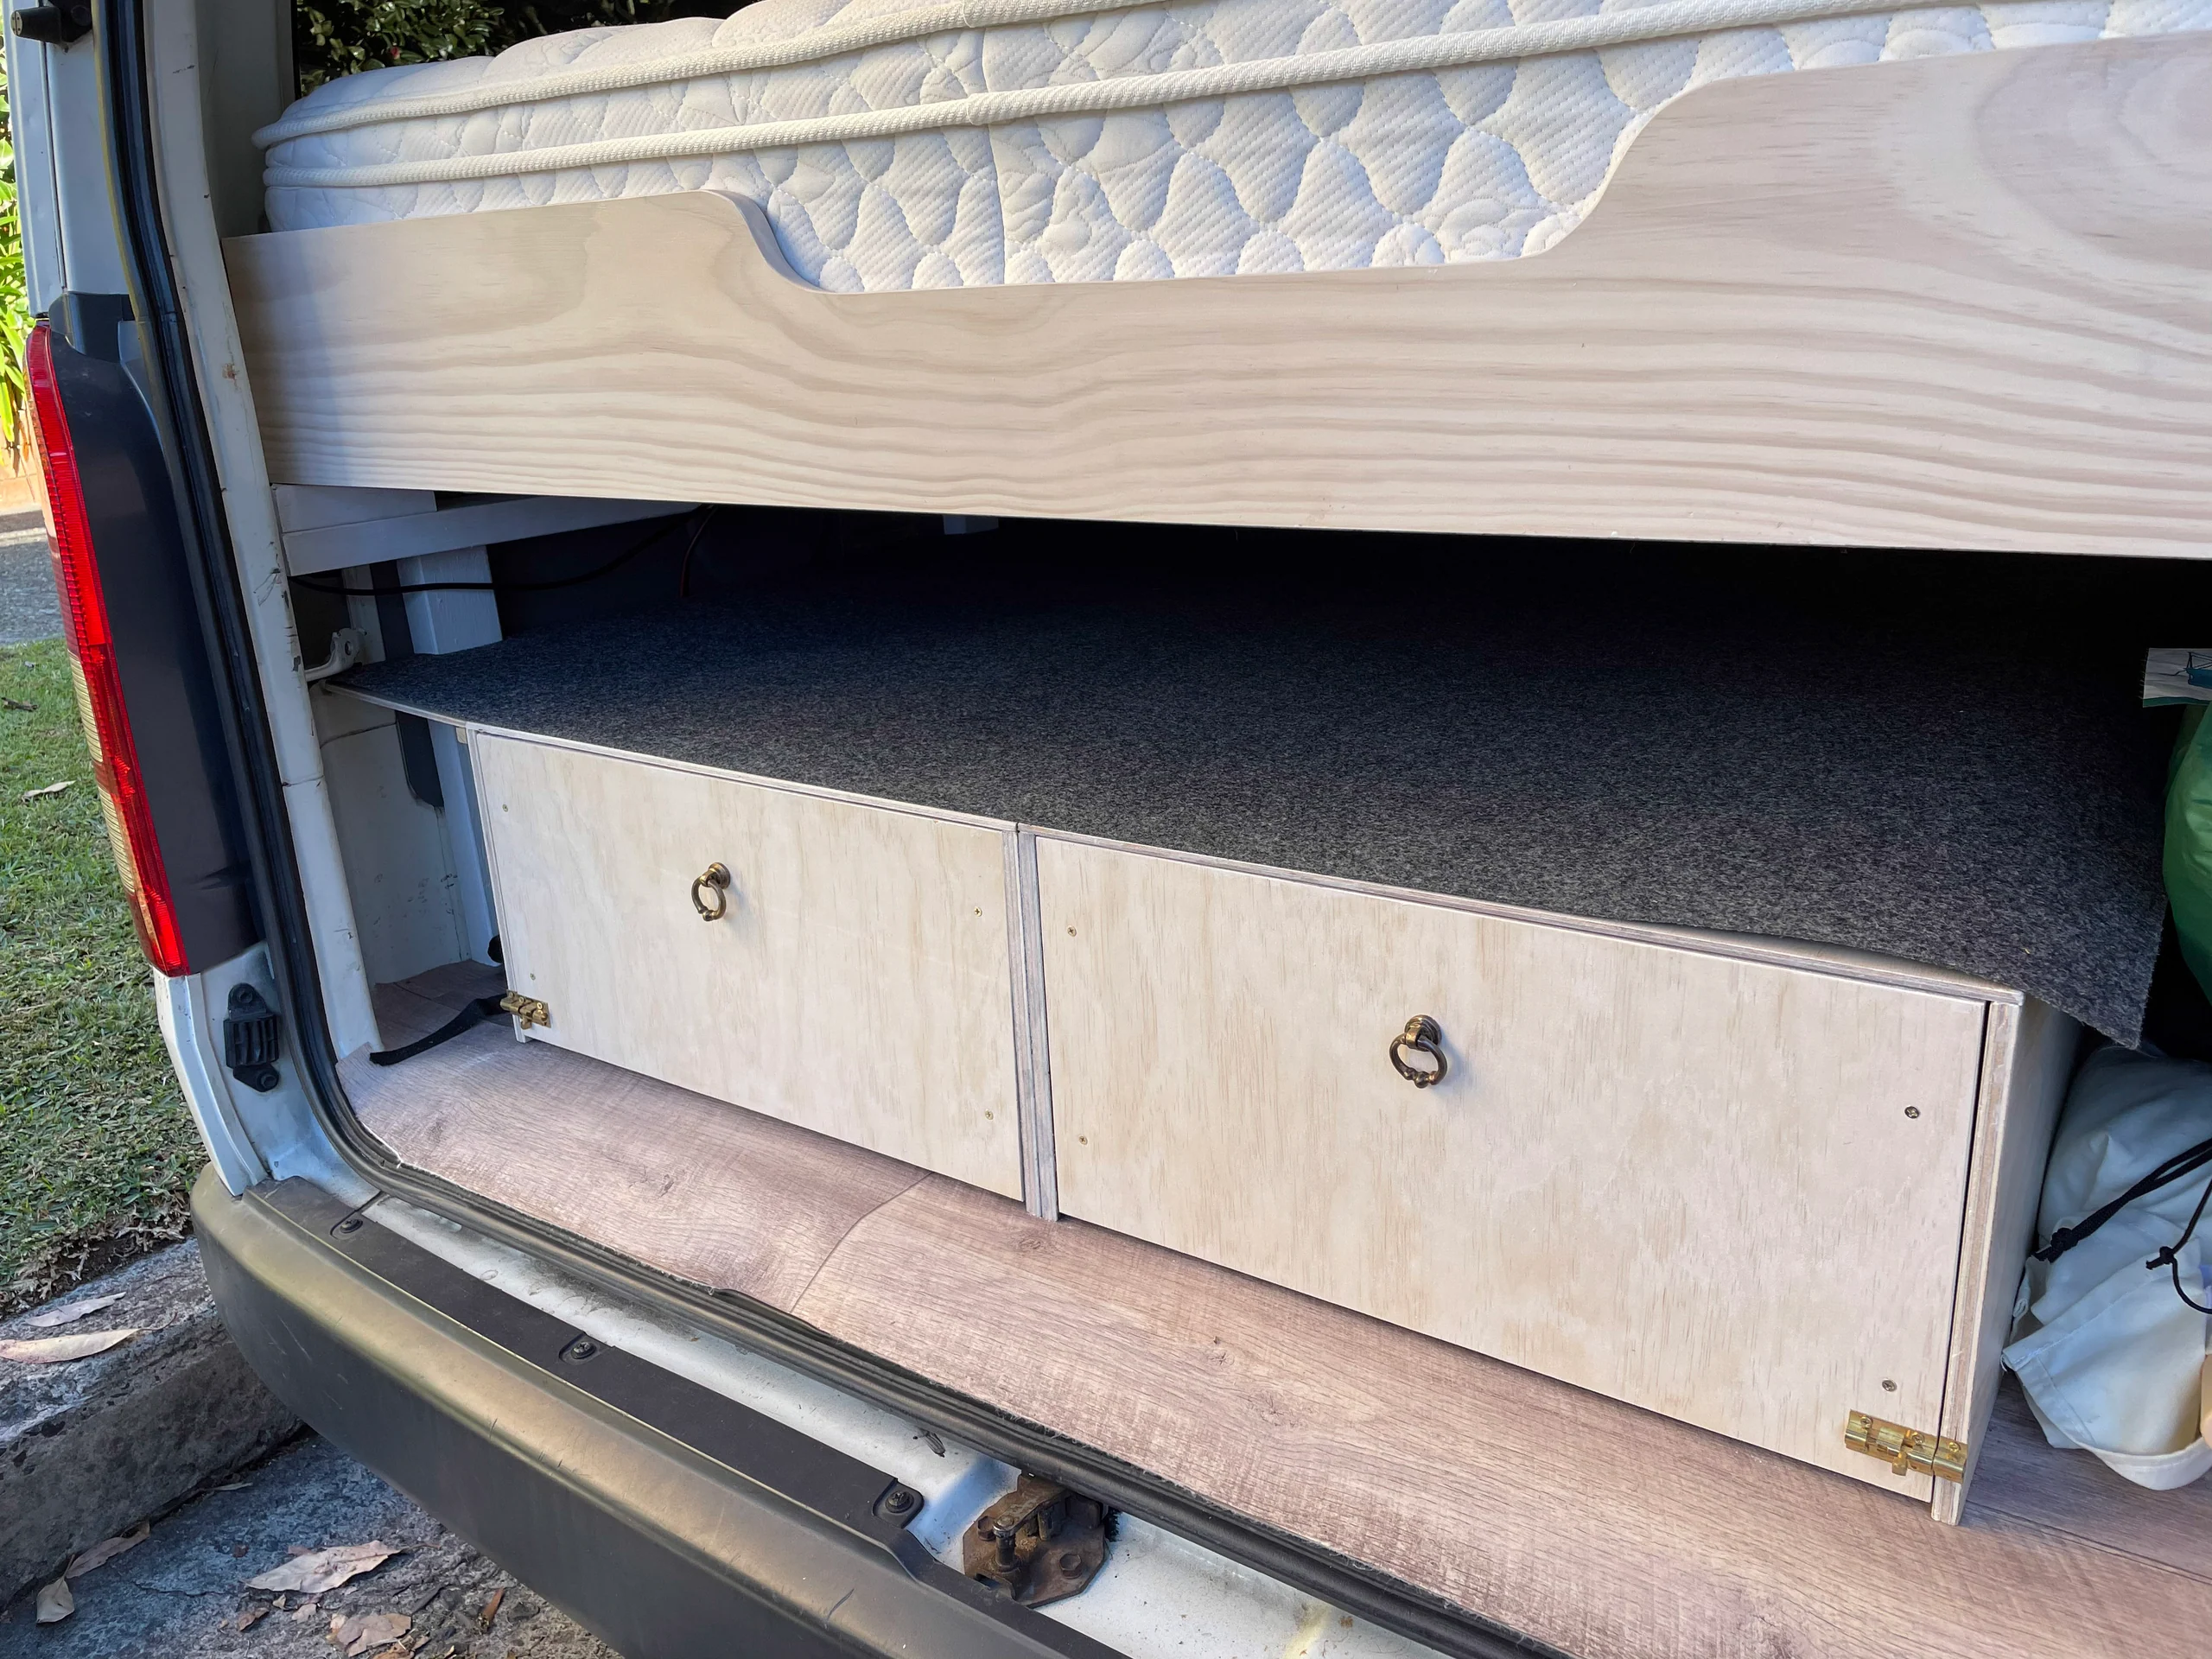
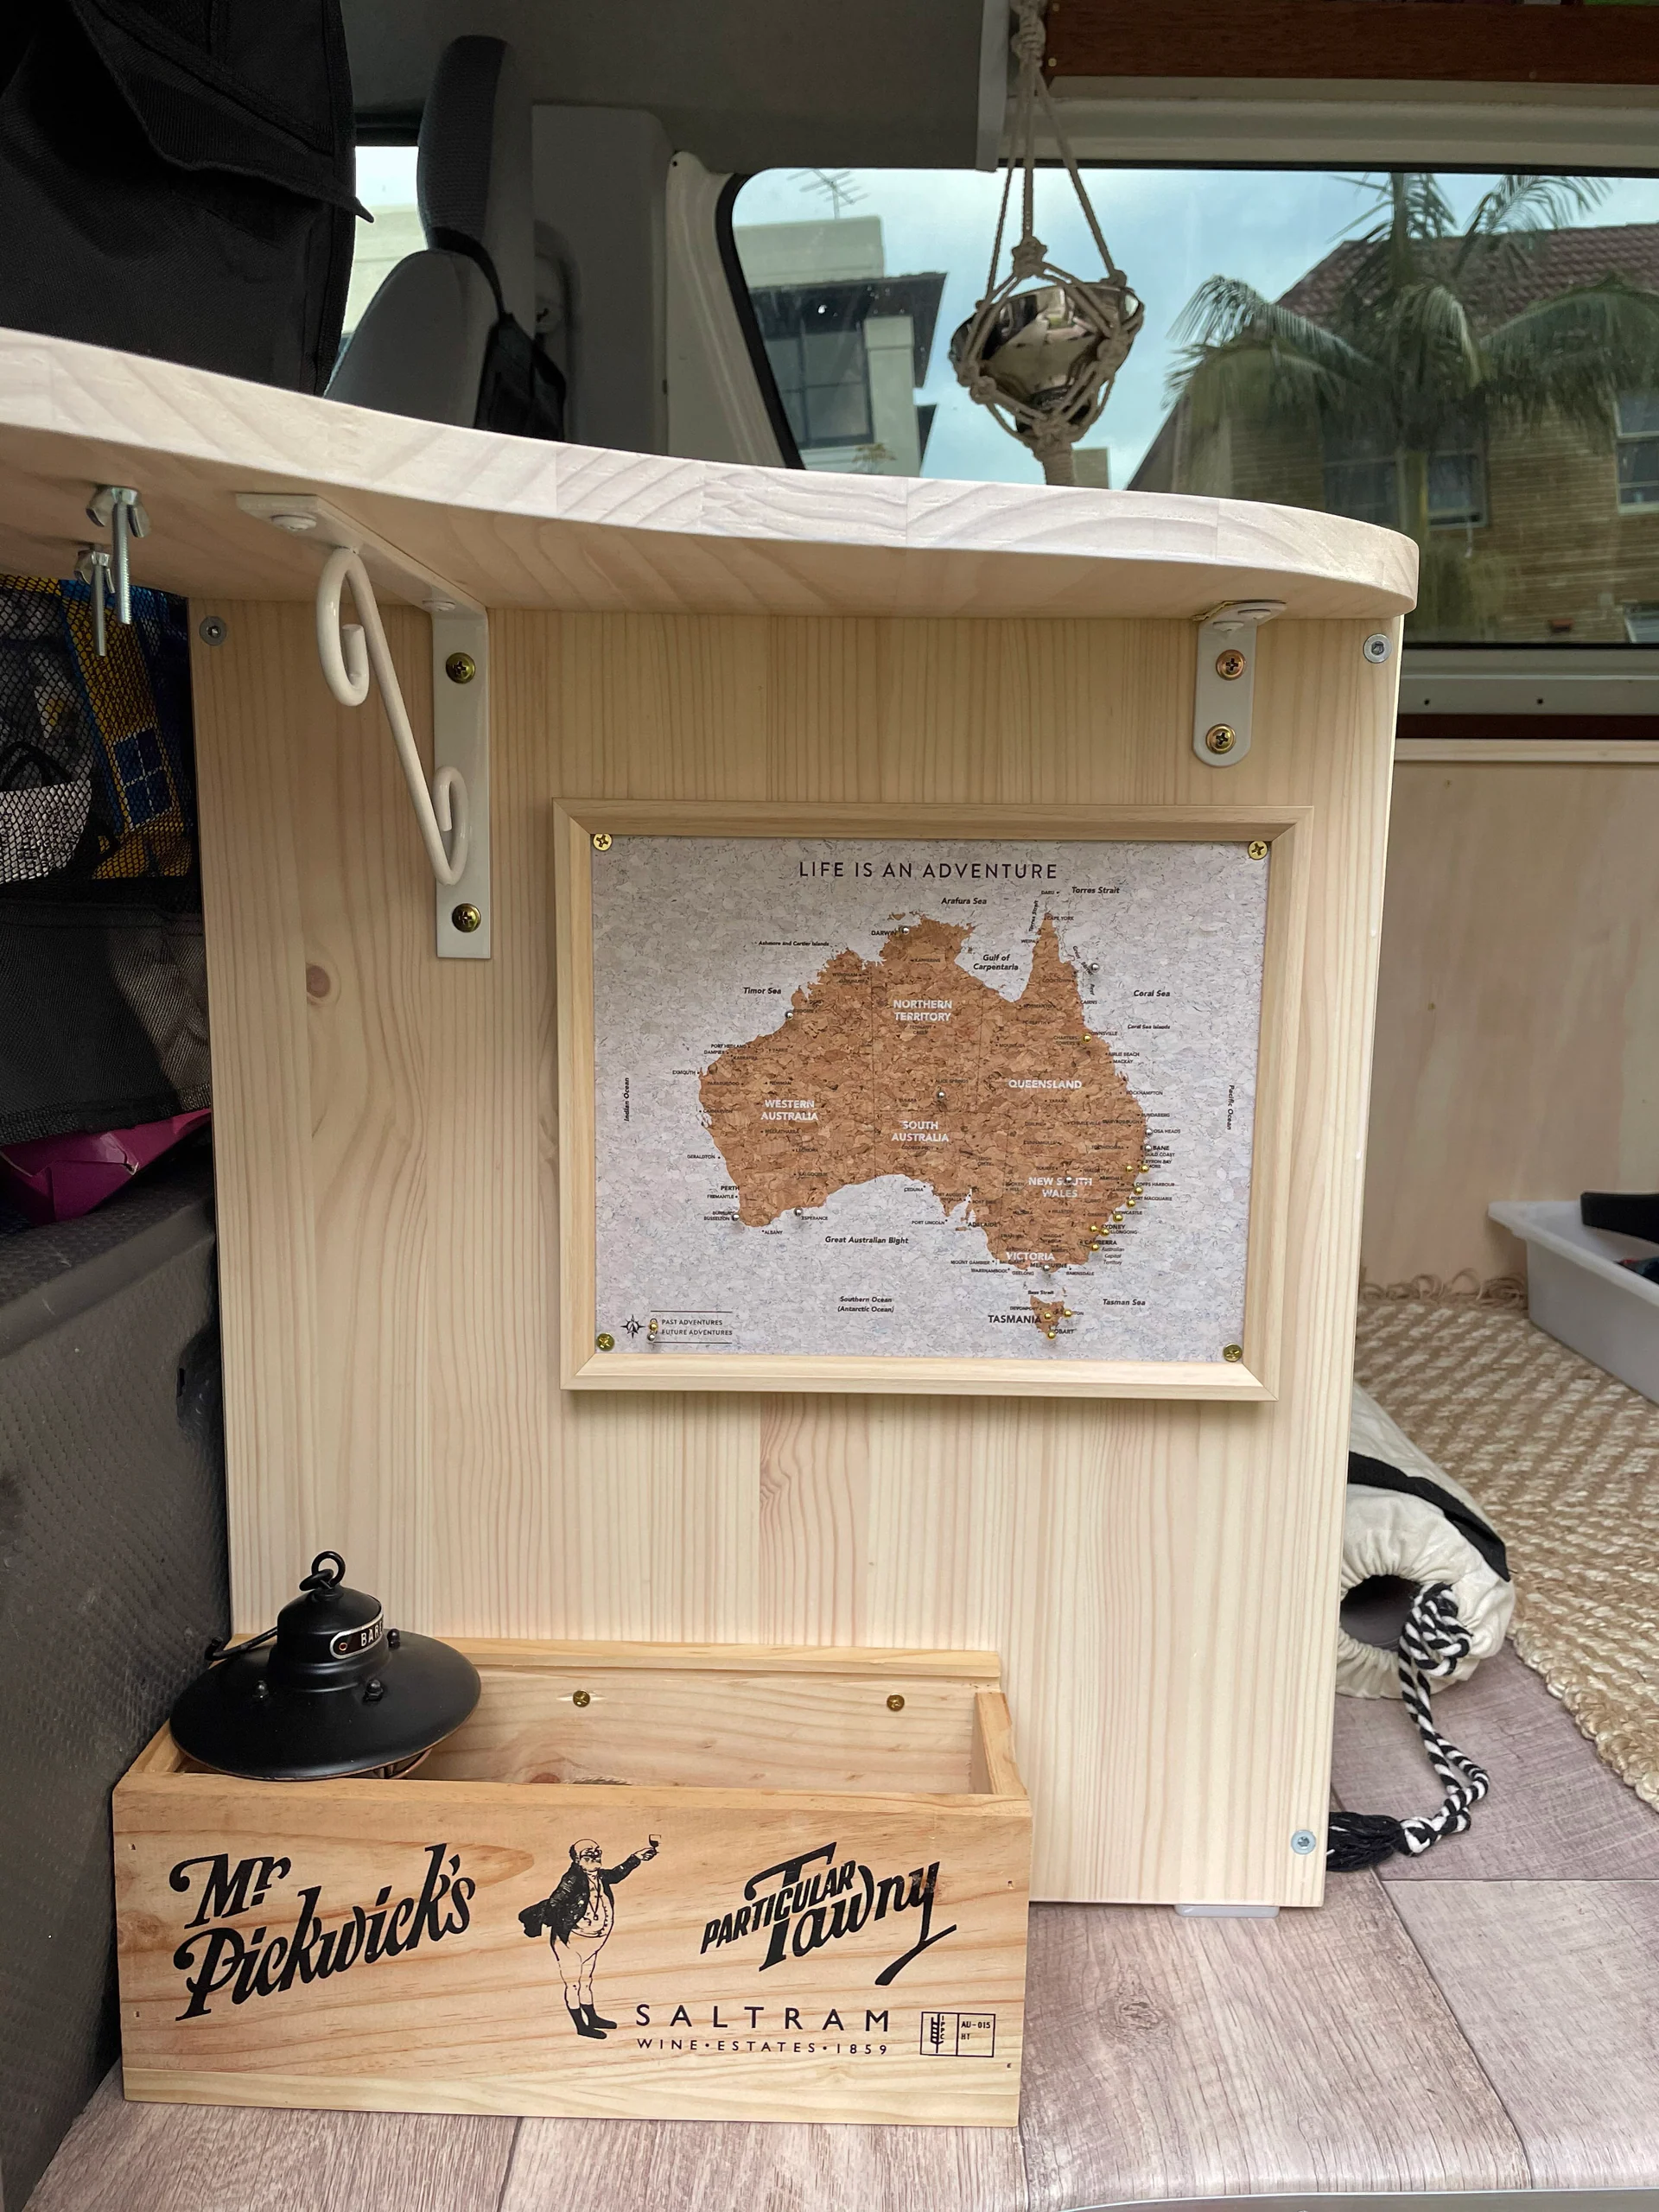
We build two more long boxes that should fit right next to the mattress – which is basically the only thing left. But we still use it in the apartment. So it'll come last.
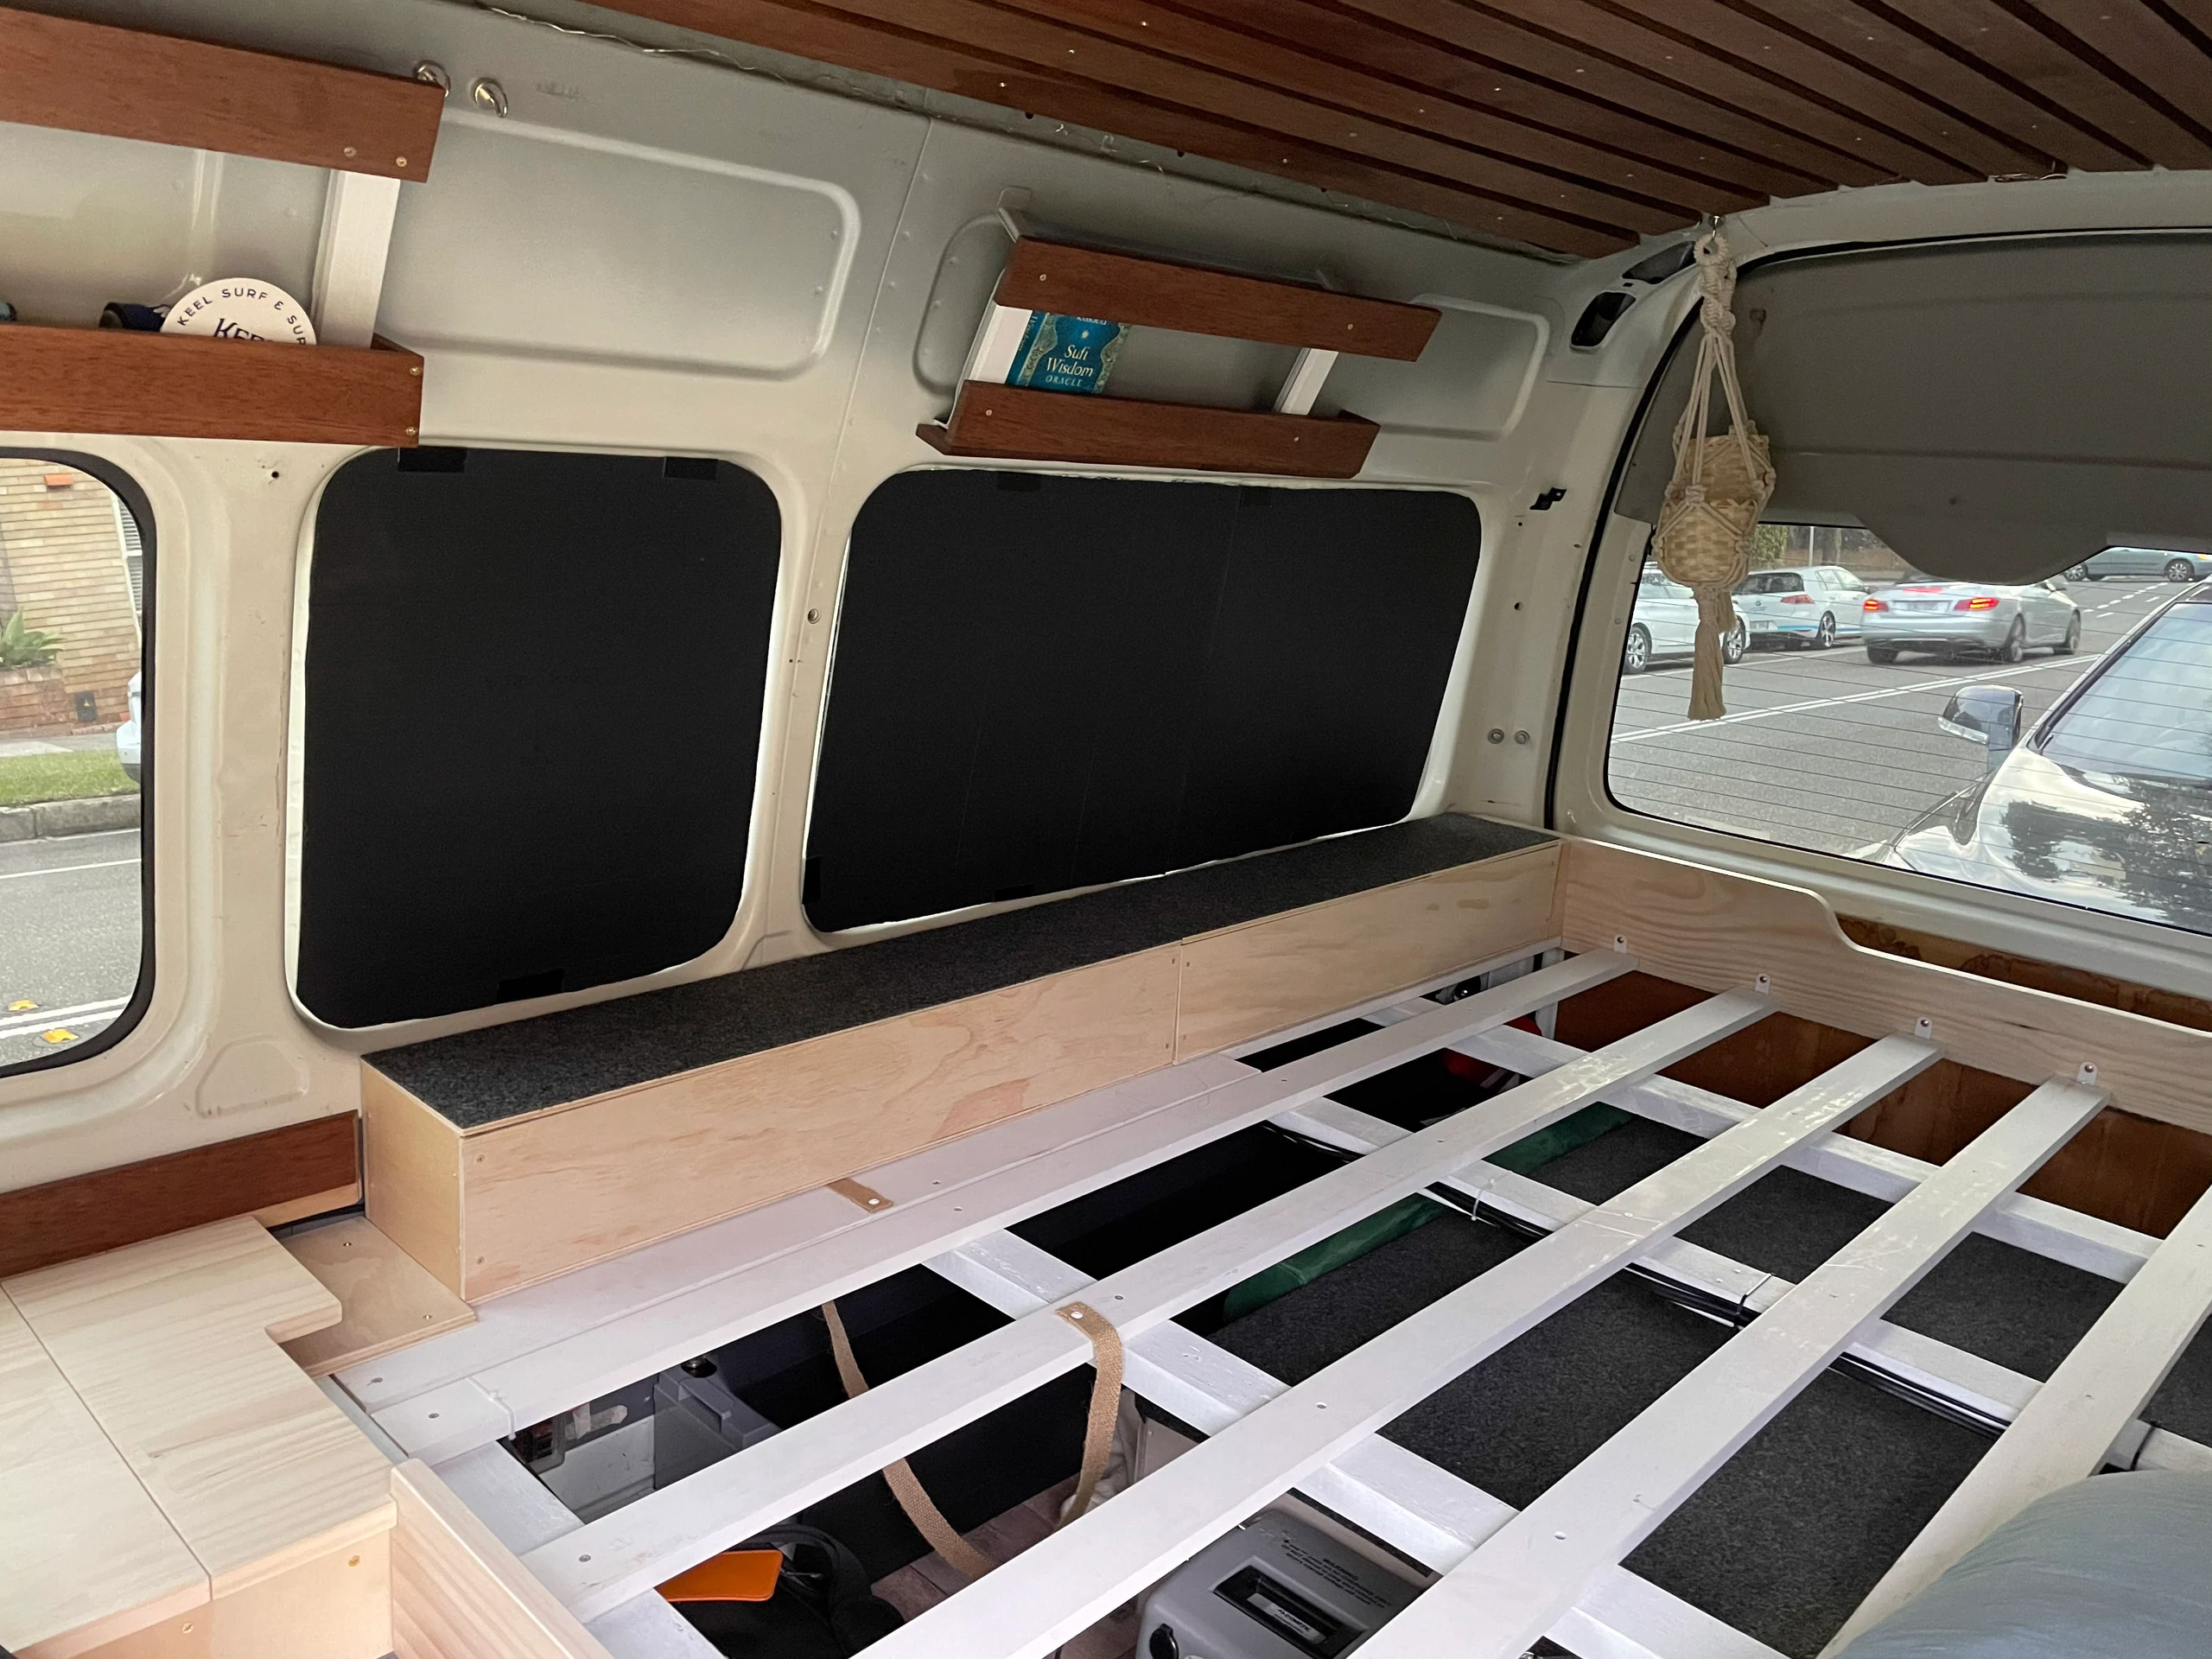
...we sold our furniture, stored a few things at a friends place and are ready to make this dream a reality. It's still a bit messy, but we will sort it out on the road.
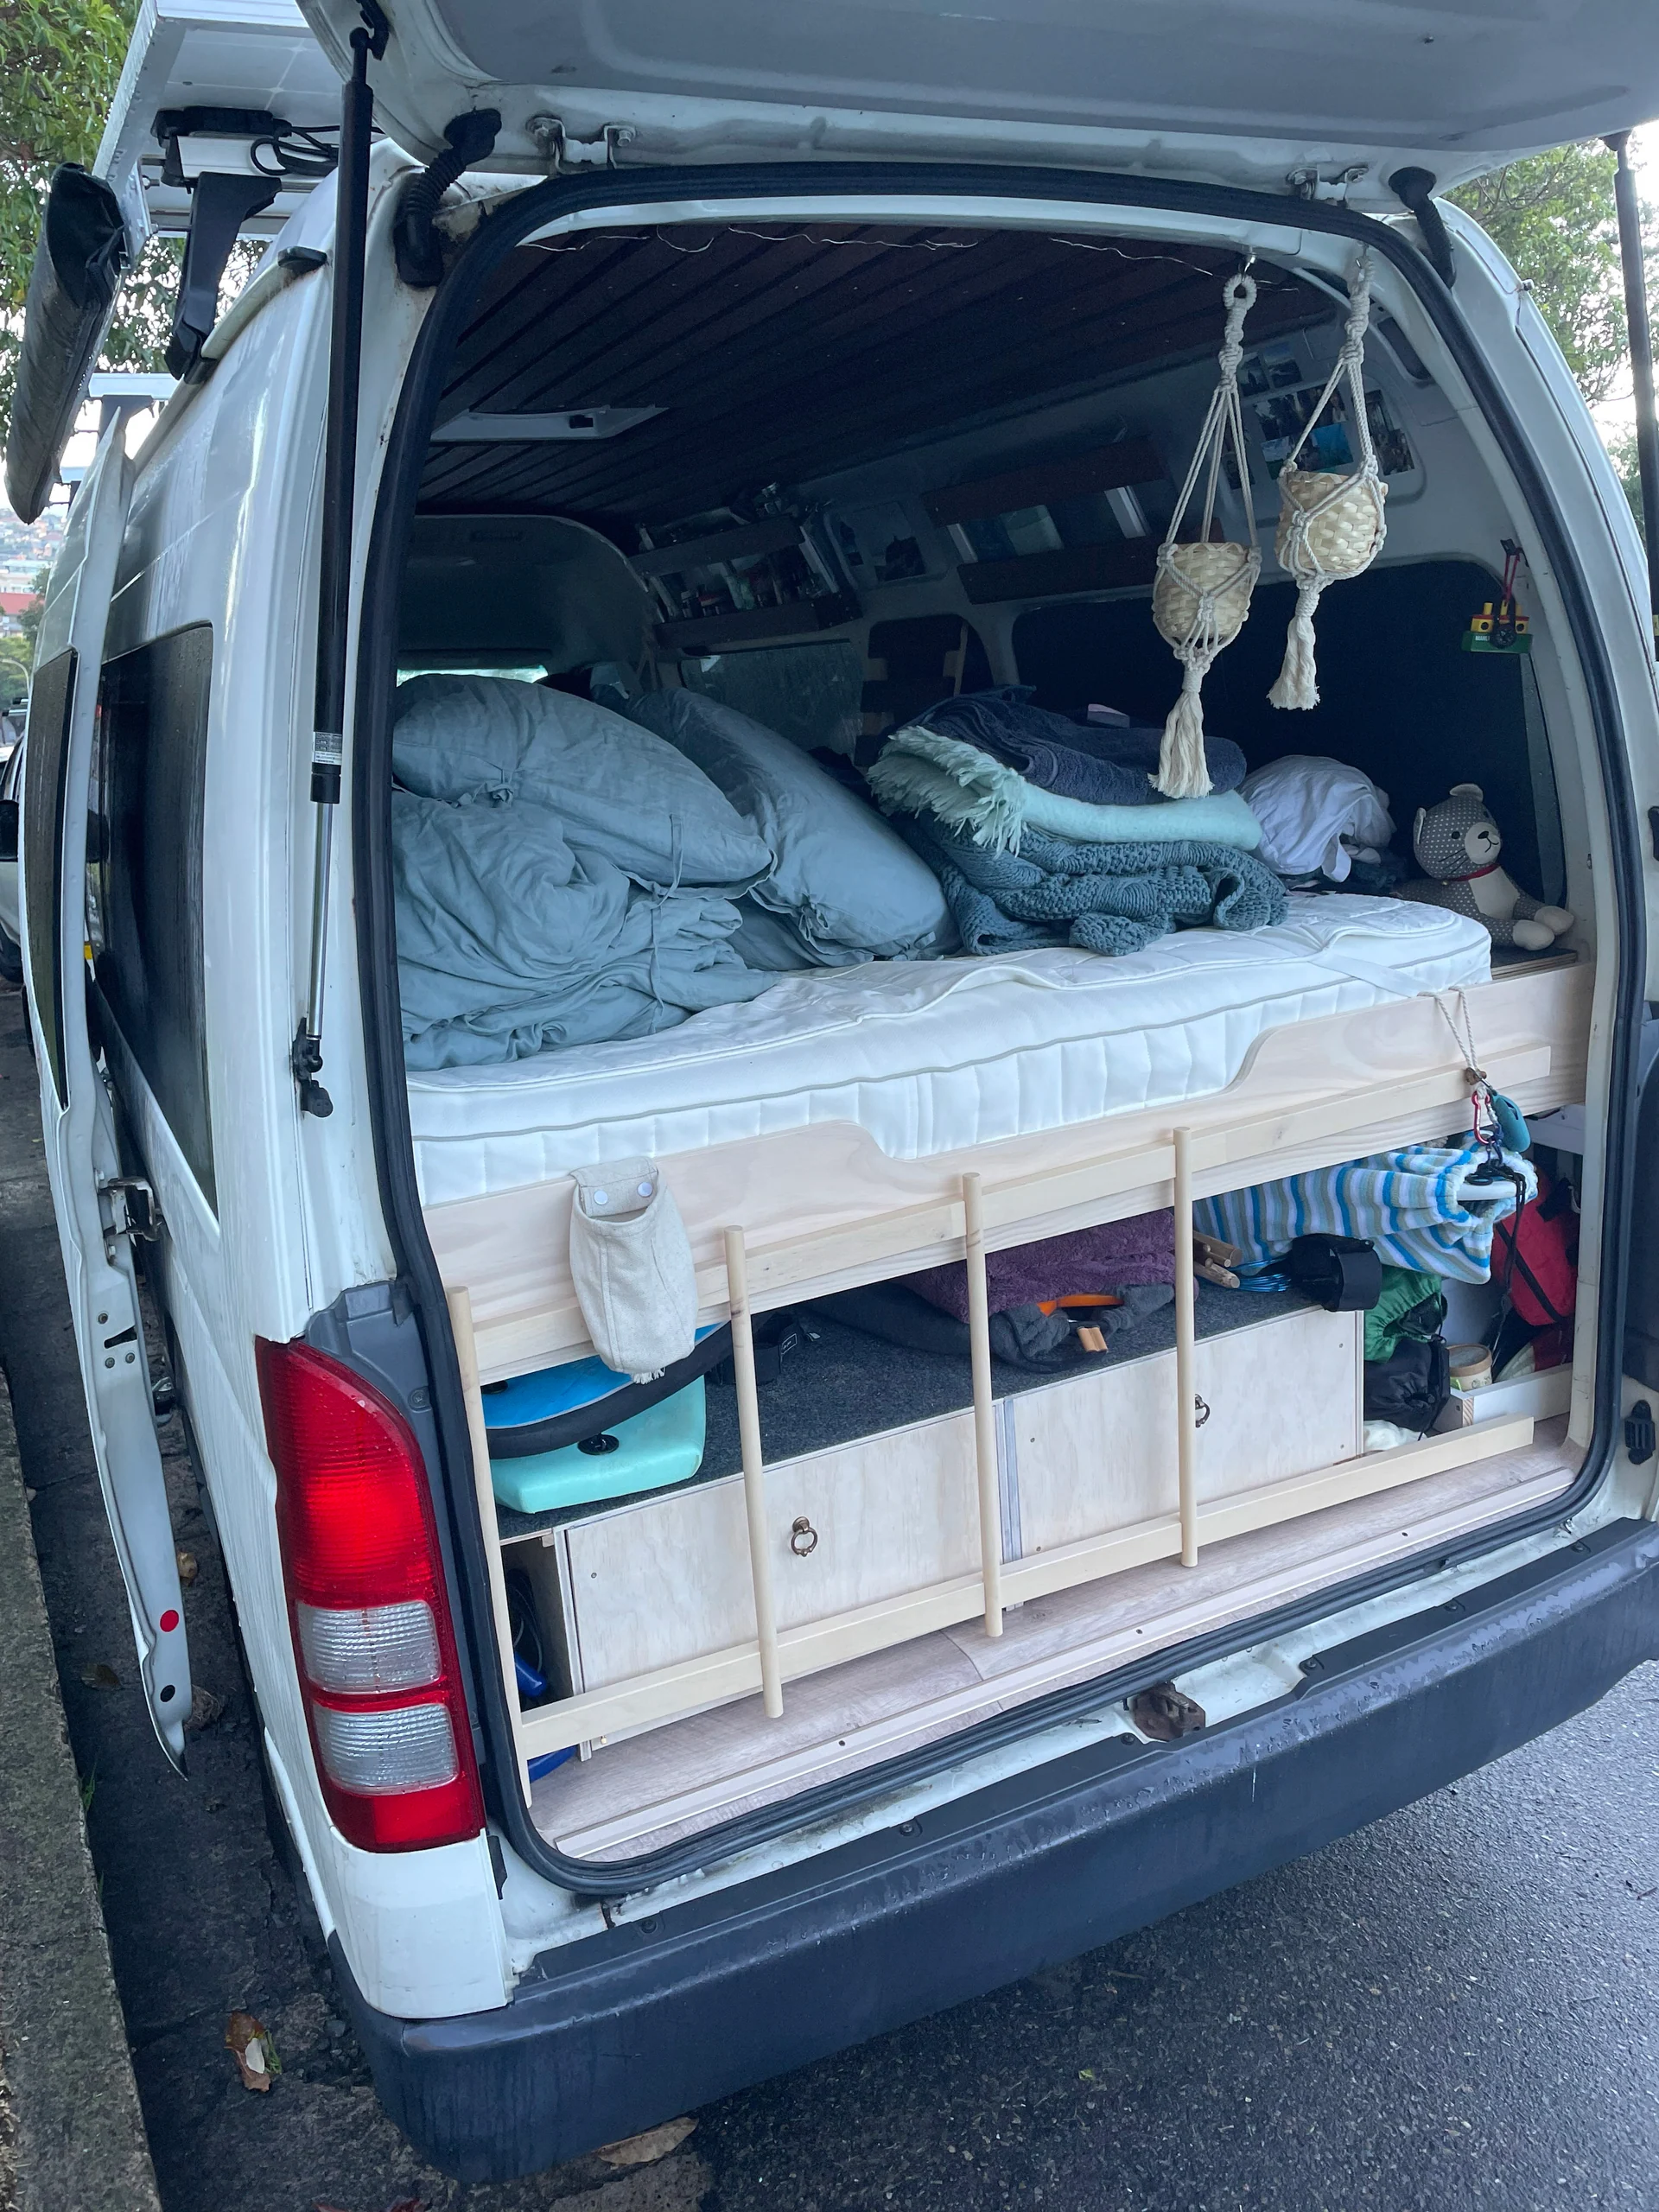
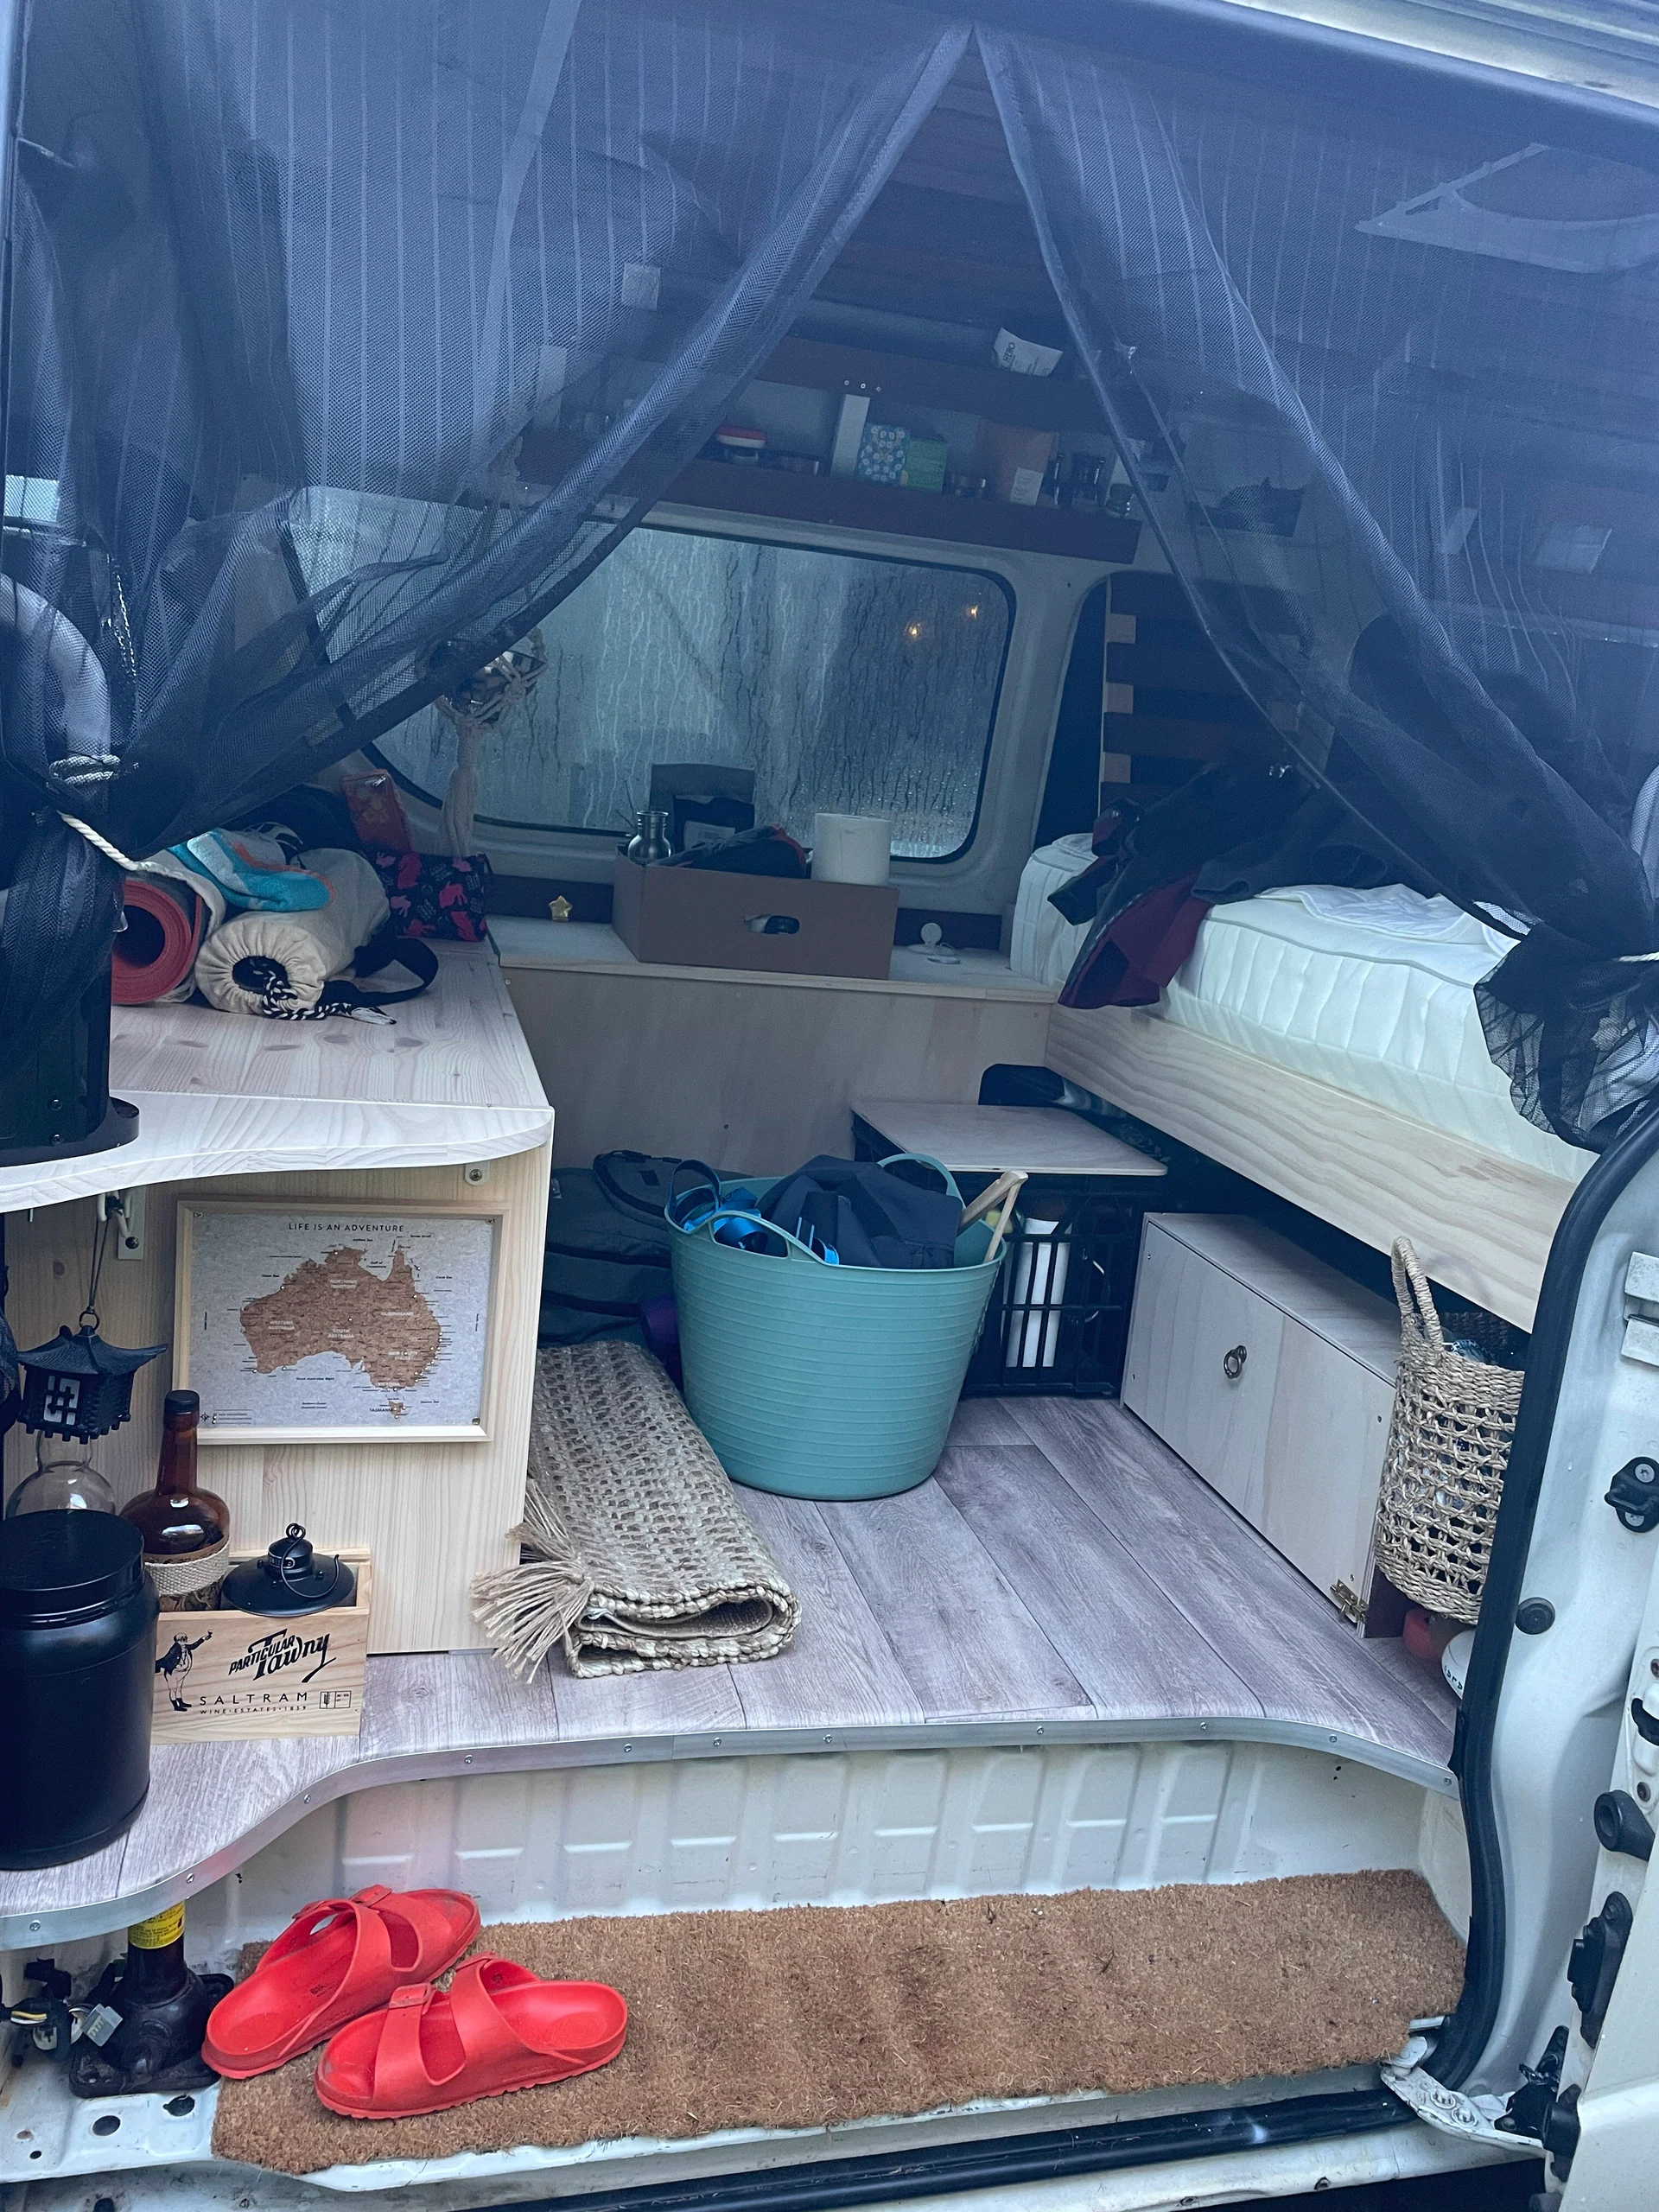
Some finishing touches like a DC charging port and finally also a fridge.
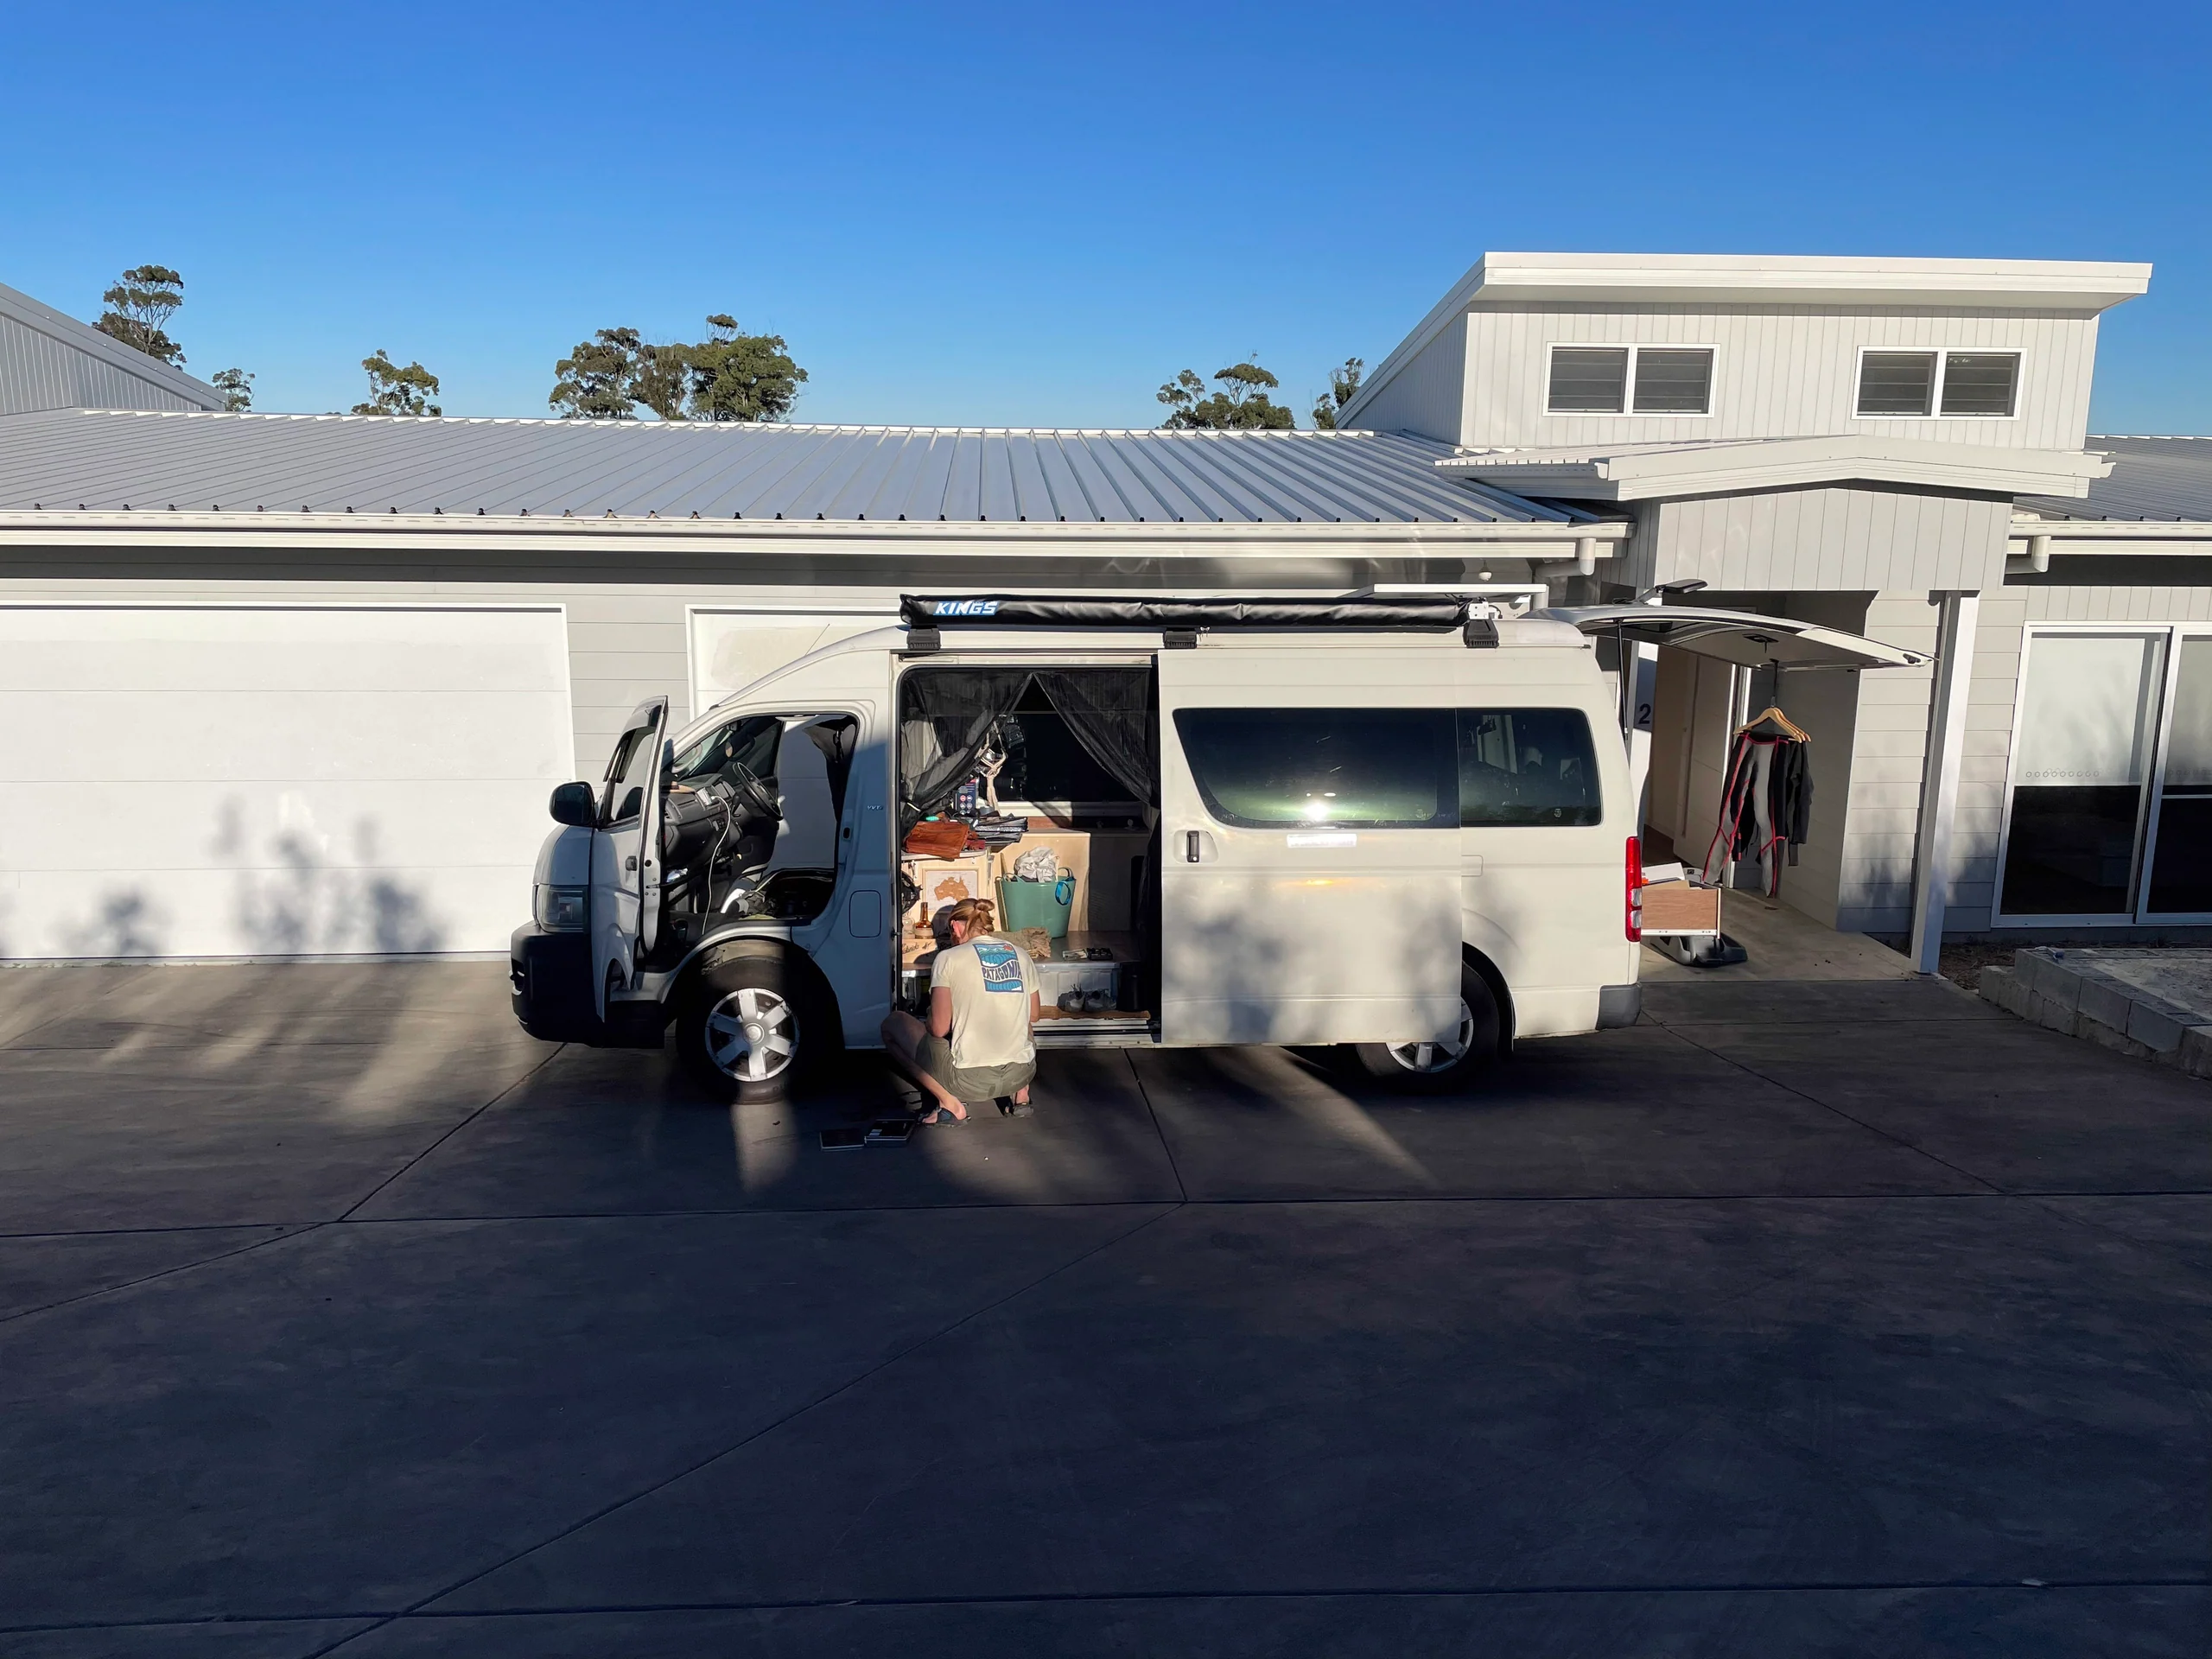
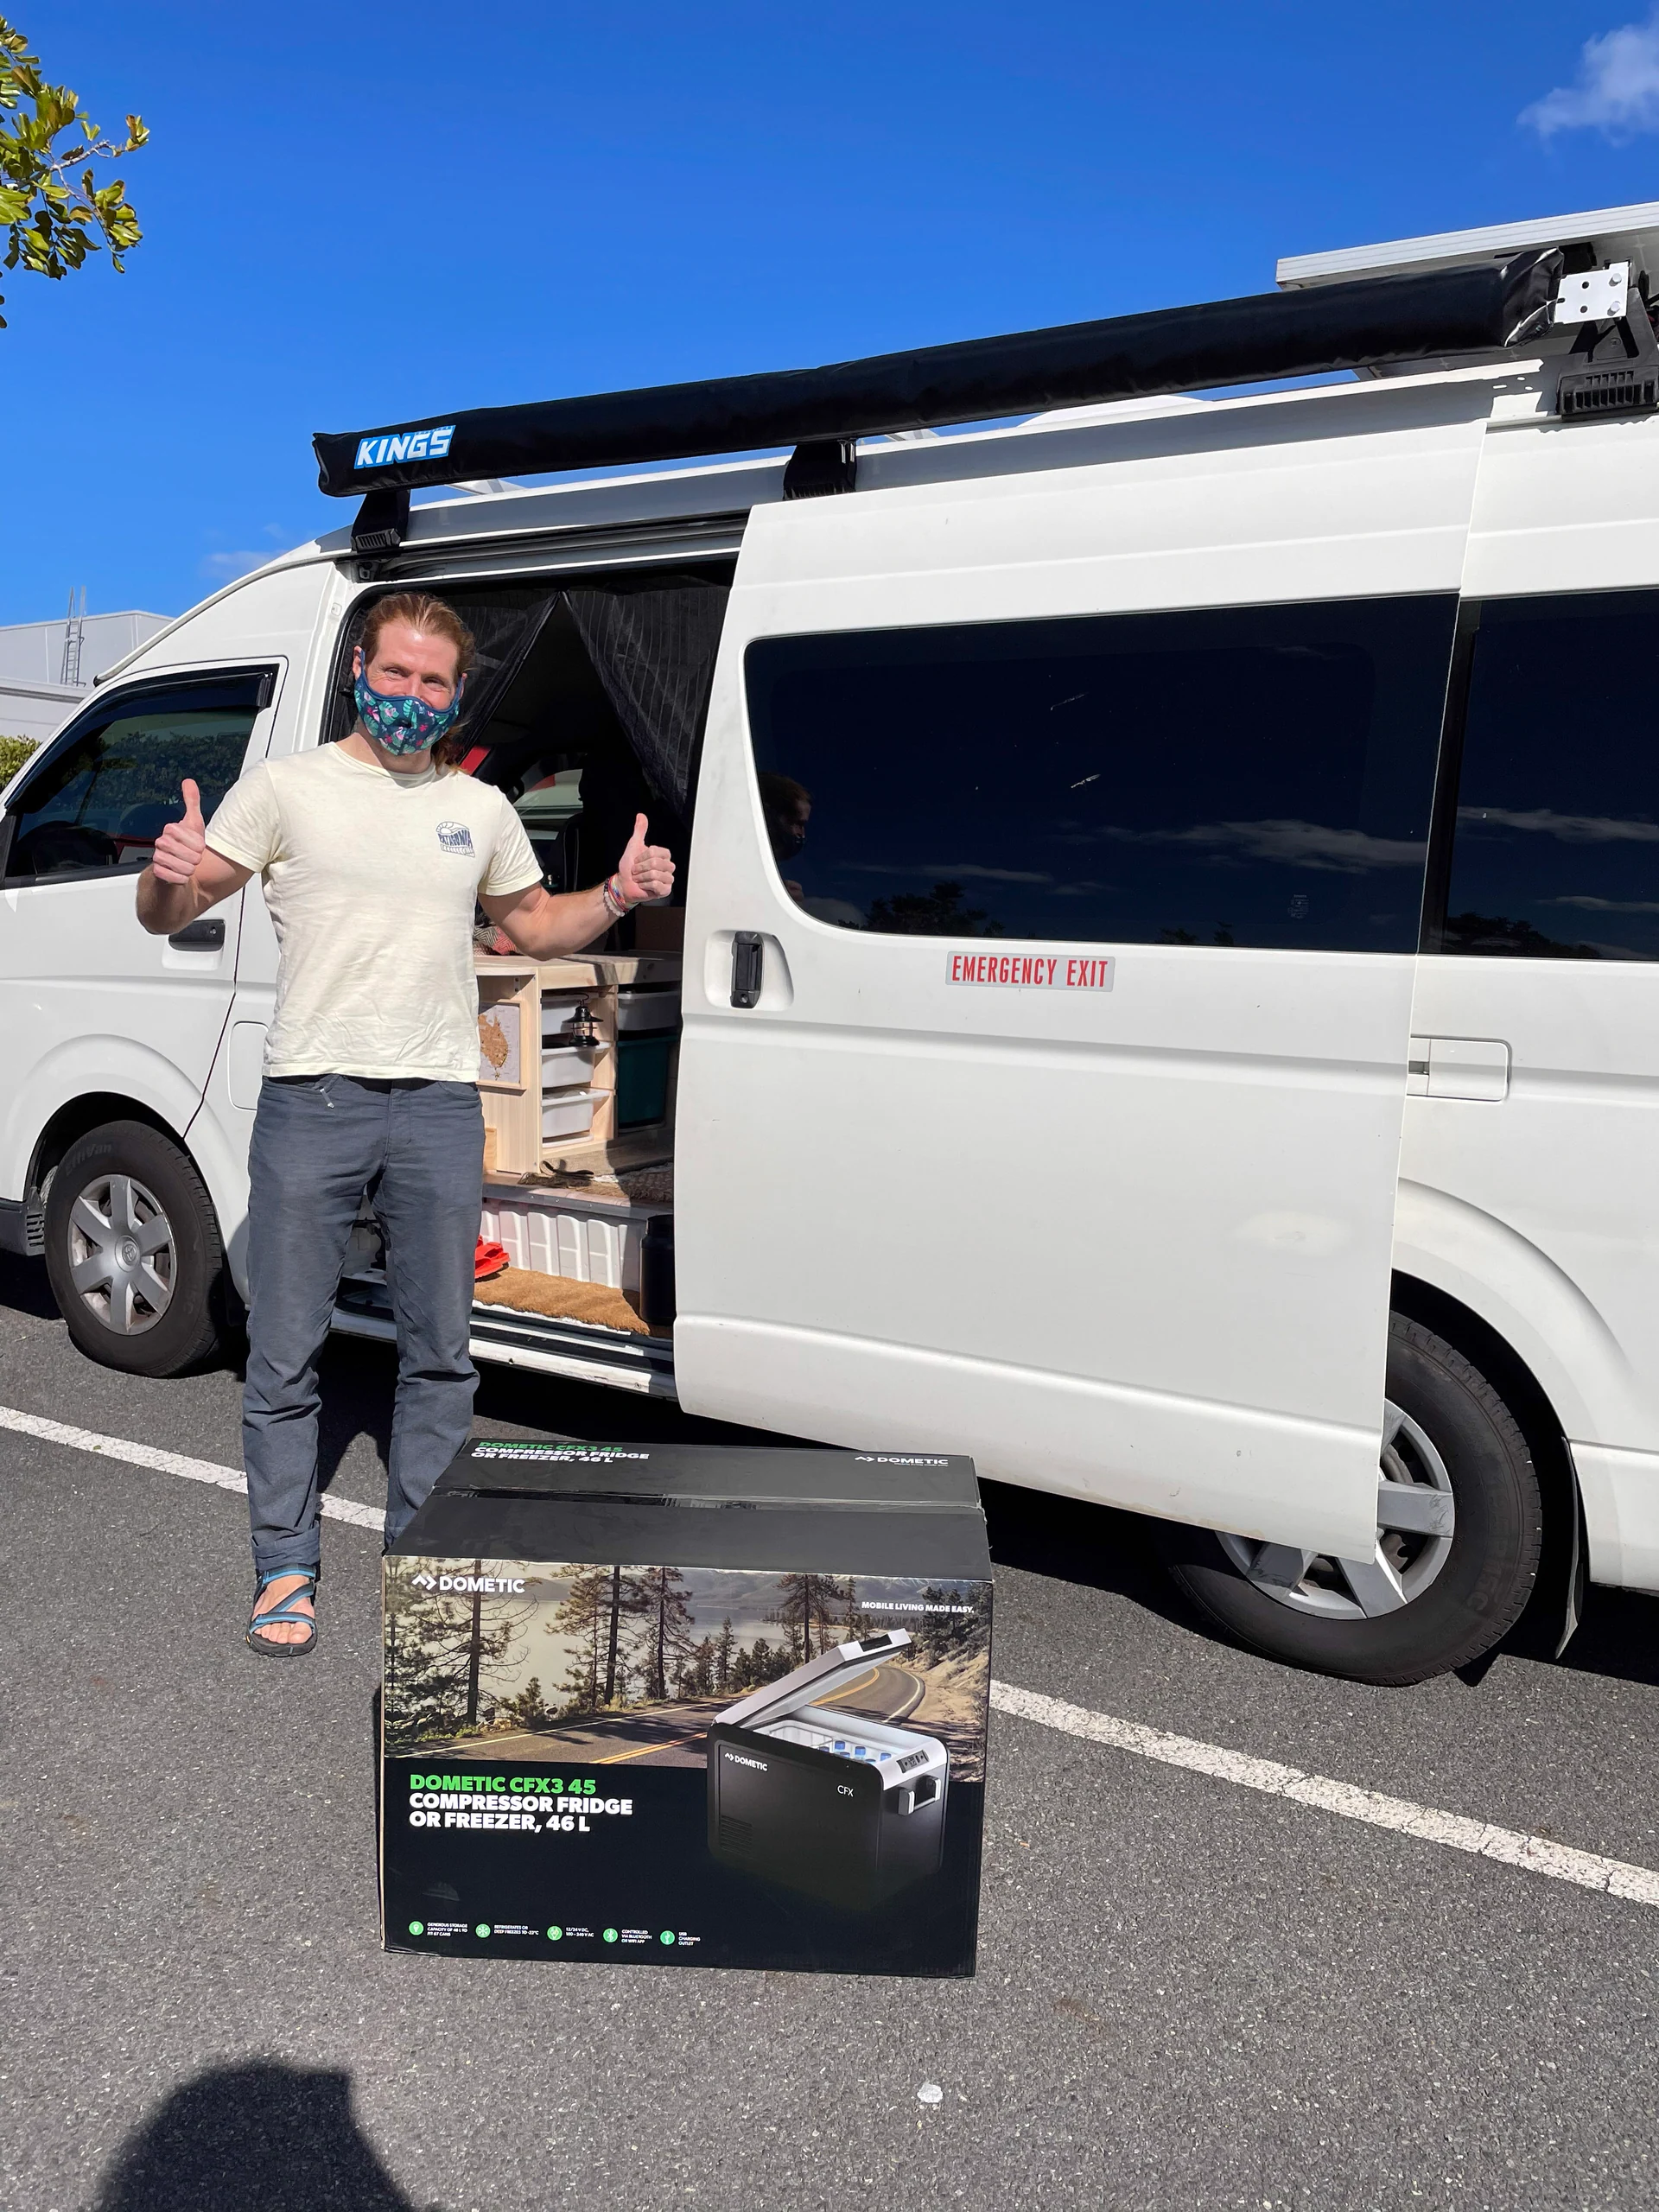
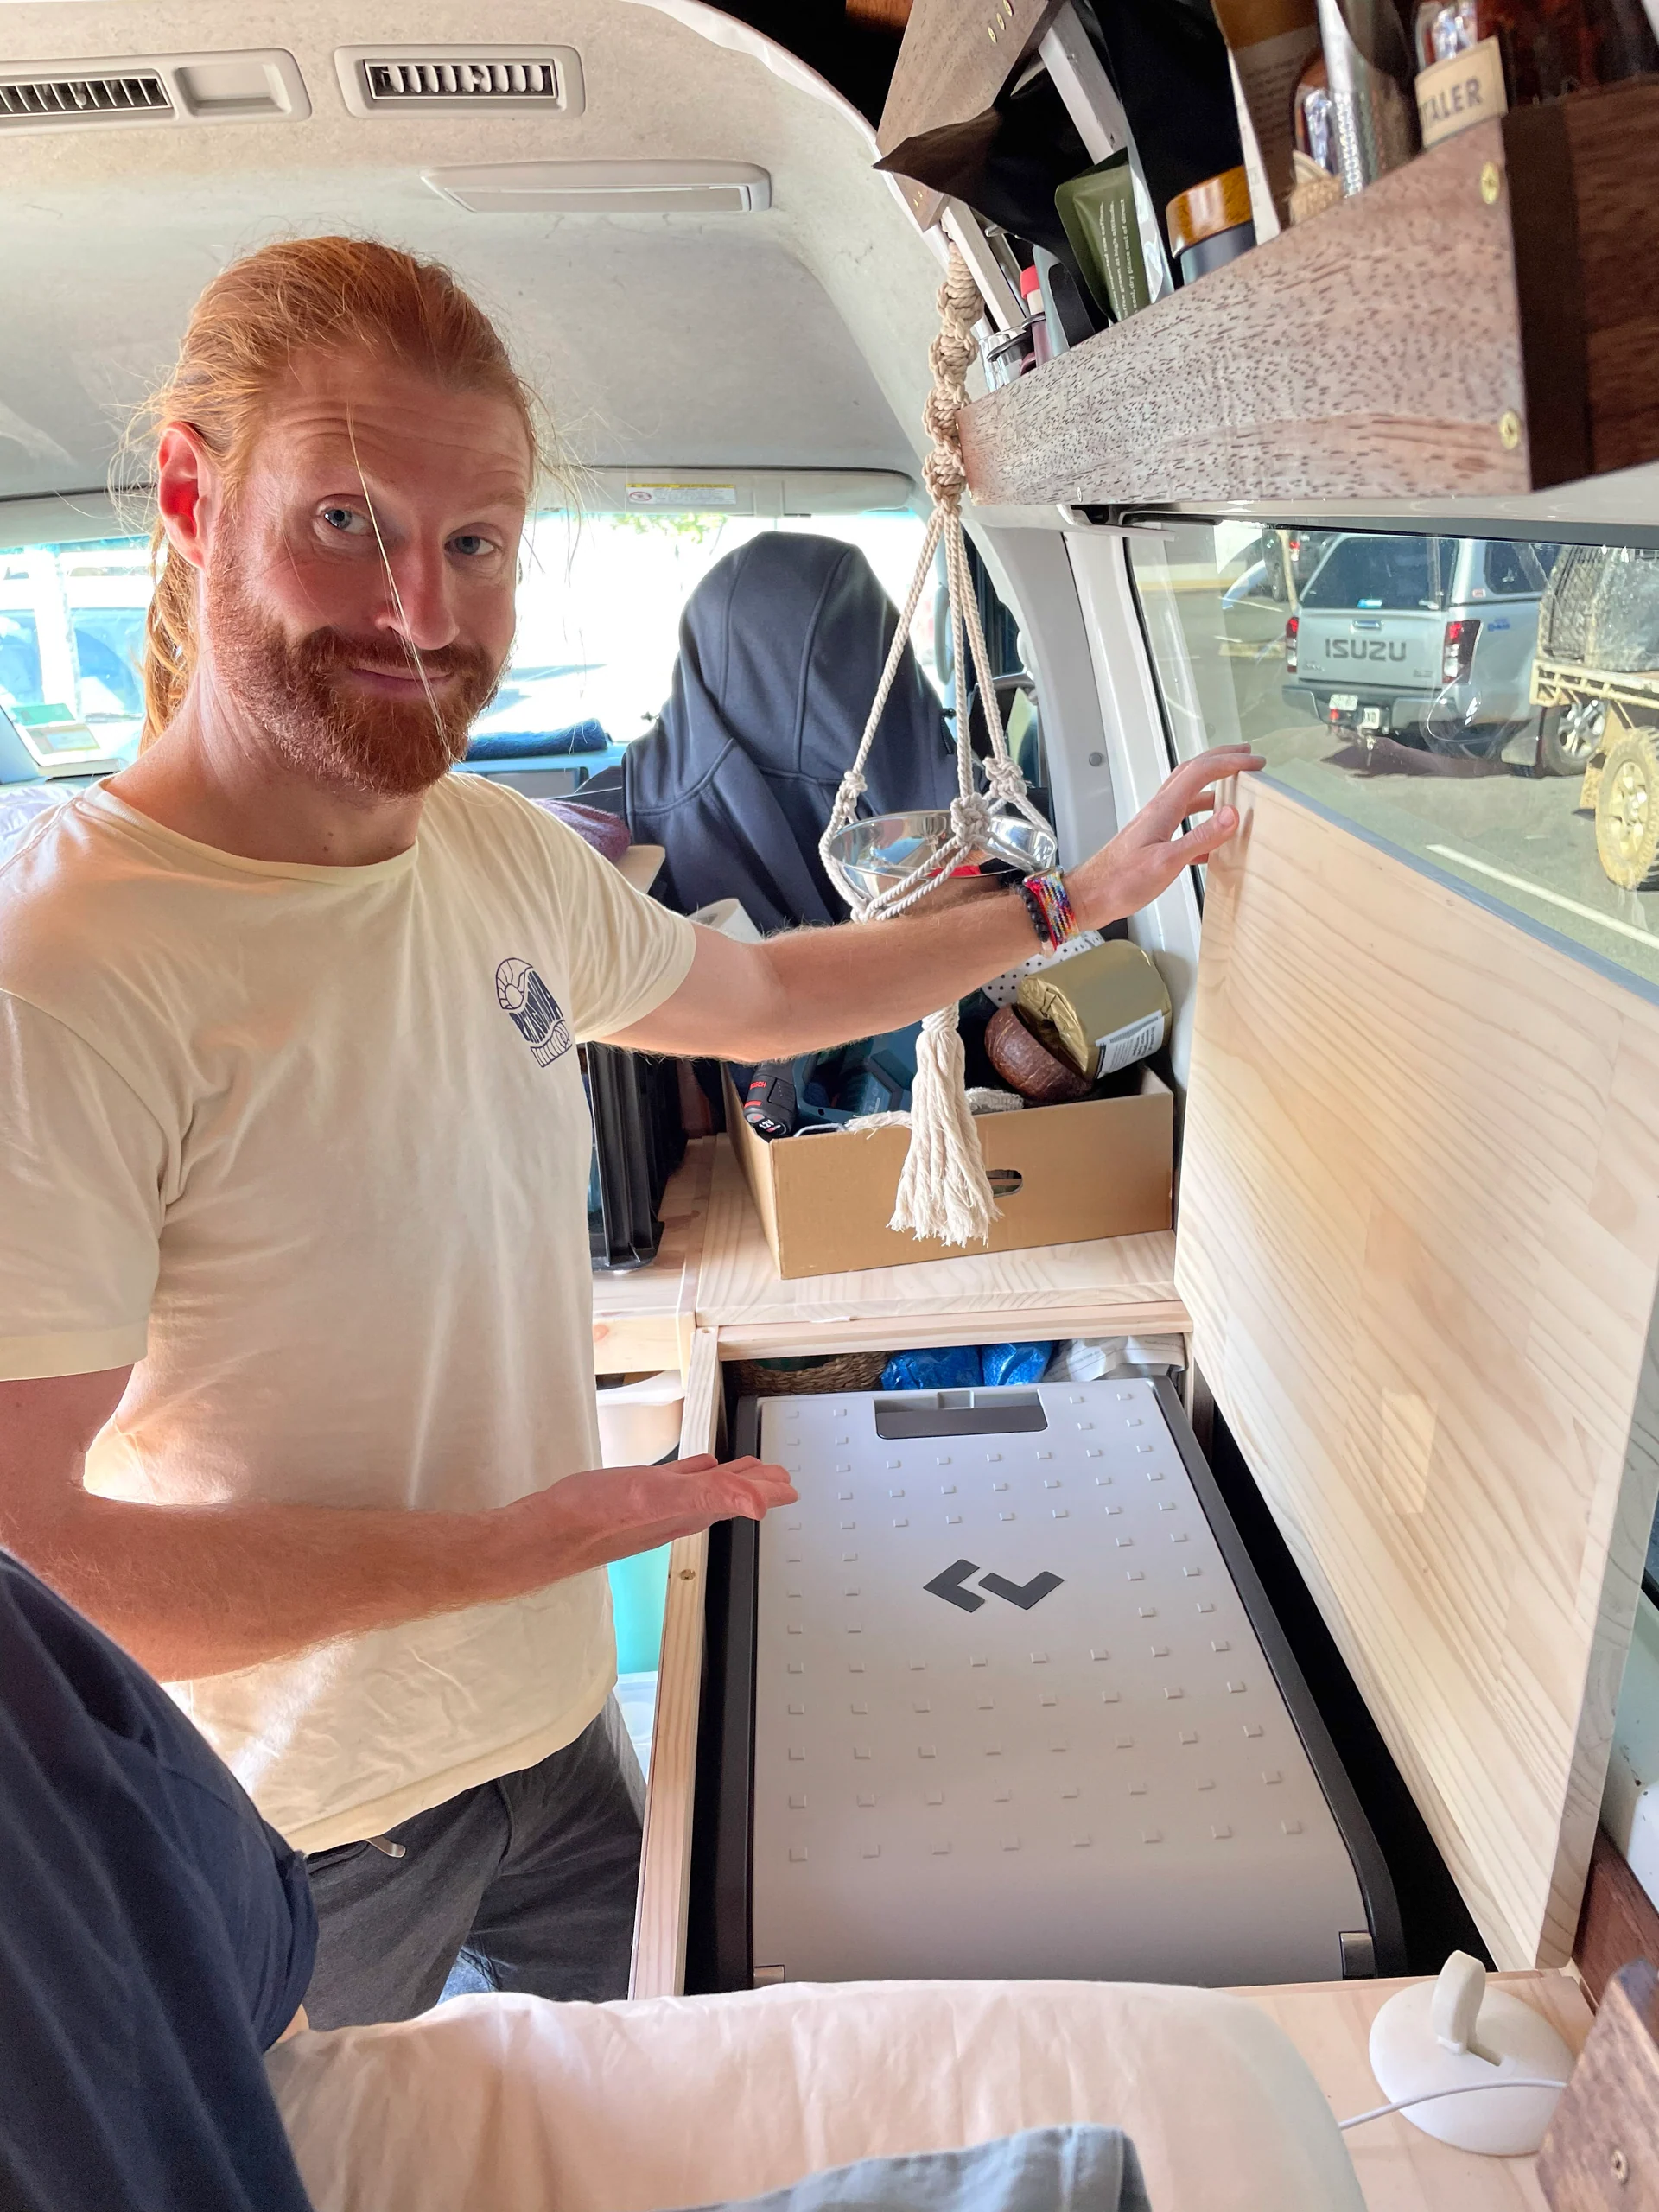
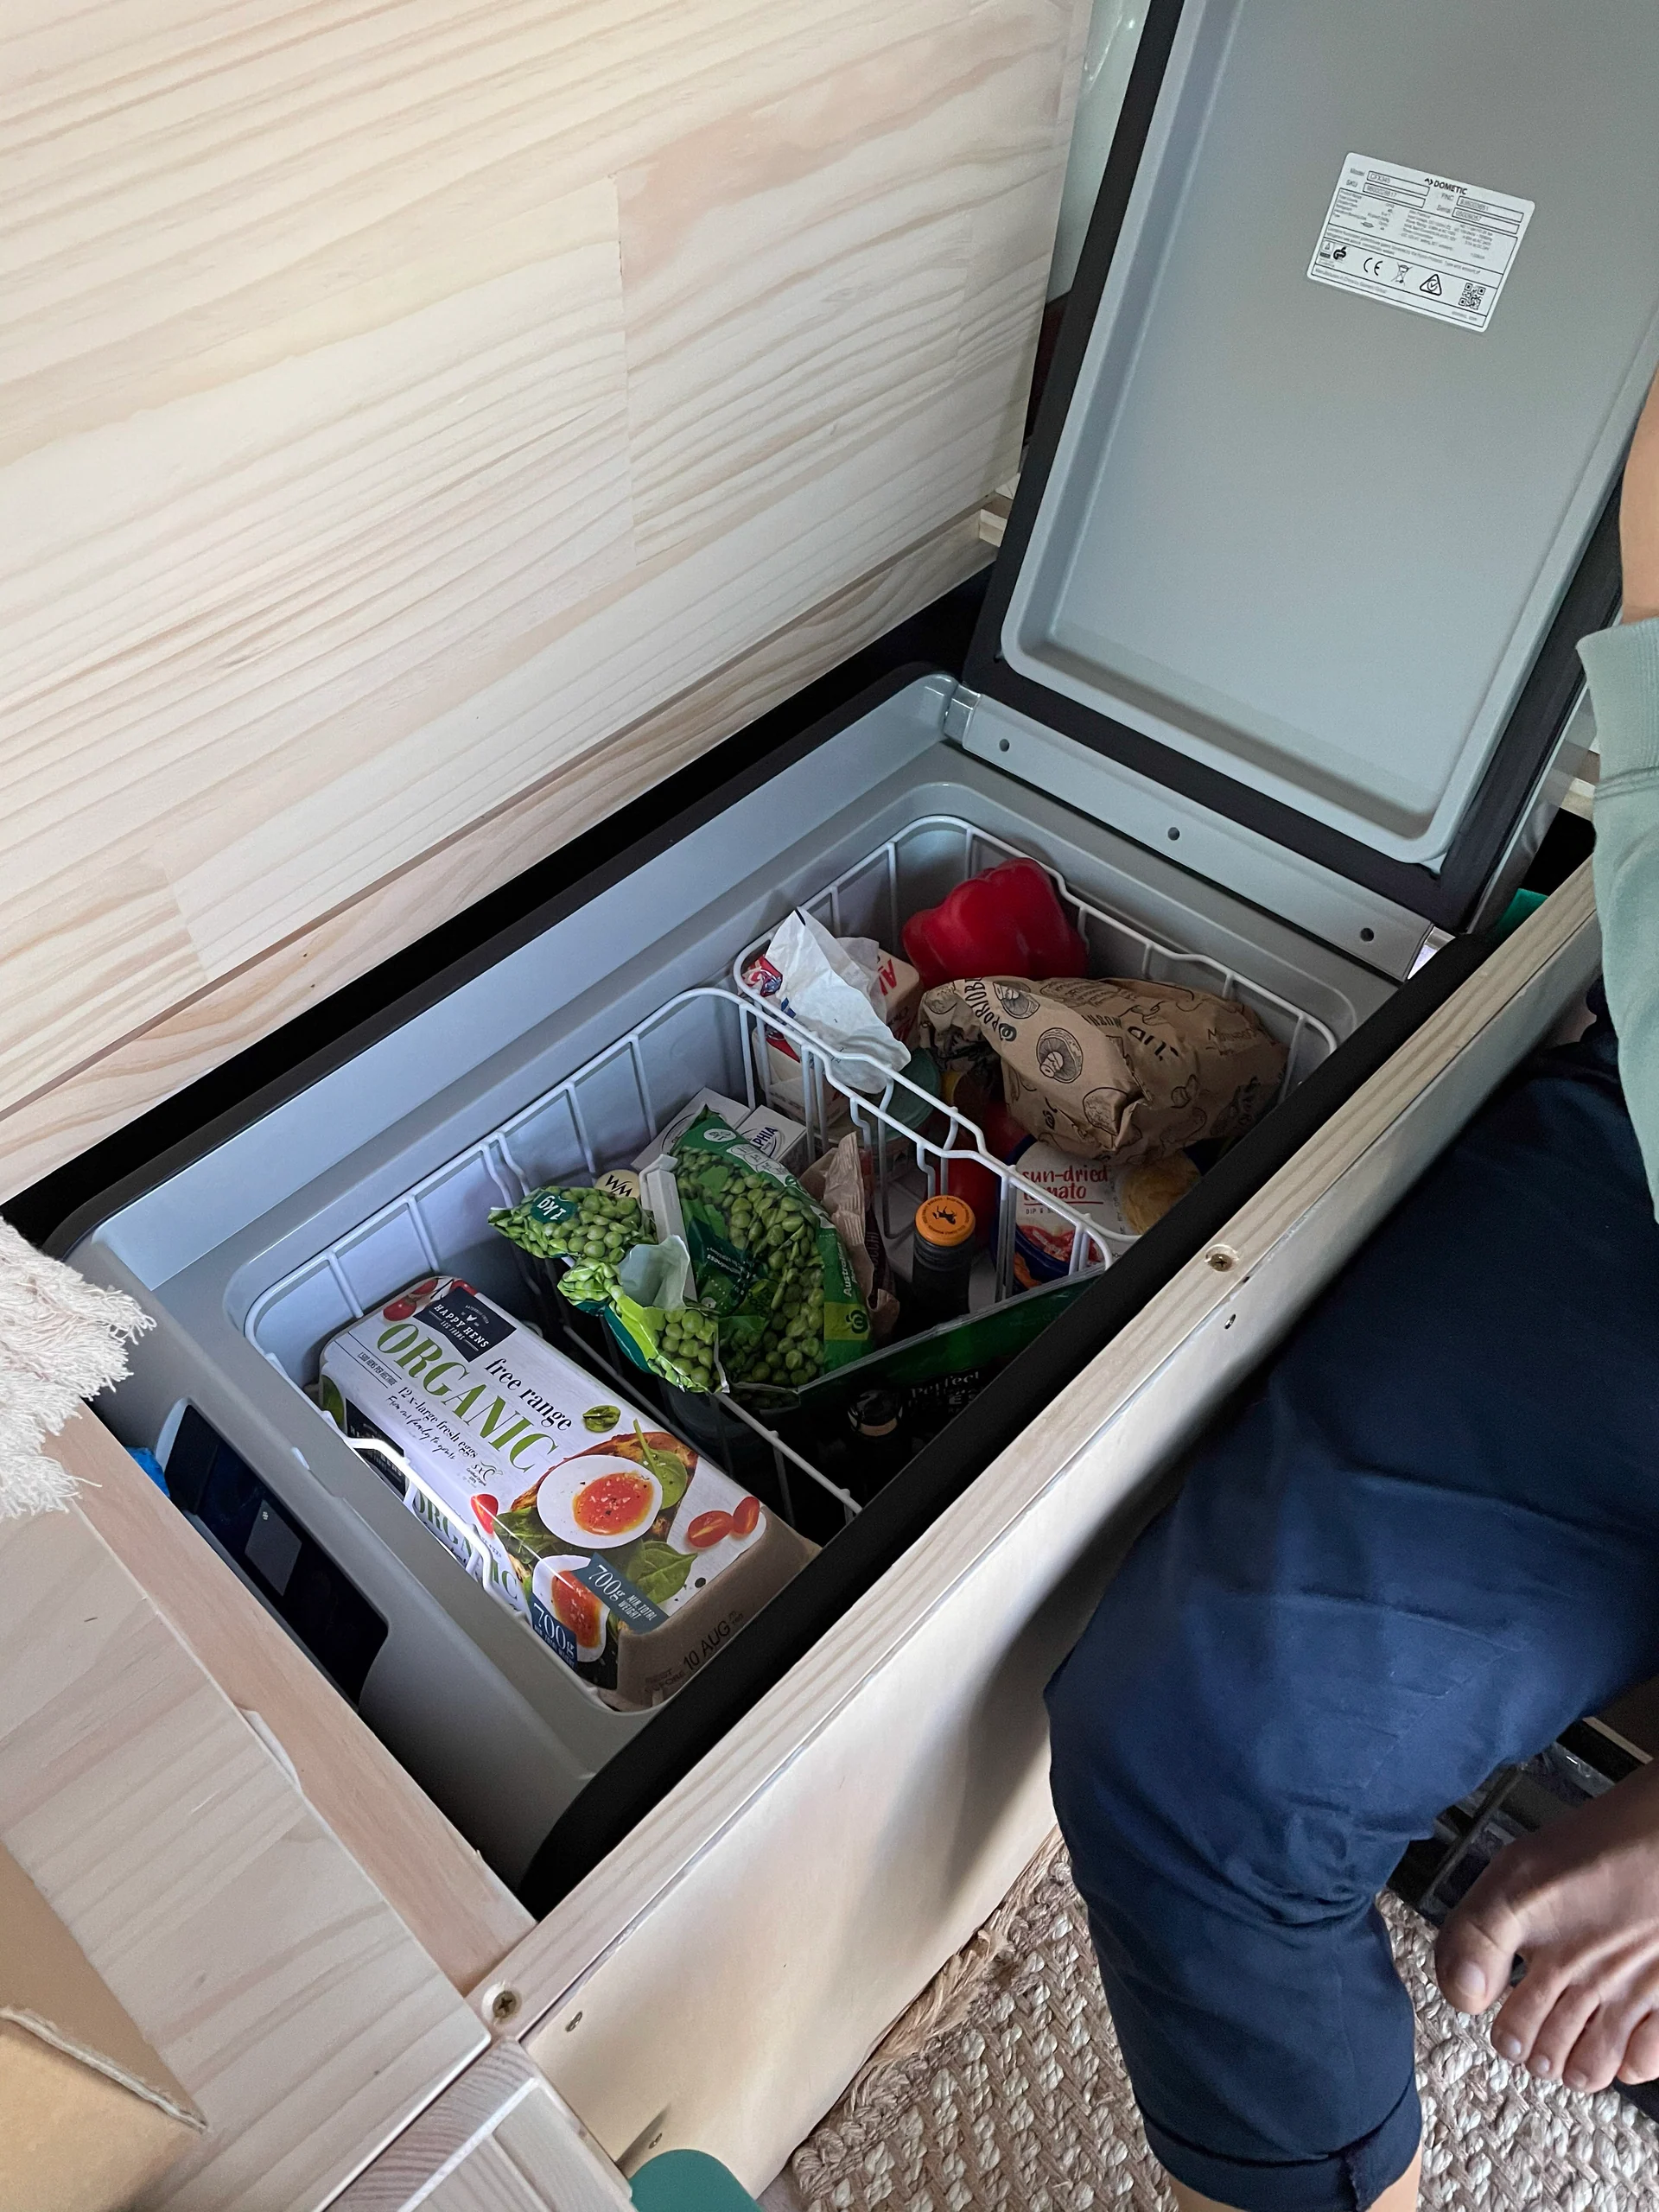
That's it, we are done. Of course, there are always some small and big improvements. But this is an amazing milestone. We are now living in this little van... And we are a bit proud of what we've achieved so far. This also marks the end of this gallery. Feel free to follow us on the road over at https://dreamspot.de/vanlife